

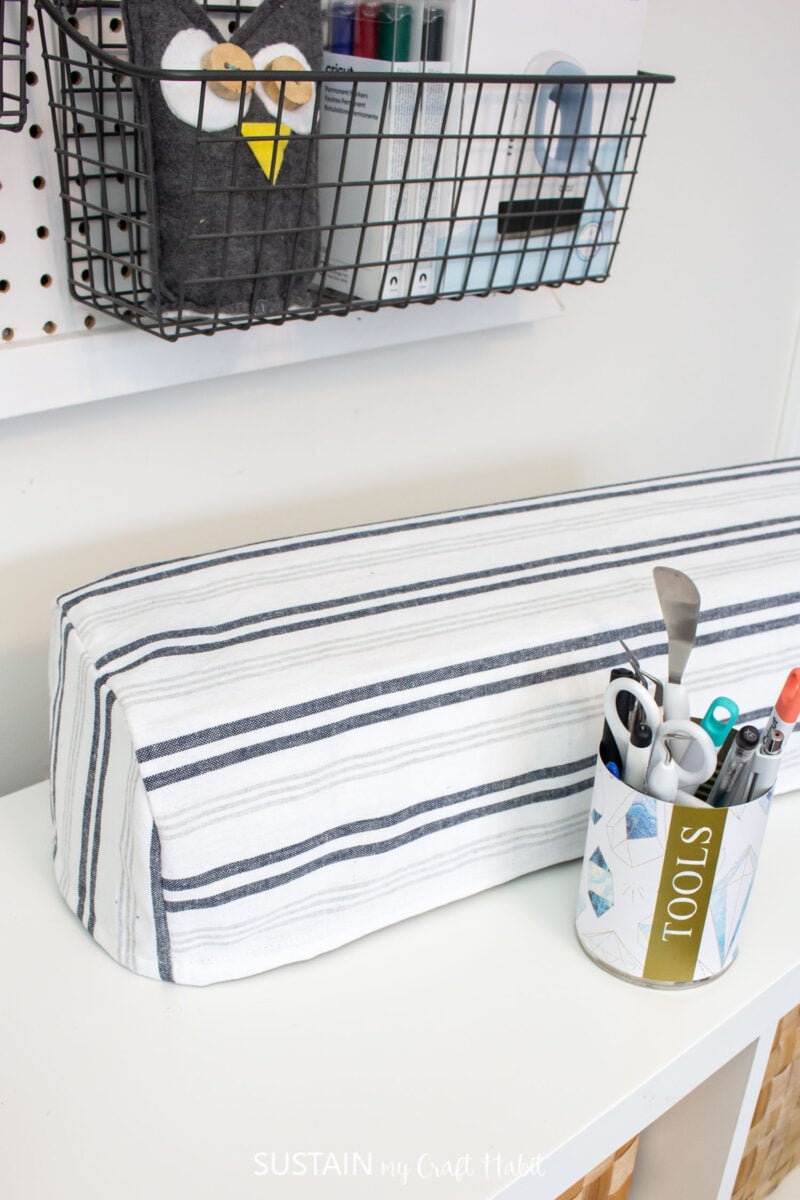
Download our free Cricut Maker cover pattern to keep your Cricut protected and dust-free. This sewing pattern includes a detailed tutorial with photos that beginner sewers can easily follow.
We love to share free sewing patterns with you and today we have another great one! You can download our printable pdf sewing pattern to make the cutest cover for your Cricut Maker. Keep reading to get all the details.

Why You Will Love This Cricut Maker Cover Pattern
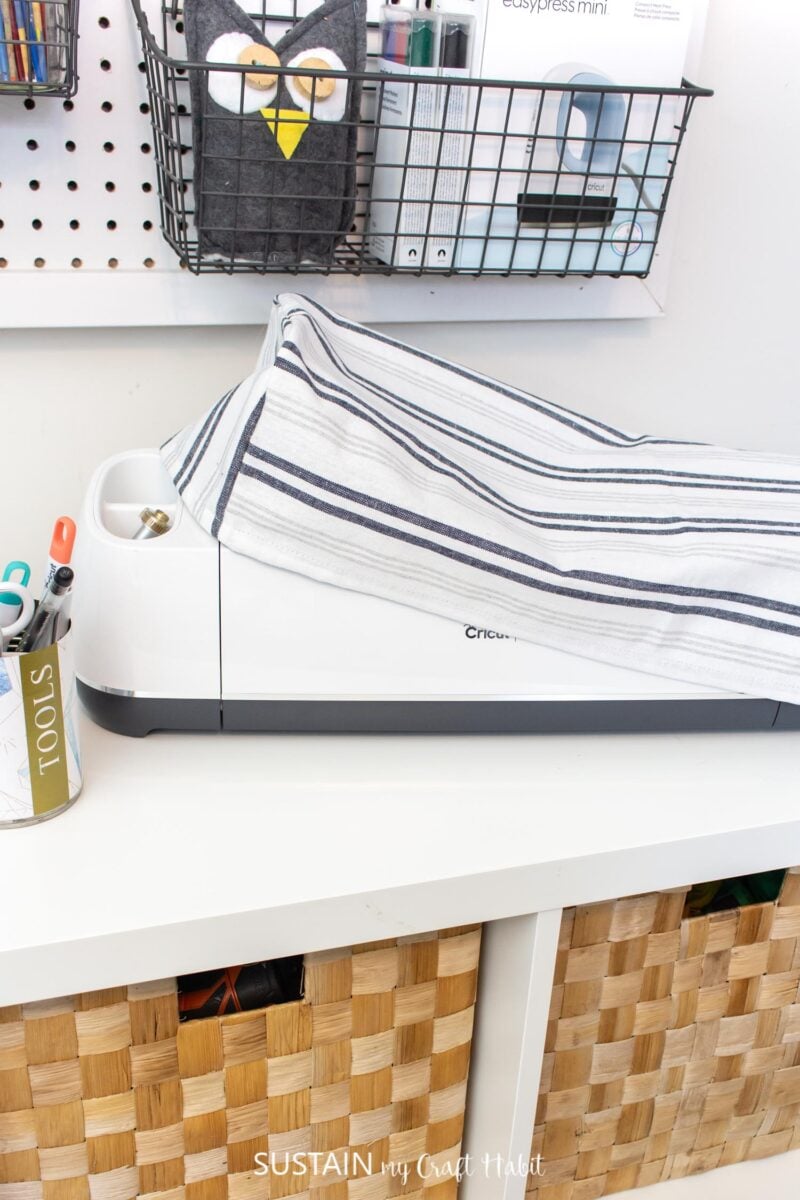
Add personality to your crafting space by making a unique cover for your Cricut machine. We used two inexpensive tea towels for our cover, but you can use any fabric of your choice.
Here are a few reasons why you will want to make this machine cover.
- It’s a budget-friendly DIY project;
- It’s keep your Cricut free of dust when not in use;
- You can customize your cover to match your craft space;
- It’s an easy sewing pattern that even beginners can make.


If you have a Cricut lover in your life, why not make one as a thoughtful gift? You will definitely want to make at least two so you can give one and keep one.
For the full how-to instructions on how to make this Cricut cover, be sure to head on over to our shop and get the free pattern.
Let’s stay in touch! Subscribe for our latest sewing patterns, tutorials and tips.
Materials Needed
Disclosure: This post contains affiliate links for your shopping convenience. Should you choose to purchase through them, we will make a small commission at no extra cost to you. You can read our full disclosure policy here.
- Fabric of your choice (mid-weight) – approx. ½ meter (I used 2 inexpensive dollar store tea towels)
- Sewing machine
- Thread
- Cricut Maker Fabric Cover Sewing Pattern
- Scissors


How to Sew a Cricut Maker Machine Cover
Print out the downloaded sewing pattern and align the red borders, taping the papers together to form complete pattern pieces.
Place the pattern on to the fabric aligning the grain lines and cut out with fabric scissors as indicated on the pattern.
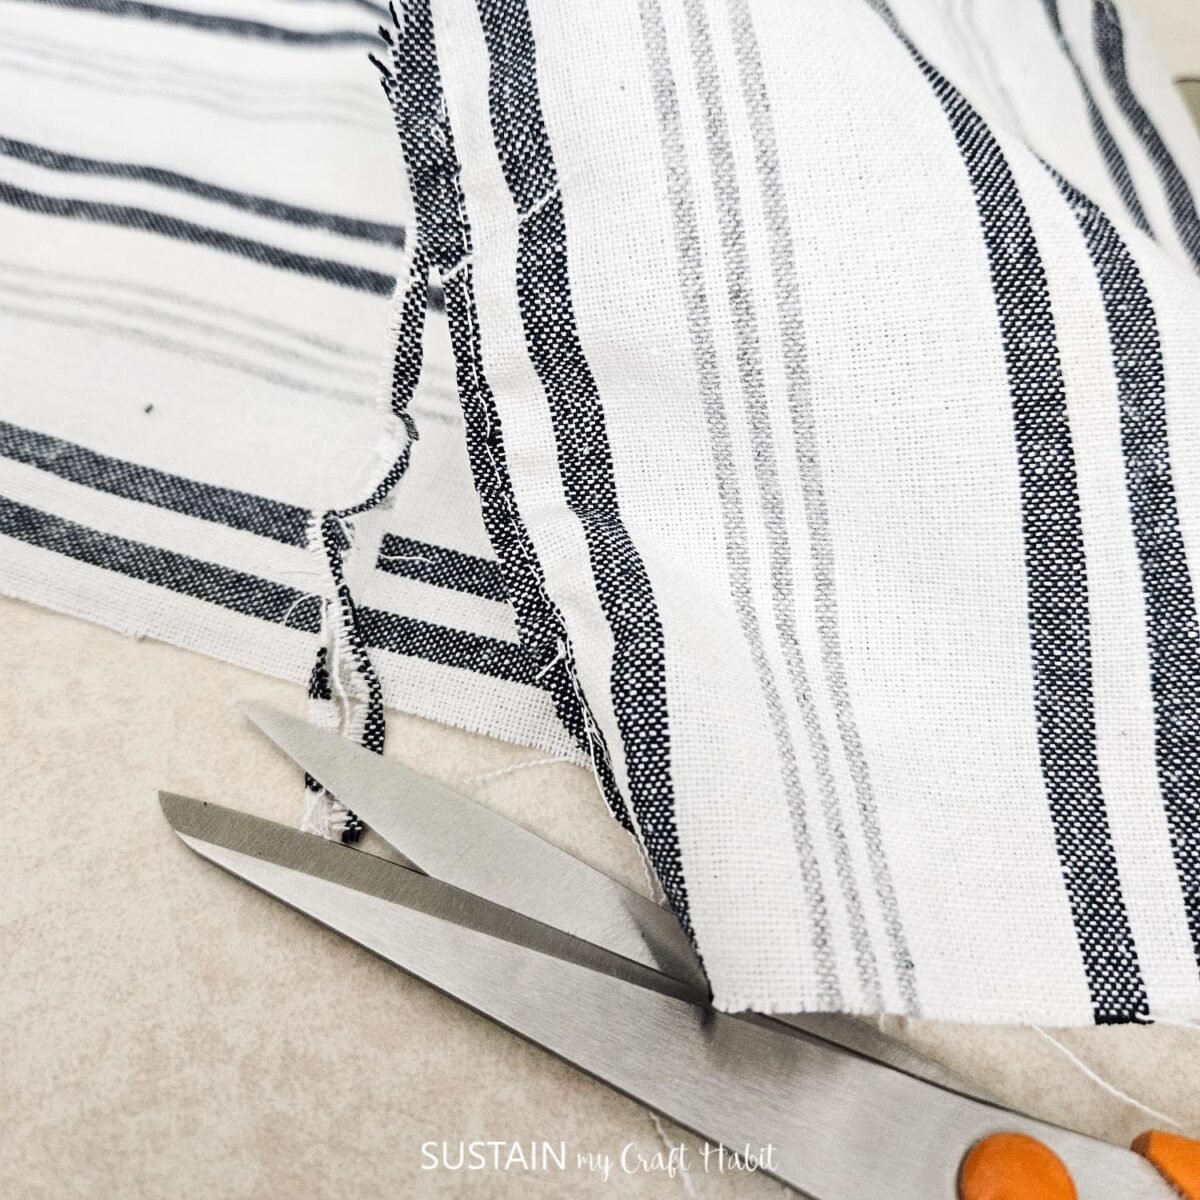
In my case, since I used a tea towel, I first removed the stitching along the hem to give myself more length to fit the pattern. But if you’re using fabric from your stash, you won’t need to do this step.


Sewing the Cover
To join the panels (on either end of the cover), I used a FRENCH seam. This ensure a nice, clean and tidy finish on the inside. Alternatively, you can also do a regular ½” seam allowance and use a serger or zig zag stitch to finish the seam allowance to prevent fraying.
To sew a french seam, align SIDE PANEL (2) piece with MAIN (1) piece with WRONG sides of the fabric together. Sew pieces together with a ¼” seam allowance. When sewing, ensure to align the single notches on the pattern pieces. Since it is a curve, you will have to carefully ease the pieces together as you sew.


Trim ⅛” off the seam allowance.

Press seam allowance to one side.


Repeat with the other side panel.


Turn the piece WRONG side out and sew another ¼” seam allowance along the folded edges, sandwiching the cut seam allowance inside.
Turn the piece RIGHT side out.


Press with iron a ½” double hem along the bottom edge. Stitch the hem in place to complete.


There you have it! A beautiful and easy-sew Cricut Maker cover pattern that you can create with just a few simple steps.

Are you ready to make your own? Just think of all the fabric options and designs you can make with this pattern. We love to see your finished projects, so be sure to tag us on Facebook or Instagram so we don’t miss it!
Happy sewing!
More Free Sewing Patterns and Cricut Crafts!
- Tea Towel Tote Bag
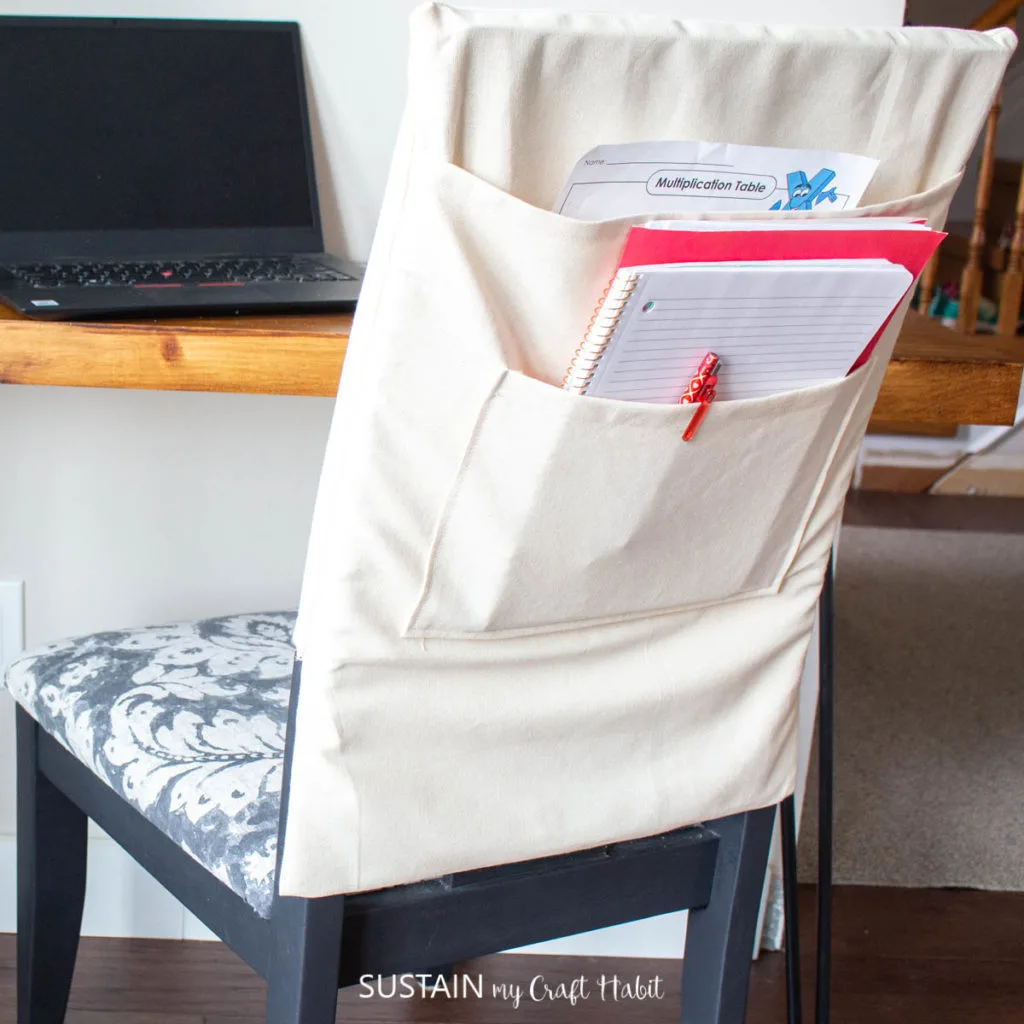
- Student Chair Organizer
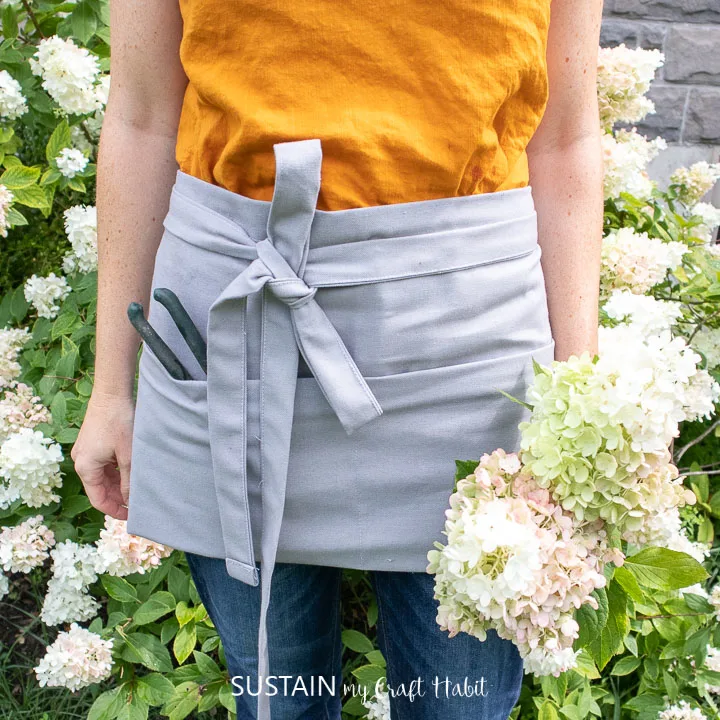
- Half Apron
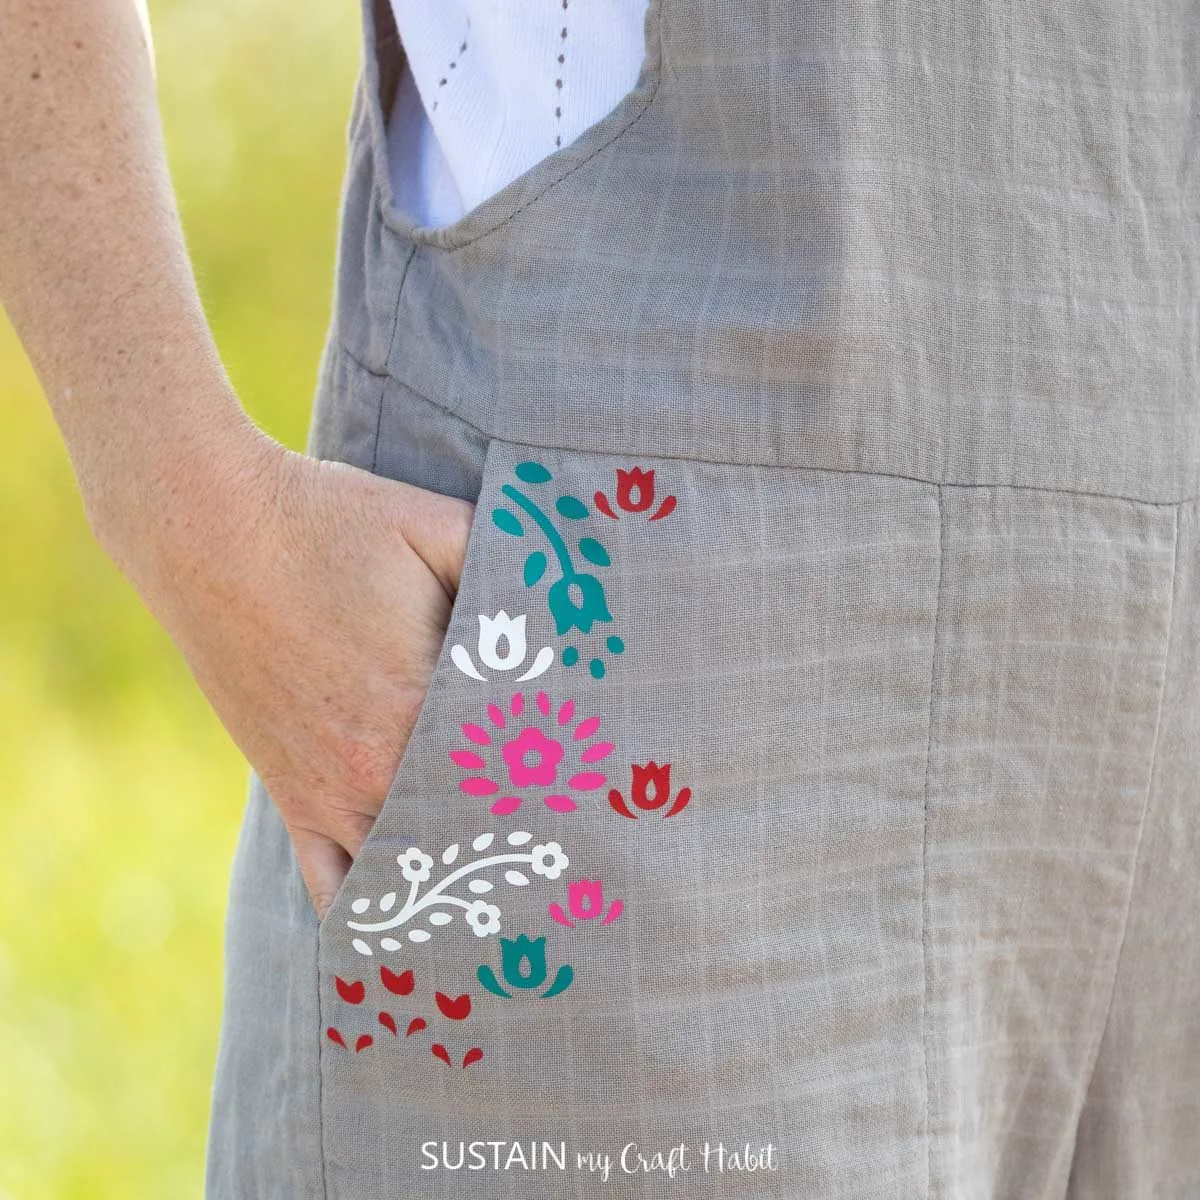
- Personalizing Cotton Jumpsuits
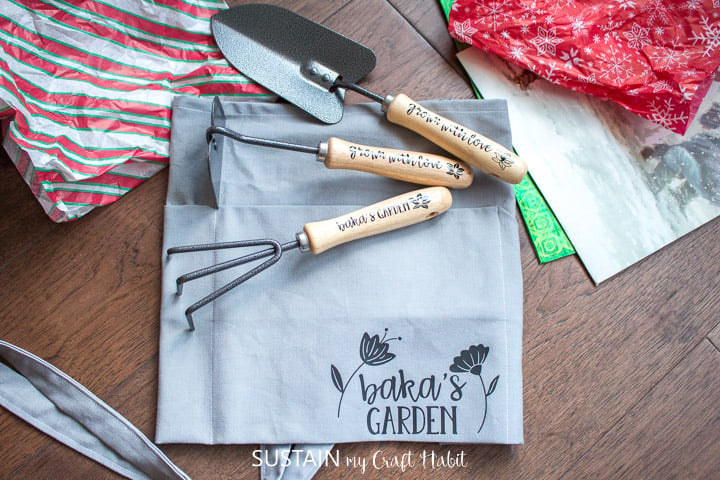
- Personalized Gifts


Get access to our resource library filled with SVG cut files and Cricut craft ideas!
Like it? Pin it for later!


Cricut Maker Machine Cover – Free Sewing Pattern
Materials
- ½ Meter Fabric of your choice mid-weight (I used 2 inexpensive dollar store tea towels)
- Sewing machine
- Thread
- Cricut Maker Fabric Cover Sewing Pattern
- Scissors
Instructions
- Print out the downloaded sewing pattern and align the red borders, taping the papers together to form complete pattern pieces.
- Place the pattern on to the fabric aligning the grainlines.
- Cut out with fabric scissors as indicated on the pattern.
- In my case, since I used a tea towel, I first removed the stitching along the hem to give myself more length to fit the pattern.
- Sewing the Cover
- To join the panels (on either end of the cover), I used a FRENCH seam. This ensure a nice, clean and tidy finish on the inside. Alternatively, you can also do a regular ½” seam allowance and use a serger or zig zag stitch to finish the seam allowance to prevent fraying.
- To sew a french seam, align SIDE PANEL (2) piece with MAIN (1) piece with WRONG sides of the fabric together. Sew pieces together with a ¼” seam allowance. When sewing, ensure to align the single notches on the pattern pieces. Since it is a curve, you will have to carefully ease the pieces together as you sew.
- Trim ⅛” off the seam allowance.
- Press seam allowance to one side.
- Repeat with the other panel.
- Turn the piece WRONG side out and sew another ¼” seam allowance along the folded edges, sandwiching the cut seam allowance inside.
- Turn the piece RIGHT side out.
- Press with iron a ½” double hem along the bottom edge. Stitch the hem in place to complete.