DIY Herb Garden Markers with Air Dry Easy-Sculpt Clay
As we shift our attention to plants and gardening for the Spring (pause for a little happy dance here), we wanted to share the how-to instructions for making these lovely marbled herb garden markers.

This is the best time of year to head out to the nurseries and scope out all the herbs and other plants to buy for the season. The longer days and extra bit of sunshine brings out the green thumb (whatever the amount) out of all of us. Over the years, I’ve developed a real sense of appreciation over caring for potted plants and herbs and watching them thrive, grow and provide.
It’s almost been one year since we first became ambassadors with ETI-USA as part of their #ResinCraftsCreativeTeam. These DIY herb garden markers were the very first things we made for ETI and you can check out the original post here. And for more creative DIY ideas using EasyScuplt Clay, check out this faux stone clay jewelry tutorial and this very useful fake rock key holder.

MATERIALS NEEDED FOR THESE DIY HERB GARDEN MARKERS:
“Disclaimer: We have not received any compensation for this post. However, we have (and continue to) receive products from ETI.”
- Easy Sculpt Self-hardening Epoxy Modeling Clay
- Castin’ Craft Universal Transparent Dyes (blue, green, red)
- A release agent such as vegetable oil, olive oil or Castin’ Craft Mold Release and Conditioner
- Gloves, wooden craft sticks, paper towels
- Alphabet rubber stamp set

Making the Garden Markers:
Be sure to read the instructions provided in the packaging prior to starting and protect your working surface with a sheet of wax paper.
Follow these steps to make one plant label at a time.
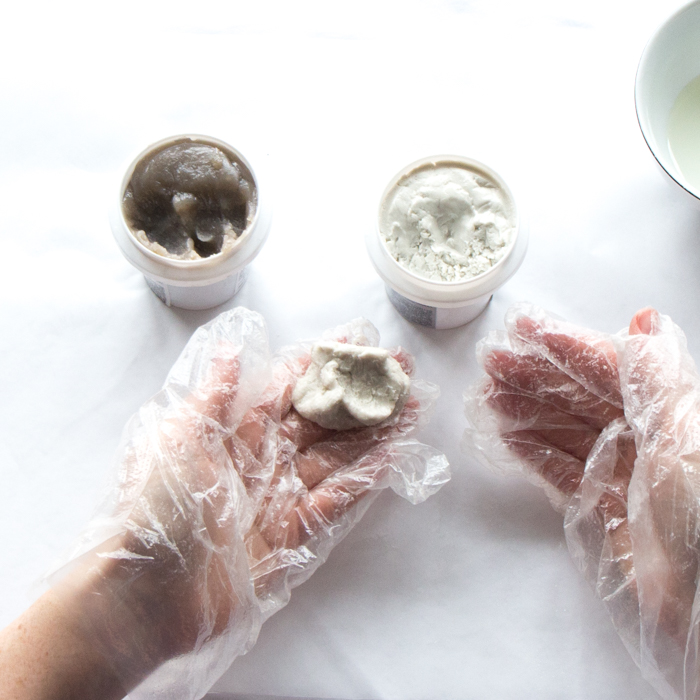
Being careful not to cross mix the materials in the containers, use two wood sticks to take out equal amounts of components “A” and “B”.
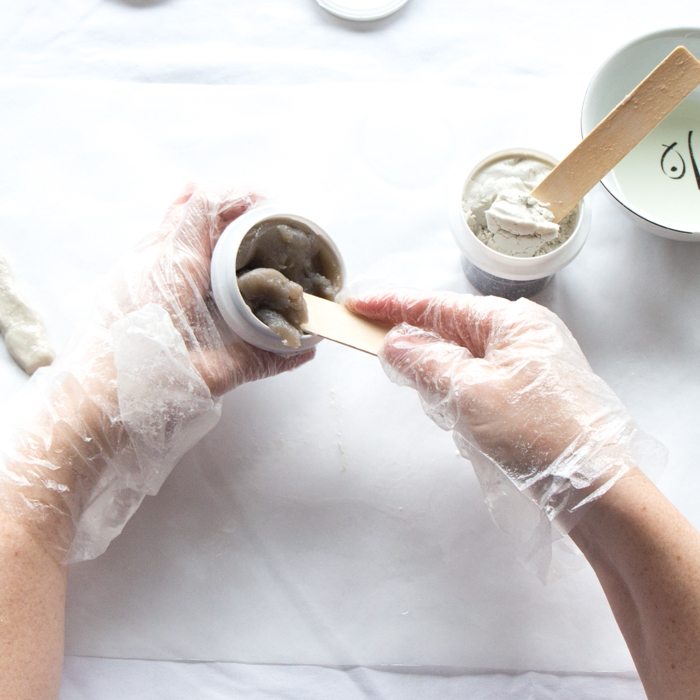
Spread some of the release agent (or alternatively, vegetable oil) on your gloves to keep the clay from sticking. Form the clay into balls of approximately equal size by eye, just about ¾” diameter (or size of a quarter).
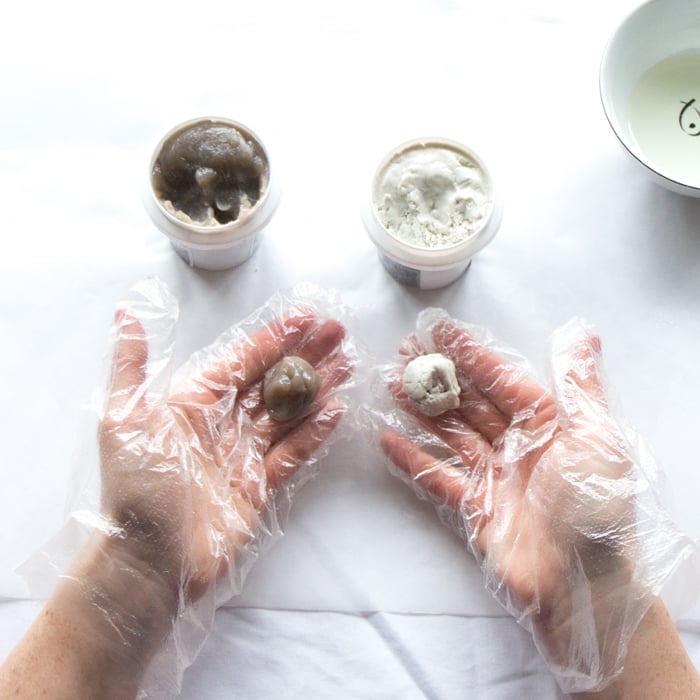
Press together and completely blend the two balls until they are a uniform colour (about 1-2 minutes). Press out any little clumps to make sure the components are completely combined.
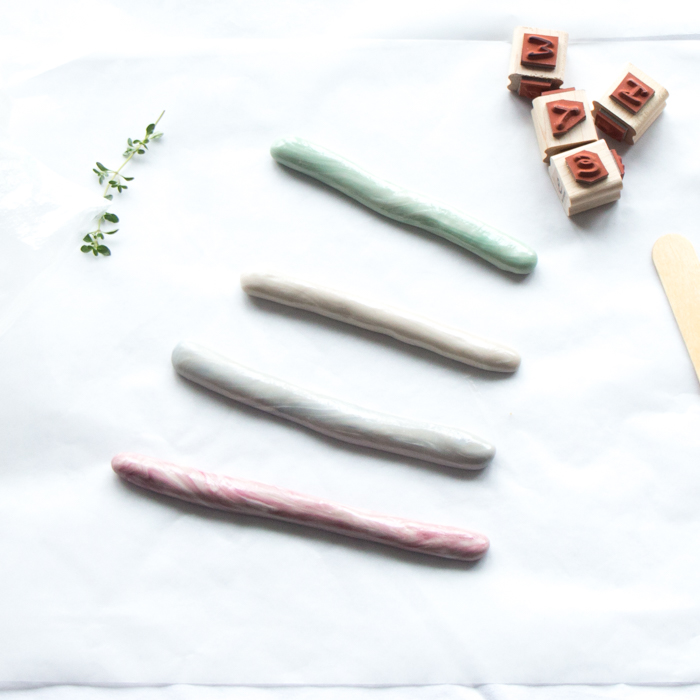
Add three drops of the Transparent Dye in a colour of your choice. Blend the Dye into the clay just partially to achieve a marbled finish.
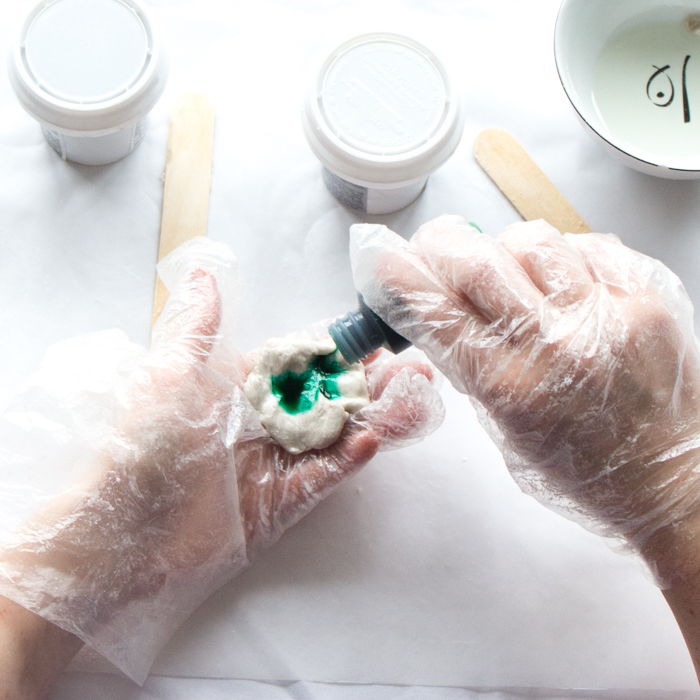
The clay will start to get softer and stickier at this point. Form the clay roughly into a 6″ long cylinder. Repeat this process to make as many herb garden markers as you’d like. Let the Easy Sculpt clay cure for at least 2 hours before proceeding to the next step.
Imprinting the Garden Markers:
After about two hours, the pieces should still be flexible but not overly soft.
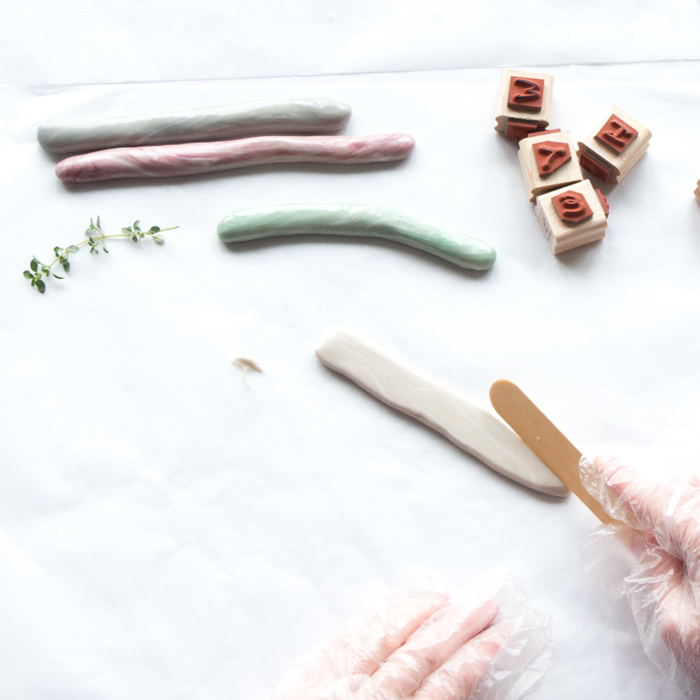
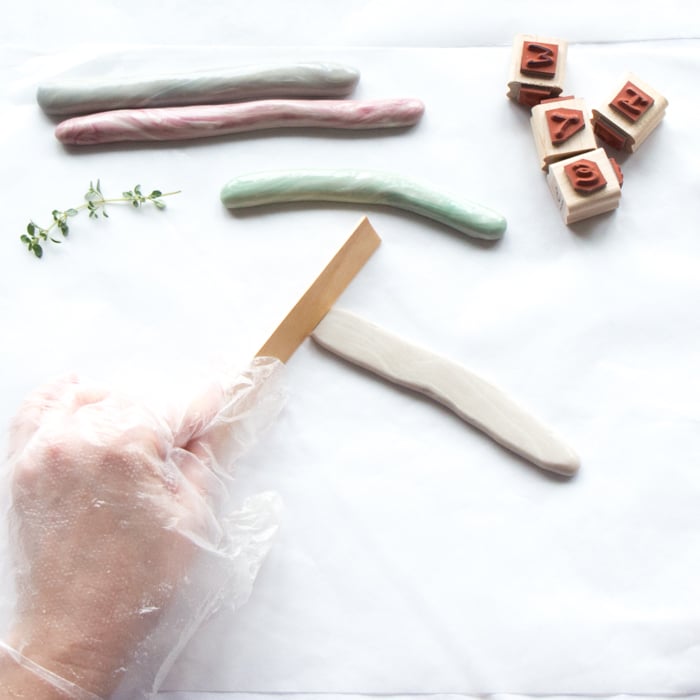
Use a wood craft stick to flatten the clay cylinders to about 1/4″ thickness.
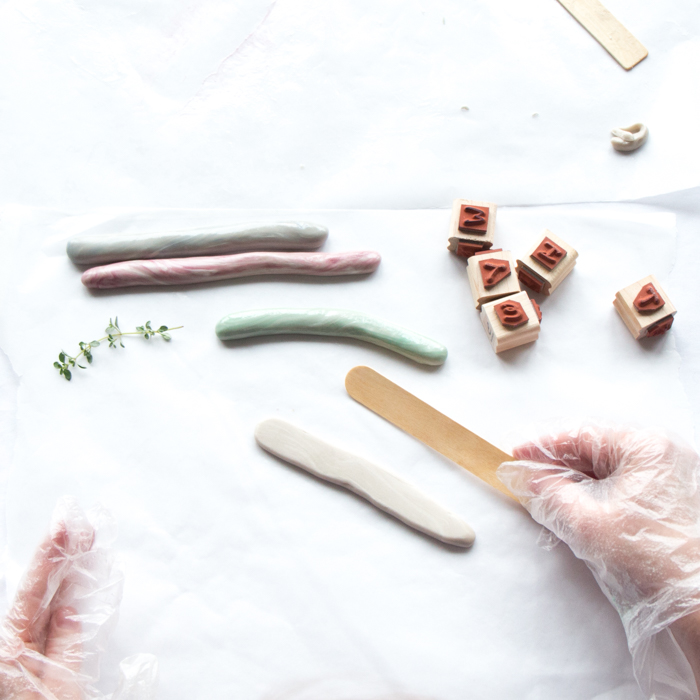
Shape the ends as you like, keeping them rectangular shaped on both ends or cutting an angle off to create a point.
Use alphabet rubber stamps and gently press the names of your herbs onto each plant marker (note to self: always triple check that you’re spelling the words correctly!).

Leave the garden markers to cure fully, approximately 72 hours, before using.

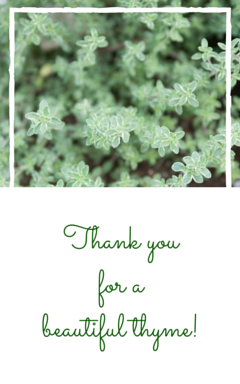
It’s “thyme” to plant those herbs! Wouldn’t these garden markers look adorable along with a little potted herb plant? Or use them while you’re growing peppers from seeds. Grab your free hostess gift tag printable here.
And if you haven’t already, check out the Resin Crafts Blog for more unique and creative DIY ideas using clay and resin.
Like it? Pin it for later!