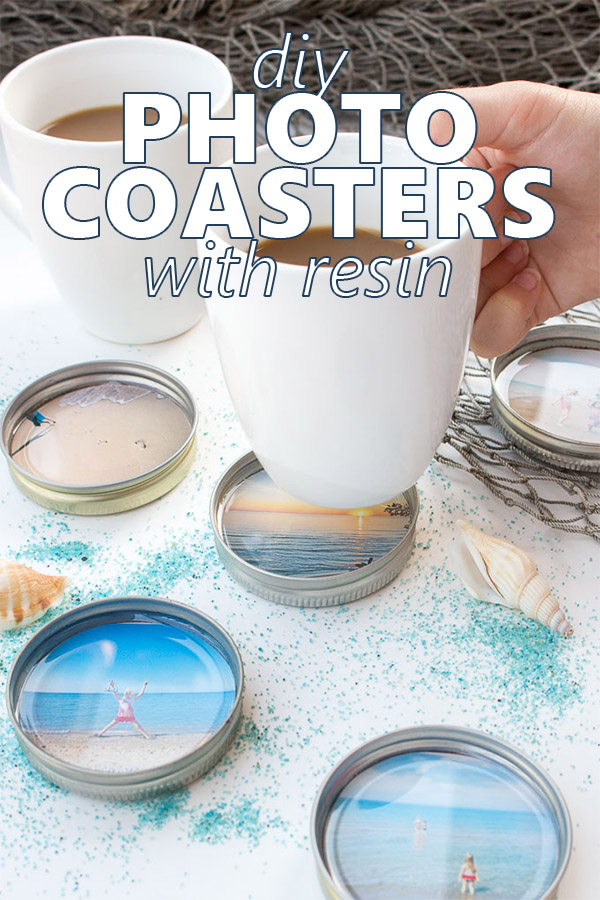
DIY Photo Coasters with Resin
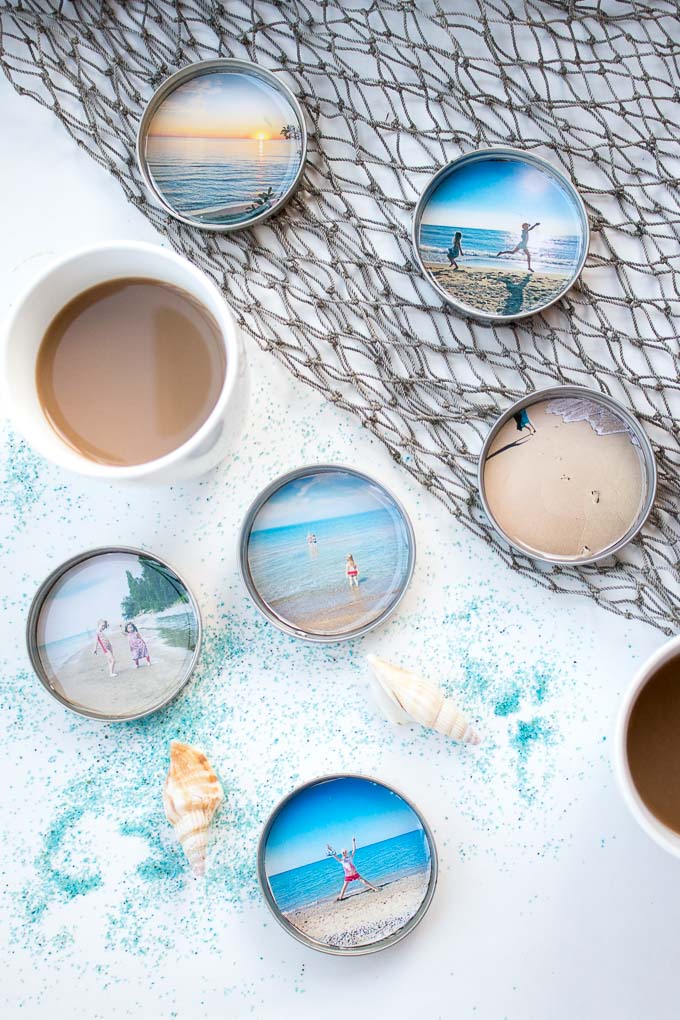
Get those photos off your phone and use them to create some beautiful and handy summer vacation DIY photo coasters with resin.
Creating Keepsake DIY Photo Coasters
One of my favorite things about having my phone always on hand is that I’m constantly taking pictures of the kids. This is especially true on the beach.
My husband has a minor stroke just thinking about me taking one of the fancier cameras down into the sand. He’s convinced that one tiny grain will completely ruin the lenses forever. Luckily my camera phone does a great job to capture those special moments.
At the same time, one of the worst things about taking so many photos with my phone is that they never seem to see the light of day. I rarely print any of them out. However, last summer I took the plunge and created these resin photo coasters using resin and mason jar lids.
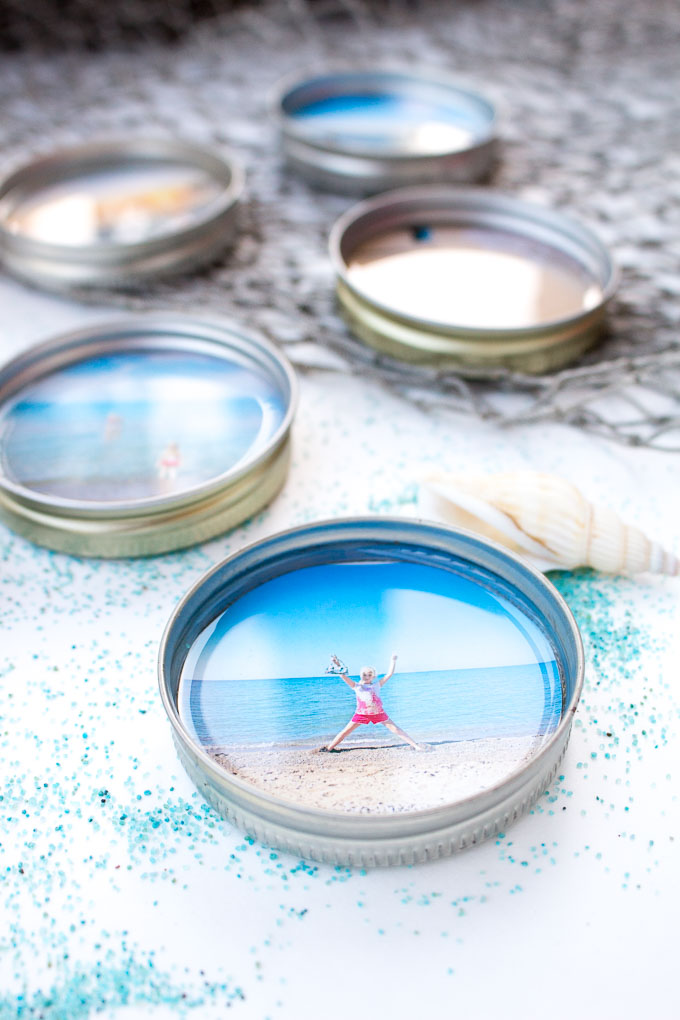
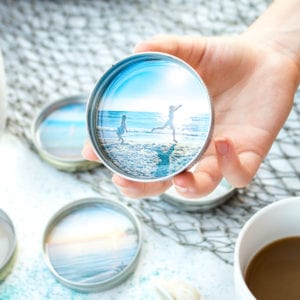
Although I originally intended to use them as coasters, I glued some magnets to the back and use them on my fridge. In this way I’ve been able to enjoy those summer vacations memories each time I see them.
A set of these coasters or magnets would also make a wonderful gift idea for a special birthday, Mother’s Day or even as a wedding favor. Or pair them with a poured resin book box for a truly one of a kind and thoughtful gift idea.
Materials Needed for DIY Photo Coasters:
- Photos of your choice printed to size on glossy photo paper
- Scissors
- 6 gold mason jar lids
- Multi-purpose glue
- Paintbrush
Envirotex Lite Pour-On (use coupon code CRAFTHABIT10 for 10% off your order!)Cups, stir sticks , straw or kitchen torch, disposable work surface, gloves
Instructions for Making DIY Photo Coasters:
Step 1: Preparing the Photos and Lids
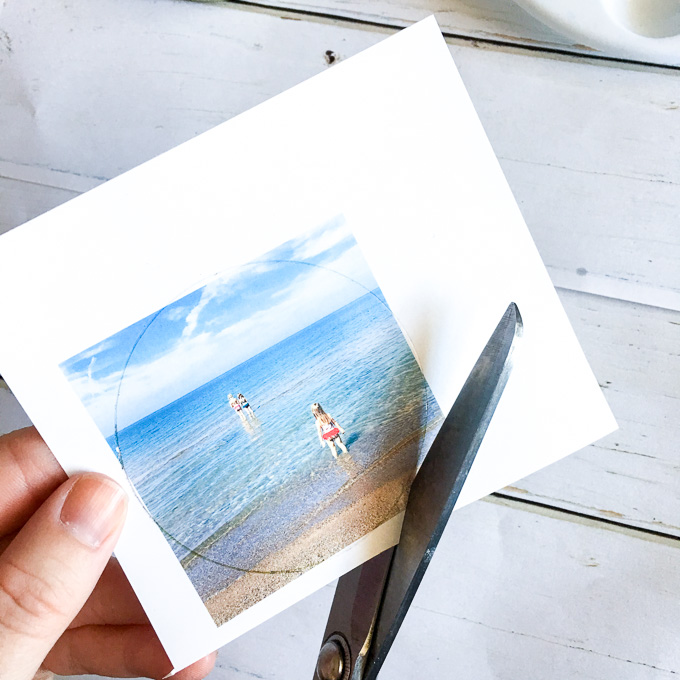
Print out your photos such that the shortest side is just larger than the lid insert. Use the lid insert to trace out the images.
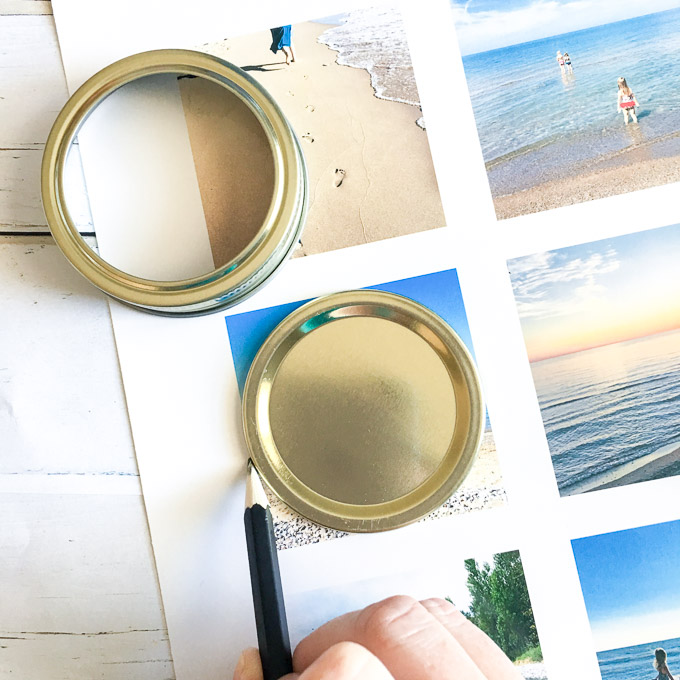
Cut them out with sharp scissors.
Glue the lid insert to the rim. This is important to prevent the resin from seeping out. This step isn’t necessary if you use a one piece lid.
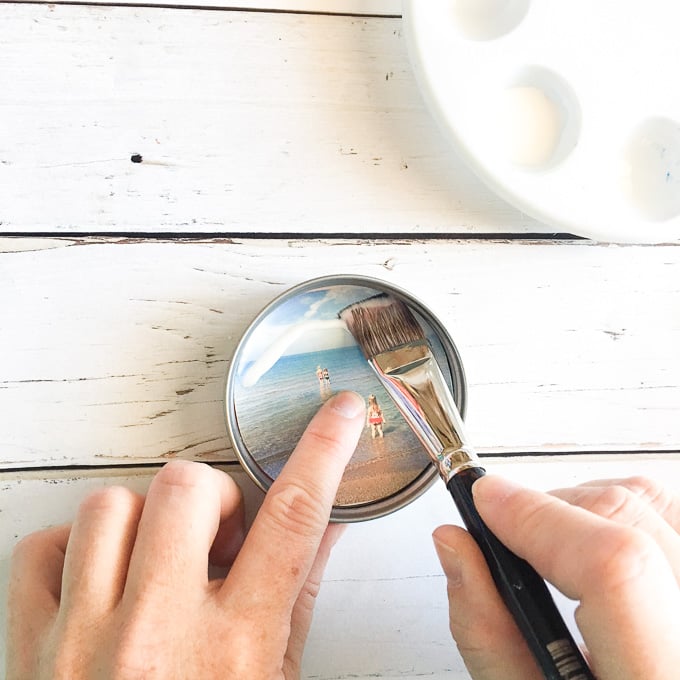
Glue the image into the lid. Paint a generous layer of glue along the edges and over the image to seal it all together. This may take several coats, especially in the edges. Let dry completely (I left mine overnight).
Pouring the Resin
Read all package instructions on the
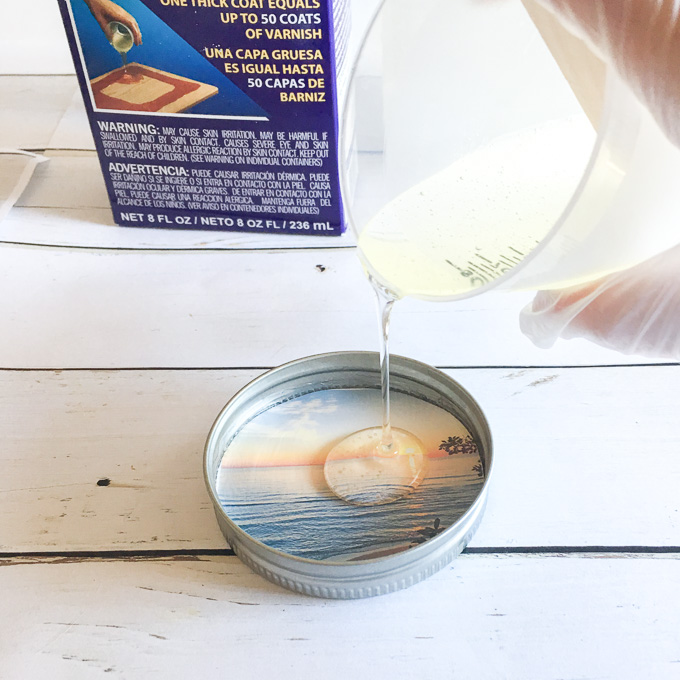
Mix equal parts of resin and hardener in a clean measuring cup. I used about ½ oz per coaster (3 cups total volume).
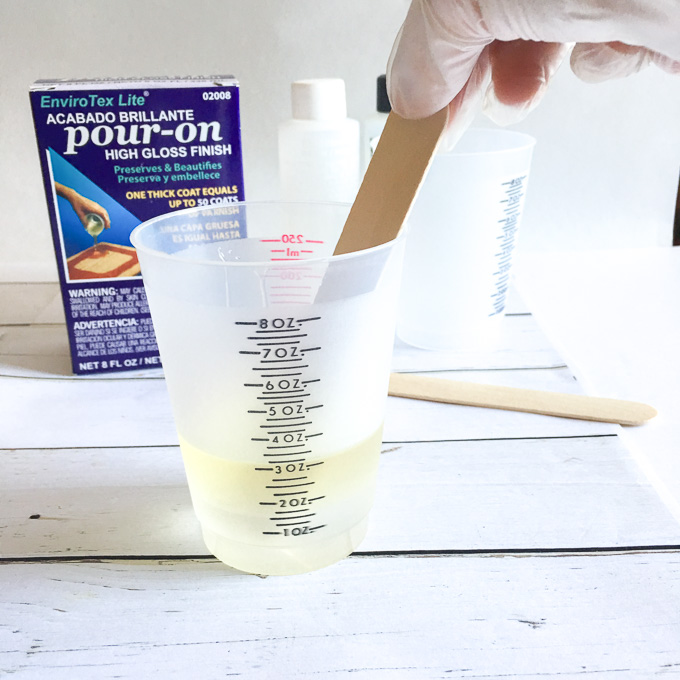
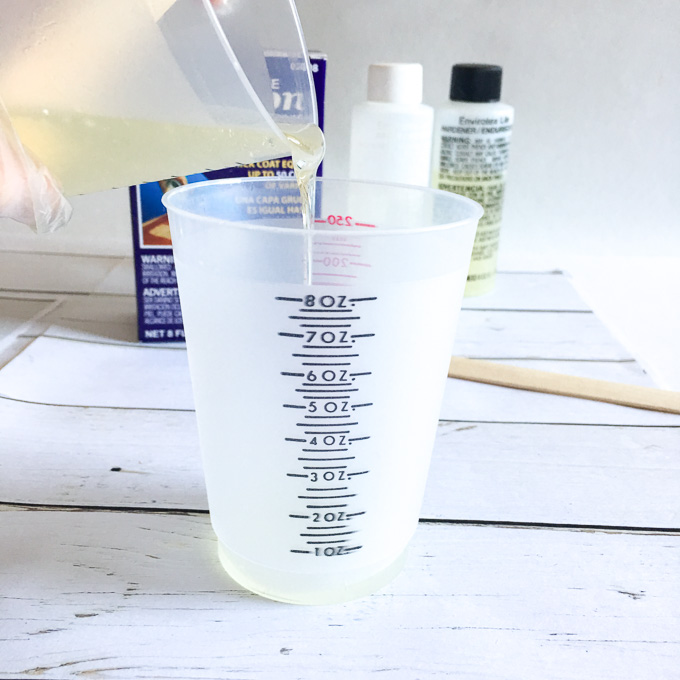
Stir for 2 minutes then transfer into a second clean measuring cup. Stir with a clean stir stick for another minute.
Distribute the mixed resin evenly across the six lids.
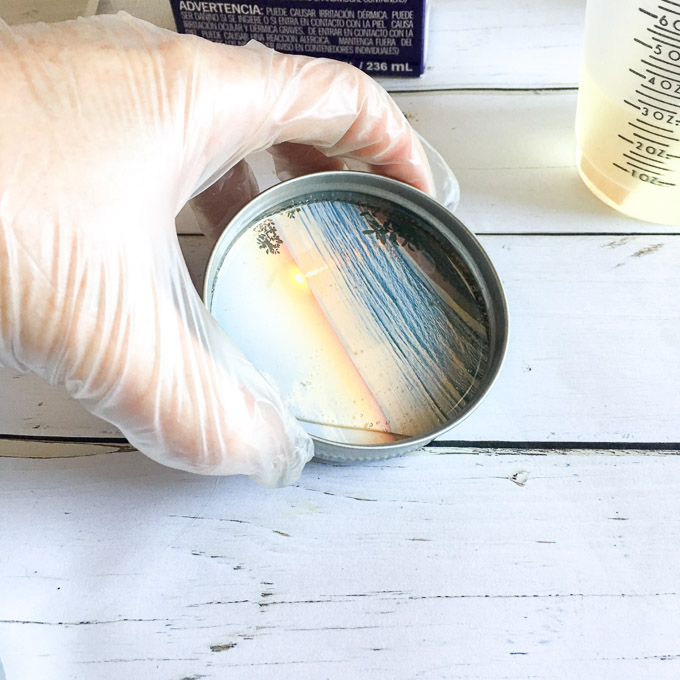
Tip the lids as needed to make sure it gets into the edges of the lids.
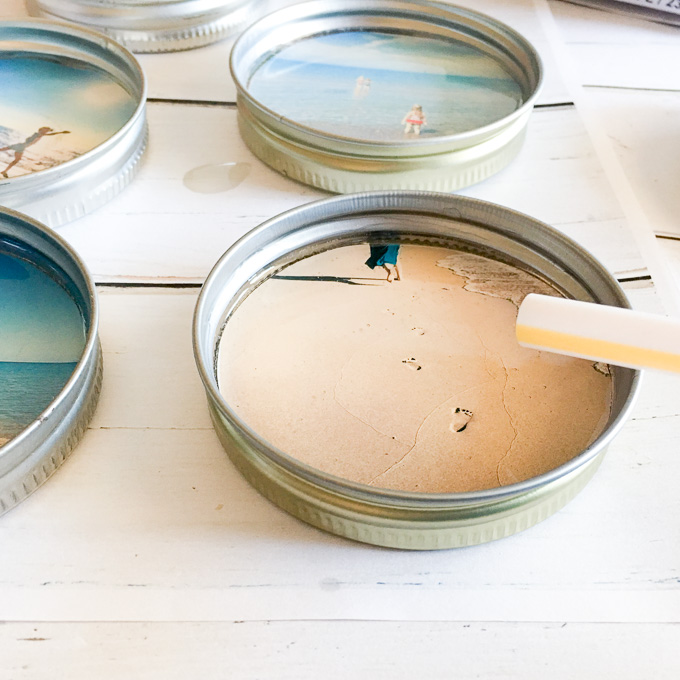
After 10-15 minutes blow off any air bubbles rising to the surface of the resin using a straw or small kitchen torch. Repeat as necessary over the next 1-2 hours.
Place the lids on a level surface and cover to keep dust from settling in. Leave to cure overnight (24 hours for a soft cure, 72 hours for full cure).

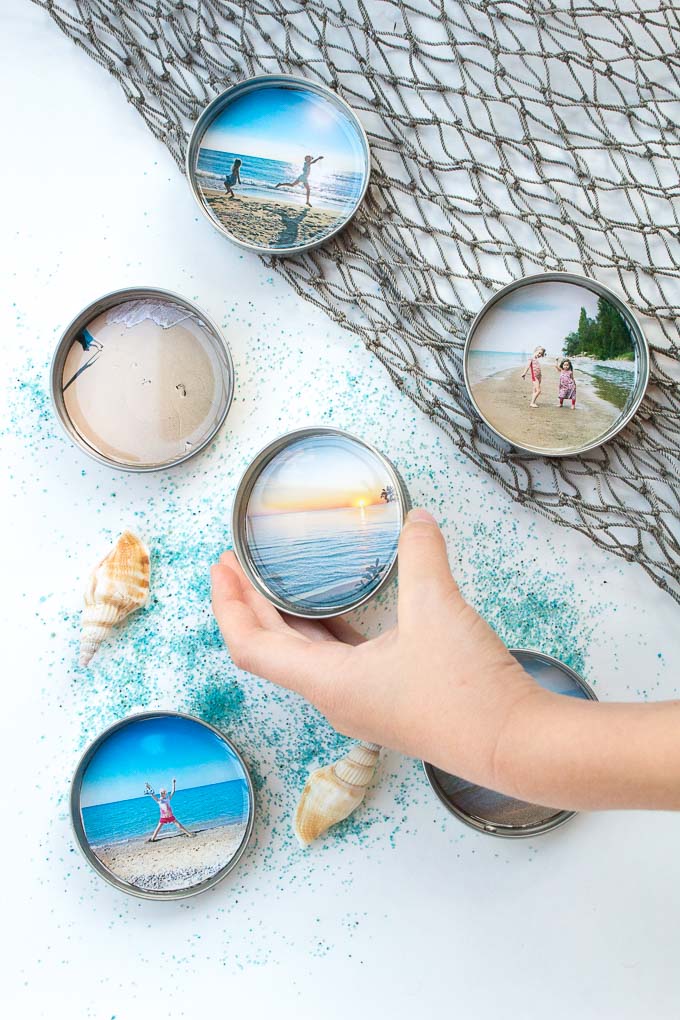
I’m so happy to have these photos on display. I’ve truly enjoyed seeing them all through the winter, reminding me of the warmer days to come on the beach.
If you are interested in additional beach project ideas be sure to explore any of our driftwood crafts, beach wall art, upcycled beach theme photo frame, beach themed jewelry as well as our felt ocean creature patterns.
So are you better than me at printing out those photos?
Note: This DIY project originally appeared on the Resin Crafts Blog.
Like it? Pin it for later!
Mason Jar Lid Photo Coasters with Resin
Materials
- Photos of your choice printed to size on glossy photo paper
- Scissors
- 6 Gold Art Minds lids
- Multi-purpose glue
- Paintbrush
- Envirotex Lite Pour-On
- Cups stir sticks, straw or kitchen torch, disposable work surface, gloves
Instructions
Preparing the Photos and Lids
- Print out your photos and cut them to size with sharp scissors.
- Glue the lid insert to the rim if needed.
- Glue the image into the lid and seal with a generous coating of glue along the edges and over the image. Let dry.
Pouring the Resin
- Mix equal parts of resin and hardener in a clean measuring cup. Stir for 2 minutes then transfer into a second clean measuring cup. Stir with a clean stir stick for another minute.
- Distribute the mixed resin evenly across the six lids. Tip the lids as needed to make sure it gets into the edges of the lids.
- After 10-15 minutes blow off any air bubbles rising to the surface of the resin using a straw or small kitchen torch. Repeat as necessary over the next 1-2 hours.
- Place the lids on a level surface and cover to keep dust from settling in. Leave to cure overnight (24 hours for a soft cure, 72 hours for full cure).


Great Post !