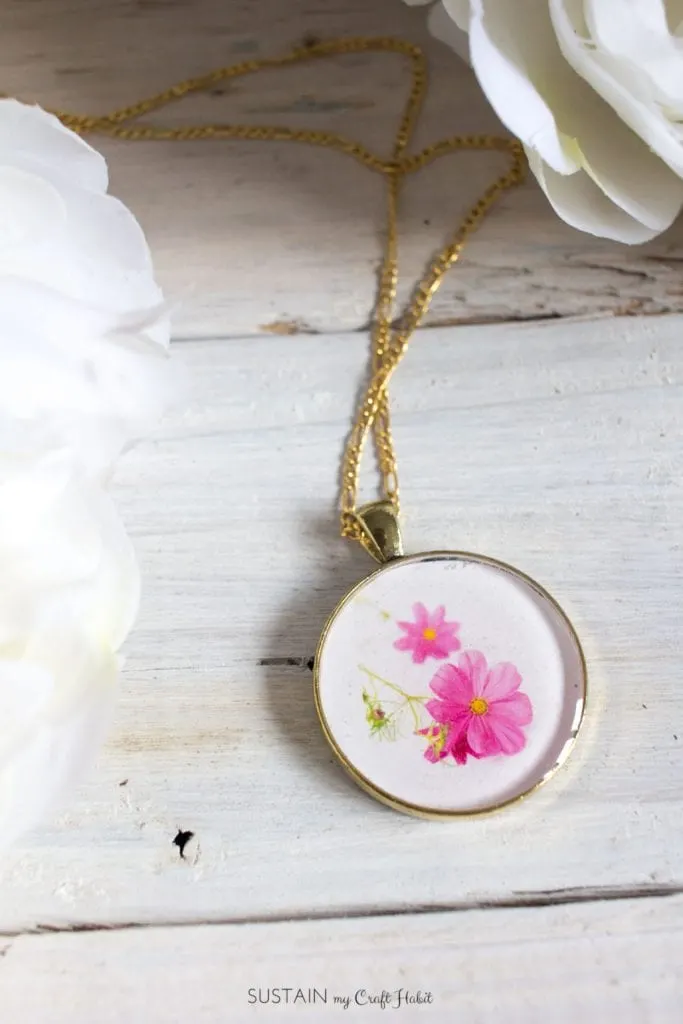
It’s actually been quite a while since I’ve worn jewelry. When my youngest was a baby she would tug on any necklace or earrings I wore, so I just stopped. Now that she’s two and a half it’s not an issue anymore and I’d love to get back in the habit of wearing some bling! Moreover, our work as #ResinCraftsCreativeTeam members with ETI-USA has given us an opportunity to learn how to make resin jewelry and I’d love to share this birth month pendant idea with you.
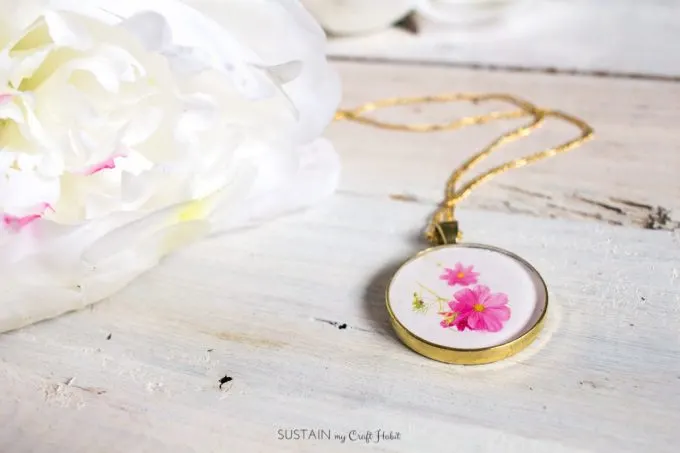
To this day our mom has a ring that we gave her one Mother’s Day which has each of our family member’s birthstones in it. We recently found this resource of birth month flowers and thought it would be fun and thoughtful to make pendants with these flowers. Although I made just one pendant with my birth month flower (pink cosmos for October), I’m on the lookout for smaller notions to make a pendant for each of my kiddos to fit on one chain.
“This post was sponsored by ETI-USA. All opinions expressed are truly are our own: we wouldn’t be sharing products with you that we didn’t love to use ourselves. Also, this post contains affiliate links for your shopping convenience. If you buy any products through these links – at no additional cost to you – we make a small commission. You can read our full disclosure statement here.”
Supplies Needed to make one Birth Month Flower Resin Pendant:
- 1” wide decorative jewelry bezel*
- photograph of the flower of the month, sized and cut to fit the bezel
- gloves, wood craft sticks, toothpicks, paper towels
- ultra-seal quick decoupage (or other multipurpose sealer such as Mod Podge)*
- EnviroTex Jewelry Resin*
- plastic measuring cups, straw
How to Make Resin Jewelry:
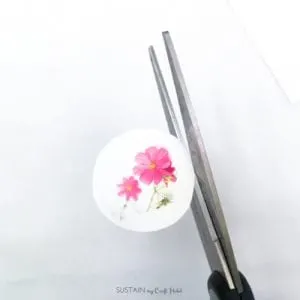
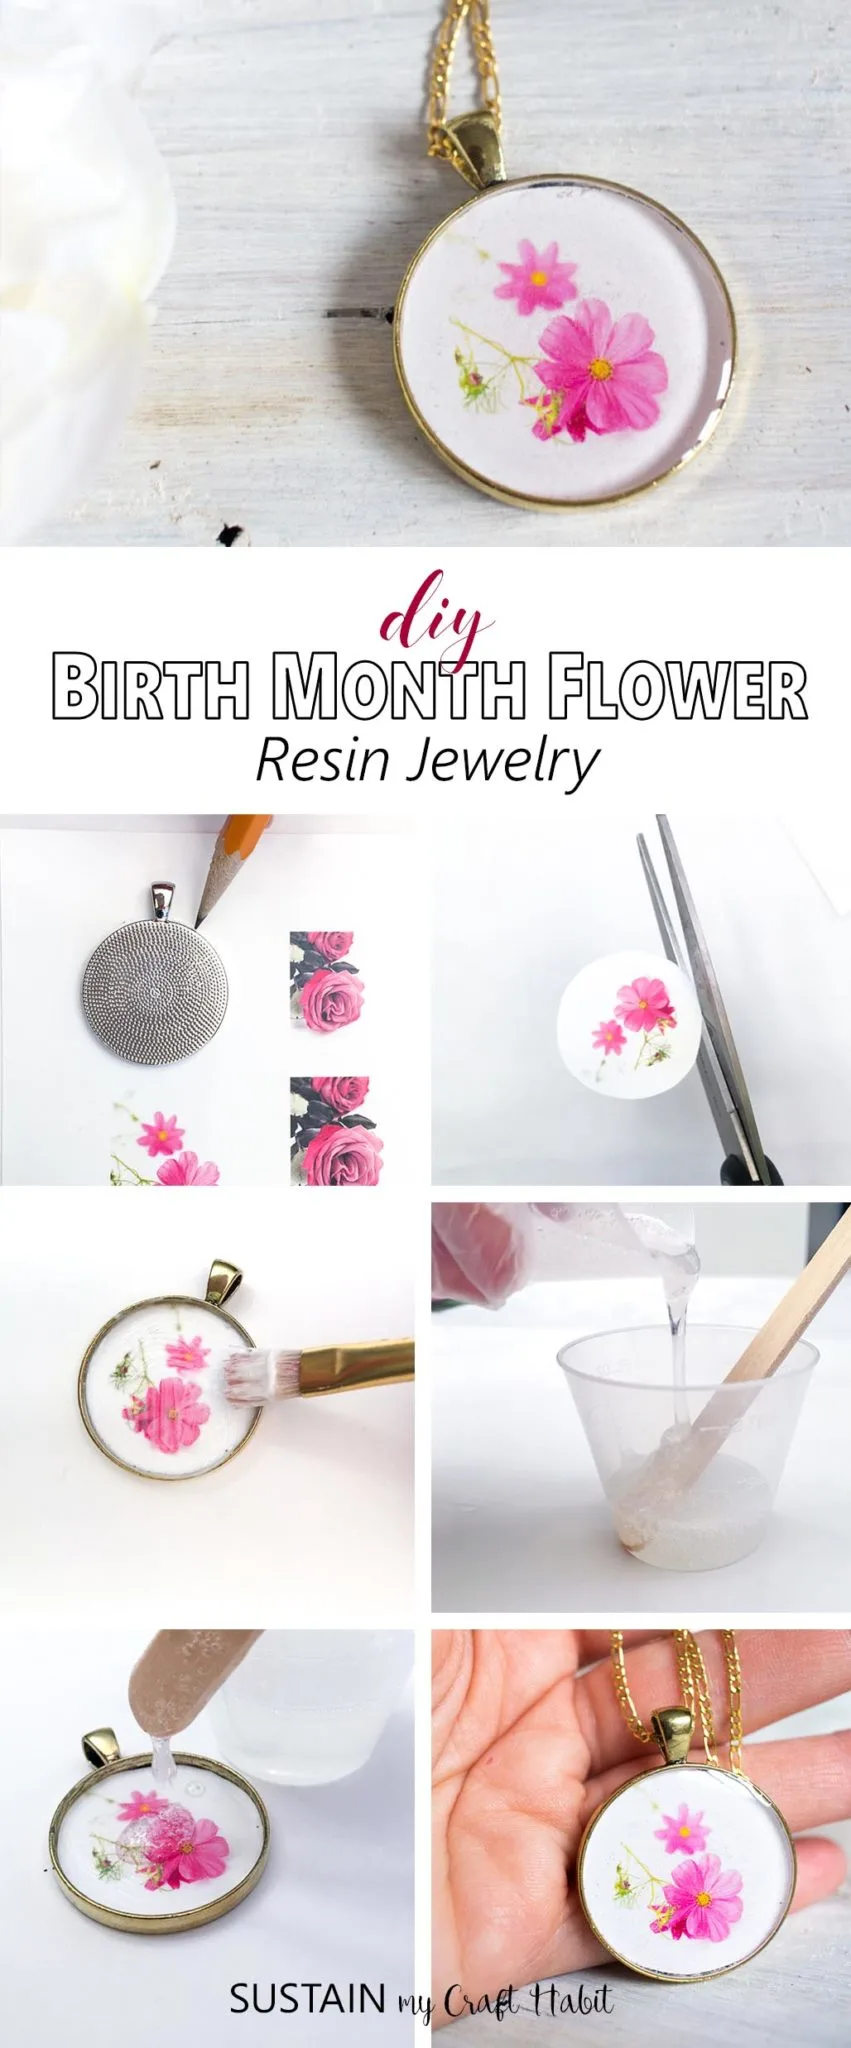
1. Carefully cut the flower photo to fit the bezel using scissors or the right size of paper punch. Paste the image into the bezel removing any bubbles underneath and generously coat the image and sides of the bezel with the multipurpose sealer. Let dry completely.
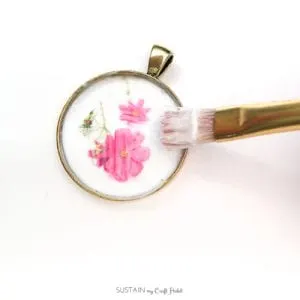
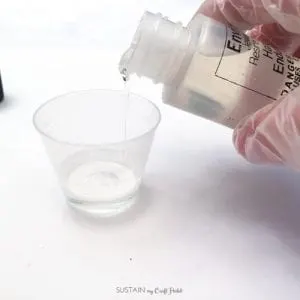
2. For best results be sure to read the instructions provided in the EnviroTex Jewelry Resin packaging. Mix exactly equal amounts of Resin and Hardener into one measuring cup. Stir continuously for 2 minutes, scraping the sides of the container.
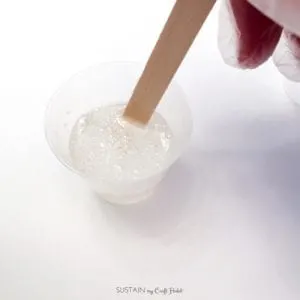
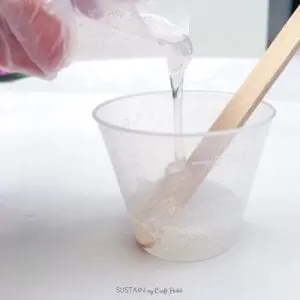
3. Pour the mixture into a second cup and stir for an additional minute, scraping the sides of the container and stir stick.
4. Using the stir stick, carefully dip your stick into the EnviroTex mixture and then drop into the bezel. Ensure that your bezel is level – I had to prop up one end a bit with a piece of paper. Fill the piece slightly higher than the rim for a nice dome finish.
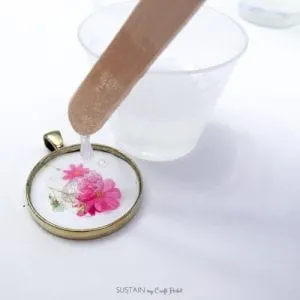
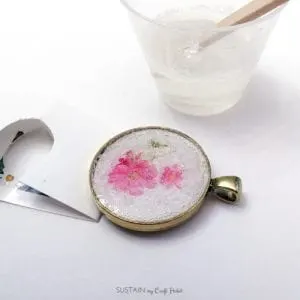
5. Cover to keep dust from settling in. After about 25 minutes, remove any bubbles that have risen to the surface by gently blowing over the piece through a straw. Repeat if necessary after another 15 minutes. Cover and allow to cure overnight.
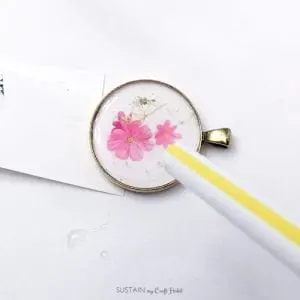
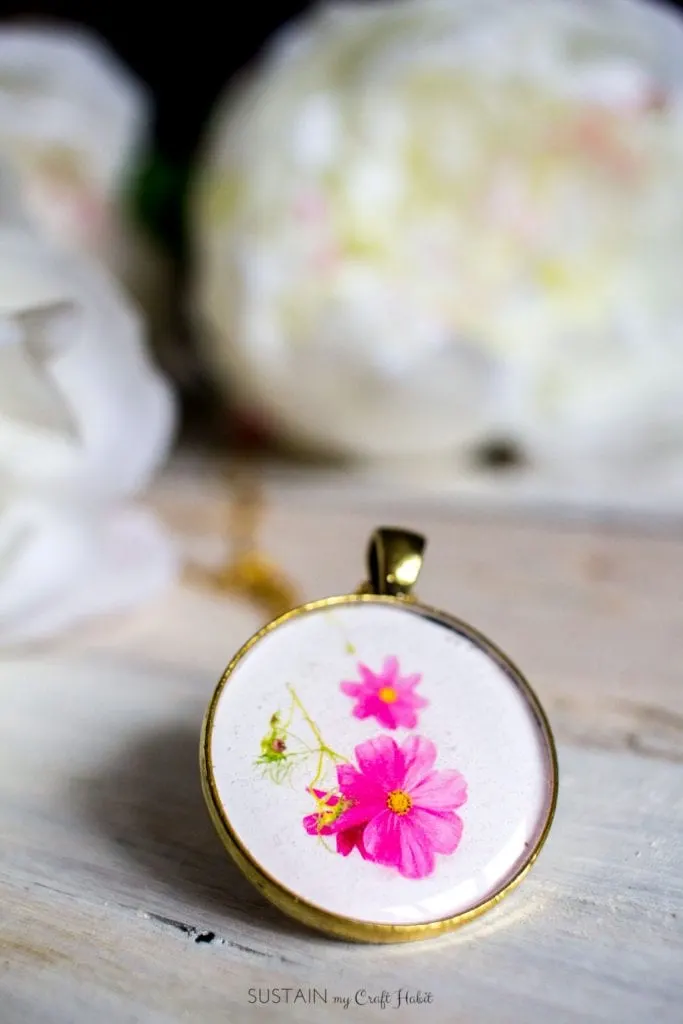
I’m pretty happy with how this DIY resin pendant turned out and am looking forward to making more as I collect all of the flower photos for my kids’ birth months. This DIY jewellery idea would make a lovely personalized and unique gift for someone special, for her birthday, Mother’s Day or Christmas.
You can also find other jewelry making ideas such as our lavender resin pendants and resin Christmas earrings.
Like it? Pin it for later!
Are you a jewelry person?
This post originally appeared on the Resin Crafts Blog

