Paper Napkin Cardinal Decoupage Craft Idea
Create a stunning paper napkin cardinal craft with a decoupage technique. Holiday greenery and lots of sparkle add to that wow factor! We are excited to show you how we turned an old thrift store find into a gorgeous display piece with beloved red cardinals as the centerpiece.

This DIY project is something you can look forward to decorating with year after year. Or, you may want to gift it to someone who loves red cardinals as much as you do! Either way, this is a craft you are going to love creating. Let’s get to the step-by-step tutorial so you can make your own.
Decoupage Tutorial: Cardinal Craft
For many bird lovers, the sight of a cardinal holds special meaning. You may have heard the popular quote “Cardinals appear when Angels are near”. Including a cardinal napkin in this craft make it easy and accessible for everyone. Wouldn’t this make a thoughtful gift for a friend or family member?
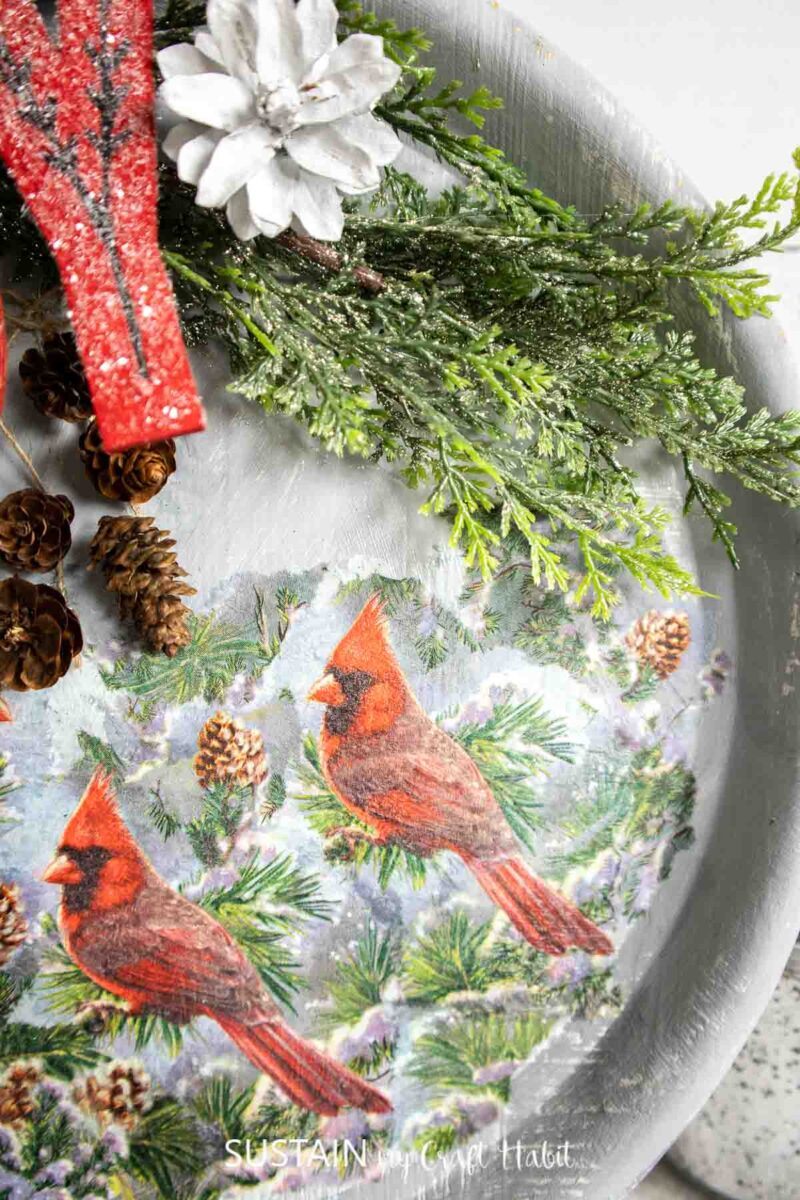
Though, you may want to make two, because it will be hard to give this beauty away! You can use any tray that you have in your stash to make this DIY, or check out thrift stores or yard sales for an inexpensive piece to makeover.
Add your favorite wood cut-out and really make this craft your own. It’s a quick and easy project that is fun to create!
Want to receive a ton of inspiration and money saving ideas for decorating, gift-giving and crafting? Join HERE!
Materials Needed
Disclosure: This post contains affiliate links for your shopping convenience. Should you choose to purchase through them, we will make a small commission at no extra cost to you. You can read our full disclosure policy here.
- Round tray (we got ours from the thrift store)
- Decorative paper napkins (we sell napkins by the bundle for all your decoupage crafting needs)
- Paint in white, red, grey
Paintbrushes - Decoupage or
Mod Podge - Diamond Dust
- Joy wood cut out
- Evergreen stems and pinecones (you can check out our assortment of pinecones in our Sustain My Craft Habit Esy shop)
Hot glue gun

How to Make a Paper Napkin Cardinal Decoupage Craft
I shared this paper napkin cardinal craft on a Facebook Live which you can watch here. Or if you prefer the photo tutorial, continue reading below.
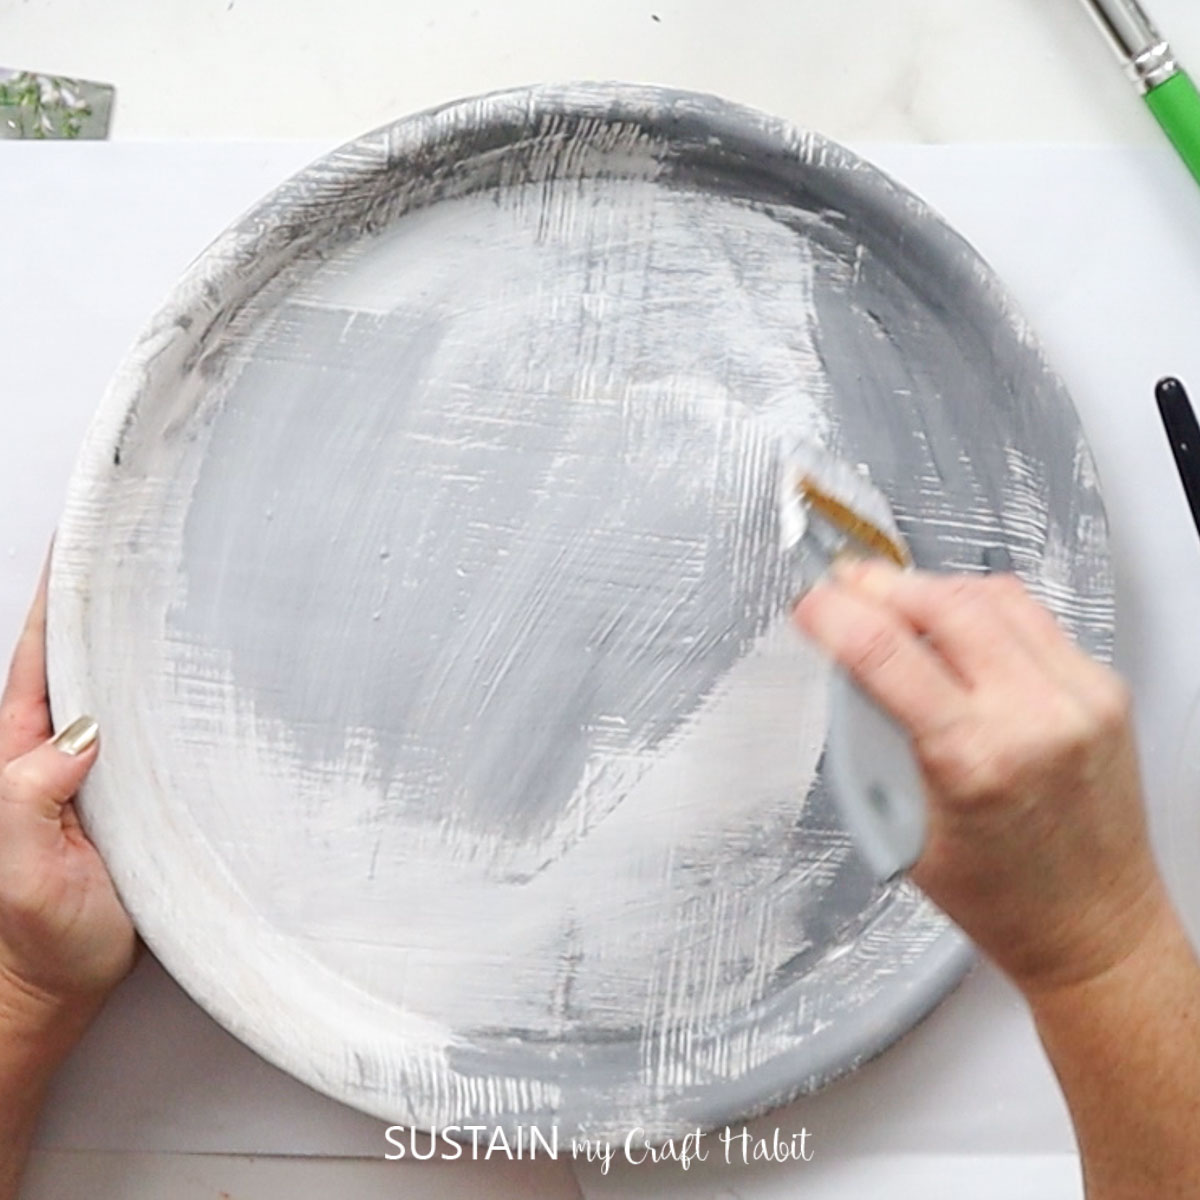
Start by painting your wood tray with white chalky paint. Let dry.

Next, use grey paint and liberally cover the tray letting the white show through. Use a stencil brush with white paint and dab all over the tray.
Cut out the cardinal design from your paper napkin and remember to separate the two plies of napkin using just the top layer.
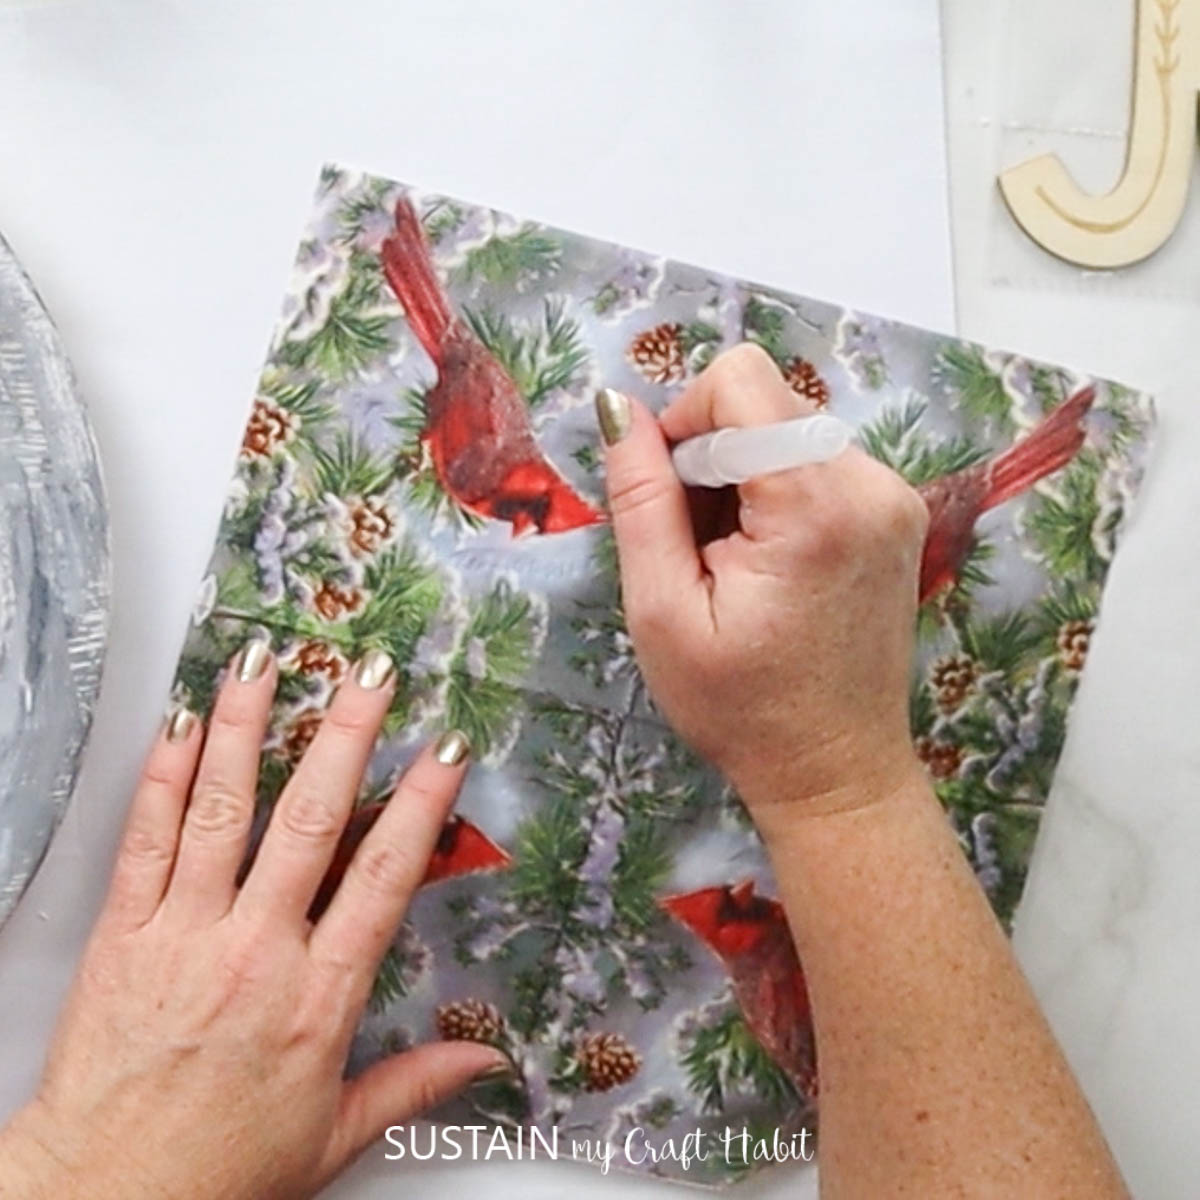
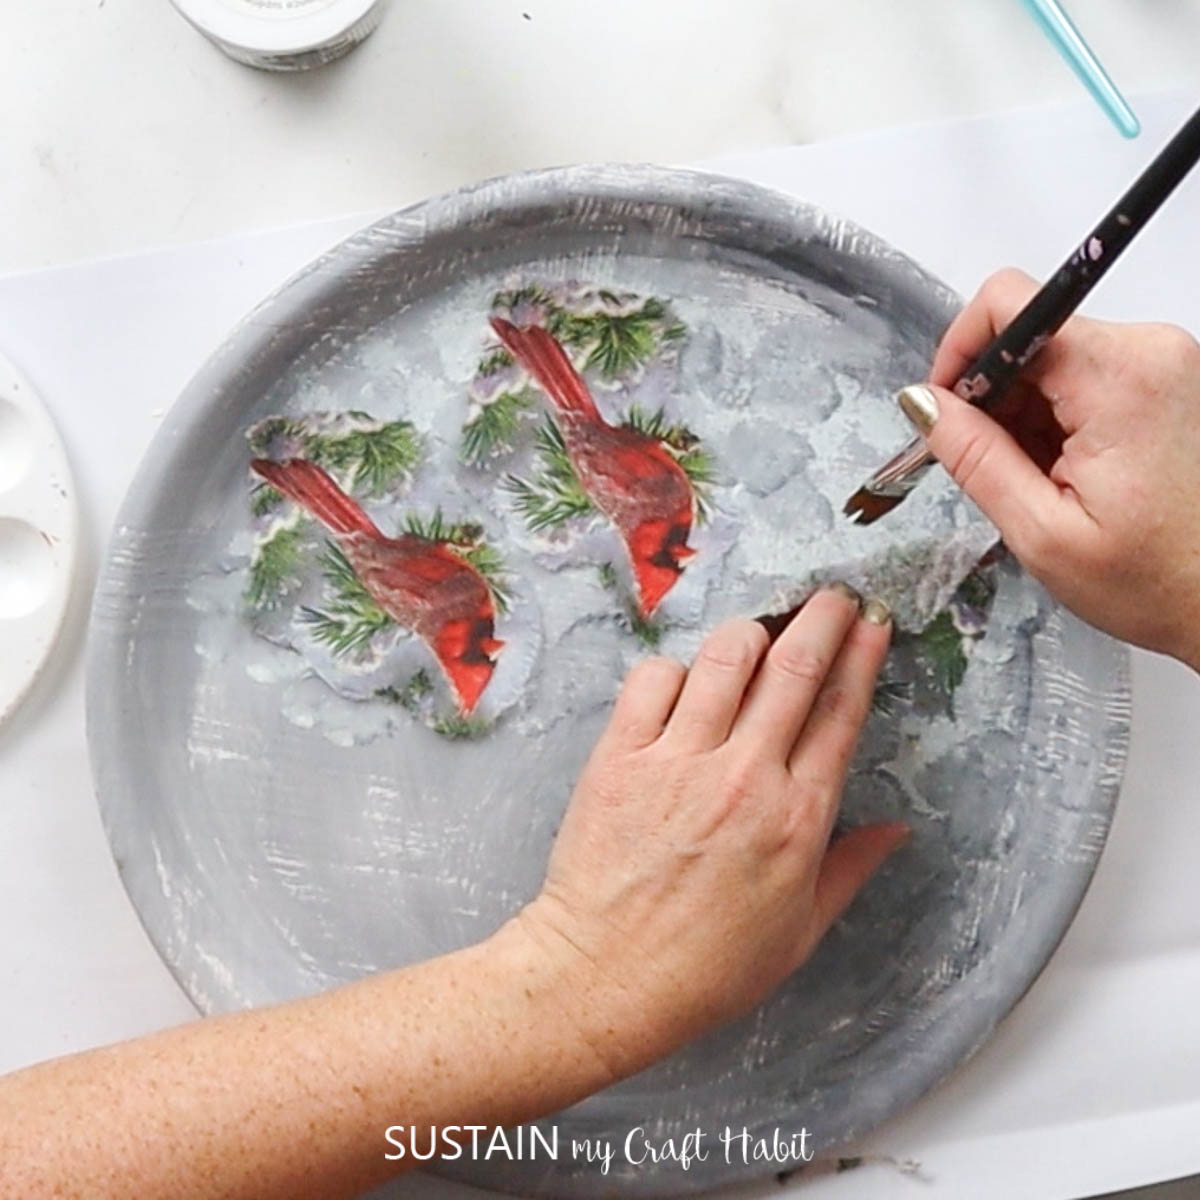
Apply a thin layer of decoupage glue at the bottom of the tray. Wait for the glue to slightly dry.Then place the cut out cardinal over top of the decoupage and carefully press in place.

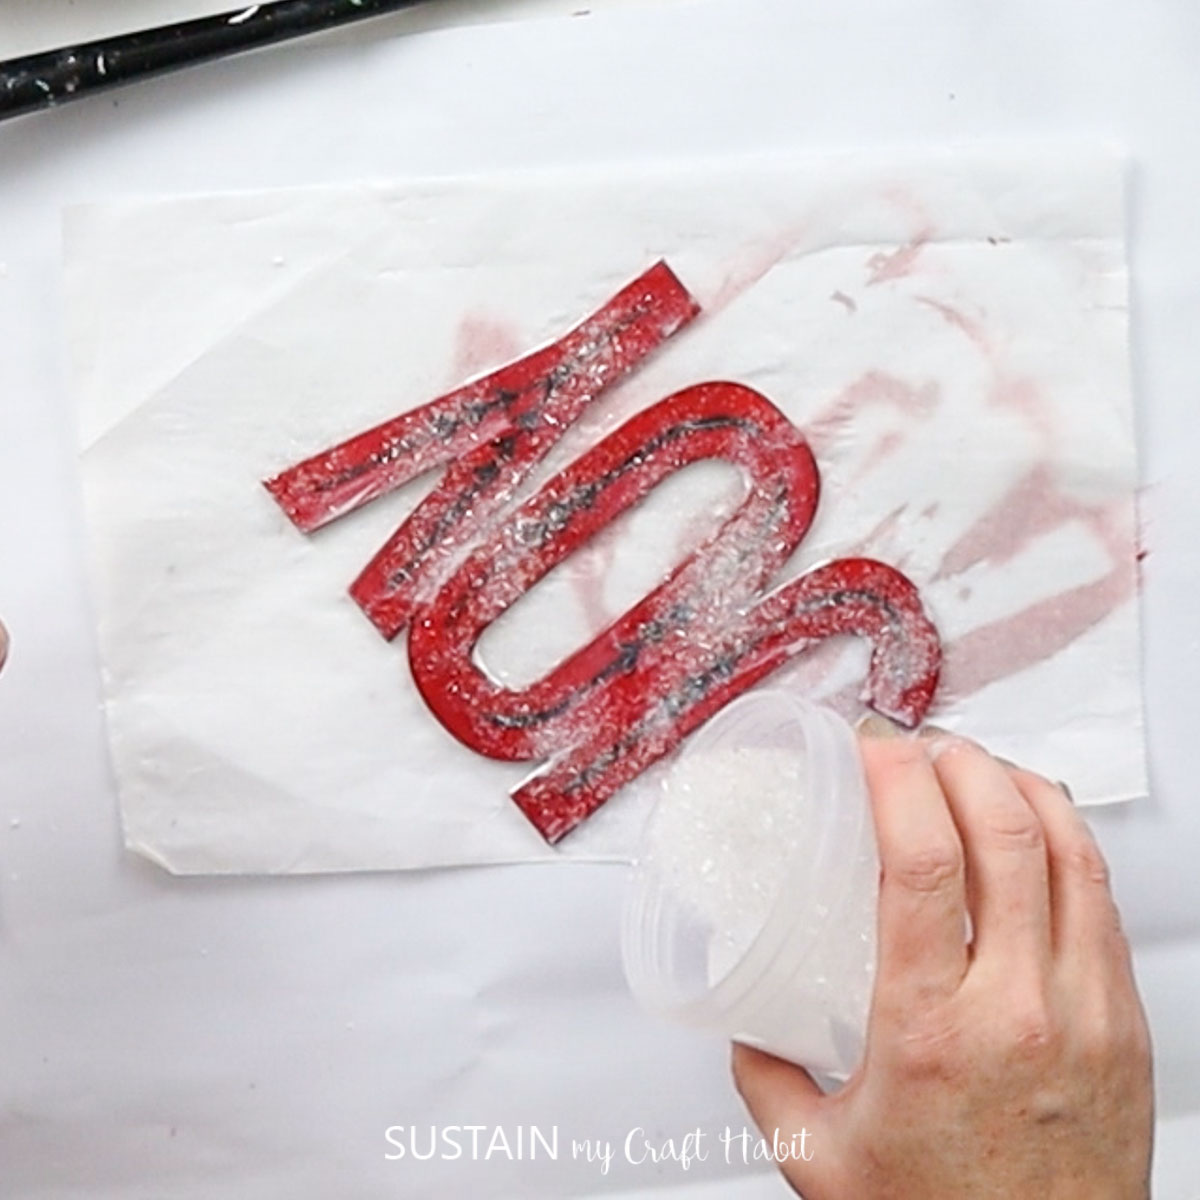
Next, paint the “joy” sign with red paint and sprinkle with diamond dust.
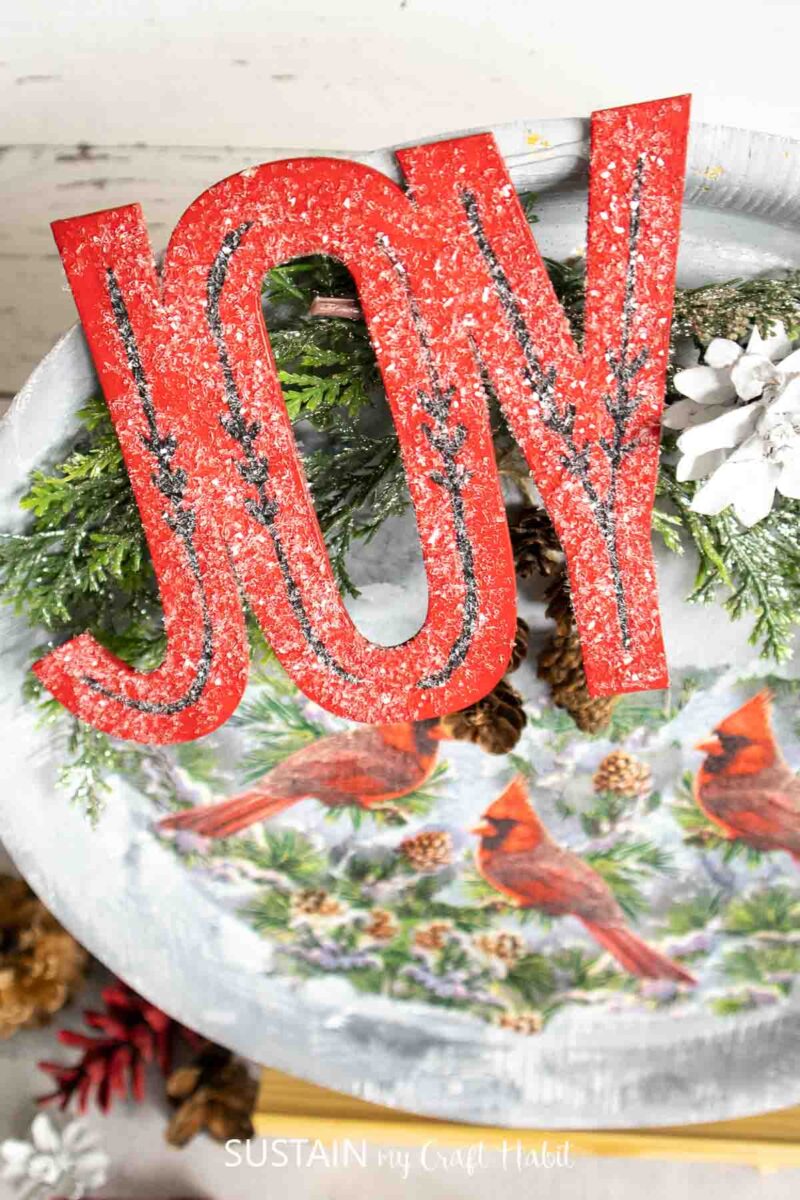
Attach the sign and embellishments like evergreen stems and pinecones to the tray.

See how easy that was? Is your mind spinning with ideas now? How would you decorate with this cardinal craft in your home? Or, do you plan to make one for a friend?
Please share it with us by tagging us on Facebook or Instagram. We can’t wait to see it. Happy crafting!
More Decoupage Crafts to Make at Home
- Upcycled Centerpiece Tray for Winter
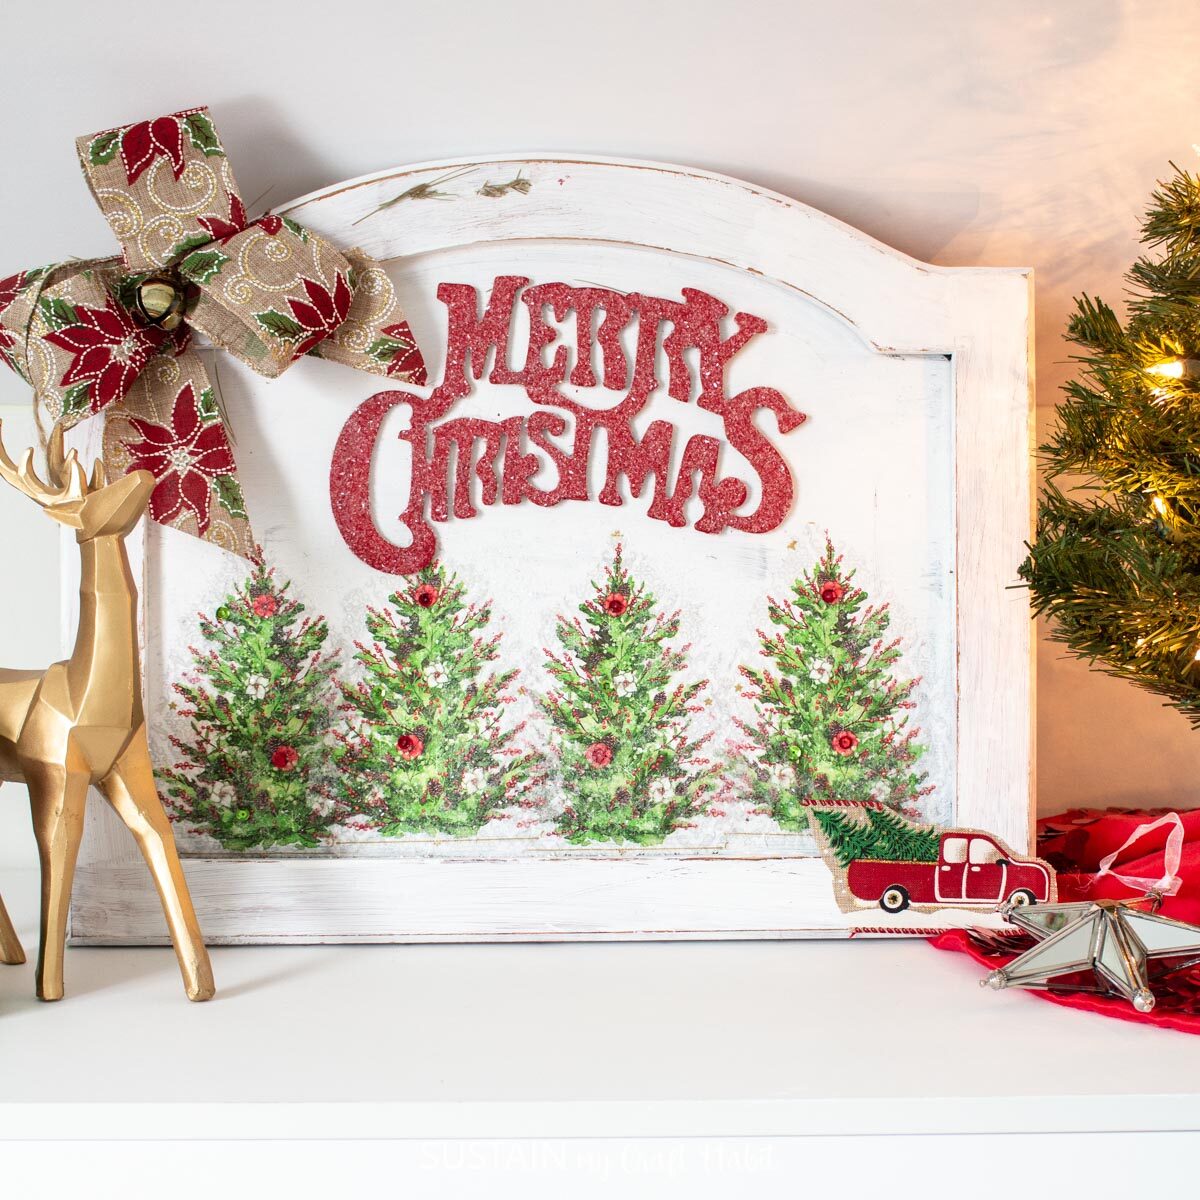
- Christmas Decoupage Sign
- Upcycled Wooden Christmas Stocking
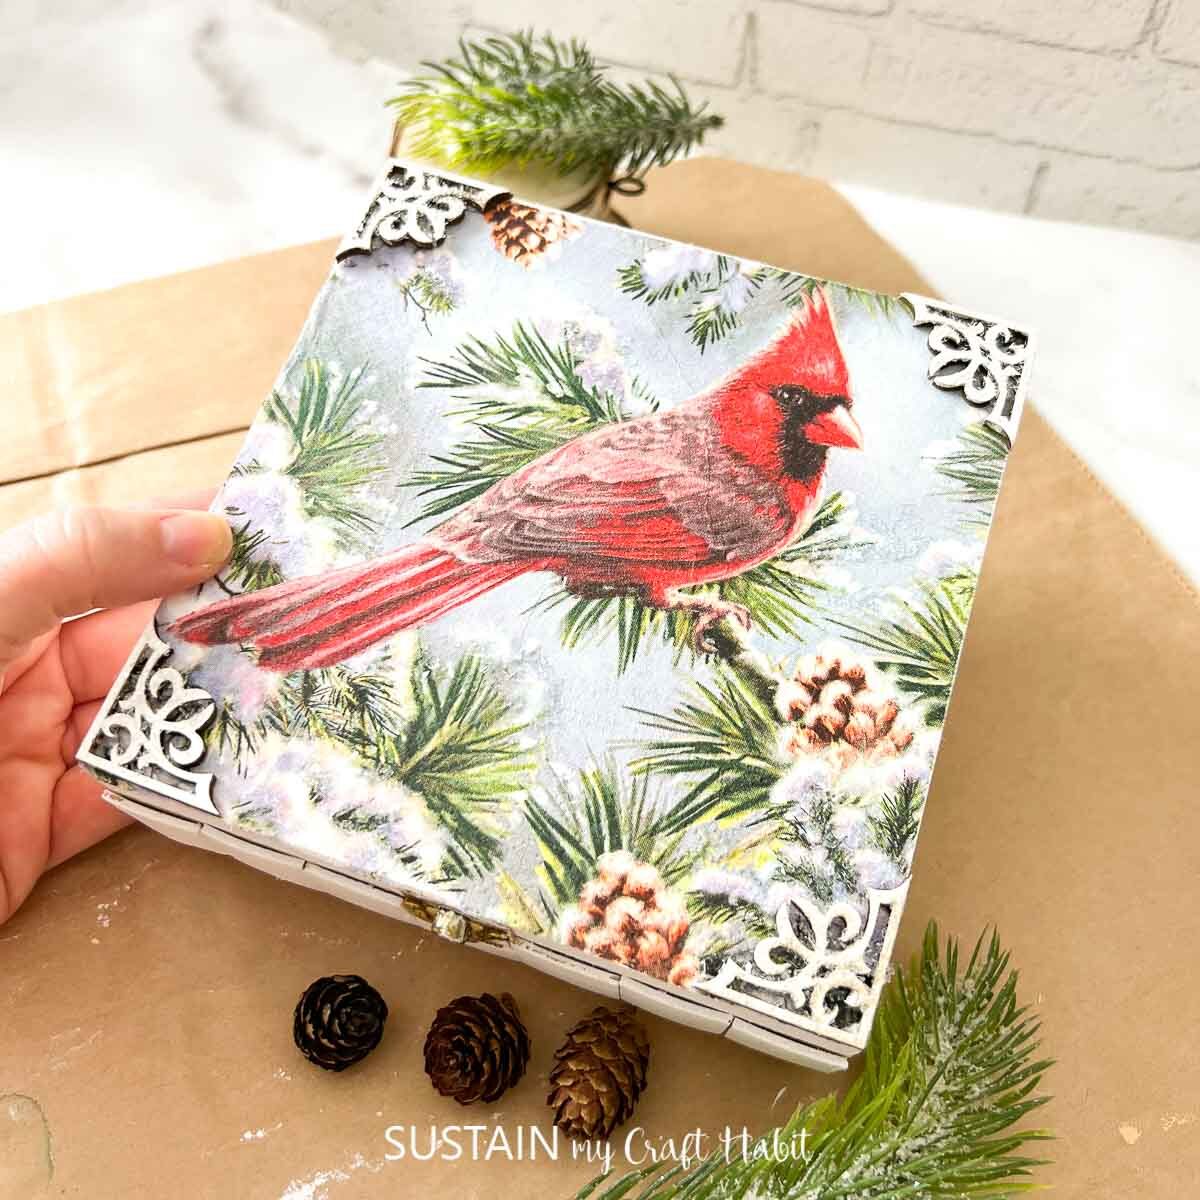
- Holiday Keepsake Box
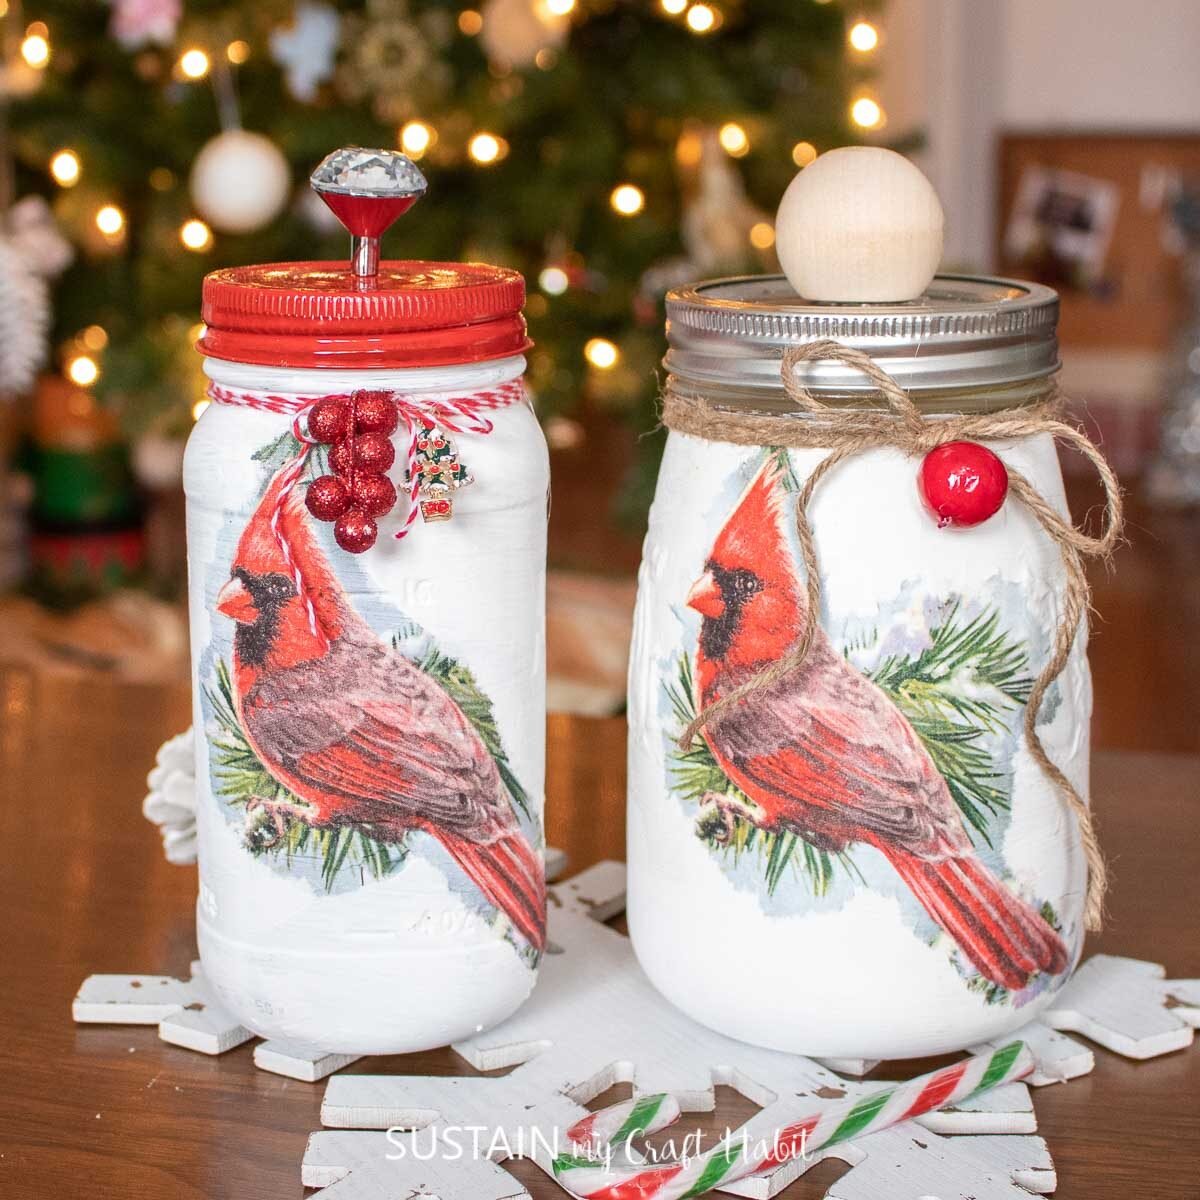
- Christmas Decoupage Mason Jars
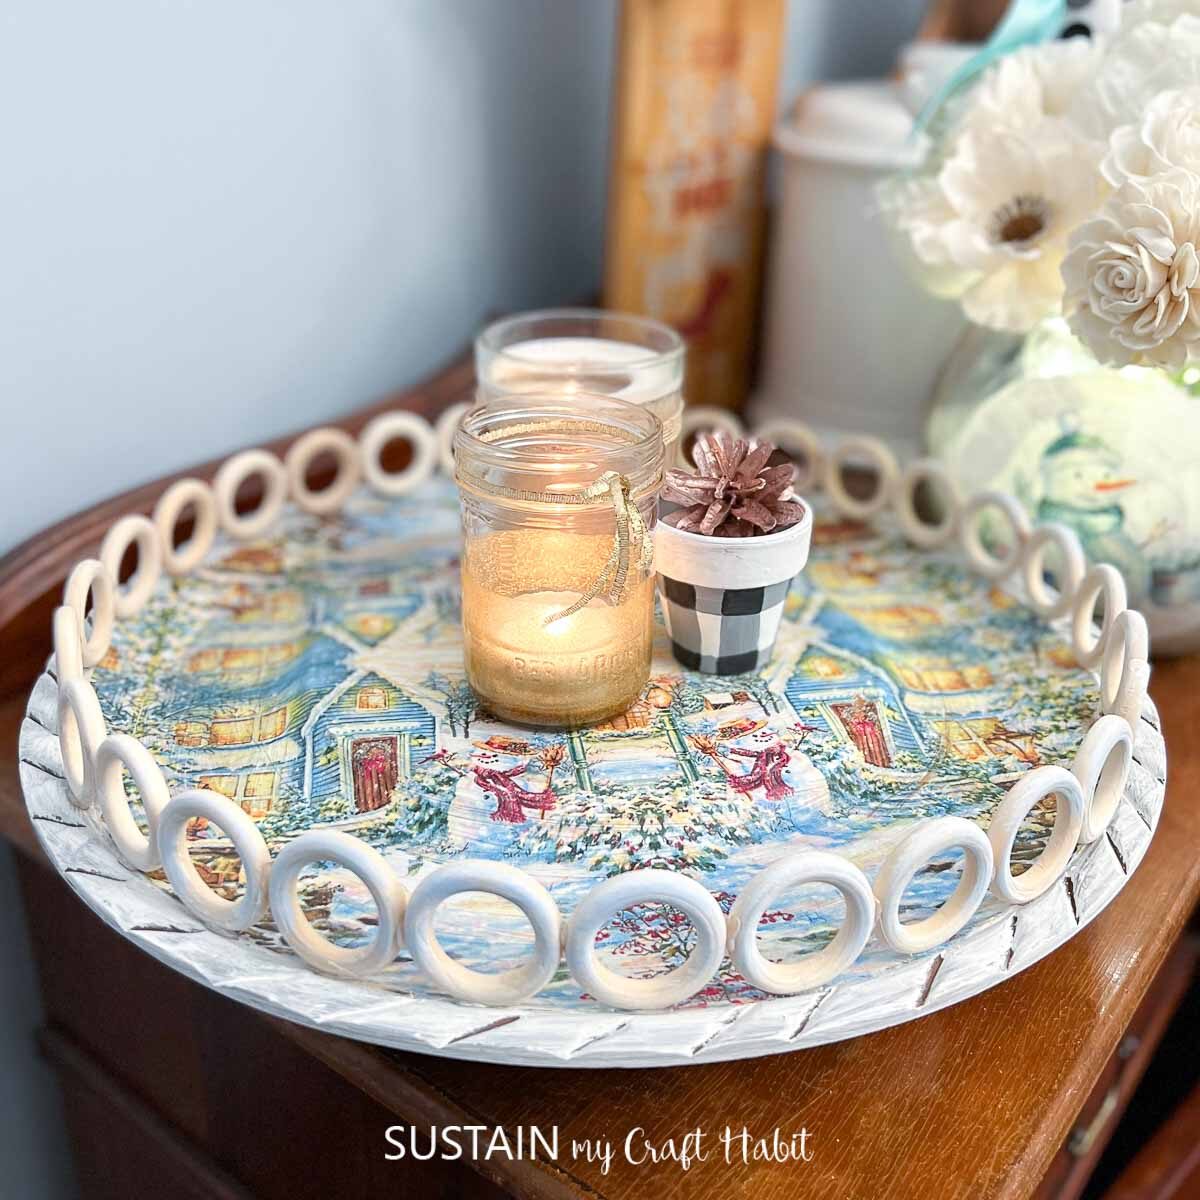

Join our crafting community to find more nature-inspired DIYs and upcycled craft ideas. It feels good to repurpose, upcycle and create with nature!
Like it? Pin it for later!

Paper Napkin Cardinal Decoupage Craft Idea
Materials
- Round tray
- Decorative paper napkins
- Paint in white, red, grey
- Paintbrushes
- Decoupage or Mod Podge
- Diamond Dust
- Joy wood cut out
- Evergreen stems and pinecones
- Hot glue
Instructions
- Start by painting your wood tray with white chalky paint. Let dry.
- Next, use grey paint and liberally cover the tray letting the white show through.
- Cut out the cardinal design from your paper napkin.
- Apply a thin layer of decoupage glue at the bottom of the tray.
- Then place the cut out cardinal over top of the decoupage and carefully press in place.
- Next, paint the “joy” sign with red paint and sprinkle with diamond dust.
- Attach the sign and embellishments like evergreen stems and pinecones to the tray.


