There is something about crafting during Christmastime that is magical! Since we love to decoupage, we wanted to provide some Christmas decoupage ideas to bring your Christmas crafting to a whole new level!

Making a Festive Christmas Sign with Decoupage
Out of all the different Christmas decoupage ideas, our favorite is creating a sign. There are many reasons for this:
- Signs make great gifts
- They are easy to find at dollar stores or thrift stores and upcycle into something new
- They are festive
- They are easy to make
- They are fun to make with family and friends!
If you have those around you that would like to try crafting with you, creating a decoupage sign can be a great place to start. It is also wonderful because they can be made to easily look different from one another, which is great if you have a big family and have to do lots of gifts.
Want to receive a ton of inspiration and money-saving ideas for decorating, gift-giving and crafting? Join HERE!
Materials Needed
Disclosure: This post contains affiliate links for your shopping convenience. Should you choose to purchase through them, we will make a small commission at no extra cost to you. You can read our full disclosure policy here.
- Wooden Sign (we suggest heading to the thrift store for a cheap wood surface you can use)
- Festive paper napkin (we offer a fun Christmas napkin bundle in our shop)
- Festive Wooden Saying
- Paint Brush
- White Chalky Finish Paint; red and white acrylic paint
- Modge Podge
- Diamond Dust

How to Make a Christmas Decoupage Sign
Before we get to our favorite Christmas decoupage ideas, here is a quick step by step video showing how to make this festive Christmas sign.
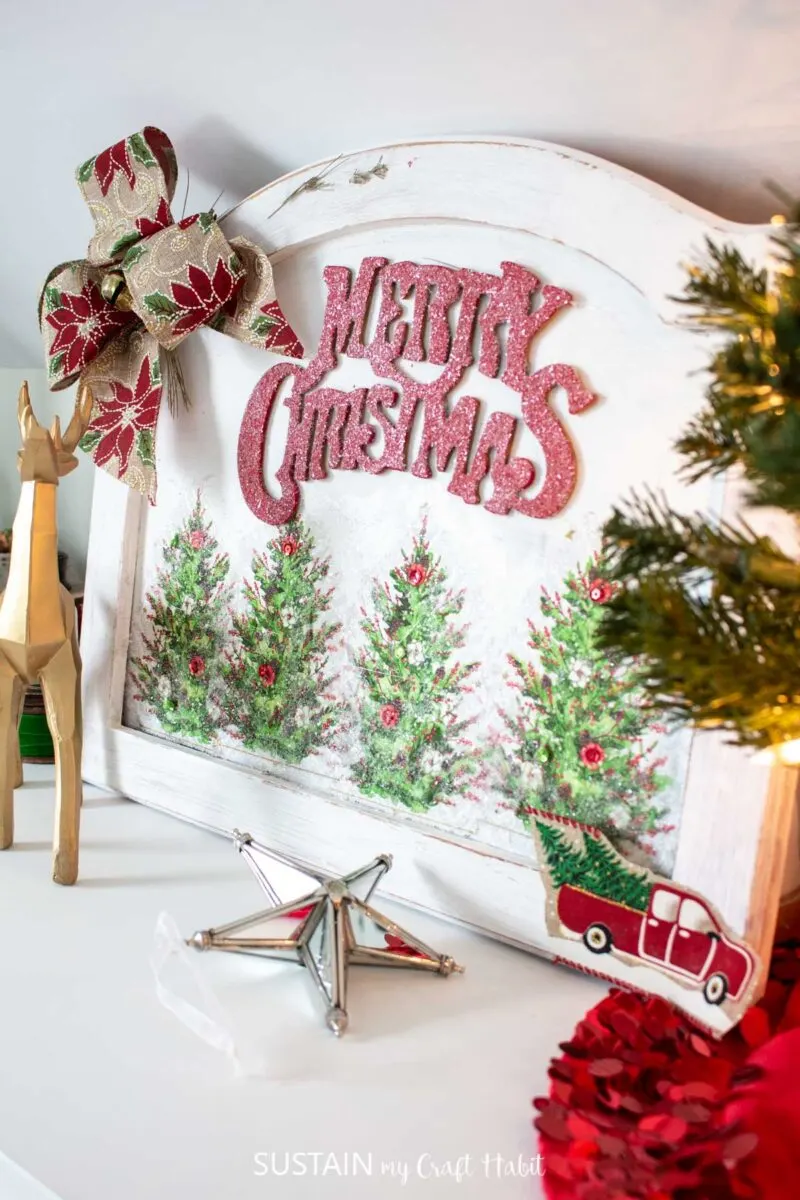
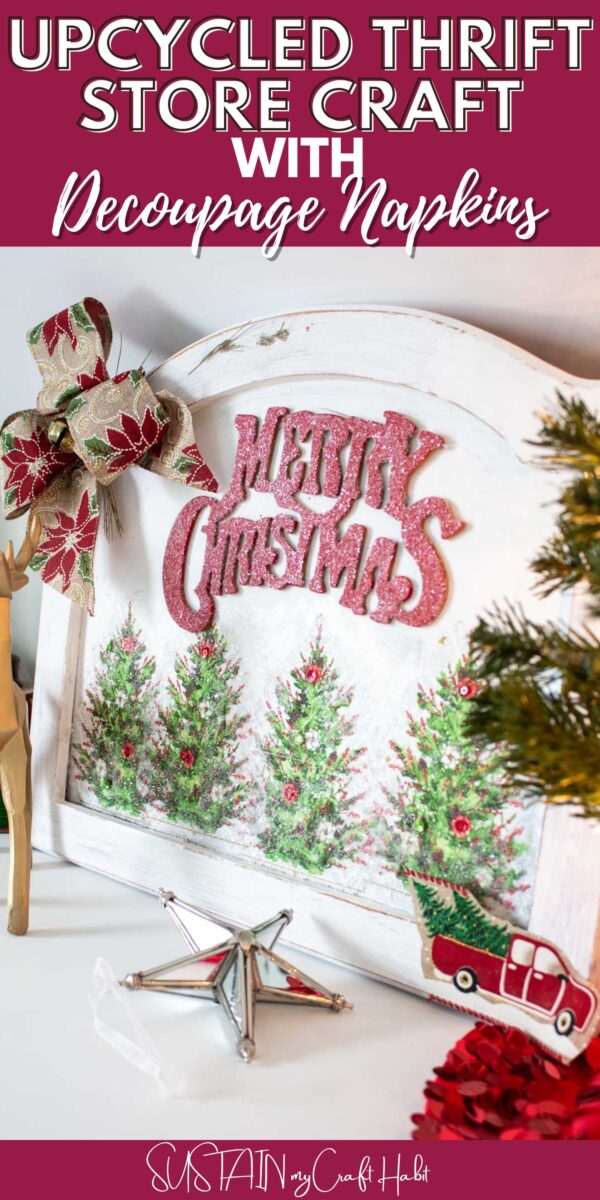
Start by using the white chalky paint topaint the wooden sign and let it dry.
Open a napkin to a single ply, and using a wet fine tip paint brush ‘paint’ the edges of the festive design and carefully remove the design.
As an option, you can sand the edges of the wood sign for a distressed look.
Next, take the festive napkin cutouts and lay them along the bottom of the wood sign checking the placement.
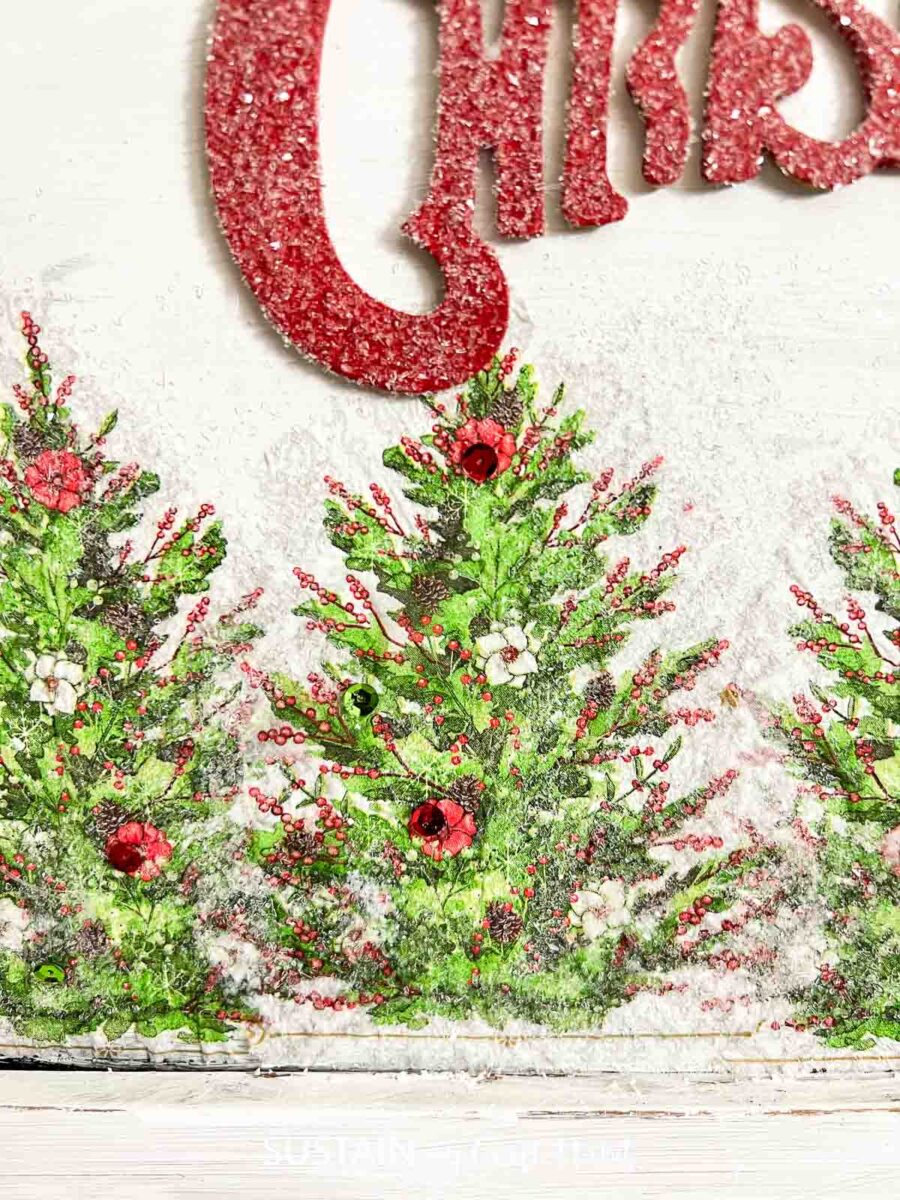

Take some modge podge and brush it on the wood where the cut-outs will go and glue them into place. Once the cutouts are on, apply some additional modge podge and then apply some diamond dust. Shake off any excess and let it dry.
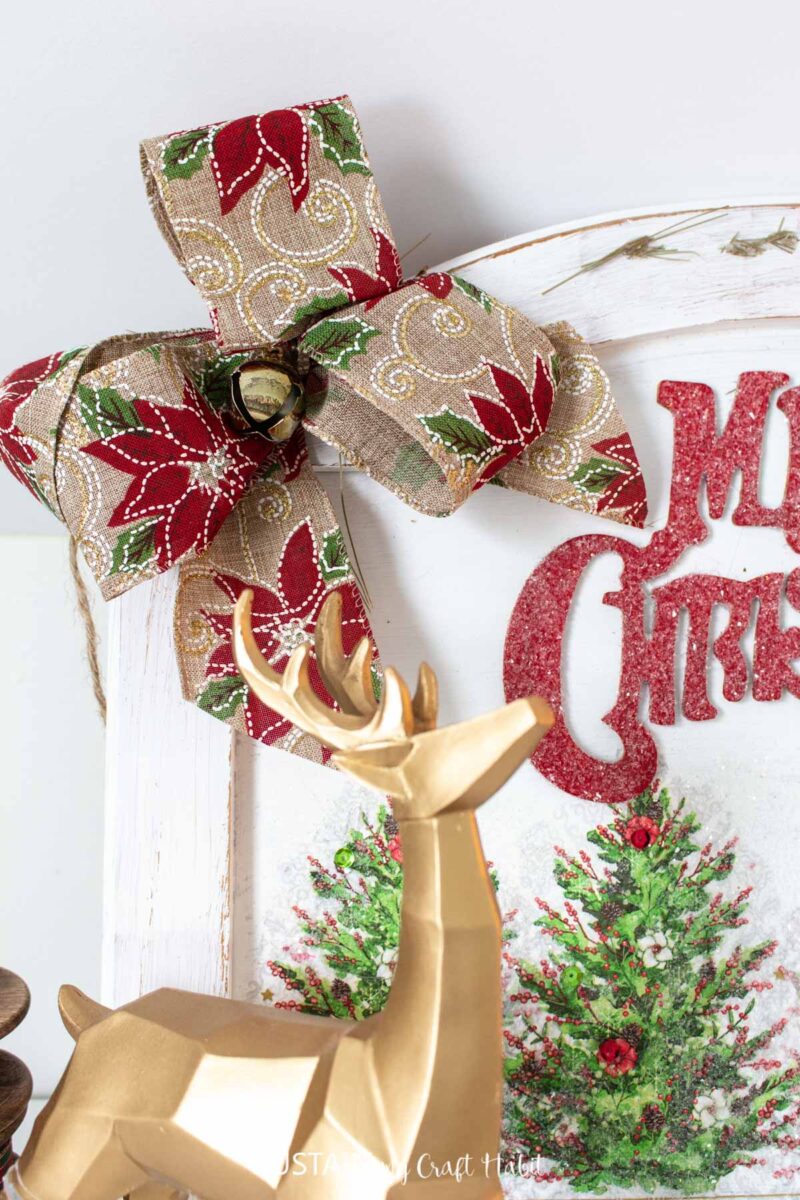
Paint the festive wood saying and paint it red and let it dry and then apply some modge podge and apply some diamond dust and shake off any excess.
Using the hot glue gun, glue the wood saying on to the wood sign.
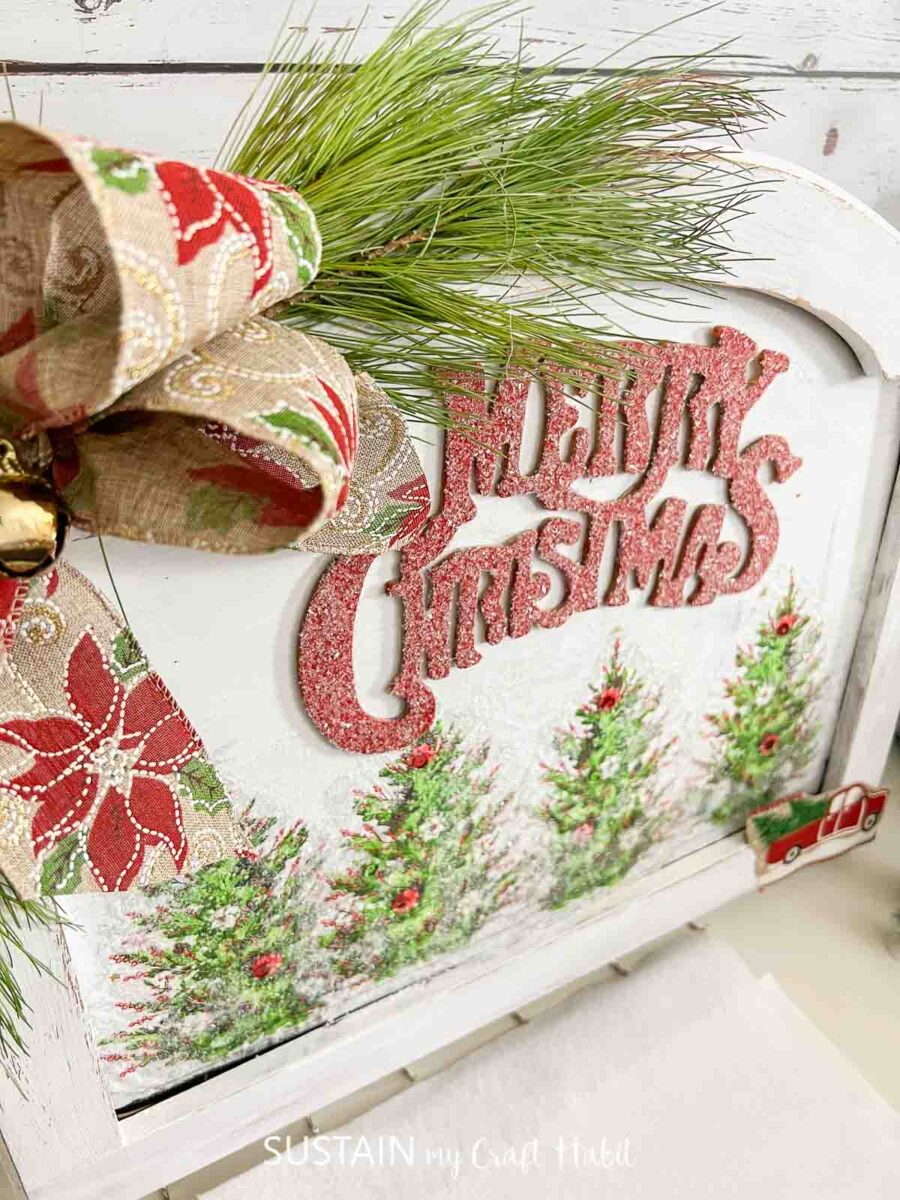

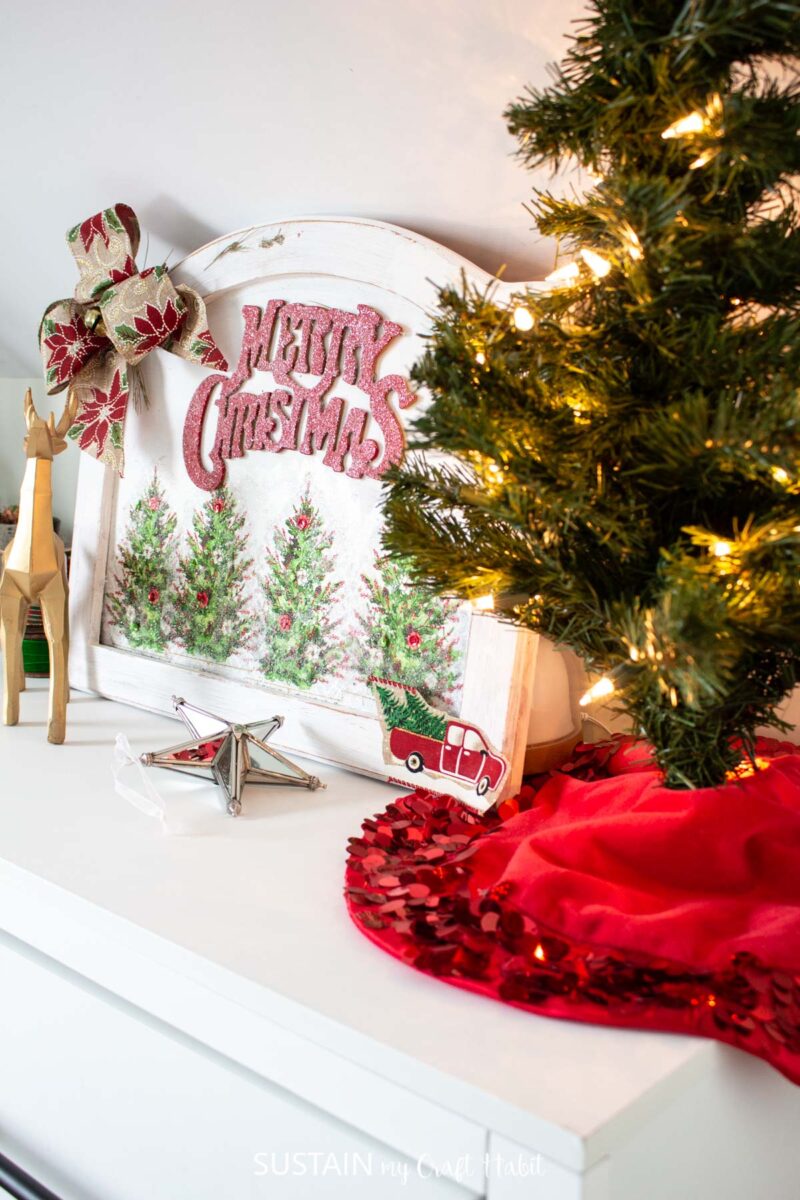
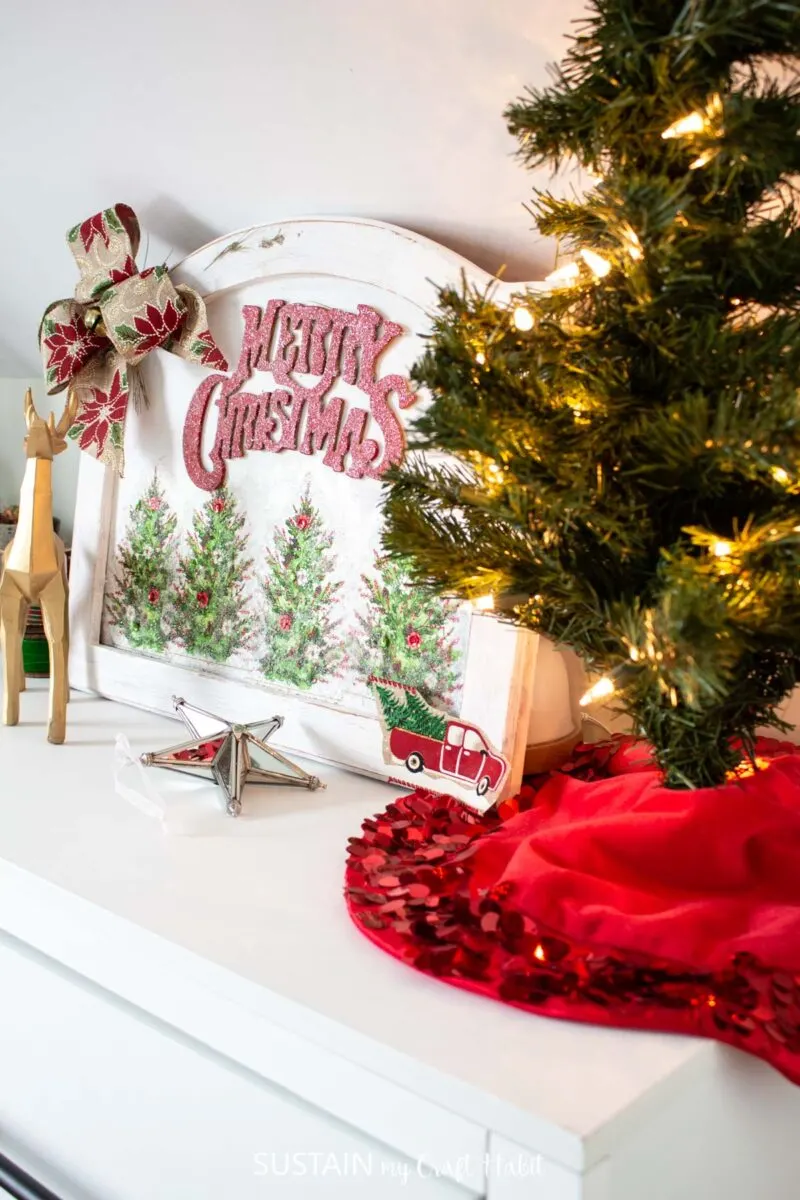
And with that, the Christmas sign is complete! The diamond dust really makes the sign sparkle!
More Christmas Decoupage Ideas We Love to Make
- Christmas Decoupage Mason Jars
- Decoupage Christmas Ornaments
- Christmas Sign Craft
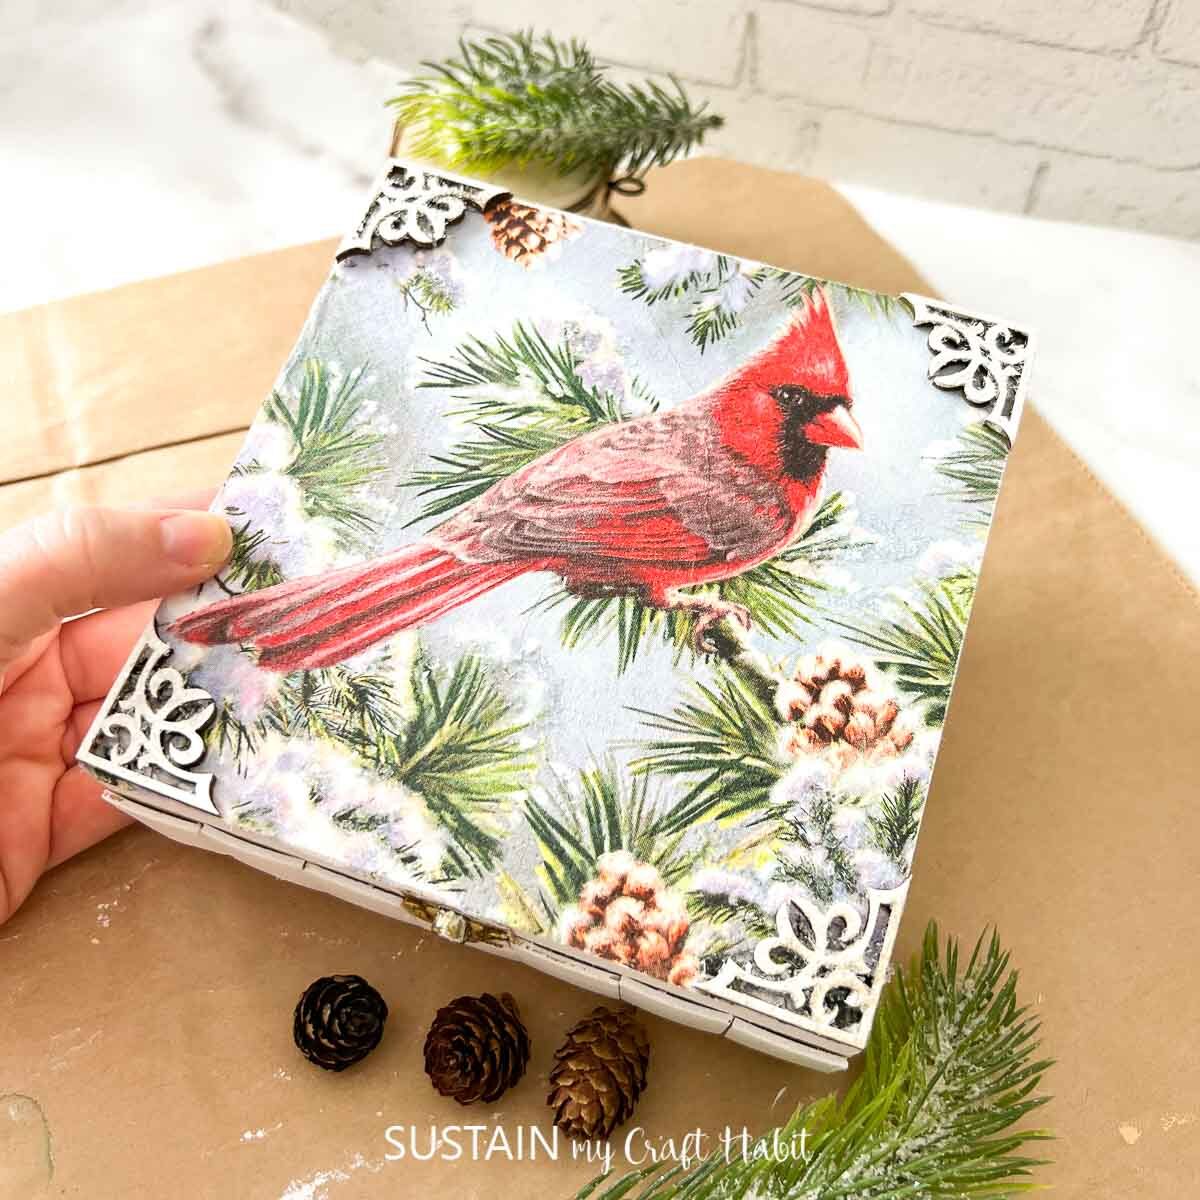
- Holiday Keepsake Box with Decoupage
- Lovely Wood slice ornaments

Keepsake Box 

Festive oraments with Decoupage 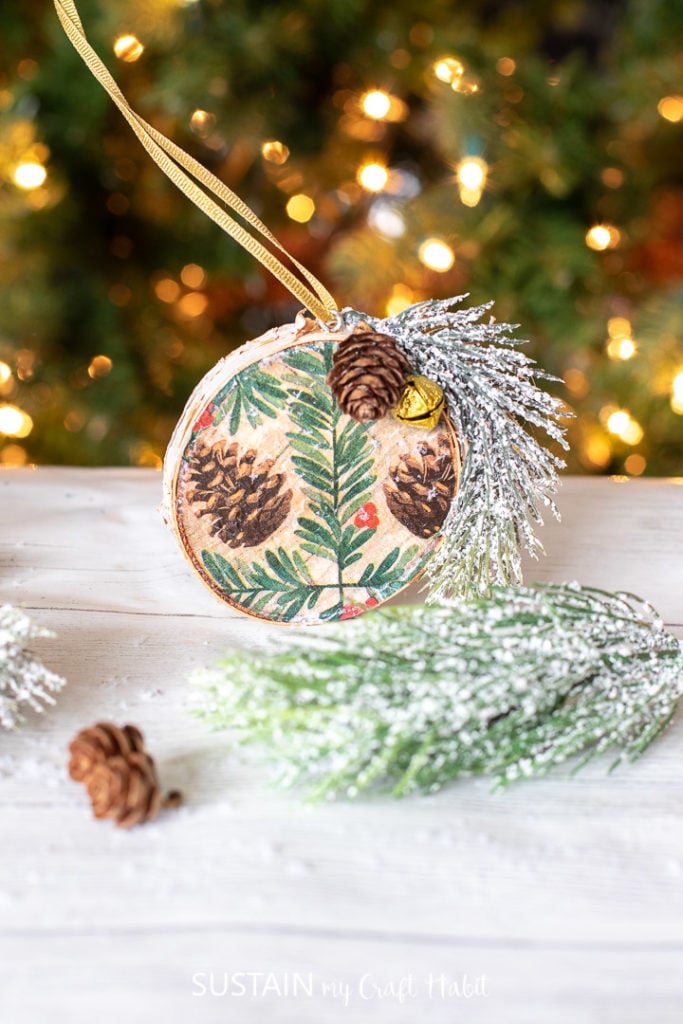

Wood Slice ornaments 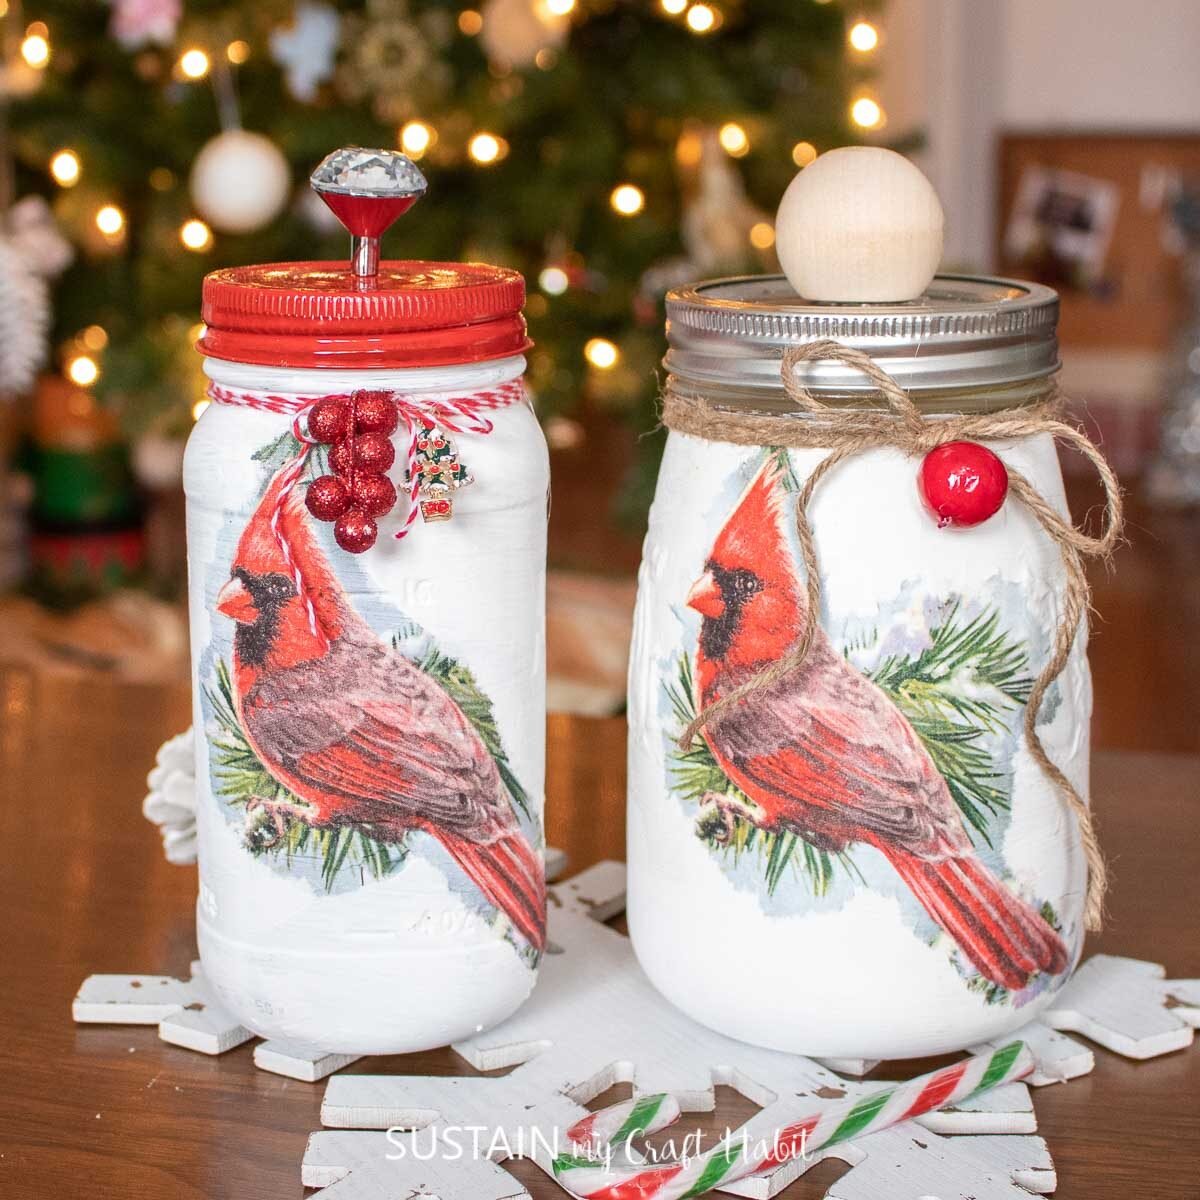
Holiday Canisters


Decoupage can boost the creativity in anyone, and turn any craft project into something brand new! How did your Christmas decoupage idea turn out? We would love to see! Make sure to show it off to us! Tag us on Facebook or Instagram– we can’t wait to see it!
Become a Sustain My Craft Habit insider to receive fun freebies!
Like it? Pin it for later!


Christmas Decoupage Ideas We Love to Make
Materials
- Wooden Sign
- Festive Napkin
- Festive Wooden Saying
- Paint Brush
- White Chalky Finish Paint
- Red Paint
- Green Paint
- Modge Podge
- Diamond Dust
Instructions
- Next using the white chalky paint, paint the wooden sign and let it dry.
- Open a napkin to a single ply, and using a wet fine tip paint brush ‘paint’ the edges of the festive design and carefully remove the design.
- Next, take the festive napkin cutouts and lay them along the bottom of the wood sign checking the placement.
- Take some modge podge and paint it on the wood where the cut-outs will go and glue them into place. Once the cutouts are on, apply some additional modge podge and then apply some diamond dust. Shake off any excess and let it dry.
- Paint the festive wood saying and paint it red and let it dry and then apply some modge podge and apply some diamond dust and shake off any excess.
- Using the hot glue gun, glue the wood saying on to the wood sign.