Dollar Store Christmas Sign Craft
A perfect craft to make after a quick stop at the dollar store, this festive and fun Christmas sign is made from an inexpensive wood plaque, decoupaged napkin and some pretty decorative holiday accessories.

DIY Dollar Store and Cricut Christmas Sign
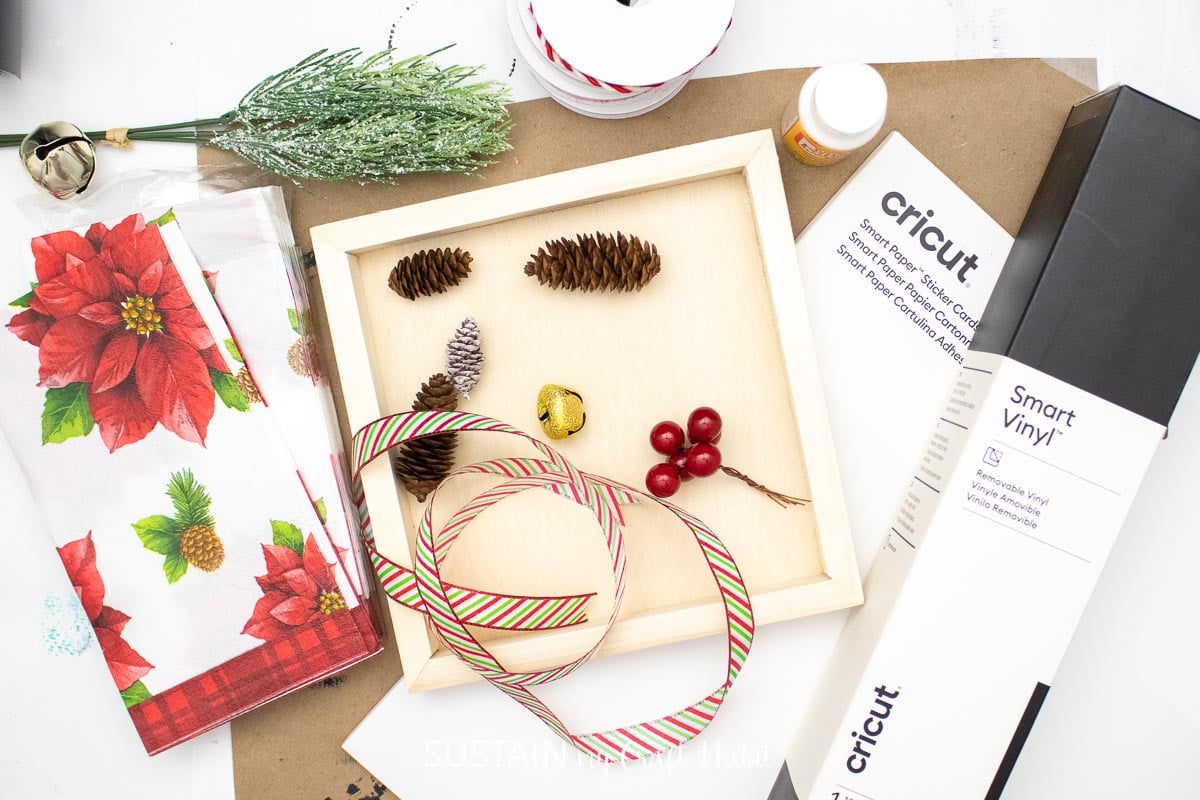
Truthfully, many of these craft supplies I already had lying around in my supply stash. Things like faux greenery, ribbon and decorative berries are a Christmas crafting go-to. However, on a recent trip to the Dollar Store I couldn’t help but pick up a few more supplies like this wooden plaque and pretty paper napkins to make a simple holiday sign.

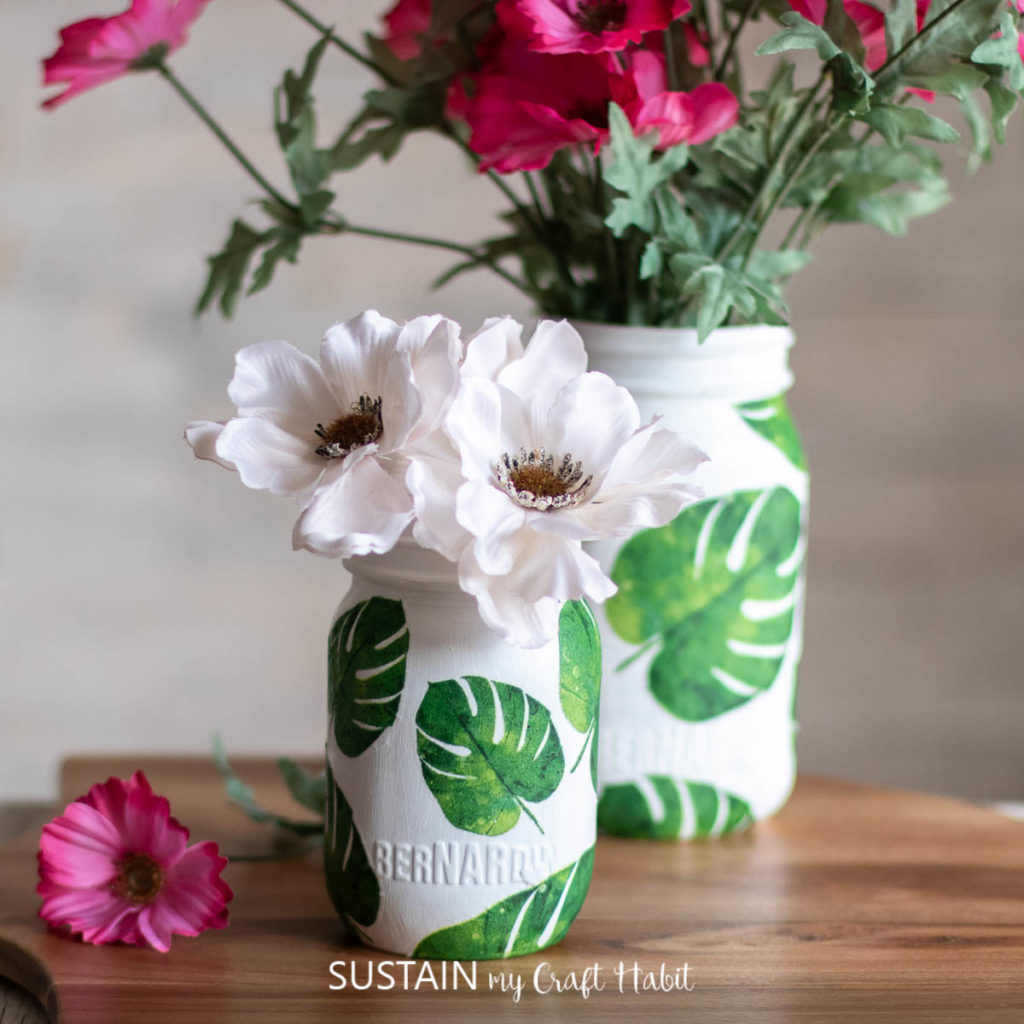
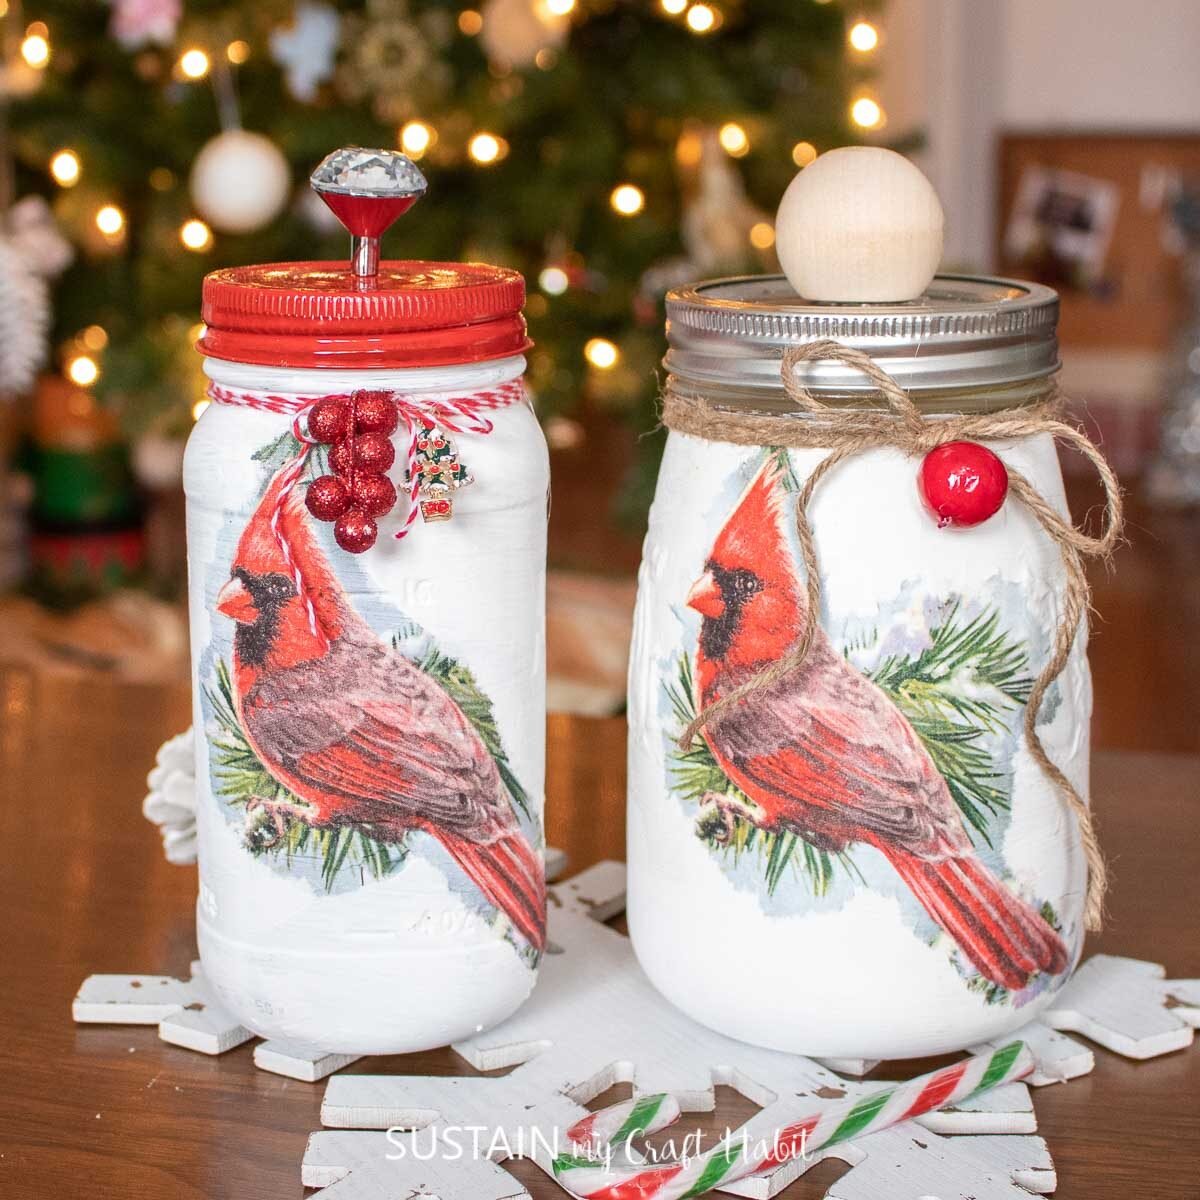
Whenever possible, I like to buy pretty paper napkins to use for crafting things like these decoupage napkin glass jar vases and decoupage napkin holiday canisters (post coming soon).

Napkin Decoupage Vases 
Holiday Canisters
Materials Needed
Disclosure: This post contains affiliate links for your shopping convenience. Should you choose to purchase through them, we will make a small commission at no extra cost to you. You can read our full disclosure here.
- Wood Plaque, 6″x6″
- Paints
- Paint Brushes
- Christmas Themed Napkin
- Cricut Maker and Black Premium Vinyl
- Design Space Christmas design
- Transfer Tape, Weeding Tool
- Utility Knife or scissors
- Modge Podge
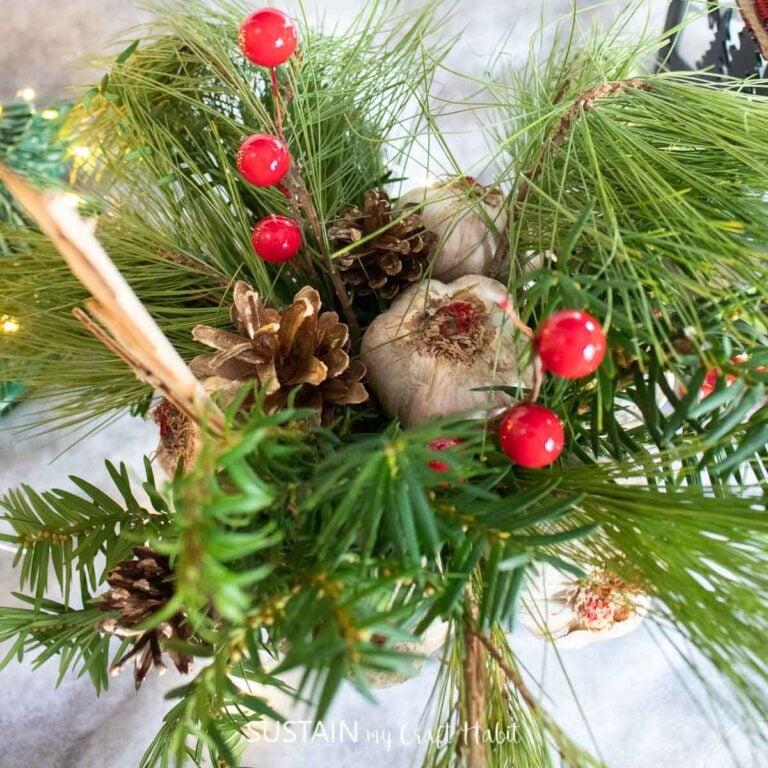
- Faux Greenery for embellishment
- Rope or Twine
- Hot Glue Gun
How to Make a Dollar Store Christmas Sign
I shared the tutorial for making this Christmas sign craft on a recent Facebook Live which you can catch here. As always, it’s so much fun to craft together with other crafty friends. They always have the best suggestions when it comes to choosing paint colors, ribbons and other accessories.
Preparing the Wood Plaque
To start, paint the outside borders of the wooden plaque and let the paint dry. Although I skipped thi snext step, I suggest painting the inside surface of the plaque white especially if you are using a white napkin to decoupage. Make sure the paint is dry before moving on to the next step.
Take the Christmas themed napkin and peel apart the layers using just the top printed layer and place it inside the plaque.
Using the utility knife or scissors, cut the napkin to fit inside the plaque.
Apply modge podge to the inside of the plaque and place the cut out napkin inside and smooth it out. Apply another coat of modge podge on the top of the napkin. Let it dry.
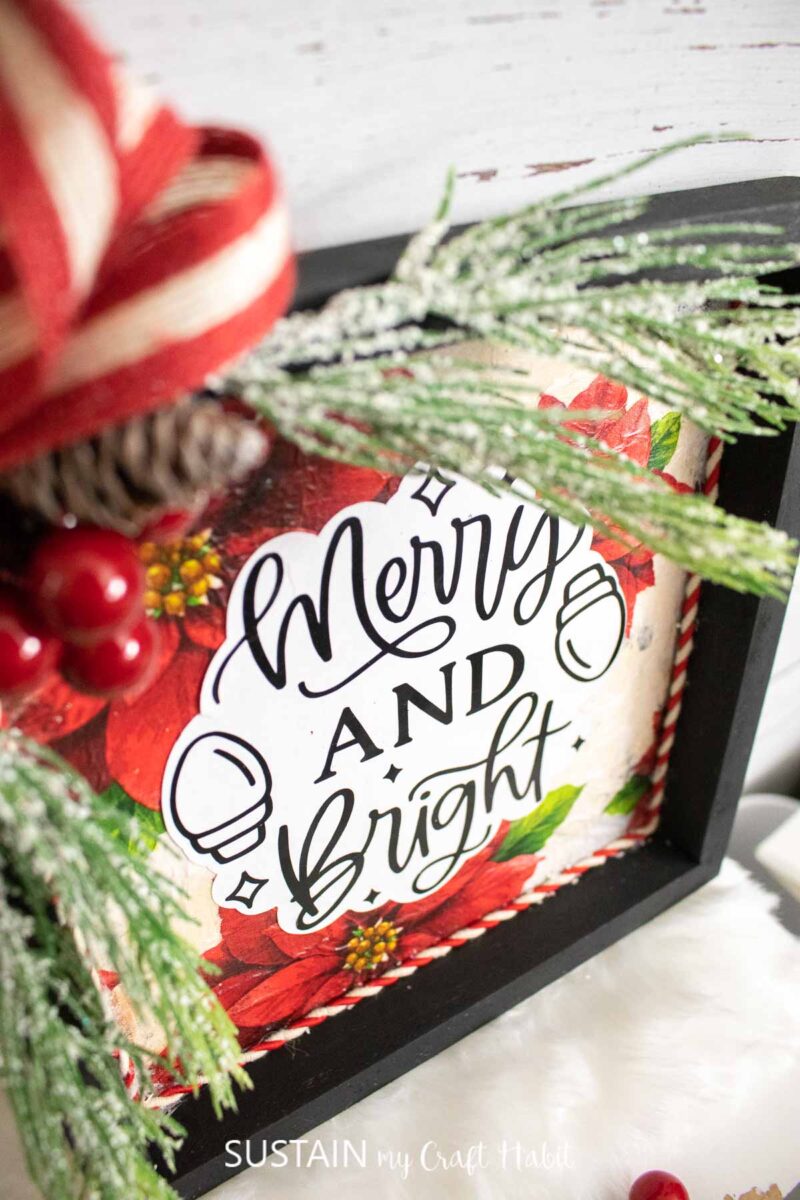
Applying the Vinyl Lettering
We used our
Place it in the center of the plaque.
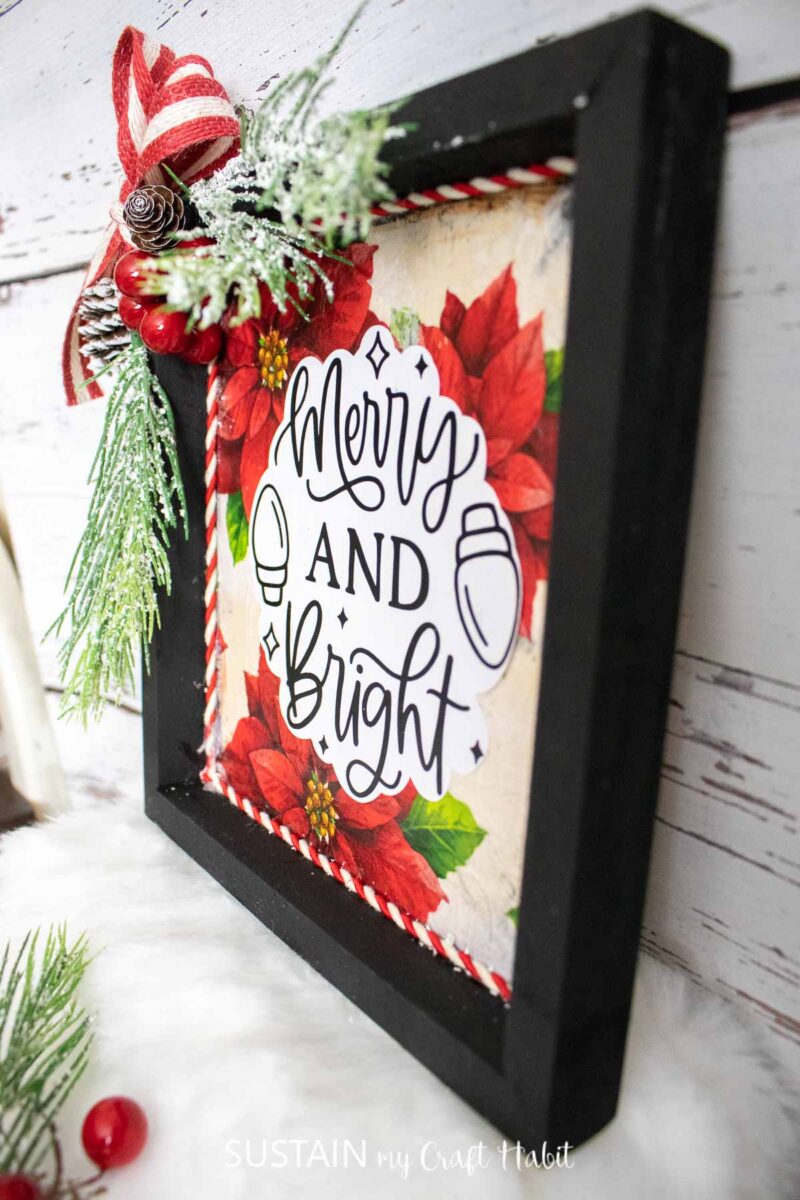
Adding the Finishing Touches
It’s all in the finishing touches when it comes to the look of this Dollar Store Christmas sign. Using the hot glue gun, glue the rope around the inside of the plaque and then glue some of the greenery, decorative berries, a bow and pinecones to the frame.
More Dollar Store Christmas Crafts
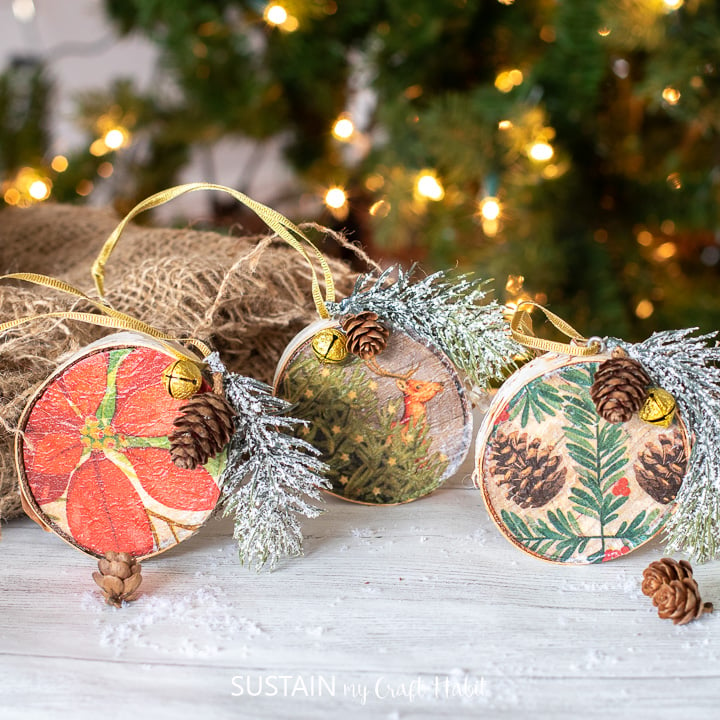
- Repurposed Napkin Wood Slice Ornaments
- Pickle Jar Christmas Terrarium
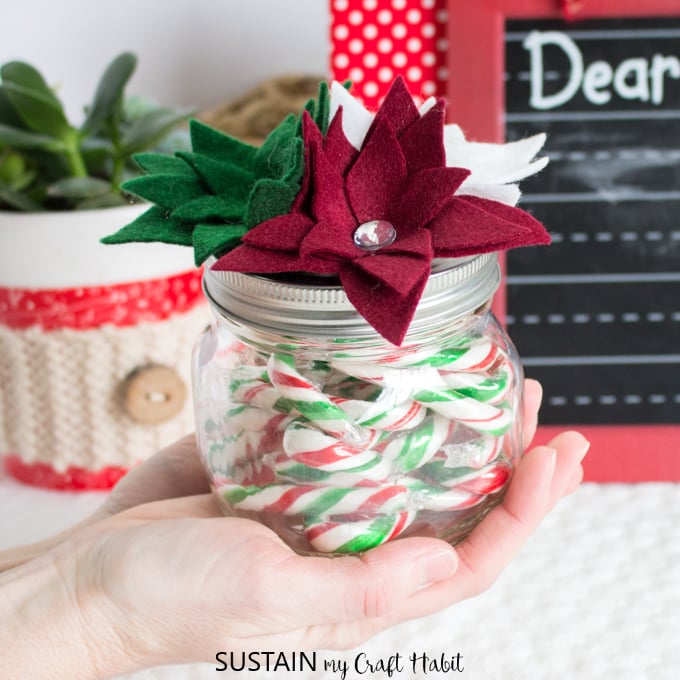
- Felt Poinsettia Capped Mason Jars
- Scandinavian Inspired Terra Cotta Pot Trees

Stacked Terracotta Pot Tress 
Upcycled Pickle Jar Terrarium 
Wood Slice Ornaments 
Felt Poinsettia Capped Mason Jars


Like it? Pin it for later!


Dollar Store Christmas Sign Craft
Materials
- Wood Plaque 6"x6"
- Paints black and white
- Paint Brushes
- Christmas Themed Napkin
- Cricut Joy
- Christmas Vinyl Cutout
- Transfer Tape
- Utility Knife or scissors
- Modge Podge
- Faux Greenery, Berries and Pinecones for embellishment
- Rope or Twine
- Hot Glue Gun
Instructions
- Paint the outside borders of the plaque. Let the plaque dry.
- Paint the inside of the plaque white and let it dry.
- Take the Christmas themed napkin and open it up and place it inside the plaque.
- Using the utility knife or scissors, cut the napkin to fit in the plaque.
- Apply modge podge to the inside of the plaque and place the cut out napkin inside and smooth it out. Apply another coat of modge podge on the top of the napkin. Let it dry.
- After peeling the vinyl cut out, transfer the lettering to the center of the plaque.
- Using the hot glue gun, glue the rope/twine around the inside of the plaque.
- Lastly, glue some of the greenery and a bow to the frame of the plaque.