DIY Cedar Plank Winter Welcome Sign
Greet your friends and Winter with this DIY welcome sign for the front door made simply by repurposing a cedar plank and adding some pretty decorative touches.

Winter Welcome Sign for the Front Door
Ever since I first discovered how easy it is to make a crackle paint finish using school glue I’ve been looking for other surfaces to crackle! No surface is safe :). And yet as I started making this winter welcome sign, I was still unsure whether or not to leave the cedar plank natural or to give a white wash finish. Now that it’s done, I’m so happy I opted for the white crackle finish which really makes the sign pop.

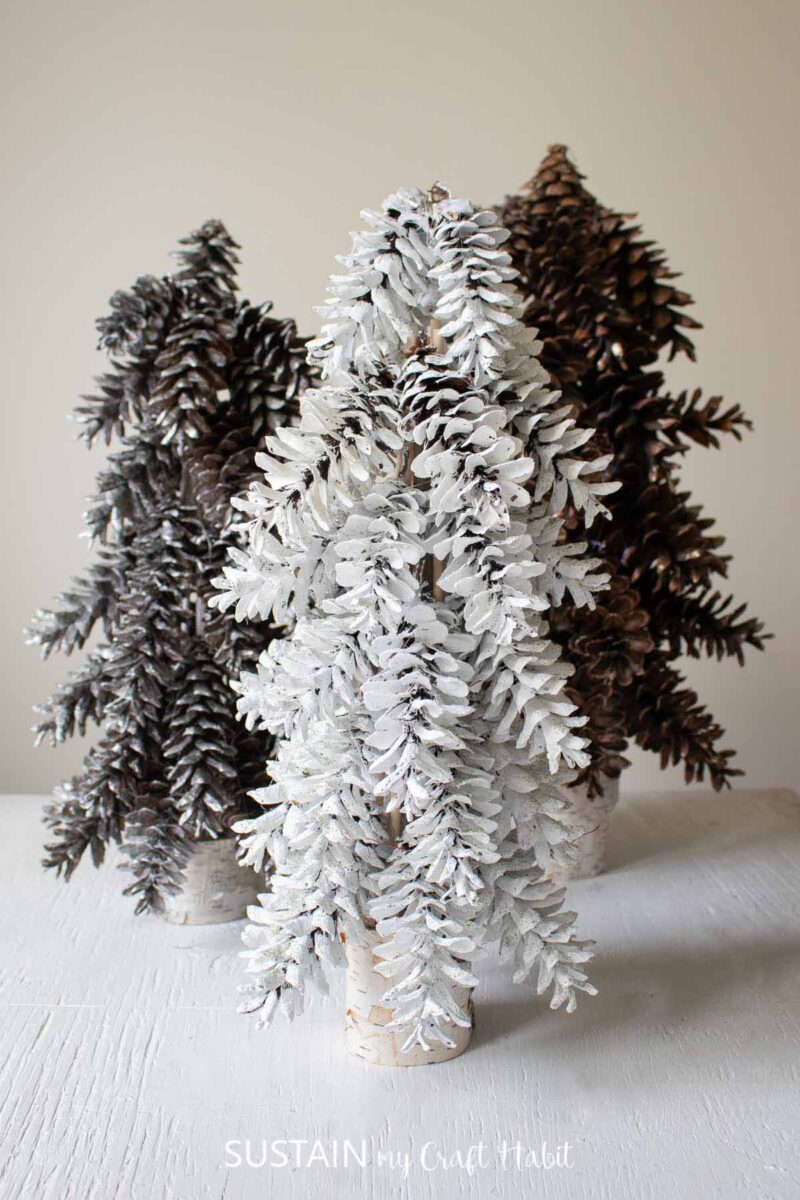
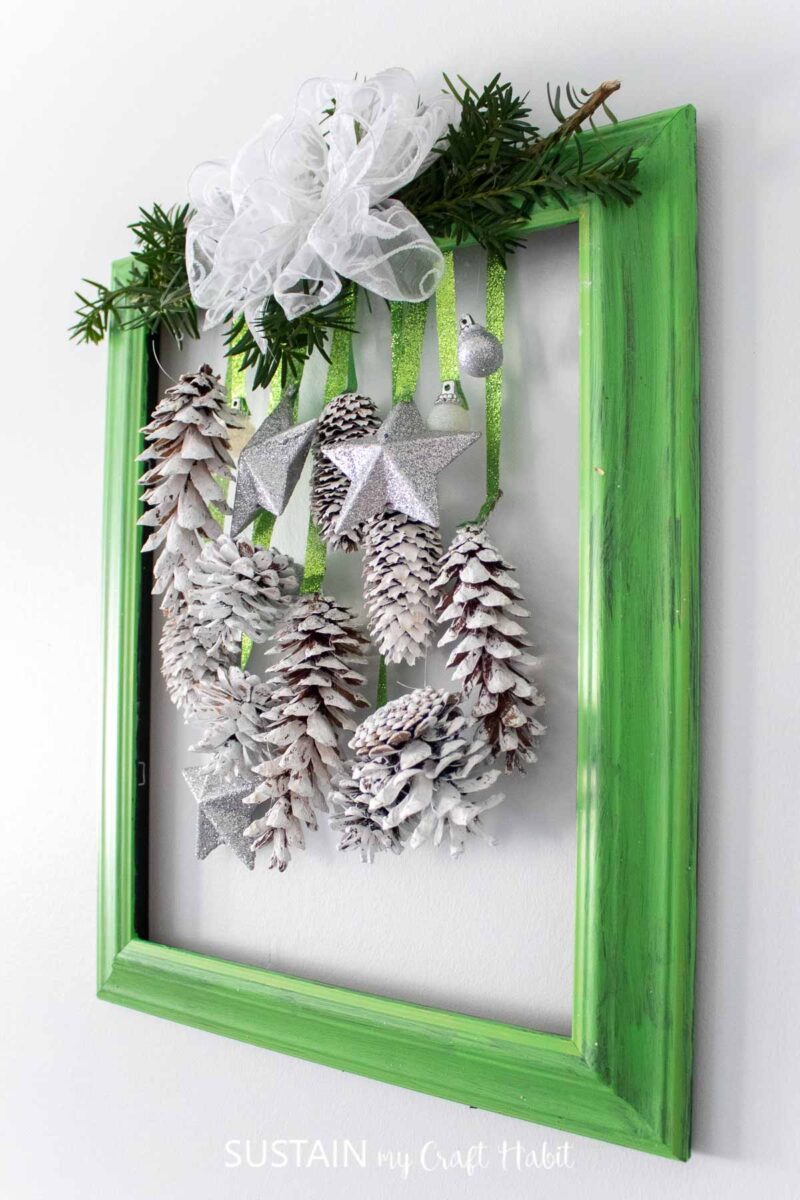
This craft came together on a recent Facebook Live video which you can watch along here. It’s so fun to craft together with others making the decisions as we go. And there’s been plenty of Christmas crafting happening these days making these beautiful tabletop pinecone trees and this gorgeous upcycled frame and pinecone wall hanging.
Materials Needed
Disclosure: This post contains affiliate links for your shopping convenience. Should you choose to purchase through them, we will make a small commission at no extra cost to you. You can read our full disclosure here.
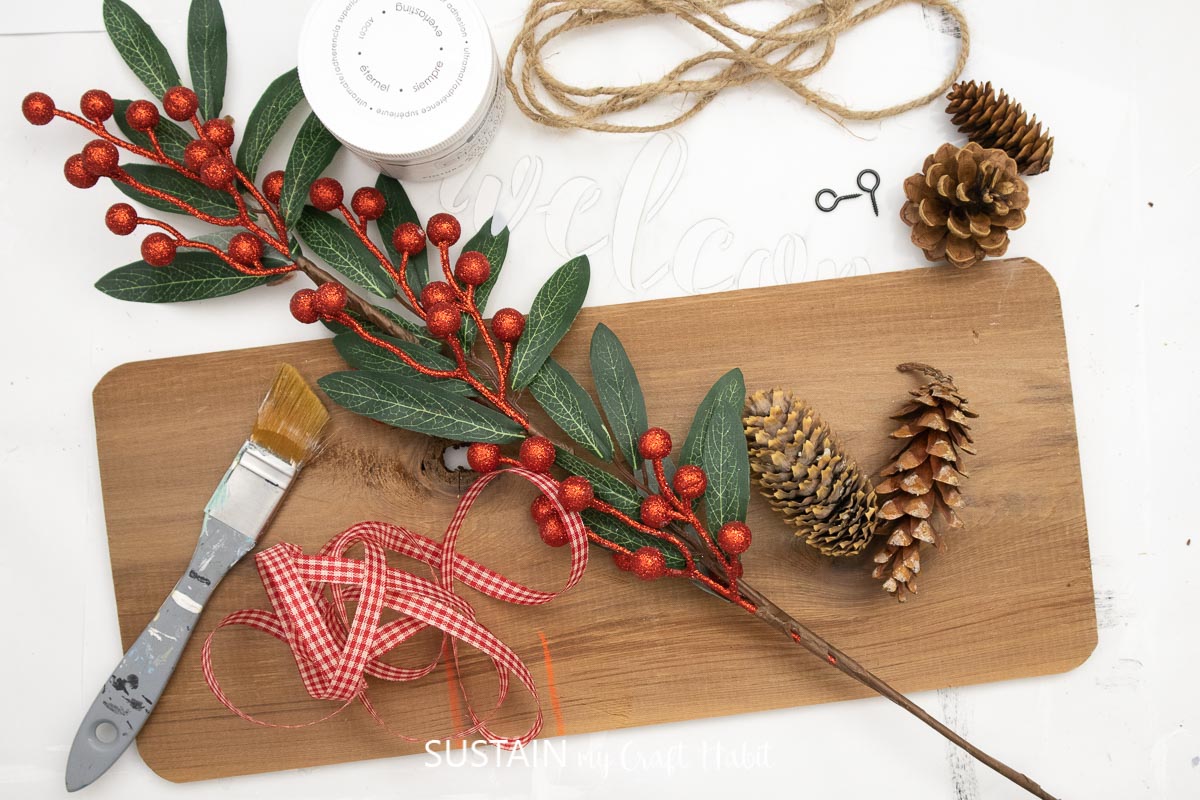
- Cedar Plank
- Welcome Stencil
- Glue
- Eyelet Screws
- Chalky Paint in White and Black
- Paint Brush
- Ribbon and Twine
- Floral Stem, Pine cones
How to Make a Cedar Plank Winter Welcome Sign
Here is a step-by-step video of the cedar plank winter welcome sign on our Facebook page! Or if you prefer the photo tutorial, continue reading below.
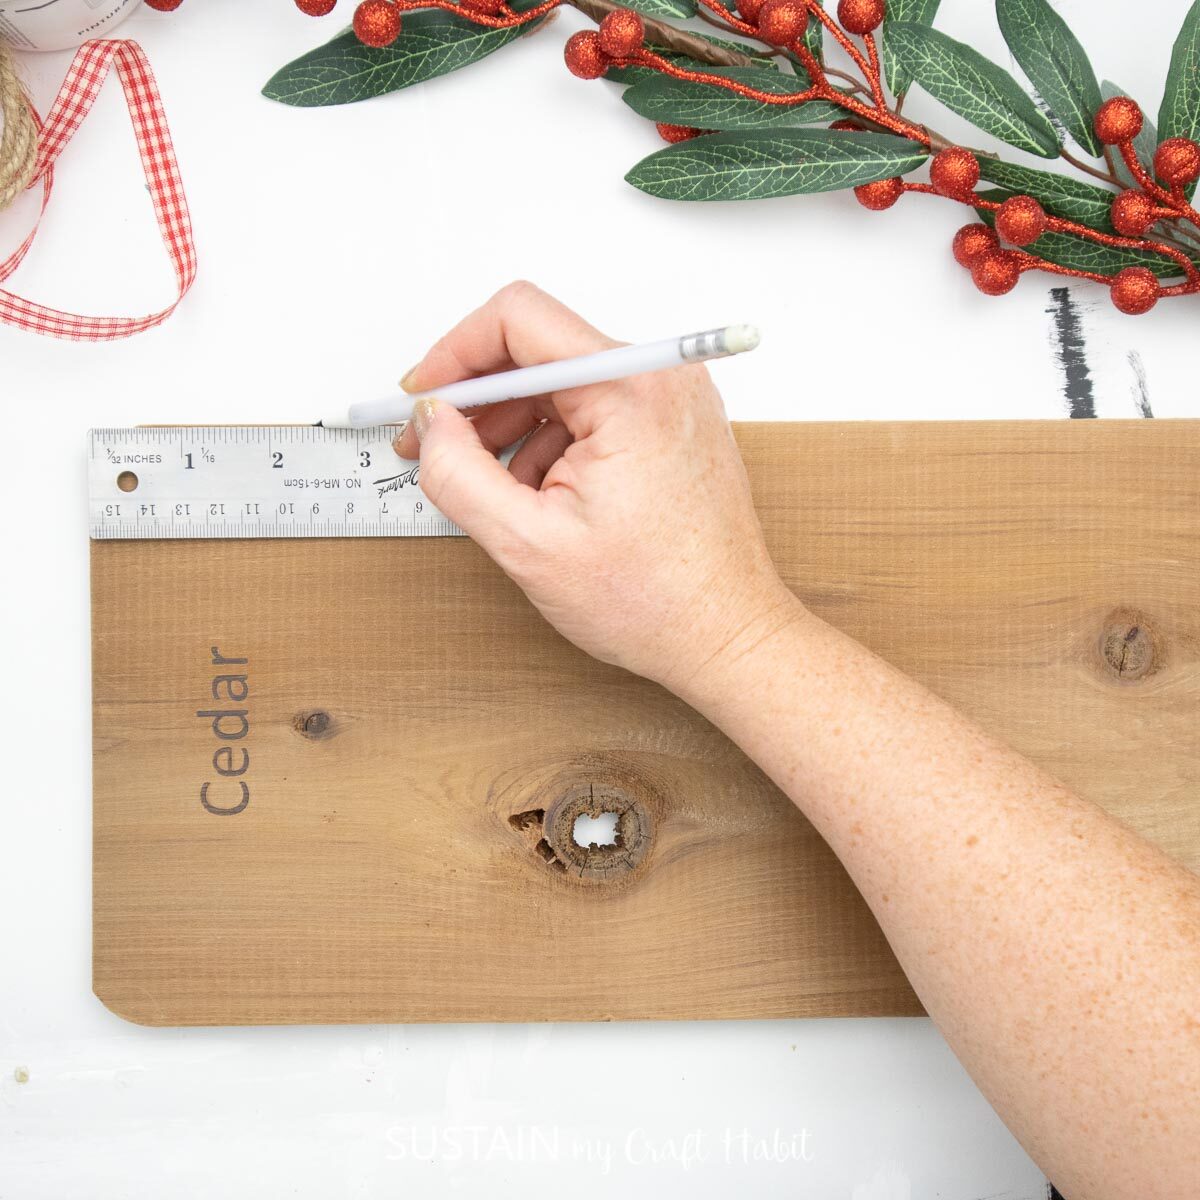
Measure 2.5 inches from either end of plank and drill small holes along the top edge.
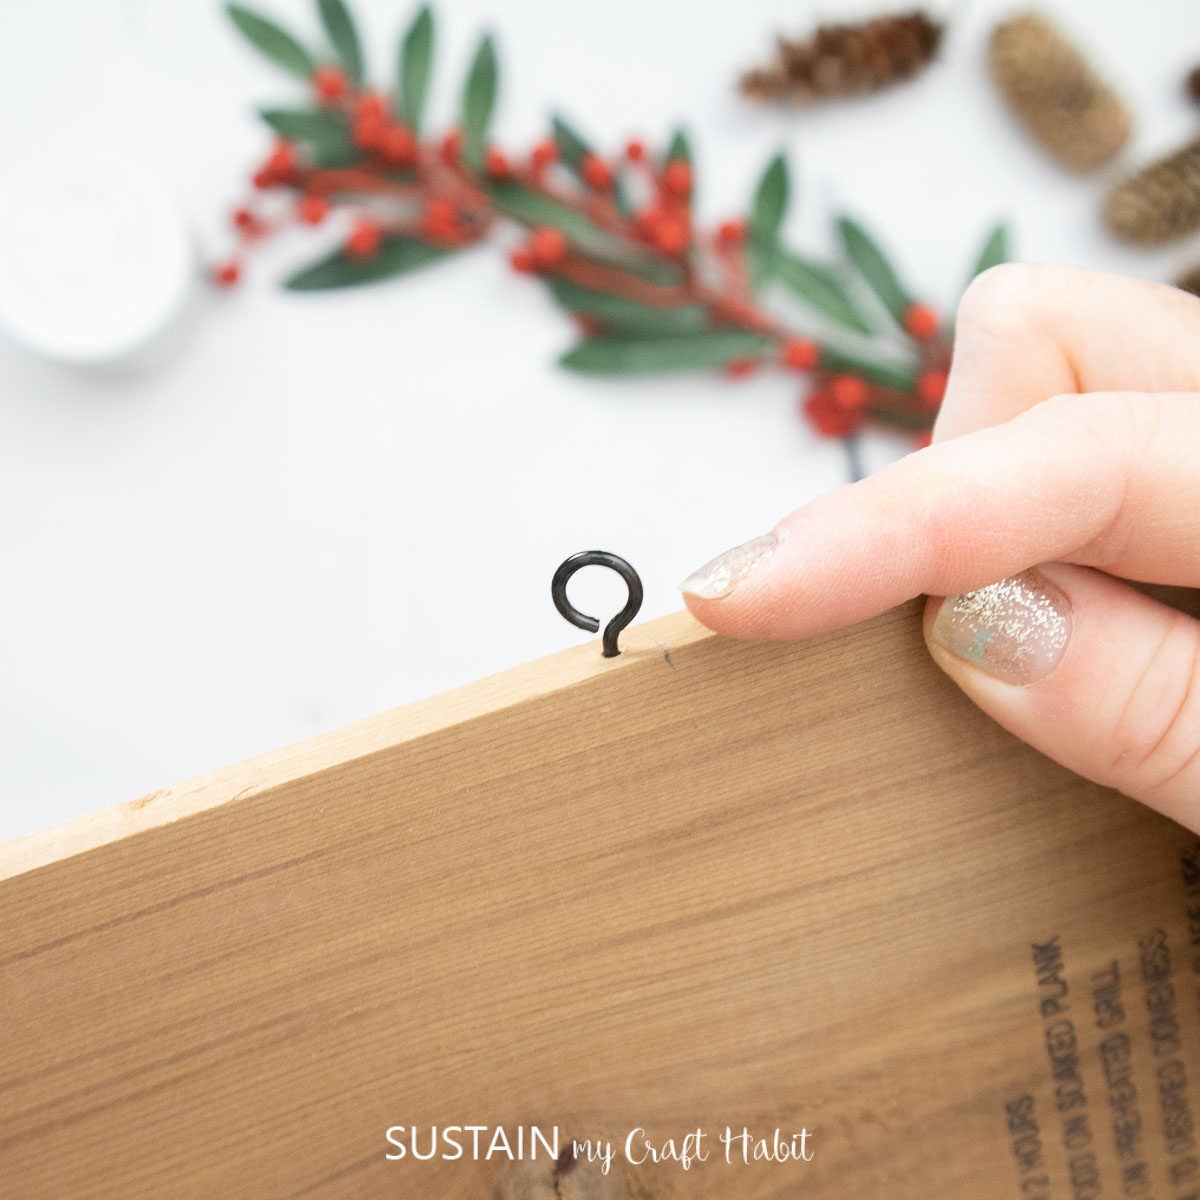
Screw in small eyelets.
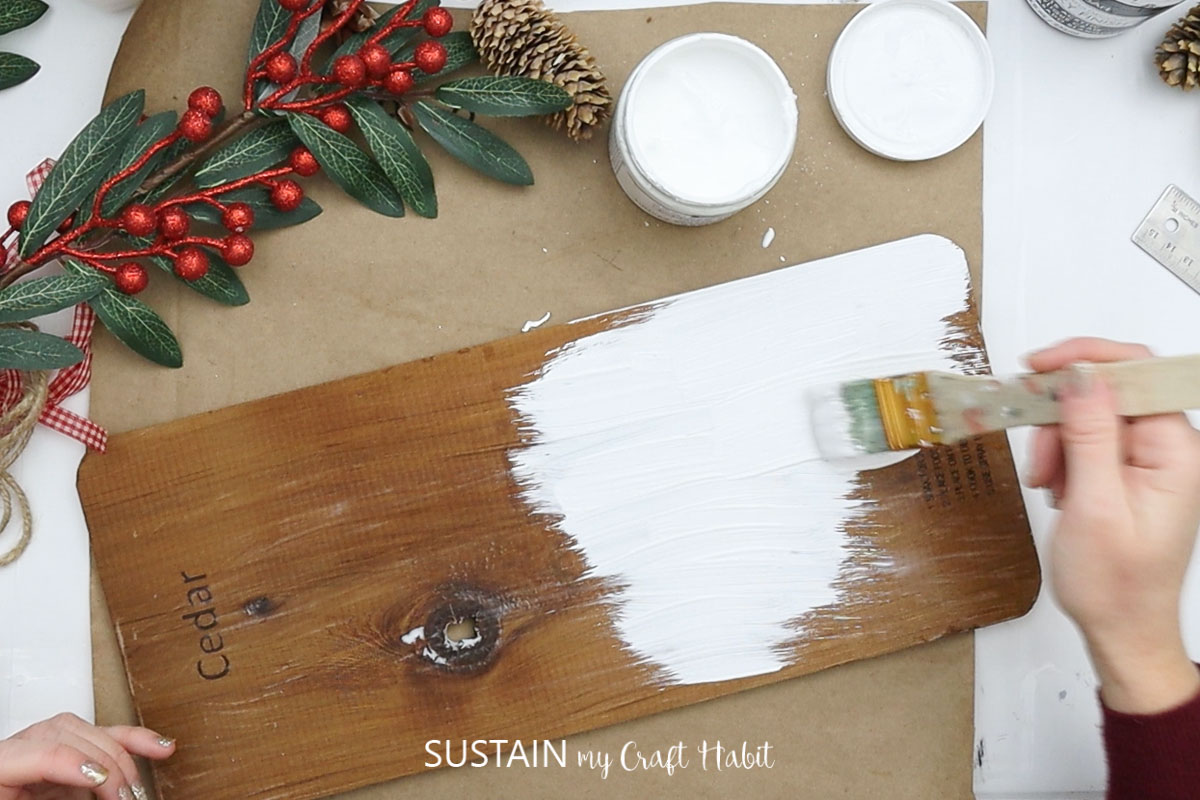
Paint a generous coat of glue on one surface. Let dry just until the glue is tacky but still wet.
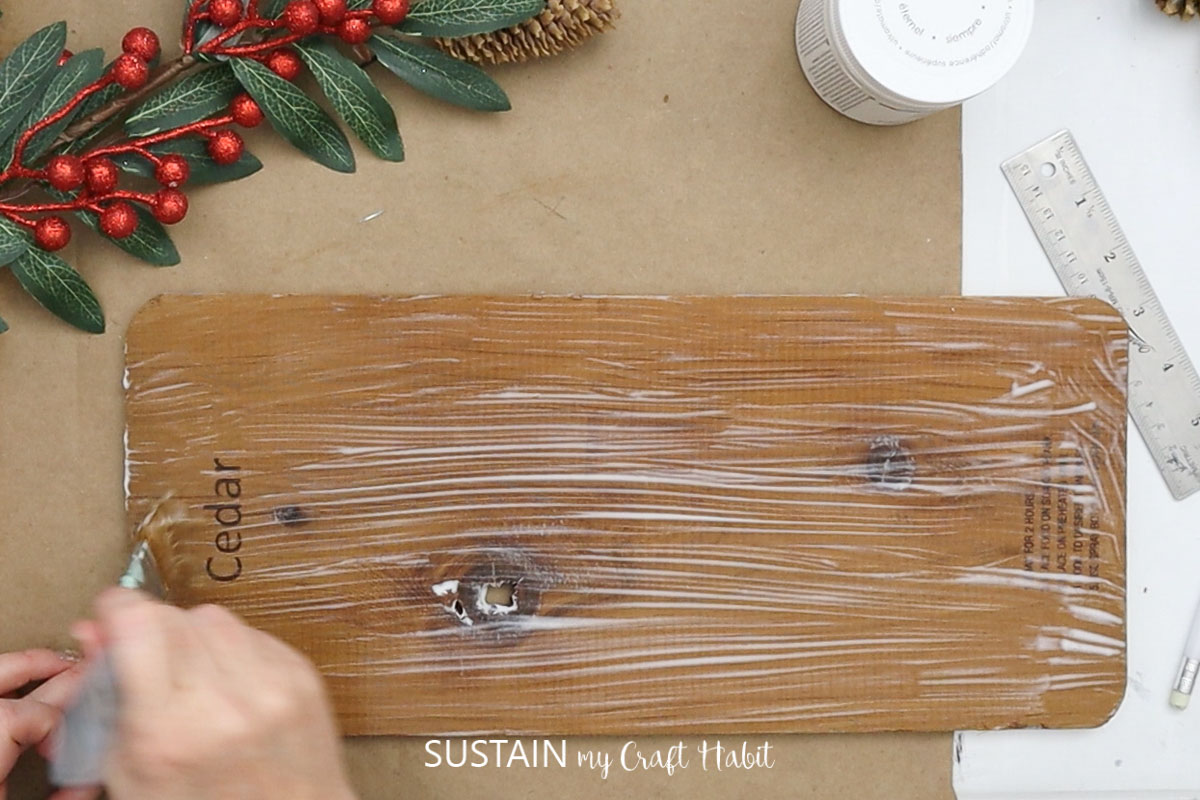
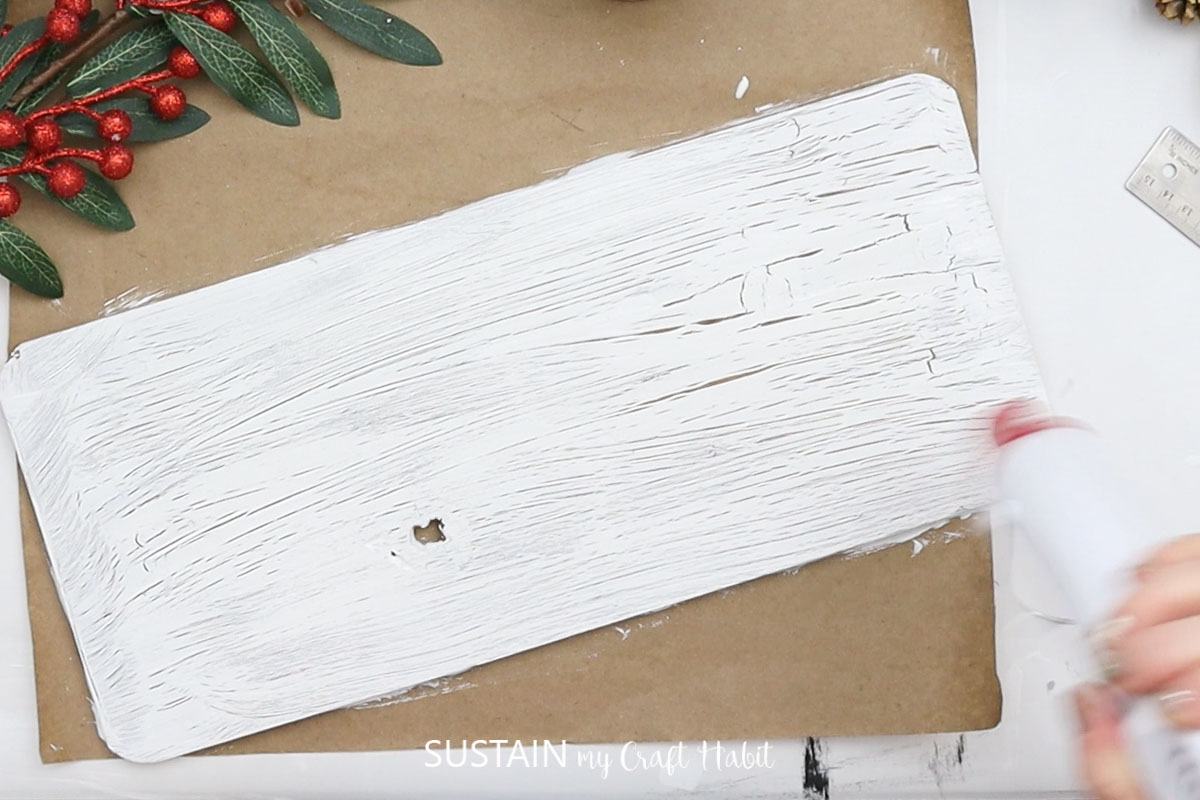
Brush a generous coat of white chalky finish paint over the glue. As the paint dries it will create a lovely crackle effect. Let the glue and paint dry completely.
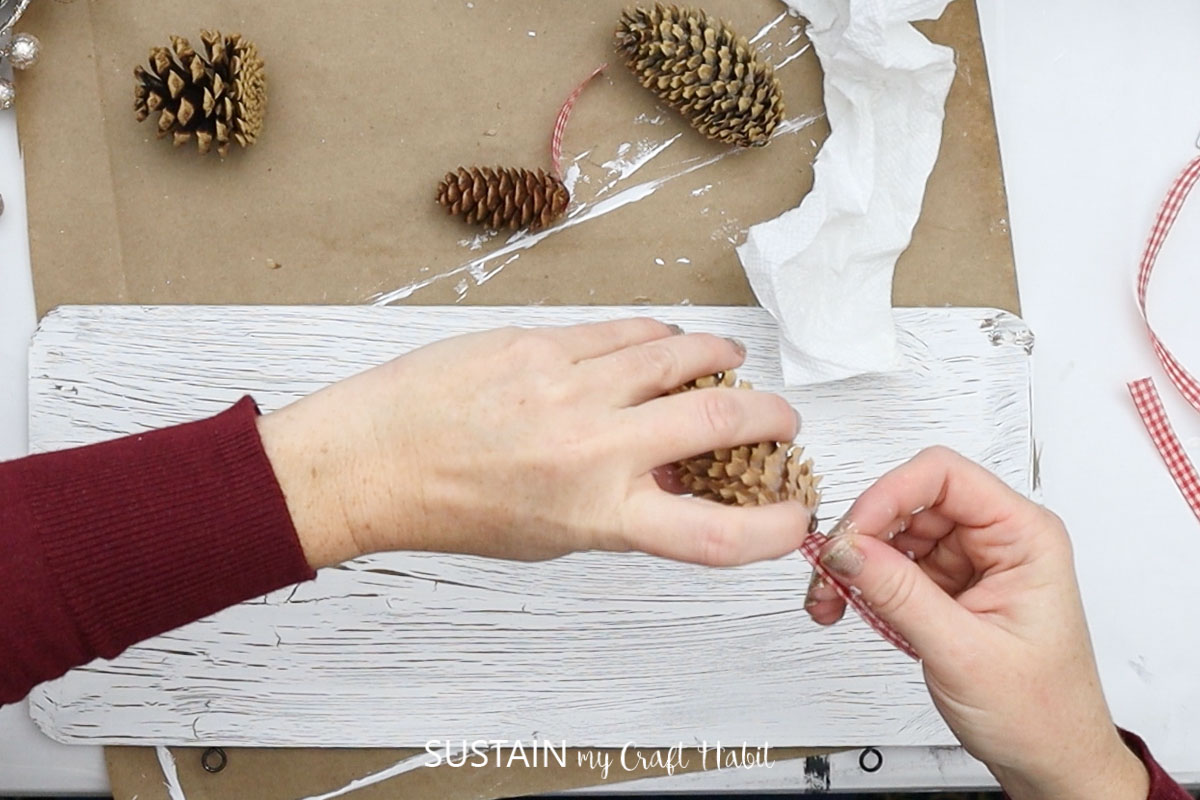
Cut 2-3 pieces of ribbon to 2-3” long each. Glue to the ends of 2-3 pinecones and set aside.
Mix a bit of black and white chalky paint (or use grey). Apply the welcome phrase with a light amount of paint on the brush (to avoid having the paint bleed under the stencil).
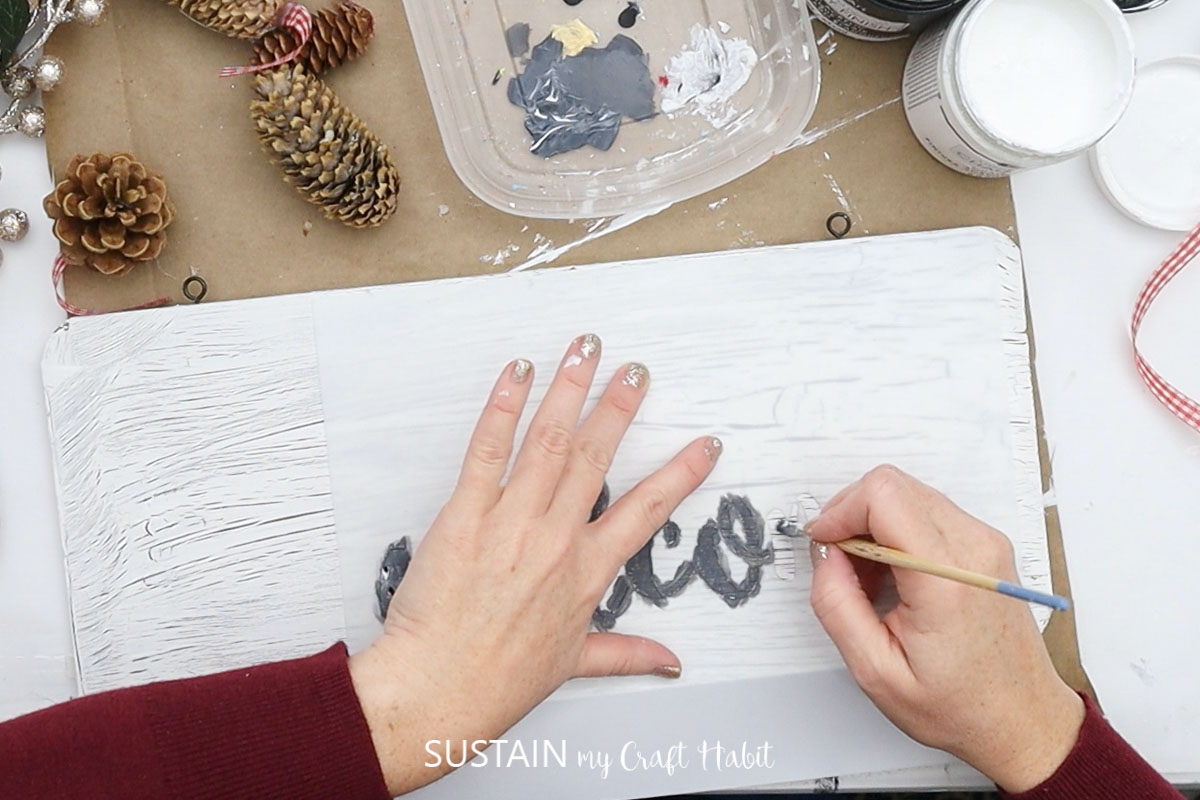
Remove the stencil and let the paint dry completely.
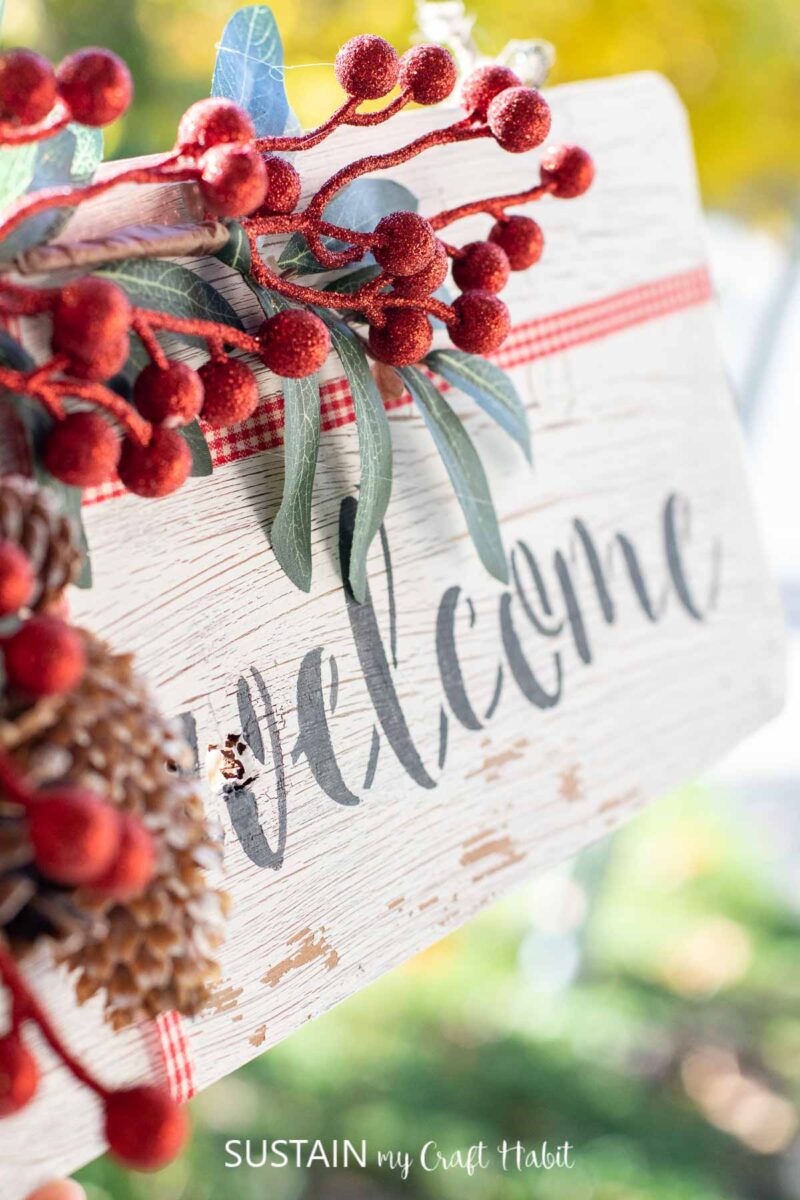
Cut a piece of the floral stem to about ⅔ of the width of the sign. Glue to the top left corner of the sign.
Attach twine to the eyelets and hang your sign.
More Crafts to Make From Cedar Planks
Believe it or not, we’ve got other creative craft ideas using cedar planks! Check out these fun ways to repupose these versatile pieces of wood.
Like it? Pin it for later!


DIY Cedar Plank Winter Welcome Sign
Materials
- cedar plank predrilled for hanging
- welcome stencil
- school glue
- eyelet screws
- chalky paint in white and black
- paintbrush
- ribbon and twine
- floral stem, pinecones and berry picks
Instructions
- Measure 2.5 inches from either end of plank and drill small holes along the top edge.
- Screw in small eyelets.
- Paint a generous coat of glue on one surface. Leave it to dry just until the glue is tacky but still wet.
- Brush a generous coat of white chalky finish paint over the glue. As the paint dries it will create a lovely crackle effect. Let the glue and paint dry completely.
- Cut 2-3 pieces of ribbon about 2-3” long each and glue some pinecones to the ends of the cut ribbon.
- Mix a bit of black and white chalky paint (or use grey). Apply the welcome phrase with a light amount of paint on the brush (to avoid having the paint bleed under the stencil).
- Remove the stencil and let the paint dry completely. Use a fine tip paintbrush for touch ups.
- Wrap some ribbon around the painted plank to resemble a wrapped present.
- Cut a piece of the floral stem to about ⅔ of the width of the sign. Glue to the top left corner of the sign.
- Attach twine to the eyelets and hang your sign.

