4 In a Row Game with XTool P2
If you have a versatile laser cutting machine like the xTool P2, you are likely always thinking of creative projects you can make. One such project you can now make at home is this simple 2-player game using your xTool.

The goal of this two-person game is to connect four circles of your color in a row, either horizontally, vertically, or diagonally.
Why You’ll Love This Project
You’ll love the experience of playing your very own homemade game made with the xTool P2. You cancustomize the game by selecting different disc colors, making each game unique and designed especially for you or as a lovely gift.

With the XTool P2, you have the freedom to choose any color for your discs, making it a fun and personalized experience every time you play. You can even get creative and use colors that represent your favorite sports team or school colors. This adds an extra level of excitement to the game and allows you to showcase your unique style. You can also make a variety of different sets to use at different times of the year.
Get access to our resource library filled with cut files and other xTool craft ideas!
Materials Needed
Disclosure: This post contains affiliate links for your shopping convenience. Should you choose to purchase through them, we will make a small commission at no extra cost to you. You can read our full disclosure policy here.
xTool P2 P2 - Basswood Plywood size 3mm, 9”x12”wide or 12”x12”
- Basswood Plywood size 6mm, 12”x12”, 2 sheets
- Acrylic sheet, opaque, size 3mm, 12”x12” in two contrasting colors (we used blue and orange)
- 2-Player Game SVG
- Wood Glue

How to Make this Game with XTool P2
Open the Creative Space app and turn on the xTool P2. Connect the Creative Space app to the machine.
Click to create a new project and then import the SVG files for all the layers of the game from your downloads.

Position the layers on 4 different canvases and label the canvas as the material type. For example, the two main pieces (with circle cutouts) and the two stands are to be cut out of 6mm basswood. The center dividing piece is to be cut out of 3mm basswood. And lastly, the circle shapes are to be cut out of acrylic sheets in two different colors.

Cutting the Divider Piece (“Layer 1”)
Load the 3mm basswood material into the cutting machine. Secure the wood with the magnets on the sides.
Move to the home screen, set material type to “3mm basswood plywood”.

Ensure the machine parameter setting tab is set to “cut”.
Adjust the settings to your preferred power and speed based on your test cut grid. In our case, cutting basswood works best with 45% power and 28 seconds.

Double check the placement.
Hit process.

Remove when cutting is complete.
Cutting the Main Pieces (“Layer 2”)
Load the 6mm basswood material into the cutting machine. Secure the wood with the magnets on the sides.
Move to the home screen, set material type to “6mm basswood plywood”.

Ensure the machine parameter setting tab is set to “cut”.
Adjust the settings to your preferred power and speed based on your test cut grid. In our case, cutting basswood works best with 65% power and 28 seconds with 2 passes.

Double check the placement.
Hit process.

Remove when cutting is complete.
Cutting the Tokens (“Layers 3 & 4”)
Load the first acrylic sheet material into the cutting machine. Secure the wood with the magnets on the sides.
Move to the home screen, set material type to “3mm acrylic white”.

Ensure the machine parameter setting tab is set to “cut”.
Adjust the settings to your preferred power and speed based on your test cut grid. In our case, cutting acrylic works best with 100% power and 20 seconds.

Double check the placement and then hit process.
Remove when cutting is complete.
Repeat with the other acrylic sheet color.
Peel off the protective paper from each token.

Assembling the Game

With back sides facing, glue the divider piece in between the two main pieces, aligning the bottom and side edges. Ensure the “wider” bottom edge is aligned across all three pieces.


Place a heavy object over top until glue sets.
Glue the stands to the bottom corners of the game. Alternatively, you can leave the stands loose. Leave it to dry fully.
Game is set to play!

Personally Designed Game with xTool P2
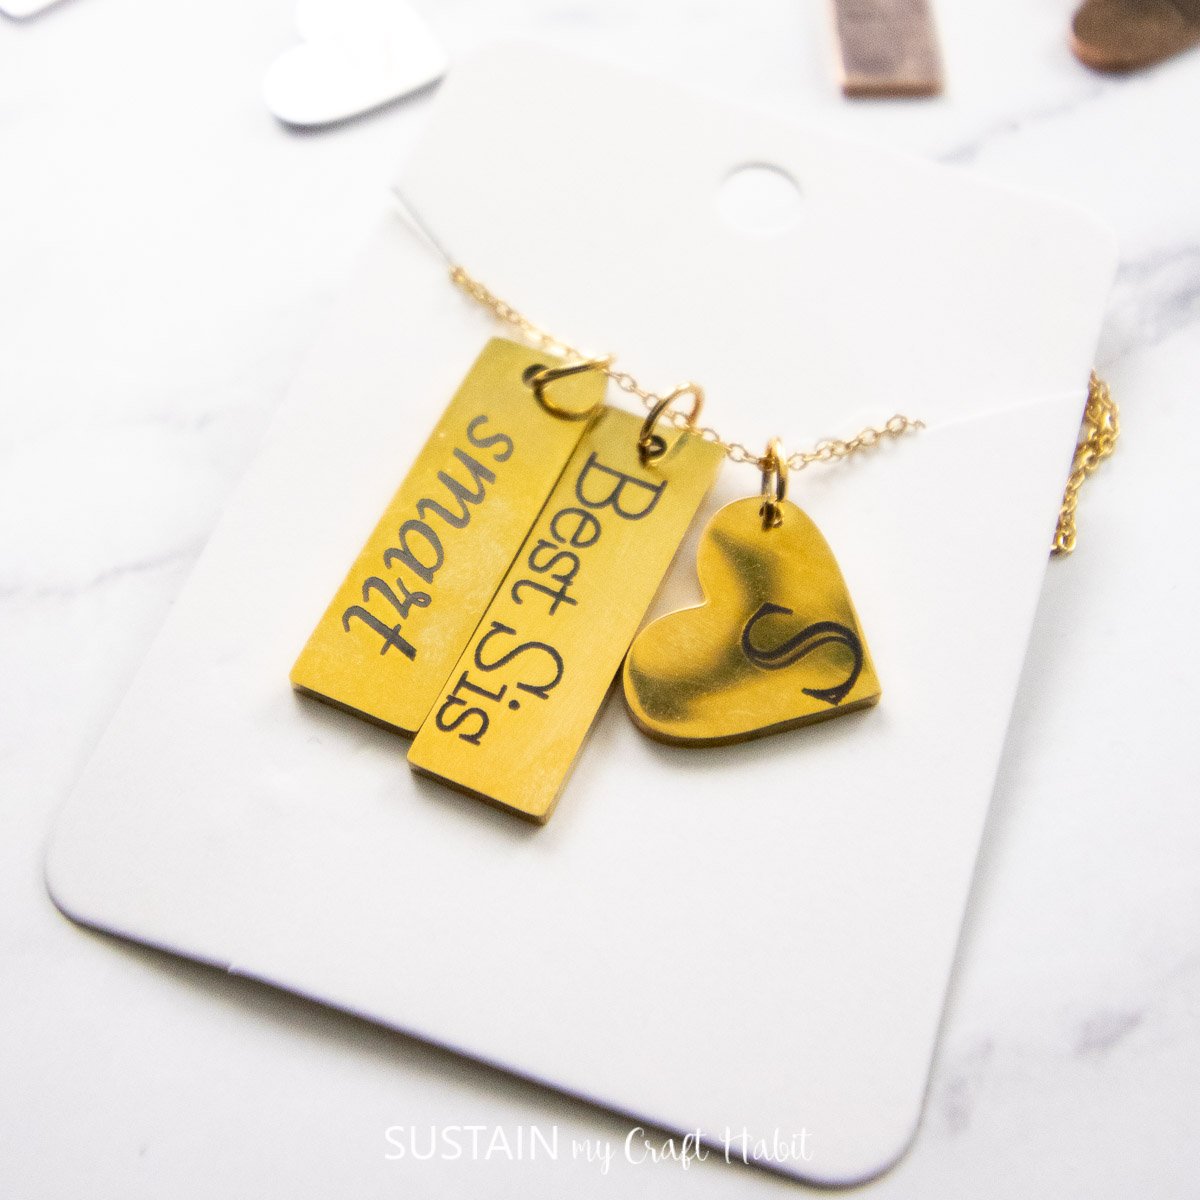
You can get even more creative personalizing the game with laser engraving by adding a name, monogram or date if you plan to give the finished item as a gift.
More Crafts to Make with XTool
- Engraved Slate Coaster
- Cut Mirror Acrylic with XTool P2
- Free Super Dad SVG Laser Cut File
- How to Cut Corrugated Cardboard with XTool P2
- Coffee Bar SVG


Want to receive a ton of inspiration and money saving ideas for decorating, gift-giving and crafting? Join HERE!
Like it? Pin it for later!


DIY 2-Player Game with XTool P2
Materials
- XTool P2
- Basswood Plywood size 3mm 9”x12” wide or 12”x12”
- 2 sheets Basswood Plywood size 6mm 12”x12”
- Acrylic sheet, opaque size 3mm, 12”x12” in two contrasting colors
- 4 in a Row Game SVG
- Wood Glue
Instructions
- Open the Creative Space app and turn on the xTool P2. Connect the Creative Space app to the machine.
- Import the SVG files for all the layers of the from your downloads.
Cutting the Divider Piece (“Layer 1”)
- Load the 3mm basswood material into the cutting machine. Secure the wood with the magnets on the sides.
- Move to the home screen, set material type to “3mm basswood plywood”.
- Ensure the machine parameter setting tab is set to “cut”.
- Adjust the settings to your preferred power and speed based on your test cut grid. In our case, cutting basswood works best with 45% power and 28 seconds.
- Double check the placement.
- Hit process.
- Remove when cutting is complete.
Cutting the Main Pieces (“Layer 2”)
- Load the 6mm basswood material into the cutting machine. Secure the wood with the magnets on the sides.
- Move to the home screen, set material type to “6mm basswood plywood”.
- Ensure the machine parameter setting tab is set to “cut”.
- Adjust the settings to your preferred power and speed based on your test cut grid. In our case, cutting basswood works best with 65% power and 28 seconds with 2 passes.
- Double check the placement.
- Hit process.
- Remove when cutting is complete.
Cutting the Tokens (“Layers 3 & 4”)
- Load the first acrylic sheet material into the cutting machine. Secure the wood with the magnets on the sides.
- Move to the home screen, set material type to “3mm acrylic white”.
- Ensure the machine parameter setting tab is set to “cut”.
- Adjust the settings to your preferred power and speed based on your test cut grid. In our case, cutting acrylic works best with 100% power and 20 seconds.
- Double check the placement.
- Hit process.
- Remove when cutting is complete.
- Repeat with the other acrylic sheet color.
- Peel off the protective paper from each token.
Assembling the Game
- With back sides facing, glue the divider piece in between the two main pieces, aligning the bottom and side edges. Ensure the “wider” bottom edge is aligned across all three pieces.
- Place a heavy object over top until glue sets.
- Glue the stands to the bottom corners of the game. Alternatively, you can leave the stands loose. Leave it to dry fully.
- Game is set to play!