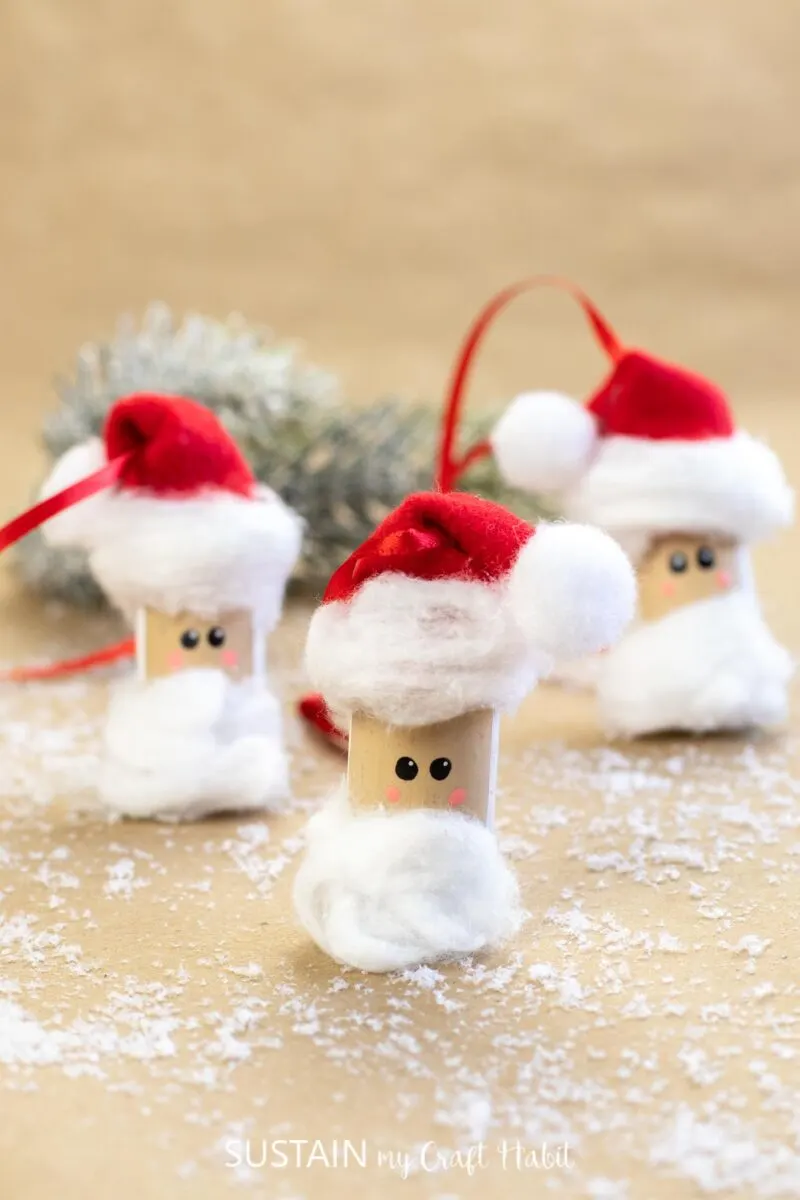
Wine cork ornaments are such a clever way to recycle and create Christmas gifts for those you love (especially the wine lovers in your life!). Homemade Christmas ornaments from wine corks are fun to make and fun to give. Let’s learn how to create some today!


Wine Cork Ornaments DIY
One time someone gave me the best advice ever: put some homemade crafts aside to have ready as gifts when in a pinch around the holiday season. It can be super awkward when you don’t have a gift to give a guest that brings you an unexpected gift! Creating some extra crafts can be super helpful to avoid situations like that (and to help your family avoid those situations as well.)
These santa cork ornaments are great for that. They are also great for the wine lover in your life, or if you collect wine corks and aren’t sure what to do with them by the end of the year.

So let’s get started on making a great wine cork ornament today!
Want to receive a ton of inspiration and money saving ideas for decorating, gift-giving and crafting? Join HERE!
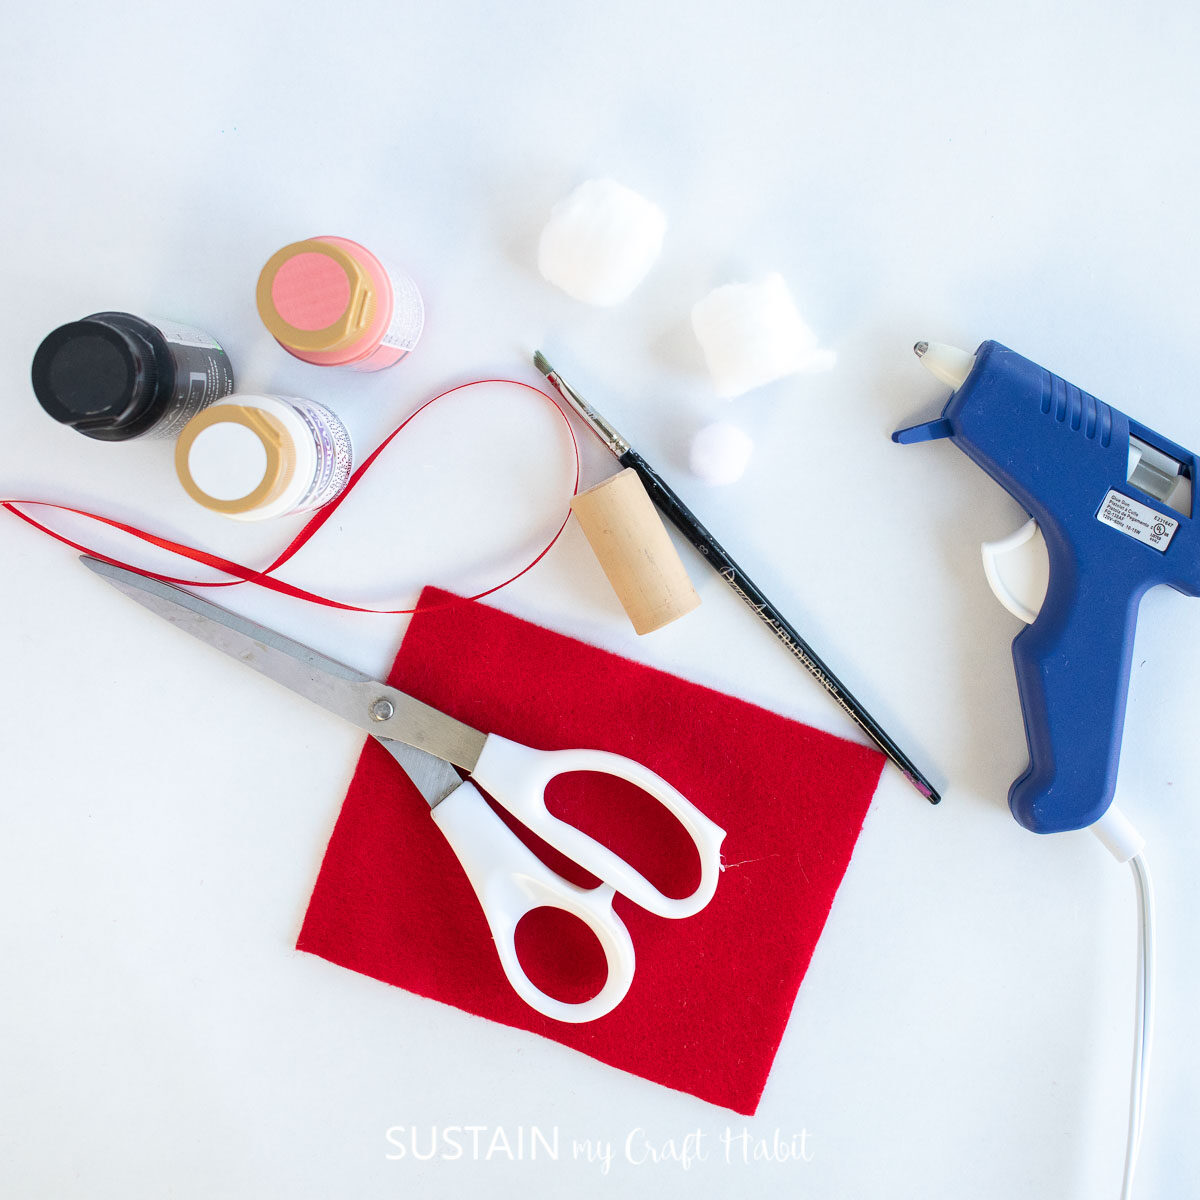
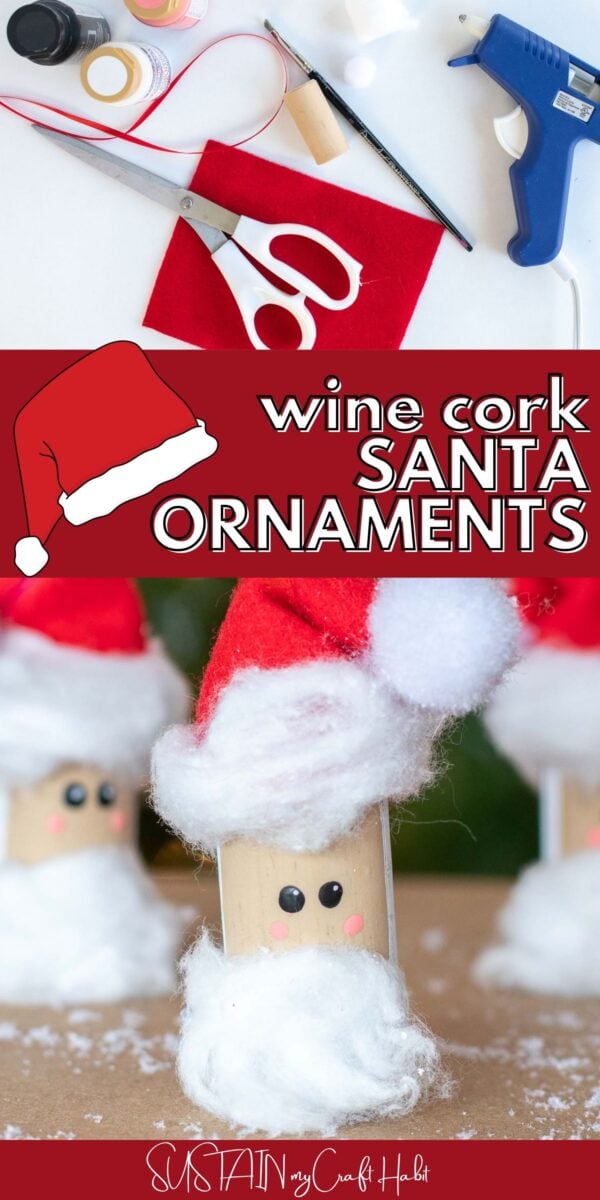
Materials Needed
Disclosure: This post contains affiliate links for your shopping convenience. Should you choose to purchase through them, we will make a small commission at no extra cost to you. You can read our full disclosure policy here.
- Wine Cork
- Red felt sheet
- Cotton ball
- Scissors
- Hot glue gun and clear glue sticks
- Acrylic paint in black, white and pale pink (Americana Acrylics Melon, Black and Snow White)
- Paintbrush
- Ribbon, cut to 12” long
- Small pom-pom in white

How to Make Adorable Santa Wine Cork Ornaments
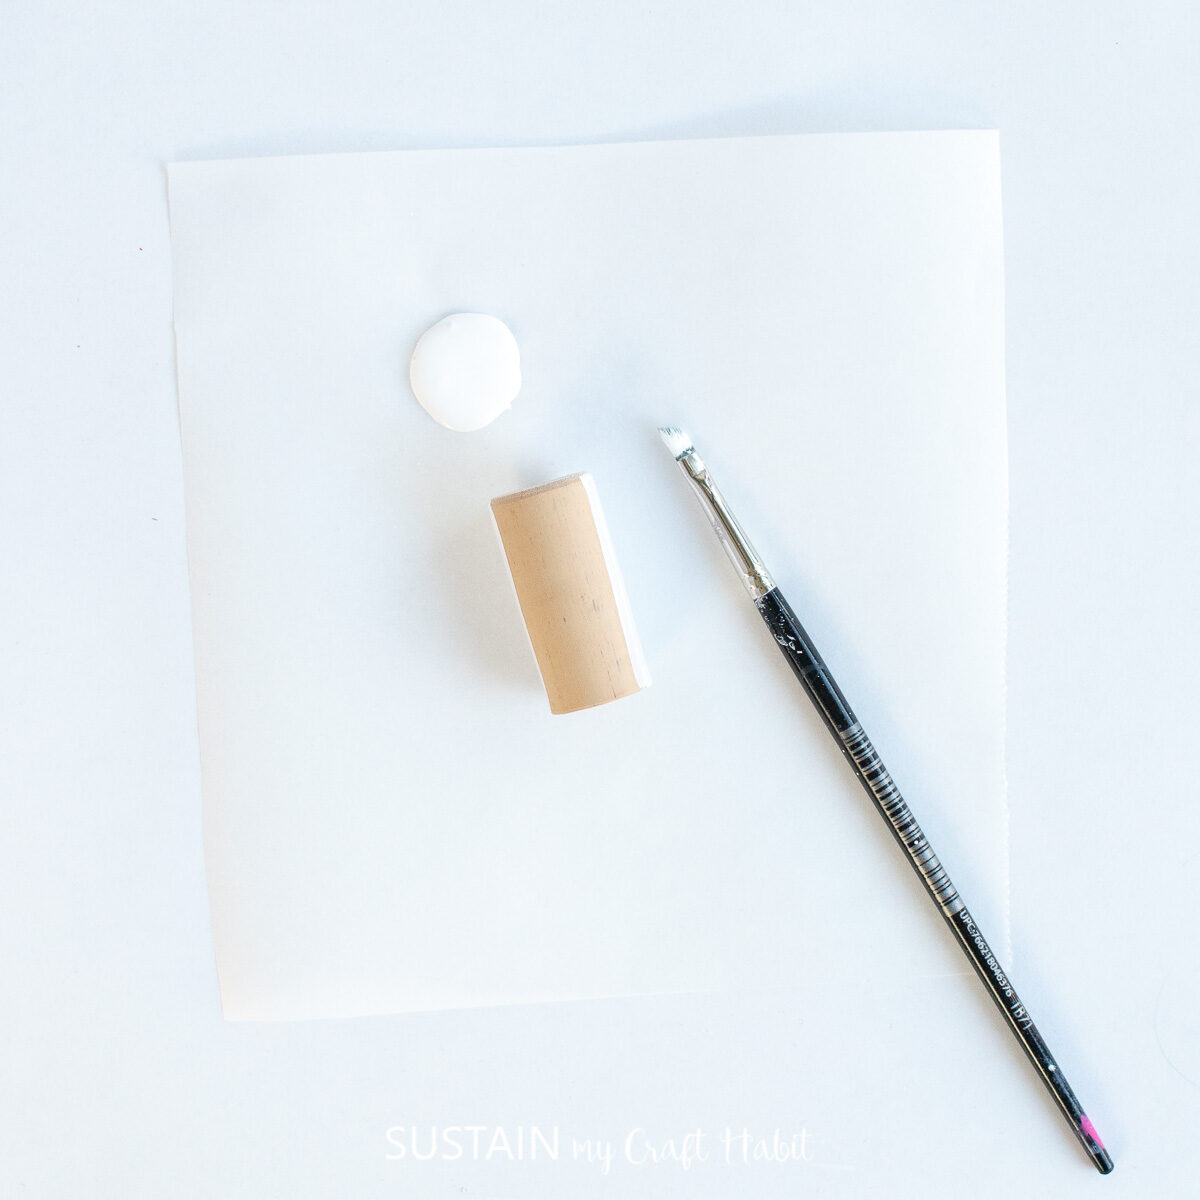
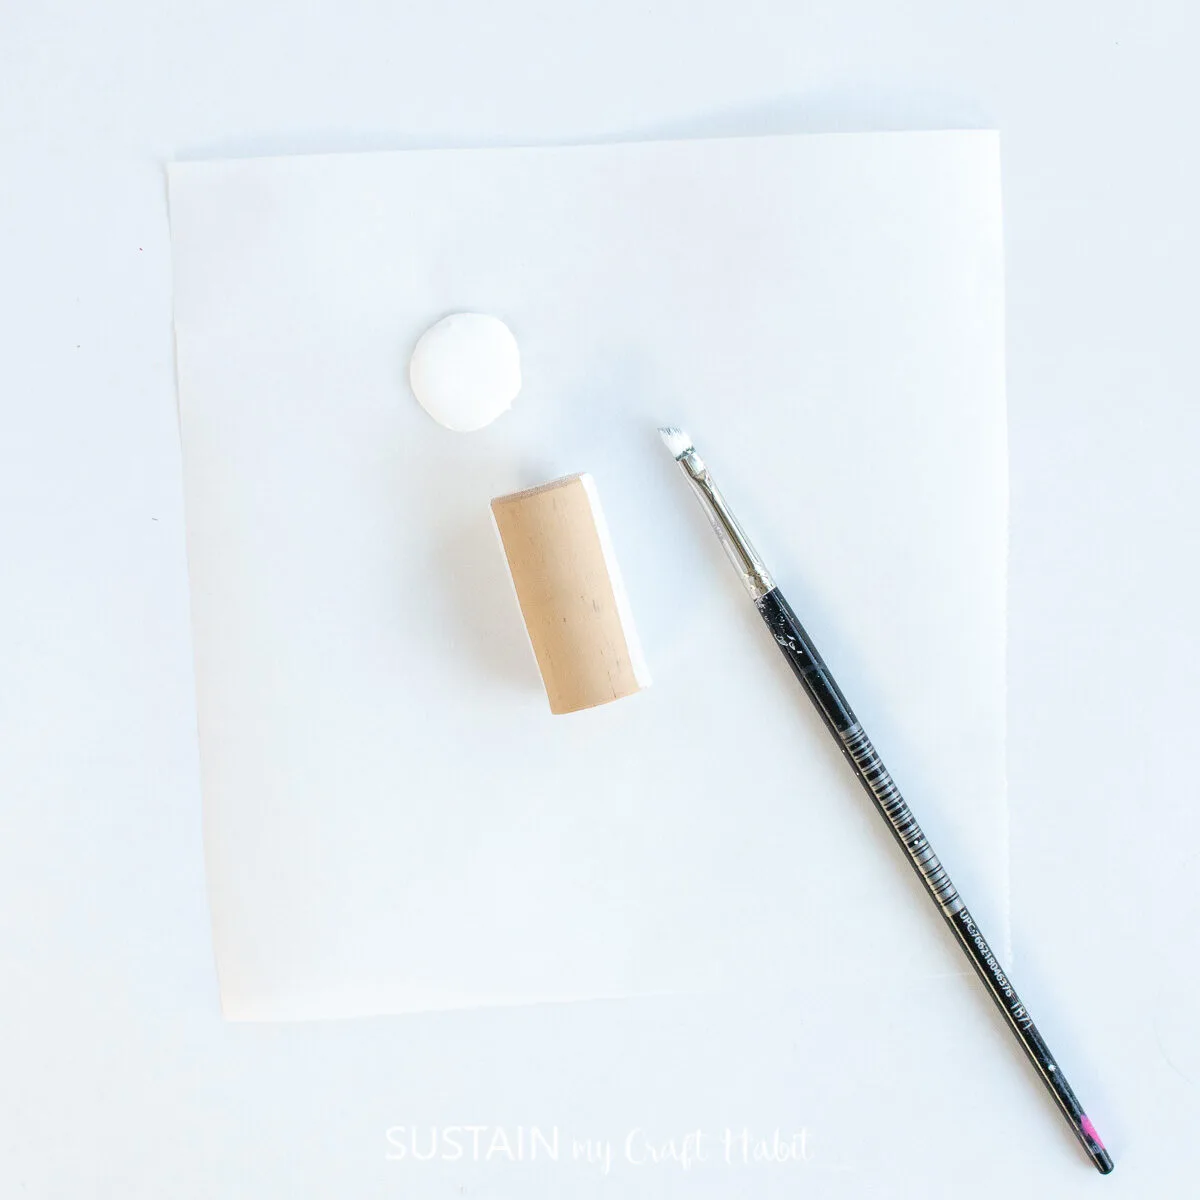
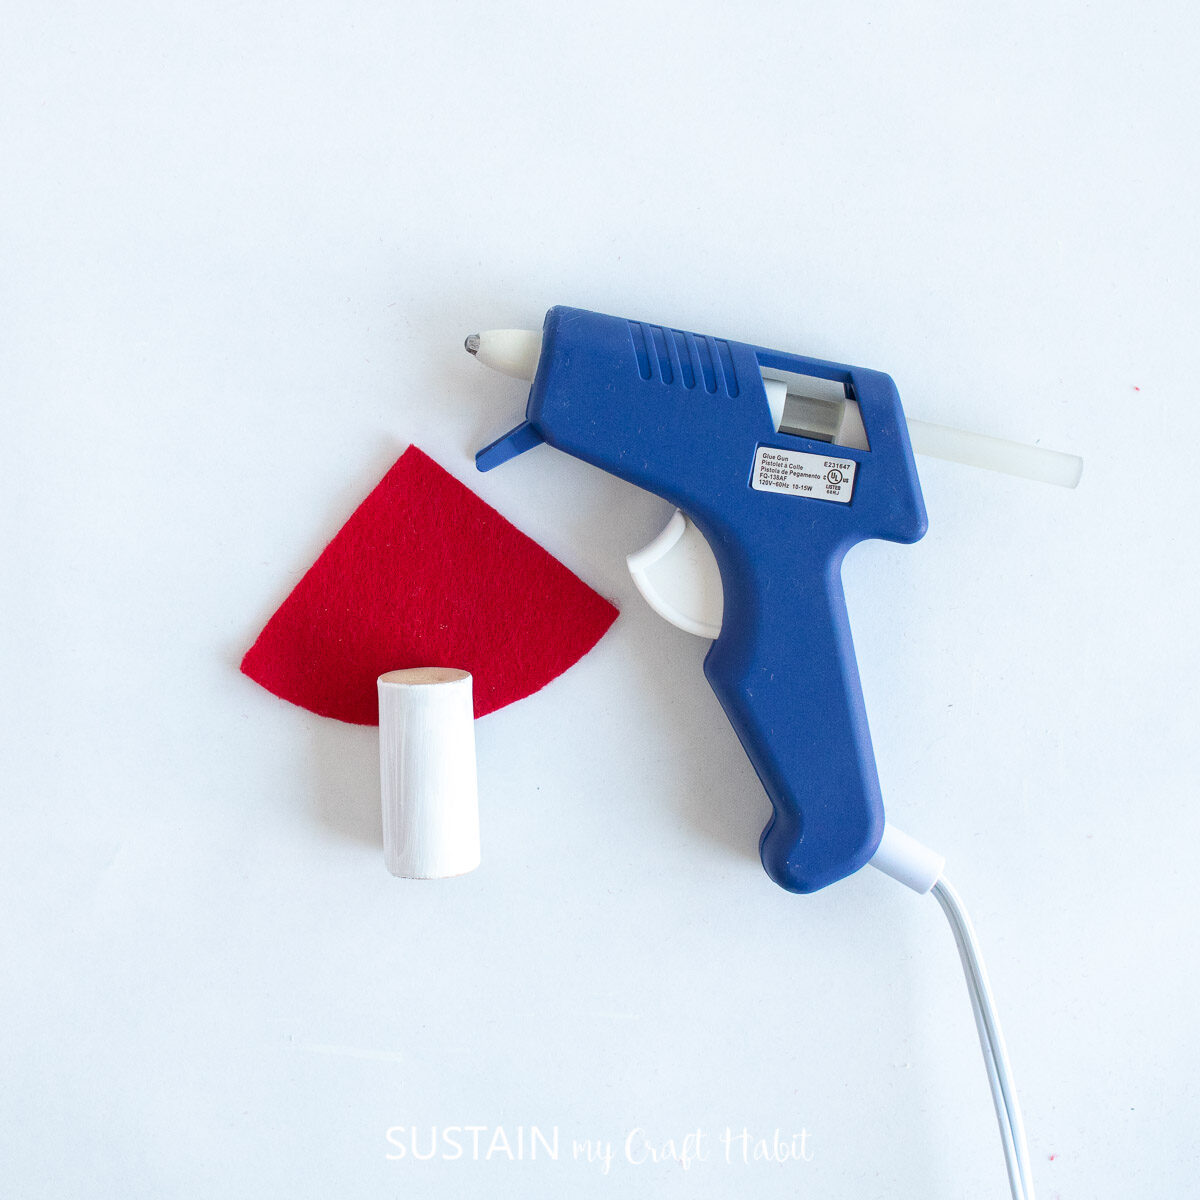
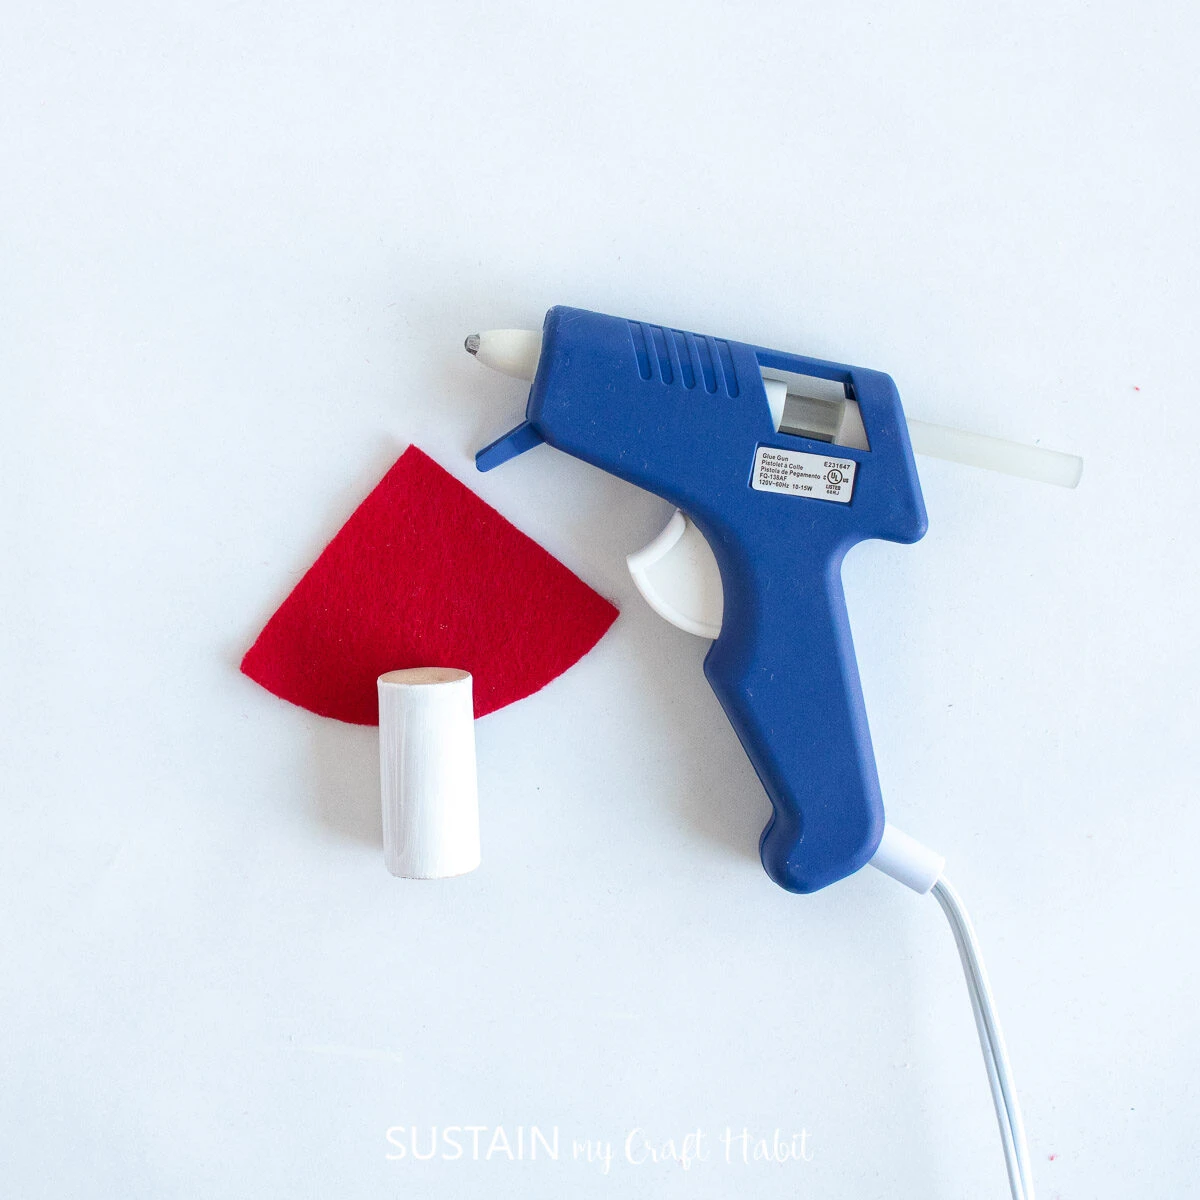
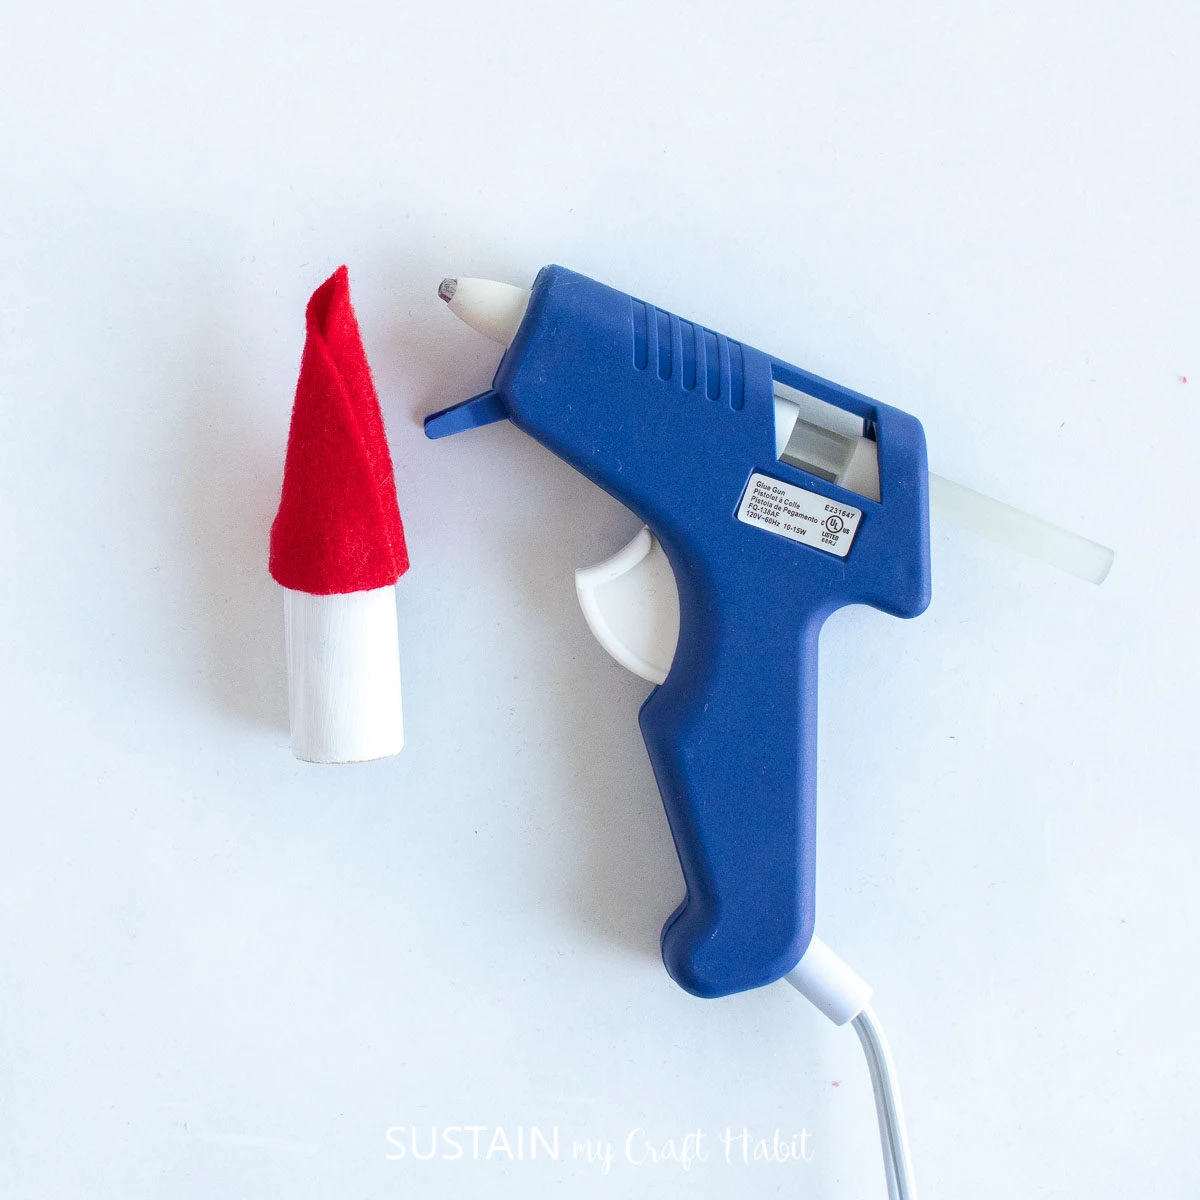
Paint ¾ of the wine cork in white paint, leaving the center unpainted. Leave to dry.
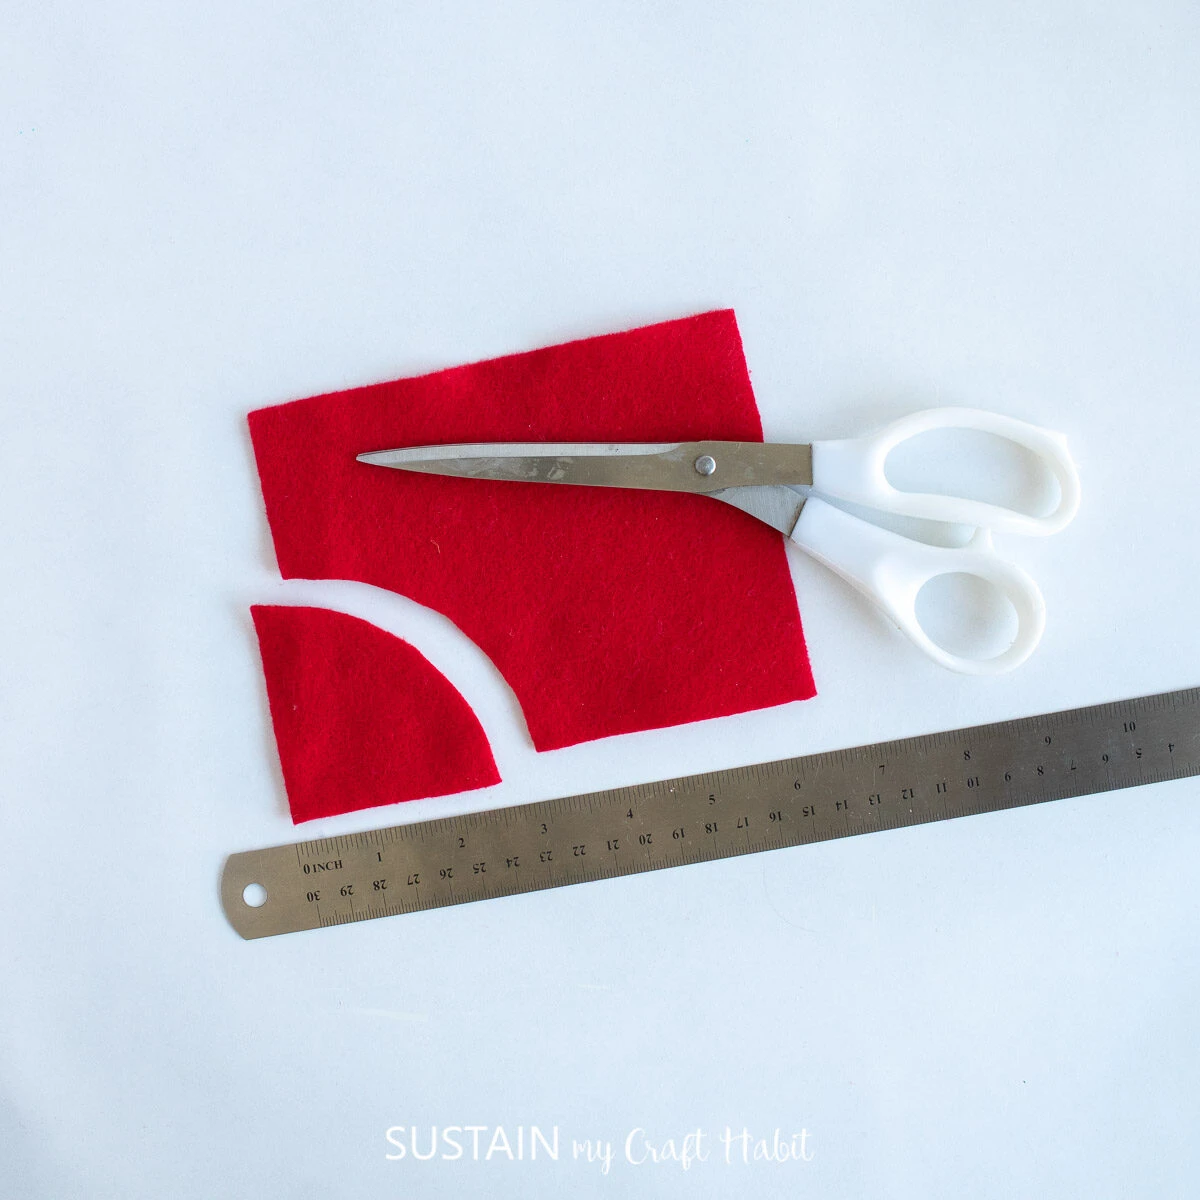
Cut a quarter circle shape measuring 2 ¼” high out of red felt.

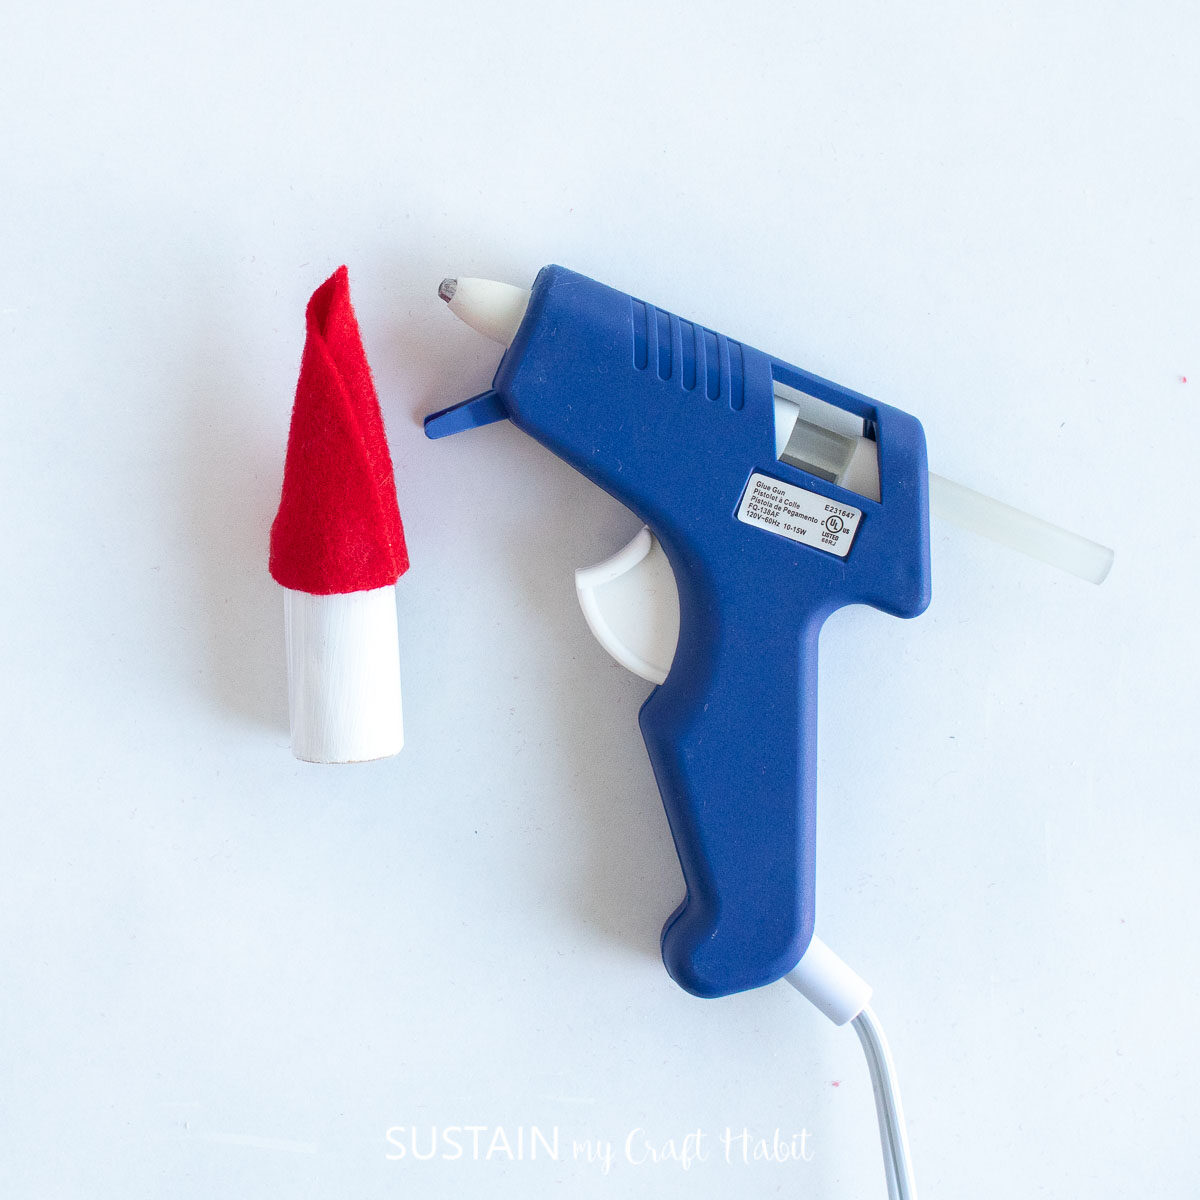
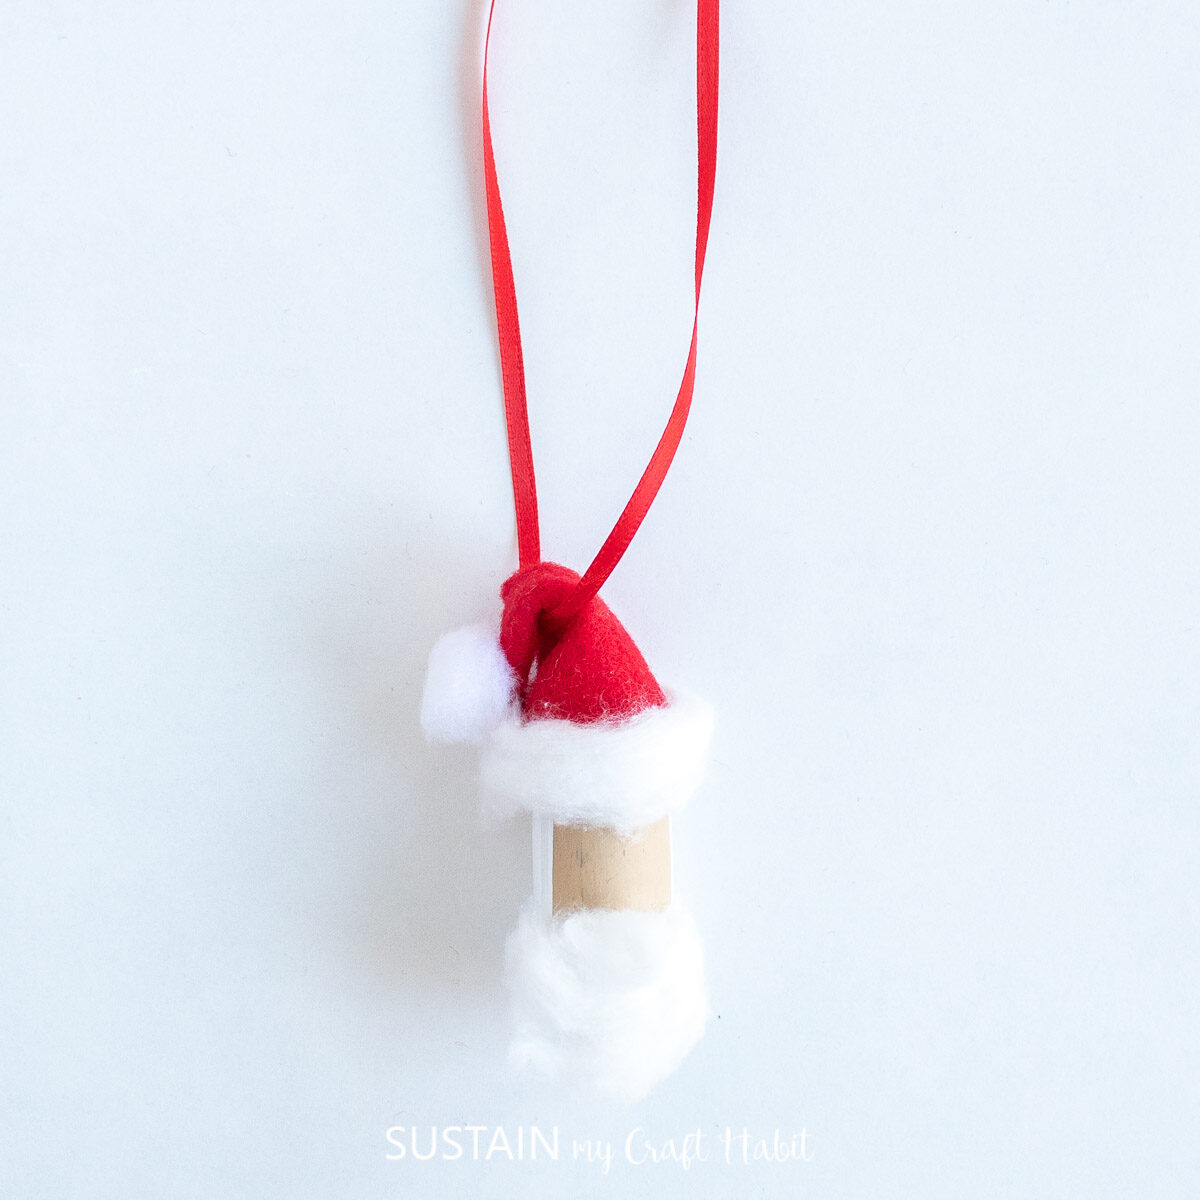
Wrap the felt around the top of the cork forming a triangular Santa hat and glue in place.
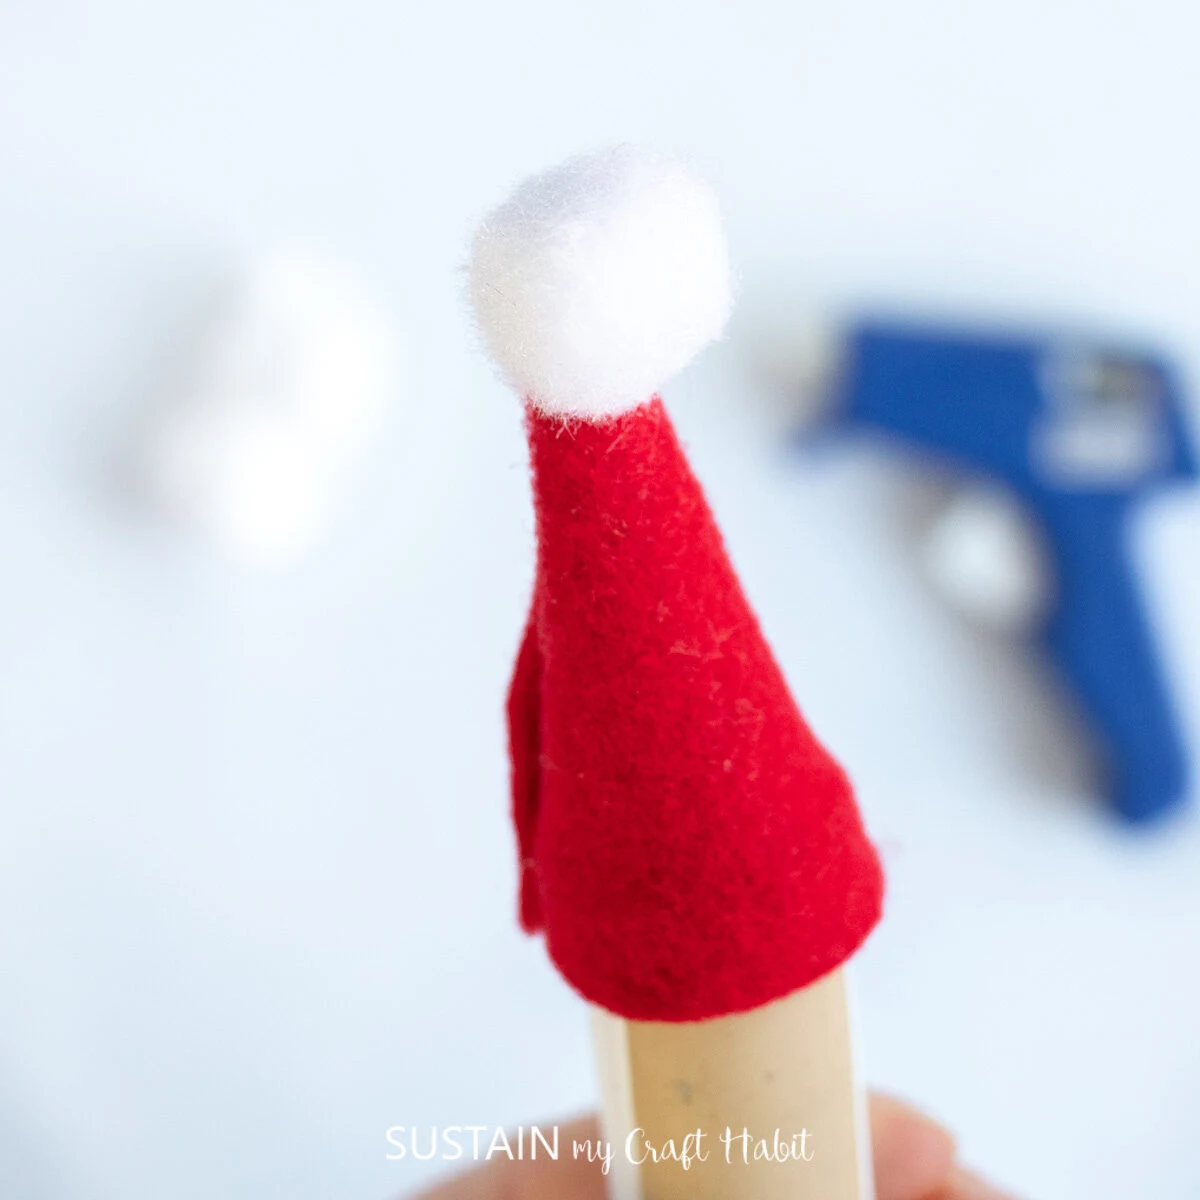
Glue pom pom to the tip of the hat.

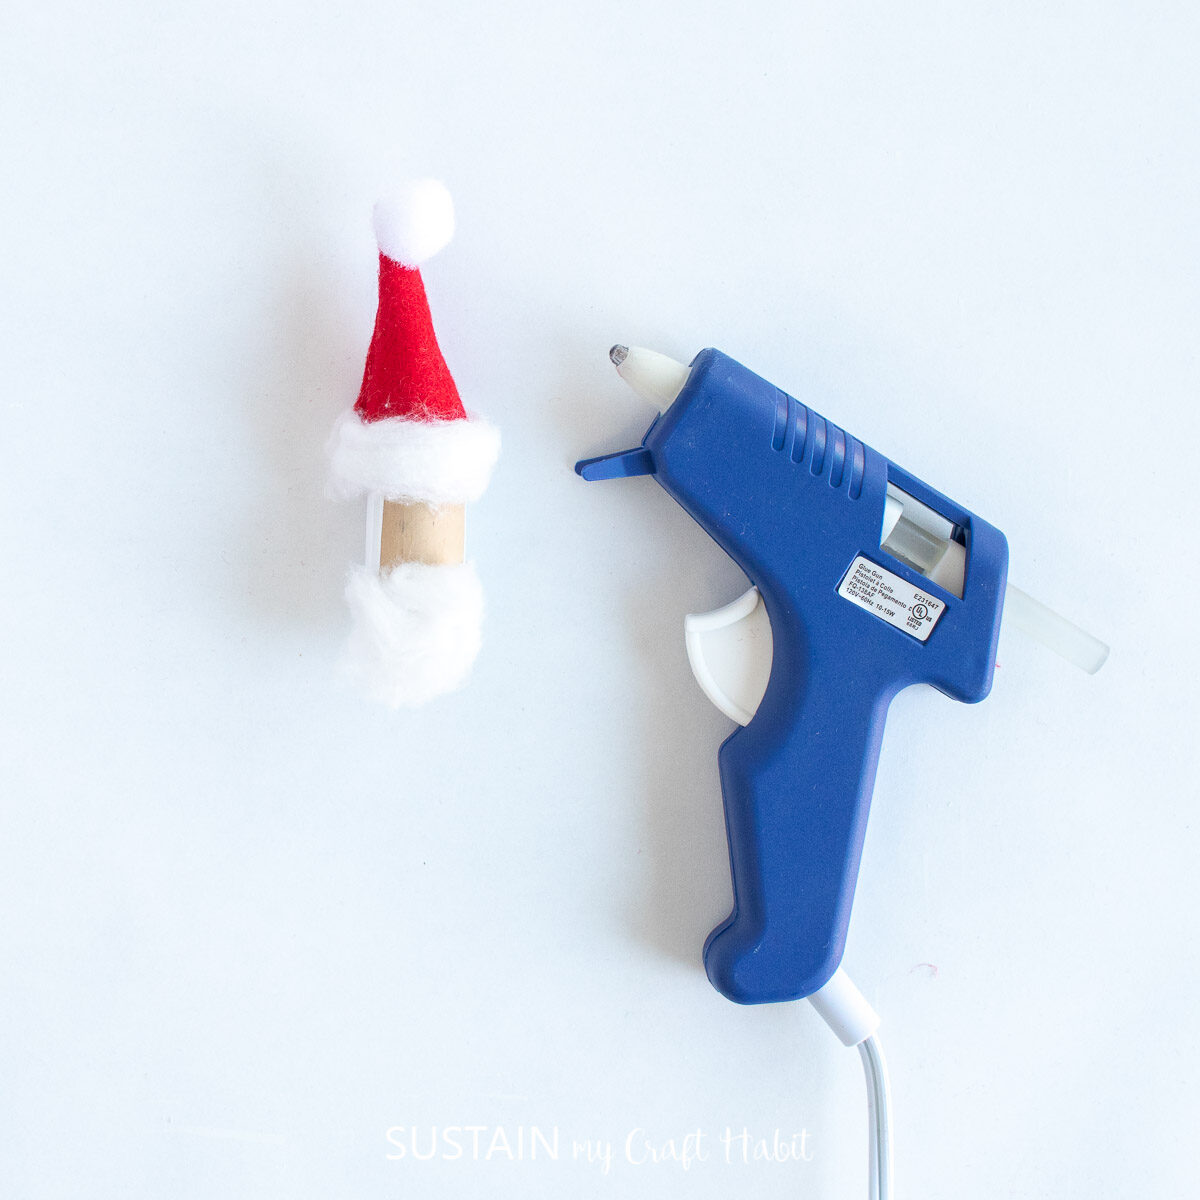
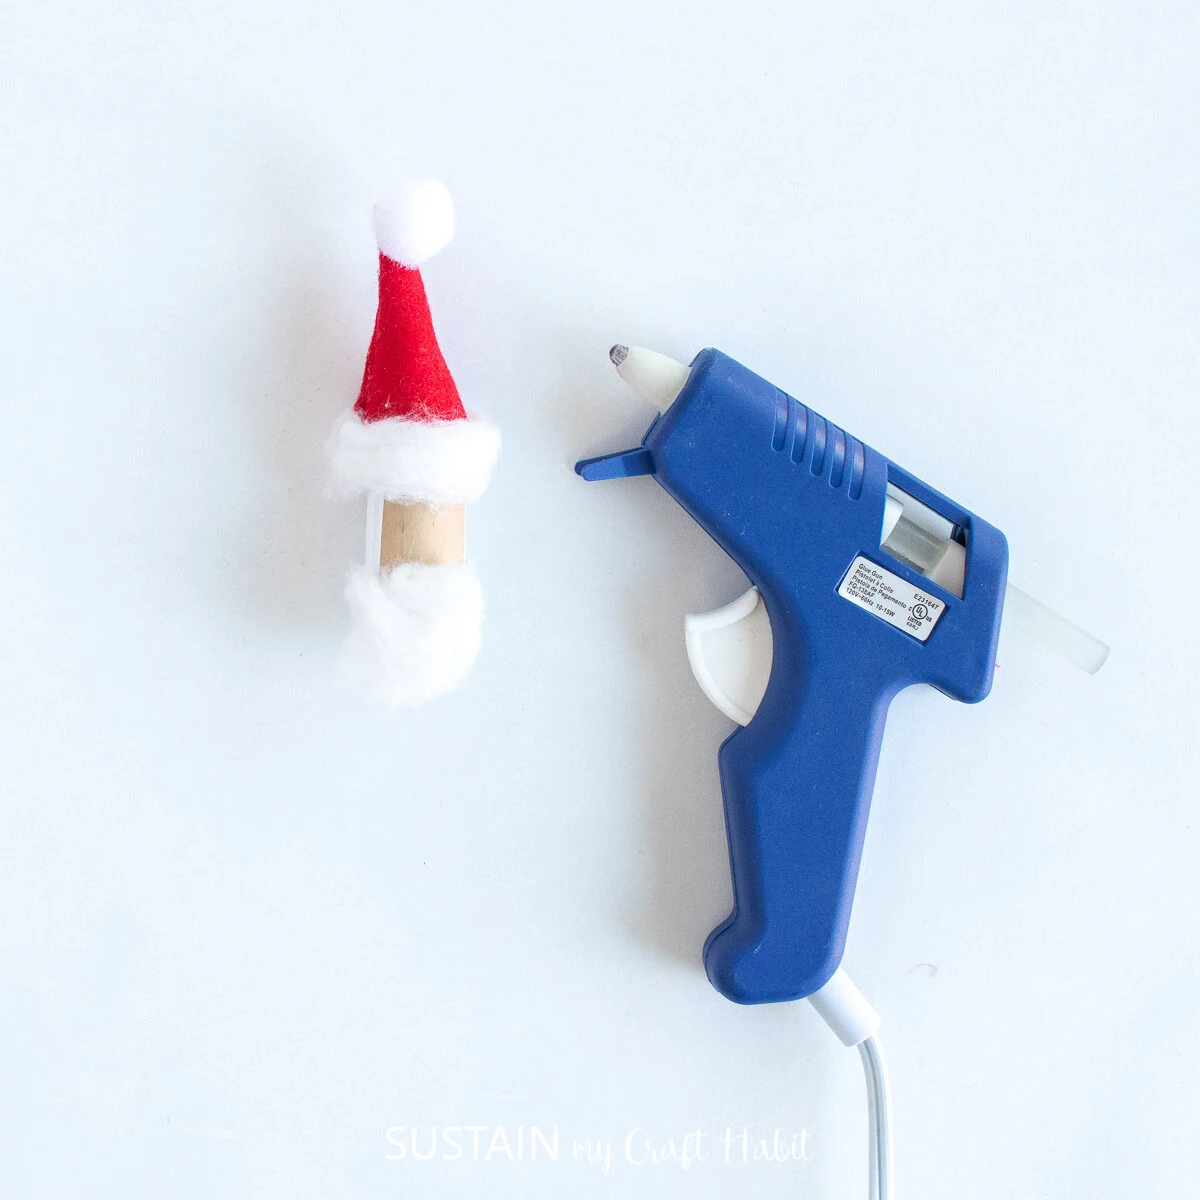
Gently pull apart one cotton ball and glue it around the base of the Santa hat and to the front of Santa’s face for the beard (on the unpainted portion of the cork).
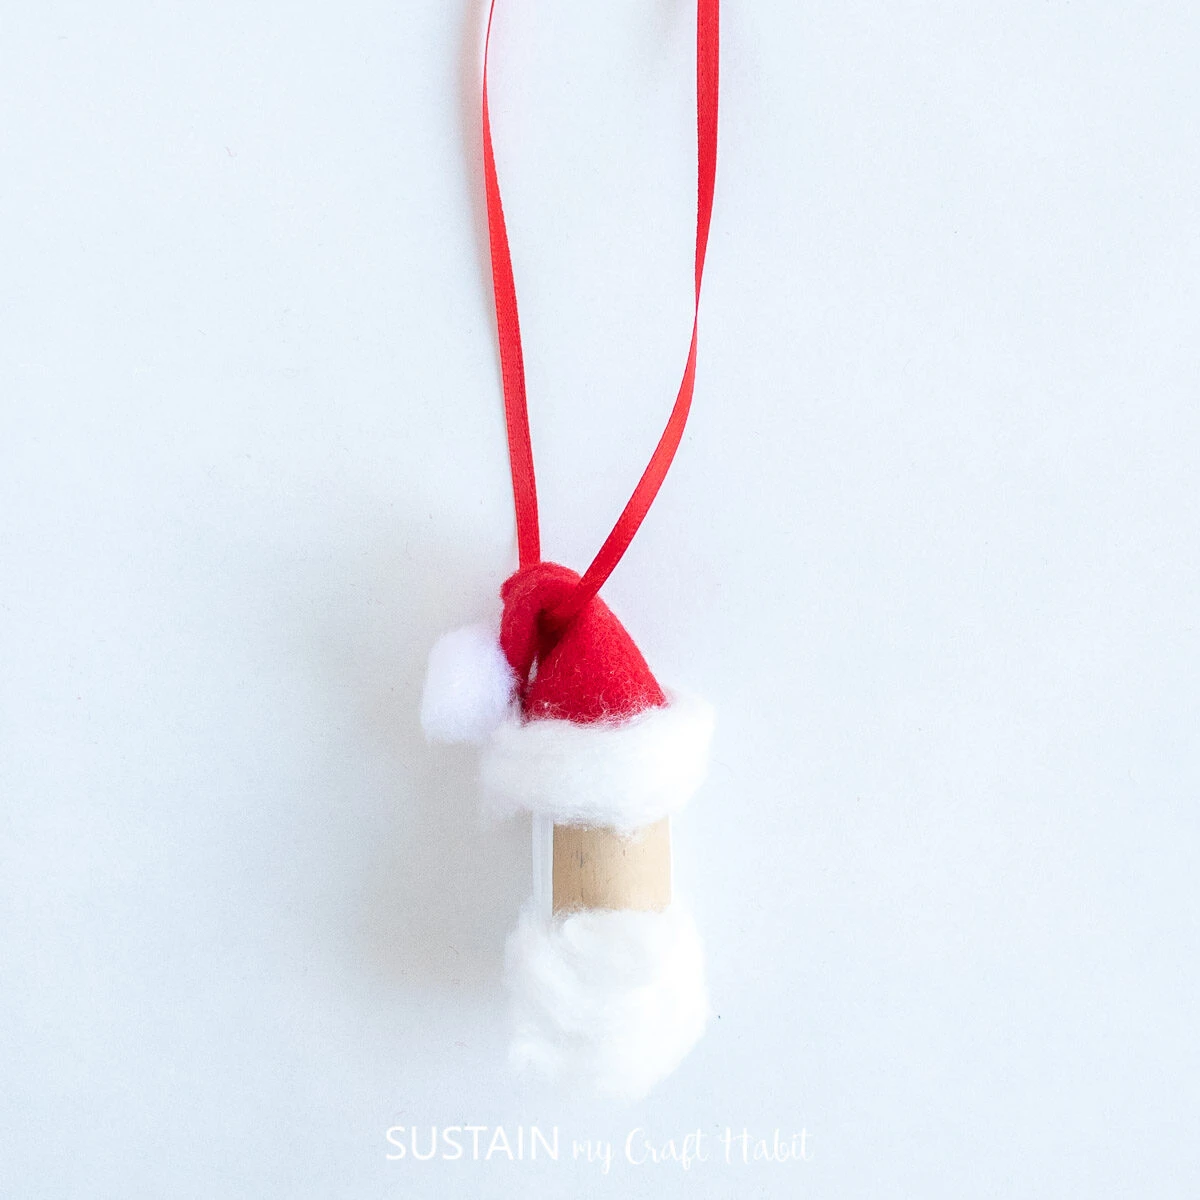
Fold Santa’s hat to one side, sandwiching the ribbon in between and glue the folded hat in place. Tie the ends of the ribbon into a knot to form a loop for hanging.
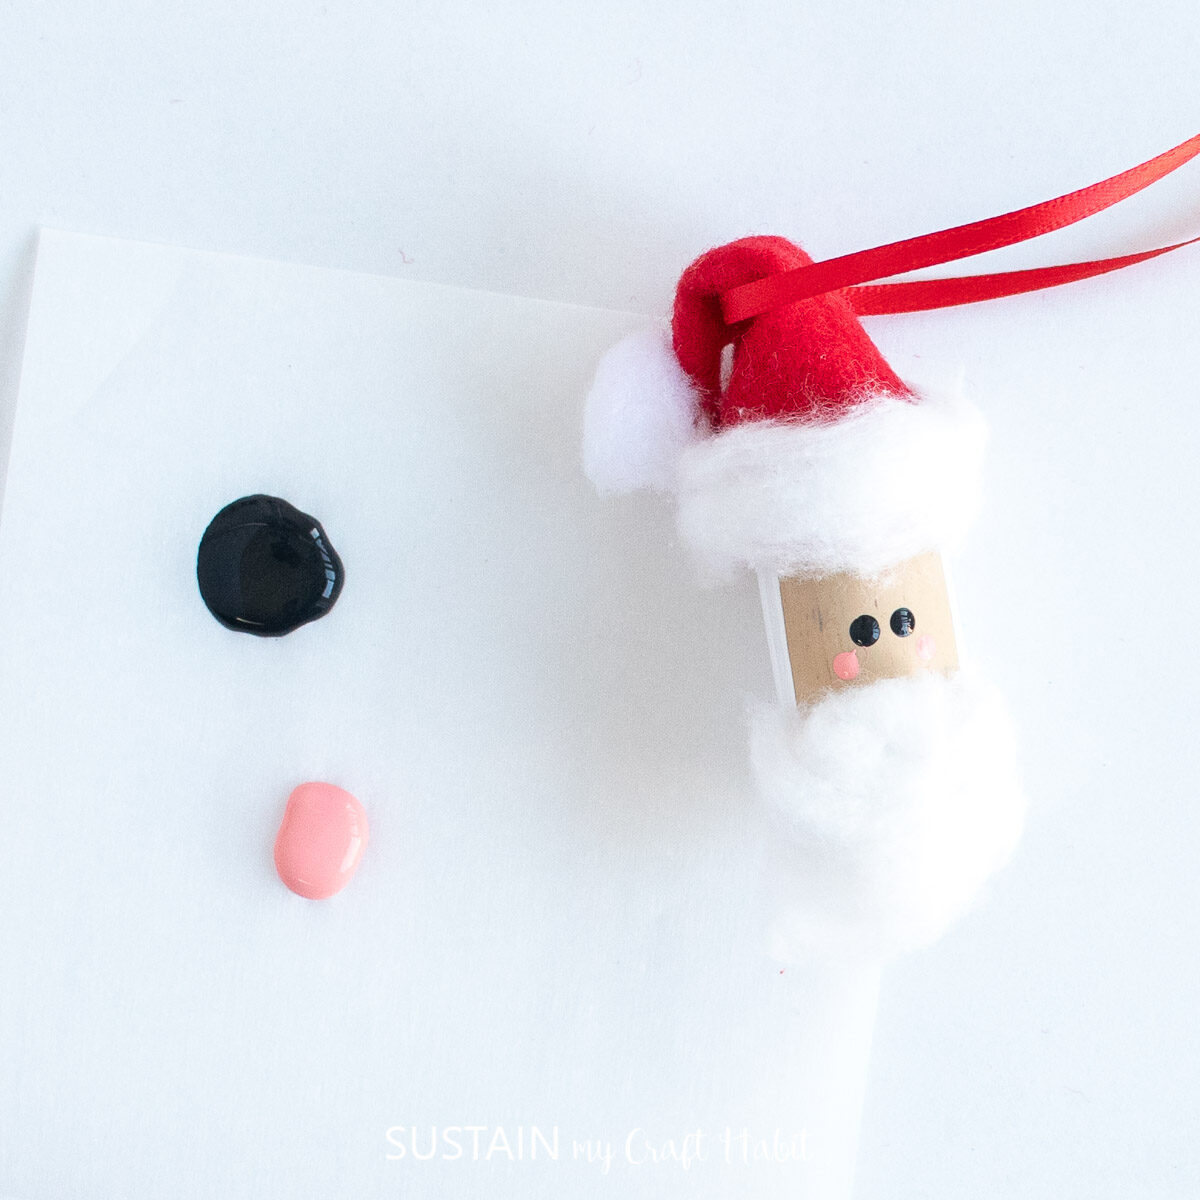
Using the back end of a paintbrush, dip it in black paint and dab two round circles for Santa’s eyes. Add two small circles in pink for Santa’s cheeks.

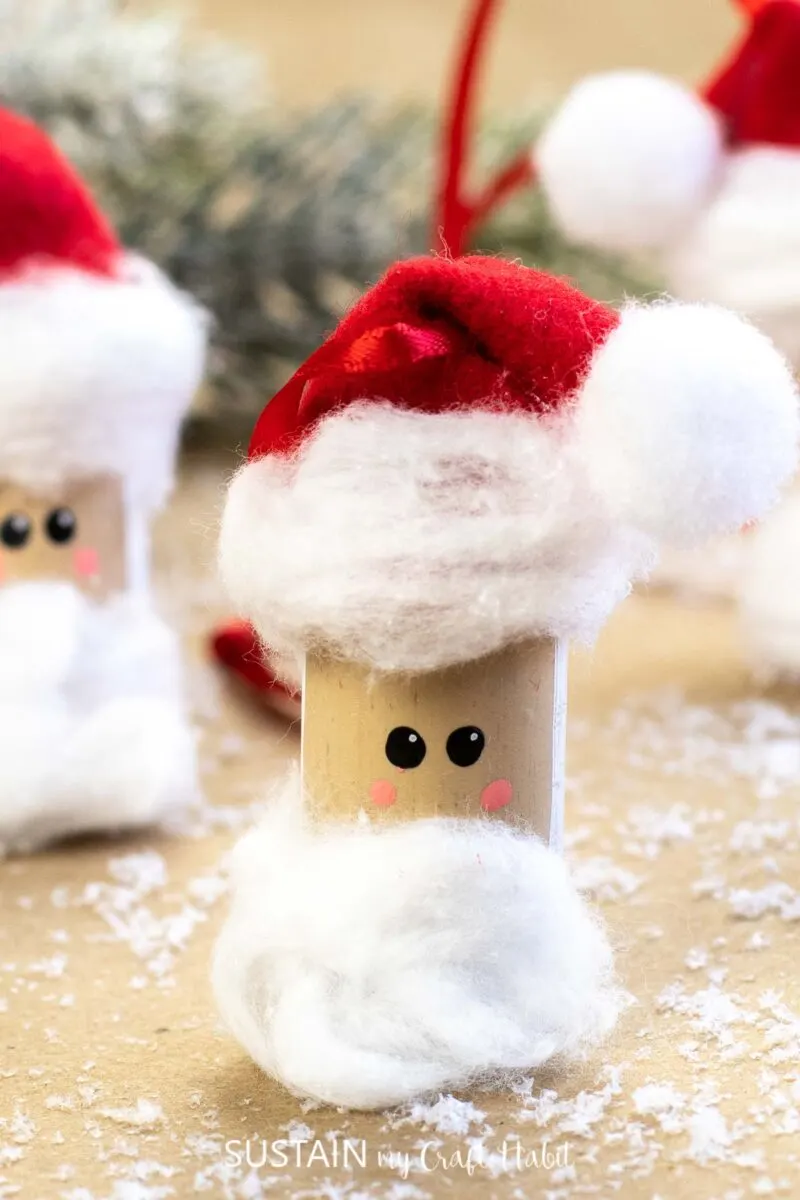
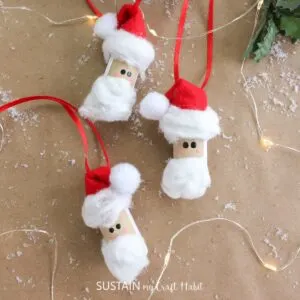
And with that, the santa cork ornament is complete! But why stop at one when you can make a full set. How adorable would these look hanging on the Christmas tree.

Thankyou so much for stopping buy! Become a Sustain My Craft Habit insider to receive fun freebies.
More Adorable Christmas Ornaments
- Light Bulb Christmas Ornaments
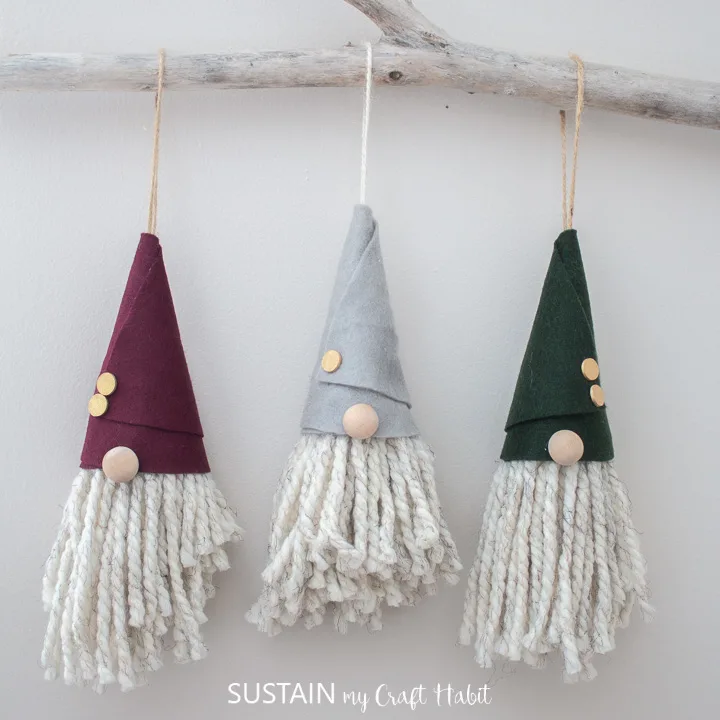
- DIY Gnome Christmas Ornaments
- Nutcracker Cinnamon Stick Ornaments
- Flannel Christmas Tree Ornaments
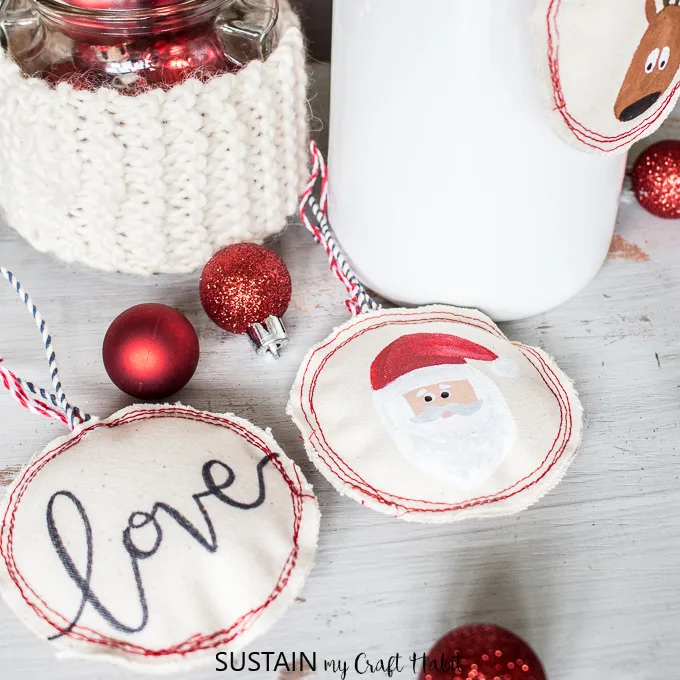
- Christmas Ornaments with Canvas Etc.
- Felt Nativity Crafts
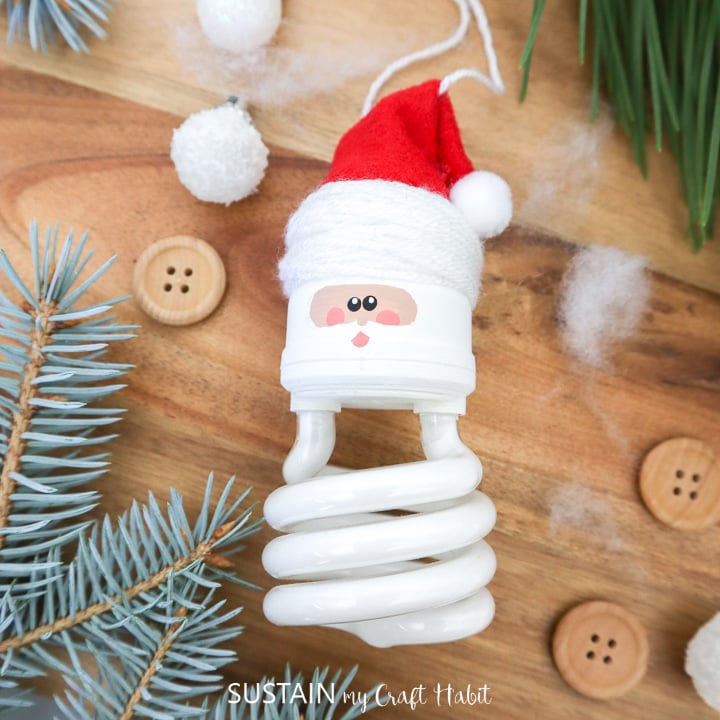

Santa Lightbulb Ornament 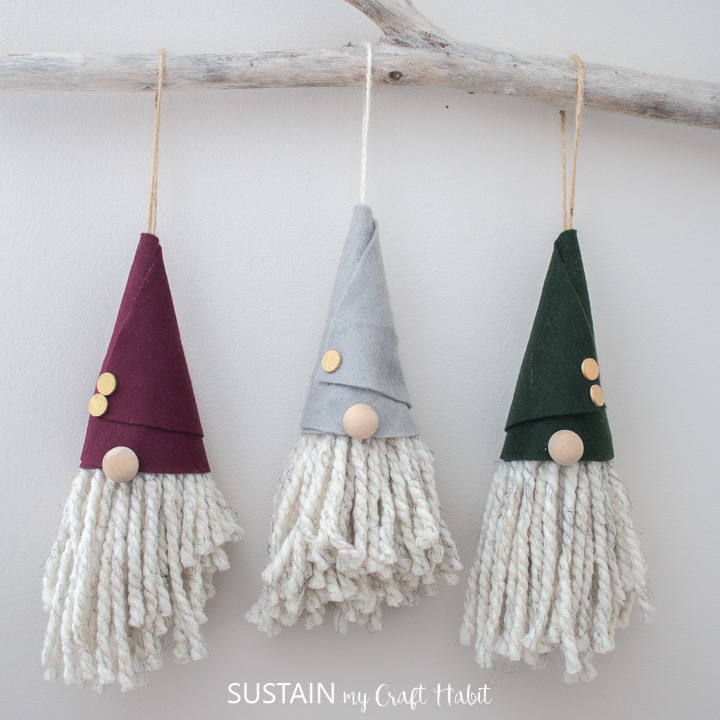
Gnome Christmas Ornaments 
Nutcracker Ornaments 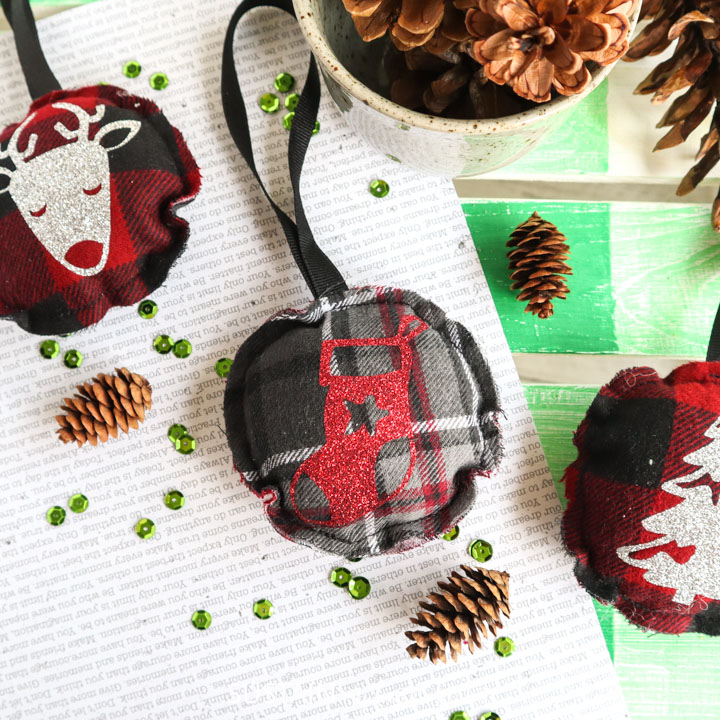
Flannel Christmas Ornaments 

Scrap Canvas Painted Ornaments 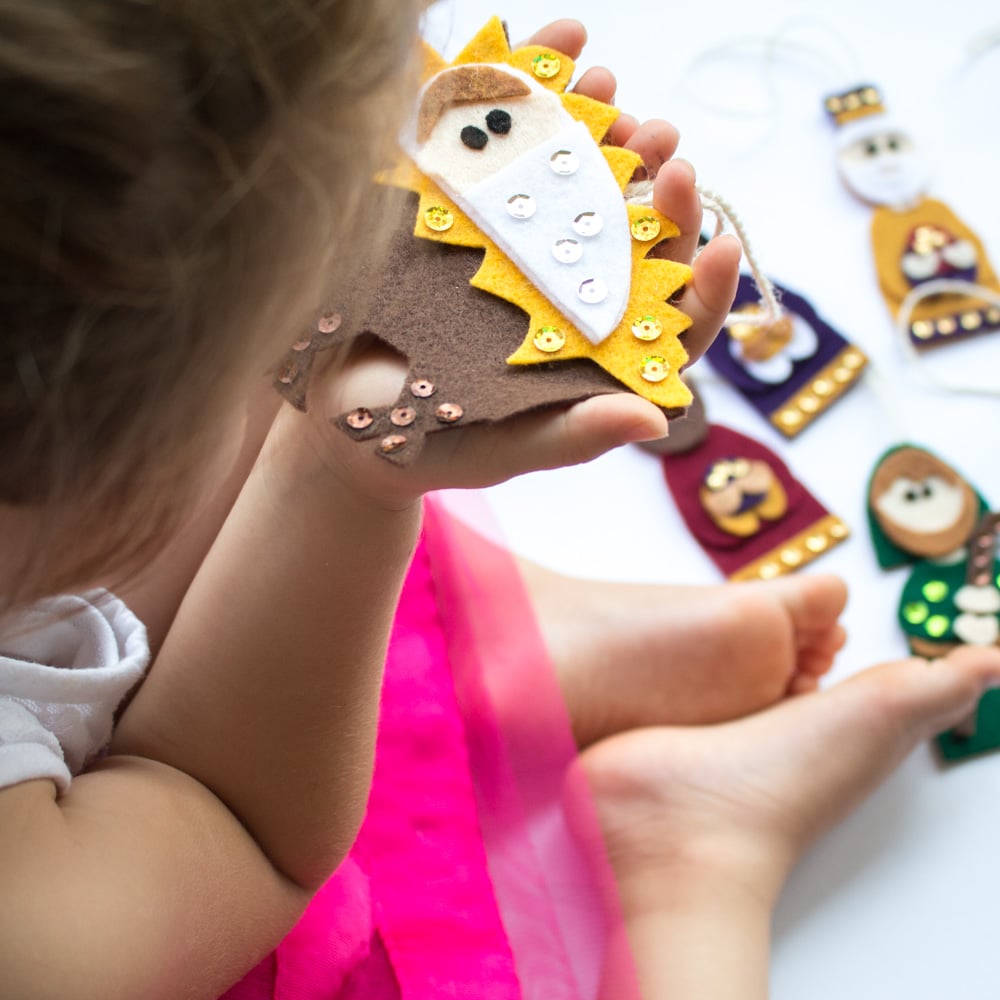

Nativity ornaments


So how did your wine cork ornament DIY turn out? Make sure to show it off to us! Tag us on Facebook or Instagram– we can’t wait to see it!
Get updates on the latest posts and more from Sustain My Craft Habit straight to your inbox by joining our weekly newsletter. We promise to send you only the good stuff.
Like it? Pin it for later!

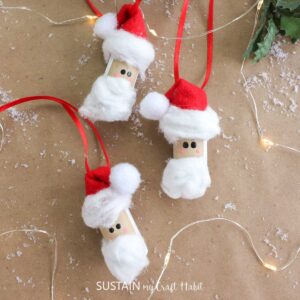
DIY Adorable Santa Wine Cork Ornaments
Materials
- Wine Cork
- Red felt sheet
- Cotton ball
- Scissors
- Hot glue gun and clear glue sticks
- Acrylic paint in black, white and pale pink Americana Acrylics Melon, Black and Snow White
- Paintbrush
- Ribbon cut to 12” long
- Small pom-pom in white
Instructions
- Paint ¾ of the wine cork in white paint, leaving the center unpainted. Leave to dry.
- Cut a quarter circle shape measuring 2 ¼” high out of red felt.
- Wrap the felt around the top of the cork forming a triangular Santa hat and glue in place.
- Gently pull apart one cotton ball and glue it around the base of the Santa hat and to the front of Santa’s face for the beard.
- Fold Santa’s hat to one side, sandwiching the ribbon in between and glue the folded hat in place. Tie the ends of the ribbon into a knot to form a loop for hanging.
- Glue pom pom to the tip of the hat.
- Using the back end of a paintbrush, dip it in black paint and dab two round circles for Santa’s eyes. Add two small circles in pink for Santa’s cheeks.