
Those personal yet professional details can make all the difference in a small business. The new line of tools for the Cricut Maker enabled us to create beautiful, polished DIY product tags to add to the items in our Etsy shop.
This is a sponsored conversation written by me on behalf of Cricut. The opinions and text are all mine.
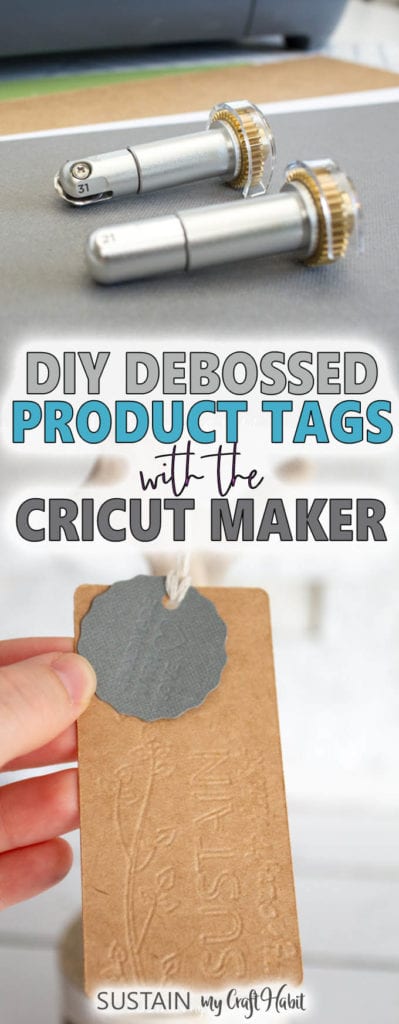
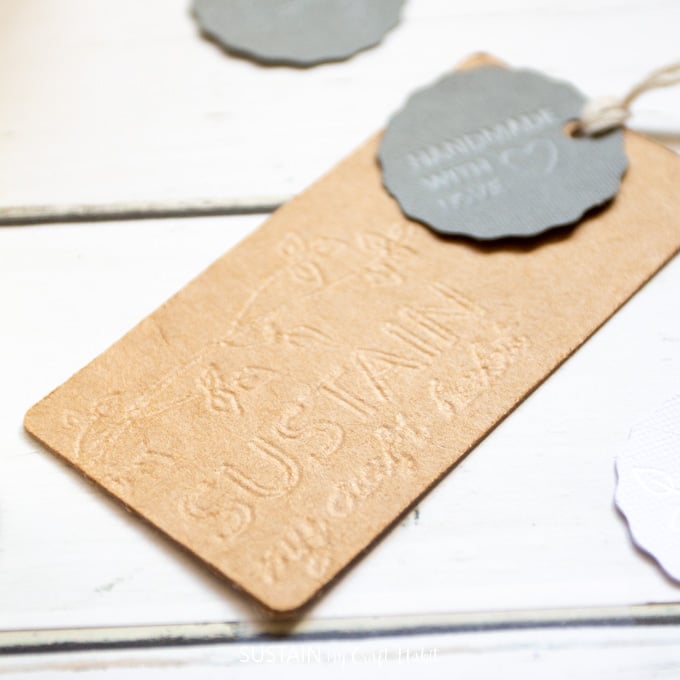
DIY Product Tags with Cricut
Ever since opening our Etsy shop several years ago, Sonja and I have wanted to create some pretty tags to represent our brand to our customers. In our shop we offer nature-inspired creations such as driftwood mirrors, wreaths, trees and beach stones. Pop on over for a visit and take a peak!
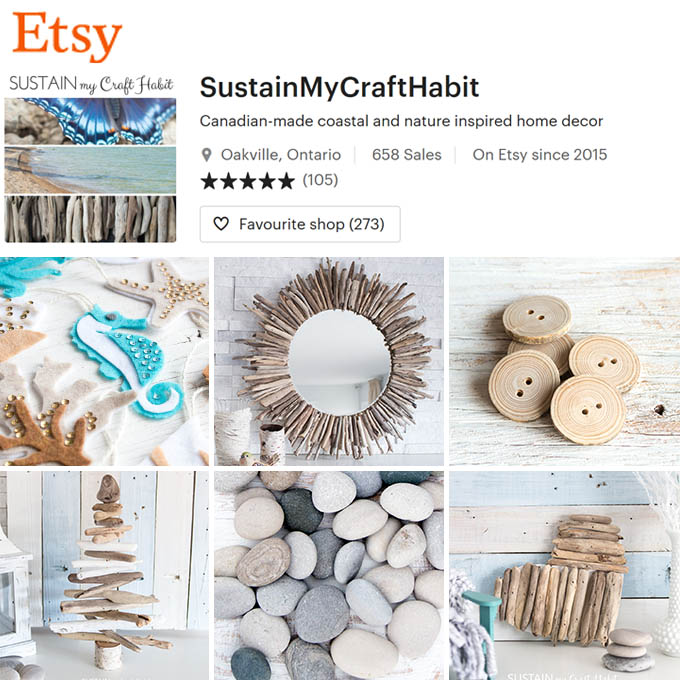

Currently, we have some simple tags which we print out on paper or cardstock and cut them out. We’ve looked into ordering tags elsewhere, but have found them to be quite expensive.
So when Cricut announced their new line of tools for the Maker, inspiration struck! The debossing tool especially “popped out” as just what we needed to create beautiful, professional tags that were on-brand for our shop.

The New Cricut Maker Tools
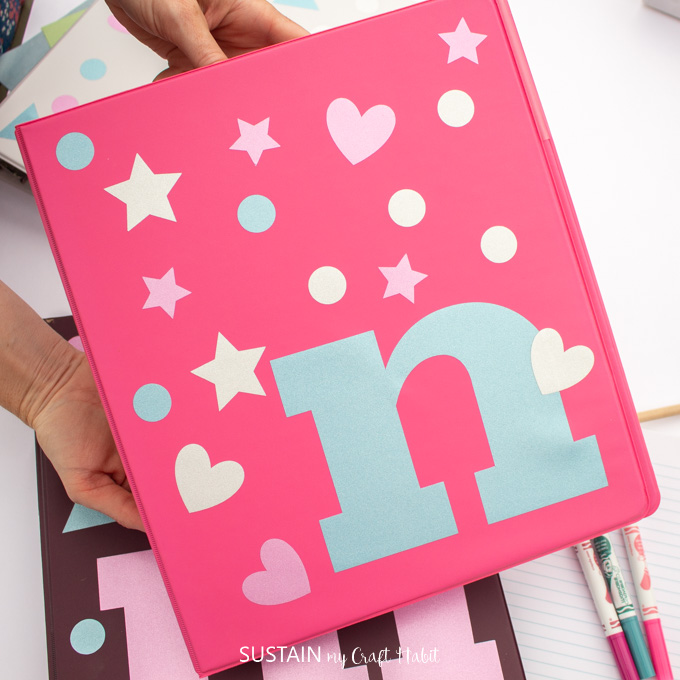
Over the last few months we’d become familiar with most of the cutting tools for the Cricut Maker such as the knife, rotary and scoring blades. We’ve used them to make beautiful projects such as our personalized binders, potted felt succulents, cherry blossom paper flowers and more.

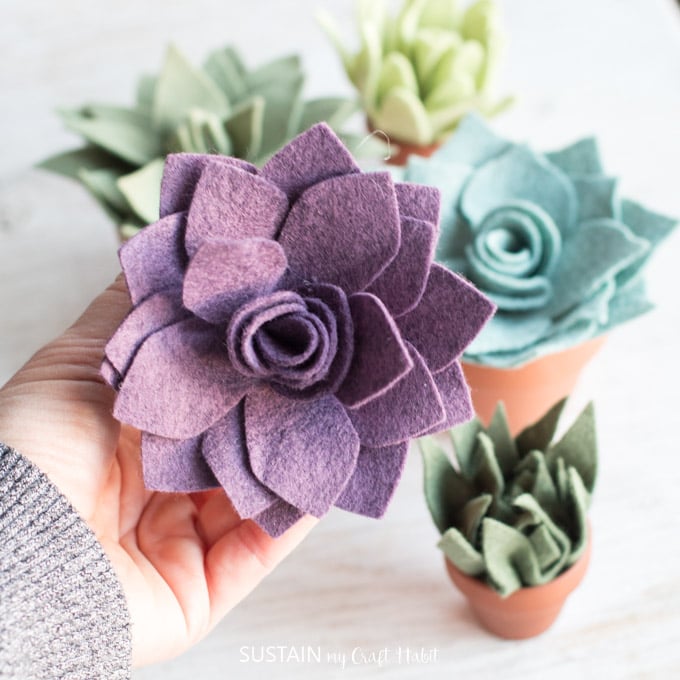
Felt Succulent Mini Pots 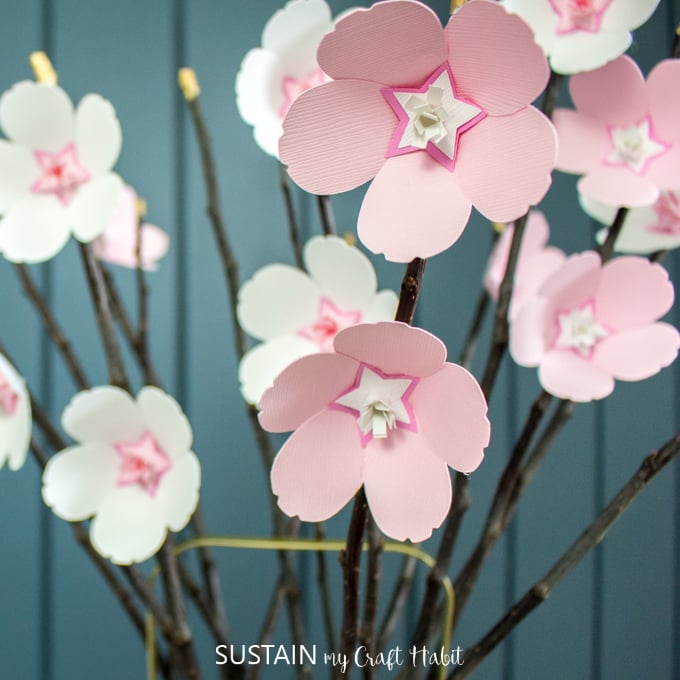


These four new Cricut Maker tools however, allow us to take our crafting up a notch! Now we can engrave, deboss, perforate, and cut waves. Moreover, Cricut’s released a new set of metal materials which work great with these tools!
Here’s a quick overview of four new Cricut tools:
- Perforation Blade: Create perfect tear-offs and easy peel-always using paper, cardstock, acetate, poster board, and more.
- Wavy Blade: Quickly create a fun wavy edge on a variety of popular materials.
- Engraving Tip: Write personalized text or create monograms, draw decorative flourishes and embellishments, or inscribe your favorite quotes on a keepsake.
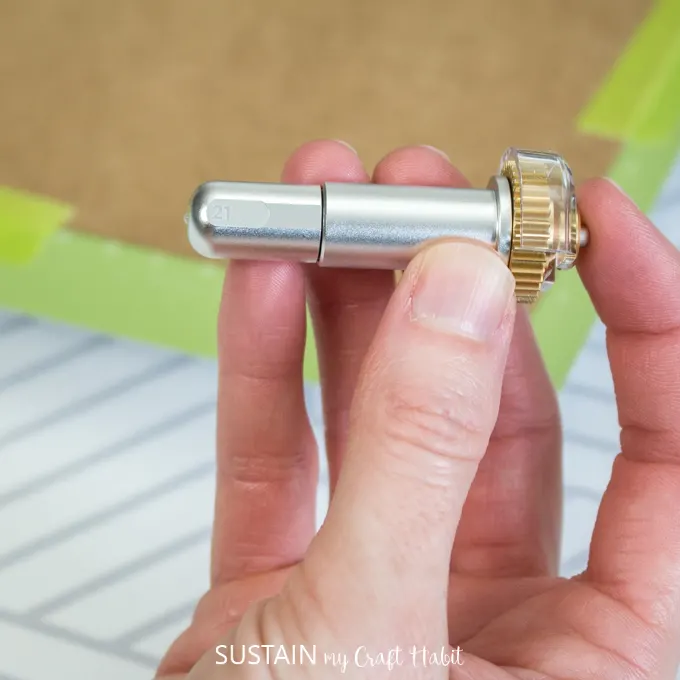
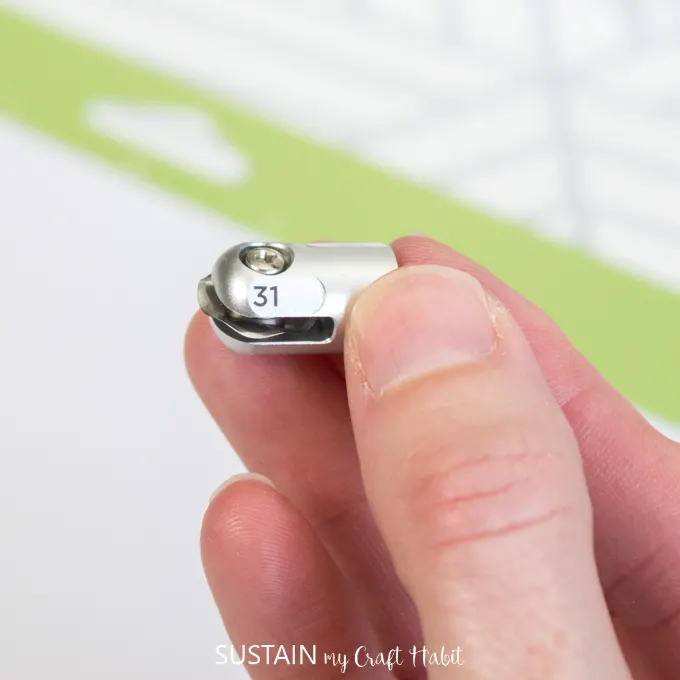
- Fine Debossing Tip: Customize projects with crisp, detailed debossed designs.
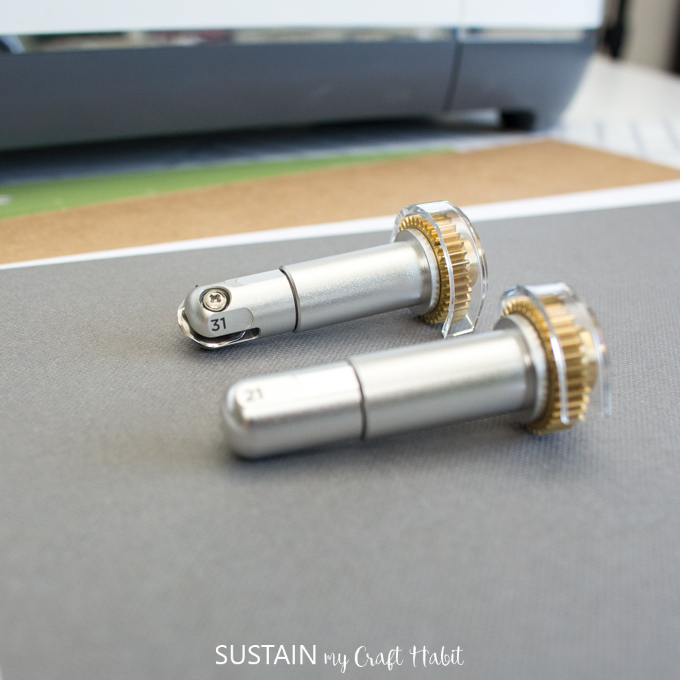
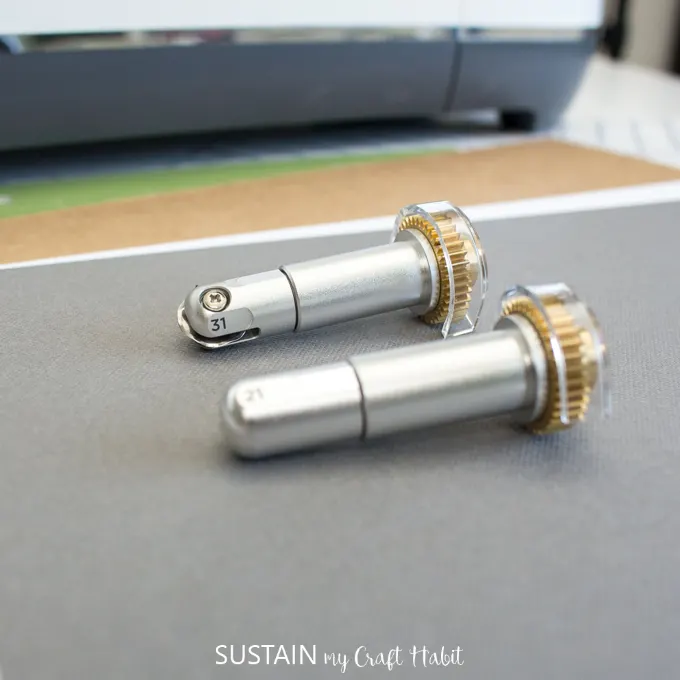
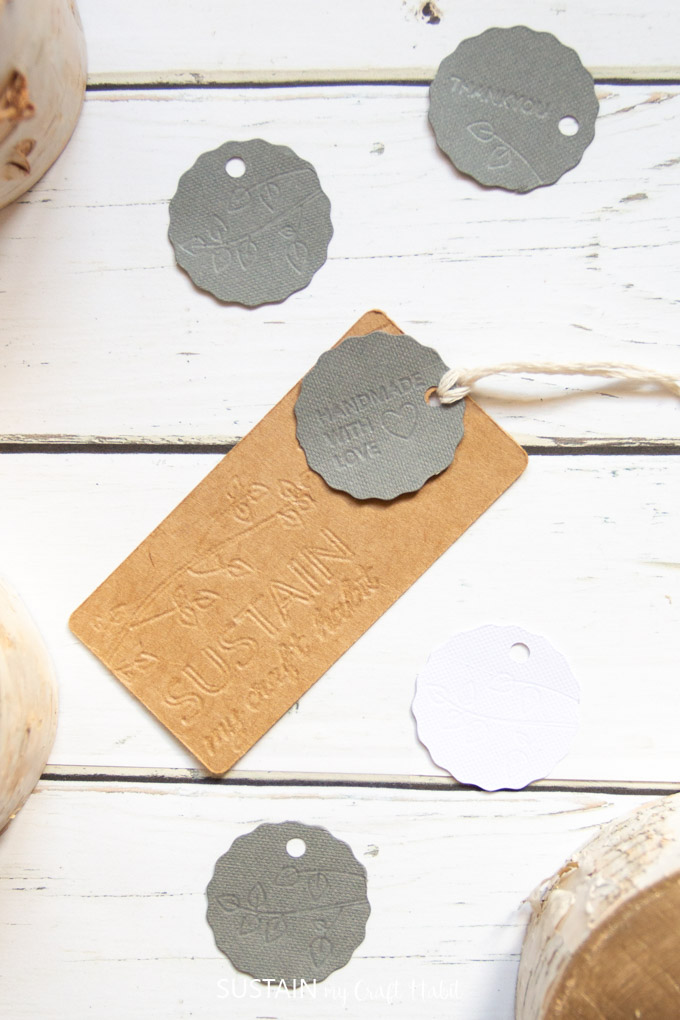
For our new product tags we decided to use the fine debossing tip and wavy blade. The tools are all super easy to switch out using the QuickSwap housing unit.
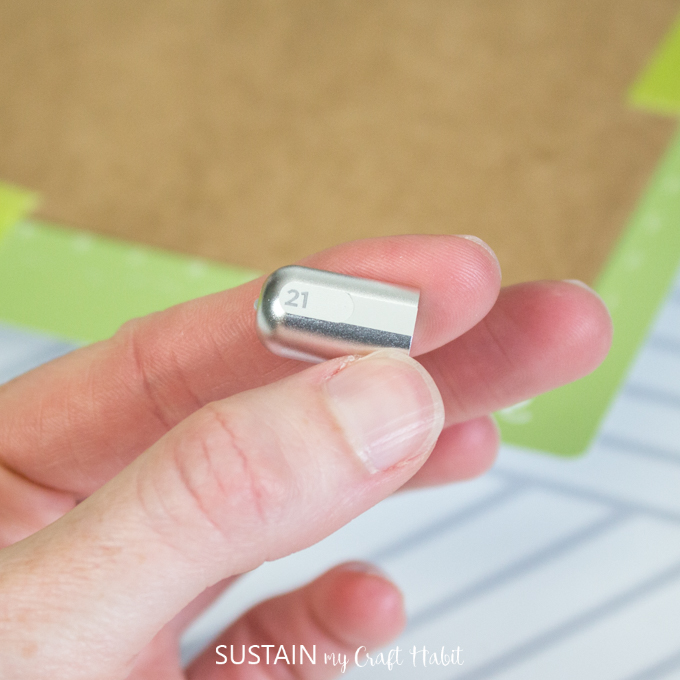


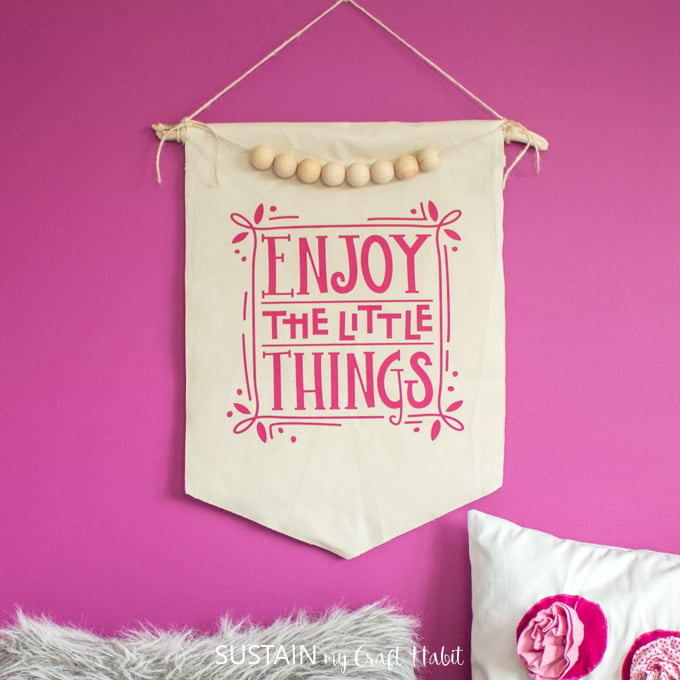
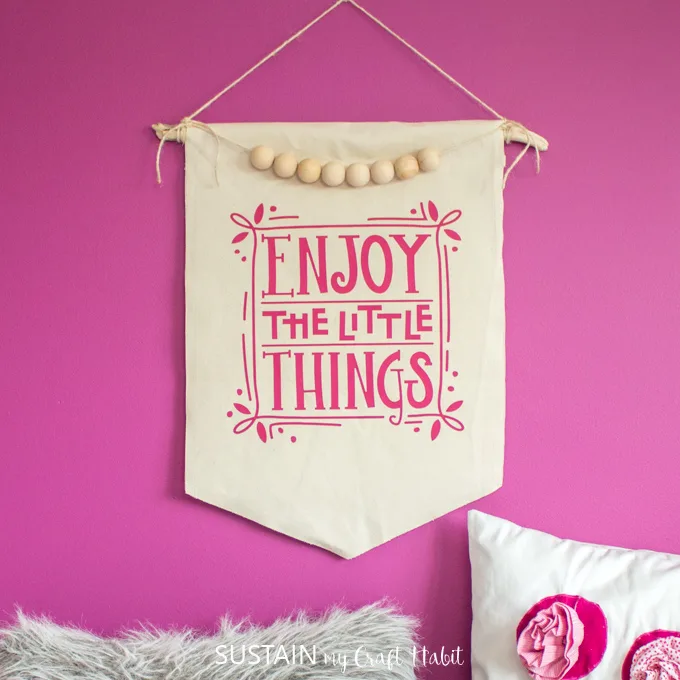
I was surprised at how intricate of a design the rolling debossing ball was able to achieve. Having started out with a larger leaf design, I was pleased to be able to shrink it down in size and still achieve incredible intricacy. As for the wavy tool, it adds that extra bit of playfulness to a design.
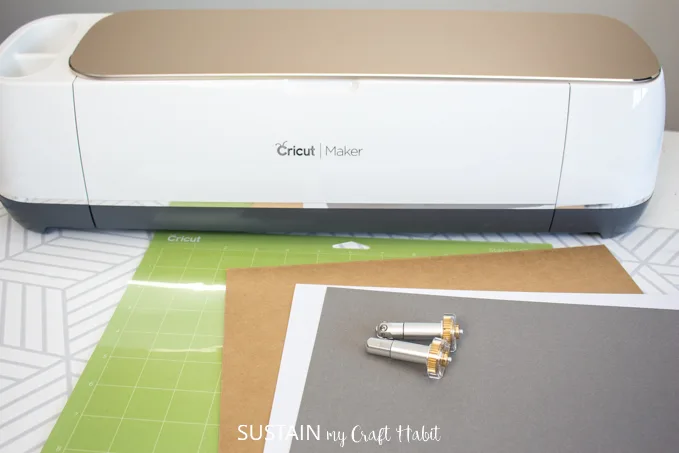
Supplies Needed for Making Similar DIY Product Tags:
- Customizable Product Tag Project in Design Space
- Cricut Maker
- Cricut Standard Grip Mat
- Wavy Blade with QuickSwap Housing
- Fine Debossing Tip
- Fine Point Blade Tool (standard)
- Lightweight chipboard, 1.5mm
- Medium Weight Cardstock in grey and white (Basics Sampler)
- Cricut Spatula (optional)
- Cording or thin Twine (optional)

Personalizing the Product Tags:
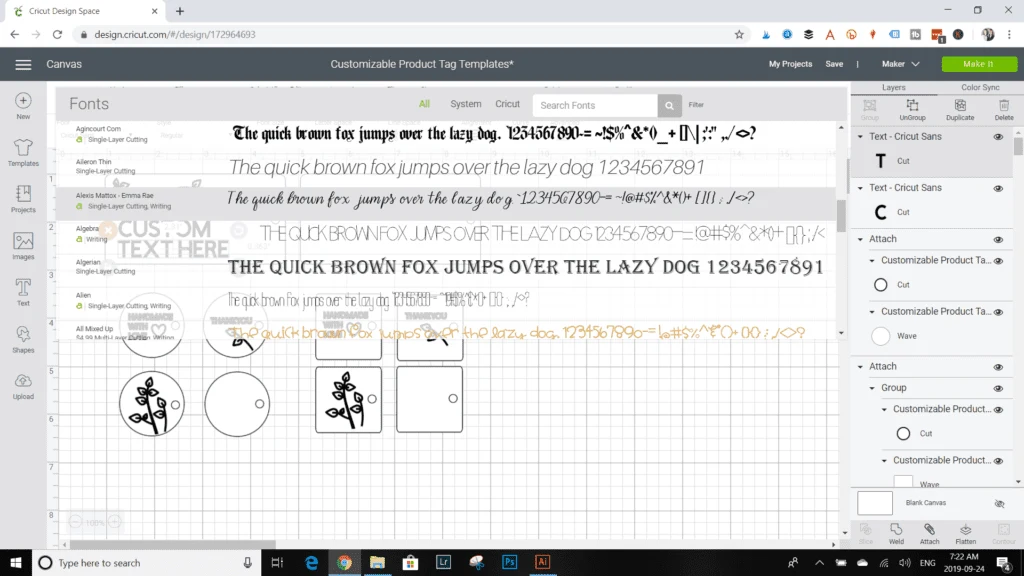
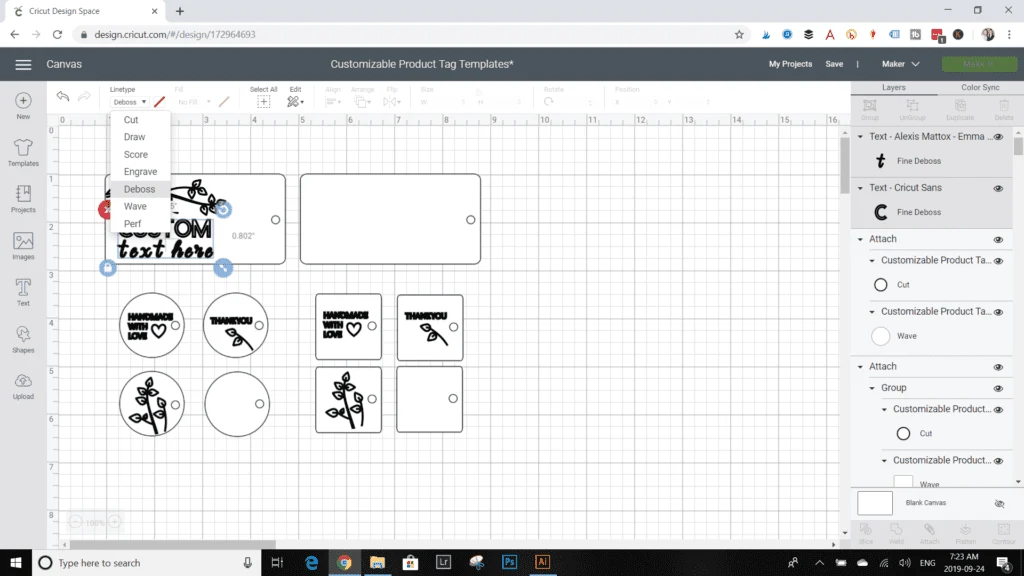
Access the free Product Tag project in Design Space. Select the customize button and you’ll see the blank tag templates we created on the canvas.
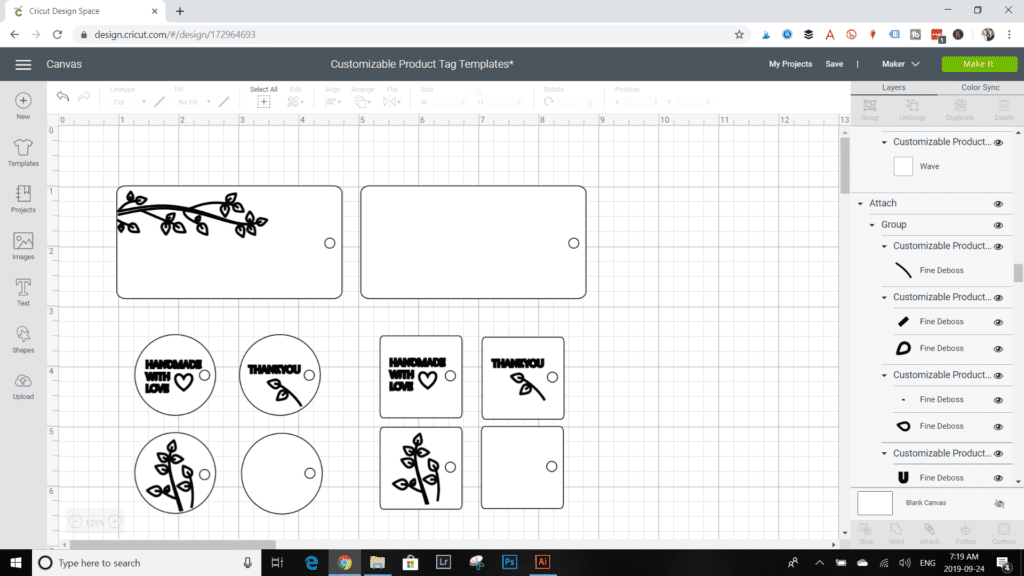
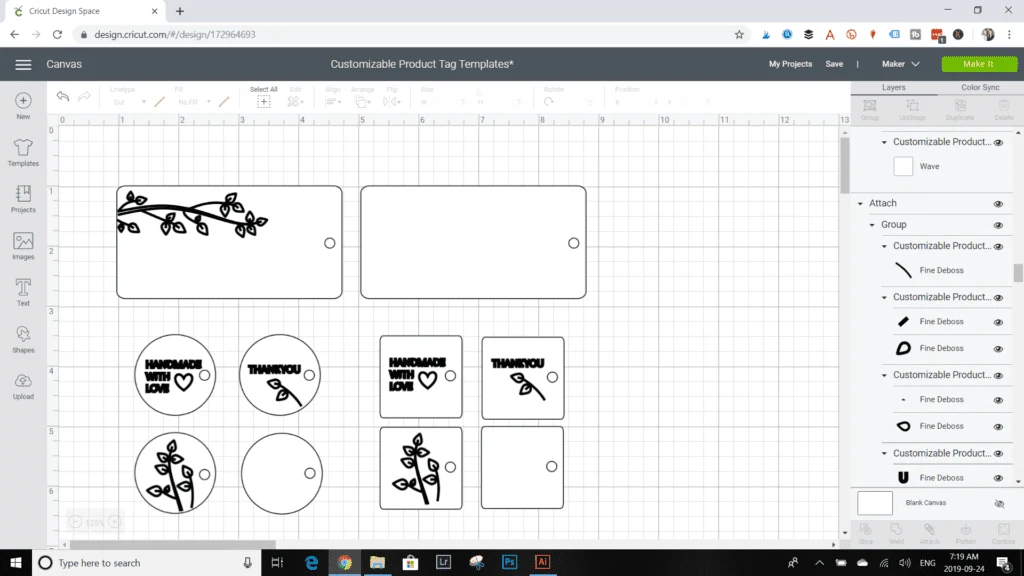
To customize the template by adding your own text or brand name (like we did), simply select the Text button on the left hand side. Begin typing out your text and resizing it to fit within the product tag.
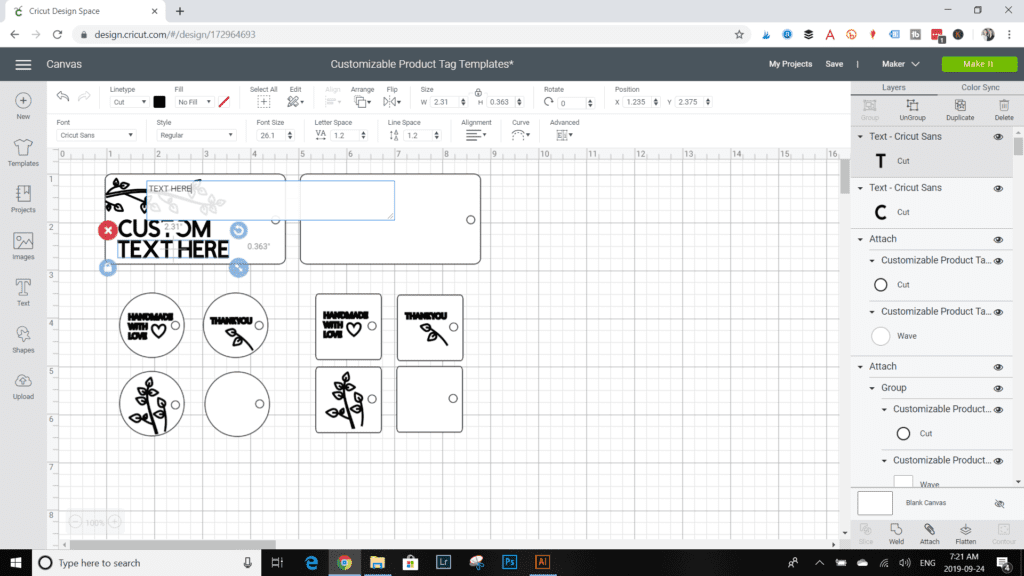
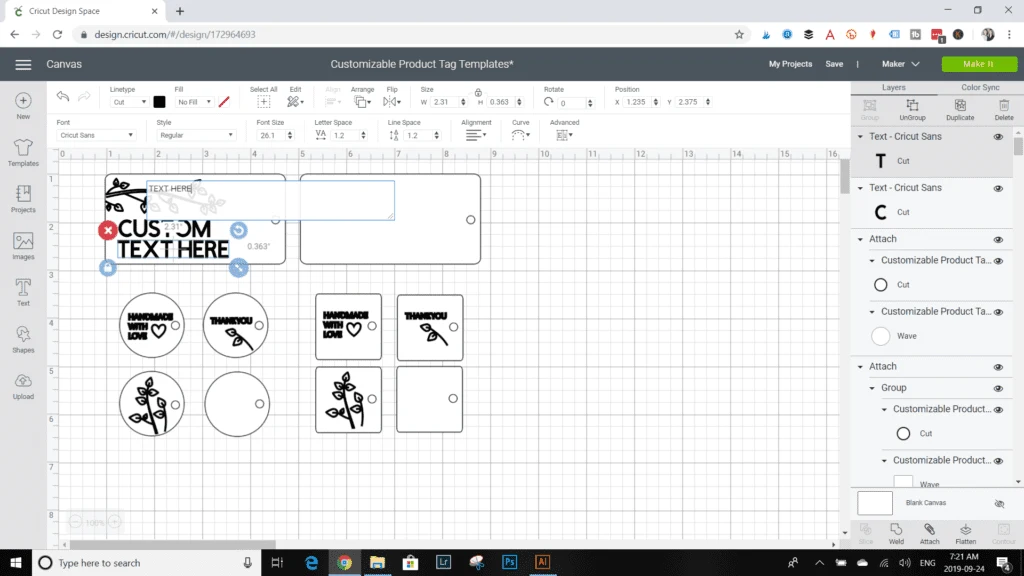
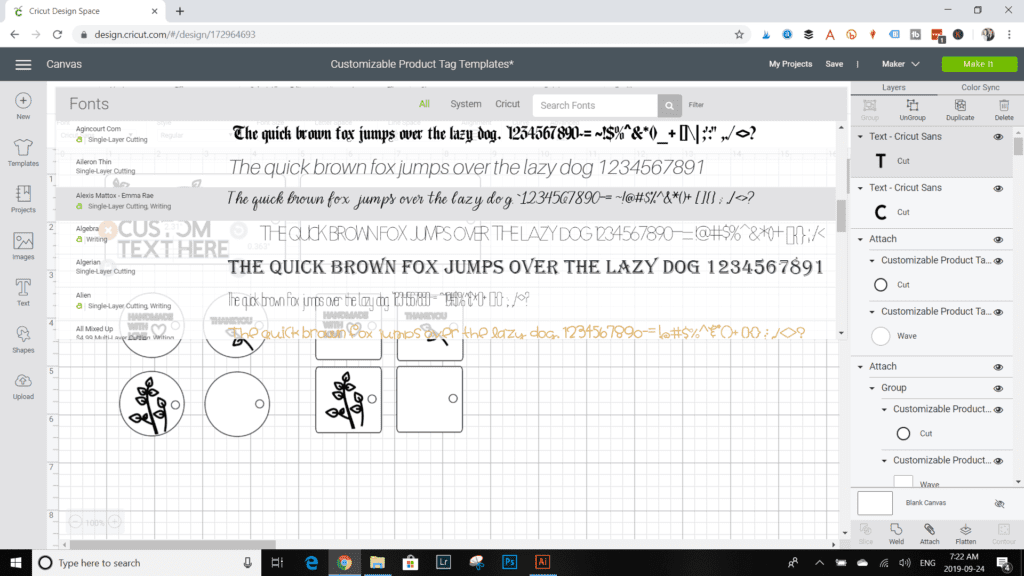
Choose a font you like from the Font drop down menu along the top bar of the canvas. Adjust the size again as needed so it fits inside the tag.
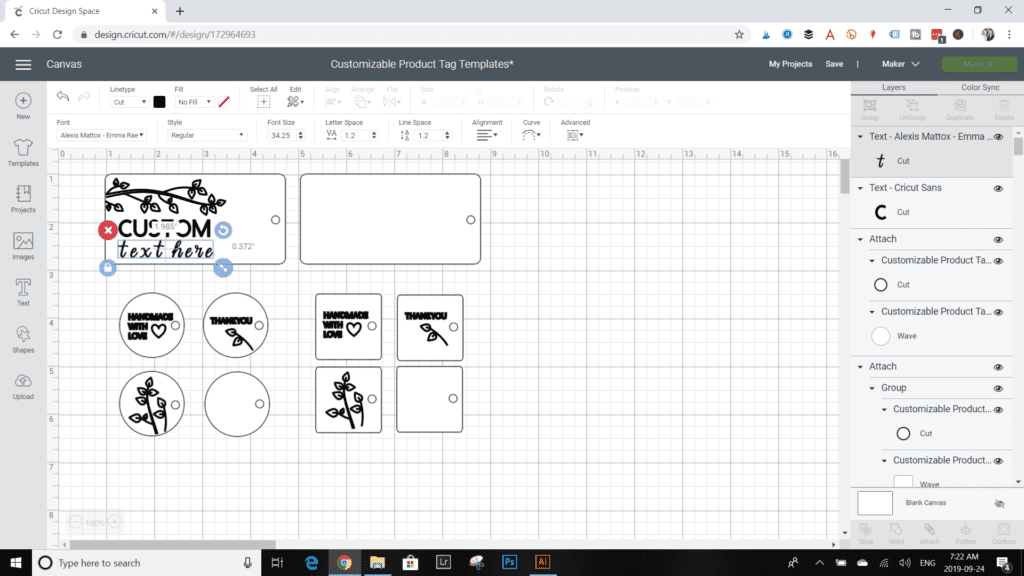
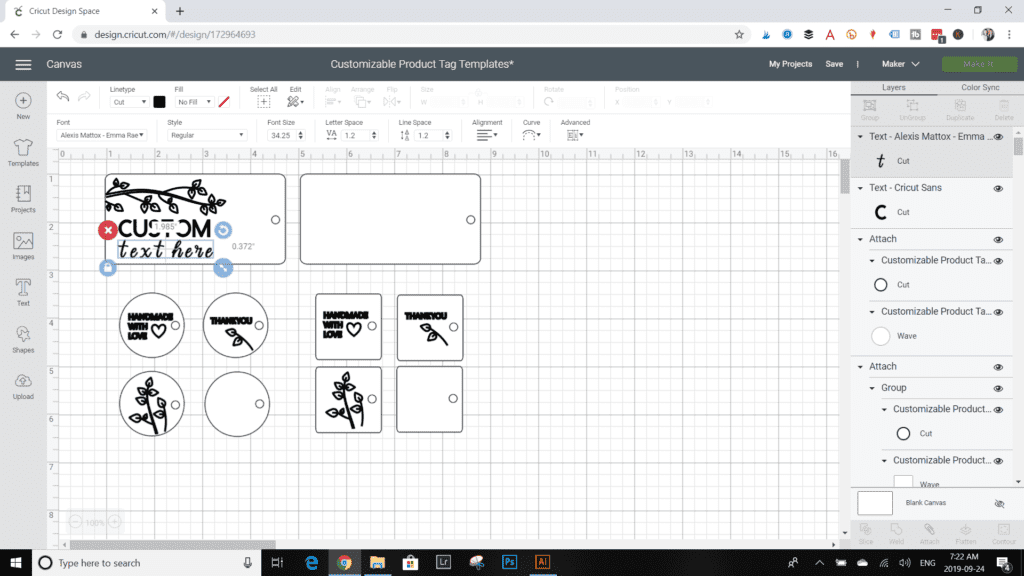
Once you’re happy with the look of the text, click on it and select the deboss option in the Linetype drop down menu.
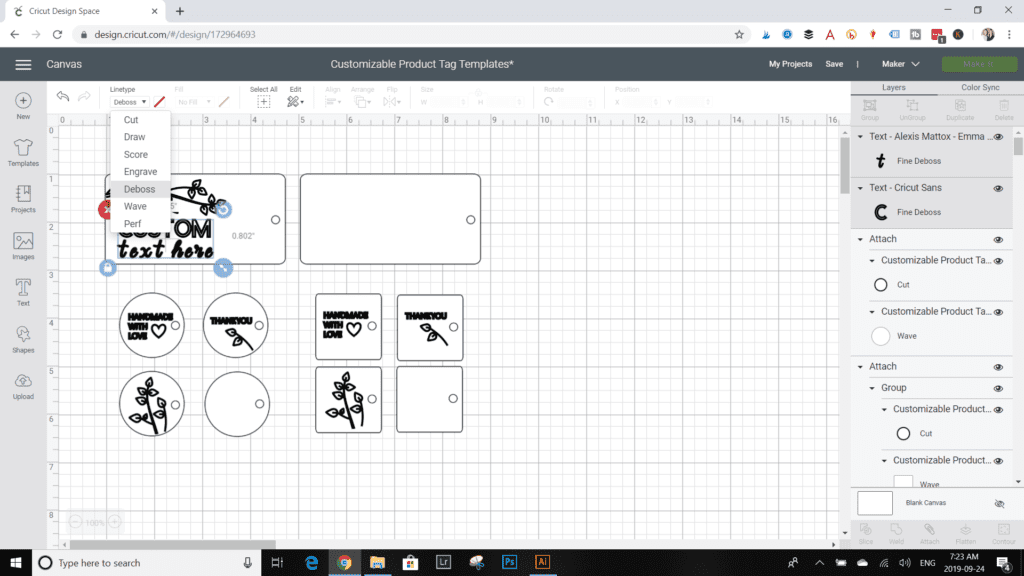
Next, highlight the entire tag including the text and shapes within. Click on the Attach button at the button right corner. This lets the Maker know to treat that product tag as it’s own separate design.
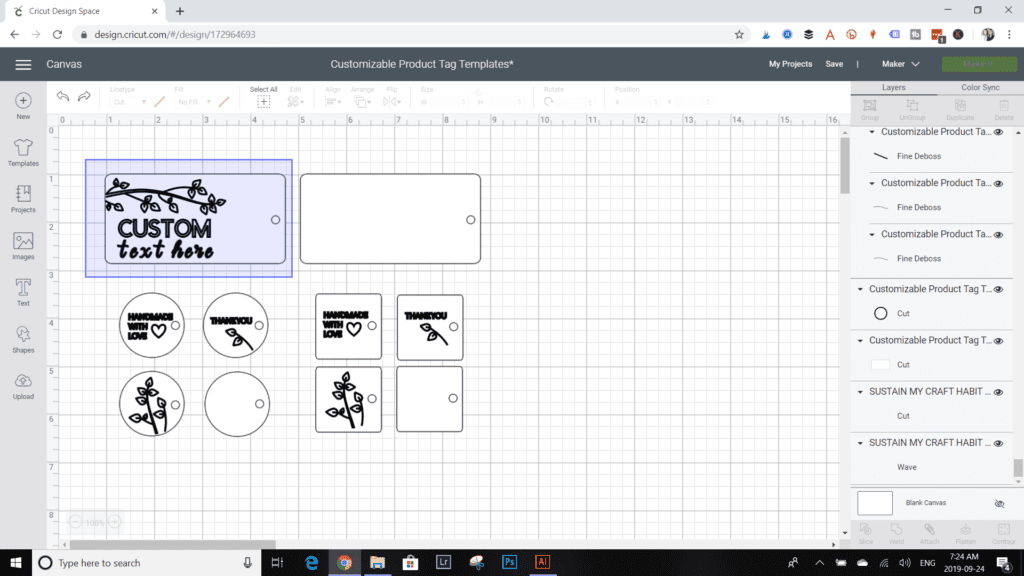
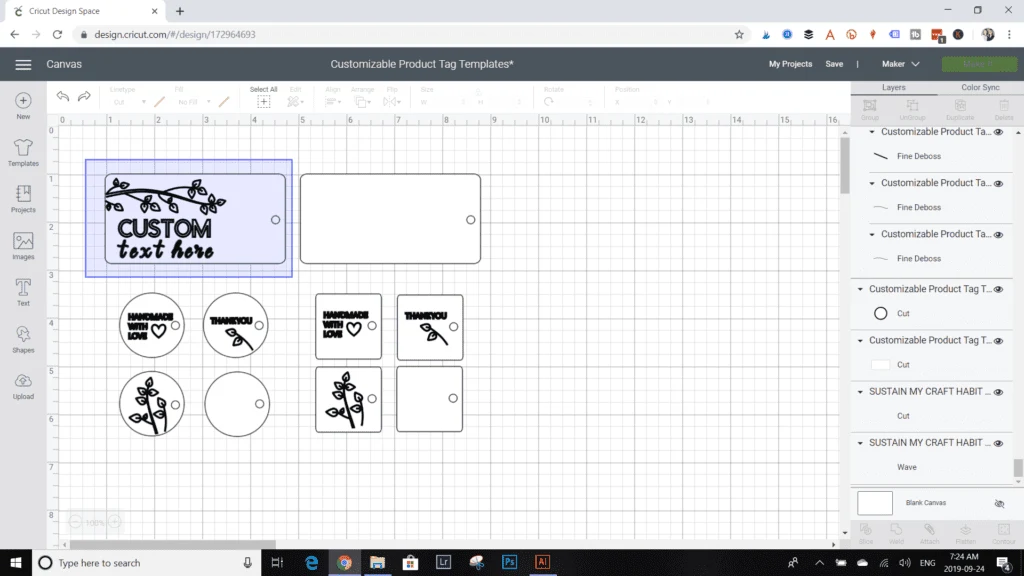
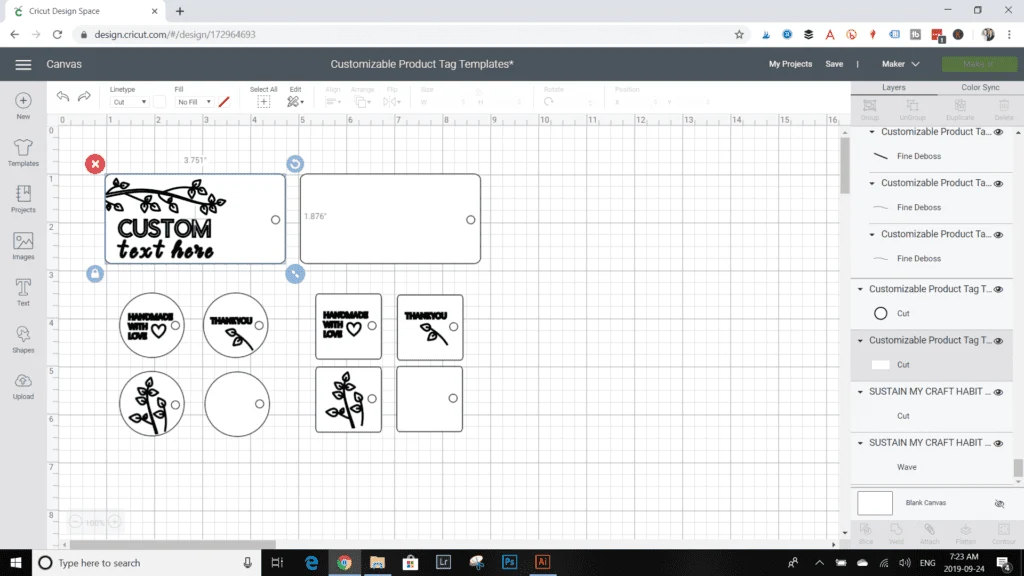
Feel free to customize the smaller product tags with other text or shapes within the tag. Remember assign the proper Linetype to each new design or text that you add to the tag and always highlight the tag and select Attach before proceeding to Make It.
Using the New Tools to Create DIY Product Tags:
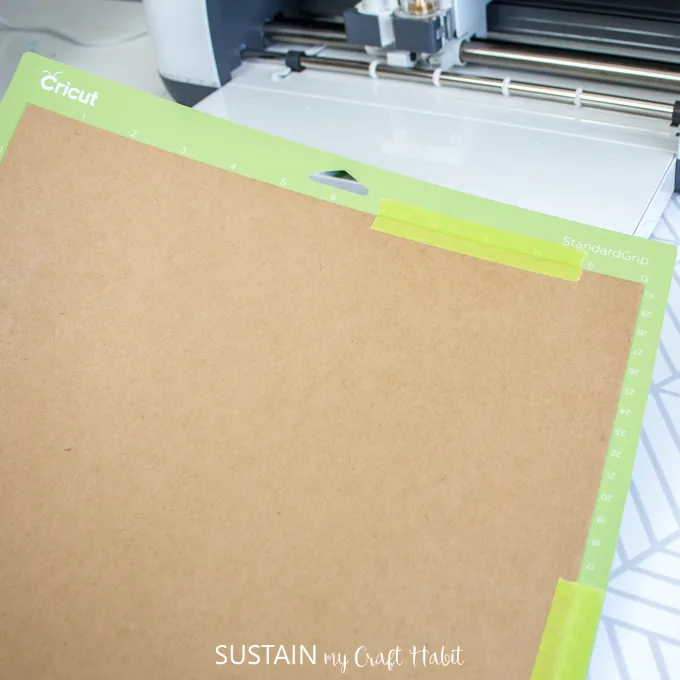
Using the lightweight chipboard for the larger main product tag, place it on the standard grip mat. Temporarily tape the chip board in place along all four sides to prevent it from shifting during cutting.

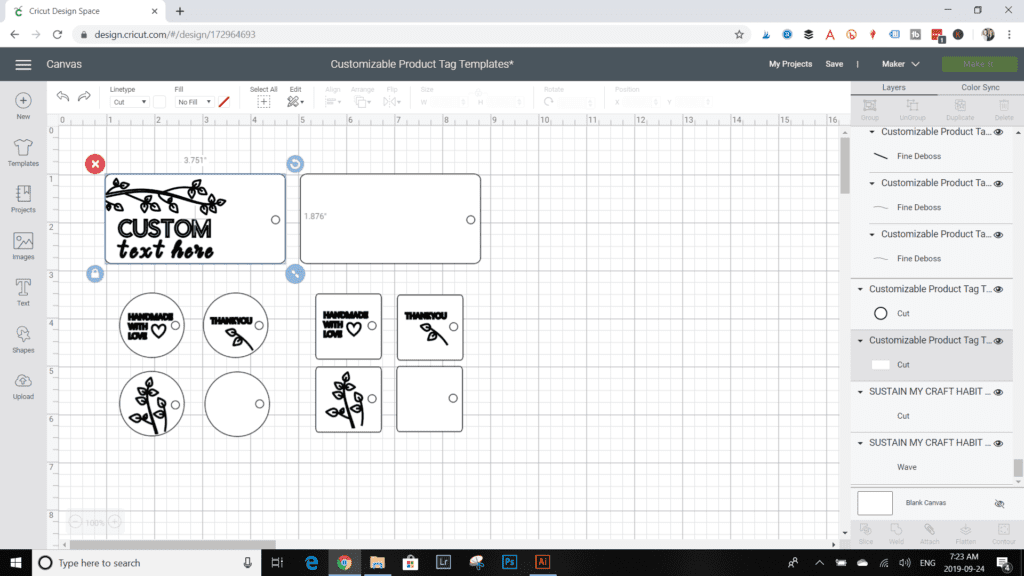
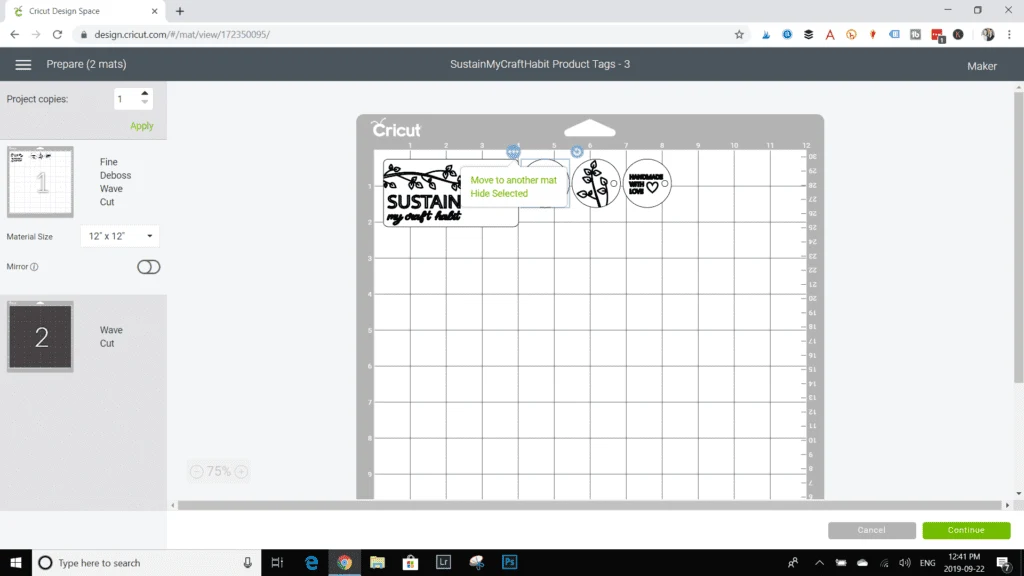
Select Make It on the prepared canvas.
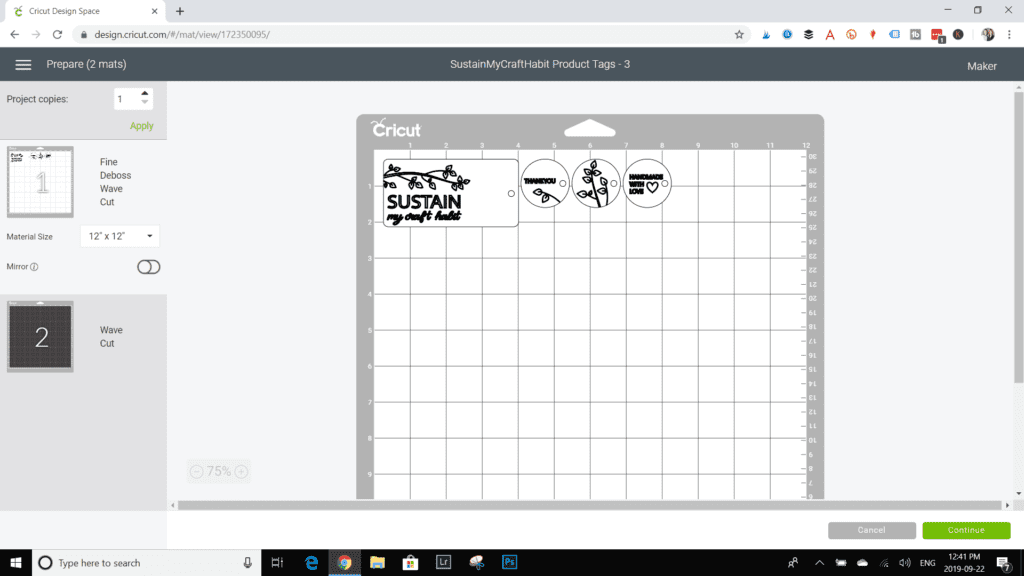
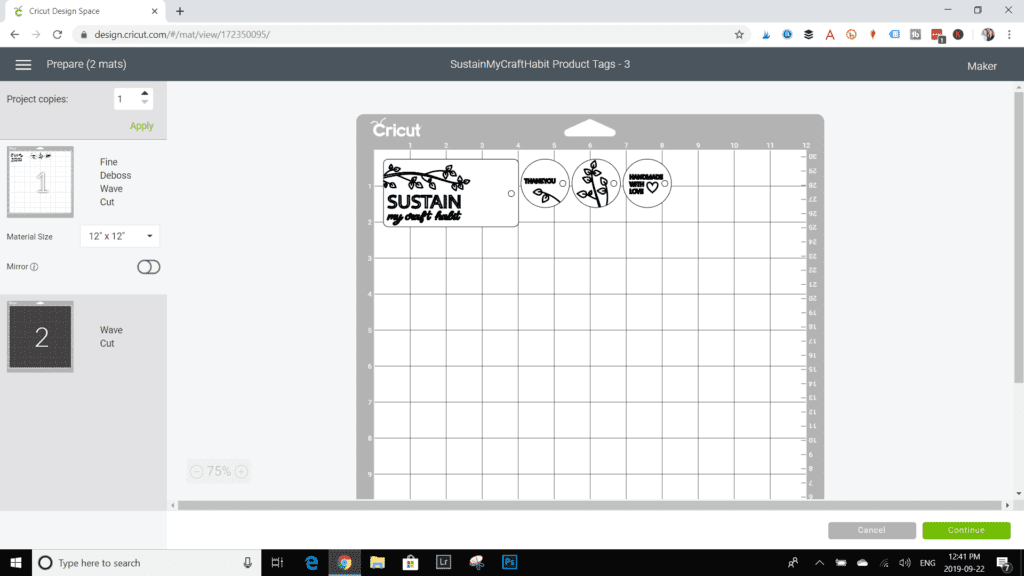
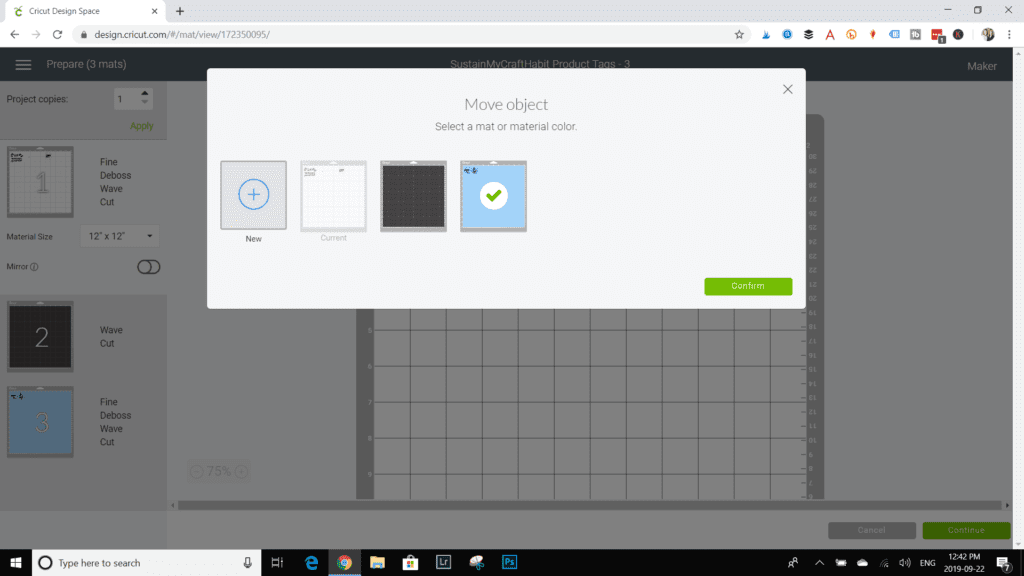
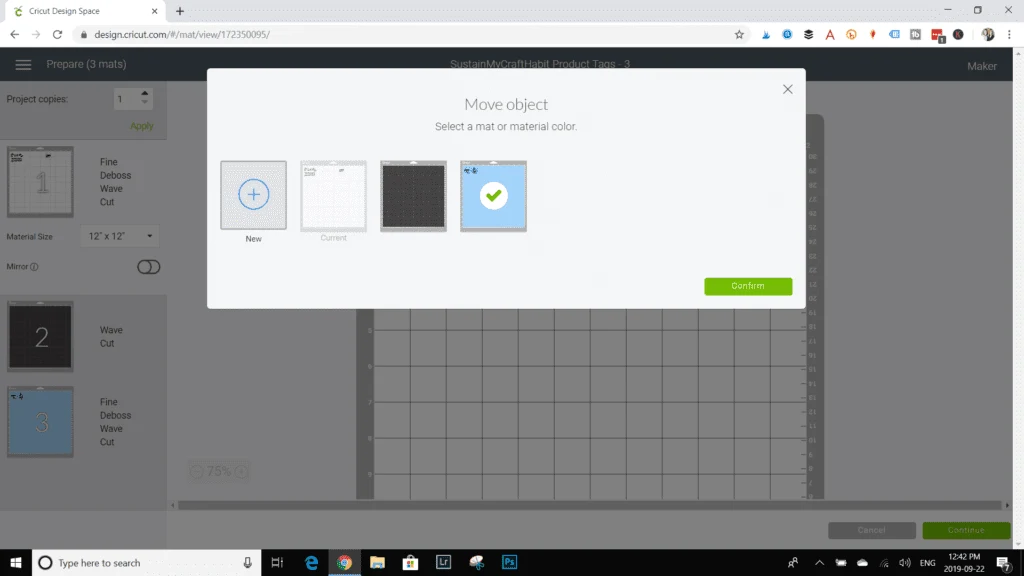
Move the smaller shaped tags to another mat by right clicking on each tag and selecting move to another mat.


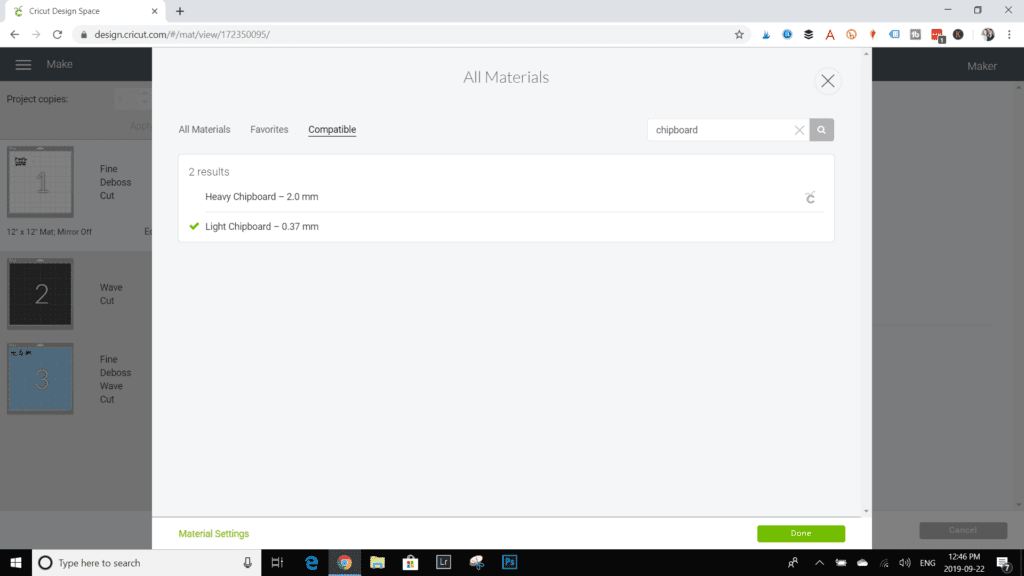
Once back on mat 1, select continue and choose Light Chipboard from the material type drop down menu.

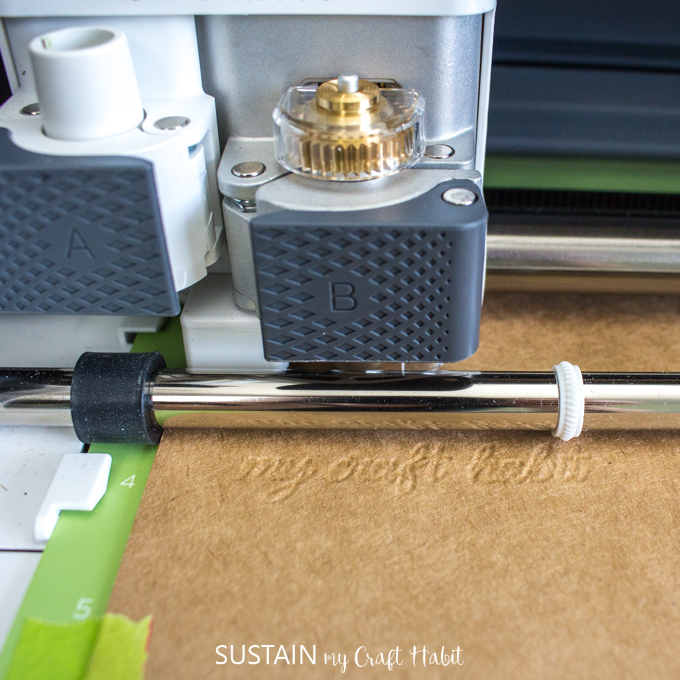
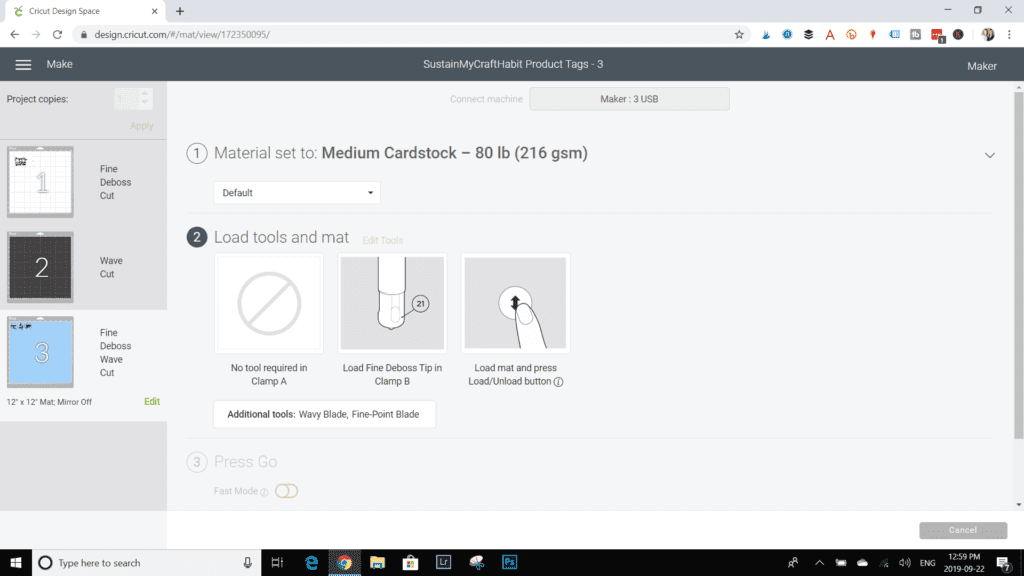
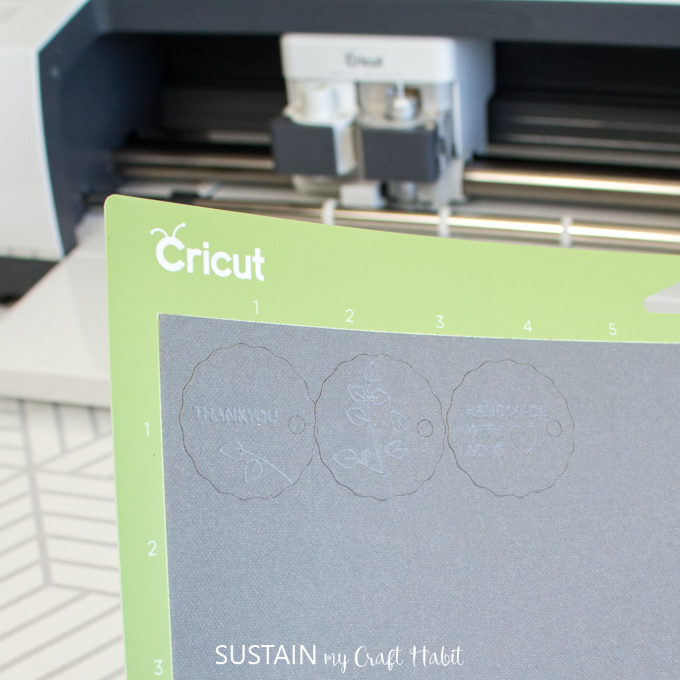
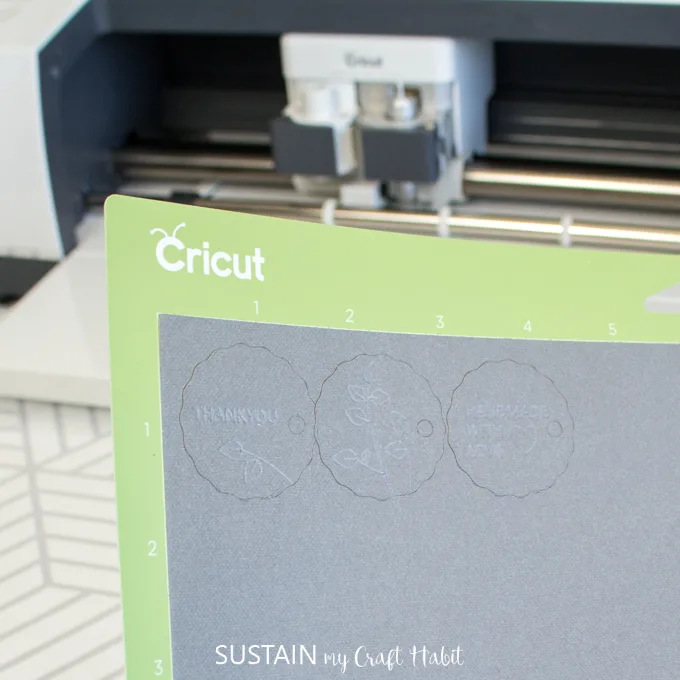
Following the prompts, load the fine deboss tip into the Cricut Maker.


And watch as it debosses your design! How cool is this?

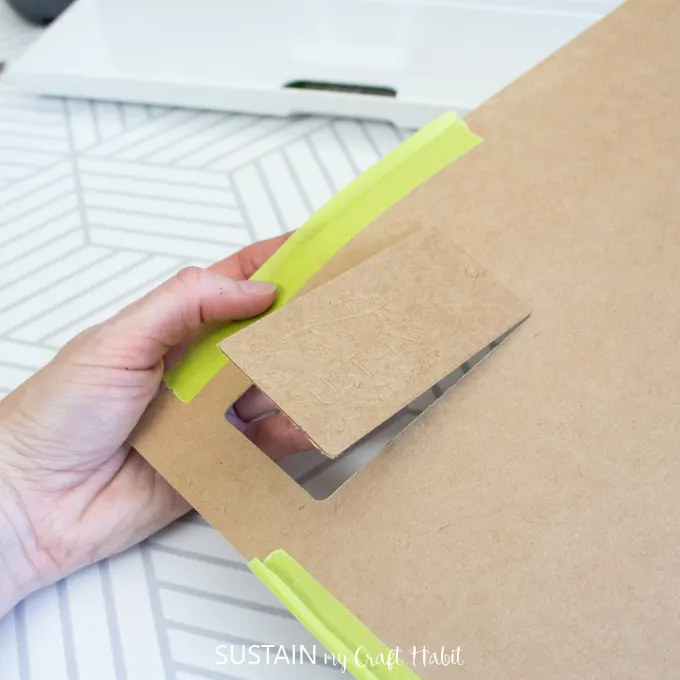
Switch to the fine point blade when prompted to finish cutting the product tag. Unload the mat and remove the tag. Trim any uncut edges using a pair of Cricut scissors.

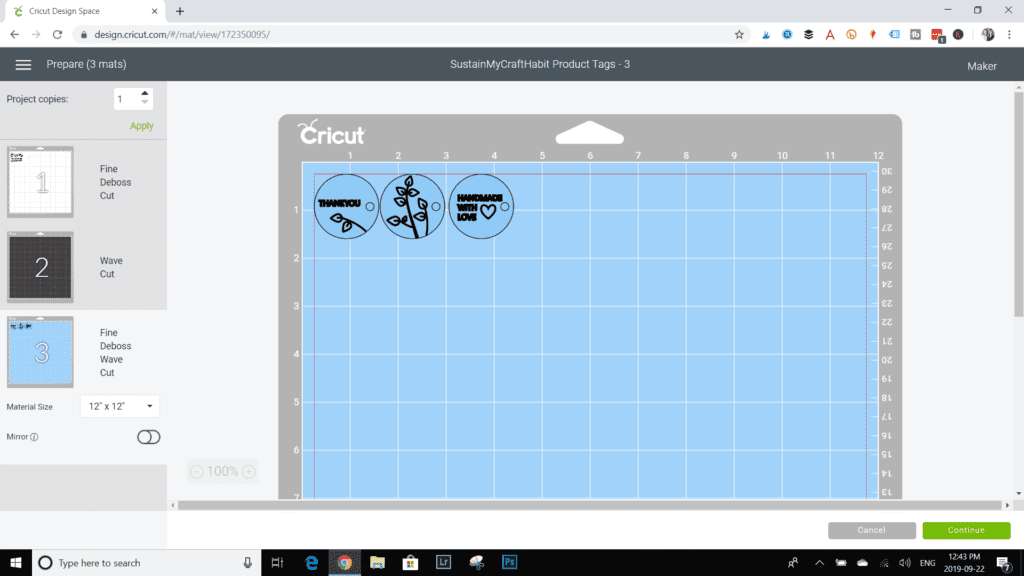
Round Button Tags with the Cricut Wavy Blade
Continue with the smaller product tags using a medium weight cardstock.
Important to note: the wavy blade doesn’t cut through chipboard or certain other materials, however, Design Space will only show the list of compatible materials in the drop down menu.
Moving on to mat 2 or 3 depending on the number of tags you plan to make, place the cardstock on the standard grip mat and press continue. Insert the tools as prompted starting the with Fine Debossing Tip.

Switch to the Wavy Blade when prompted.

Unload the mat when finished and peel them off of the grip mat using a spatula.
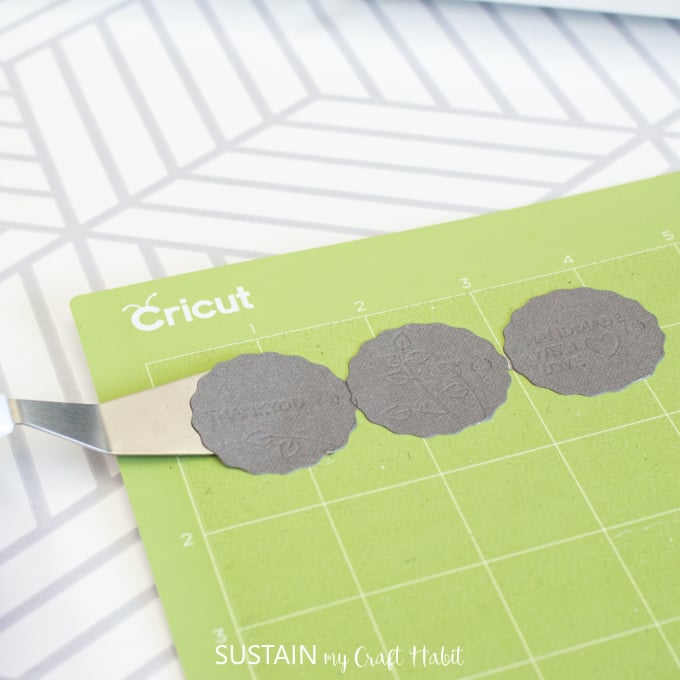

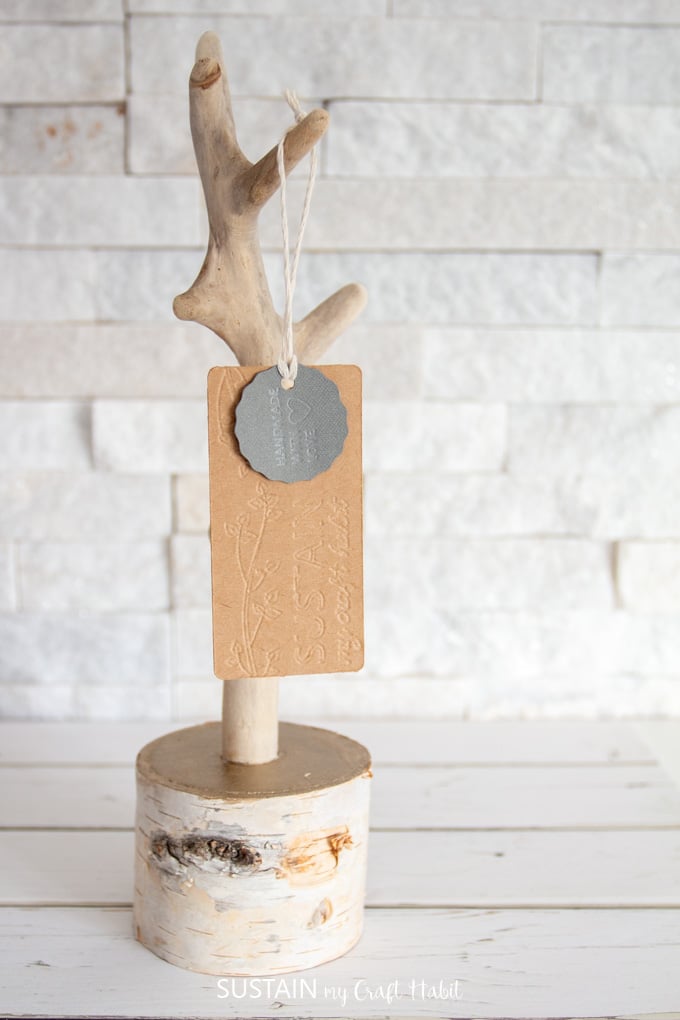
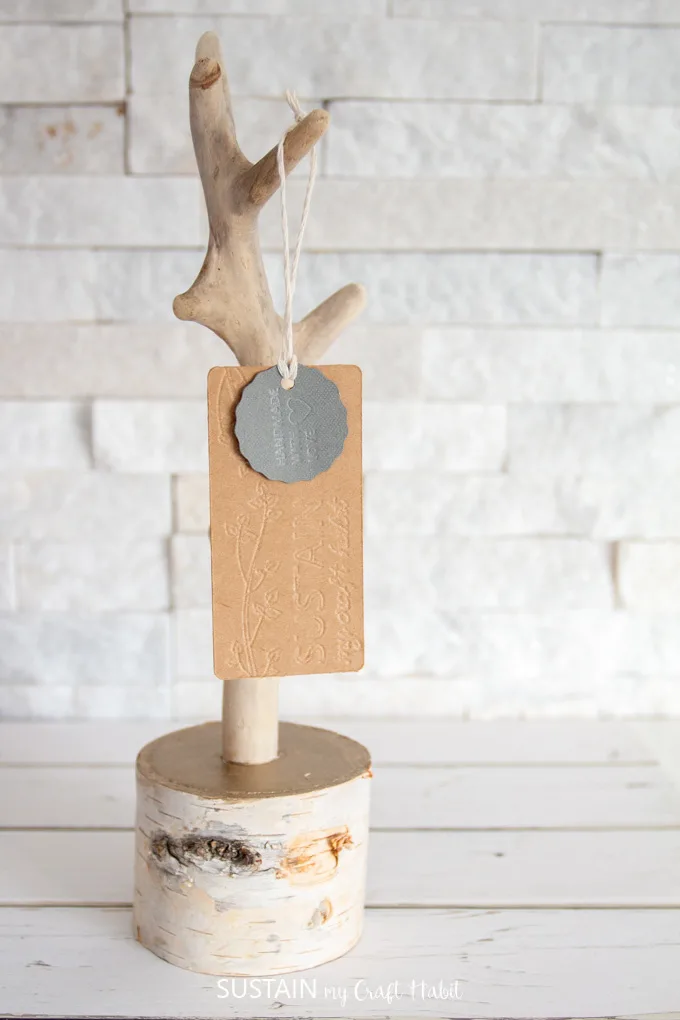
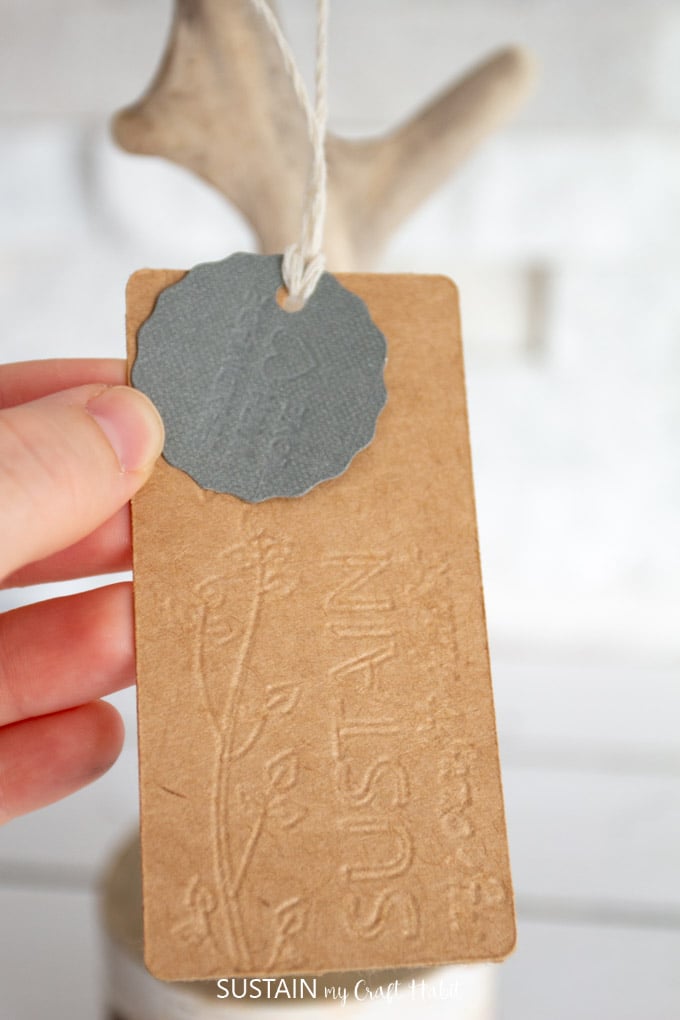
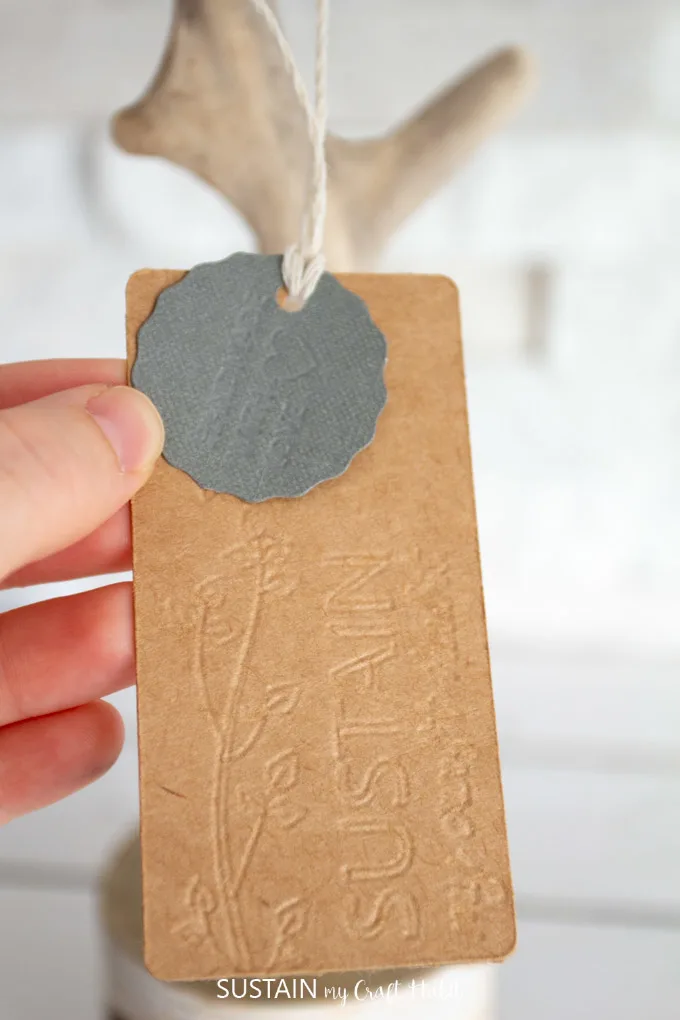
And there you go! Beautiful and professional DIY product tags which you’ll be proud to add to all of your creations. And have fun experimenting with other materials such as the Jewels Foil KraftBoard or Foil Poster Board to match your own business’ branding and aesthetic.

Do you have an online small business? Leave a link in the comments so we can check it out!
Are you New to the Cricut Maker?
Check out our review from when we opened the box for the first time!
Like it? Pin it for later!


Kristine
Tuesday 8th of October 2019
Love this idea! Yes, I also have a small Etsy shop. www.stitchedbykris.etsy.com
Jane and Sonja
Wednesday 9th of October 2019
Oh my goodness your shop is gorgeous. I want all the things! Thank you so much for stopping by. Jane