
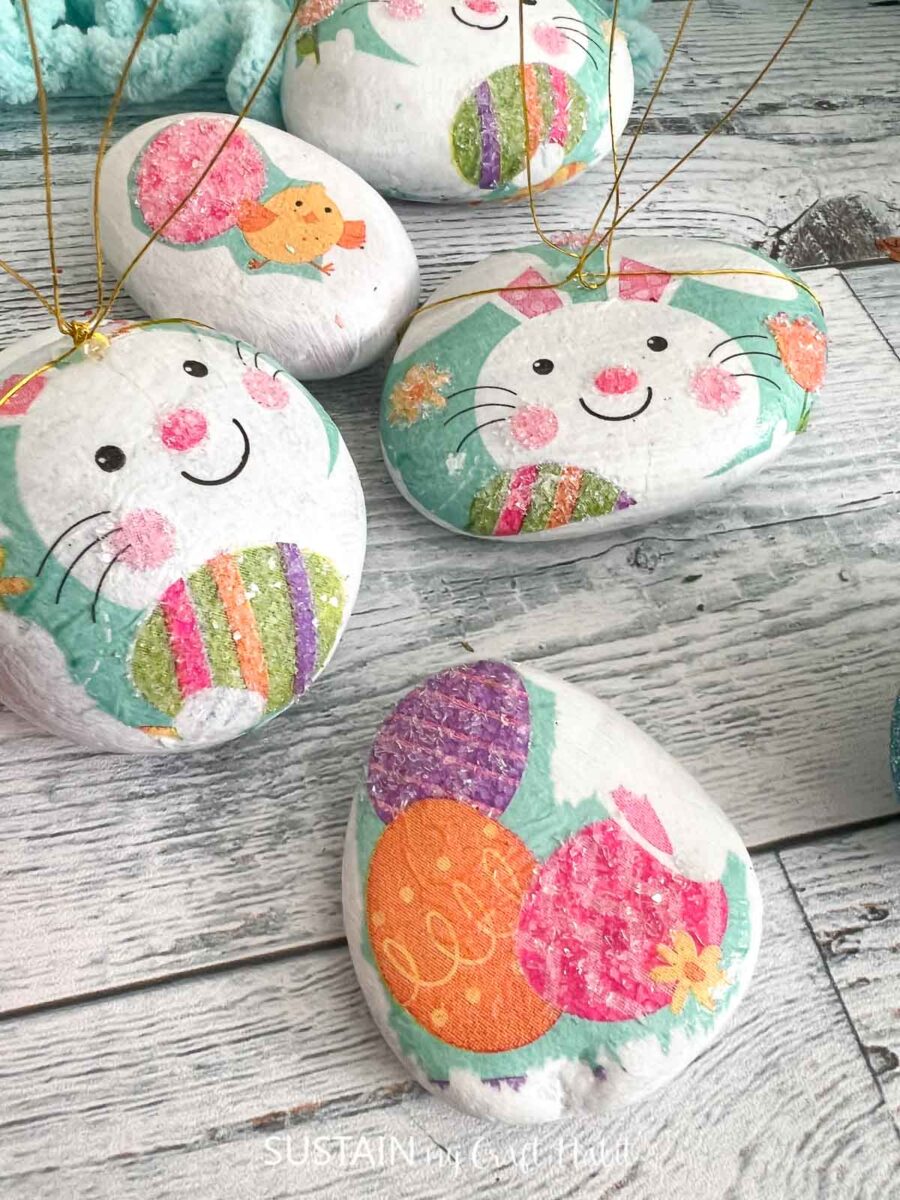
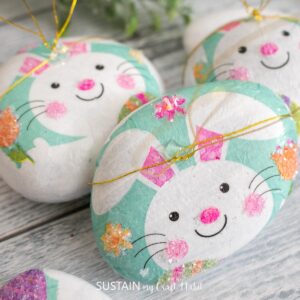
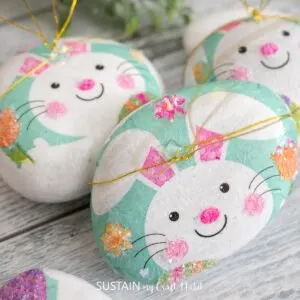
Are you interested in crafting with rocks but not in the mood to paint the designs? Well we have a fun alternative: decoupage them instead! Learn this easy technique for how to decoupage a rock using a dollar store bunny napkin to create adorable Easter decor.
Crafting with Rocks
Painting rocks is definitely one of our favourite crafts of all time! From painted rock animals, Christmas rock painting or easy painted rock ideas for all skill levels, there’s an endless number of designs to paint on stones.
However, sometimes we’re in the mood for different types of rock crafts. We’ve used our stones and pebbles to create a beautiful Father’s Day frame, simple pebble art, and hanging mobile to name a few.

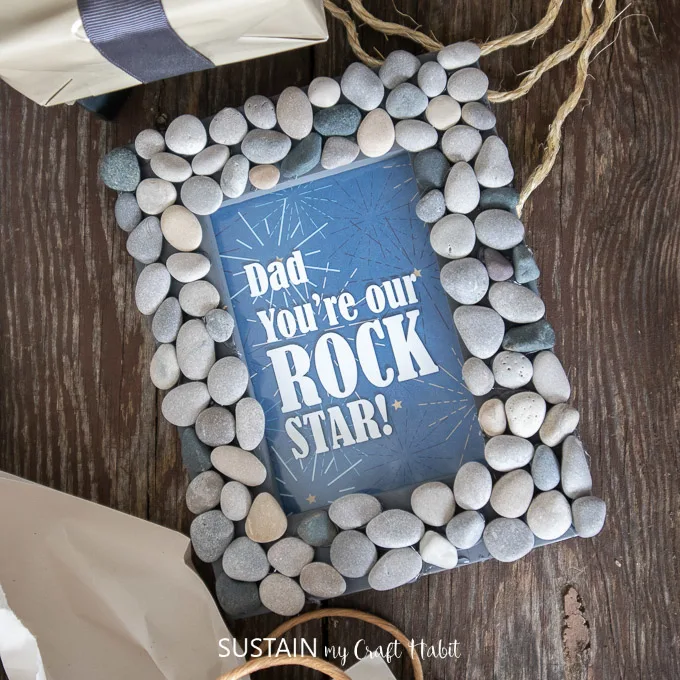
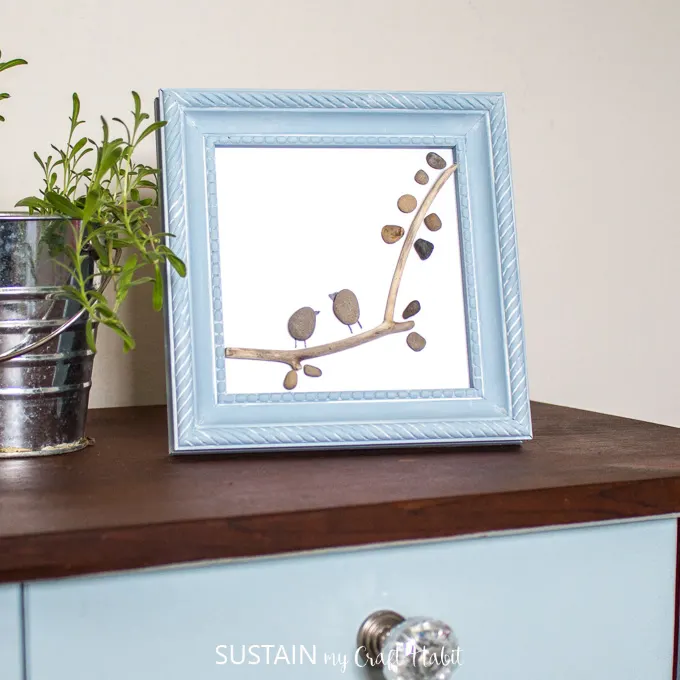
Rock’n Father’s Day Picture Frame 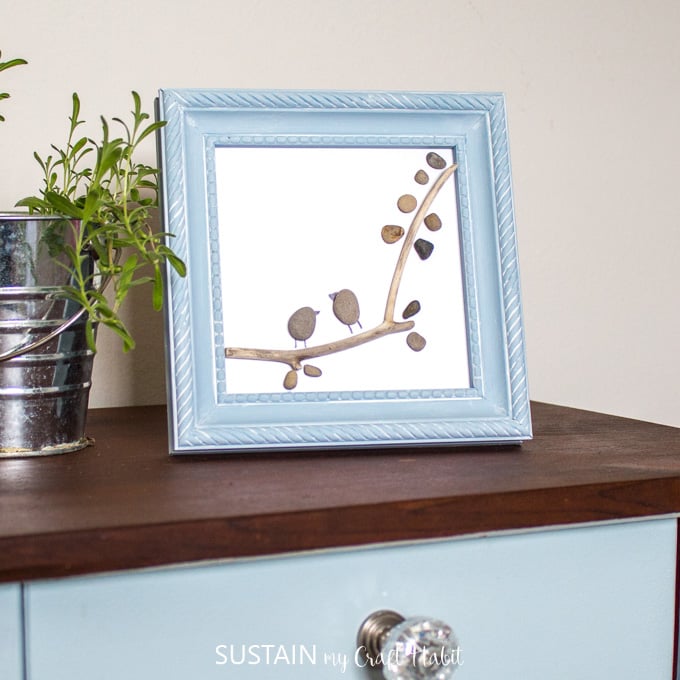

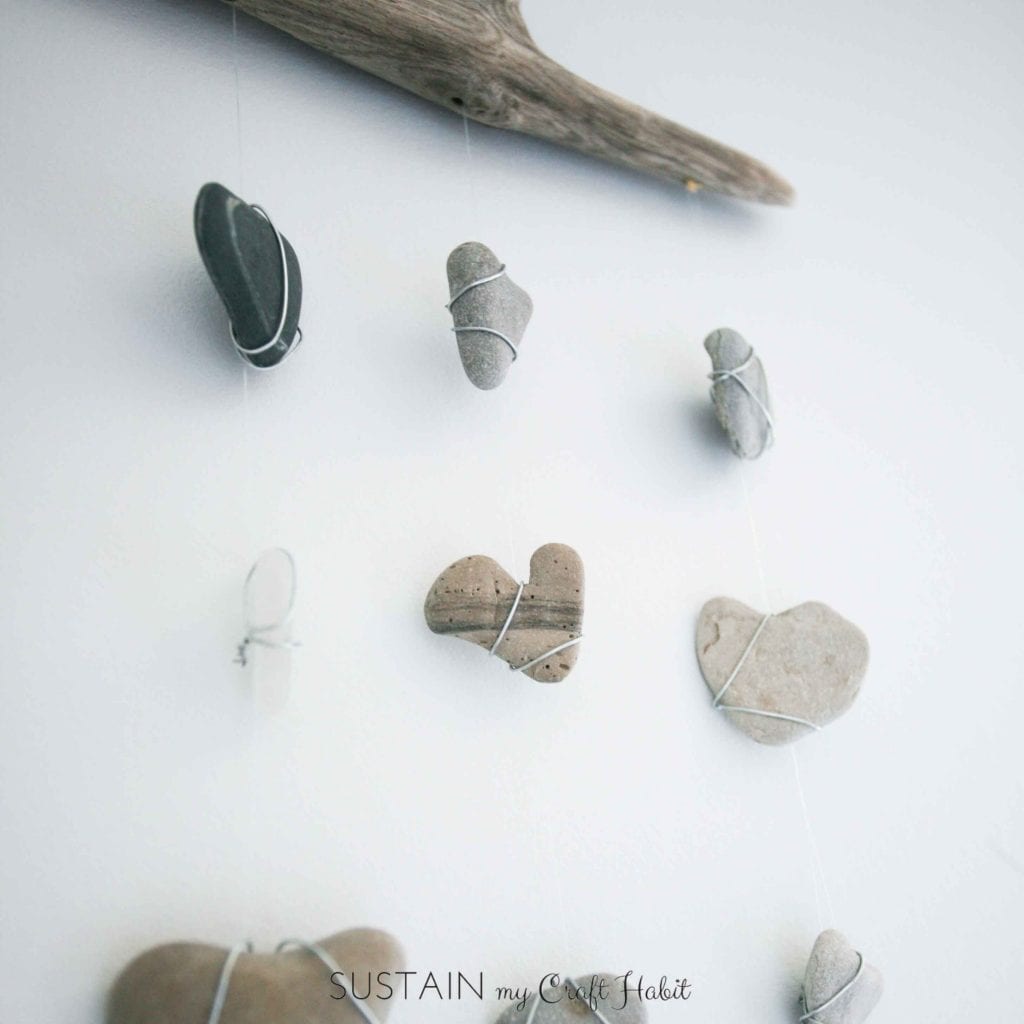

Heart Rocks and Sea Glass Mobile

So while we’ve tried all sorts of crafting with rocks, we had yet to try decoupaging on them!
Join our crafting community to find more nature-inspired DIYs and upcycled craft ideas. It feels good to repurpose, upcycle and create with nature!
What is Decoupage?
Decoupage is a centuries old technique of cutting out materials such as paper or fabric and gluing them onto wood, glass or metal. The word Decoupage means “cutting out” in French. The craft originated in France in the 17th century as way of decorating bookcases, cabinets, and other pieces of furniture.
The art of decoupage involves four main steps of cutting out the pieces, arranging them to create a design or story, applying them to the surface and then sealing with thin coats of varnish. You can find some of our favourite decoupage supplies in our Amazon store.

Did you know you can even decoupage on plastic? We’ll definitely be trying more of this versatile craft, but here are some additional projects to explore:
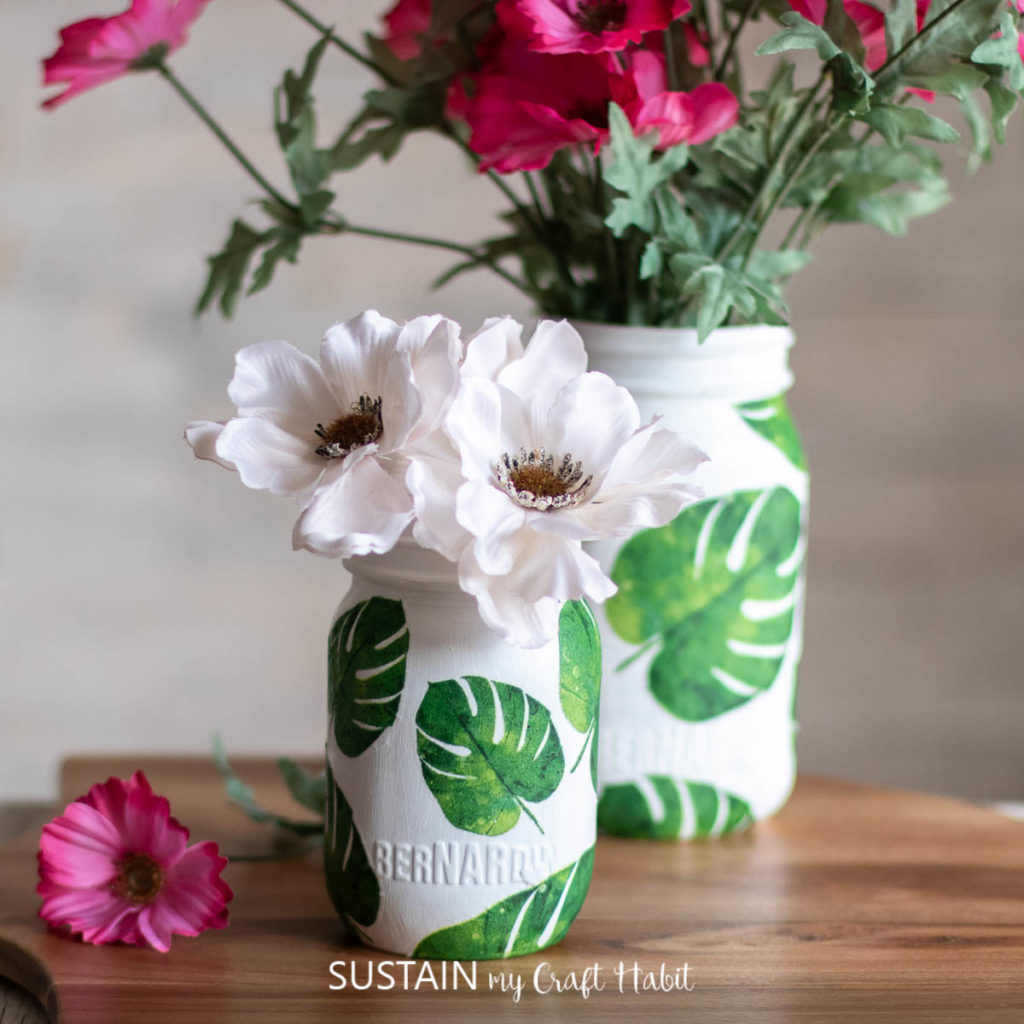
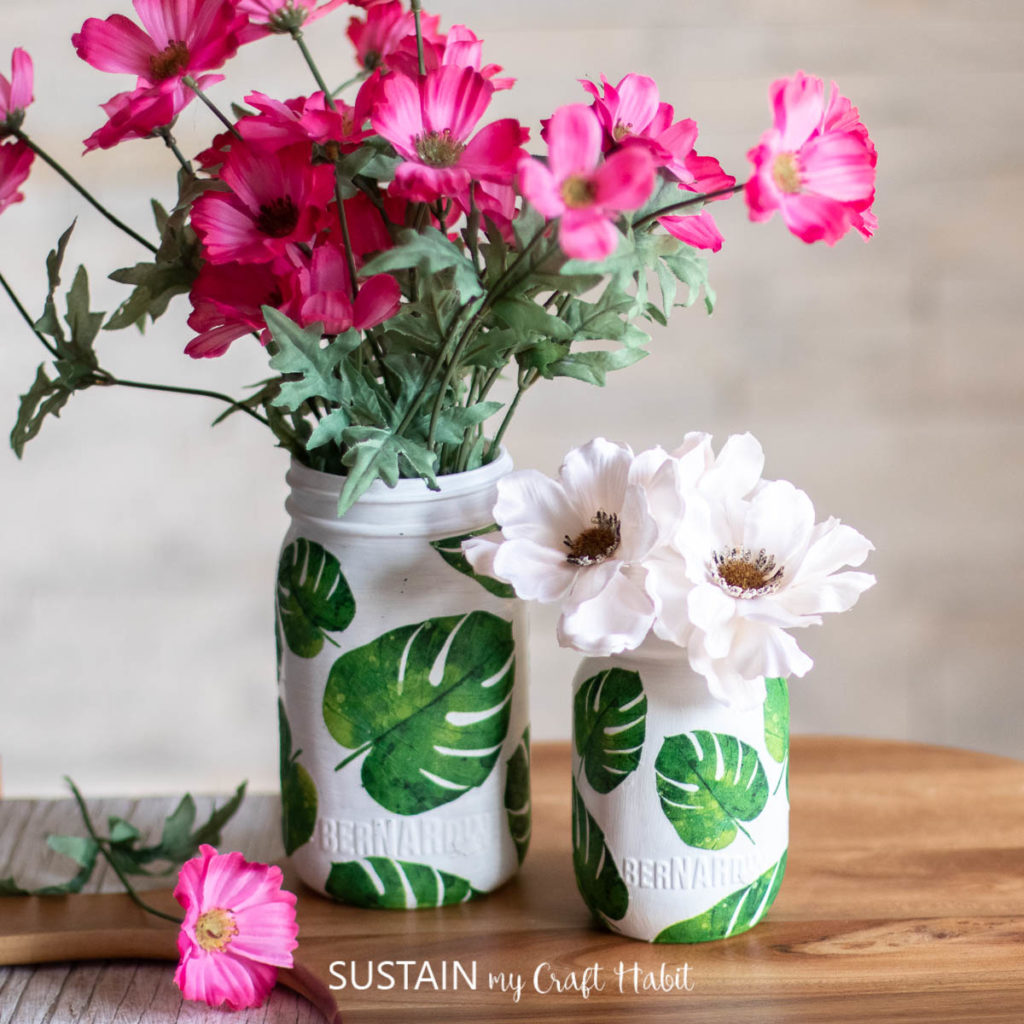
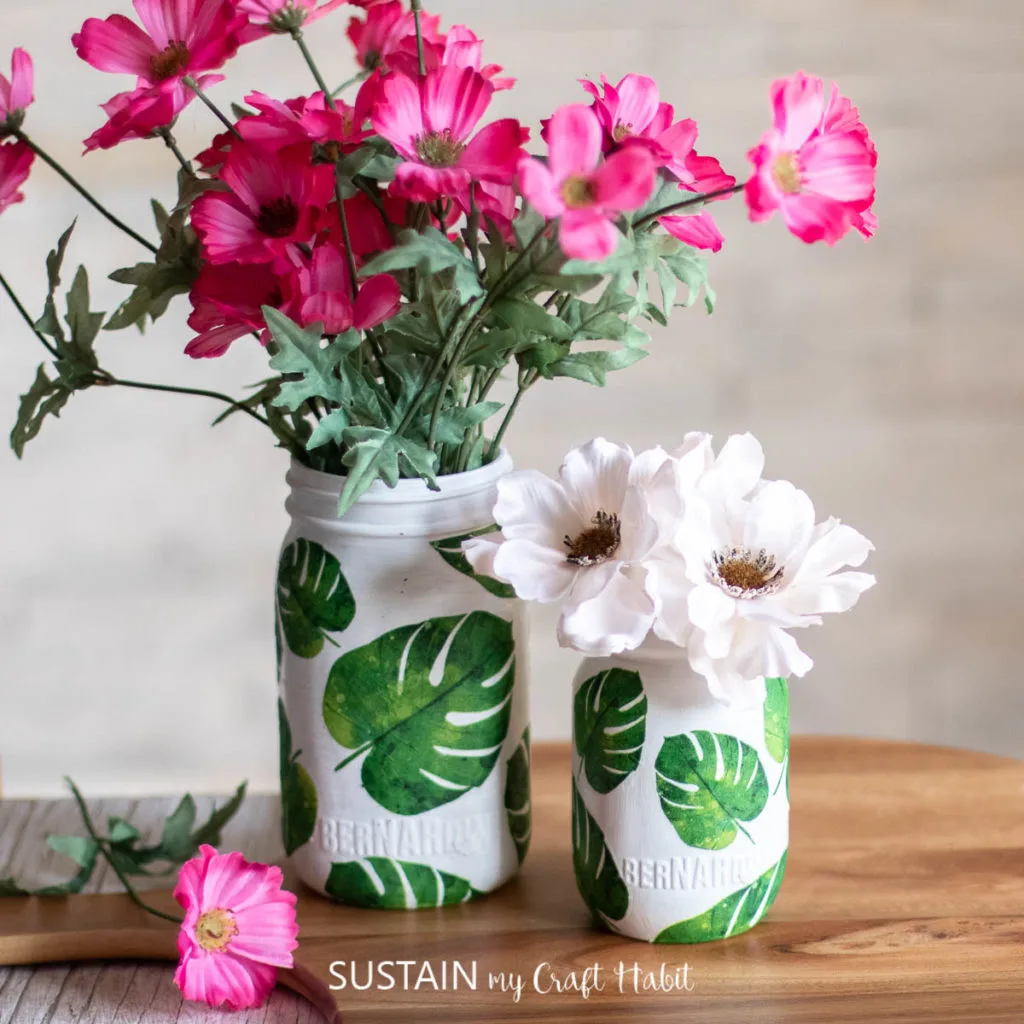
Napkin Decoupage Vases 


Materials Needed for this Rock Craft Idea
Disclosure: This post contains affiliate links for your shopping convenience. Should you choose to purchase through them, we will make a small commission at no extra cost to you. You can read our full disclosure policy here.
- Rocks, medium sized, smooth (see our post on where to find rocks to paint for more sources)
- DecoArt Multi Surface Satin Acrylic paint in white
- Paintbrush
- Mod Podge in matte
- Paper Napkins
- Paper scissors
- Diamond Dust (optional)
- Fine gauge wire (for bunny ears)
How to Decoupage a Rock with Easter Paper Napkins
I shared the tutorial for making these adorable Easter bunny rocks on a recent Facebook Live which you can catch here.
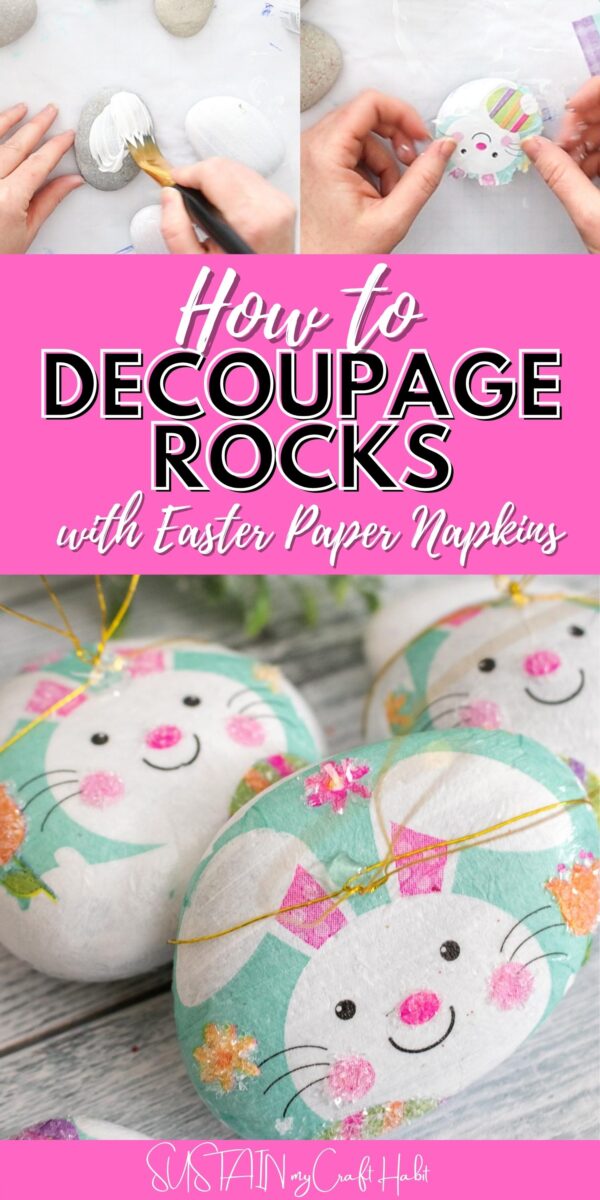
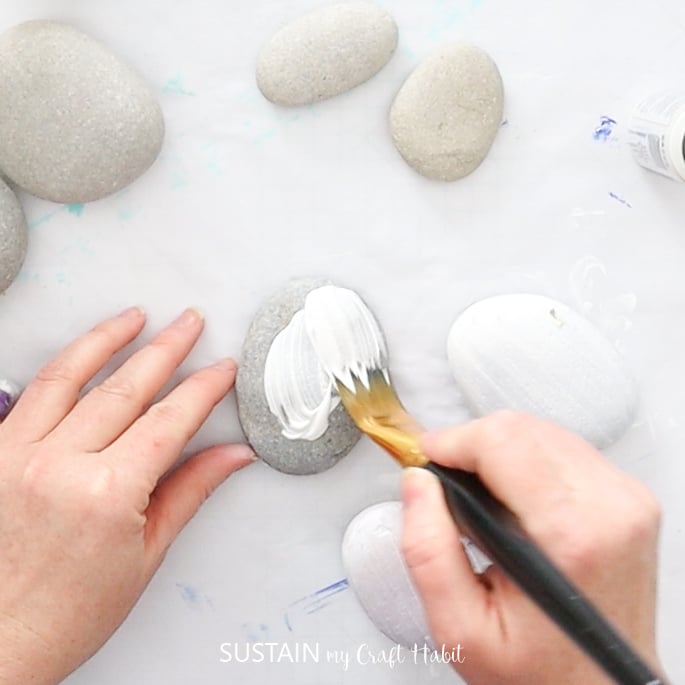
Paint the surface of the rocks in white and let the paint dry fully. Add an extra coat of paint if needed for better coverage.

Separate the plies of paper napkin, you’ll just need the top printed layer of paper.
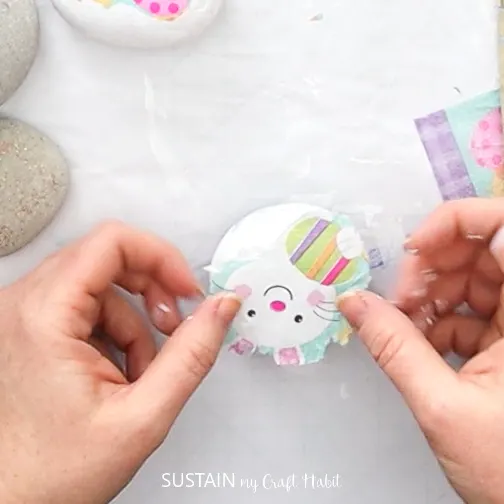
Cut a portion of the napkin design that you want to add on to the rocks. Or use a paintbrush with water to trace around the design and then gently rip the design out.
Apply a coat of Mod Podge on to the rock and press the prepared napkin on top. Place the rock on top of a sheet of wax paper to avoid it from sticking the surface.

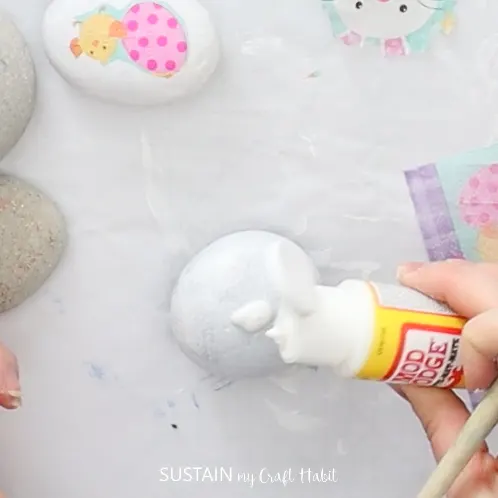
Smooth out the paper around the rock. Press out any bubbles underneath gently.

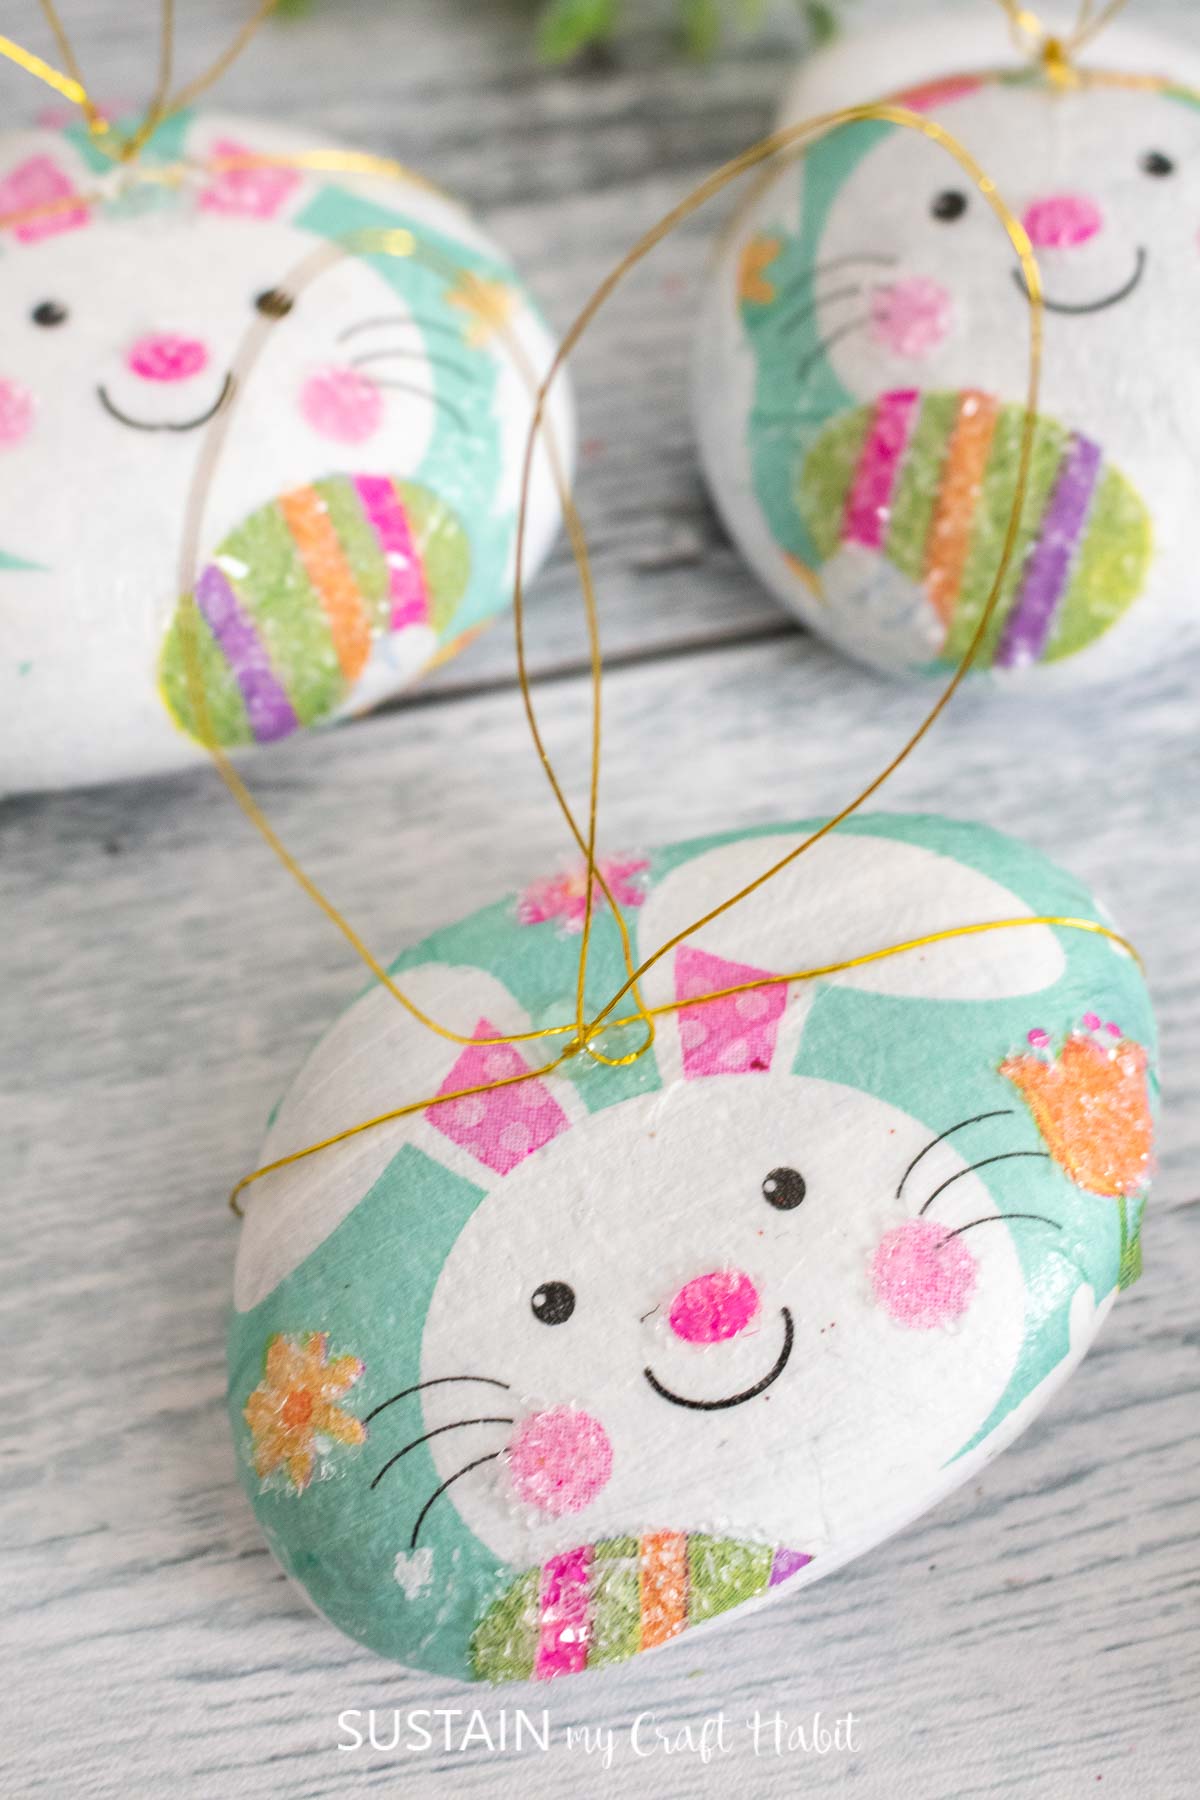
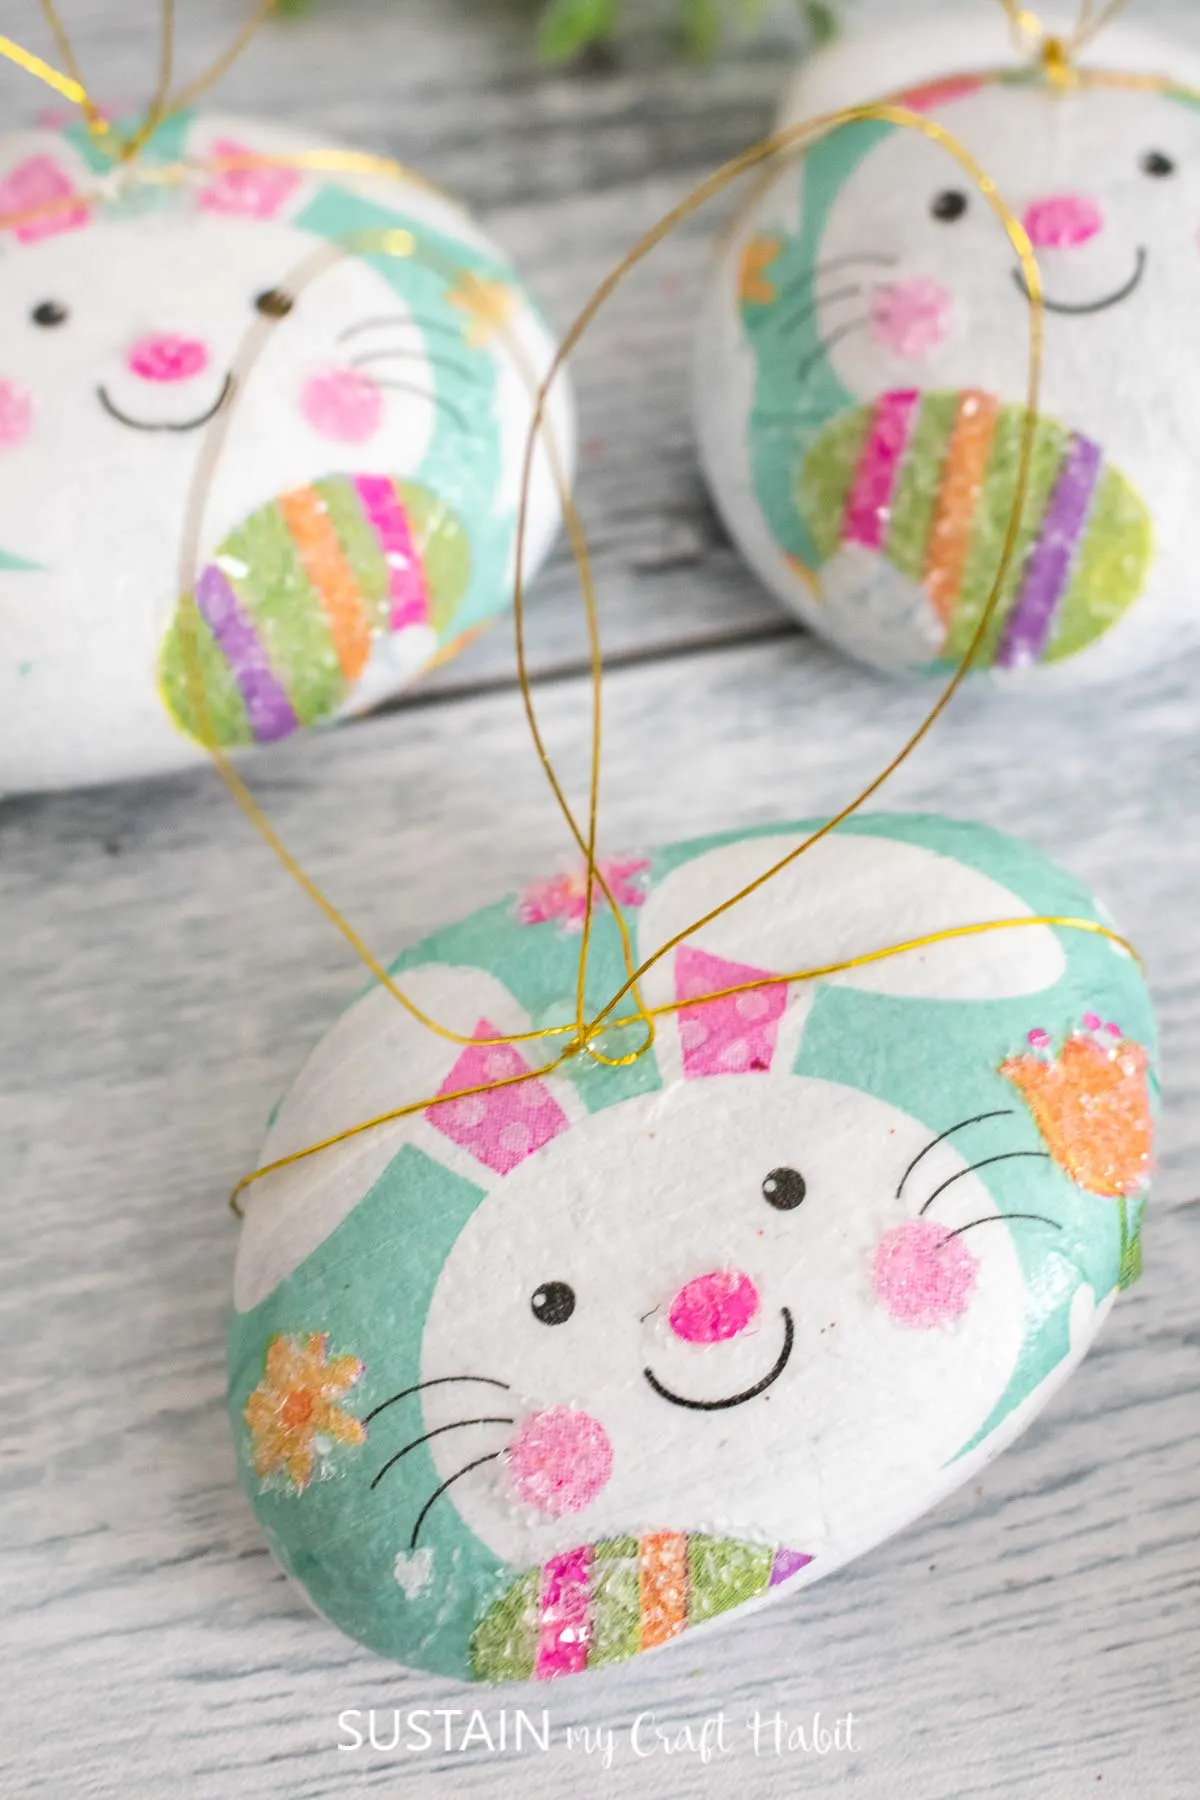
Apply another coat of Mod Podge over top of the rock to seal the surface. Leave it to dry. If you’d like, you can add a bit of glitter or diamond dust to further embellish the decoupaged rocks.

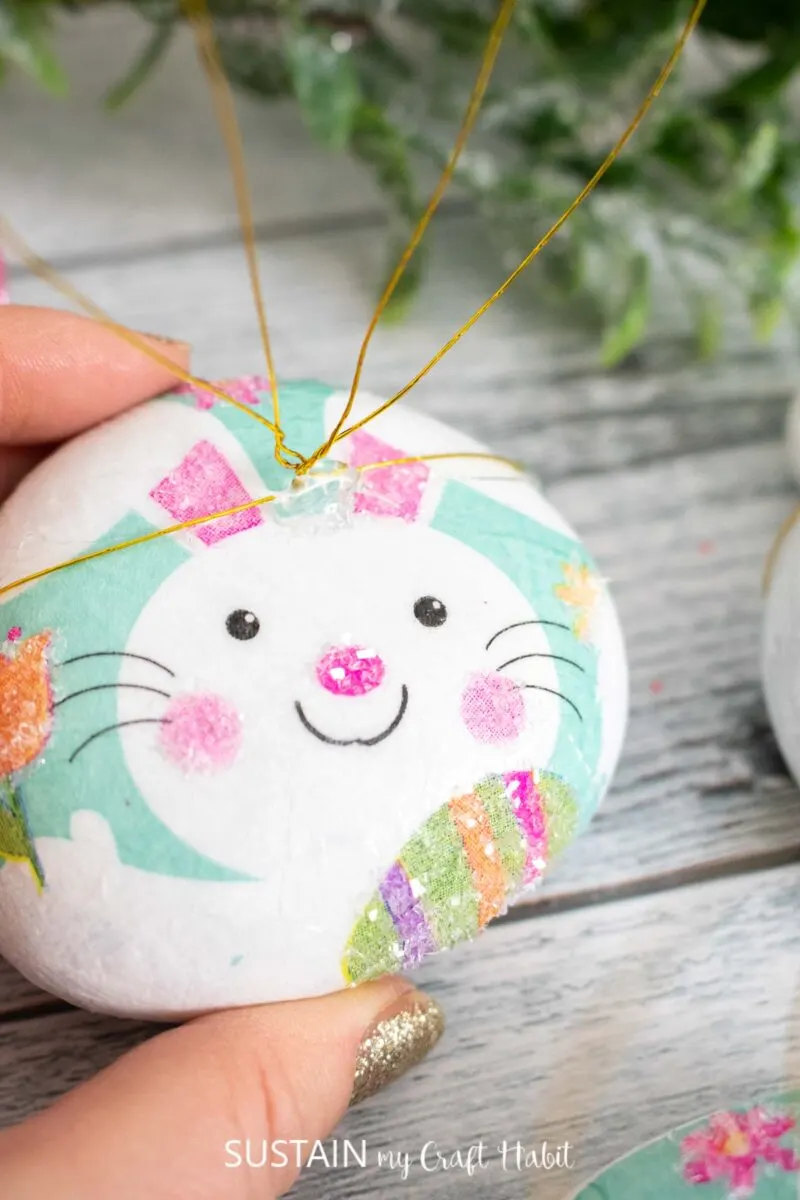
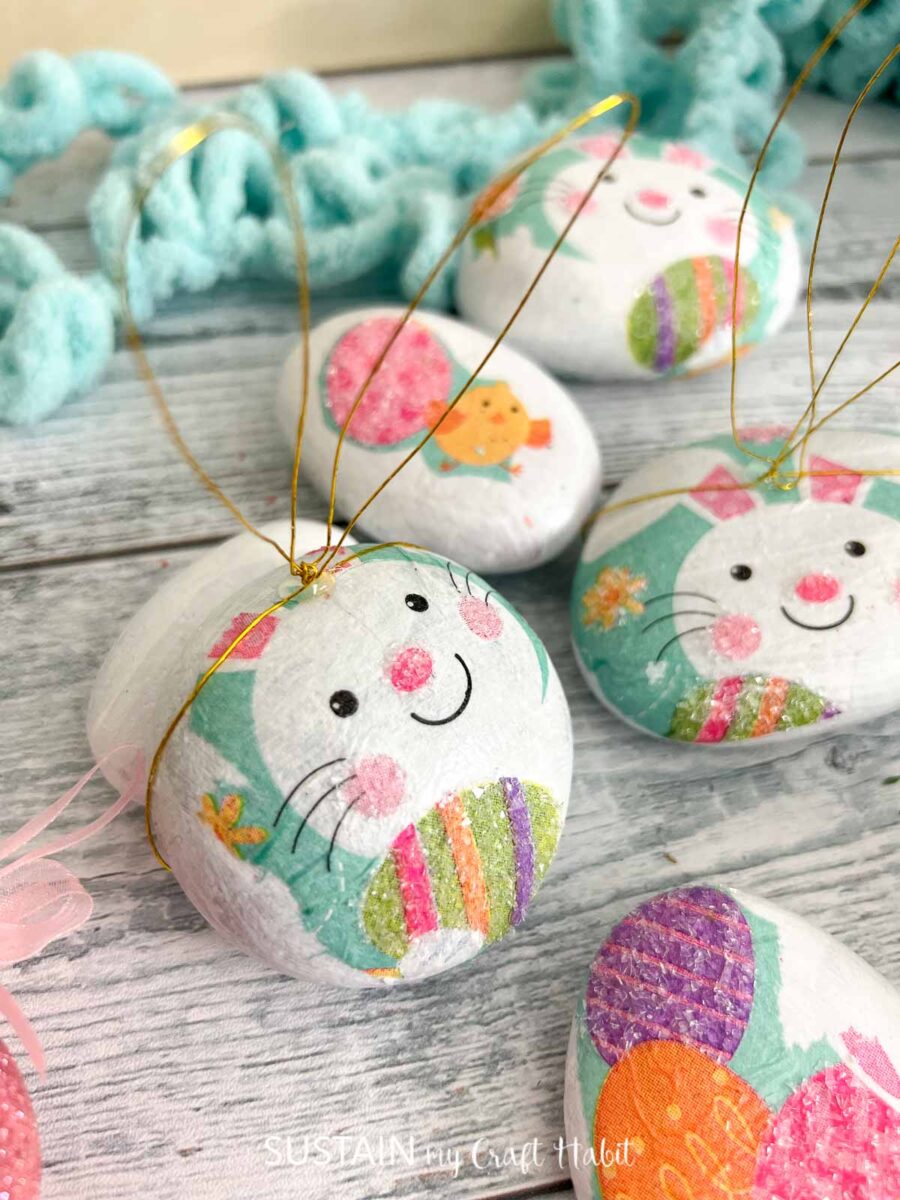
As an added option, cut a piece of fine gauge wire and wrap it around the rock. Create a pair of loops to resemble bunny ears. Secure in place on the front and back of the rock with a bit of hot glue.

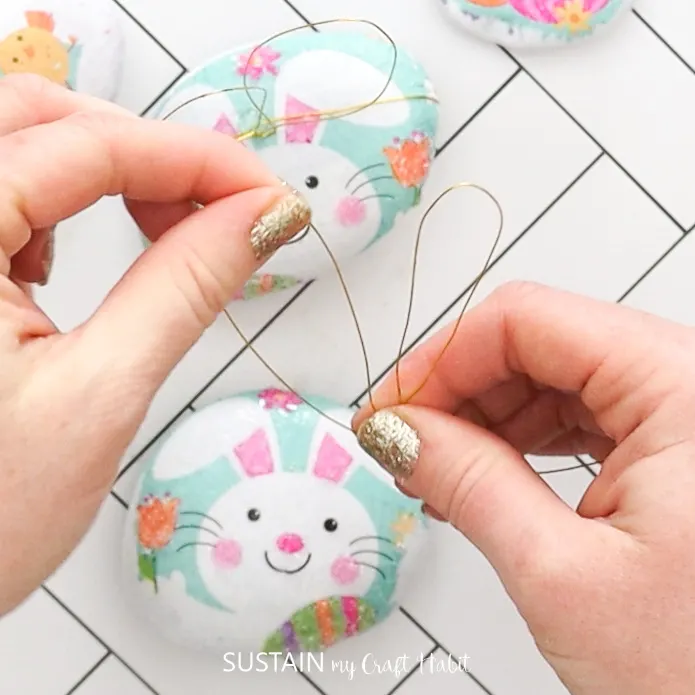
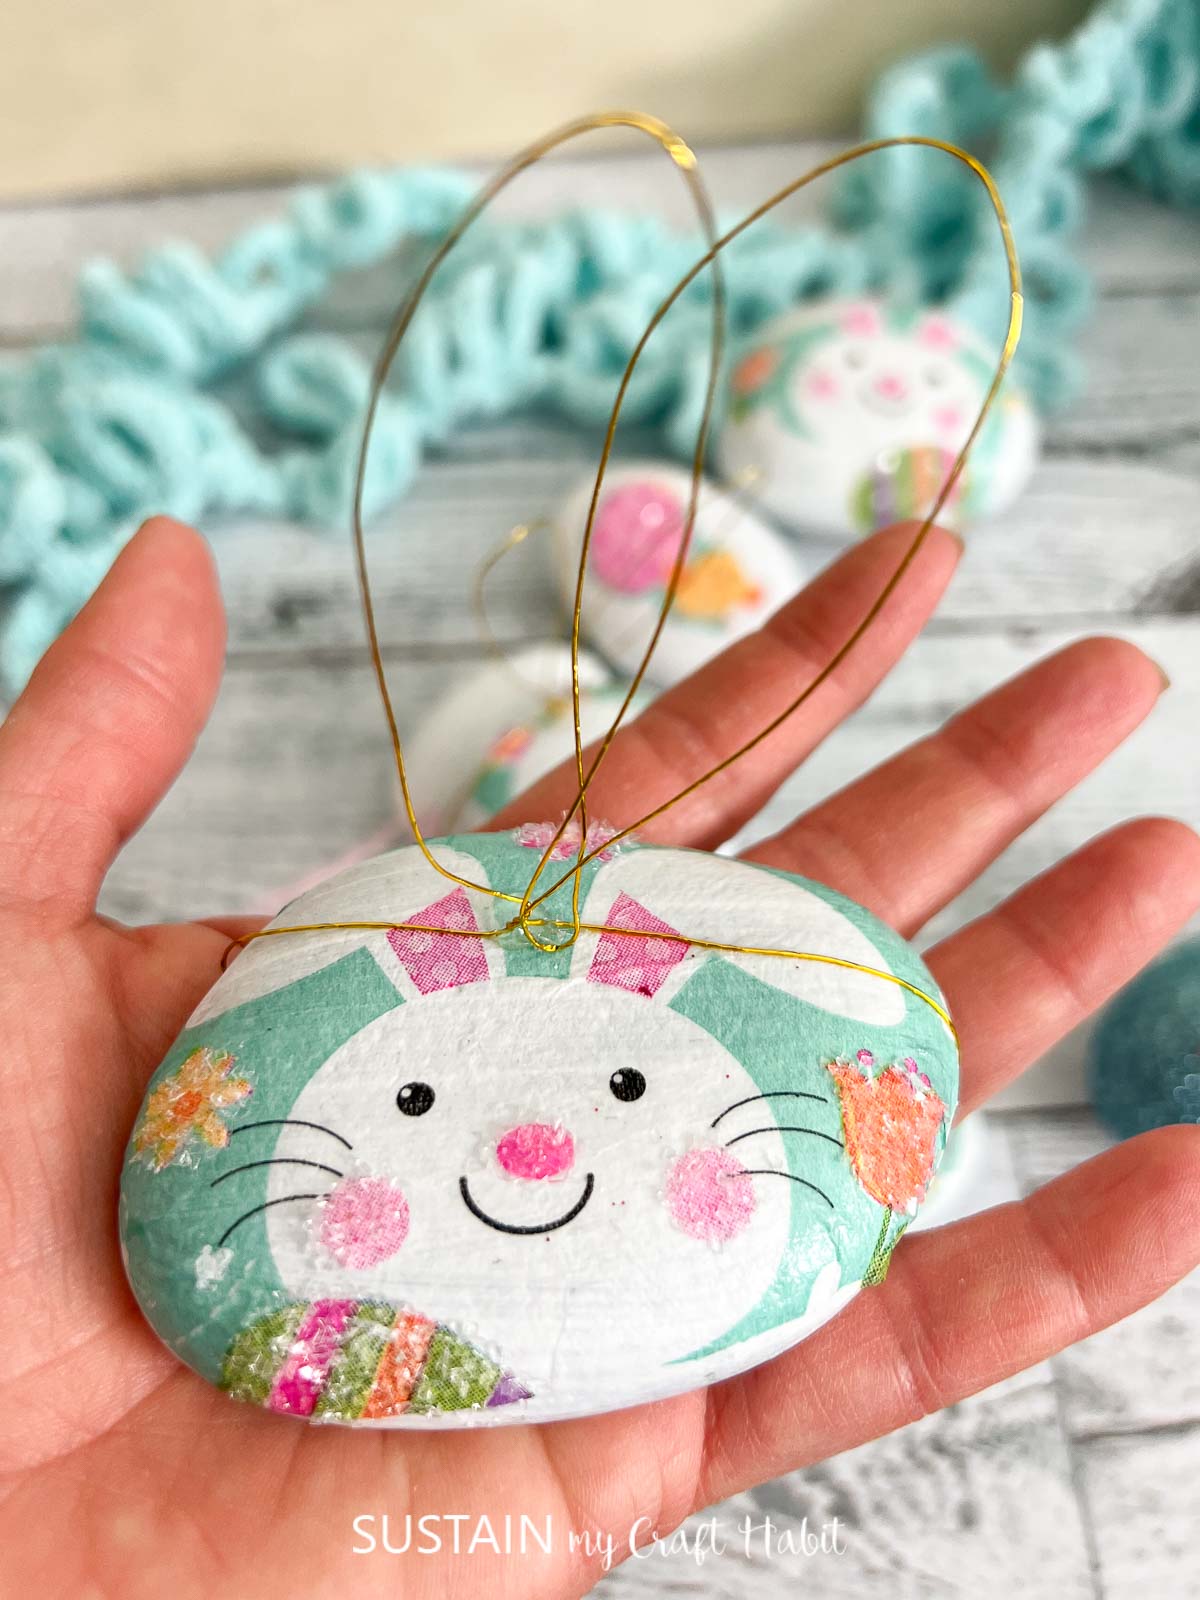
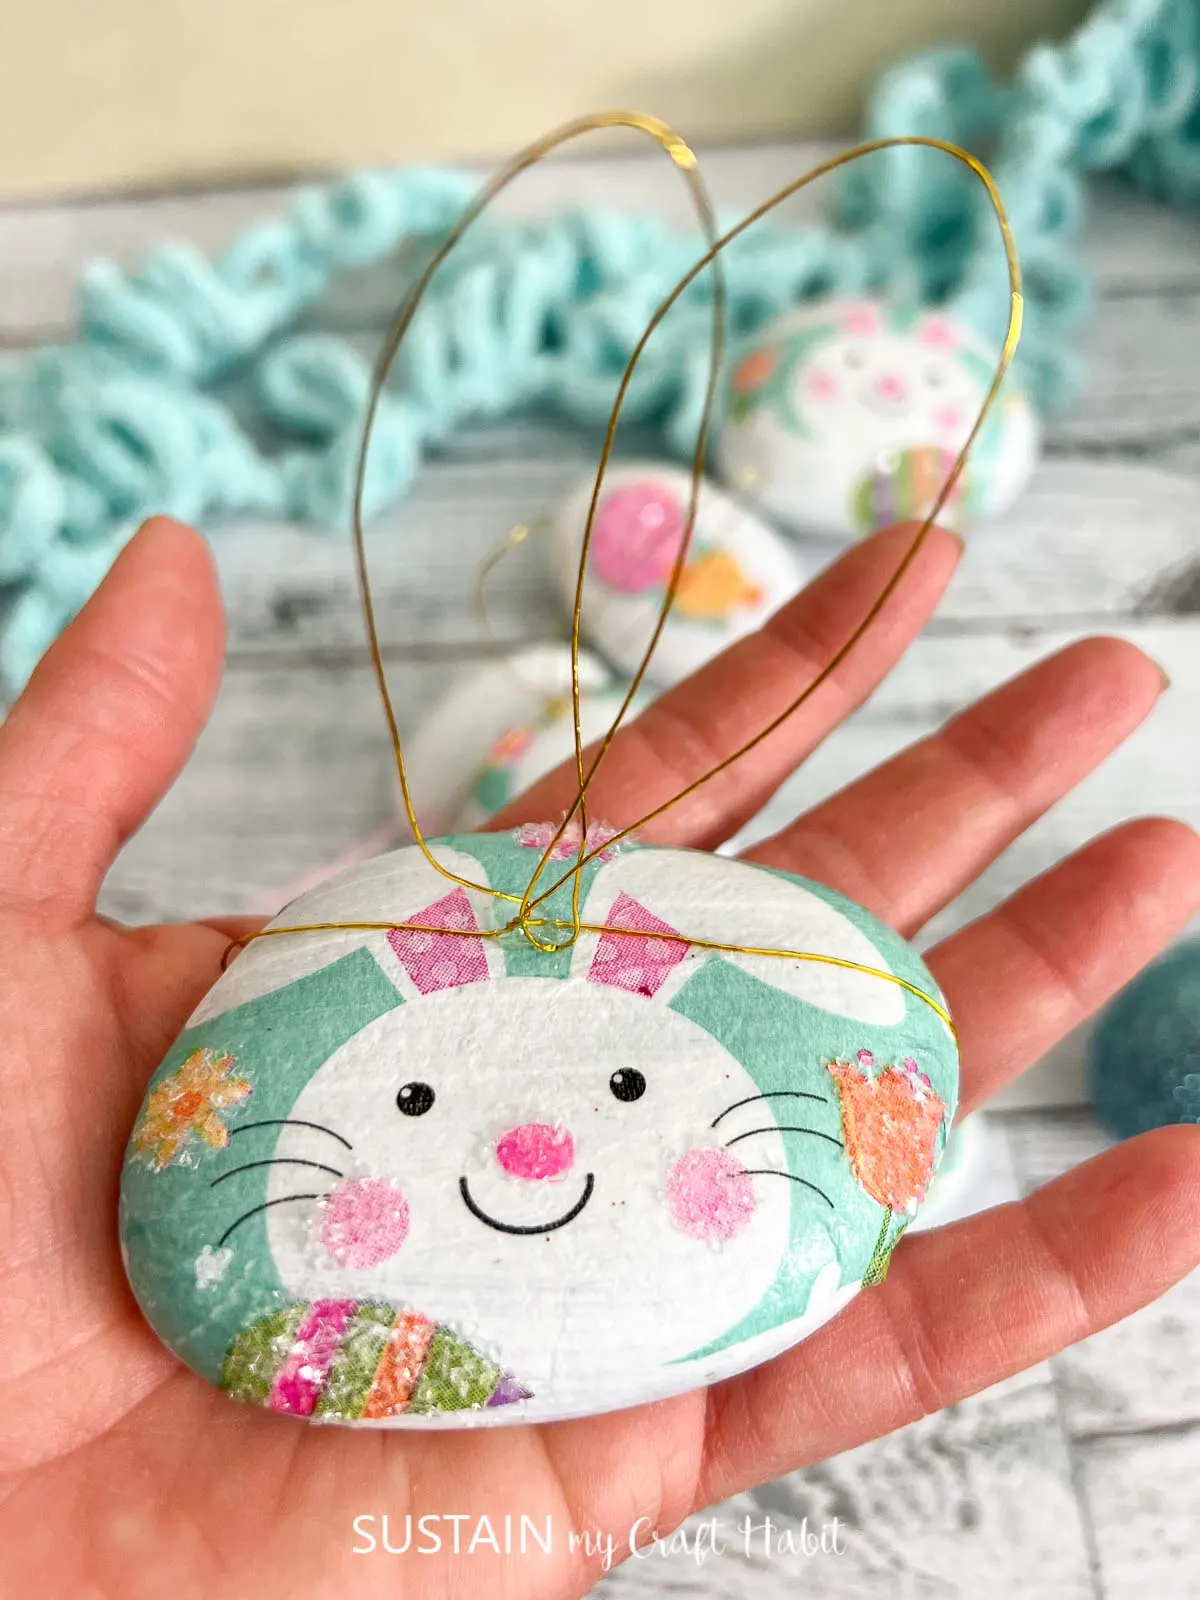
And there you go: adorable decoupaged bunny rocks for your Easter decorating. You can place them in Easter baskets, on your Easter tiered tray, or even to hold place cards on your Easter tablescape!

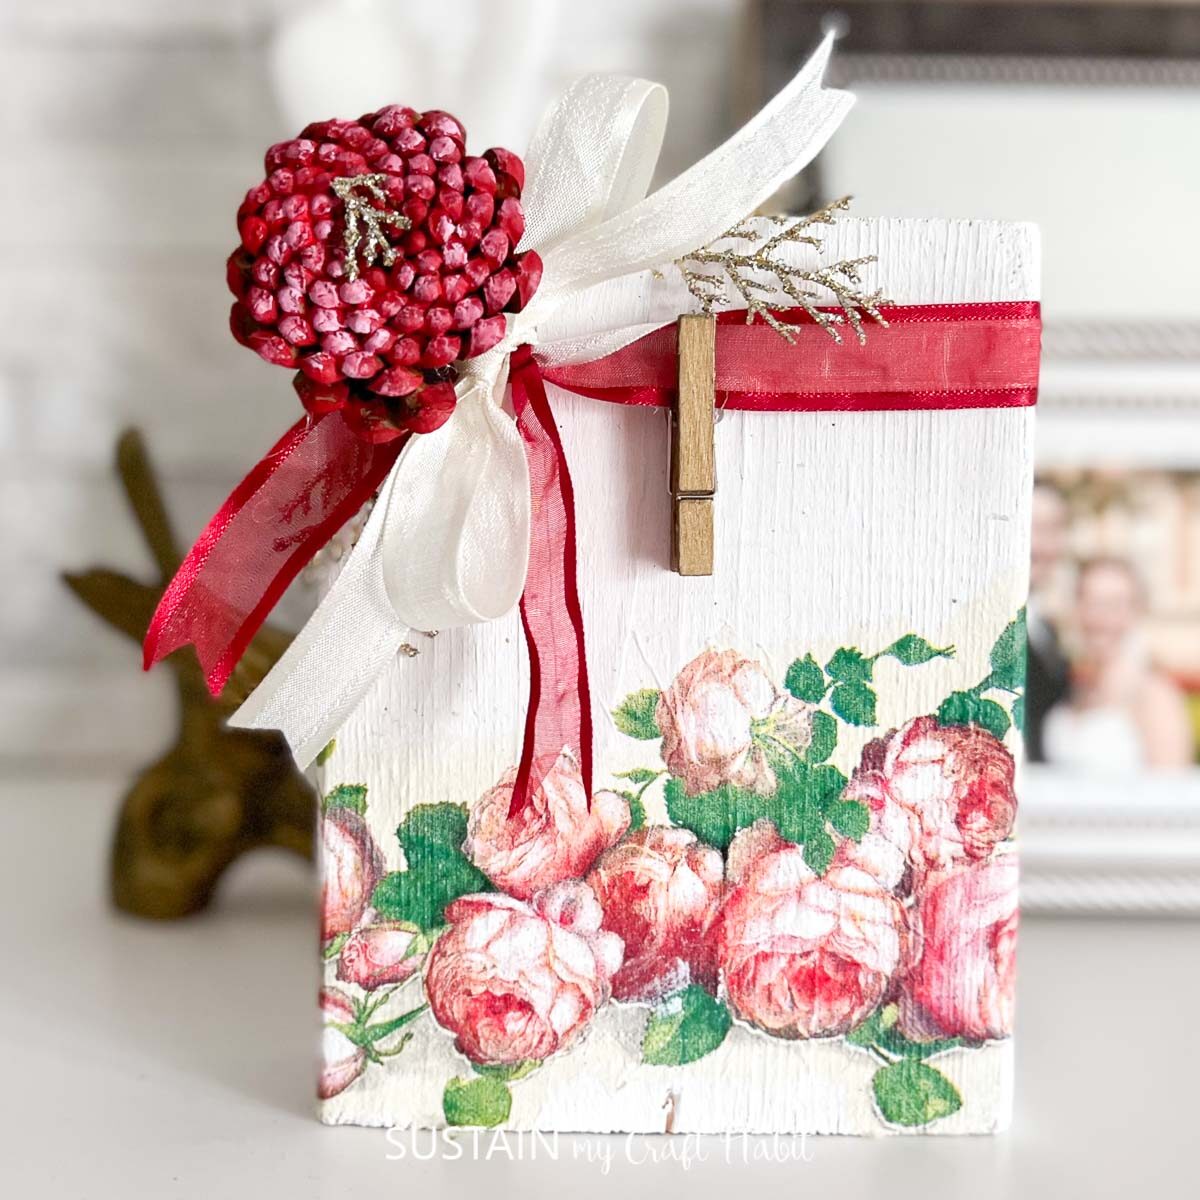
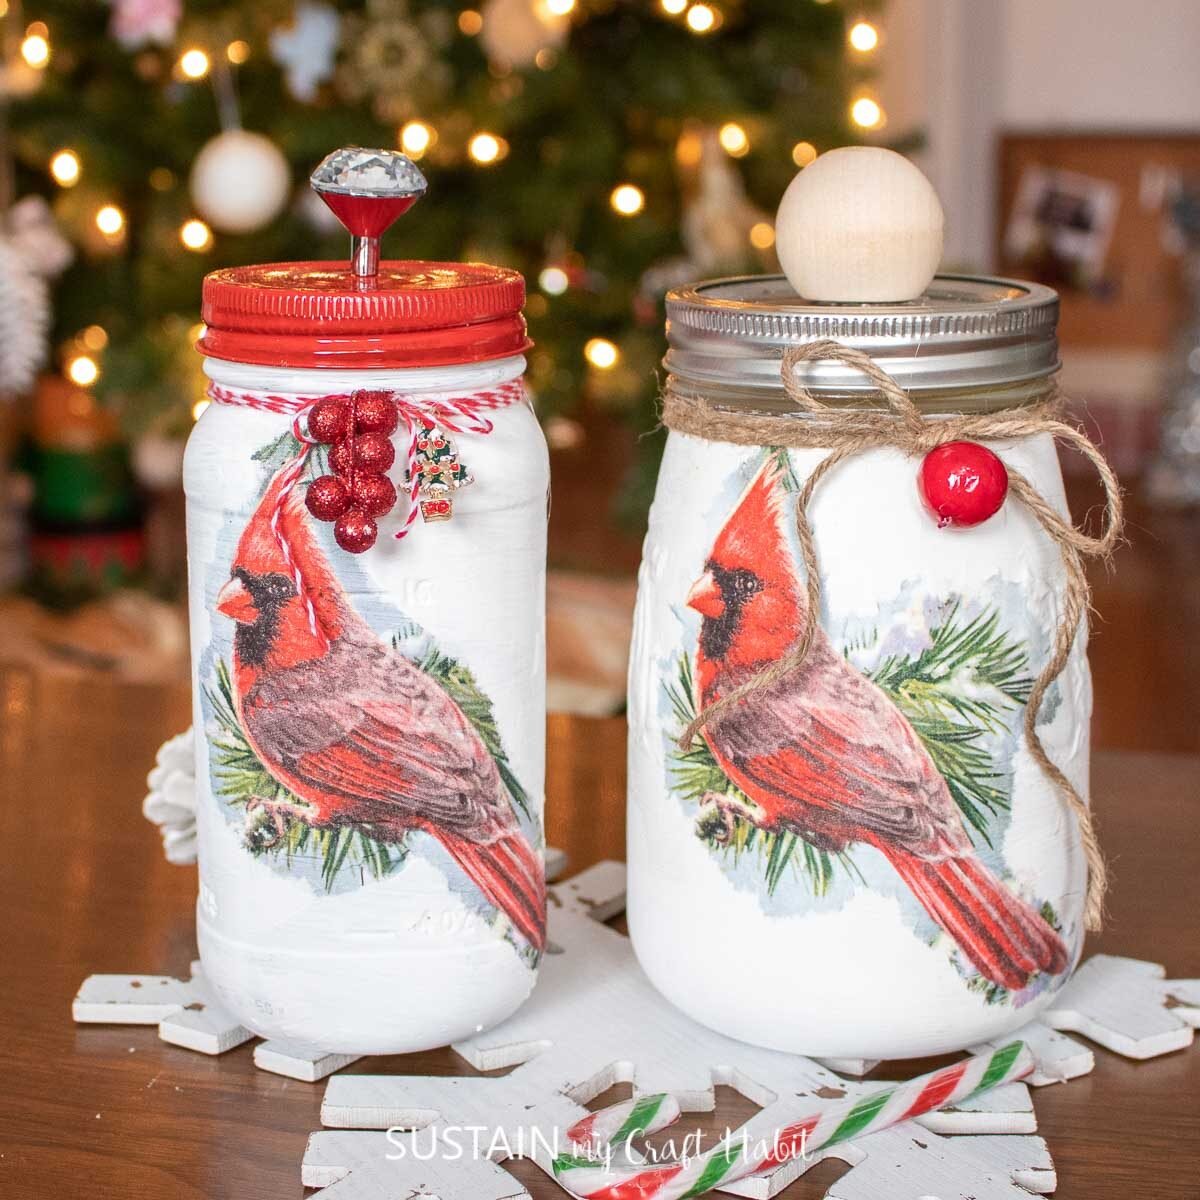
With so many wonderful designs and paper napkin patterns to choose from, learn how you can decoupage on glass, decoupage on mason jars and even how to decoupage on scrap wood to make a photo display.

We hope you’ve found this tutorial on how to decoupage rocks helpful. Will you give this fun craft a try?
Want to receive a ton of inspiration and money saving ideas for decorating, gift-giving and crafting? Join HERE!
Like it? Pin for later!


How to Decoupage a Rock with Easter Paper Napkins
Materials
Instructions
- Paint the surface of the rocks in white and let the paint dry fully.
- Separate the plies of paper napkin, you’ll just need the top printed layer of paper.
- Cut a portion of the napkin design that you want to add on to the rocks.
- Apply a coat of Mod Podge on to the rock and press the prepared napkin on top. Place the rock on top of a sheet of wax paper to avoid it from sticking the surface.
- Smooth out the paper around the rock. Press out any bubbles underneath gently.
- Apply another coat of Mod Podge over top of the rock to seal the surface. Leave it to dry.
- As an added option, cut a piece of fine gauge wire and wrap it around the rock, create a pair of loops to resemble bunny ears.