

Transform ordinary buttons into charming button art with our cute carrot button art idea. We’ll show you how with this easy DIY activity.
Whether you’re looking for a festive activity to do with kids or simply want to add a festive touch to your home, this cute carrot button art craft is guaranteed to spark happiness. Keep reading for all the details!


Easter Carrot Art From Buttons
Add a touch of whimsy and charm to your Easter decor with this super cute carrot button art craft. This unique craft project combines the joy of Easter with the creativity of button art, resulting in a fun and cheerful decoration that is sure to bring smiles all around.
Want to receive a ton of inspiration and money saving ideas for decorating, gift-giving and crafting? Join HERE!
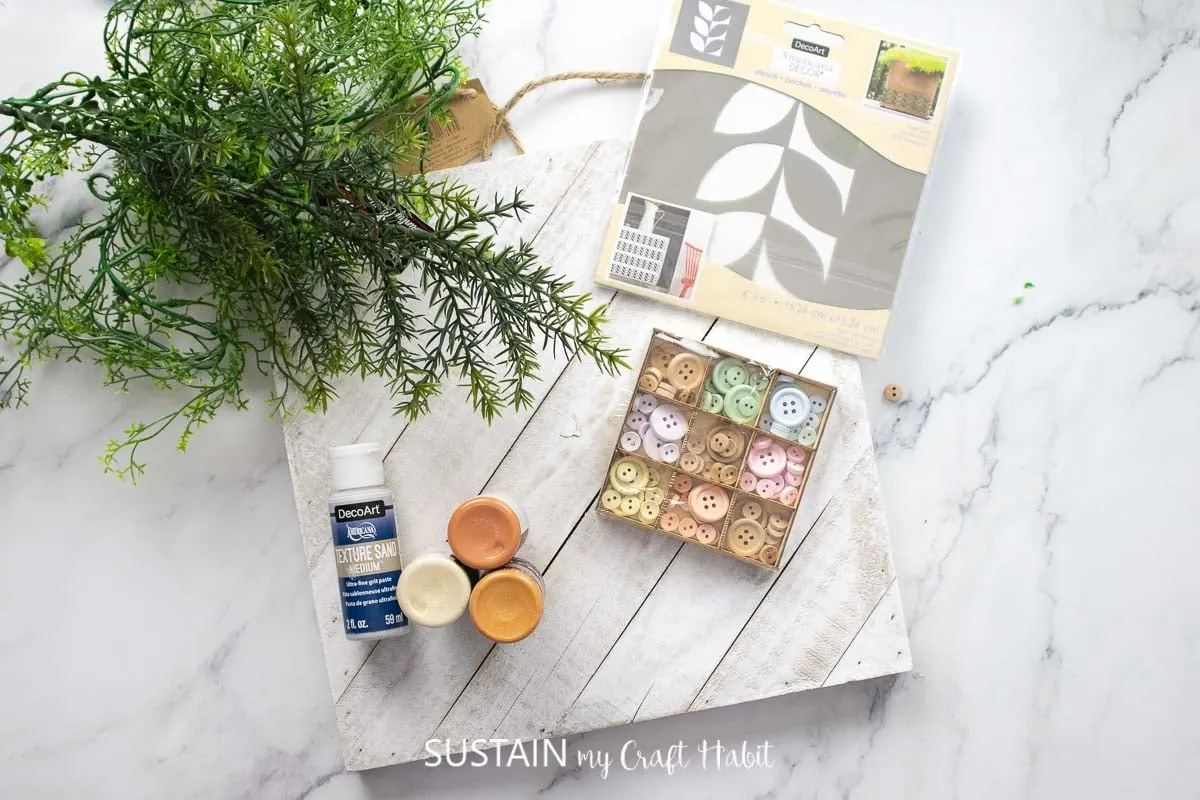
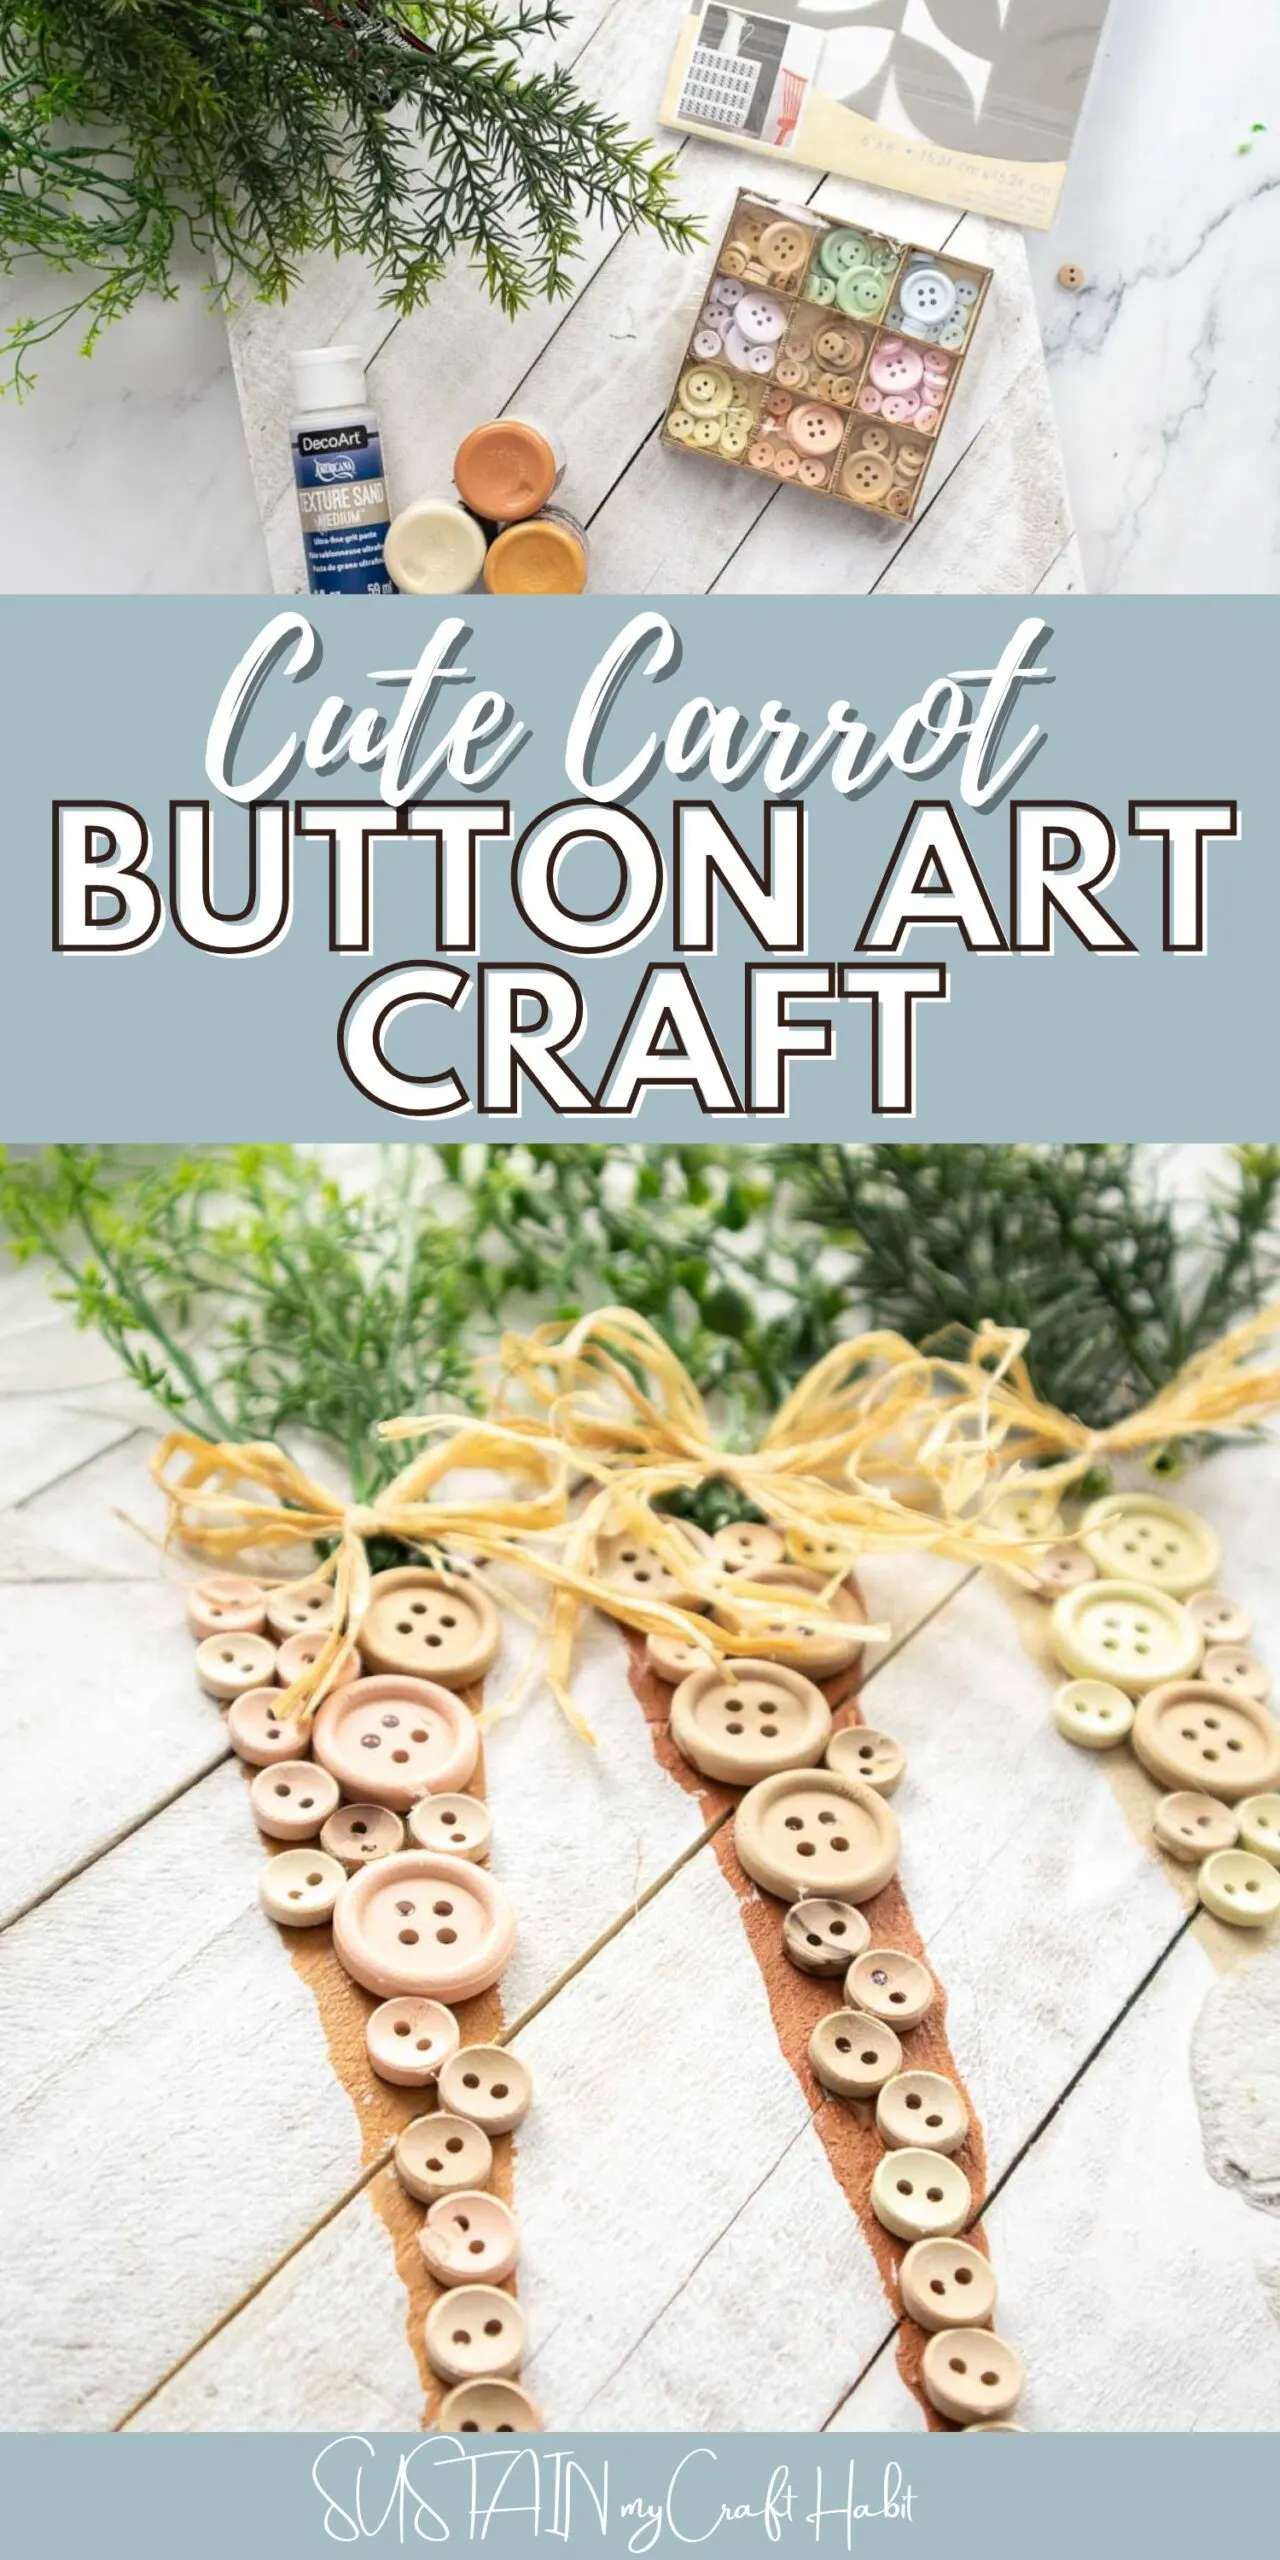
Materials Needed
Disclosure: This post contains affiliate links for your shopping convenience. Should you choose to purchase through them, we will make a small commission at no extra cost to you. You can read our full disclosure policy here.
- Wood plaque
- Buttons
- Decoart texture sand paint
- Paint in orange spice, cadmium orange, cream (or colors of your choice)
- Paint brushes
- Leaf pattern stencils
- Greenery stems
- Raffia ribbon
- Hot glue gun

How to Make a Cute Carrot Button Art Craft
I shared the tutorial for how to make this button carrot art on Facebook live which you can watch here. Or if you prefer the photo tutorial, continue reading below.
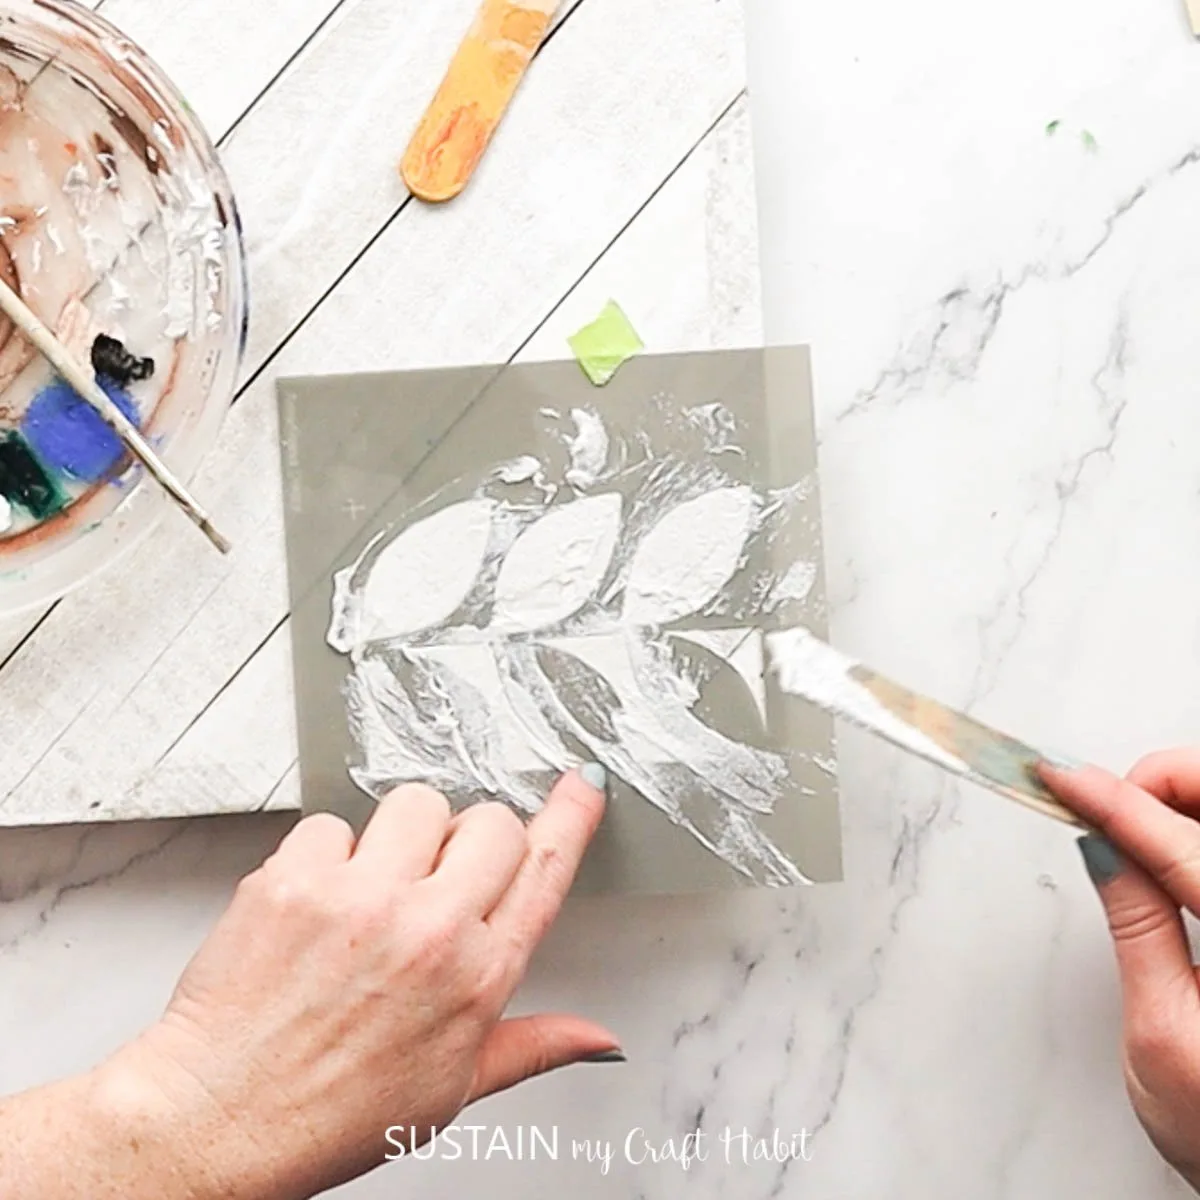
Since the wood plaque is already distressed looking I decided not to paint it. Instead, I used a leaf stencil and positioned it on the edges of the plaque. Use a spatula to scrap the textured sand paint over the stencil and let dry.


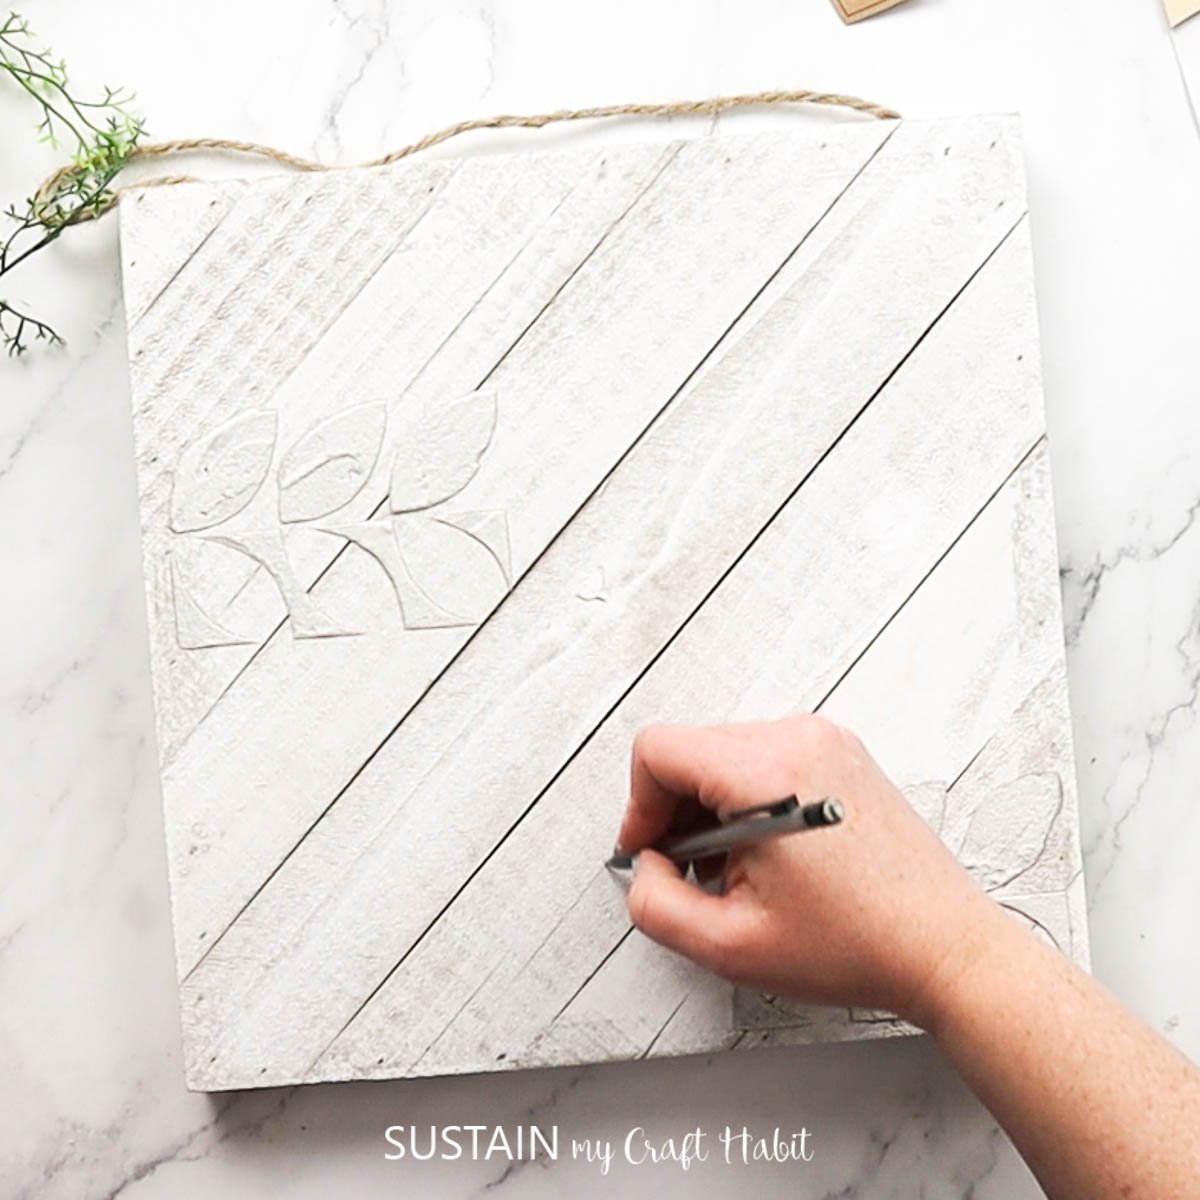
Using a pencil, draw 3 carrot shapes onto the wood.

Next, paint each carrot a different color.


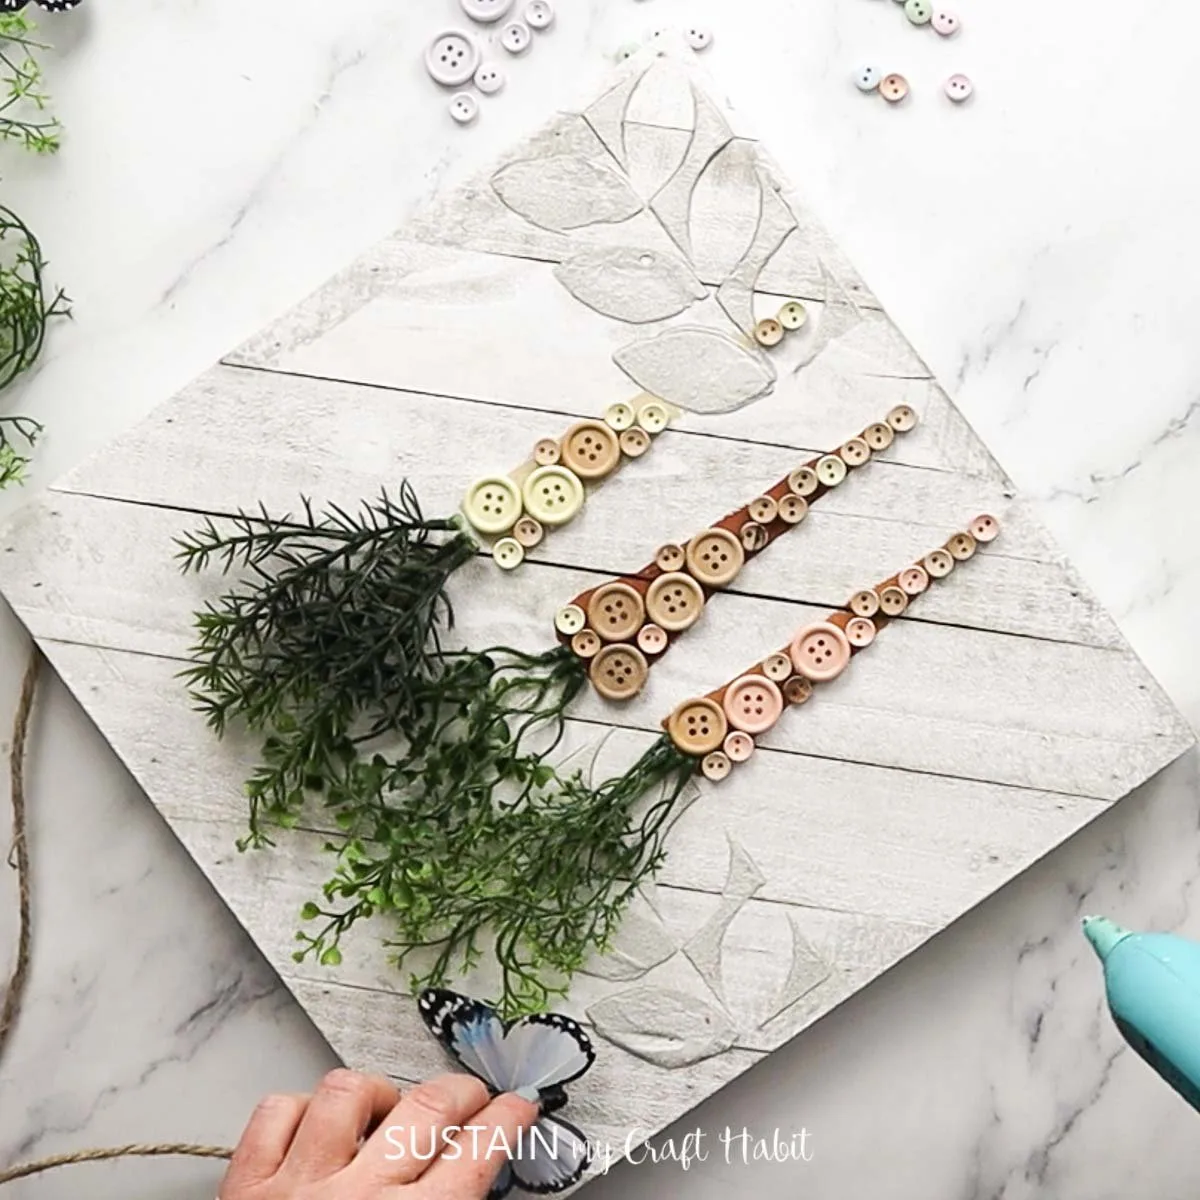
Sort your buttons into different colors and start hot gluing the buttons to cover the carrots.


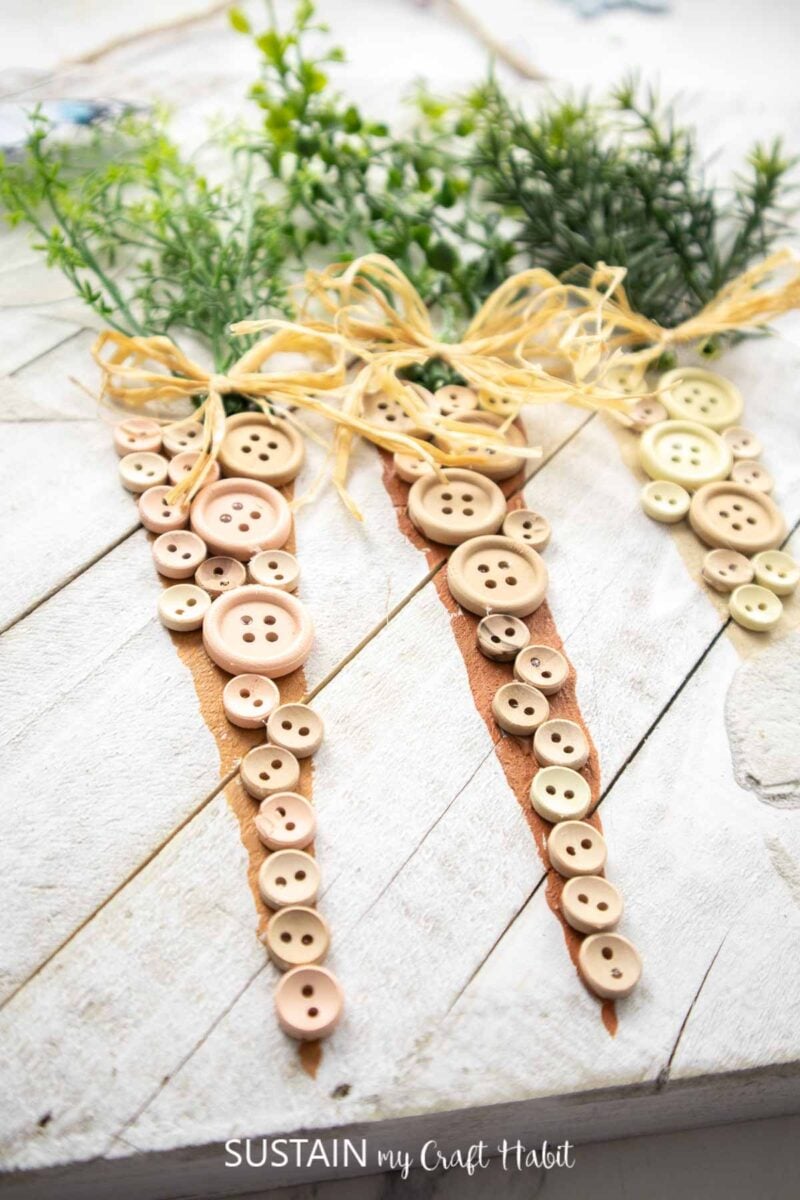
Continue until the carrots are entirely covered in buttons.


Separate your greenery stems from the bunches and glue the pieces in place to make the carrot tops.


Next, take some raffia ribbon or twine to wrap around the stems into a bow.


Hot glue any other embellishments to your sign.

Hang and display your button art!

Wasn’t that such a simple craft? We love how it turned out! Where will you display your button art? Let us know if you make this project by sharing it with us on Facebook!
More Carrot Crafts
I guess we have a thing for carrots! Check out our other carrot themed craft ideas.
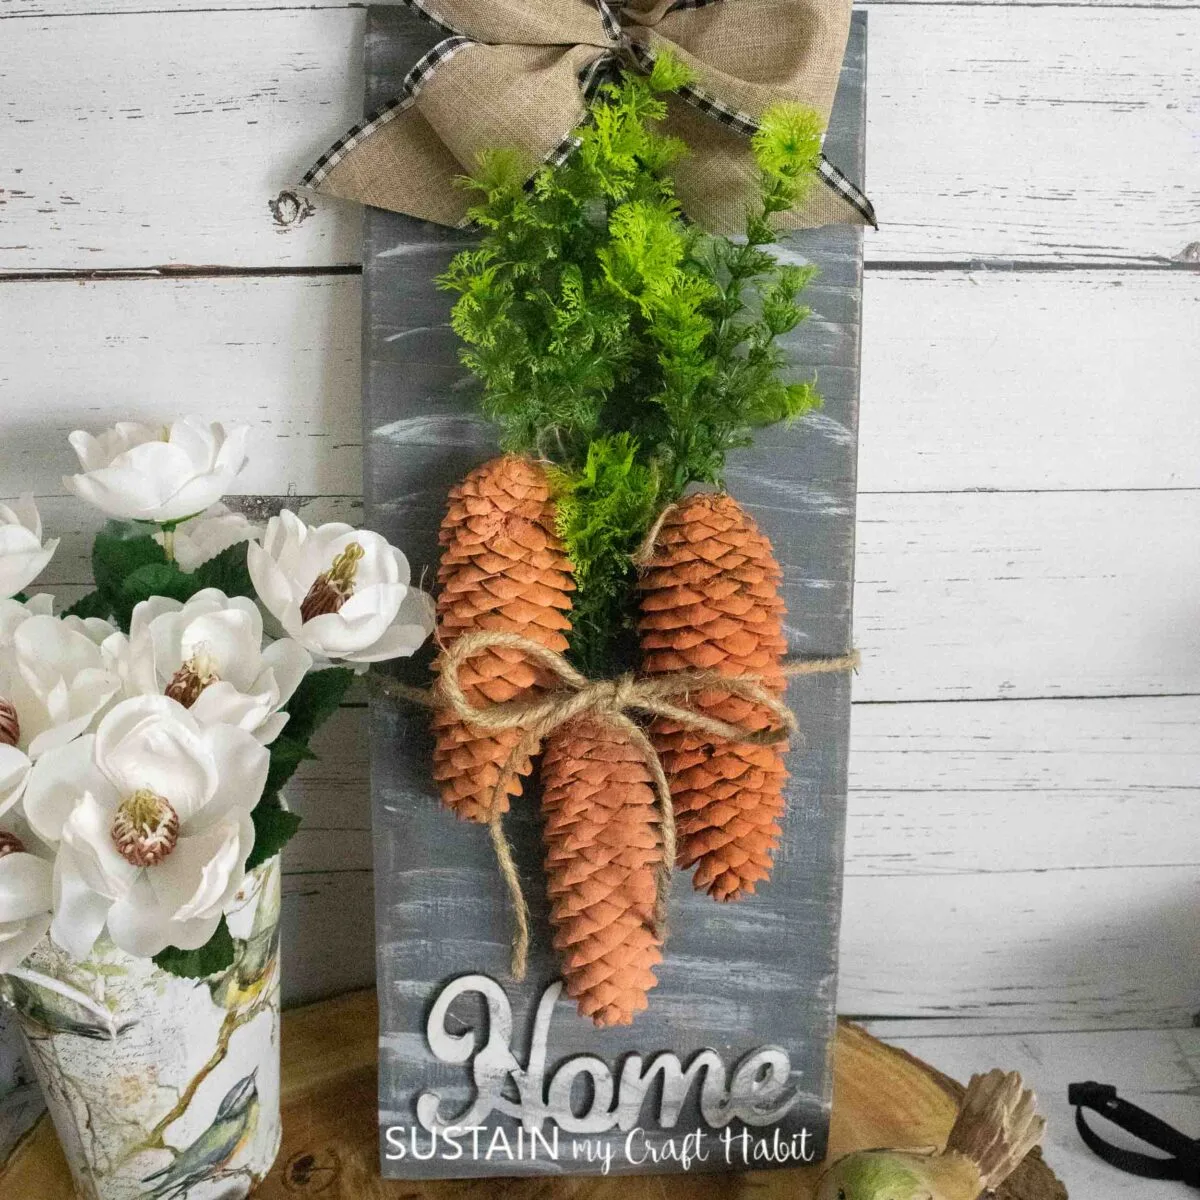
- Pinecone Carrot Craft for Easter
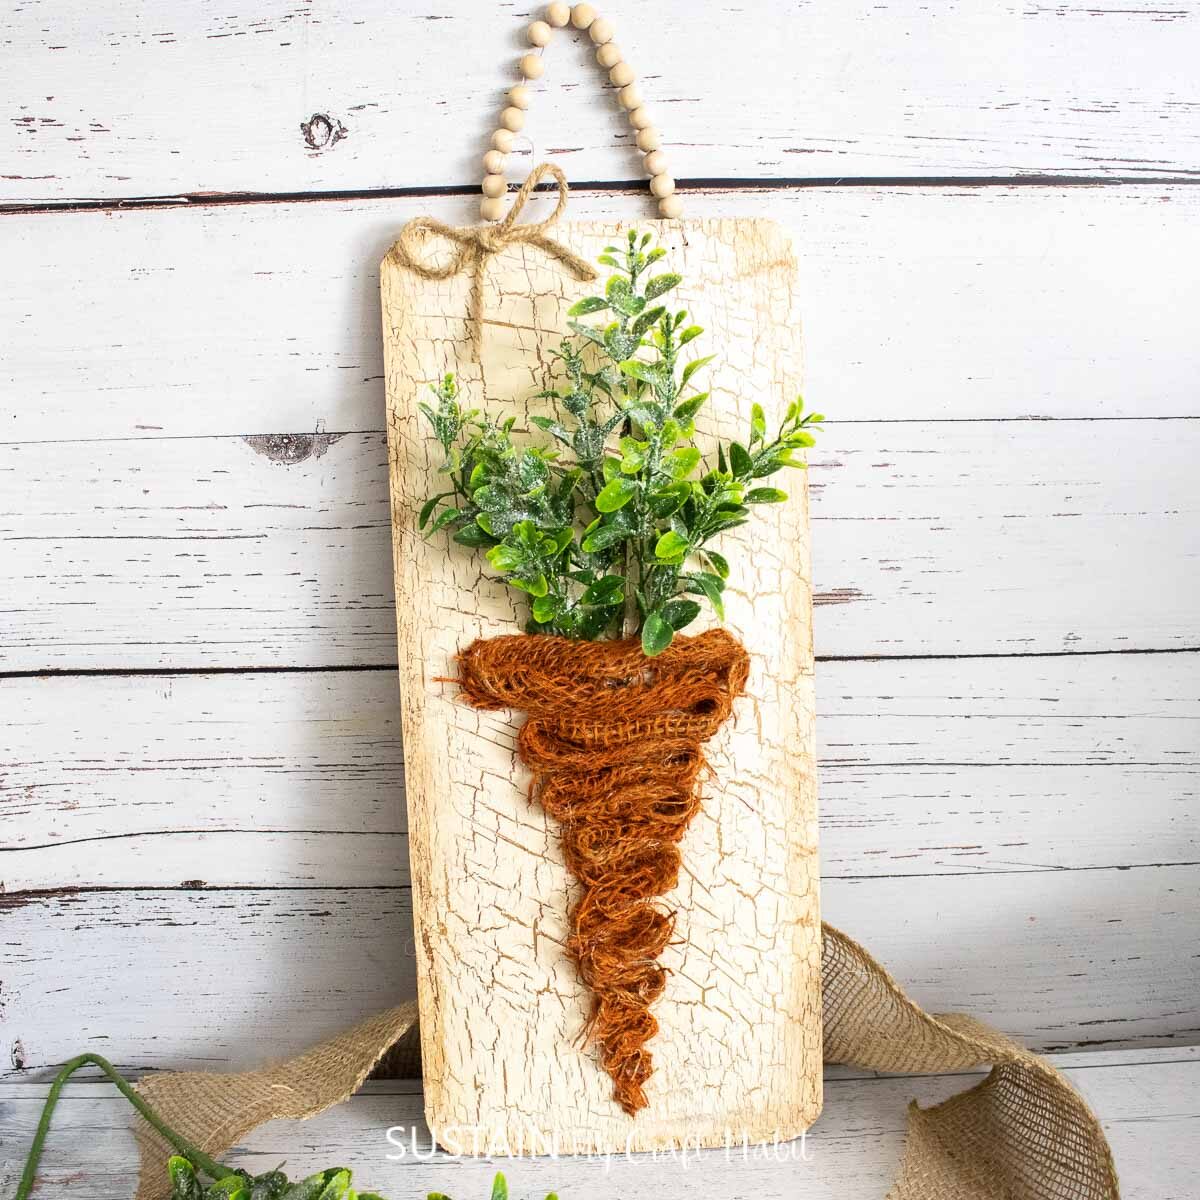
- Carrot Sign with Burlap Ribbon
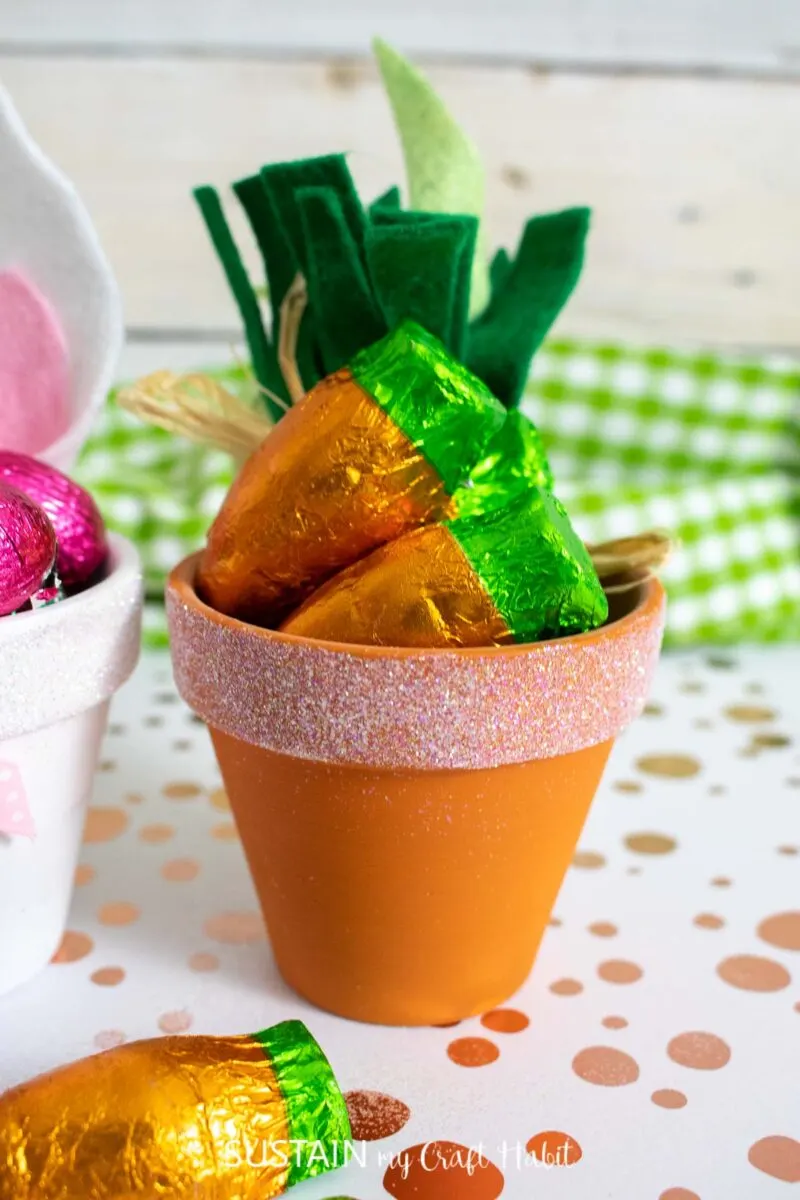
- Adorable Clay Pot Crafts
- Rustic Farmhouse Spring Decor


Get updates on the latest posts and more from Sustain My Craft Habit straight to your inbox by joining our weekly newsletter. We promise to send you only the good stuff.
Like it? Pin it for later!


Cute Carrot Button Art Craft
Materials
- Wood plaque
- Buttons
- Decoart texture sand paint
- Paint in orange spice, cadmium orange, cream (or colors of your choice)
- Paint brushes
- Leaf pattern stencils
- Greenery stems
- Raffia ribbon
- Hot glue gun
Instructions
- Take a leaf stencil and position it on the edges of the plaque. Use a spatula to scrap the textured sand paint over the stencil and let dry.
- Using a pencil, draw 3 carrot shapes onto the wood.
- Next, paint each carrot a different color.
- Sort your buttons into different colors and start hot gluing the buttons to cover the carrots.
- Continue until the carrots are entirely covered in buttons.
- Separate your greenery stems from the bunches and glue the pieces in place to make the carrot tops.
- Next, take some raffia ribbon or twine to wrap around the stems into a bow.
- Hot glue any embellishments to your sign.
- Hang and display your button art!