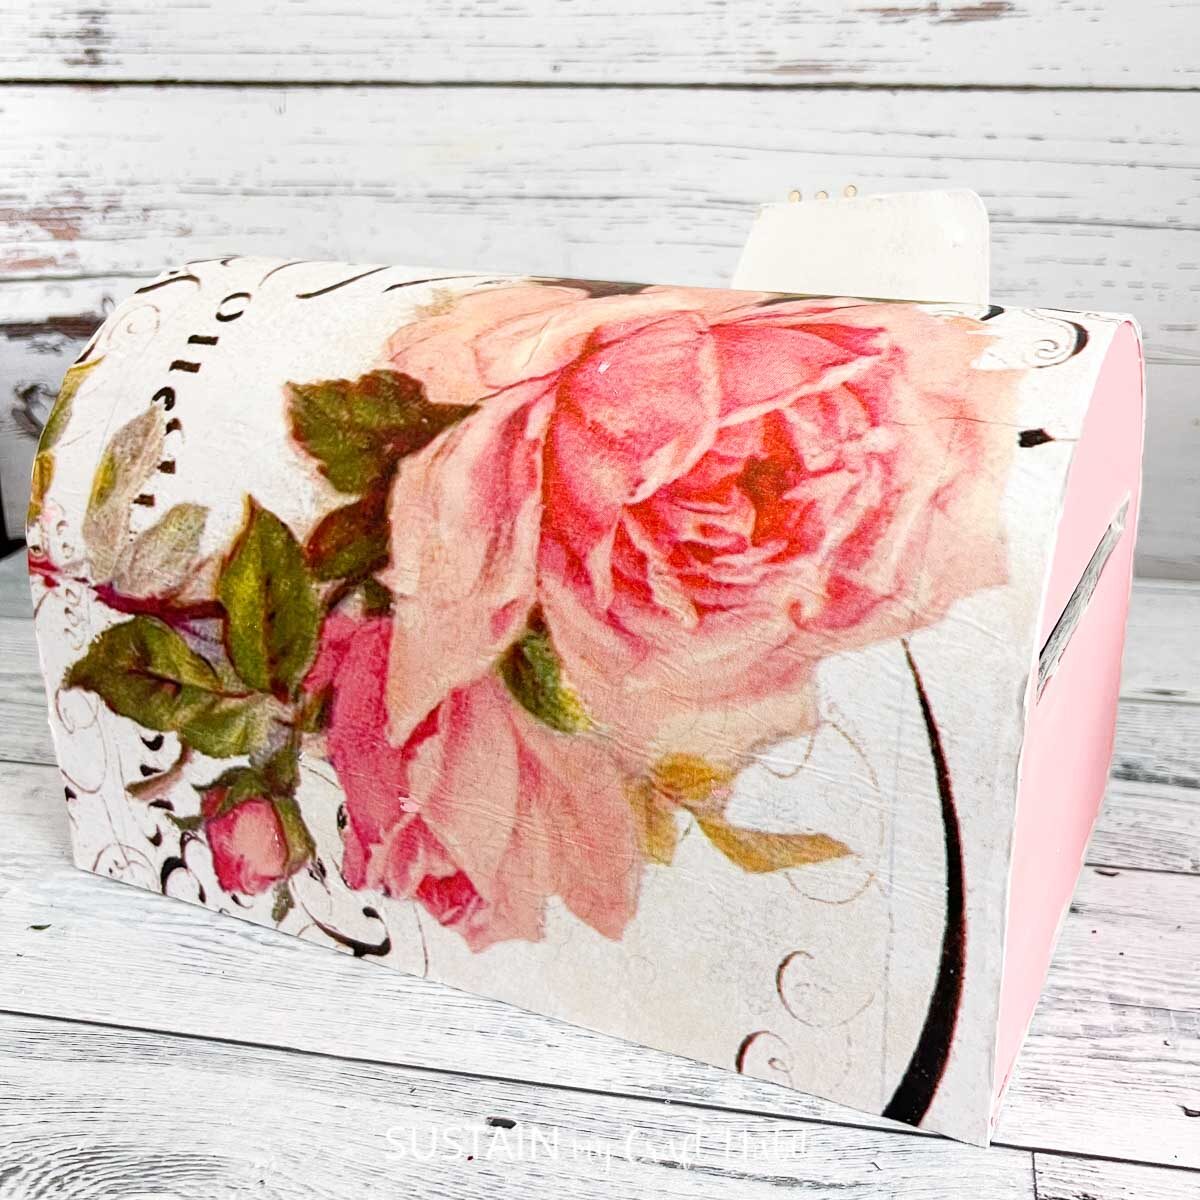
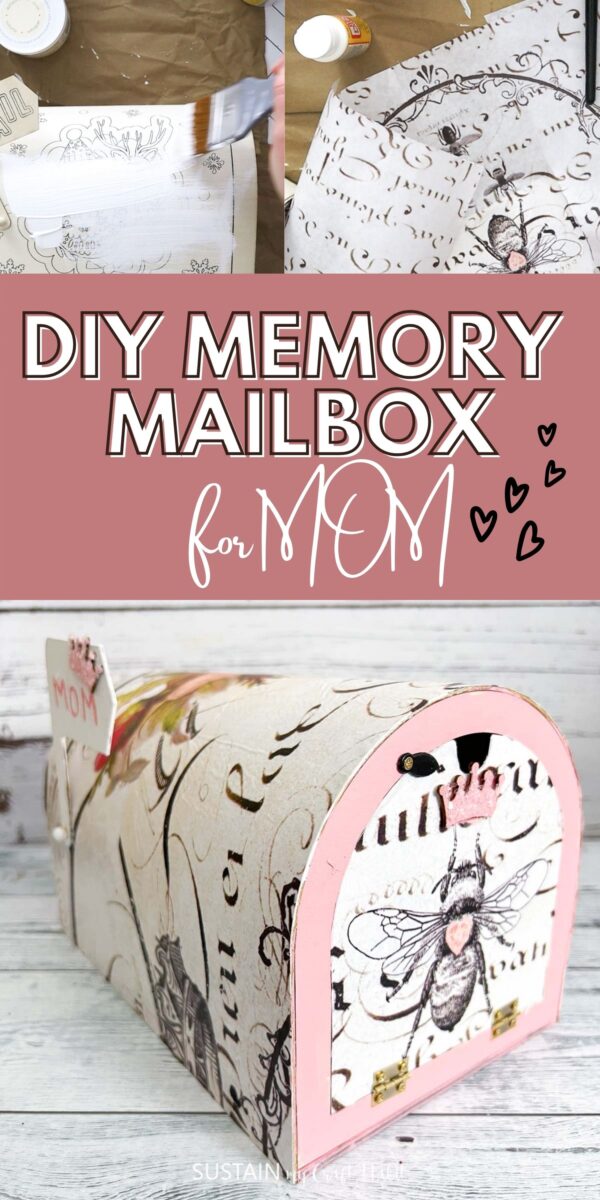
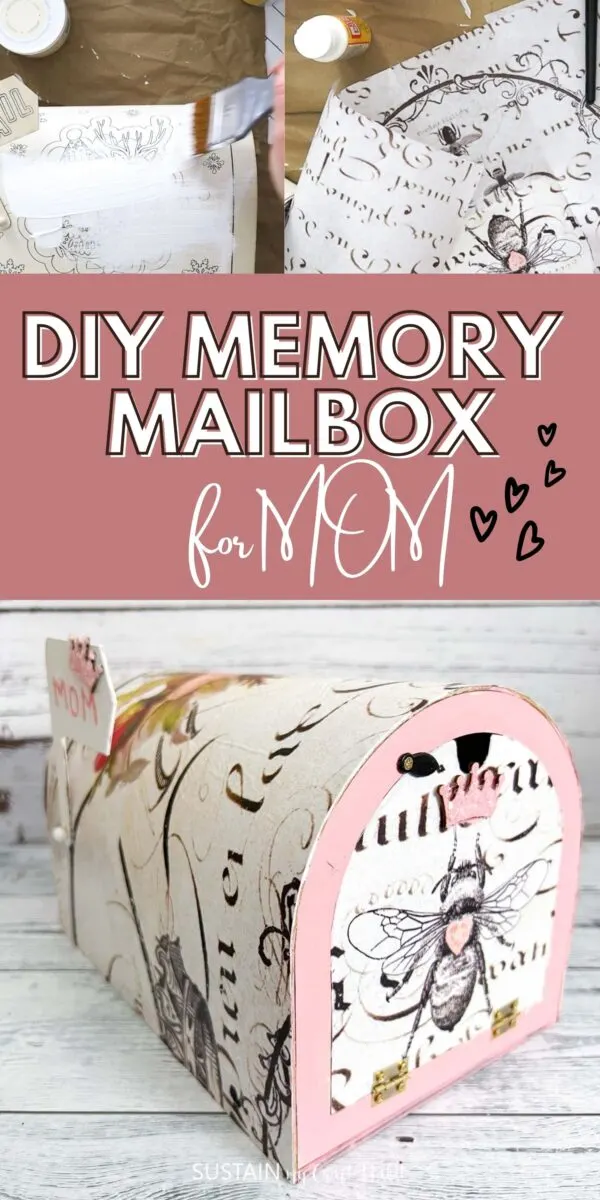
As a special place to store my favorite keepsakes, I’ve crafted a memory mailbox using an inexpensive wooden box and some lovely printed paper.


A DIY Memory Box Idea
Having come across this kid’s wooden mailbox on clearance after Christmas this past year, I was instantly excited to repurpose it as a DIY memory box. It’s original design was intended to be a kid’s mailbox for holding letters to Santa but with my kids ogetting older, a keepsake holder will get more use.
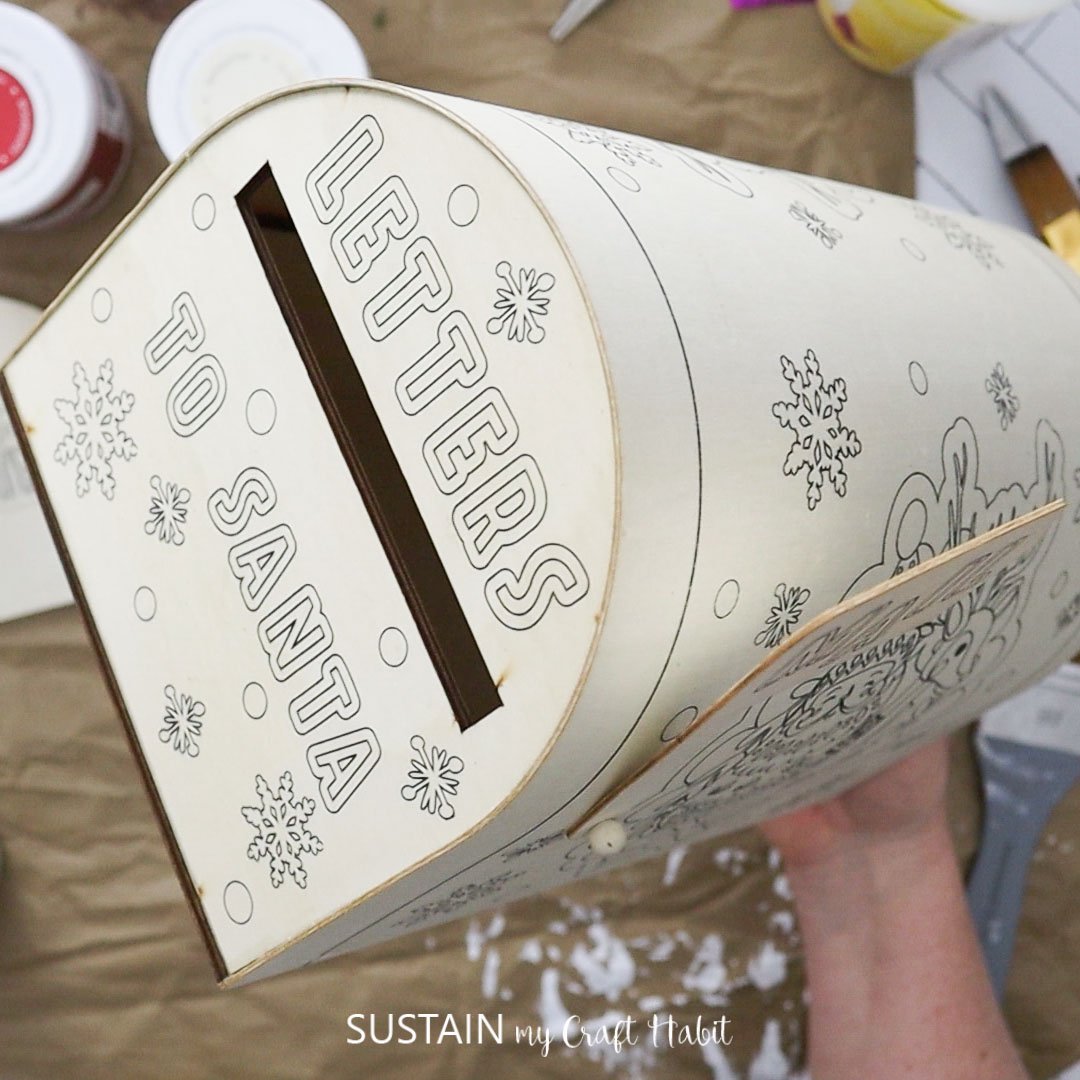
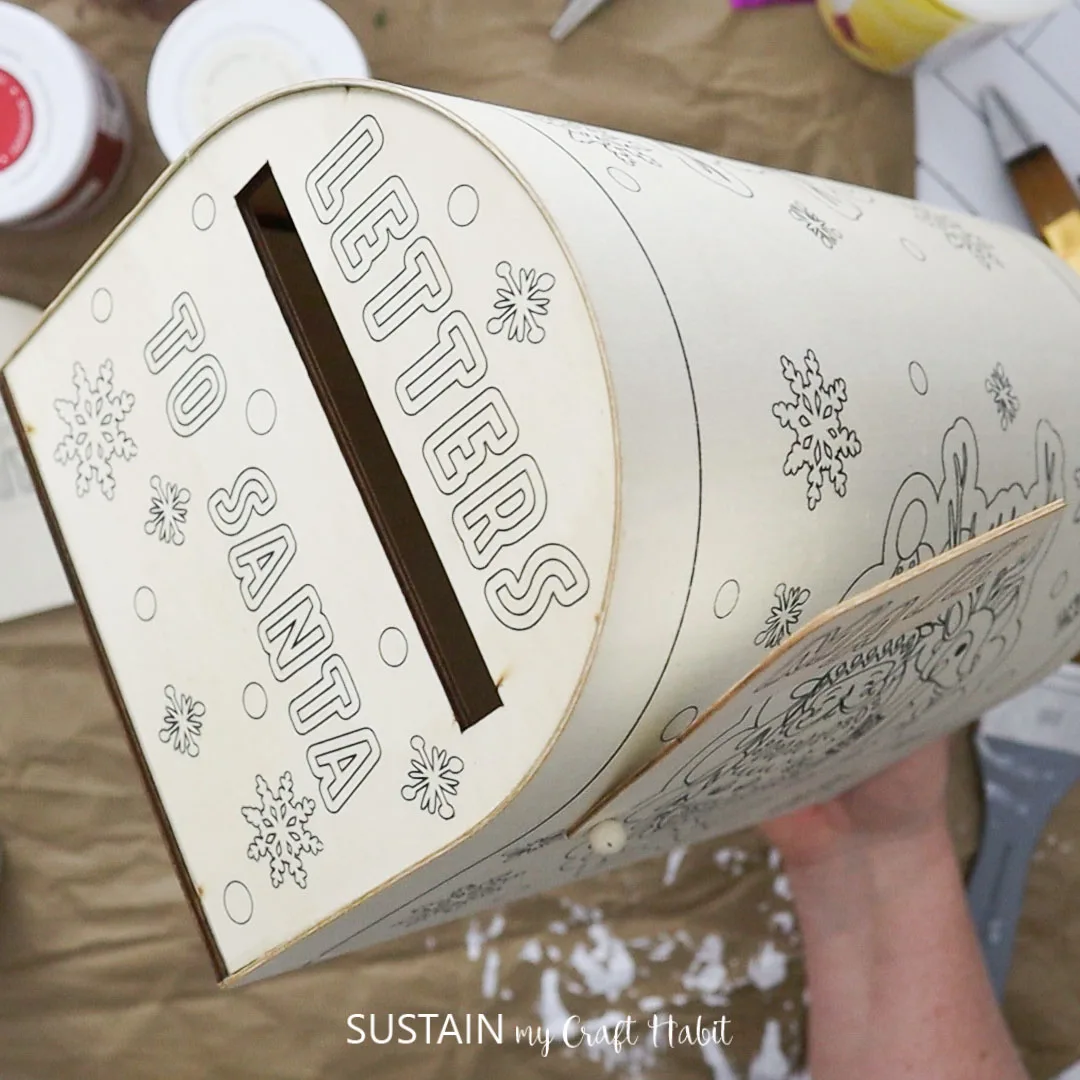
Call us sentimental but we love making keepsake crafts and memento boxes like this elegant resin poured box to hold them in. I love the idea of my little ones placing cards and sweet notes inside this new memory mailbox for me to find!
Want to receive a ton of inspiration and money saving ideas for decorating, gift-giving and crafting? Join HERE!
Materials Needed
Disclosure: This post contains affiliate links for your shopping convenience. Should you choose to purchase through them, we will make a small commission at no extra cost to you. You can read our full disclosure policy here.
- Wooden craft mailbox
- Acrylic Paint in white and pink
- Paintbrush
- Decorative paper (this shop on Etsy has so many wonderful printed papers to choose from)
- Mod Podge
- Scissors
- Wooden Embellishments/cutouts
- Diamond Dust (optional)
How to Make a DIY Memory Mailbox for Mom
Here is a step-by-step video of memory mailbox craft we made on our Facebook page! Or if you prefer the photo tutorial, continue reading below.
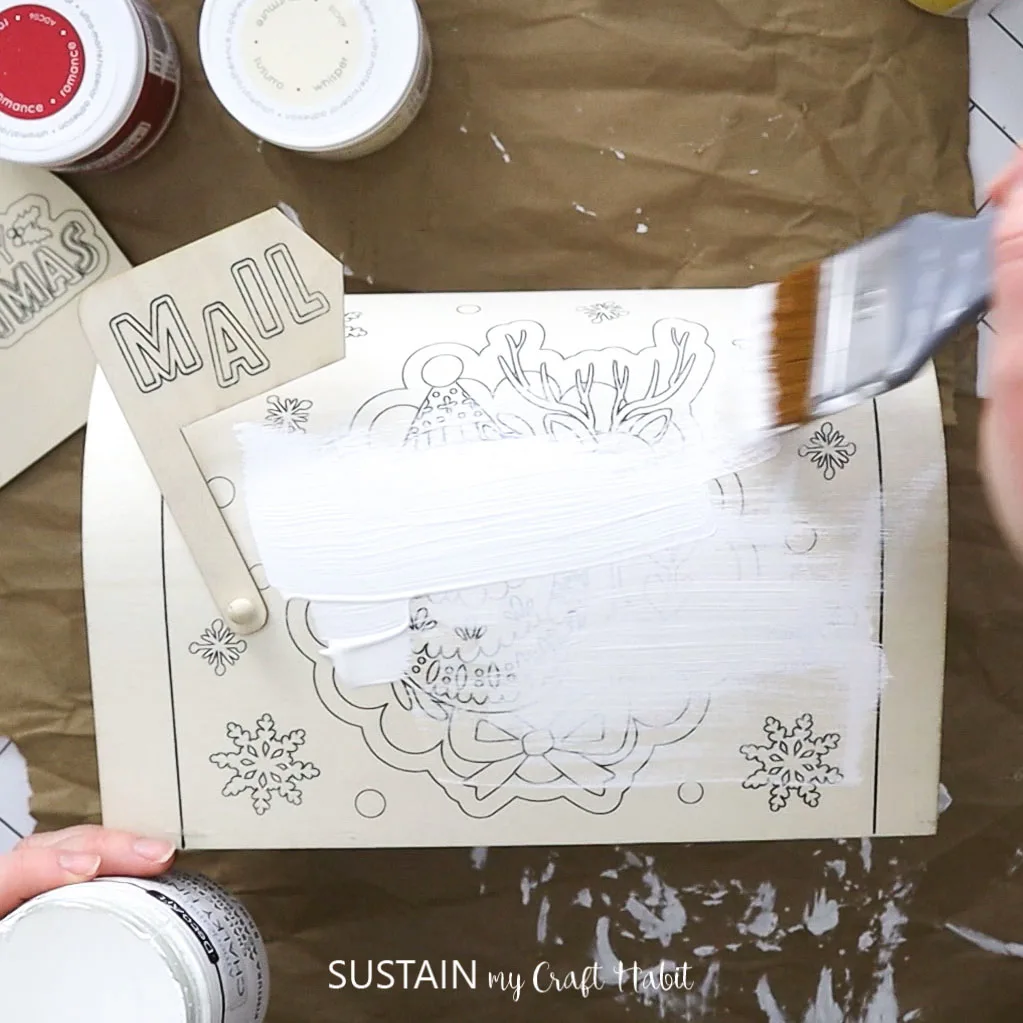
Paint the surface of the wooden mailbox in white and add another layer for extra coverage if needed. Leave it to dry fully.

Wrap the paper around the mailbox to determine the size of the paper to cut and then cut out the paper with scissors.
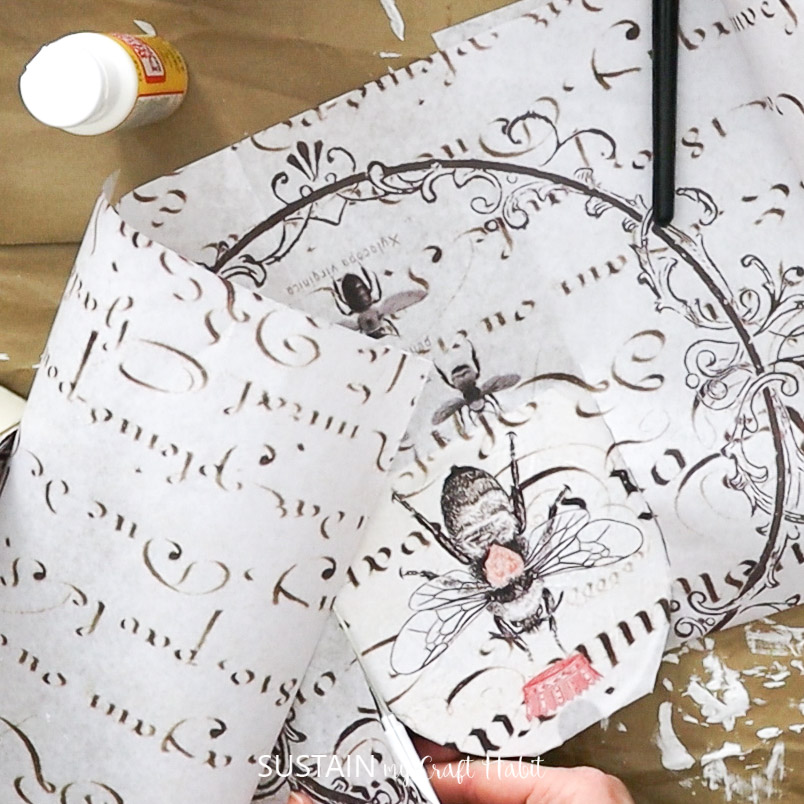

Brush on a layer of Mod Podge onto the box and then press the paper on top. Gently press and push out the excess glue underneath and continue until the surface is covered.

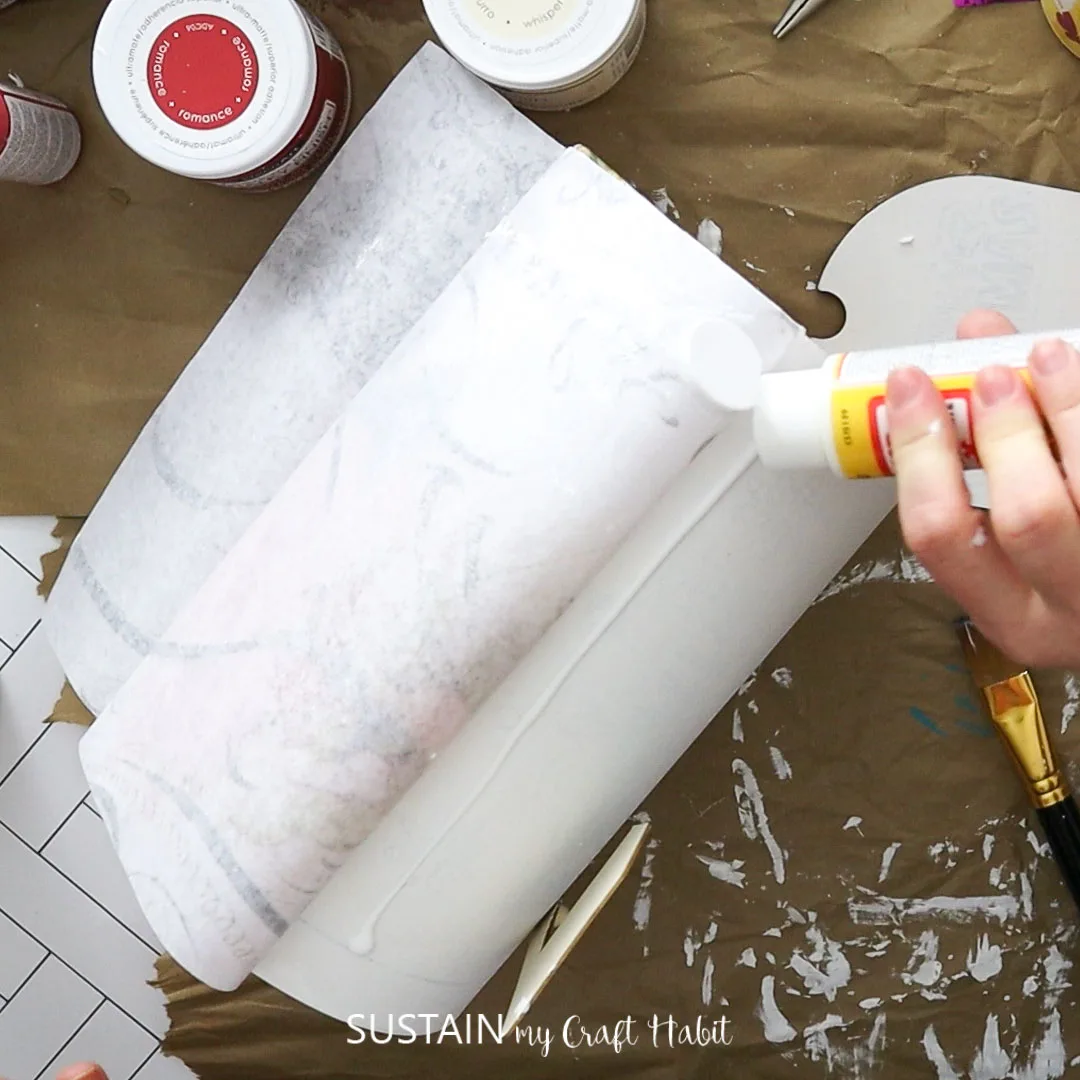
Brush on a top coat layer of Mod Podge and leave it to dry.
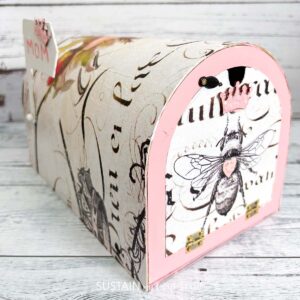
For the door of the mailbox, I painted it pink and then added just a small panel of decoupage paper in the center.
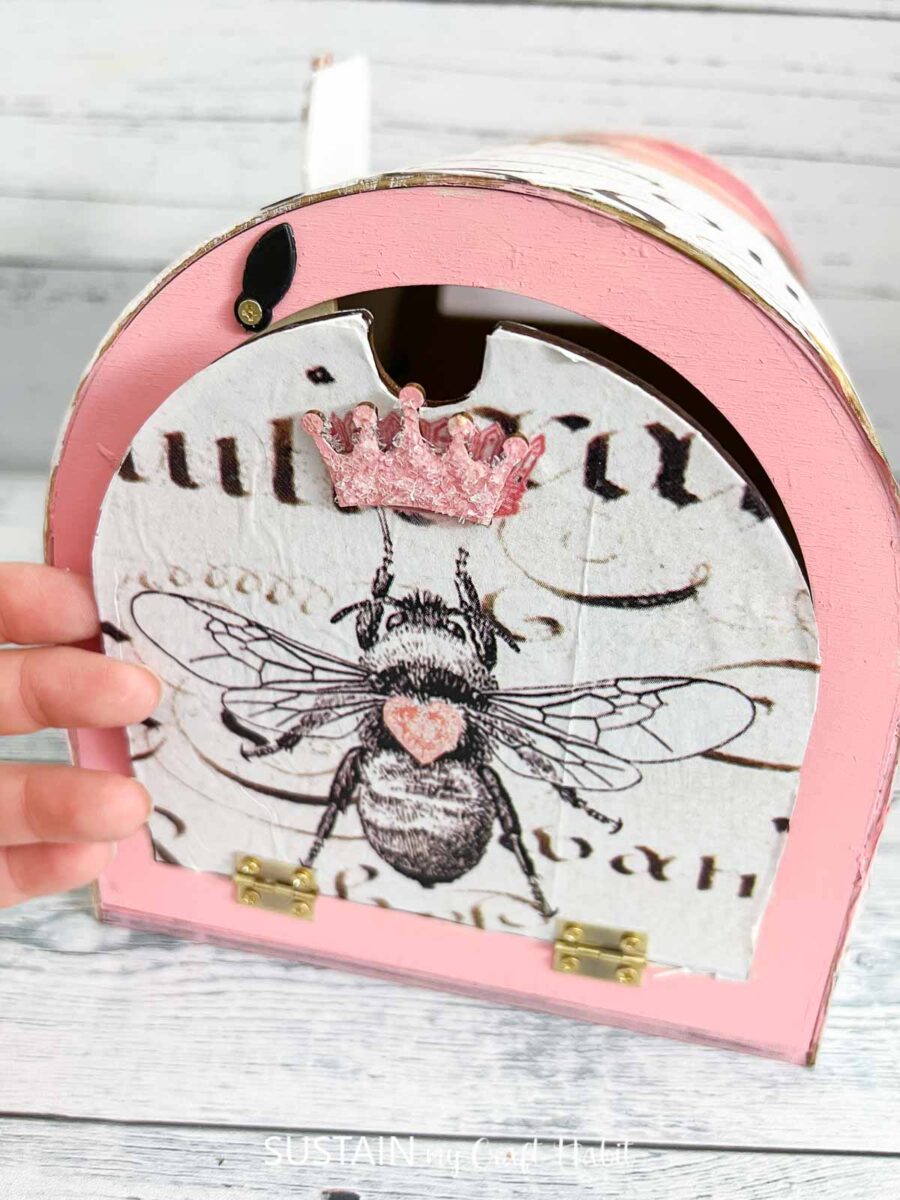

Paint and add the wooden embellishments onto the mailbox if you like. You can also add some diamond dust on top of the cutouts for some glitter. And for a final touch, I also wrote out the word “mom” on the lever.
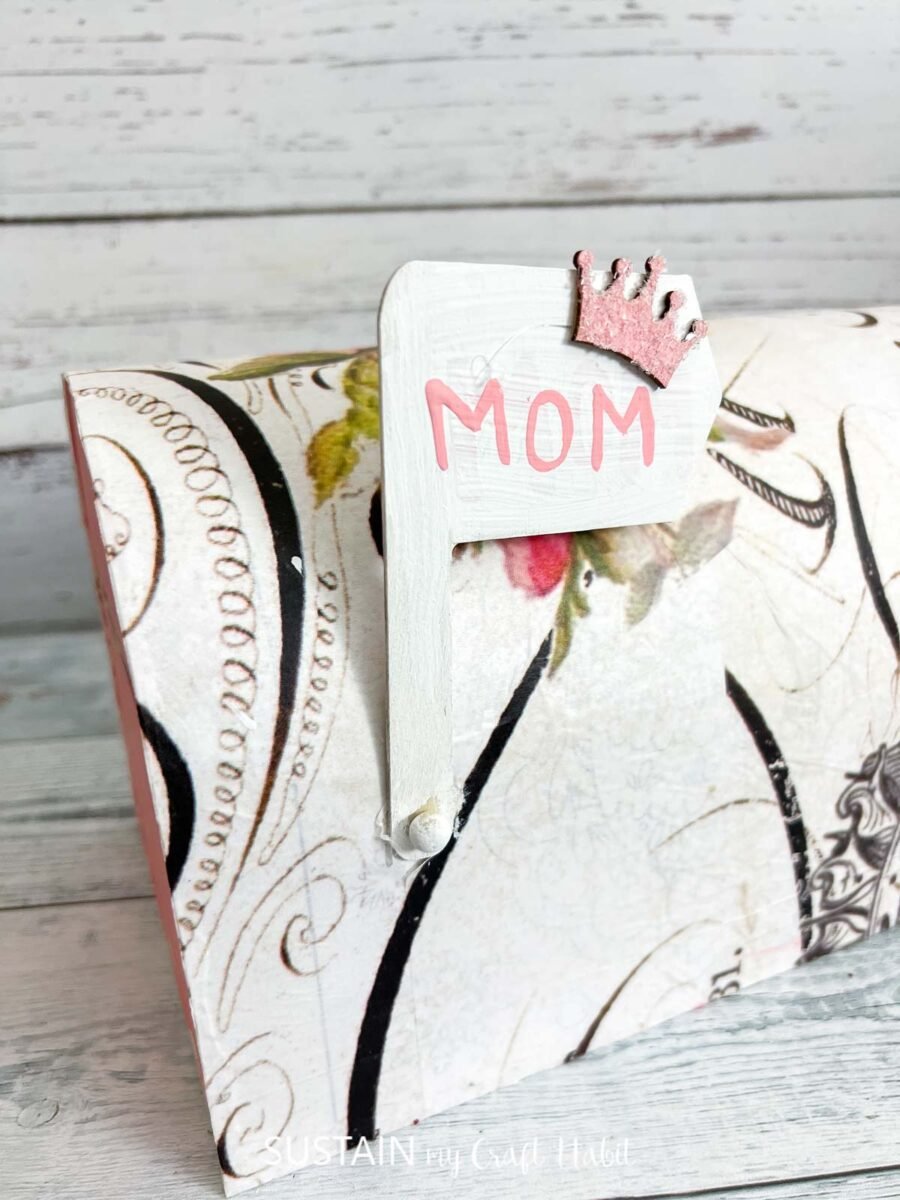

And with that, the craft is complete! The next time you’re at the craft store or even the thrift store, be sure to look for a similar wooden mailbox to craft with.

Other Gift Giving Ideas to Make for Mom
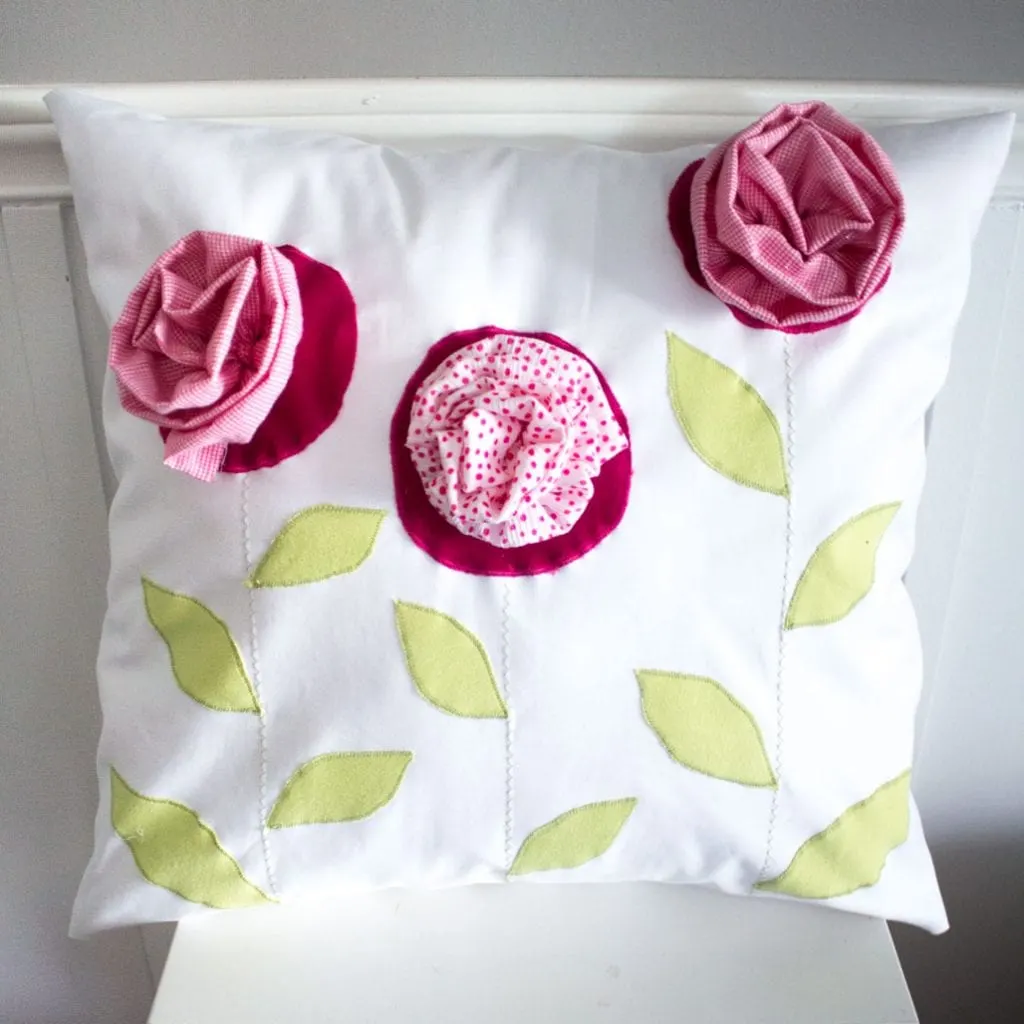
- Upcycled Throw Pillow
- Dried Flower Shadow Box
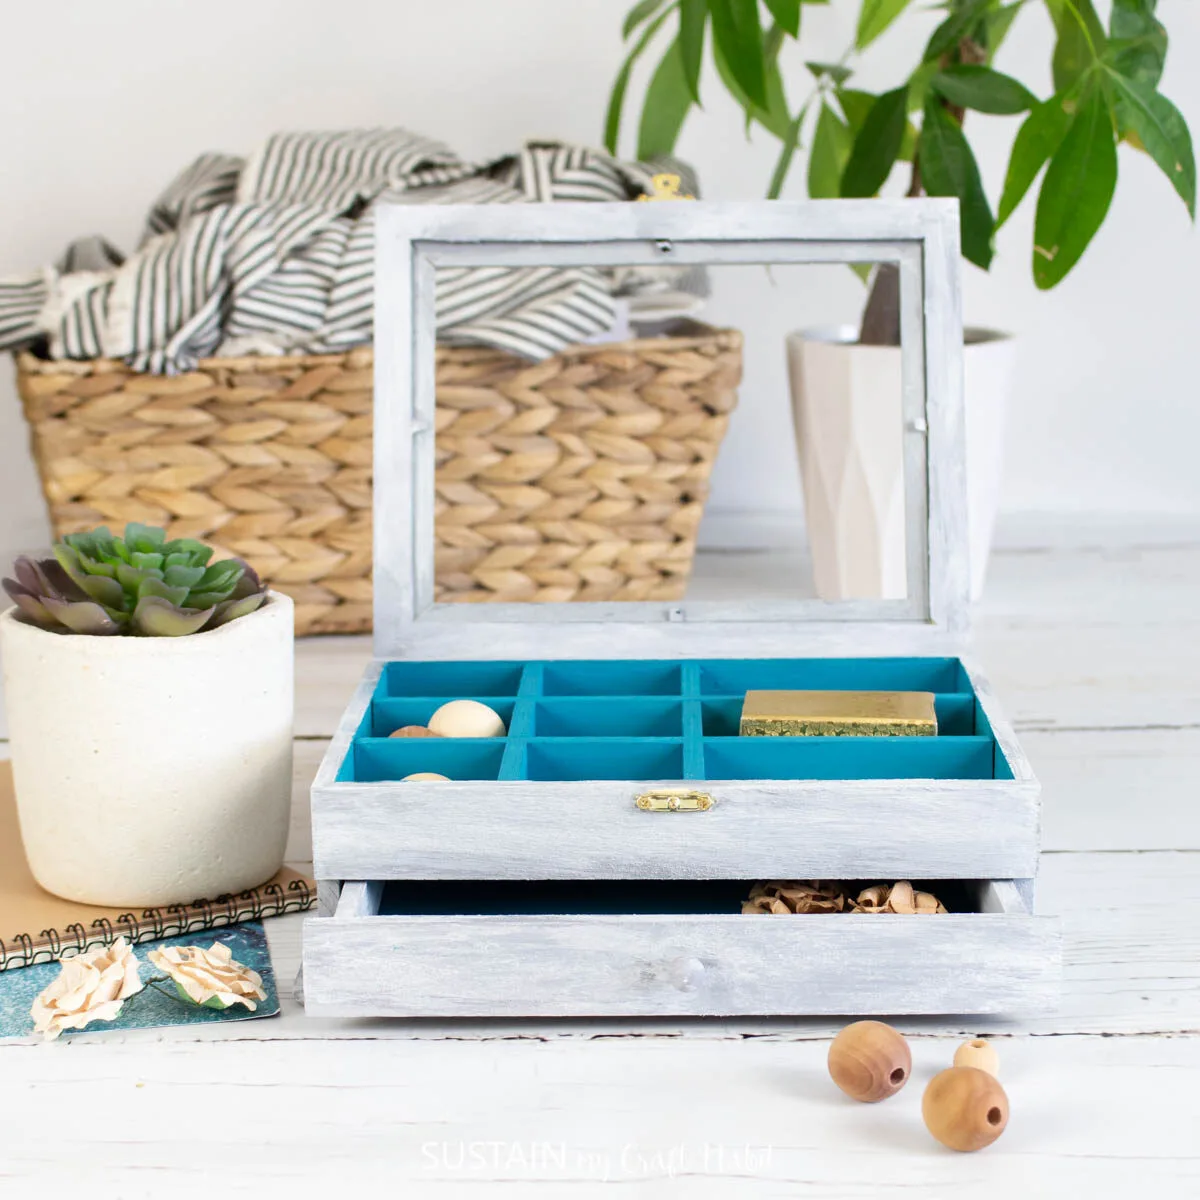
- Hand Painted Jewelry Box
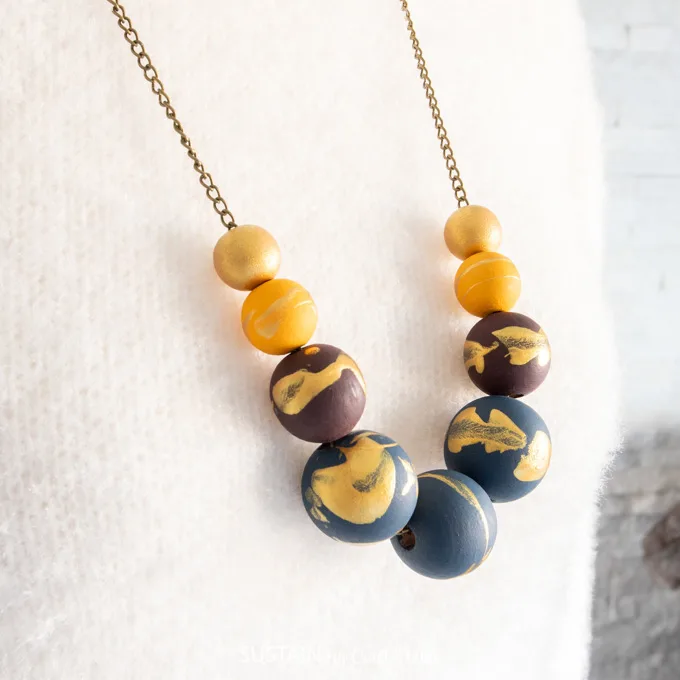
- Painted Wooden Bead Necklace
- Personalized Gift with Cricut Joy
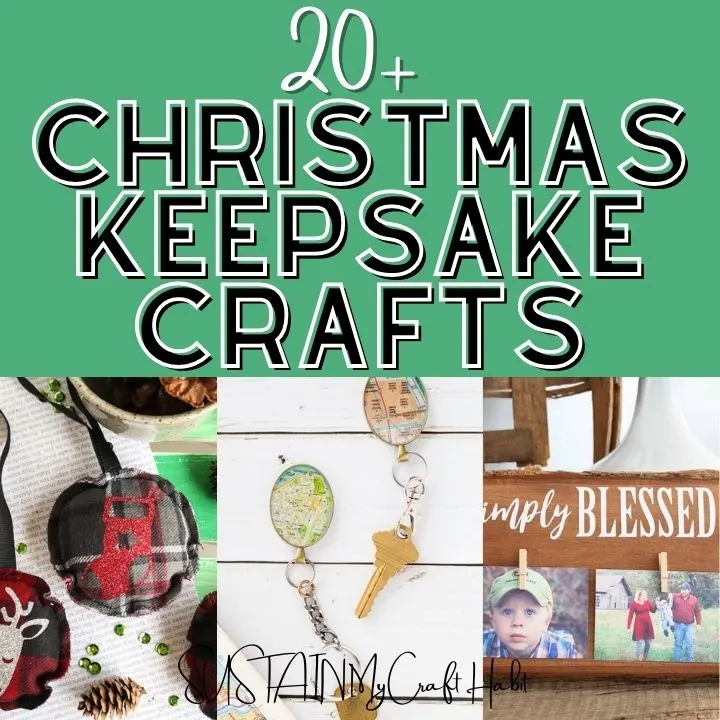
- 20+ Keepsake Crafts


Upcycled Pillow 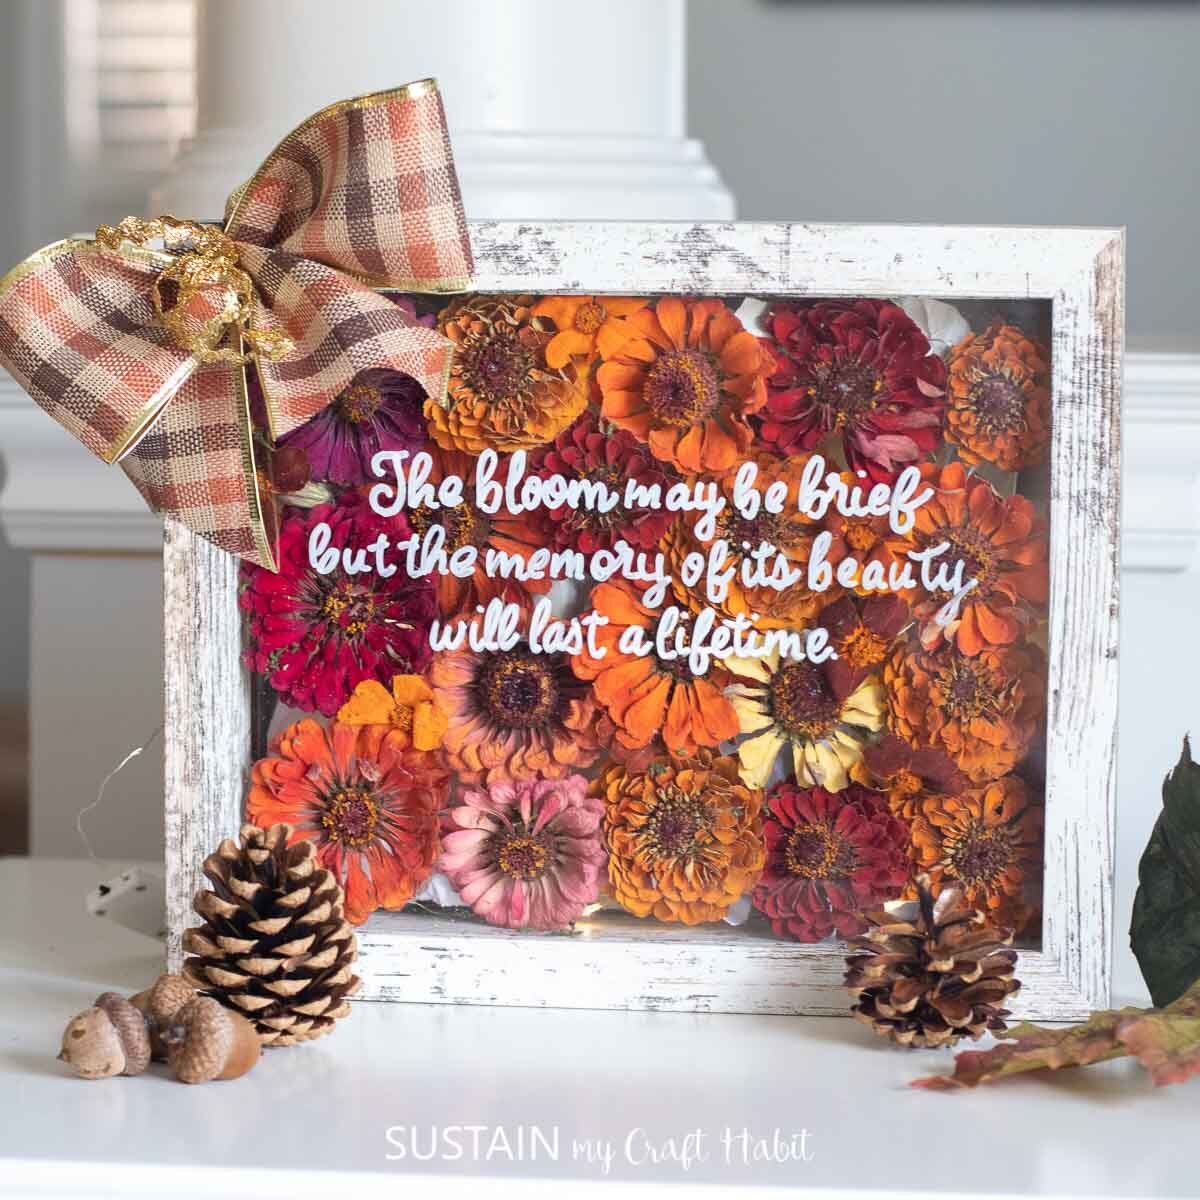

Dried Flower Shadow Box 
Jewelry Box 

Wood Bead Necklace 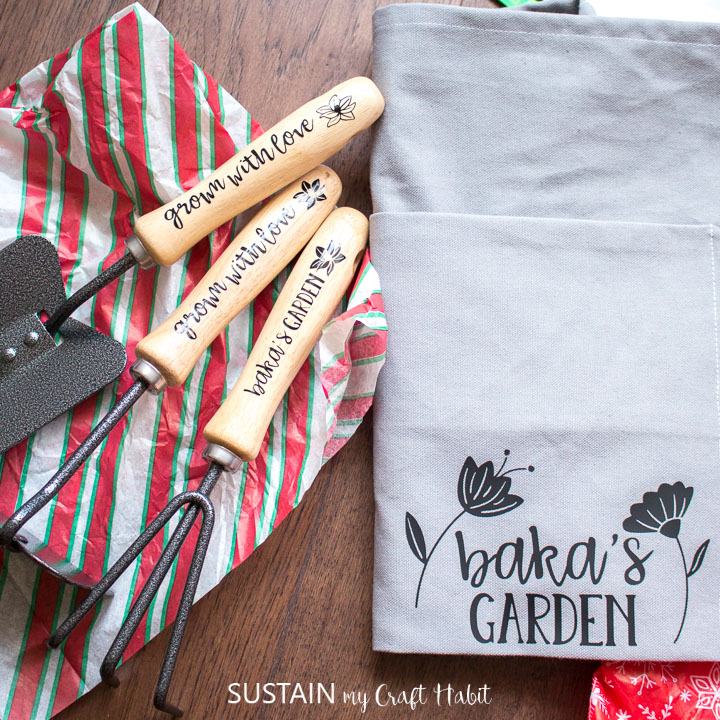

Personalized Gifts 
Christmas Keepsake Crafts


Thankyou so mcuh for stopping by to visit. We’d love for you to stay in the know on our latest crafts, special offers and freebies by joining our mailing list.
Like it? Pin it for later!

Crafting a Memory Mailbox for Mom
Materials
Instructions
- Paint the surface of the wooden mailbox in white. Leave it to dry fully.
- Wrap the paper around the mailbox to determine the size of the paper to cut.
- Cut out the paper.
- Brush on a layer of Mod Podge onto the box and then press the paper on top.
- Brush on a top coat layer of Mod Podge and leave it to dry.
- For the door of the mailbox, I painted it pink and then added just a small panel of decoupage in the center.
- Paint and add the wooden embellishments onto the mailbox.