Summer Home Decor: DIY Laser-Cut Wall Sign (Free SVG Included!)
Brighten up your walls for the season with our gorgeous DIY laser-cut summer sign!
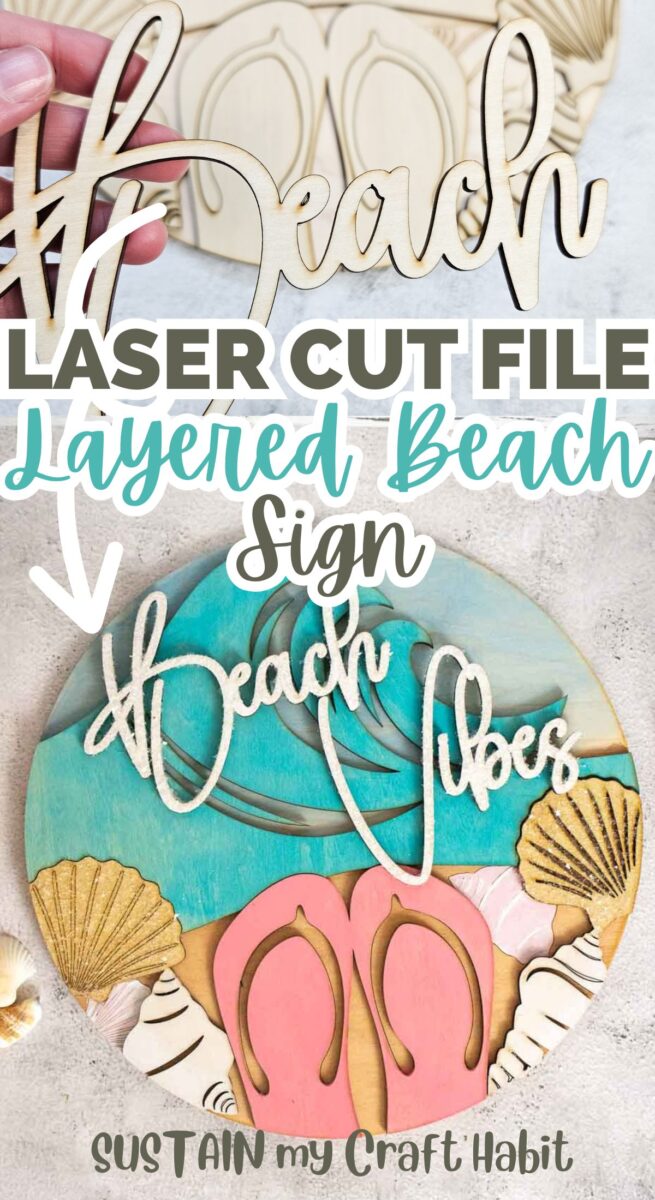
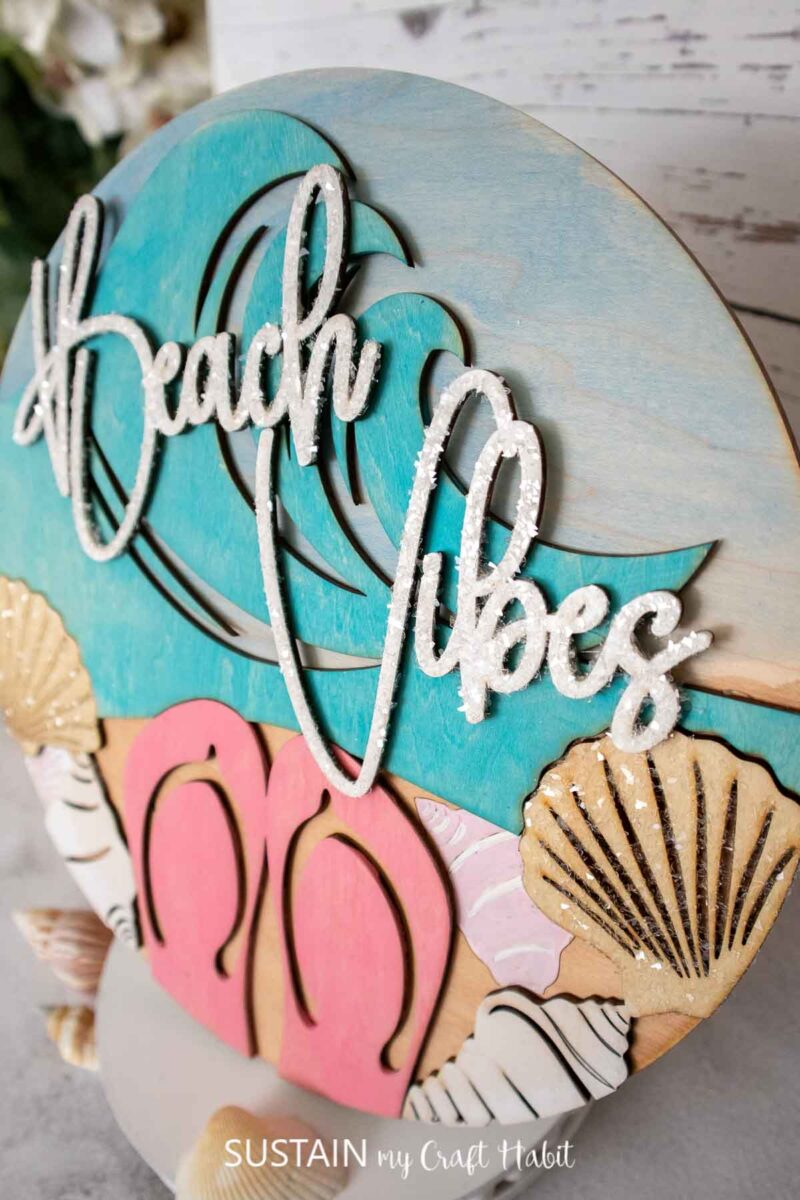
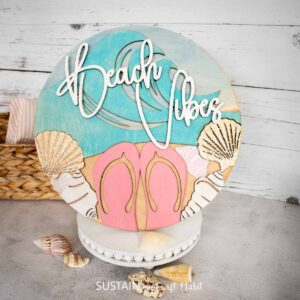
There’s something about beachy décor that instantly lifts a room. This DIY Summer Beach Vibes Sign with xTool project is a simple way to add that sunny, relaxed feel without spending a fortune.
Using an xTool laser cutter or engraver means clean lines, crisp lettering, and a finish that looks shop-bought, even if this is your first time working with laser projects.
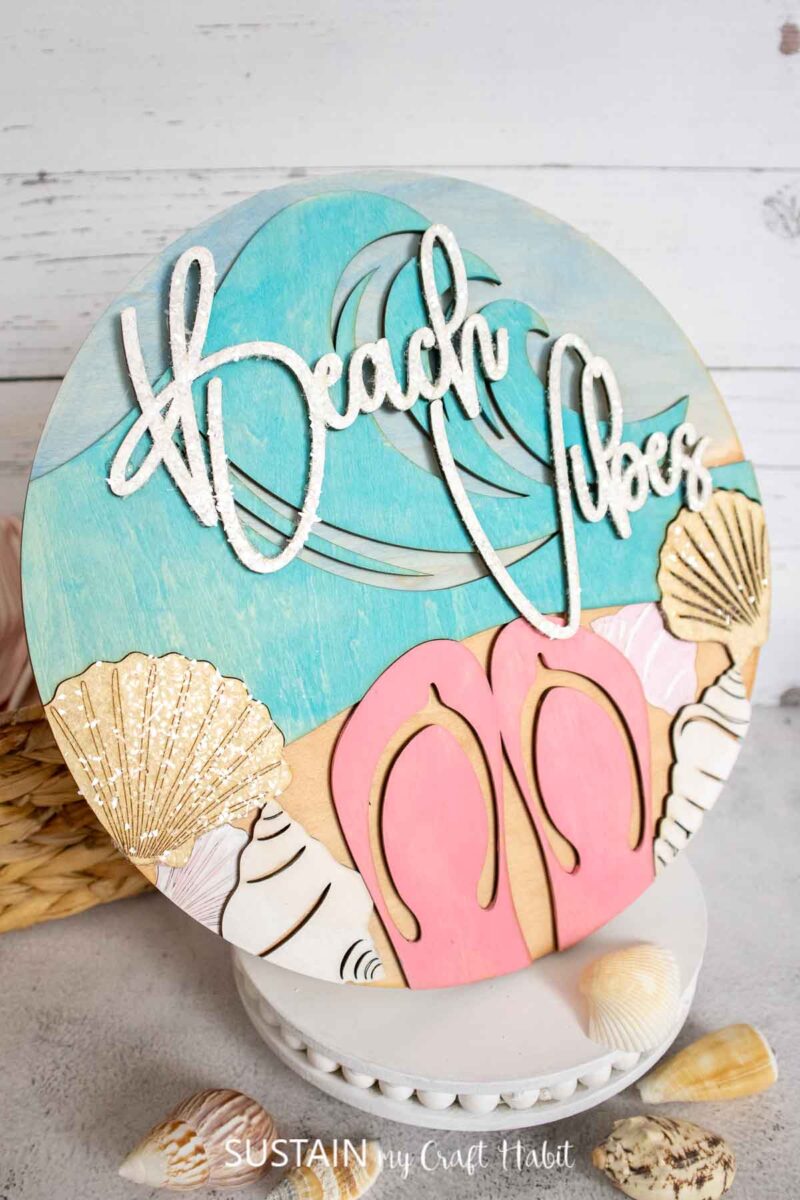
It’s ideal if you want seasonal décor that feels personal, or if you’re making gifts that won’t end up forgotten in a drawer.
In this tutorial, you’ll create a lightweight summer sign with coastal colours, playful text, and plenty of room to customise. I’ll walk you through the process and share a few tricks that make the end result feel polished. Let’s get started!
Why You’ll Love This Summer Wall Sign:
- Includes the free laser cut svg file with instant download
- Uses budget-friendly wood blanks and craft paint
- Beginner-friendly xTool settings and design files
- Great weekend project with fast results
Get access to our resource library filled with cut files and other xTool craft ideas!
Materials Needed
Disclosure: This post contains affiliate links for your shopping convenience. Should you choose to purchase through them, we will make a small commission at no extra cost to you. You can read our full disclosure policy here.
- XTool P2 (or other laser cutting machine)
- Basswood Sheets, ⅛” thick, x3 12”x12” sheets
- Beach Vibes Sign SVG
- Paints in coastal colors
- Wood glue or hot glue gun
- Modge Podge (optional)
- Diamond Dust (optional)
How to Make a Summer Sign with xTool
Open the Creative Space app on your computer and turn on xTool P2 and connect the Creative Space app to the machine and click on create project.
Import Image – “Layered Beach Vibes Sign” SVG.
The sign is sized to 10” high when it imports. You can keep this size or adjust it to your preference.
Next, assign the processing type to each piece by clicking one piece at a time and adjusting the object setting to CUT for all pieces except for the sea shell details, which needs to be set to SCORE (marked in blue on the svg file).
Select the material type from the drop down menu as ⅛” basswood.
Manually adjust the power and speed that best suits your preferred settings after you conduct the cut grid test. In our case, CUTTING the basswood works best at 45% power and 20 seconds. Additionally, in our case SCORING the basswood works best at 40% power and 160 seconds.
Place the first sheet inside the P2 directly on top of the slats and hold in place with mini clamps. After the screen refreshes, position the sign pieces so they are on the basswood. Move pieces around so they fit best and utilize the material.
Then click on the green PROCESS button at the bottom.
Remove when complete.
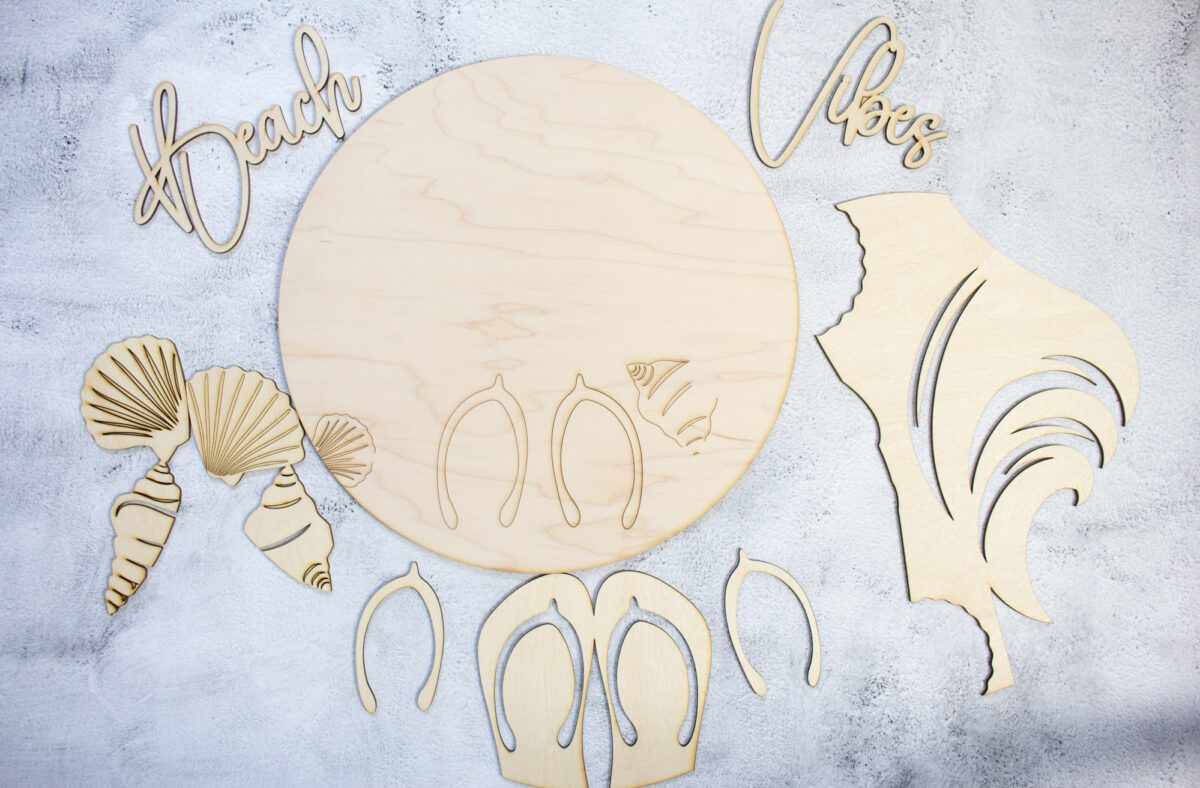
Repeat with the remaining layered pieces to be cut for making the sign.
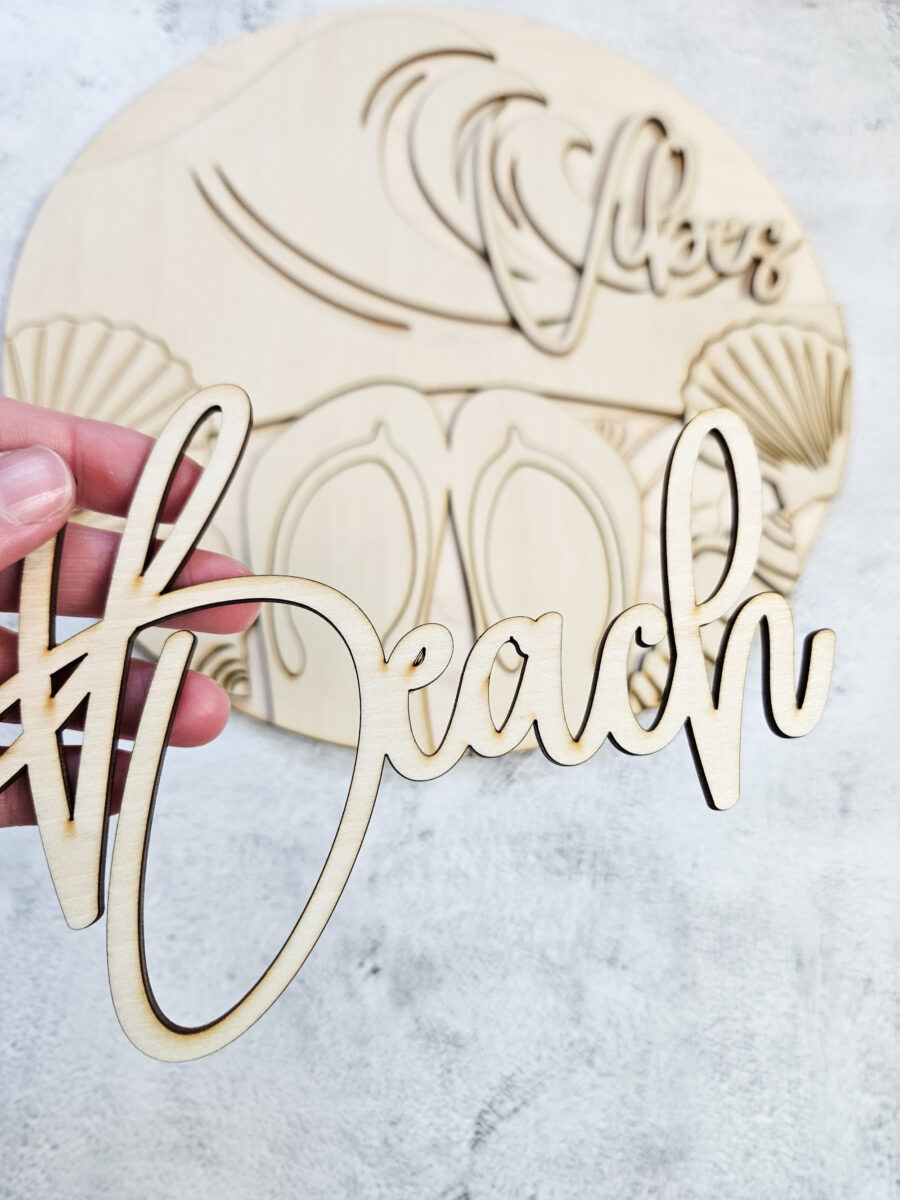
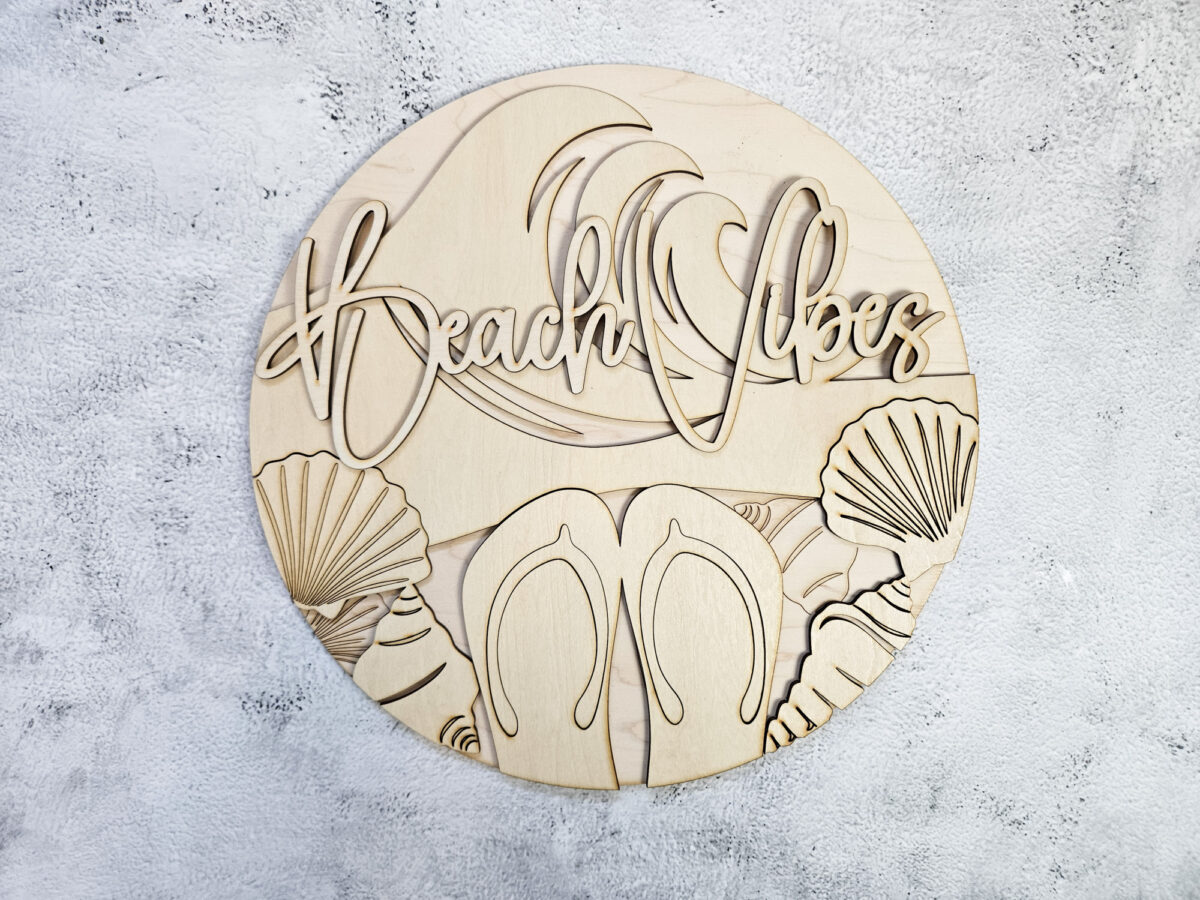
When all pieces are cut, paint them in any colors of your choosing. Once dry, layer them as shown, add a touch of glue between the layers to hold in place.
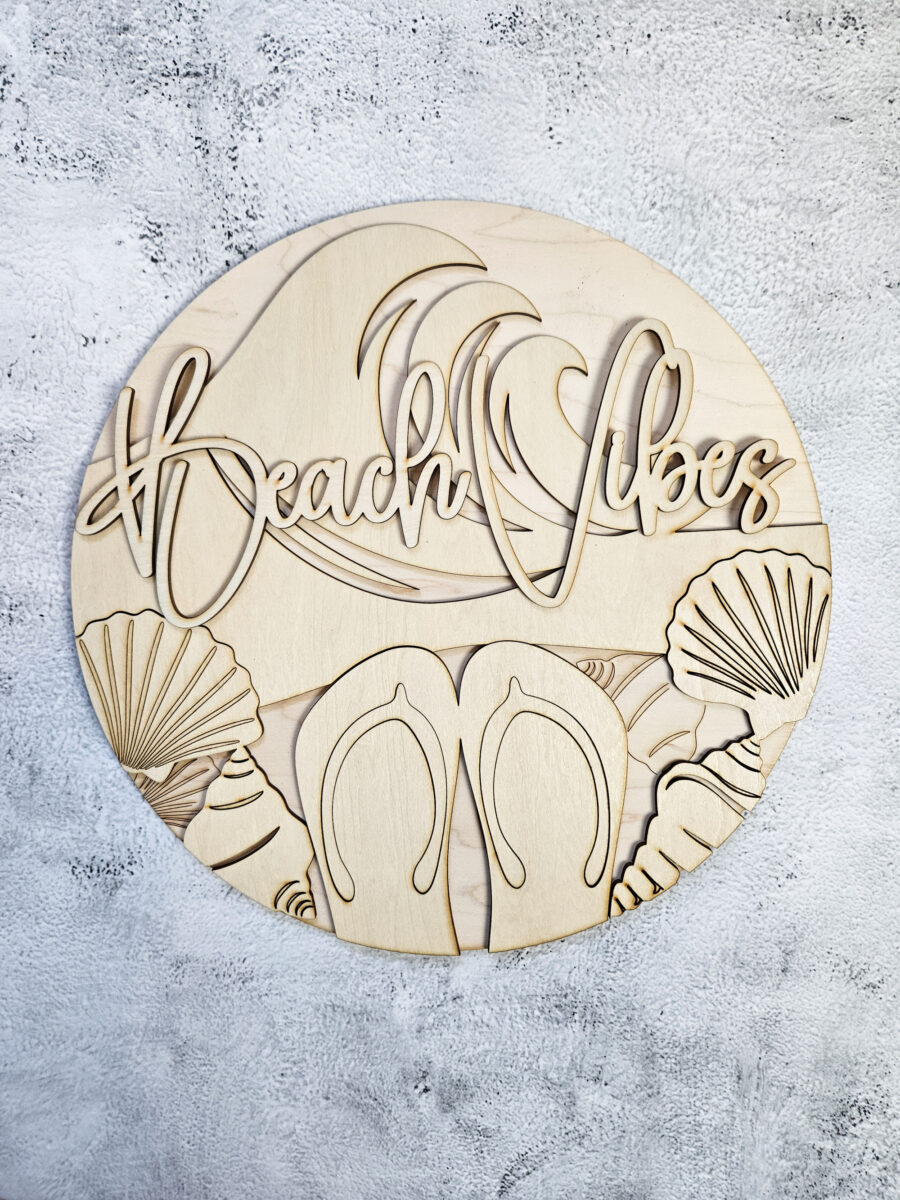
Apply some additional modge podge and then apply some diamond dust. Shake off any excess and let it dry.
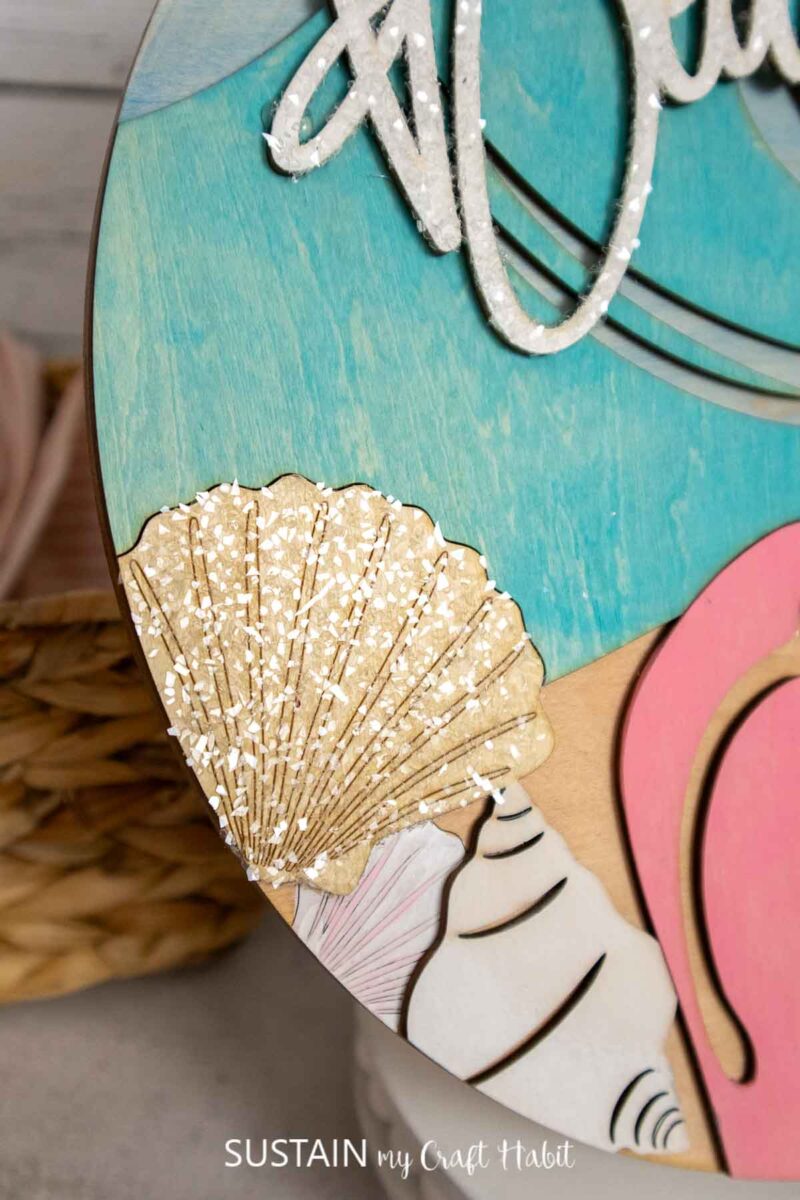
Display to enjoy!
Design & Text Variations
The classic “Beach Vibes” wording works beautifully, though this project is very flexible. Try phrases like Hello Summer, Salt in the Air, or Life’s a Beach for a fresh twist.
Script fonts give a relaxed coastal look, while bold sans-serif fonts feel more modern.
Colour & Finish Ideas
- Soft blues, sandy beige, and white are always safe choices for beach décor.
- For something bolder, turquoise with coral accents stands out nicely.
- Wood stain instead of paint gives a more rustic feel, especially when paired with rope or twine for hanging. A light coat of clear sealant helps protect the sign if it’s used in a sun-filled room.
A Little Sunshine Indoors
This DIY Summer Beach Vibes Sign with xTool project is quick, customisable, and perfect for warm-weather crafting. It’s one of those builds that looks impressive but stays stress-free, even on a busy week.
Whether you’re decorating your own space or making a thoughtful gift, this sign brings a little sunshine indoors. If you make one, don’t forget to share it or save it for later inspiration on Pinterest.
More XTool Crafts to Make
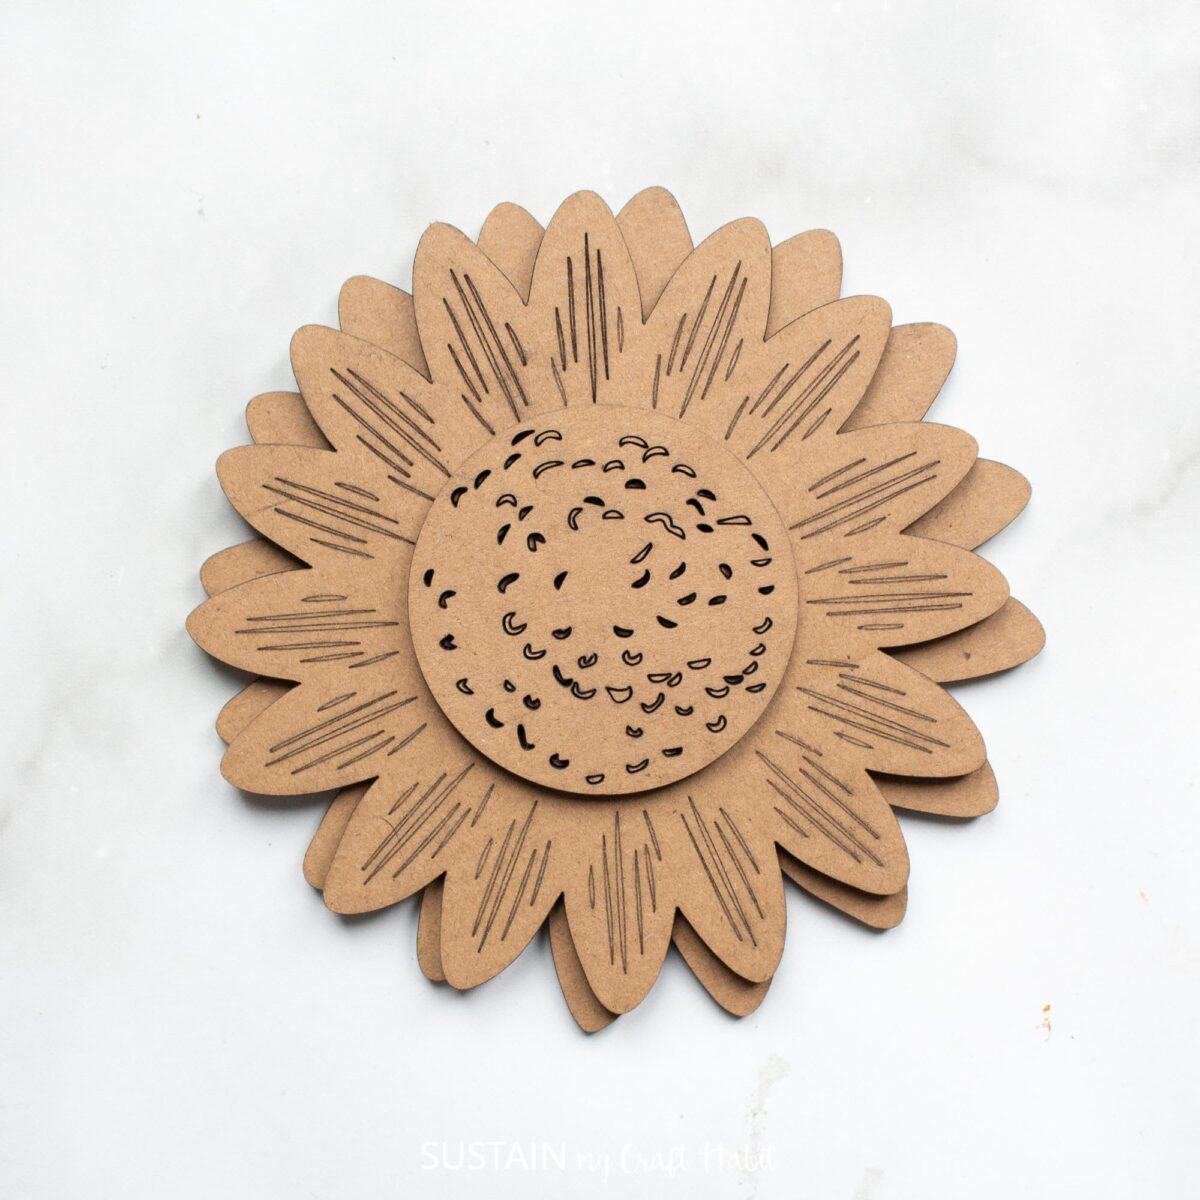
- Cut Corrugated Cardboard with XTool P2
- Bee Happy Coaster
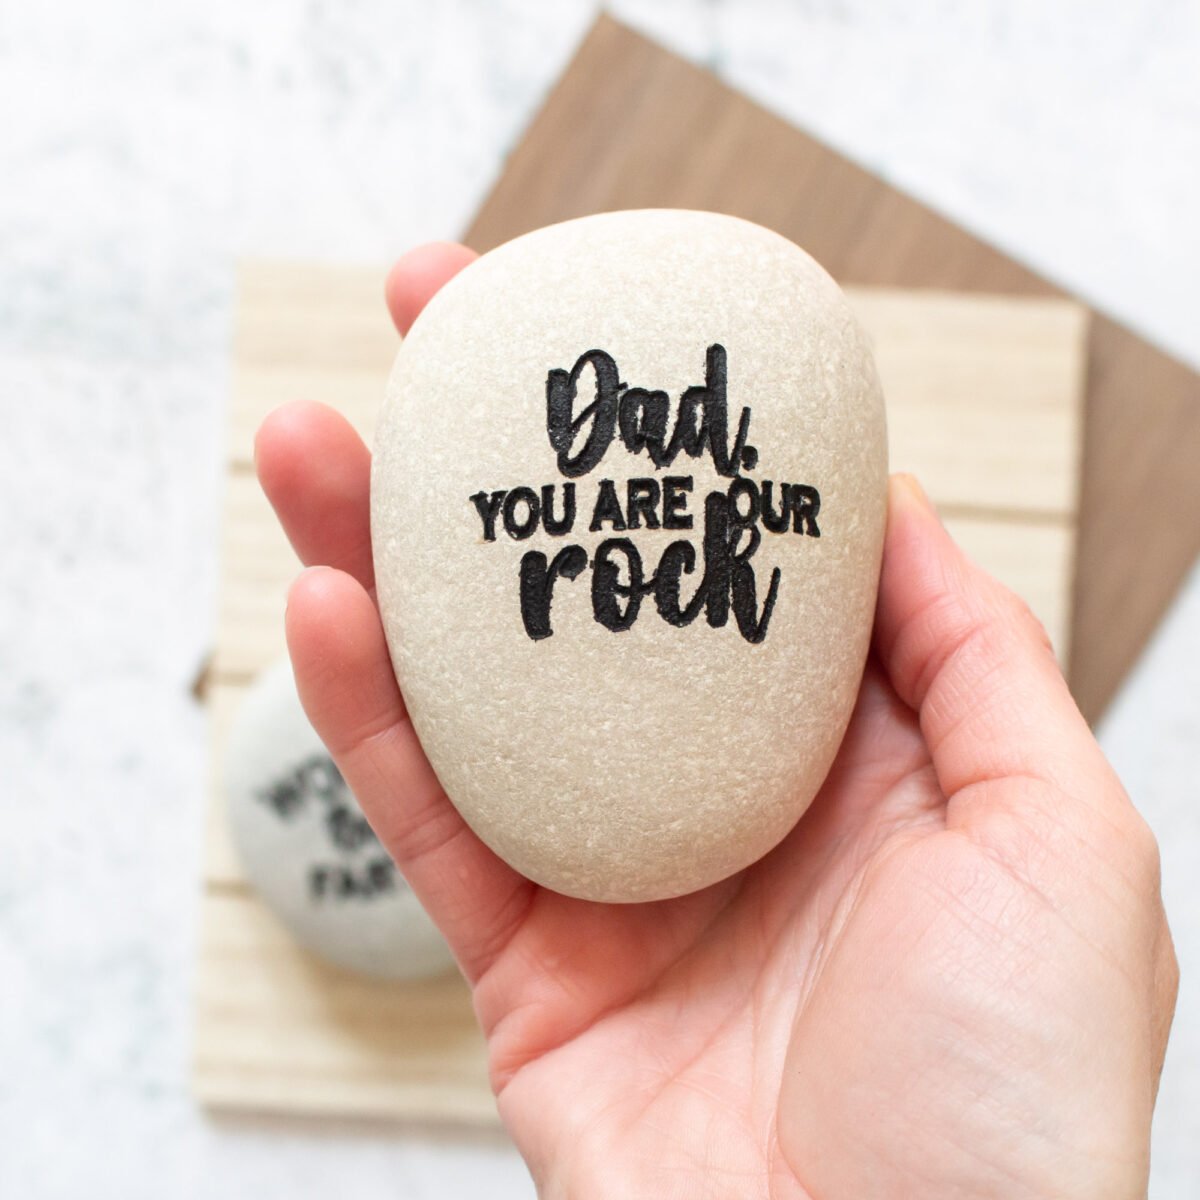
- How to Engrave Rocks with xTool P2
- Coffee Bar SVG for Laser Cutting
- 4 in a Row Game



Become a Sustain My Craft Habit insider to receive fun freebies!
Like it? Pin for later!
DIY Summer Sign with xTool
Materials
- XTool P2 or other laser cutting machine
- Basswood Sheets ⅛” thick, x3 12”x12” sheets
- Beach Vibes Sign SVG
- Paints in coastal colors
- Wood glue or hot glue gun
- Modge Podge optional
- Diamond Dust optional
Instructions
- Open the Creative Space app on your computer and turn on XTool P2.
- Connect the Creative Space app to the machine and click on create project.
- Import Image – “Layered Beach Vibes Sign” SVG.
- The sign is sized to 10” high when it imports. You can keep this size or adjust it to your preference.
- Next, assign the processing type to each piece by clicking one piece at a time and adjusting the object setting to CUT for all pieces except for the sea shell details, which needs to be set to SCORE (marked in blue on the svg file).
- Select the material type from the drop down menu as ⅛” basswood.
- Manually adjust the power and speed that best suits your preferred settings after you conduct the cut grid test.
- Place the first sheet inside the P2 directly on top of the slats and hold in place with mini clamps. After the screen refreshes, position the sign pieces so they are on the basswood. Move pieces around so they fit best and utilize the material.
- Then click on the green PROCESS button at the bottom.
- Remove when complete.
- Repeat with the remaining layered pieces to be cut for making the sign.
- When all pieces are cut, paint them in any colors of your choosing. Once dry, layer the pieces and glue between the layers to hold in place.
- Apply some additional modge podge and then apply some diamond dust. Shake off any excess and let it dry.
- Display to enjoy!