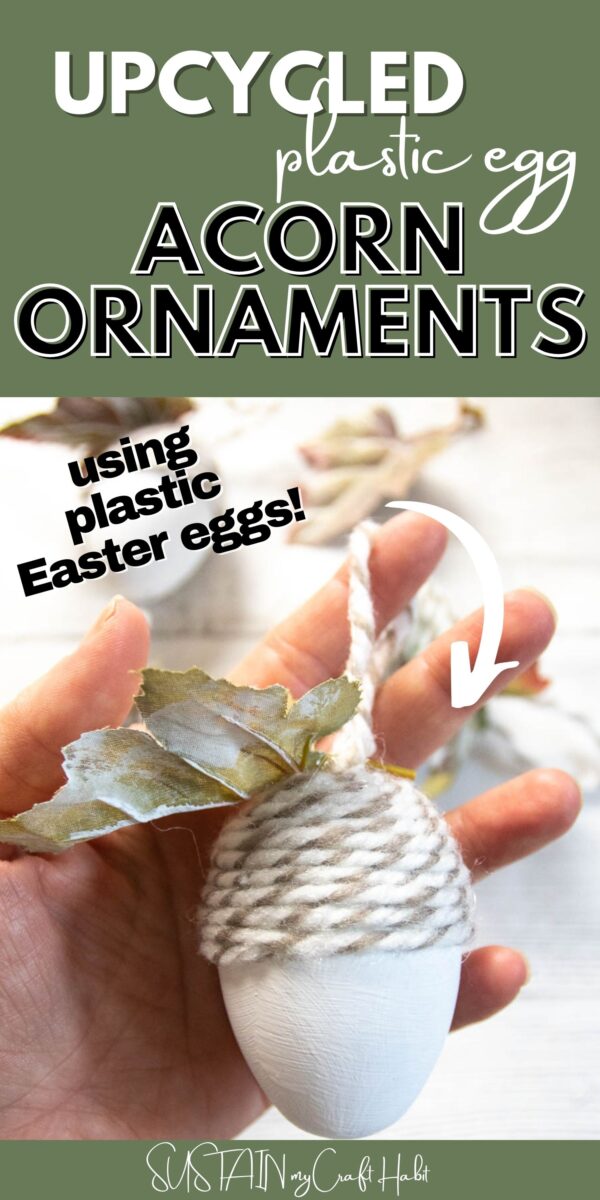
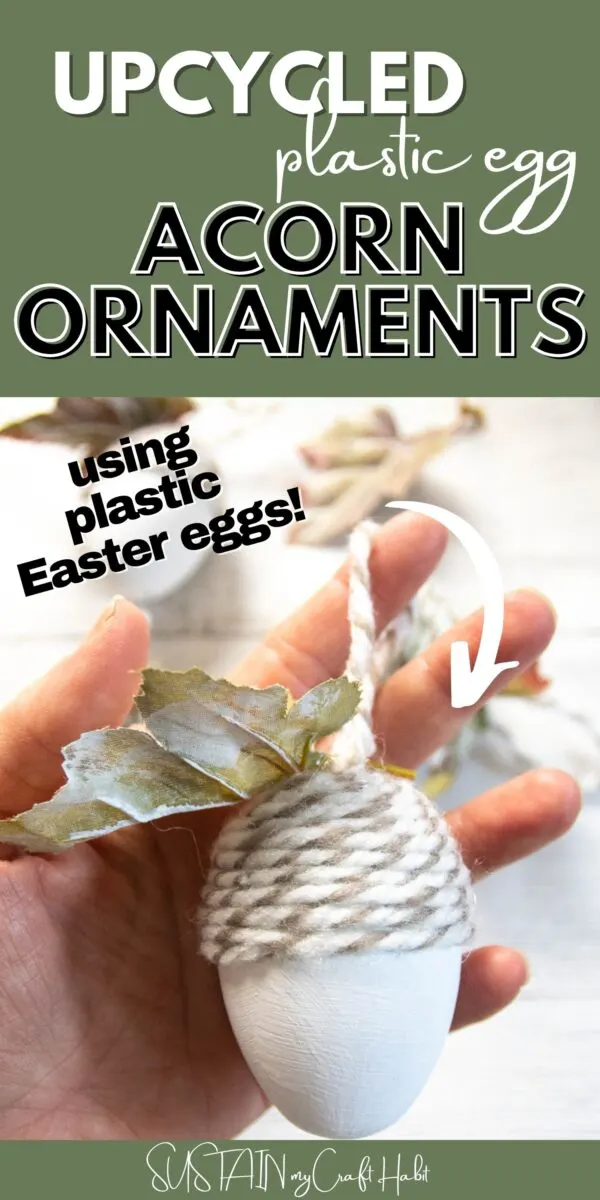
We have a fun craft idea to share with you today! It combines two of our favorites types of crafting: upcycling and Fall. We’re transforming some old plastic Easter eggs into pretty, decorative acorn ornaments for Autumn.
Making DIY Acorn Ornaments
We definitely have a thing for acorns here on the blog, which is pretty evident from our latest crafts and Facebook Live videos. It all starts with the large oak tree growing in my front yard that produces an abundant amount of acorns each year. We shared this quick little video on how to clean acorns for crafting before starting on this acorn garland craft. Those same acorns inspired this latest craft for making a DIY acorn ornament using plastic Easter eggs.

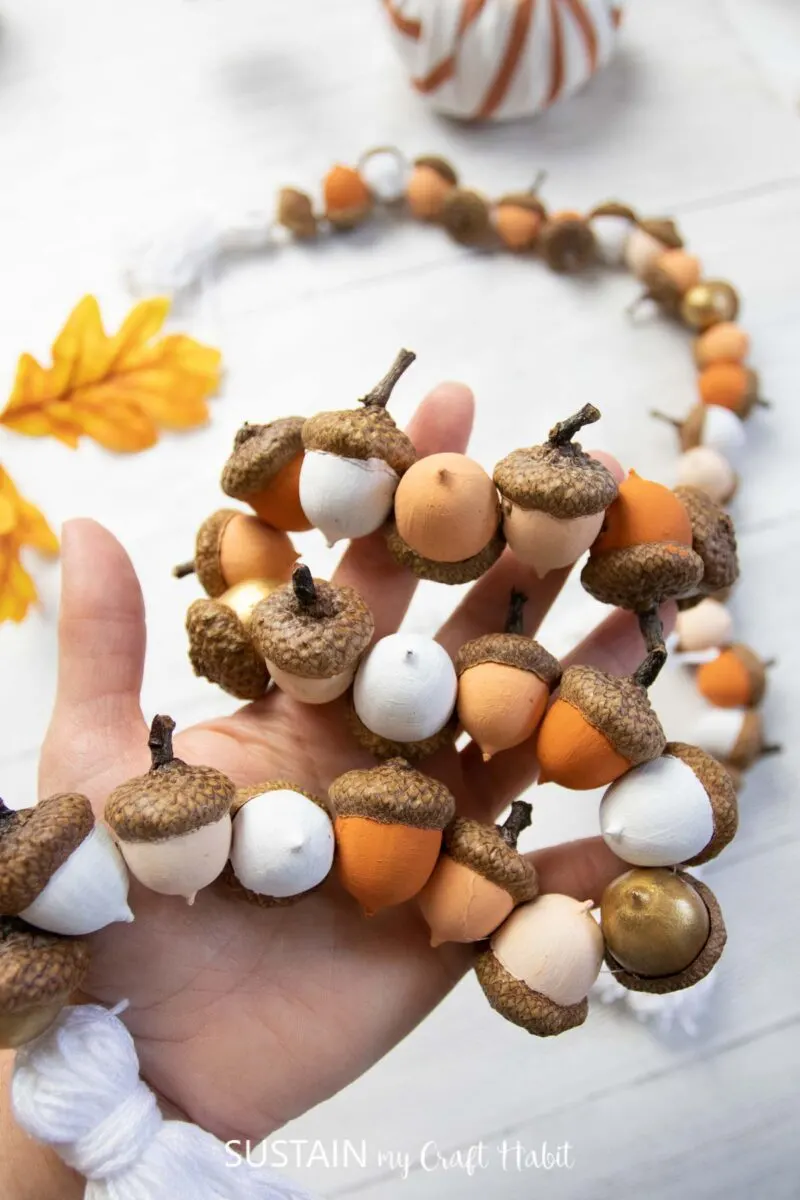
In previous years we also used the acorns to make this silicone mold for a nature-inspired napkin ring idea that I love using for our Thanksgiving dinners. These little acorn ornaments would be a sweet addition to our table setting.
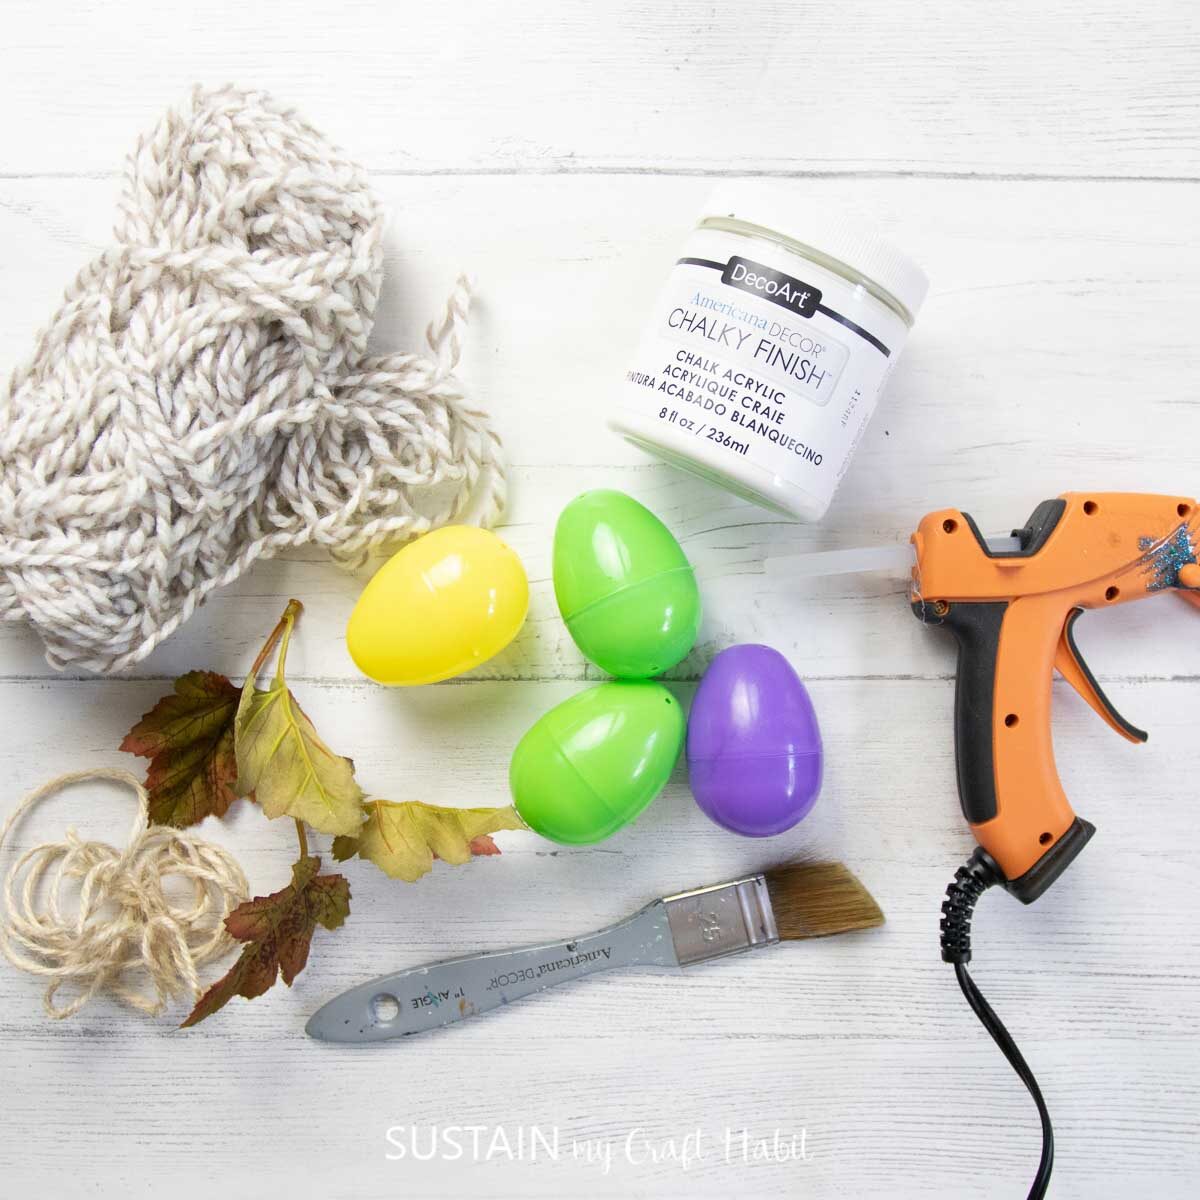
Materials Needed:
Disclosure: This post contains affiliate links for your shopping convenience. Should you choose to purchase through them, we will make a small commission at no extra cost to you. You can read our full disclosure here.
- Plastic Easter Eggs
- Twine or yarn
- Scissors
- Hot Glue Gun with clear glue sticks
- DecoArt Chalky Finish Everlasting
- Paintbrush, ½” flat
- Faux leaves

How to make Upcycled Plastic Egg Acorn Ornaments
Here is a step-by-step video of the upcycled plastic egg acorn ornament craft on our Facebook page! Or if you prefer the photo tutorial, continue reading below.

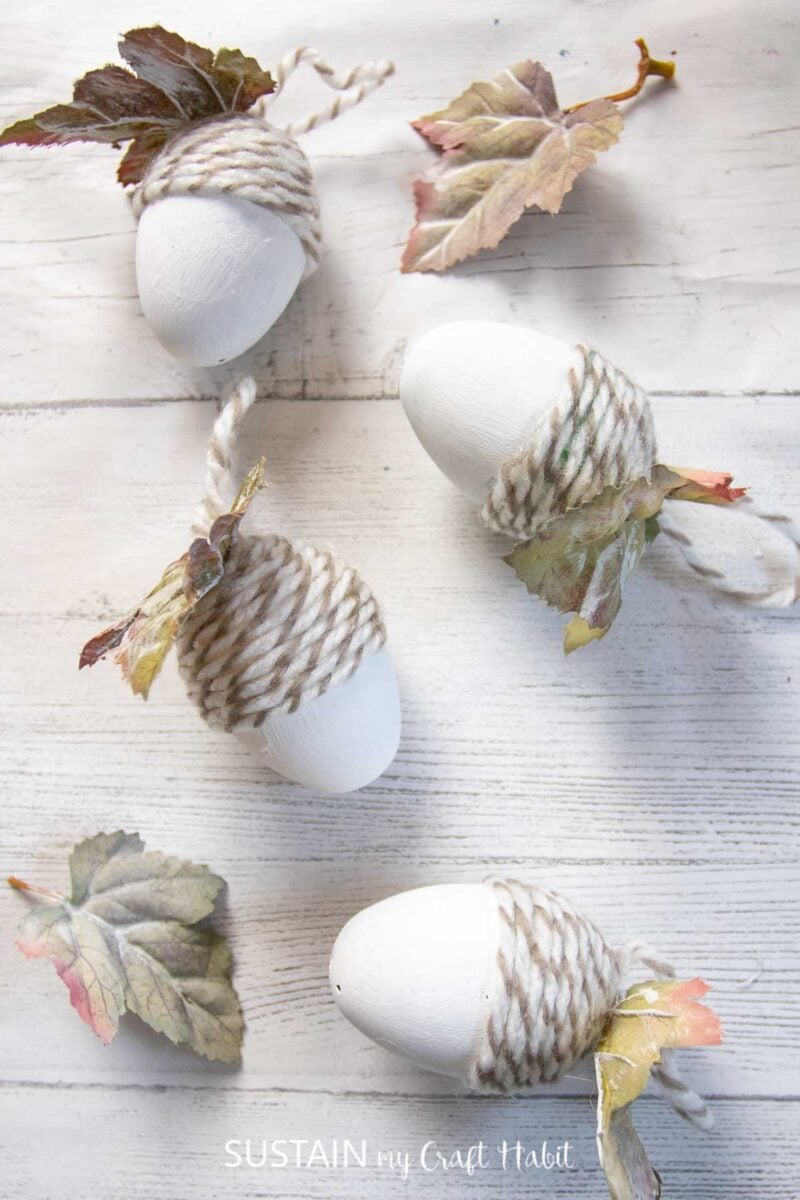
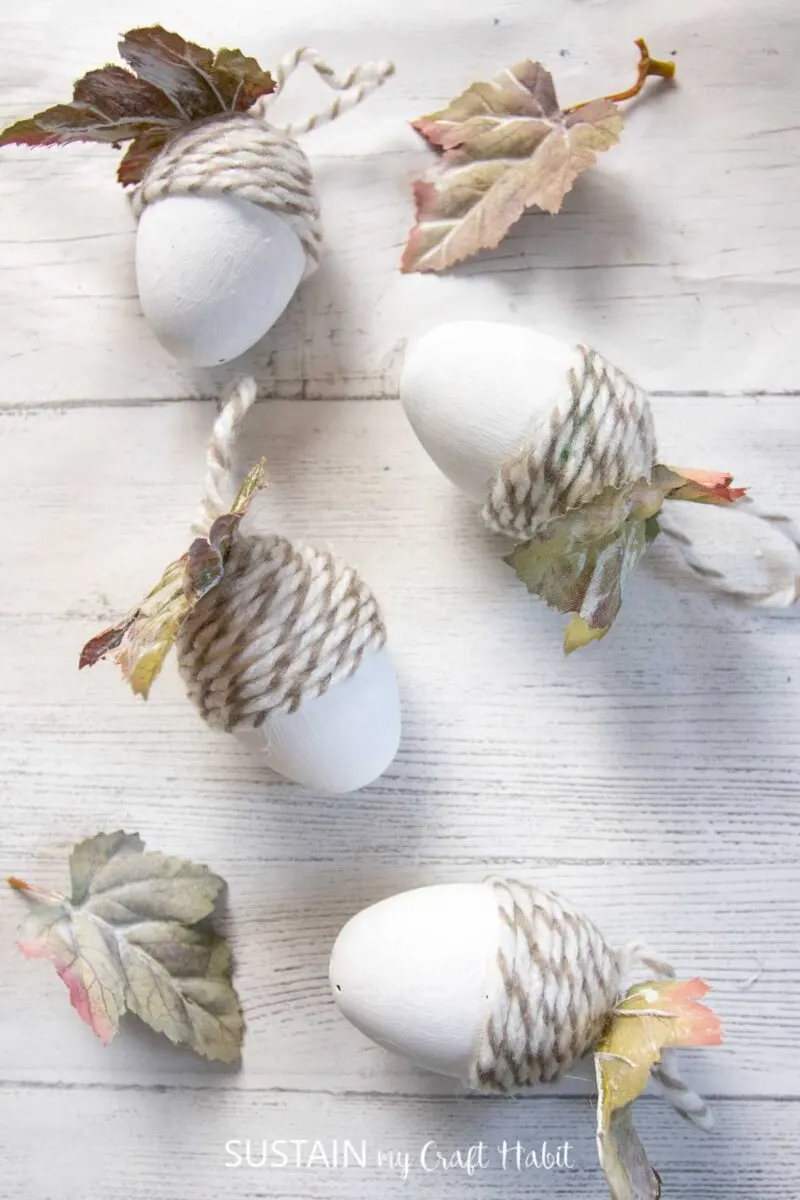
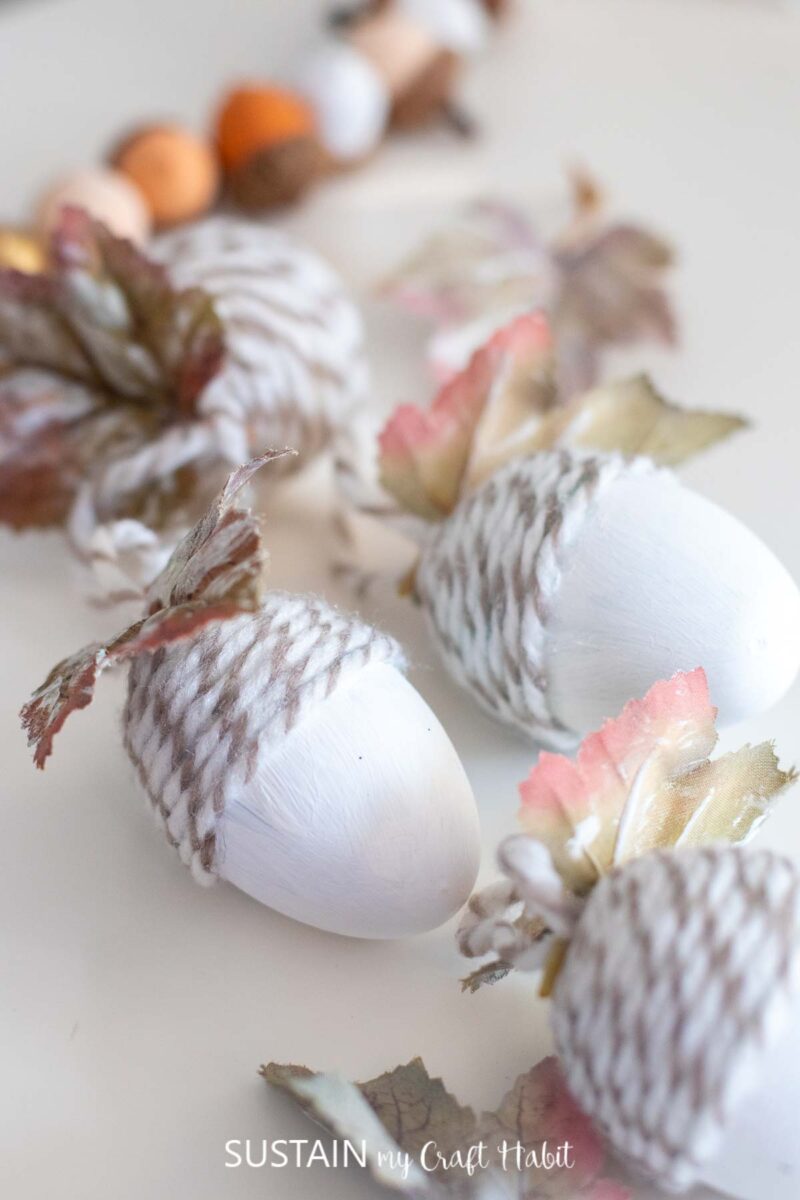
Using chalky finish paint, apply paint to one end of the plastic egg and repeat for more coverage if needed. Let the paint dry fully between coats of paint. If you find your Easter eggs don’t stay closed, you can also glue the centers together before starting the craft.


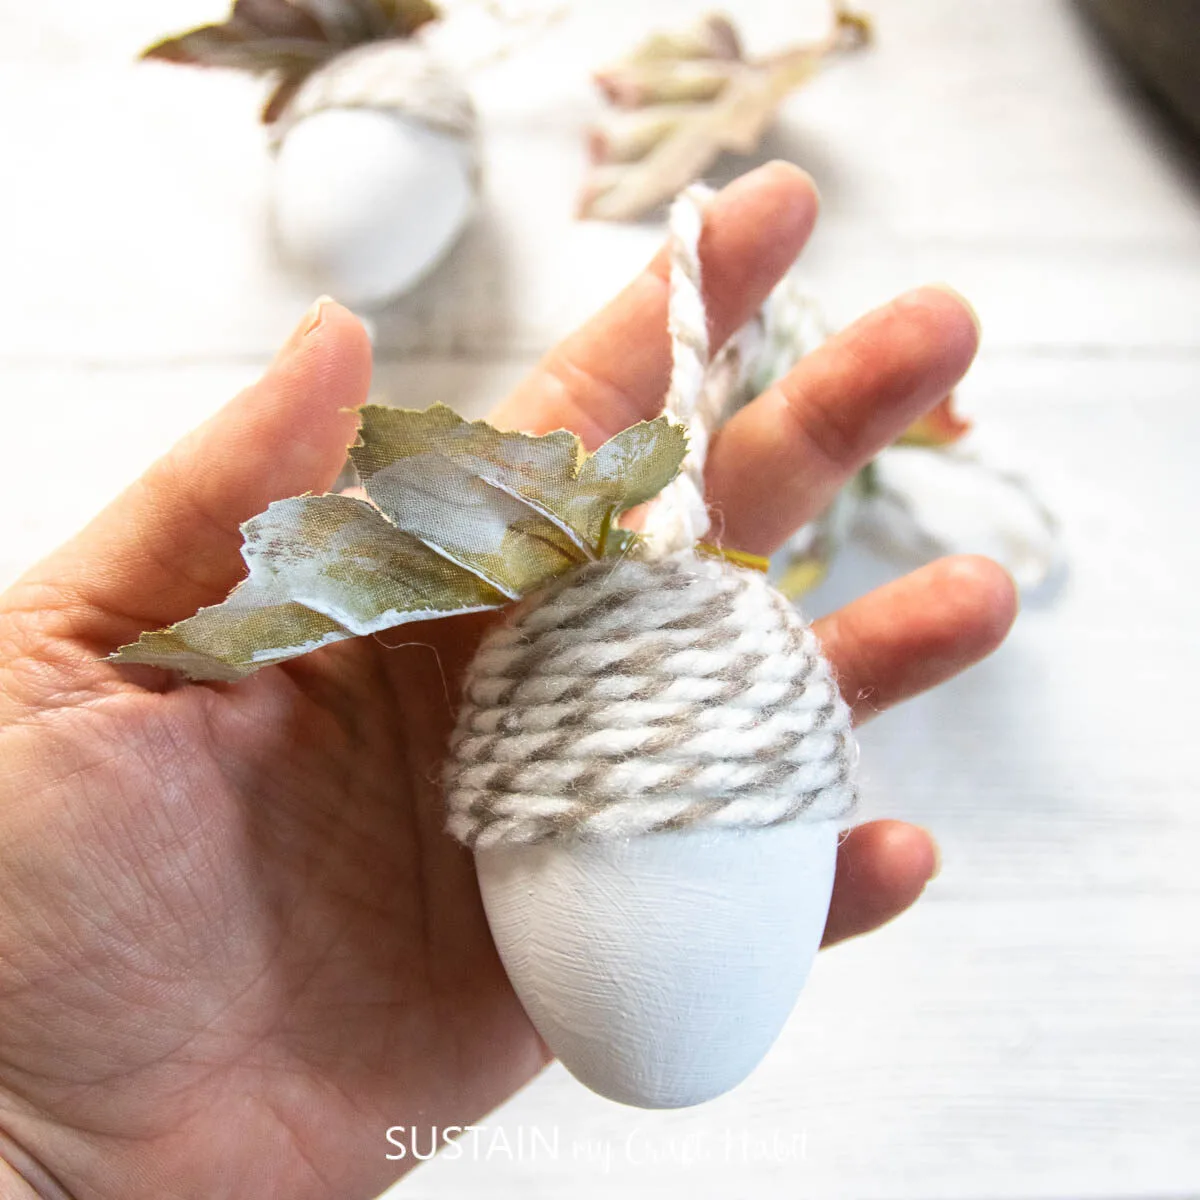
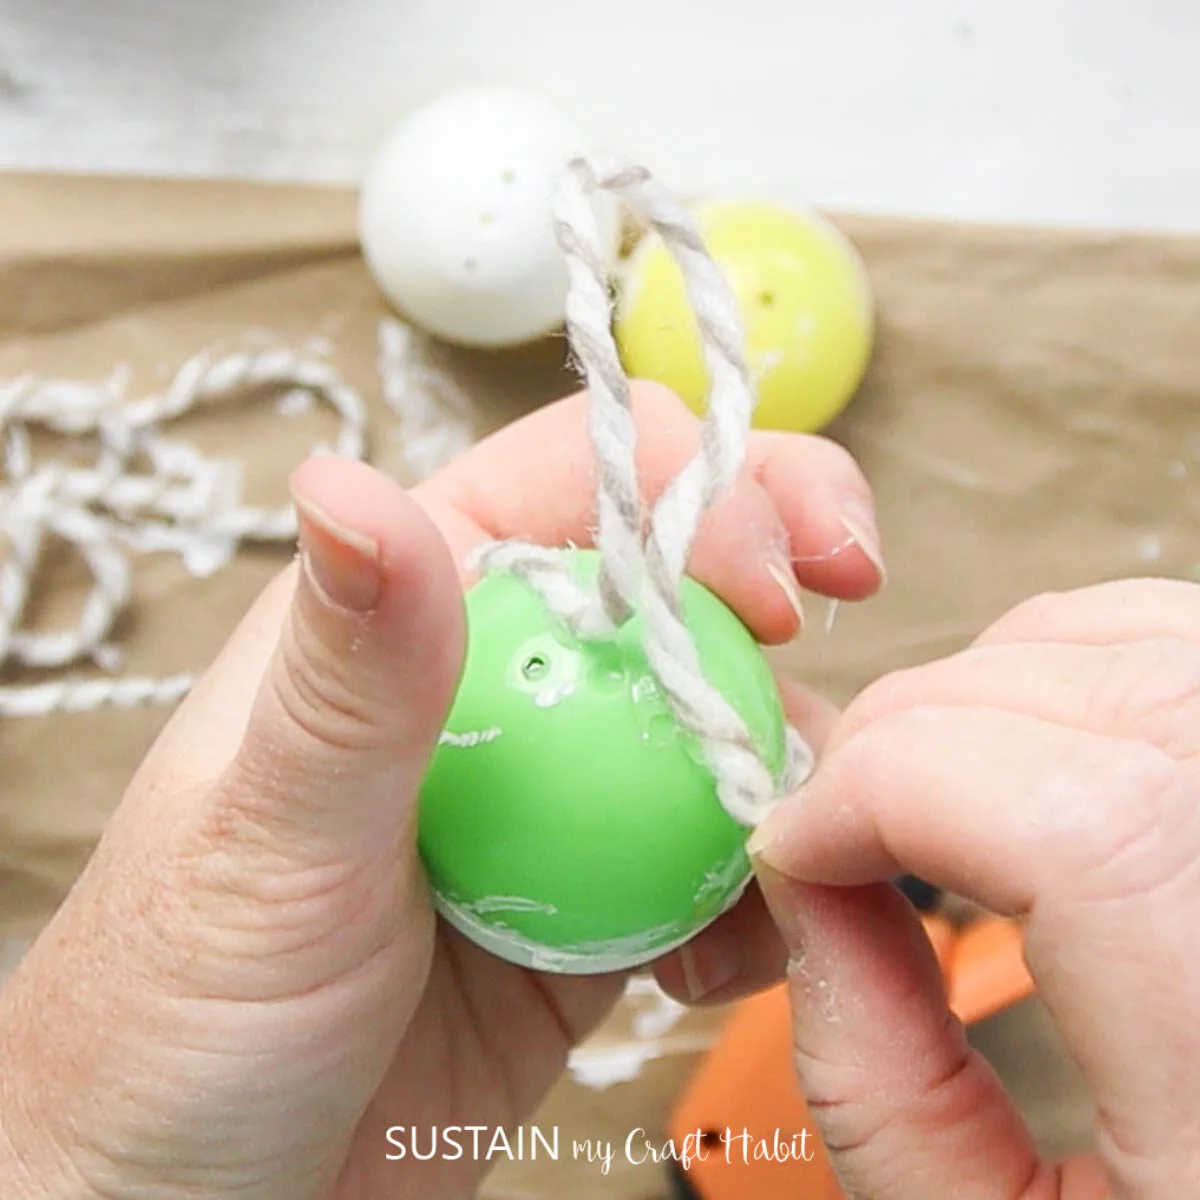
Preheat glue gun and then apply a dab of hot glue to the bottom of the plastic egg. Fold the end of the yarn to make a 4″ loop and press the start of the loop in to the glue. This loop will later be used for hanging the ornament.

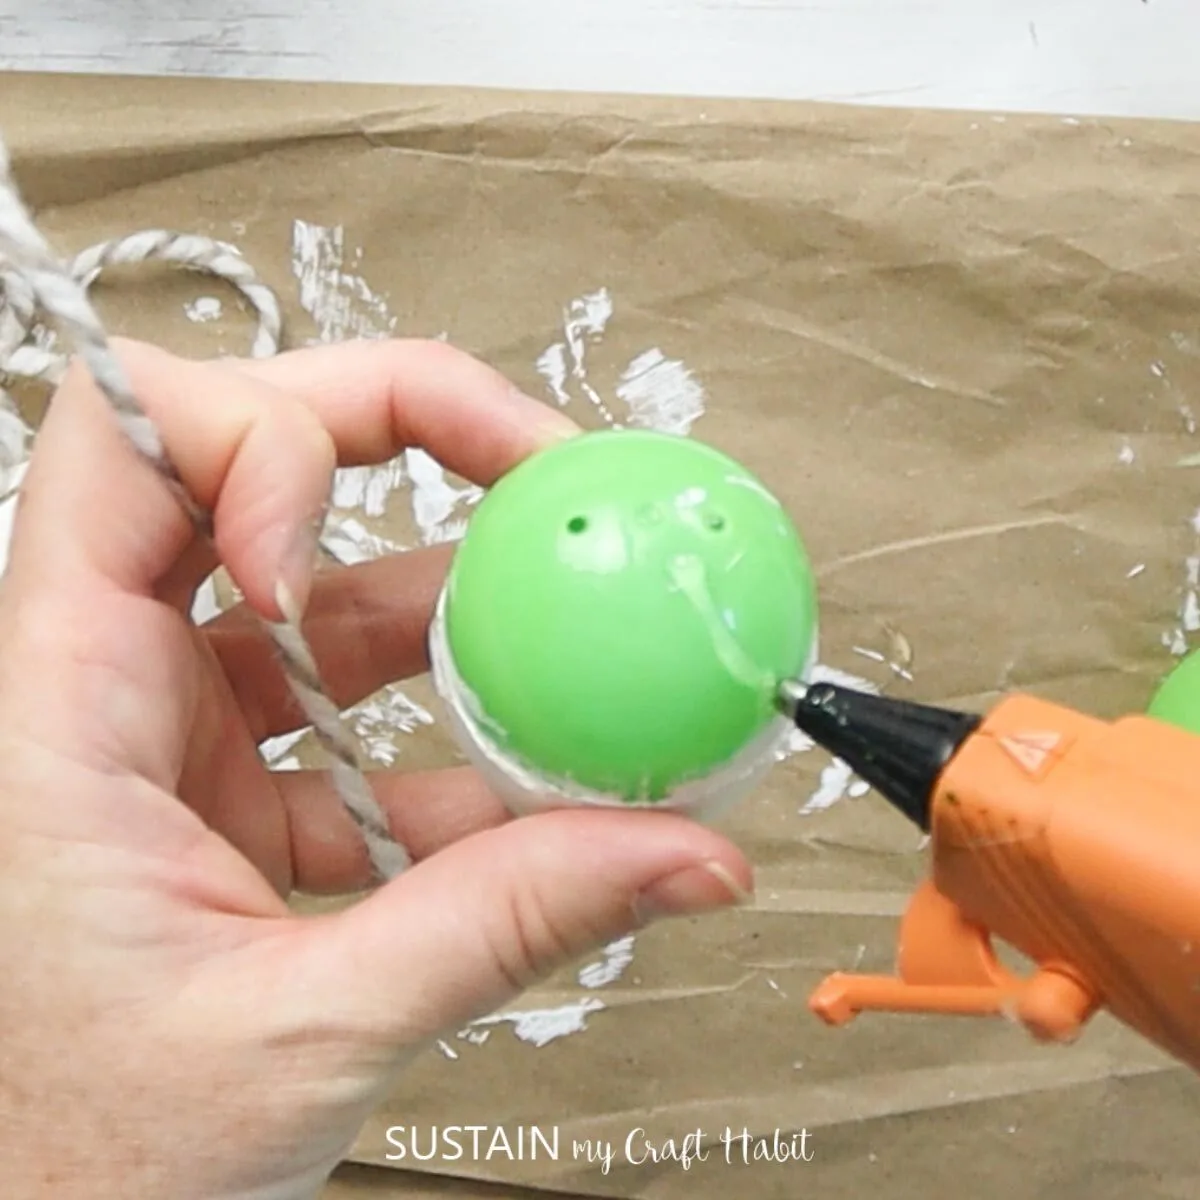
Add some more glue in the same area and press more of the yarn/twine into the glue and carefully hold it in place until glue sets.

Apply another dab of glue next to the first dab and wrap the twine around. We used the same method for making these twine wrapped Easter eggs so be sure to check out that craft idea for upcycling more Easter eggs!

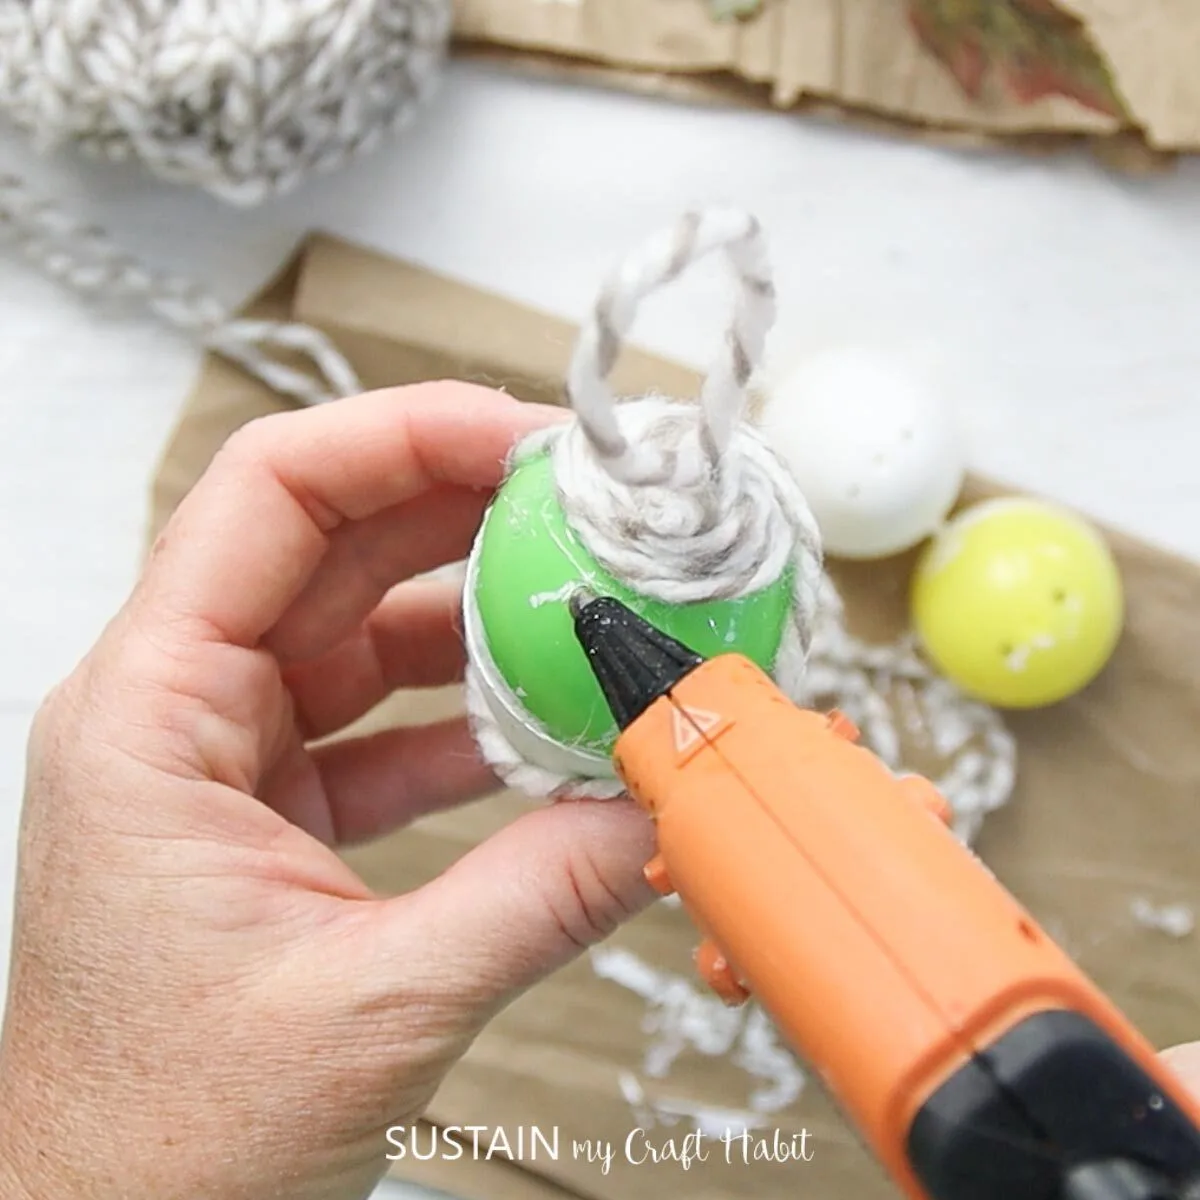
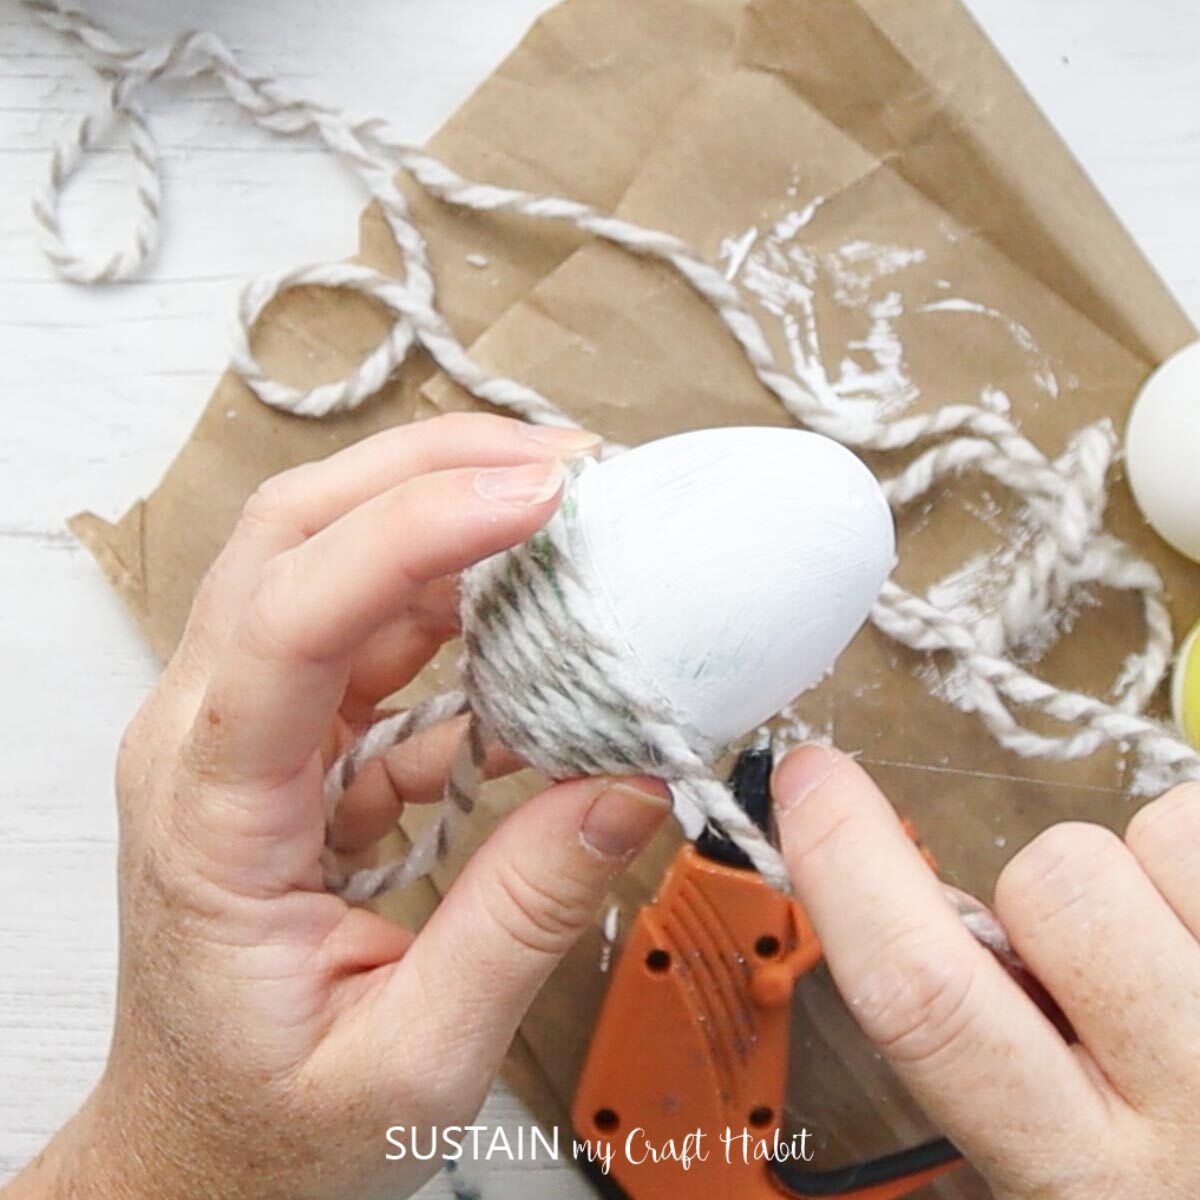
Working small sections at a time, continue applying glue around the egg and wrapping the twine in the glue.

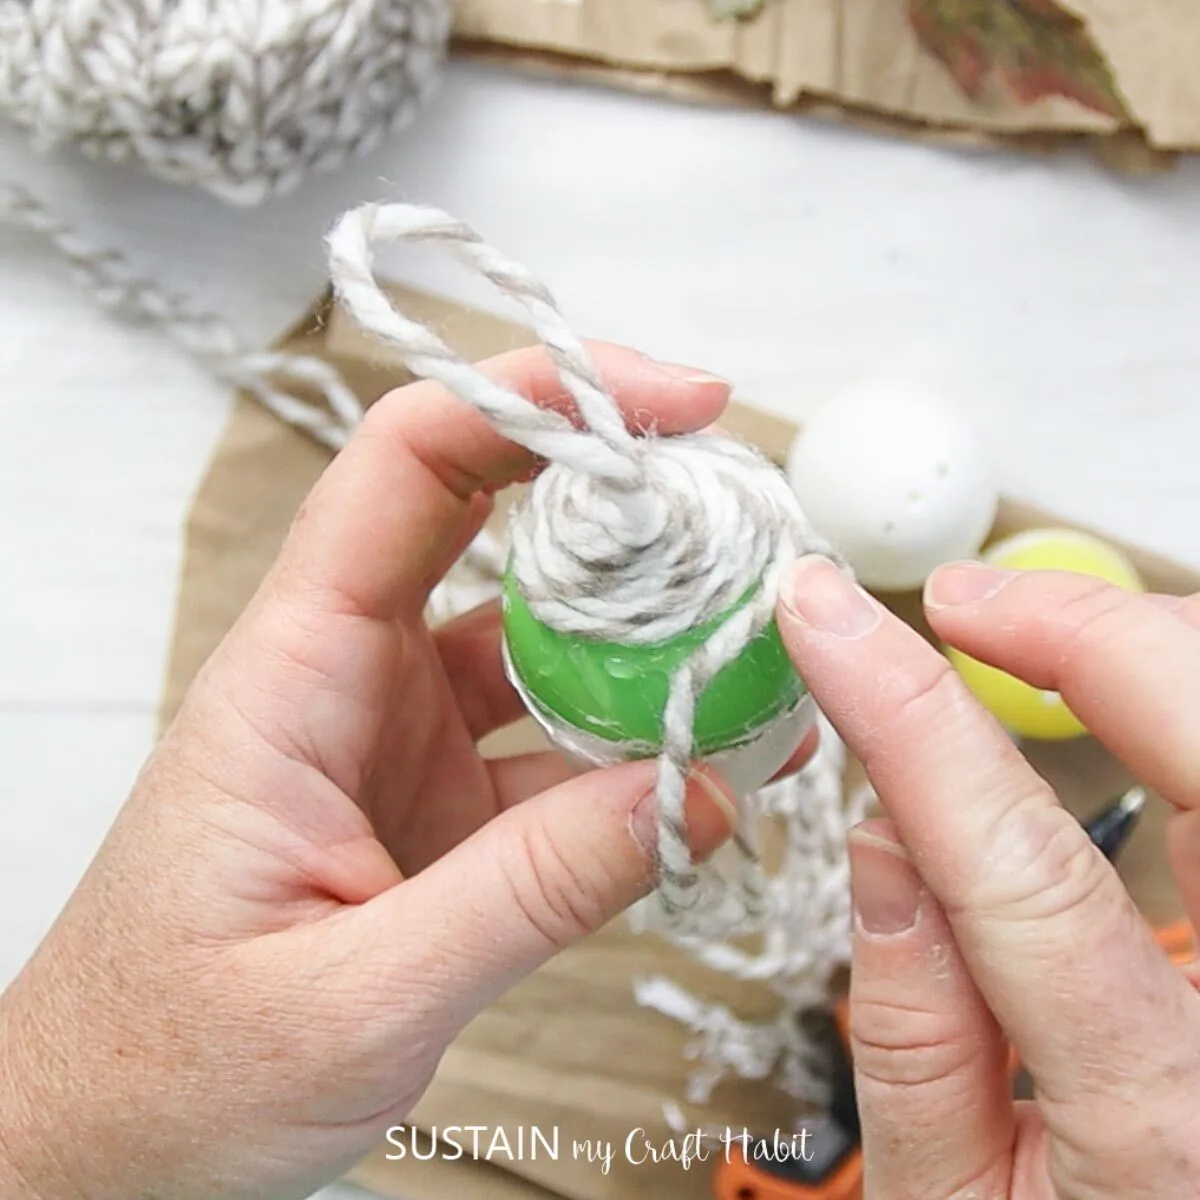
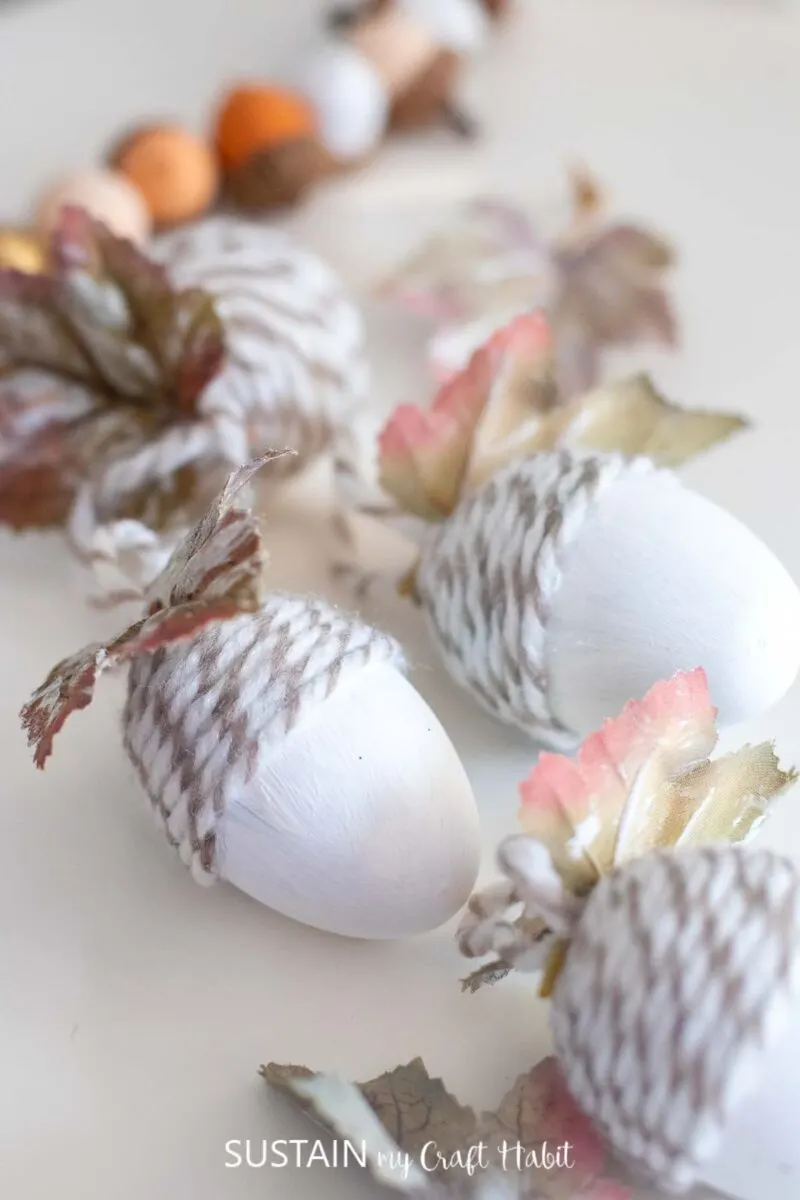
Keep the twine snug as you work your way around the egg covering the plastic egg underneath and continue until you get the halfway mark (or the unpainted side of the egg).
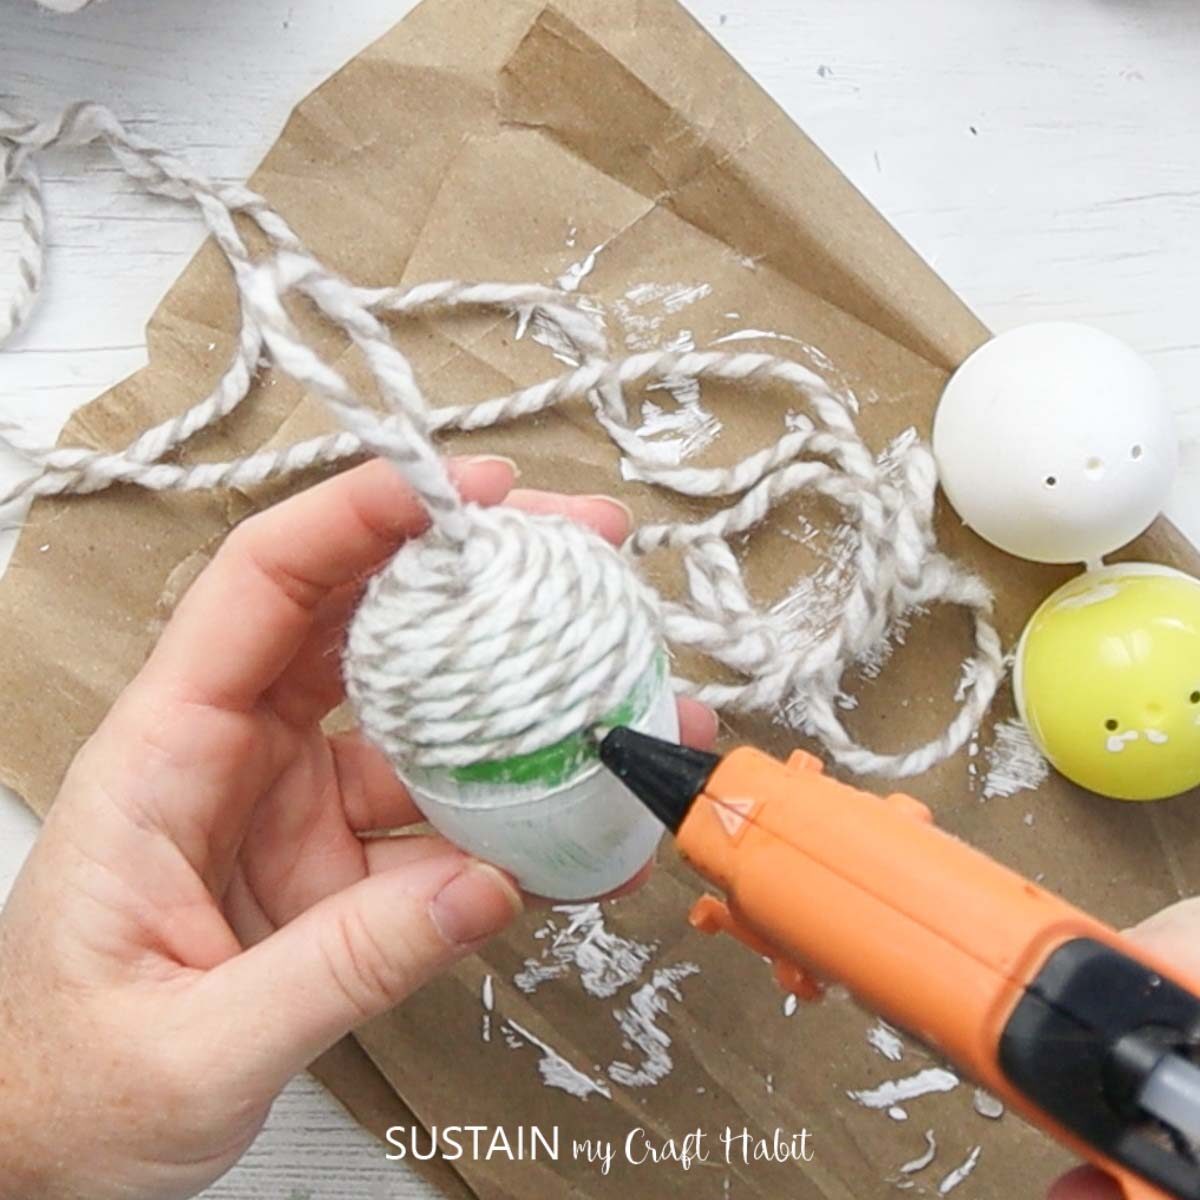

You want to make sure the bright Easter egg color is not showing through the wrapped yarn.

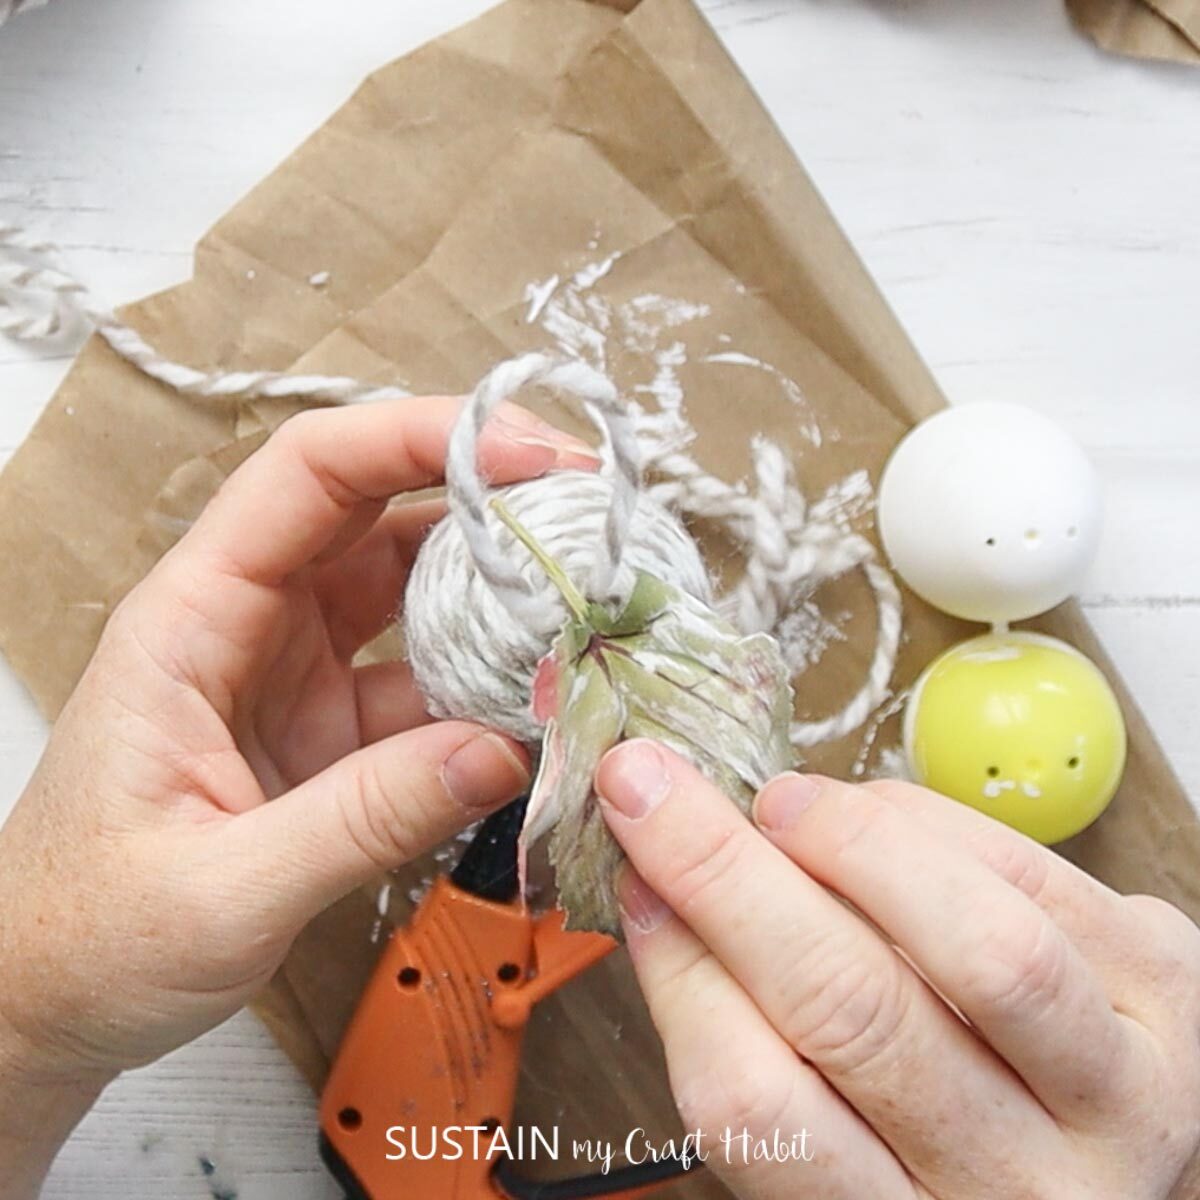
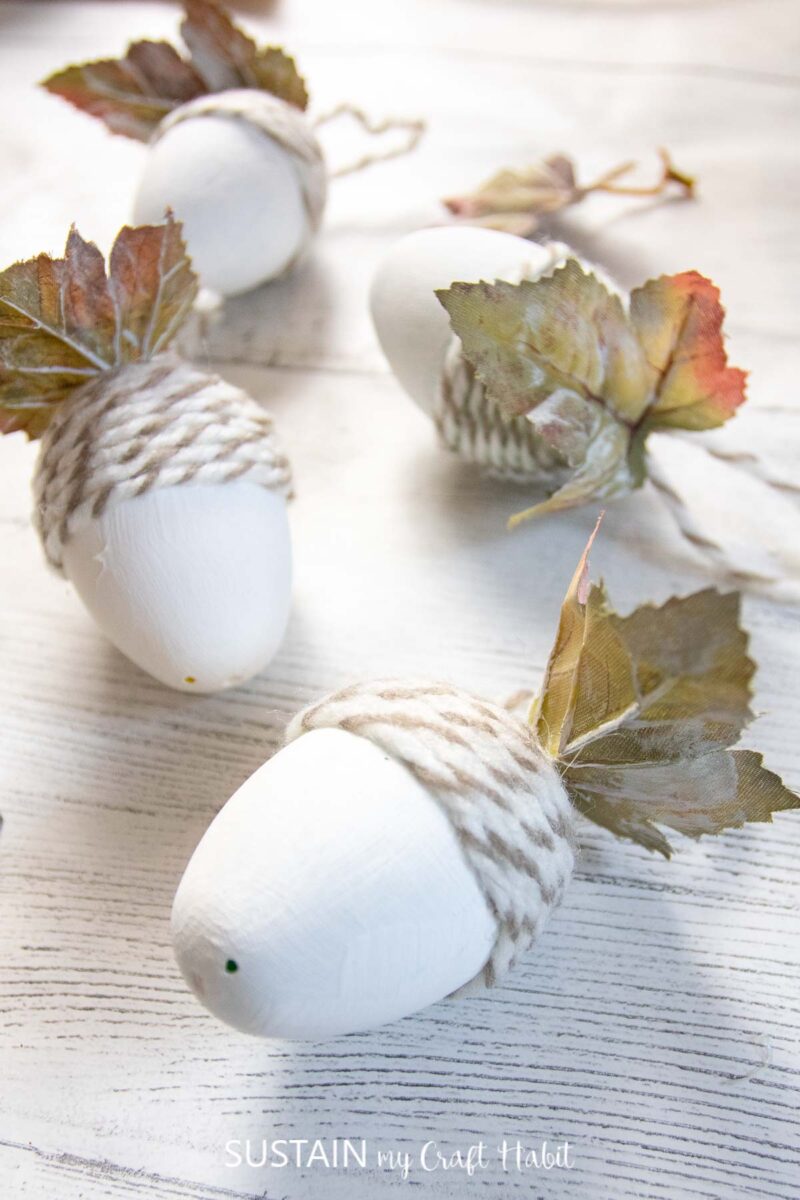
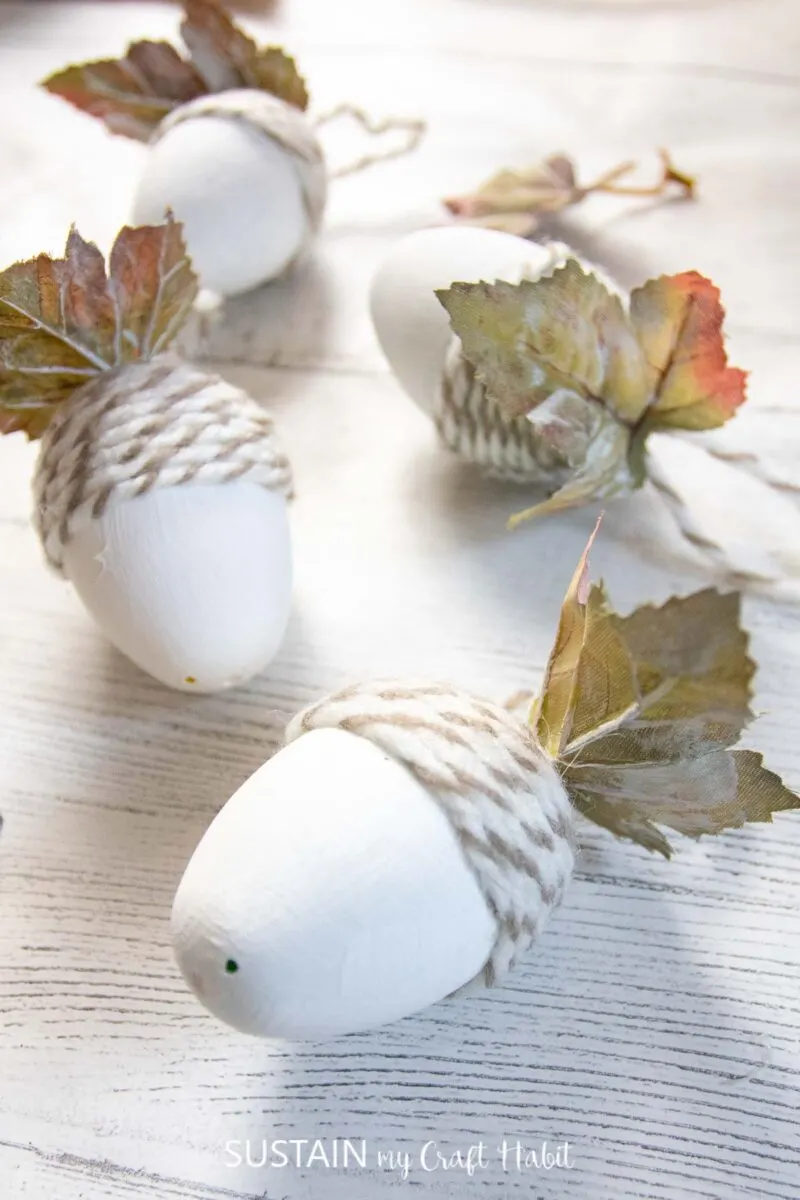
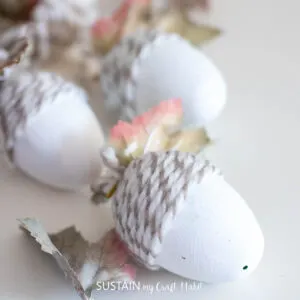
Lastly, glue a faux leaf to the top of the acorn to finish.

Make as many acorn ornaments as you like and enjoy scattering them around the house, on a Fall-themed tiered tray or even hang them on your Christmas tree!
More Fall Crafting Ideas
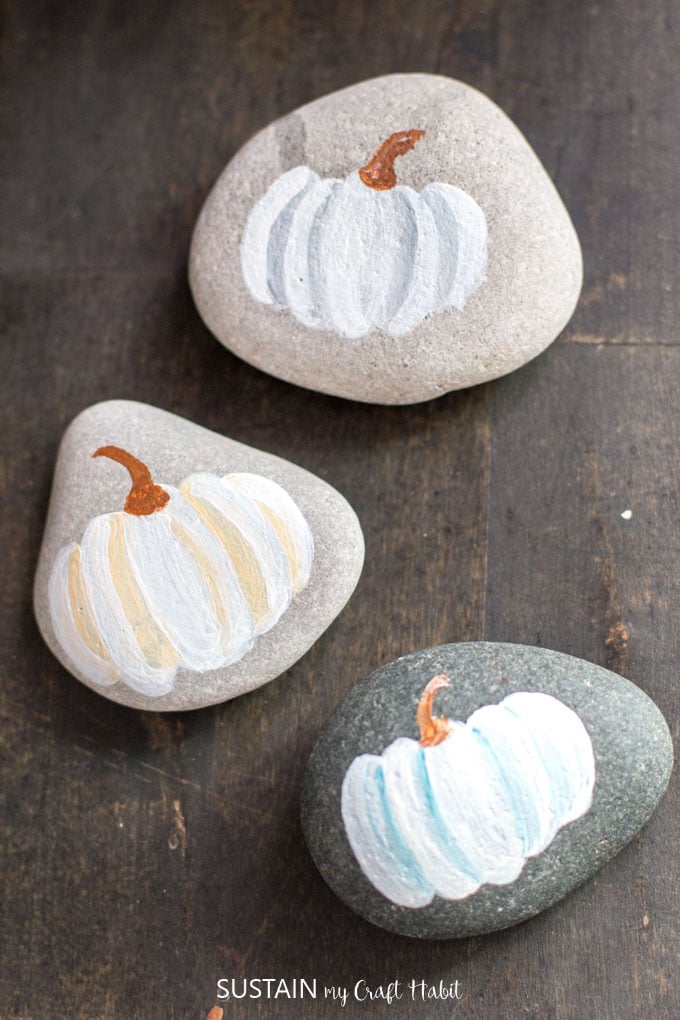
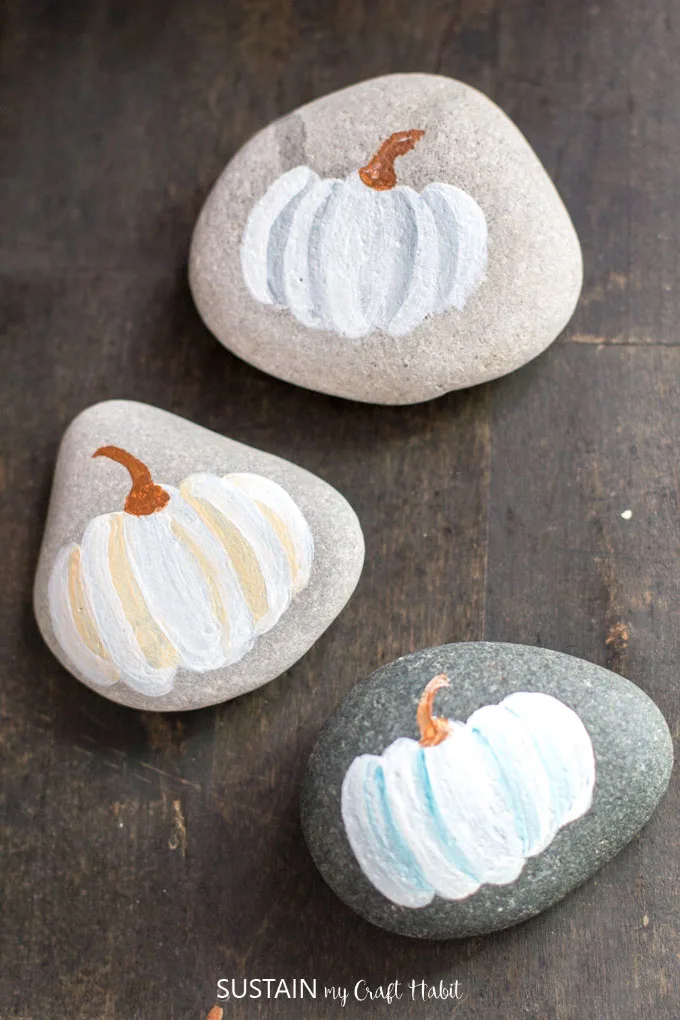
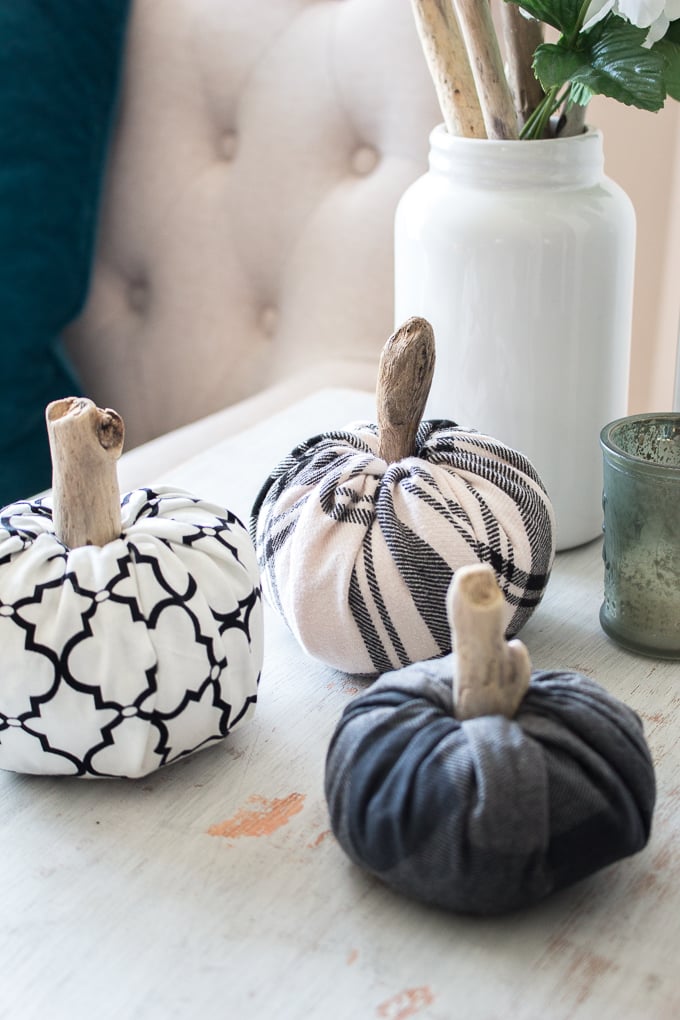
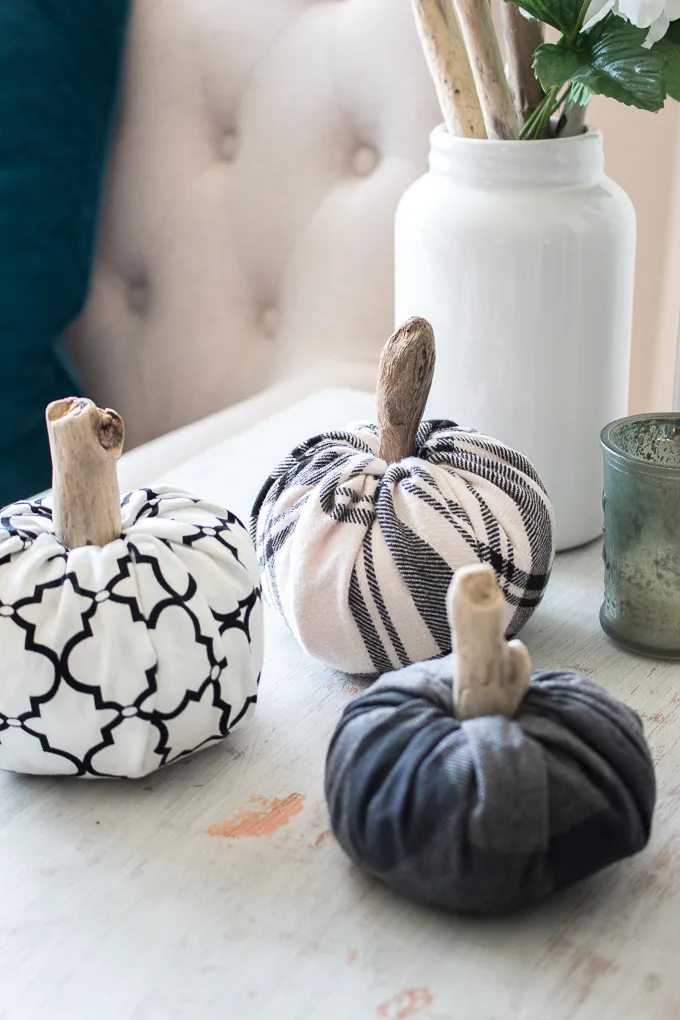
These acorn ornaments are great for displaying throughout the house alongside this scrap fabric pumpkin, farmhouse inspired wood signs and these painted rock pumpkins.
Like it? Pin it for later!

Upcycled Plastic Egg Acorn Ornament Craft
Materials
- Plastic Easter Eggs
- Twine or yarn
- Scissors
- Hot Glue Gun with clear glue sticks
- DecoArt Chalky Finish in Everlasting
- Paintbrush ½” flat
- Faux leaves
Instructions
- Using chalky finish paint, apply paint to one end of the plastic egg.
- Apply a dab of hot glue to the bottom of the plastic egg.
- Press the end of the twine into the glue and carefully hold it in place until glue sets.
- Apply another dab of glue next to the first dab and wrap the twine around.
- Working small sections at a time, continue applying glue around the egg and wrapping the twine in the glue.
- Keep the twine snug as you work your way around the egg covering the plastic egg underneath.
- Continue until you get the halfway mark.
- Work in a loop at the top for hanging.
- Glue a faux leaf to the top of the acorn.