Whenever there is even a hint of spring in the air, I am over-the-moon-excited to bring out the Easter crafts. Creating an Easter Bunny craft is always my favourite because it is perfect for any age group.

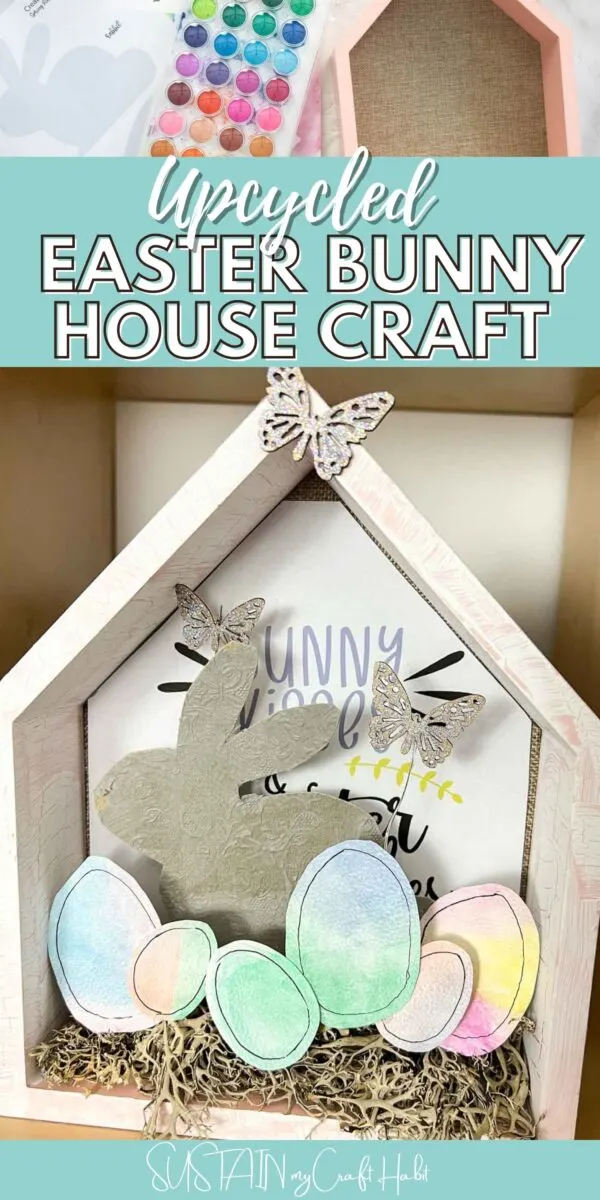
A Great Easter Bunny Craft For All
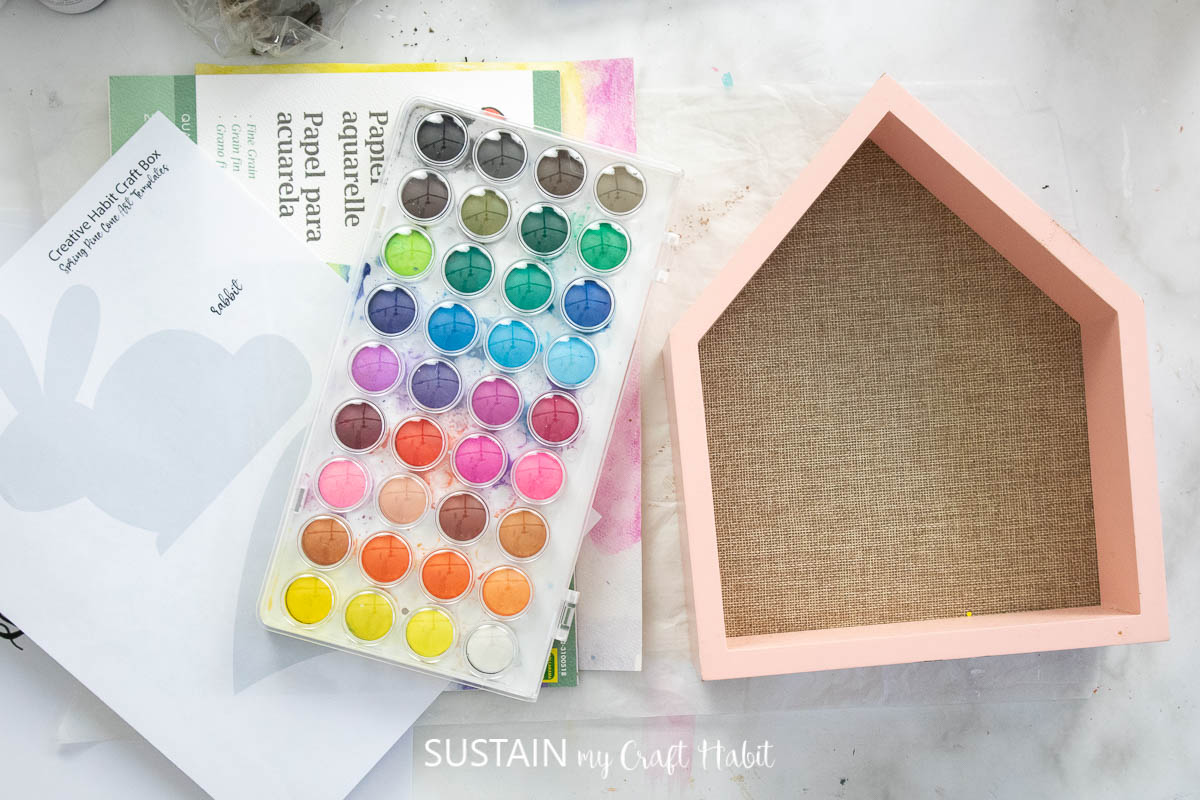
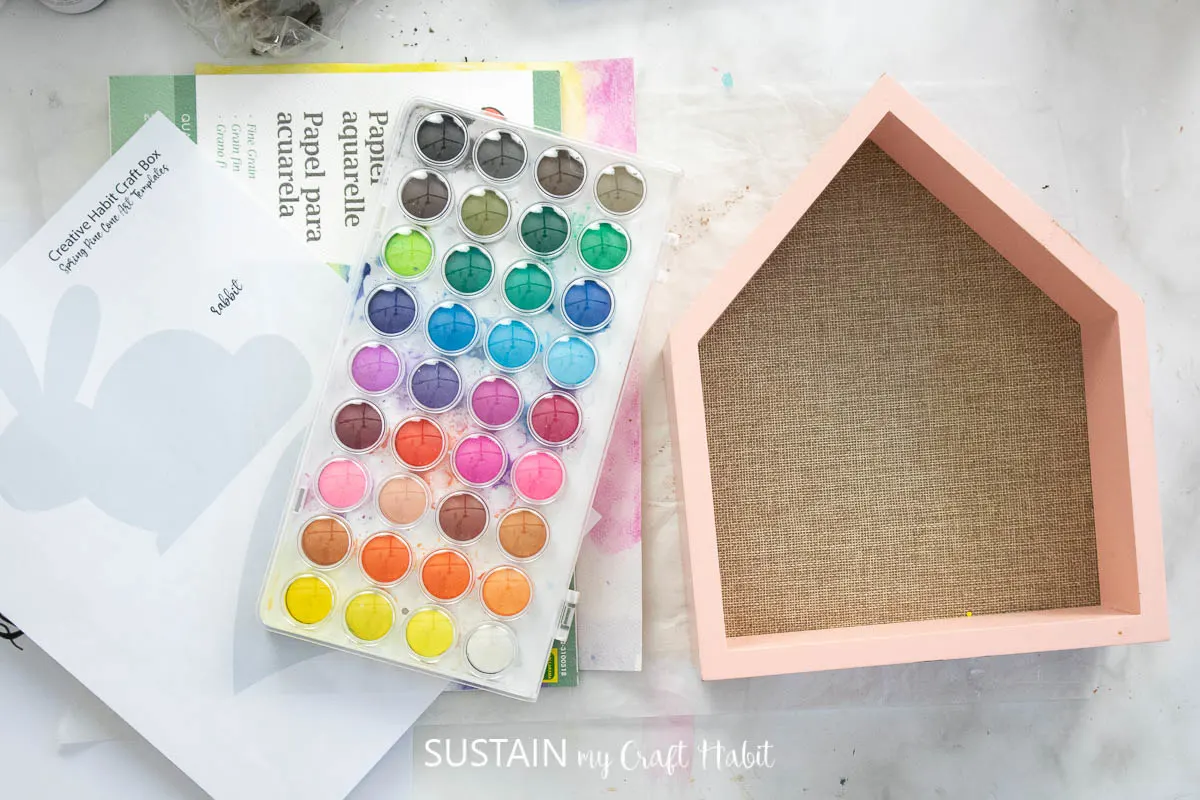
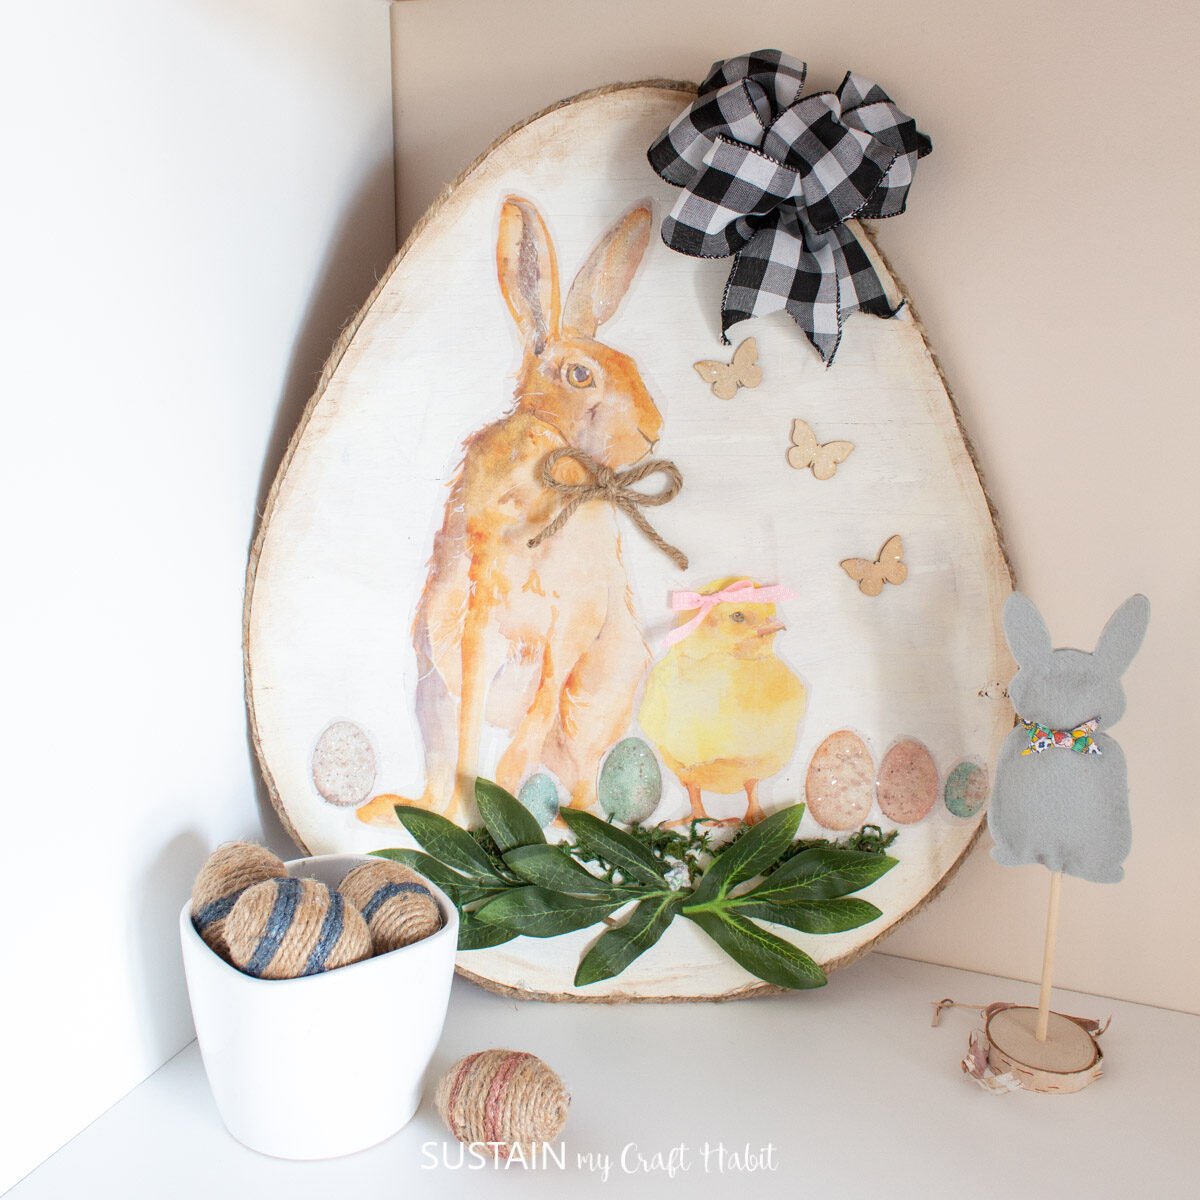
What surprised me the most about this craft was how few items were needed to create it. Looking at the picture above in hindsight, it looks like it needs a lot more than it actually does.
If you are new to this corner of the Internet, here at Sustain My Craft Habit we are obsessed with upcycling, or taking items normally found in nature or thrift stores and creating something new and beautiful with them. That is no different with this craft. A wood shelf could easily be found if you have scrap wood, or in a thrift store. Decorative napkins can be found at your local dollar store (or Dollarama if you’re northerners like us). The only thing you’ll want to consider making a tiny investment in is a mini iron. (Isn’t it the cutest?!)

This is a great craft to do on a calm night, or a wonderful craft to teach an older kid that wants to take their crafting up a notch.
Want to receive a ton of inspiration and money saving ideas for decorating, gift-giving and crafting? Join HERE!
Materials Needed
Disclosure: This post contains affiliate links for your shopping convenience. Should you choose to purchase through them, we will make a small commission at no extra cost to you. You can read our full disclosure policy here.
- Wood shelf
- Decorative napkins
- Watercolor paint
- Chalky paint
- Paintbrushes
- School glue
- Mod Podge
- Mini iron (we use and love our Cricut EasyPress Mini)
- Printable phrase and bunny
- Moss
- Paper and scissors
How to Make an Easter Bunny House Craft
I shared the tutorial for this Easter bunny craft on a Facebook Live which you can catch here. Or if you prefer the photo tutorial, continue reading below.
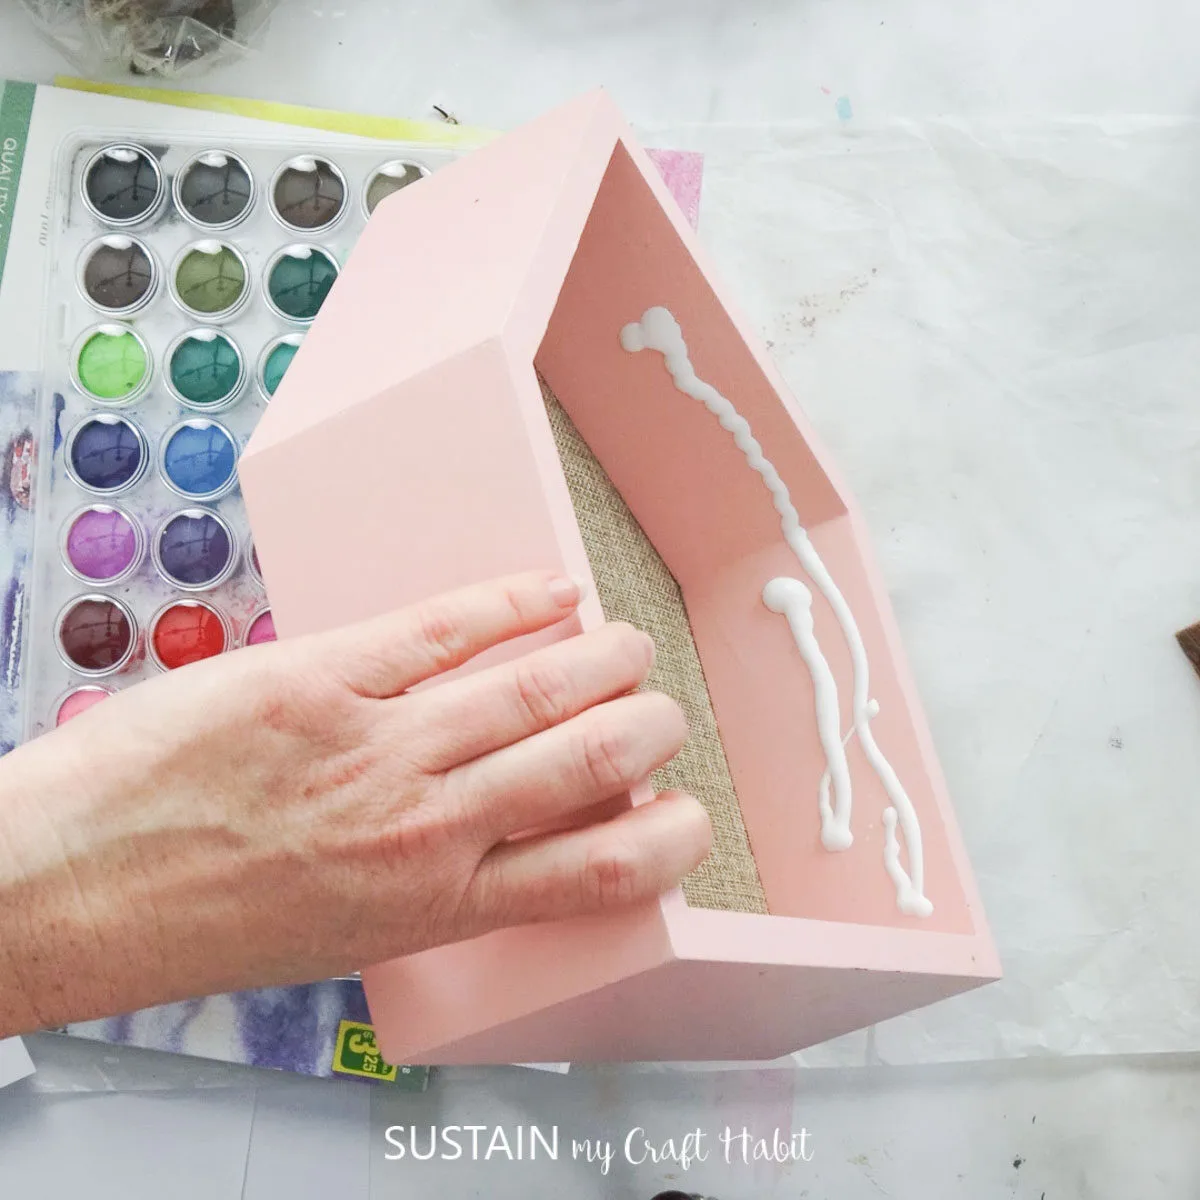
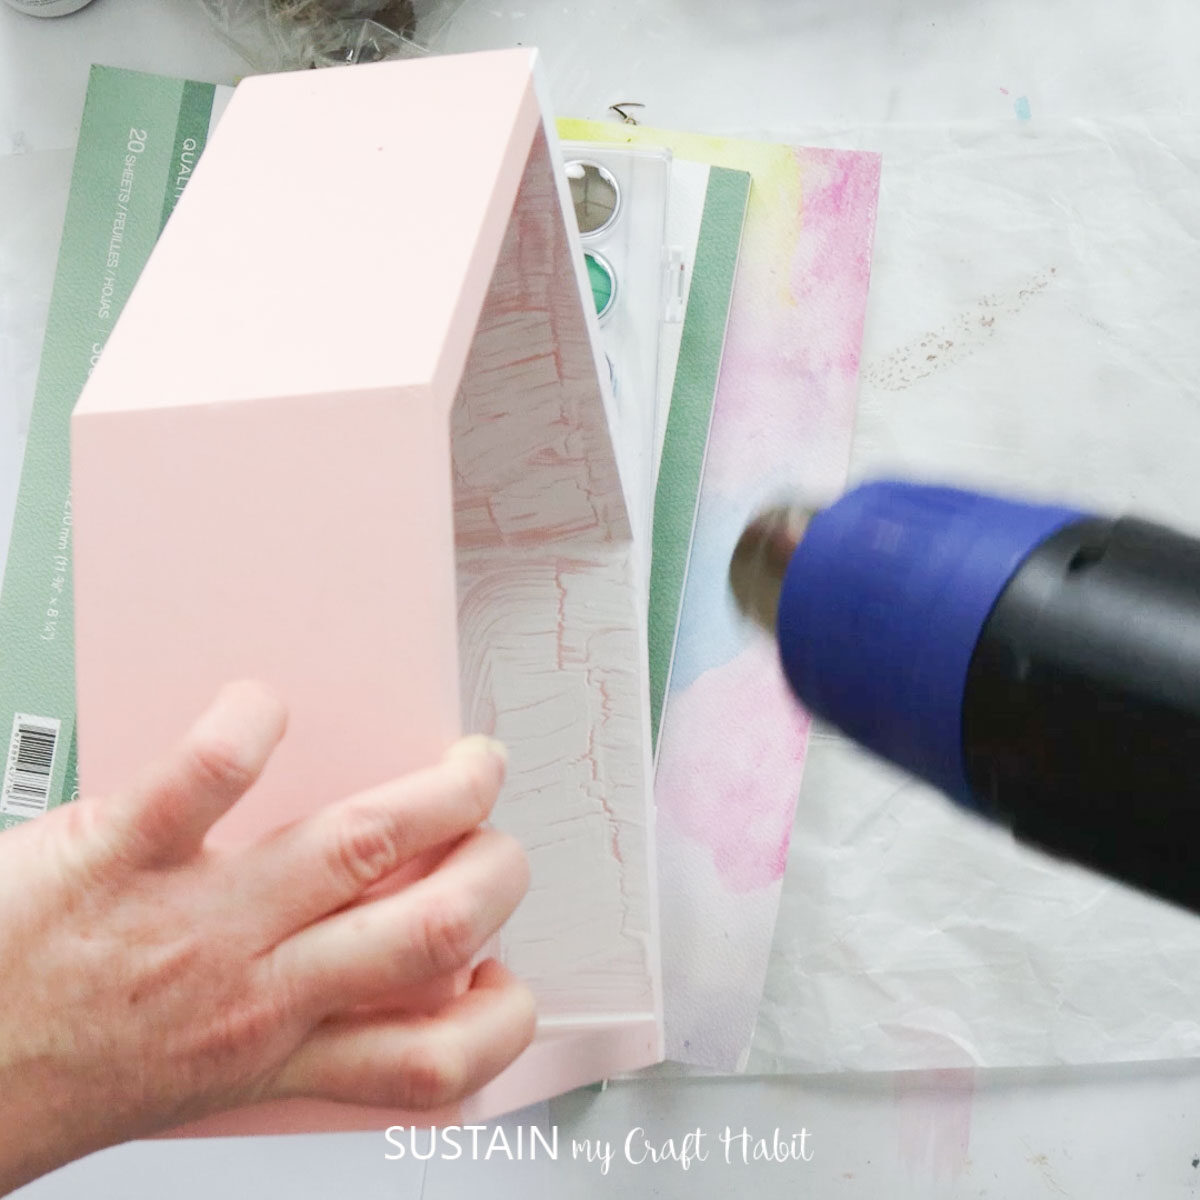
Paint a generous coat of school glue onto the inside of the wooden house. Let dry until TACKY (the glue needs to still be wet for the paint crackle finish to form). While the glue is still tacky, brush the surface paint color over it. Allow the paint to air dry, or use an air gun to speed up the drying.


Apply a coat of Decoupage on the top of the wood house.


Position a napkin over the glue and press into place. Next, take a piece of parchment paper and use a mini heat press to smooth out the napkin.Then trim off the excess paper and continue around the perimeter of the house until complete.


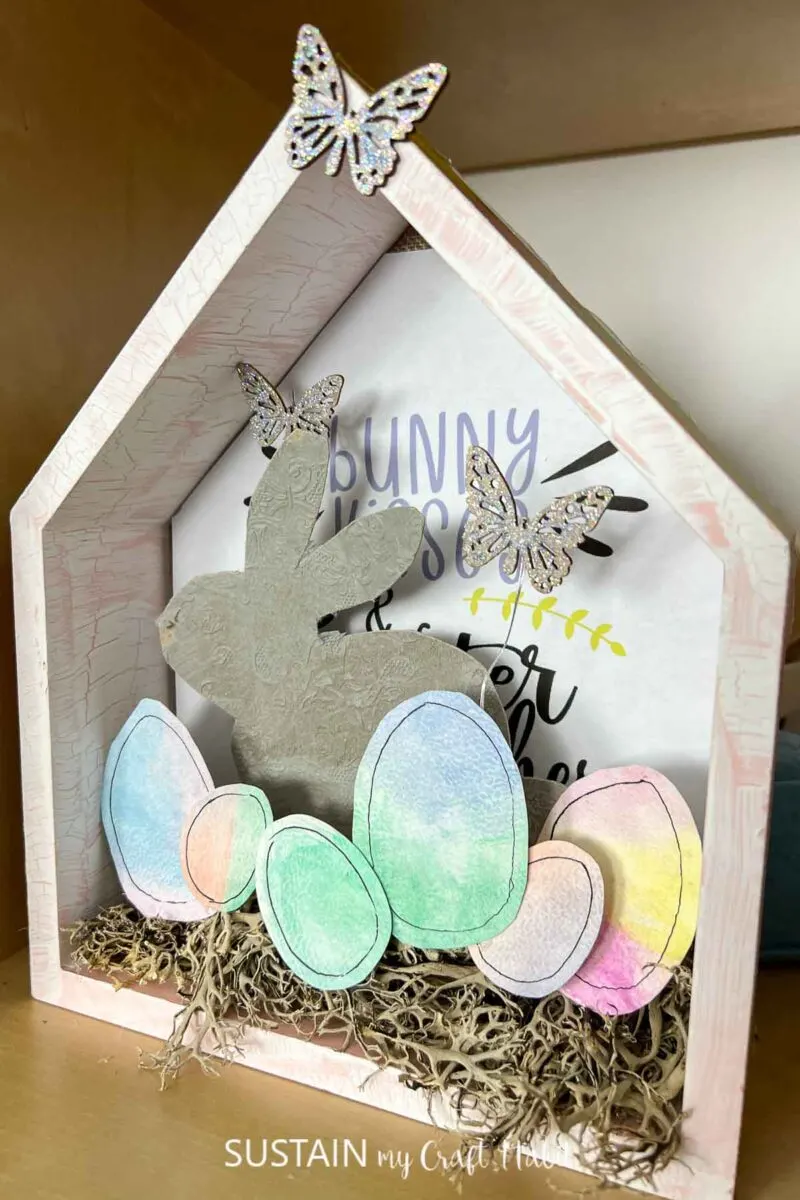
Create your own water color art or use colorful paper from the craft store to cut out little Easter eggs for the house.


Using the template provided, cut out a bunny shape and the Easter phrase to fit inside the little house. We have so many Easter phrases in our Etsy graphics shop, so be sure to check out Craft Habit Graphics for your favorite!


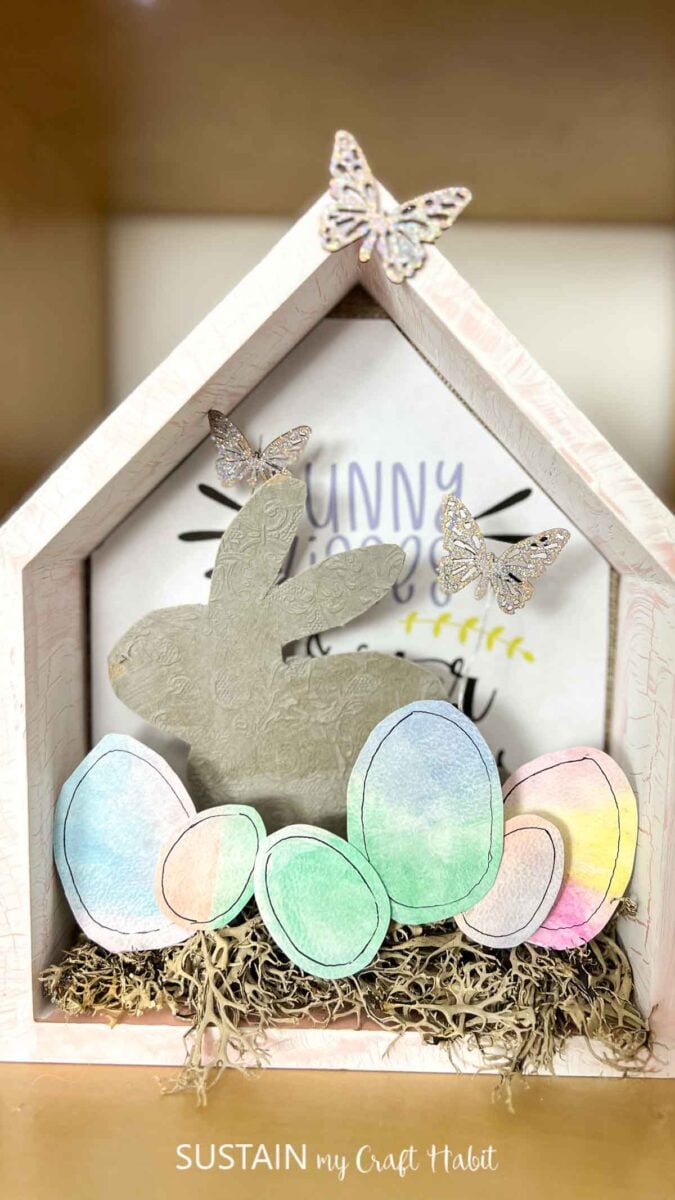
Lastly, add the embellishments to the mini house starting with the moss and anything else you have such as butterfly cutouts.

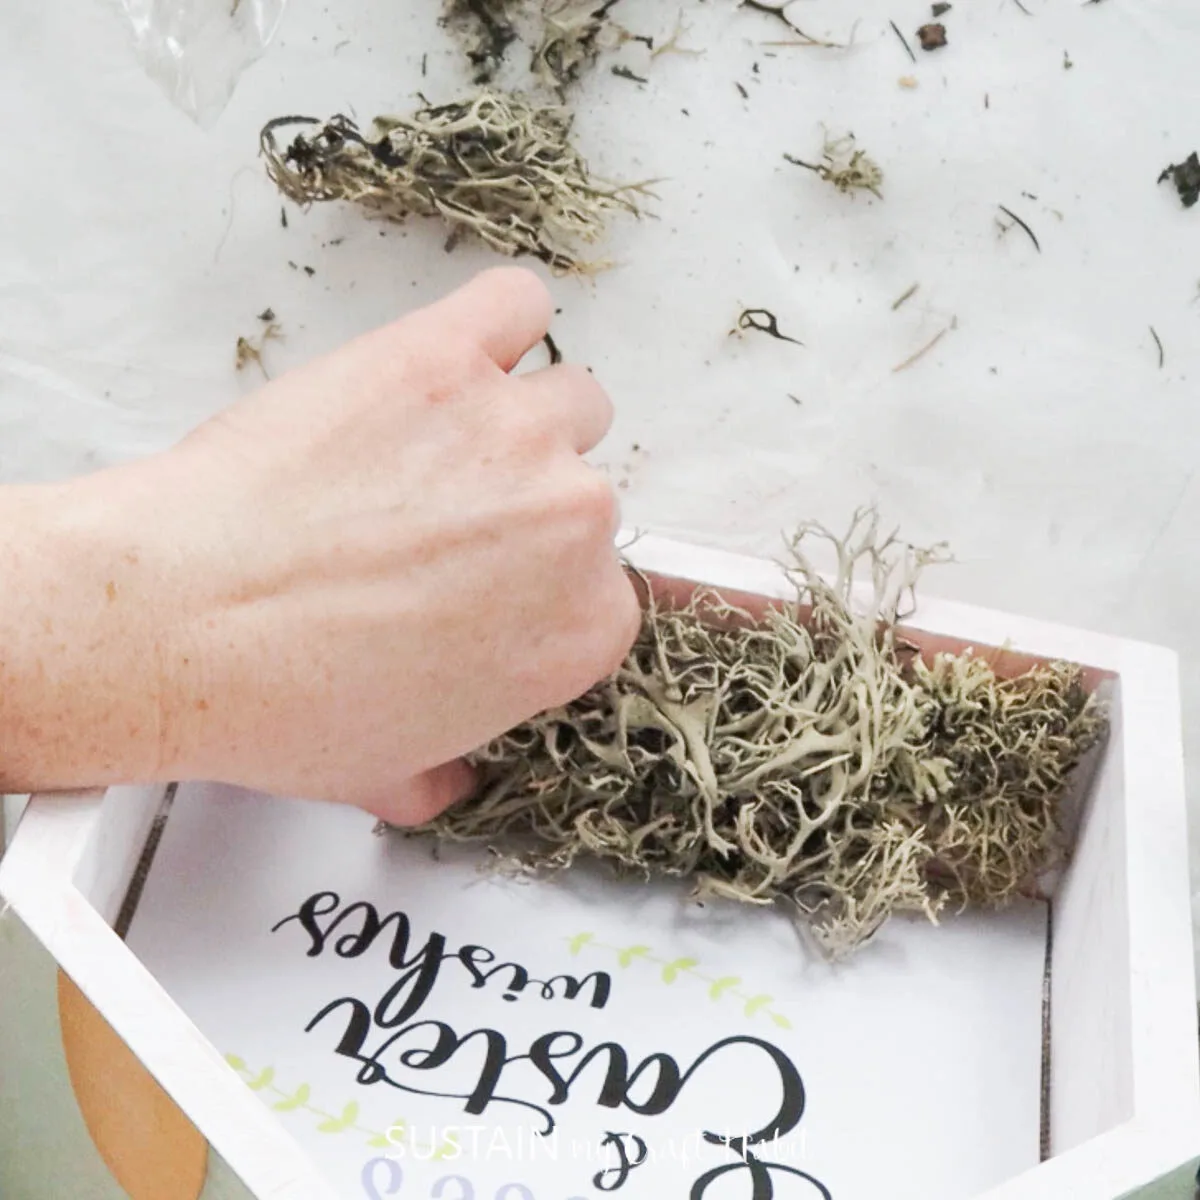
And with that, it is complete! You can add as much or as little as you like.


More Bunny Crafts
We have plenty of Easter bunny crafts on our blog. Here are just a few of our favorites!
- Large Easter Egg Cutout Sign
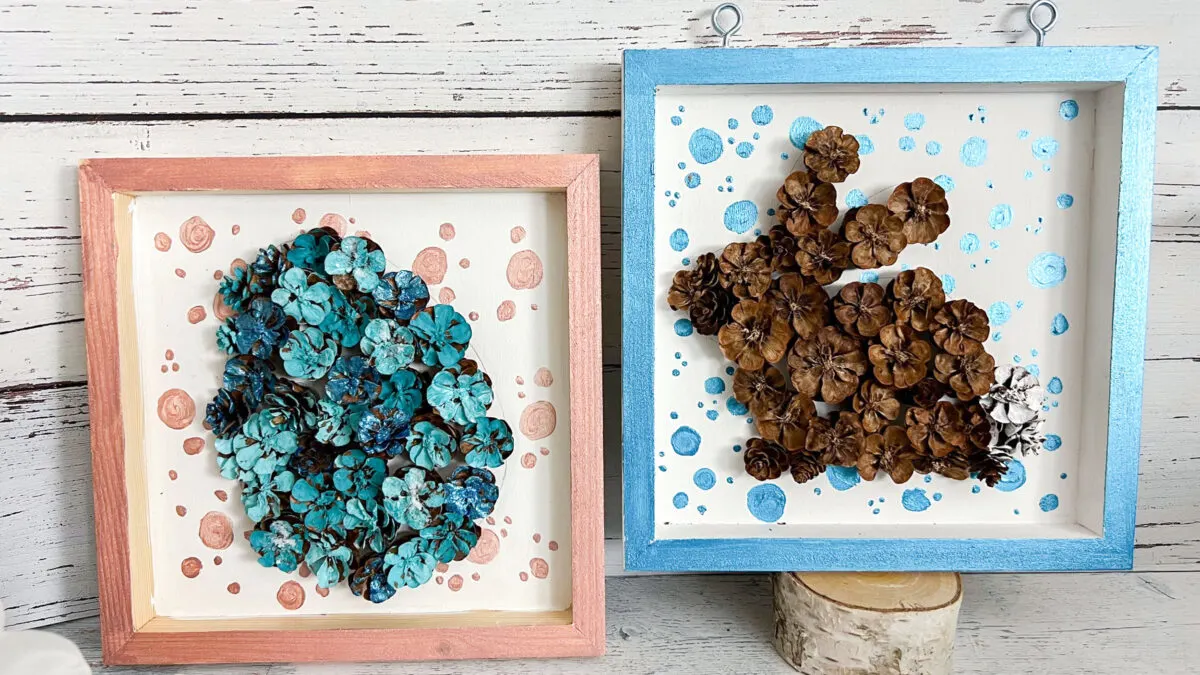
- Pinecone Easter Bunny
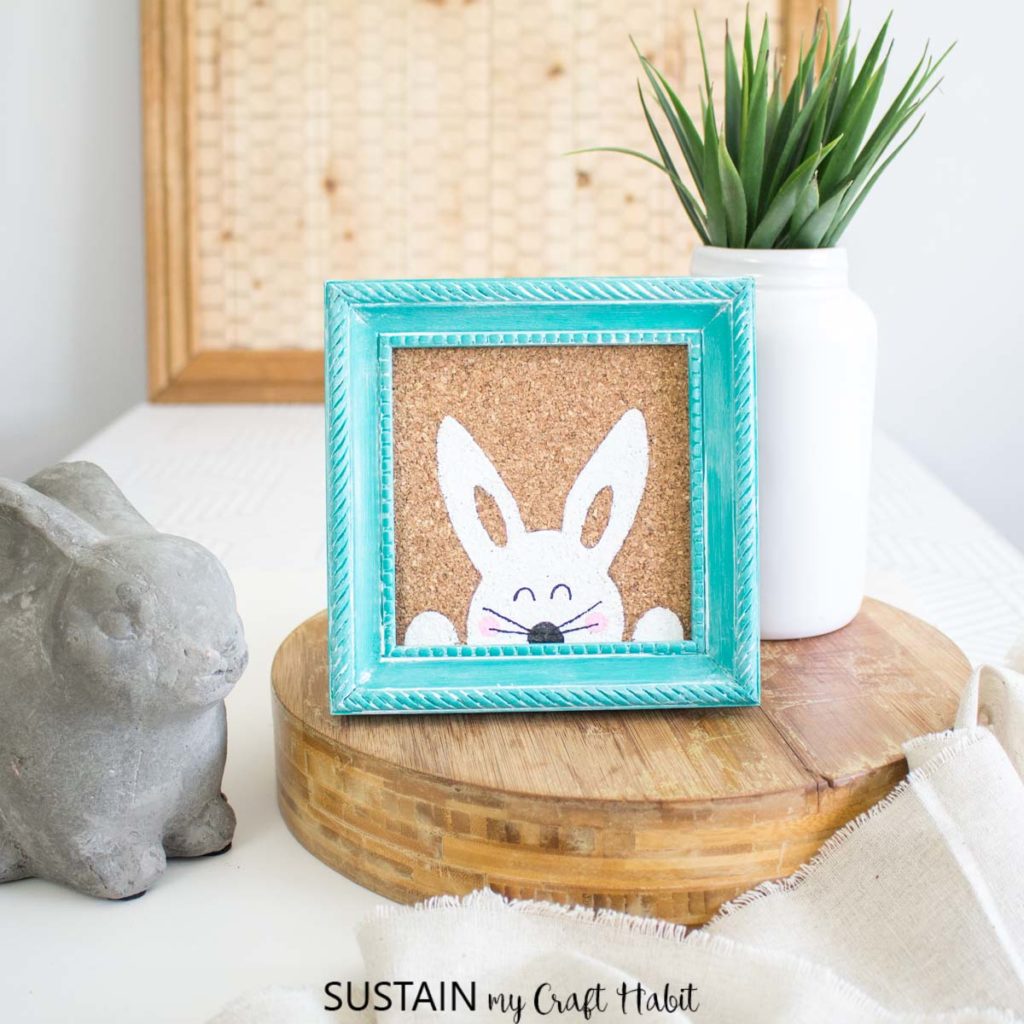
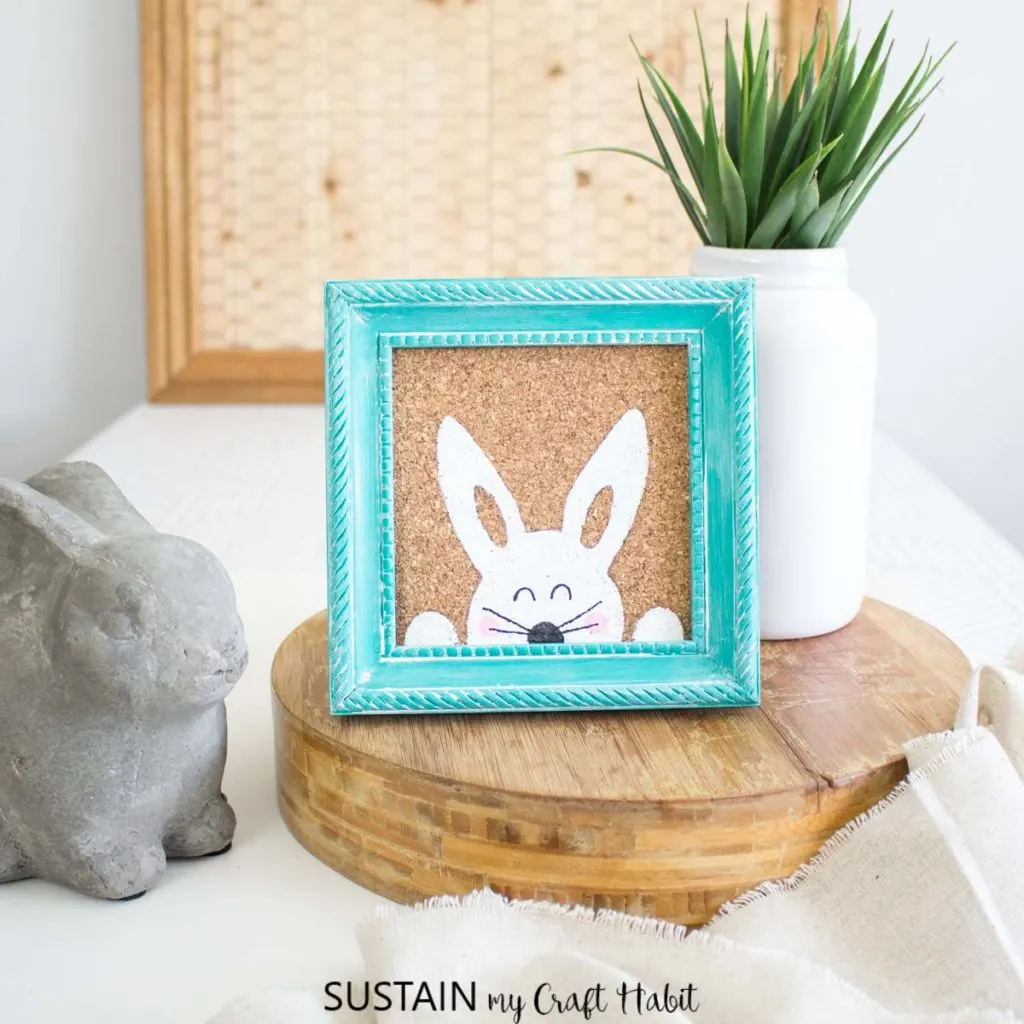
- Framed Easter Bunny Craft
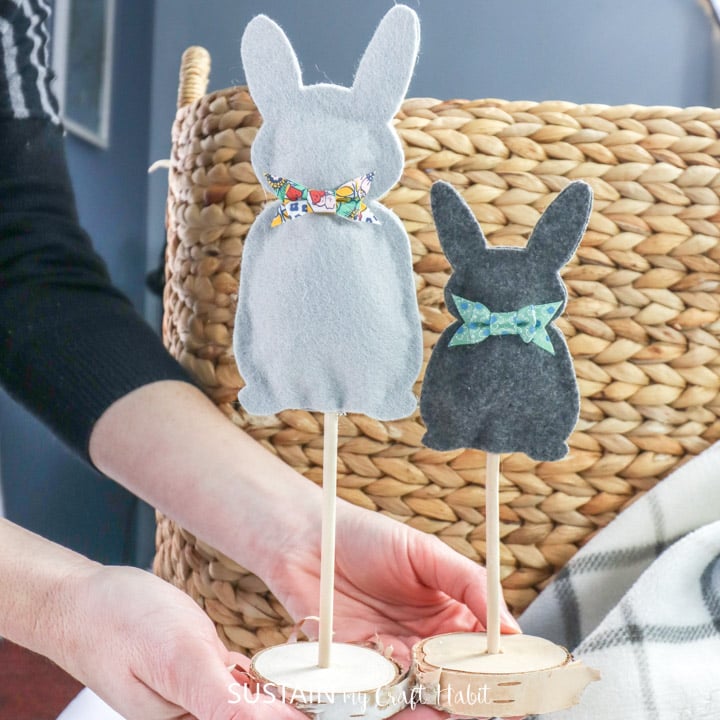
- Felt Bunny Easter Decor
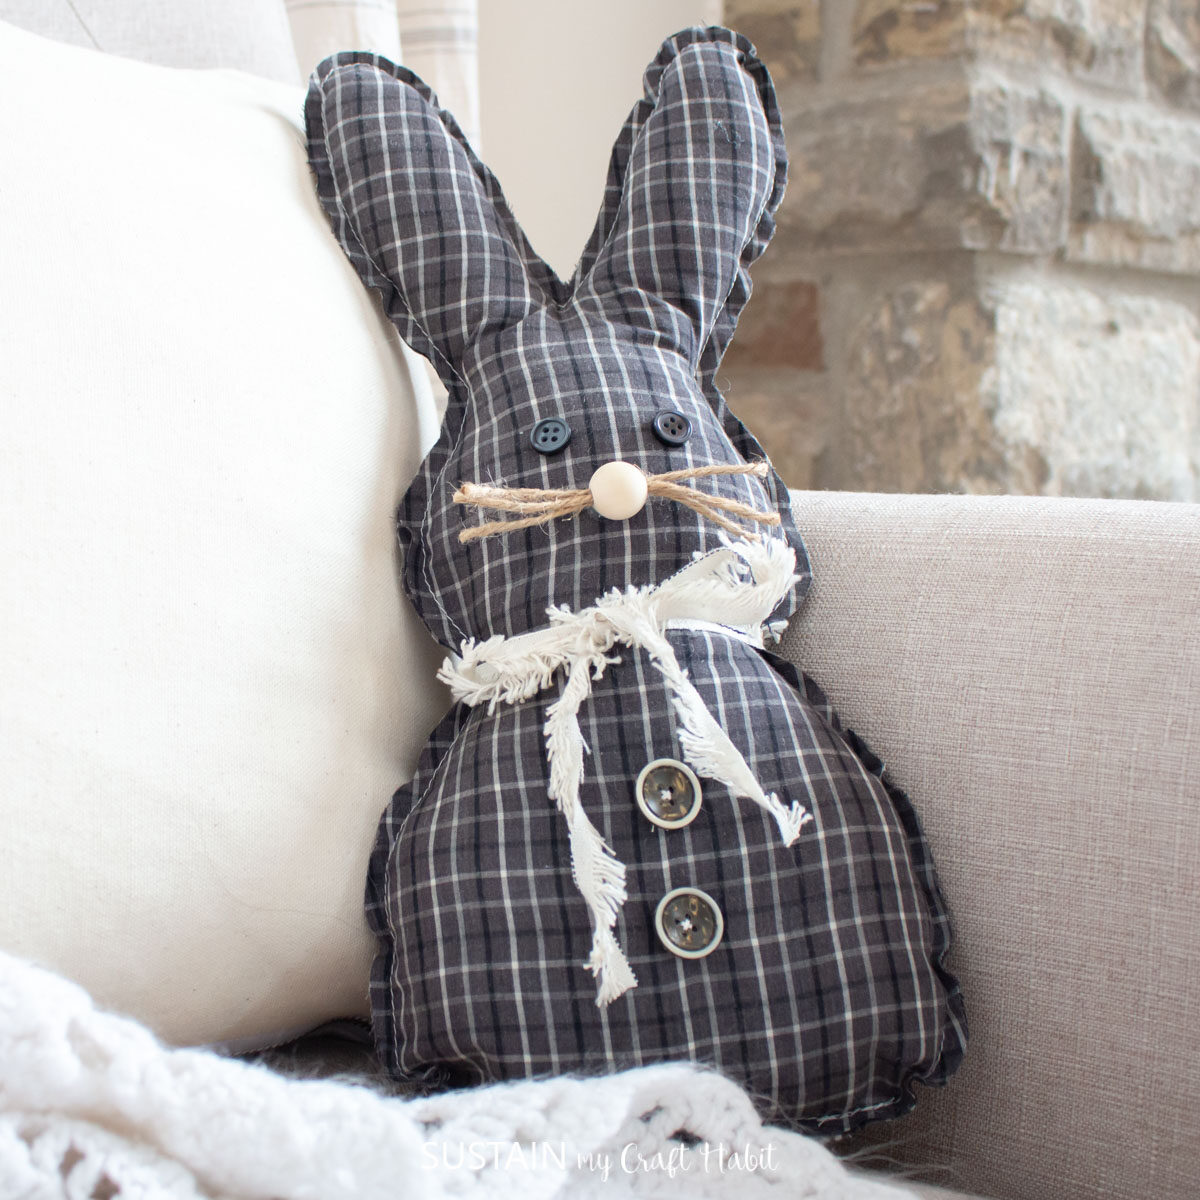
- Memory Bunny Craft
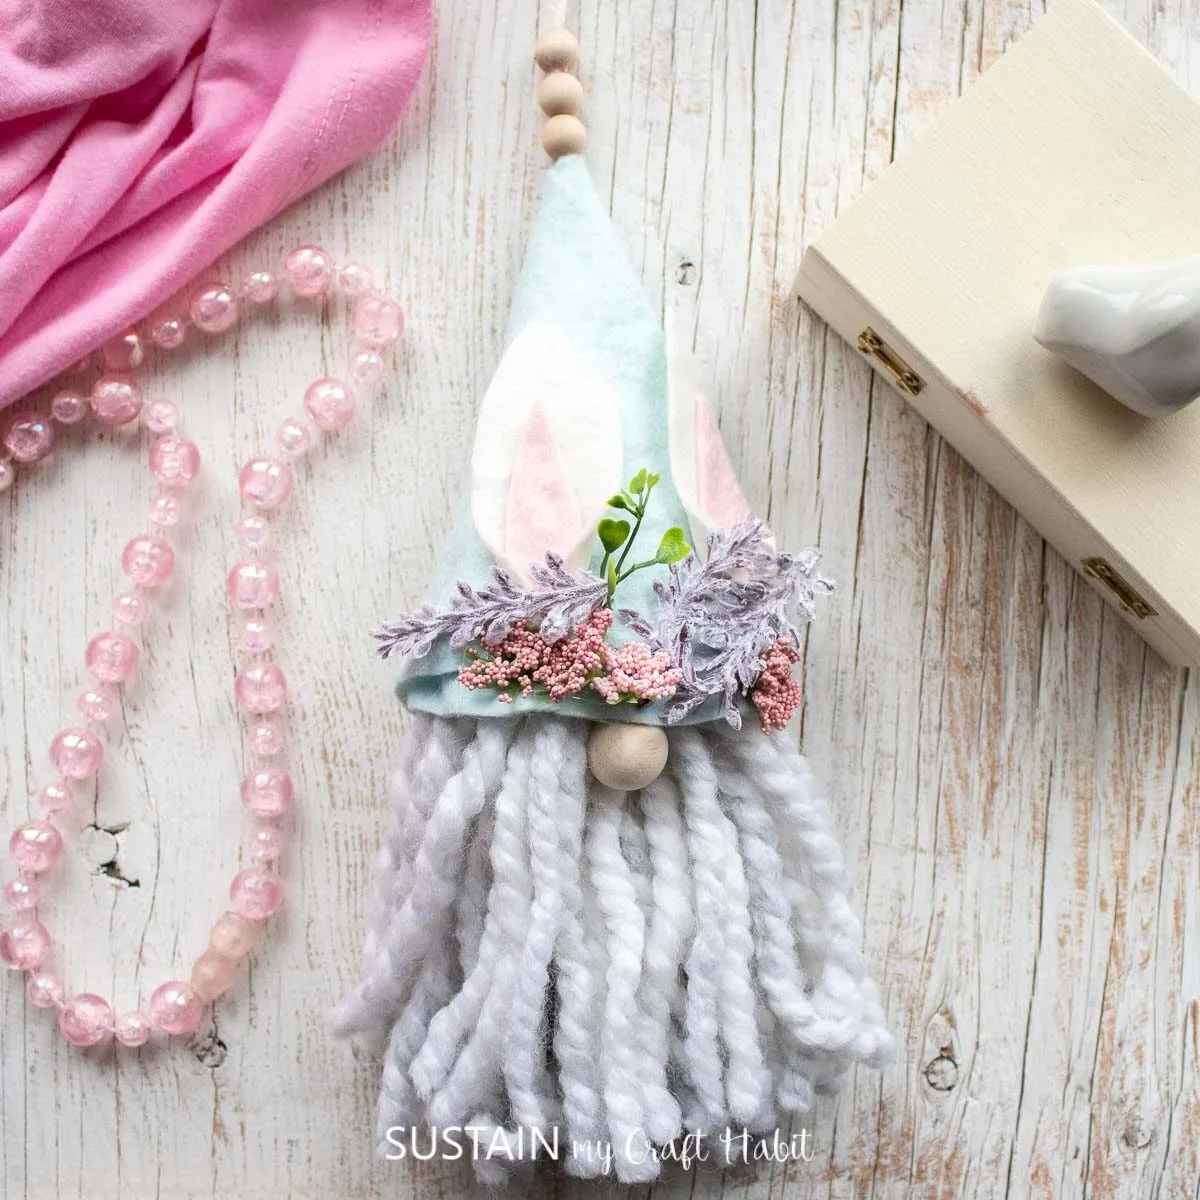
- Bunny Gnome Decoration


Once you’ve gone through all the instructions, you will see that the steps are very doable, and you get a beautiful Easter Bunny craft from scratch!
Get updates on the latest posts and more from Sustain My Craft Habit straight to your inbox by joining our weekly newsletter. We promise to send you only the good stuff!
Like it? Pin it for later!