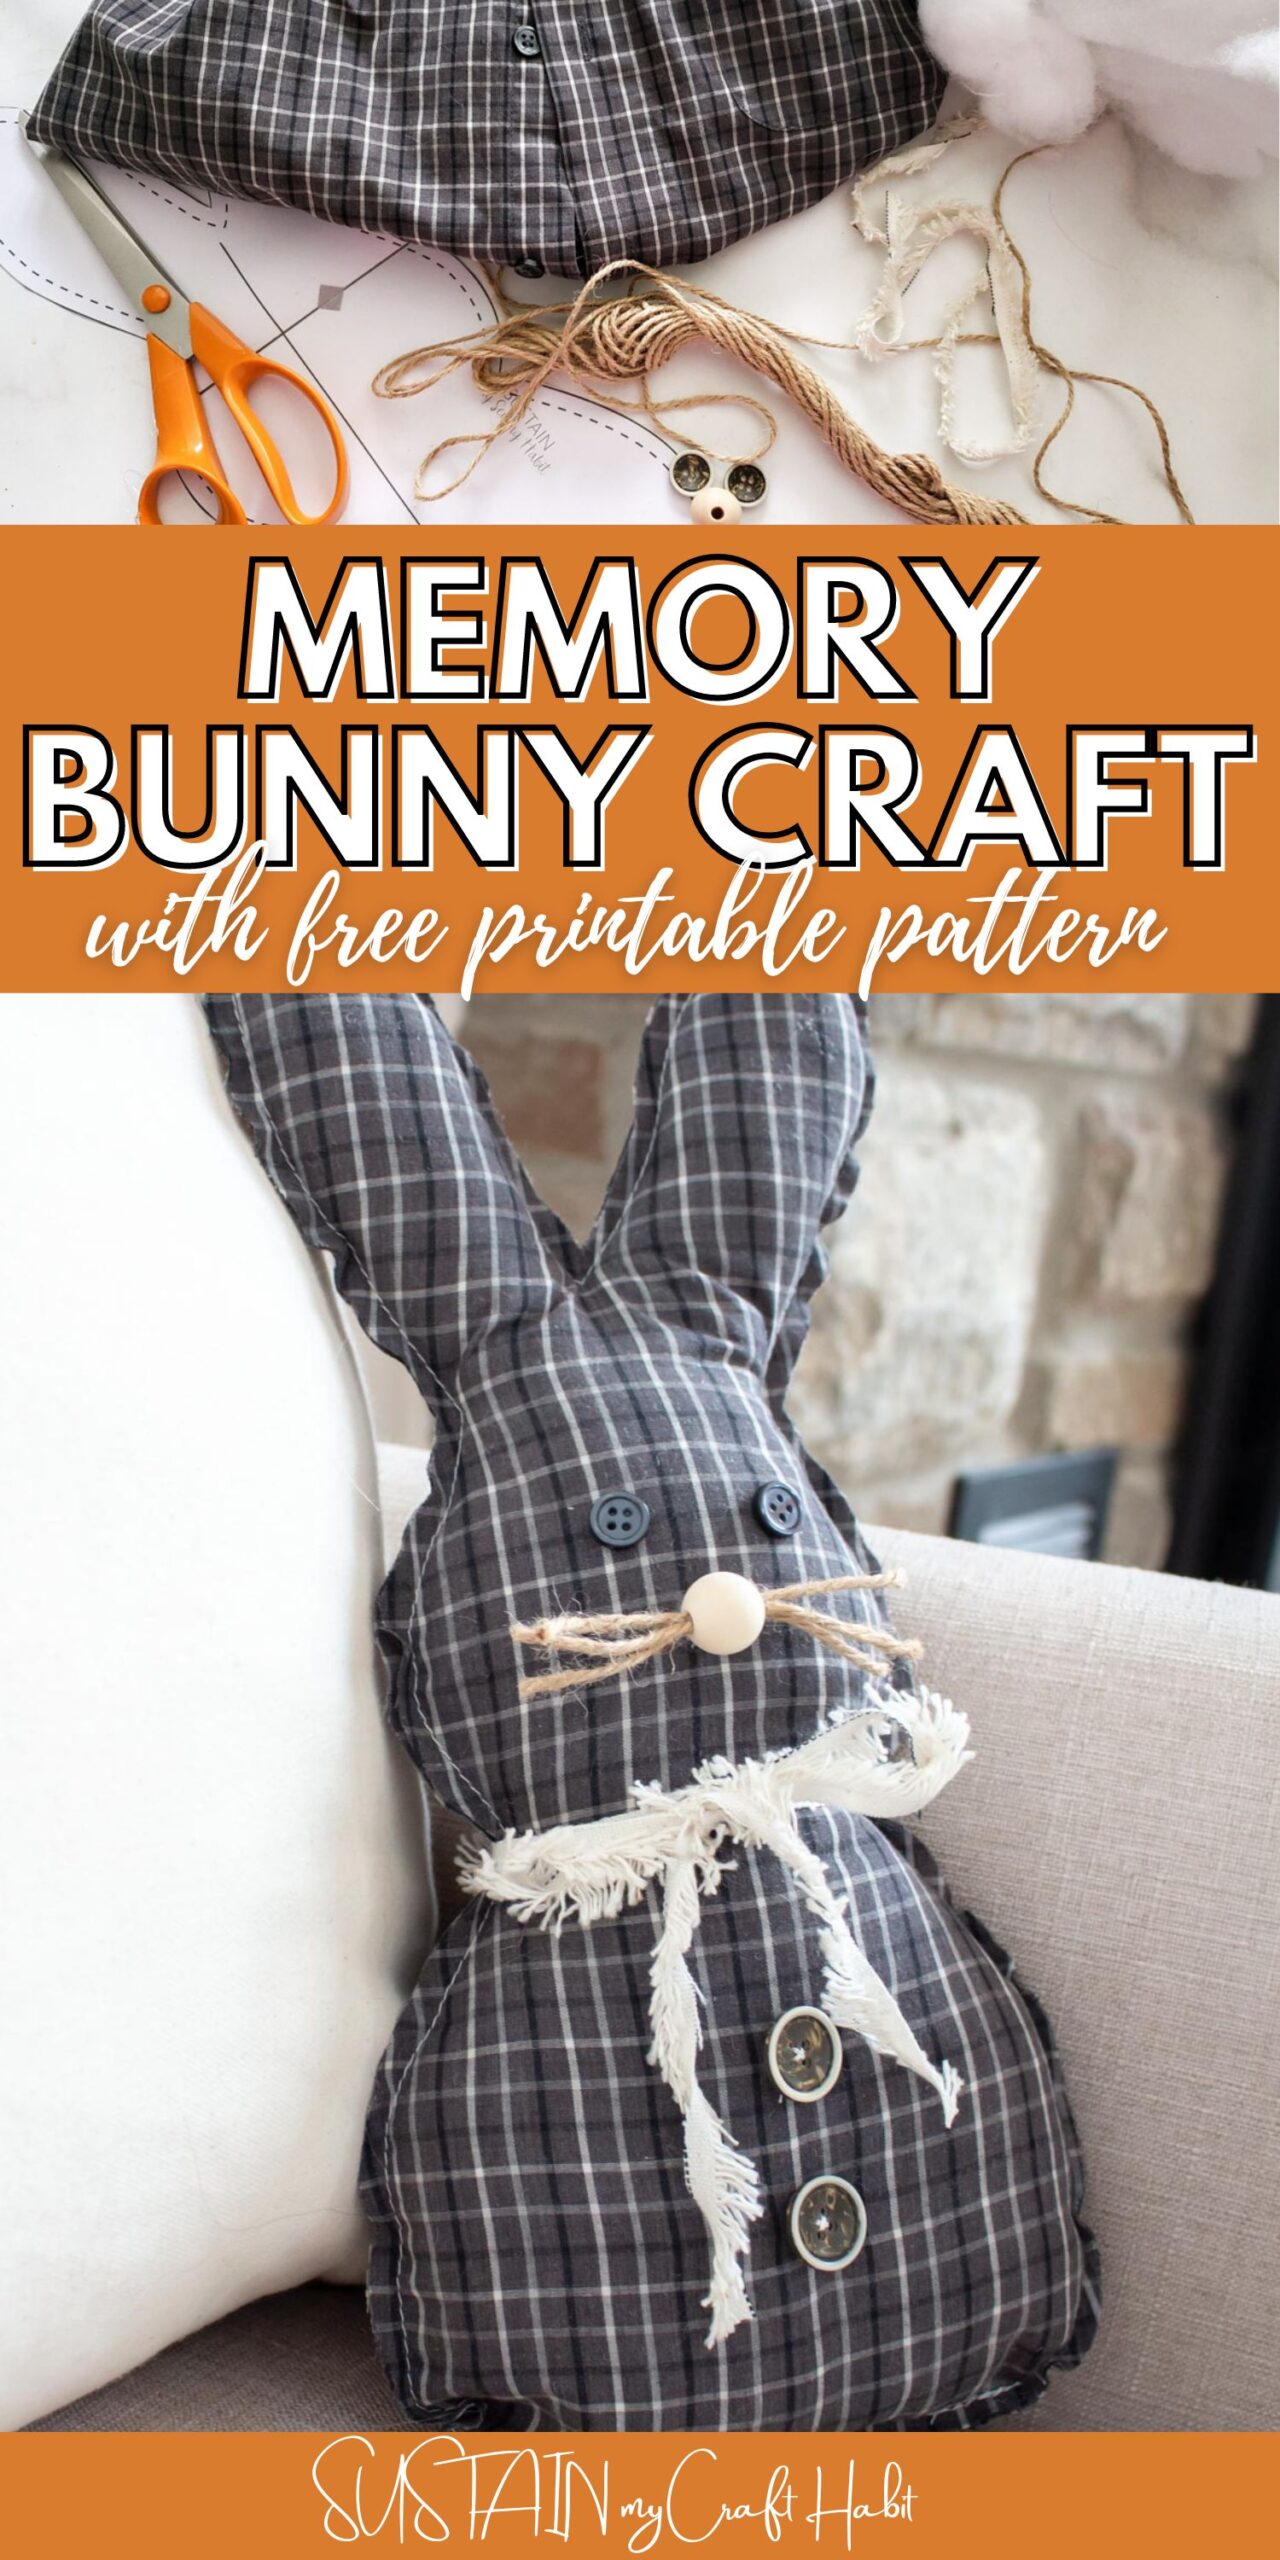
Memory Bunny Craft with Free Printable Pattern
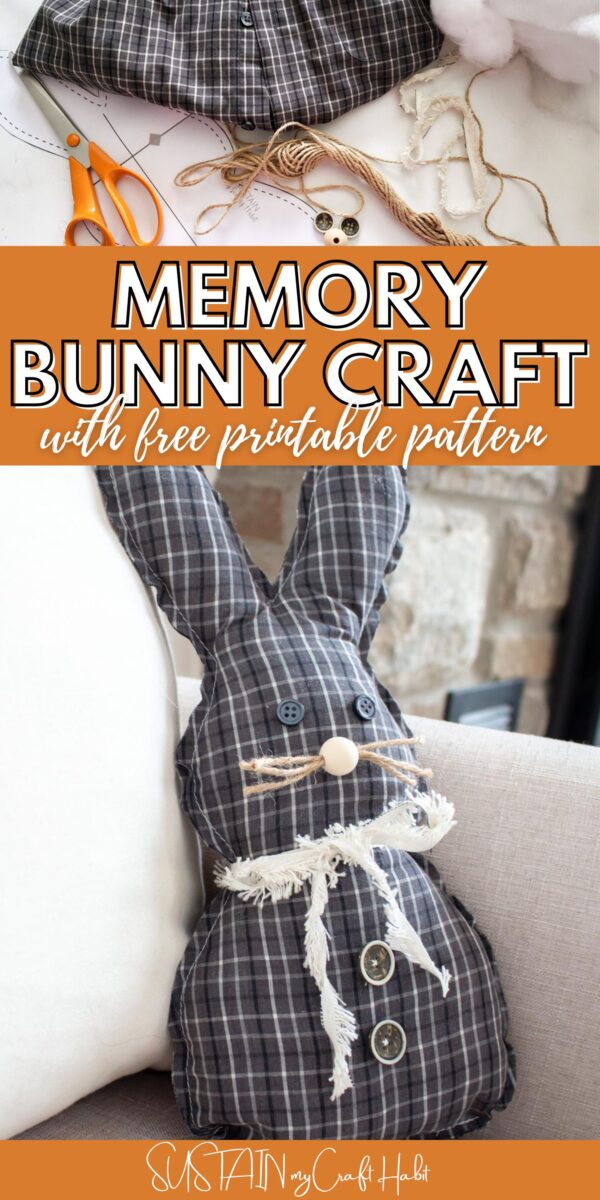
Want a simple keepsake bunny sewing pattern that makes a sweet and thoughtful stuffed animal keepsake craft? If so, try this adorabe bunny memory craft idea with a free printable pattern included.
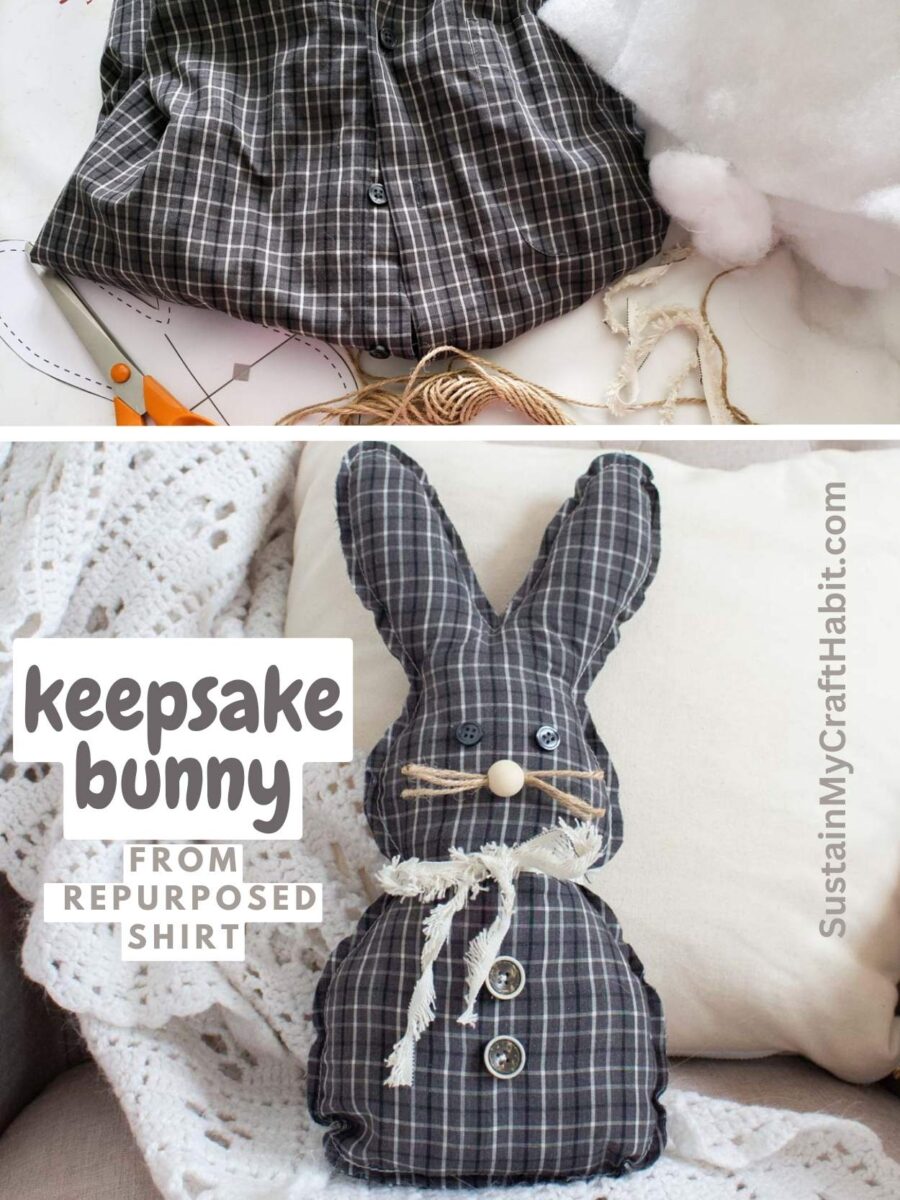
How cute is a keepsake bunny?
There is nothing cuter than little bunnies at Easter time. Spring is in the air by this point (or getting close to it if you are up north like we are) and you may even see little bunnies outside. It is always fun to decorate for Easter because it is a mix of springtime and Easter. The decorations are always cute and fun.
Creating a keepsake bunny can only add to the cuteness. And the best part is- you don’t need a lot of materials! If you have an old plaid shirt at home you can easily upcycle it and turn it into a bunny for this project. We provide you the free bunny pattern, so all else you need is scrap fabric and some buttons!
Want to receive a ton of inspiration and money-saving ideas for decorating, gift-giving, and crafting? Join HERE!
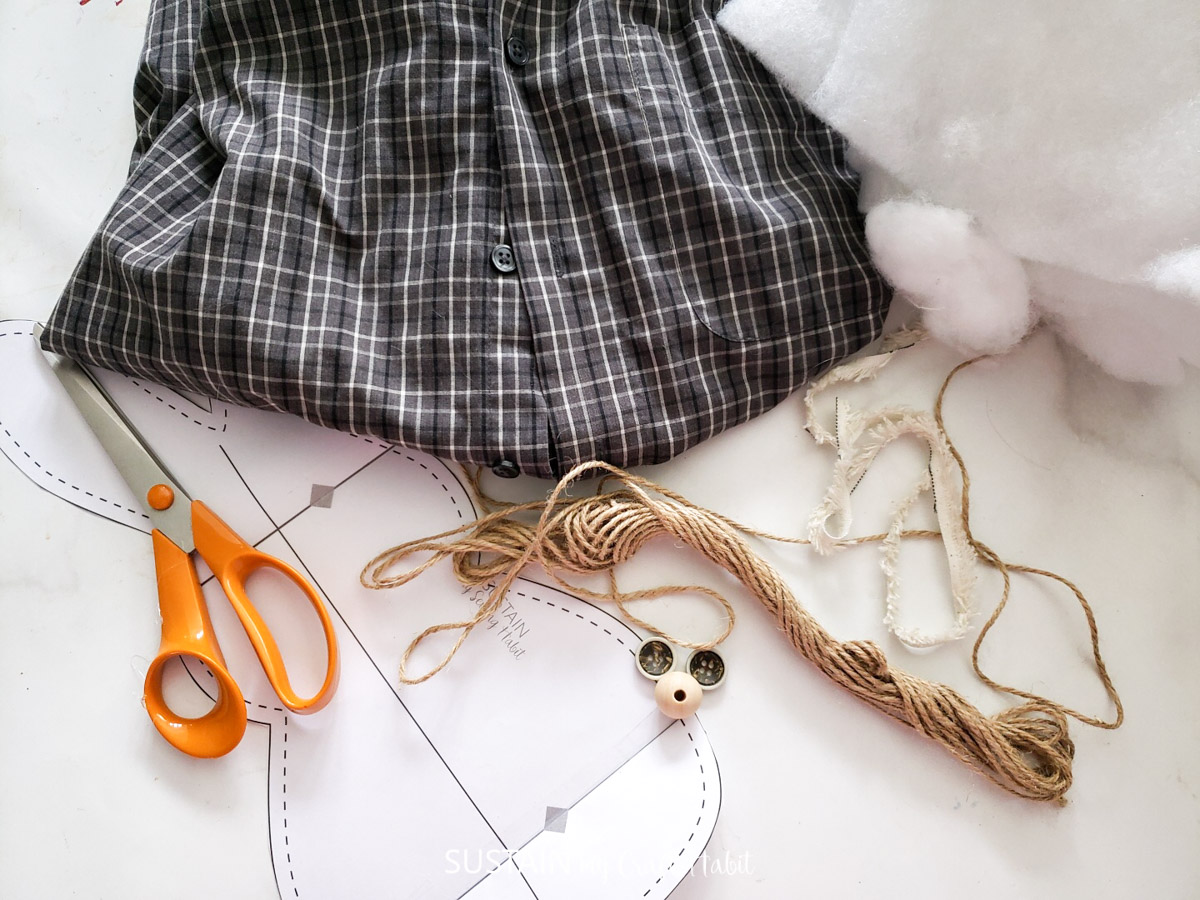
Materials Needed
Disclosure: This post contains affiliate links for your shopping convenience. Should you choose to purchase through them, we will make a small commission at no extra cost to you. You can read our full disclosure here.
- woven fabric or upcycled plaid shirt with buttons
- stuffing or badding
- sewing machine and matching thread
fabric scissors (find our list of top 7 sewing scissors here)- Printable bunny pattern
- X4 buttons in 2 different sizes
- wooden bead, ¾” diameter
- twine
- Ribbon or scrap fabric
How to create the keepsake bunny pattern
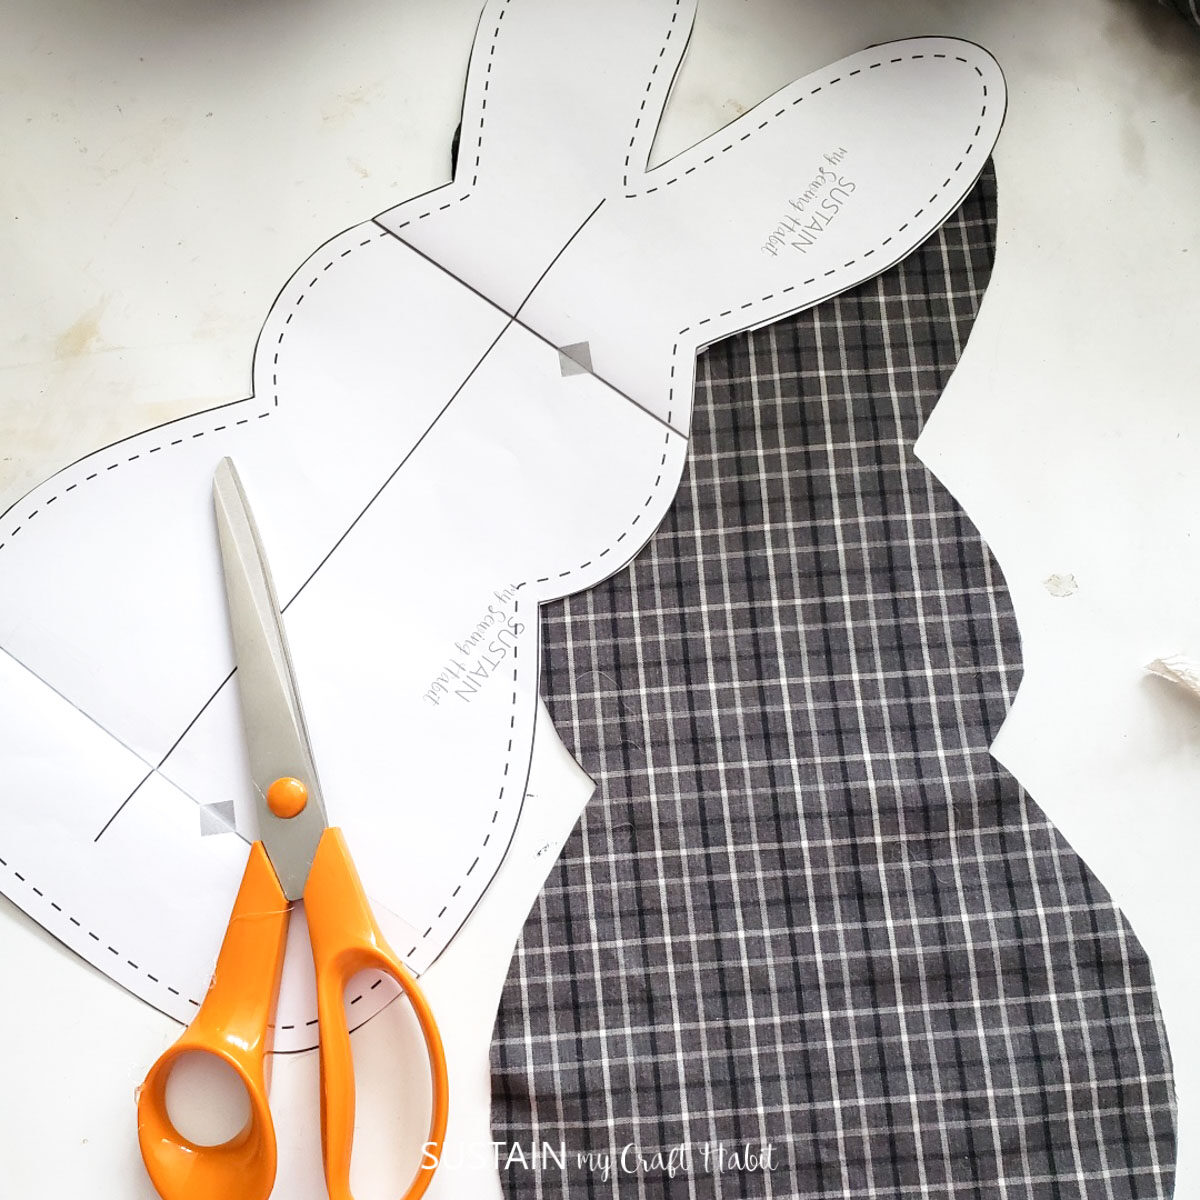
Cutting
Send the downloadable PDF to print maintaining the scale as is and once printed, tape all the connecting red borders together to form a complete pattern. Cut two pieces of fabric per bunny.
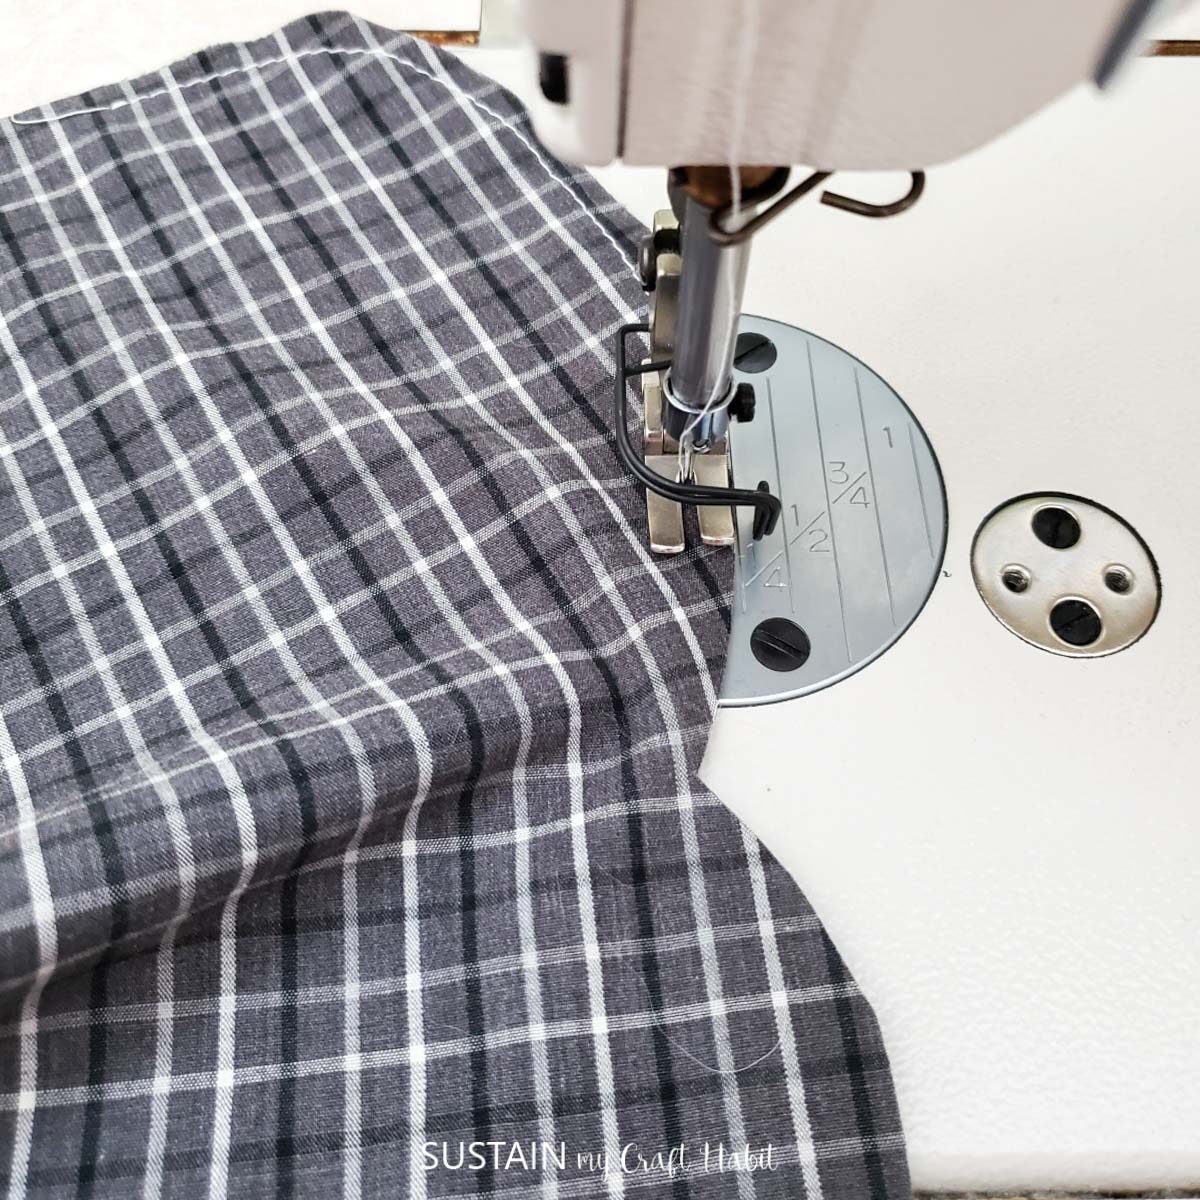
Sewing
Align the pieces and sew the outer edges together with ¼” seam allowance, leaving 3-4” opening at the bottom for stuffing. Backstitch the start and end of the stitch to secure.
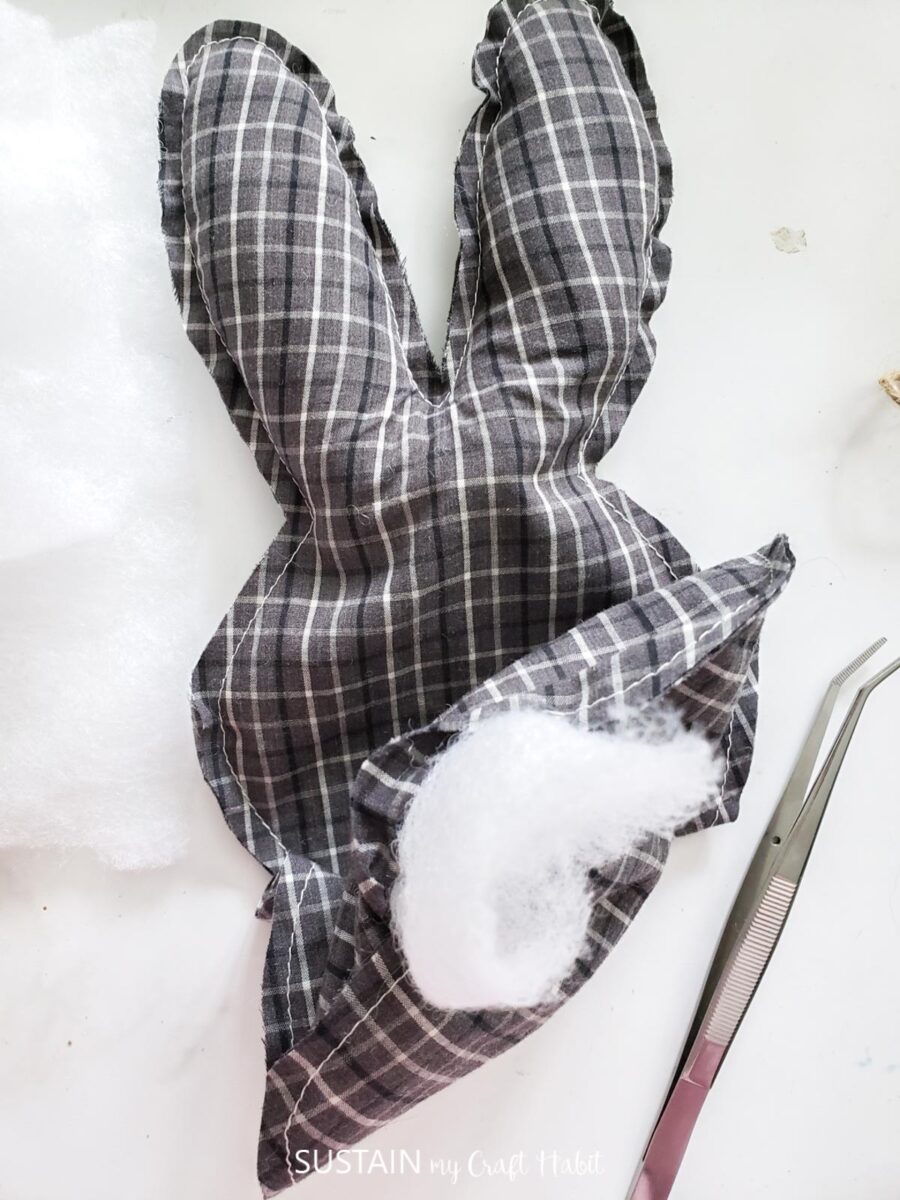
Stuff the badding inside the bunny working a small section at a time. Once satisfied with the amount of filling, sew the opening closed with the sewing machine.

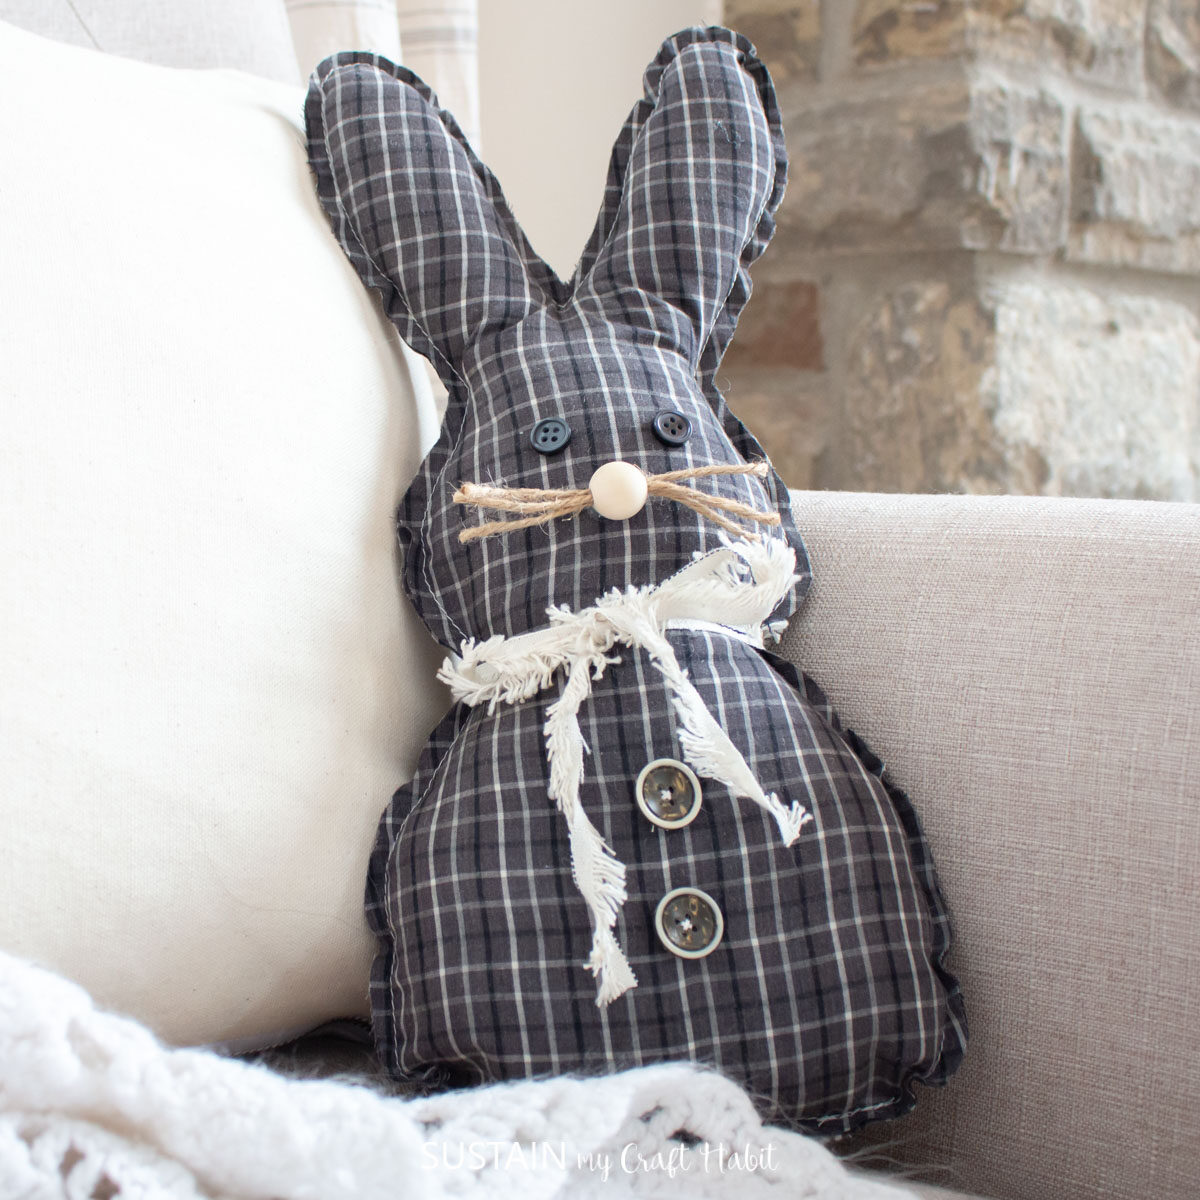
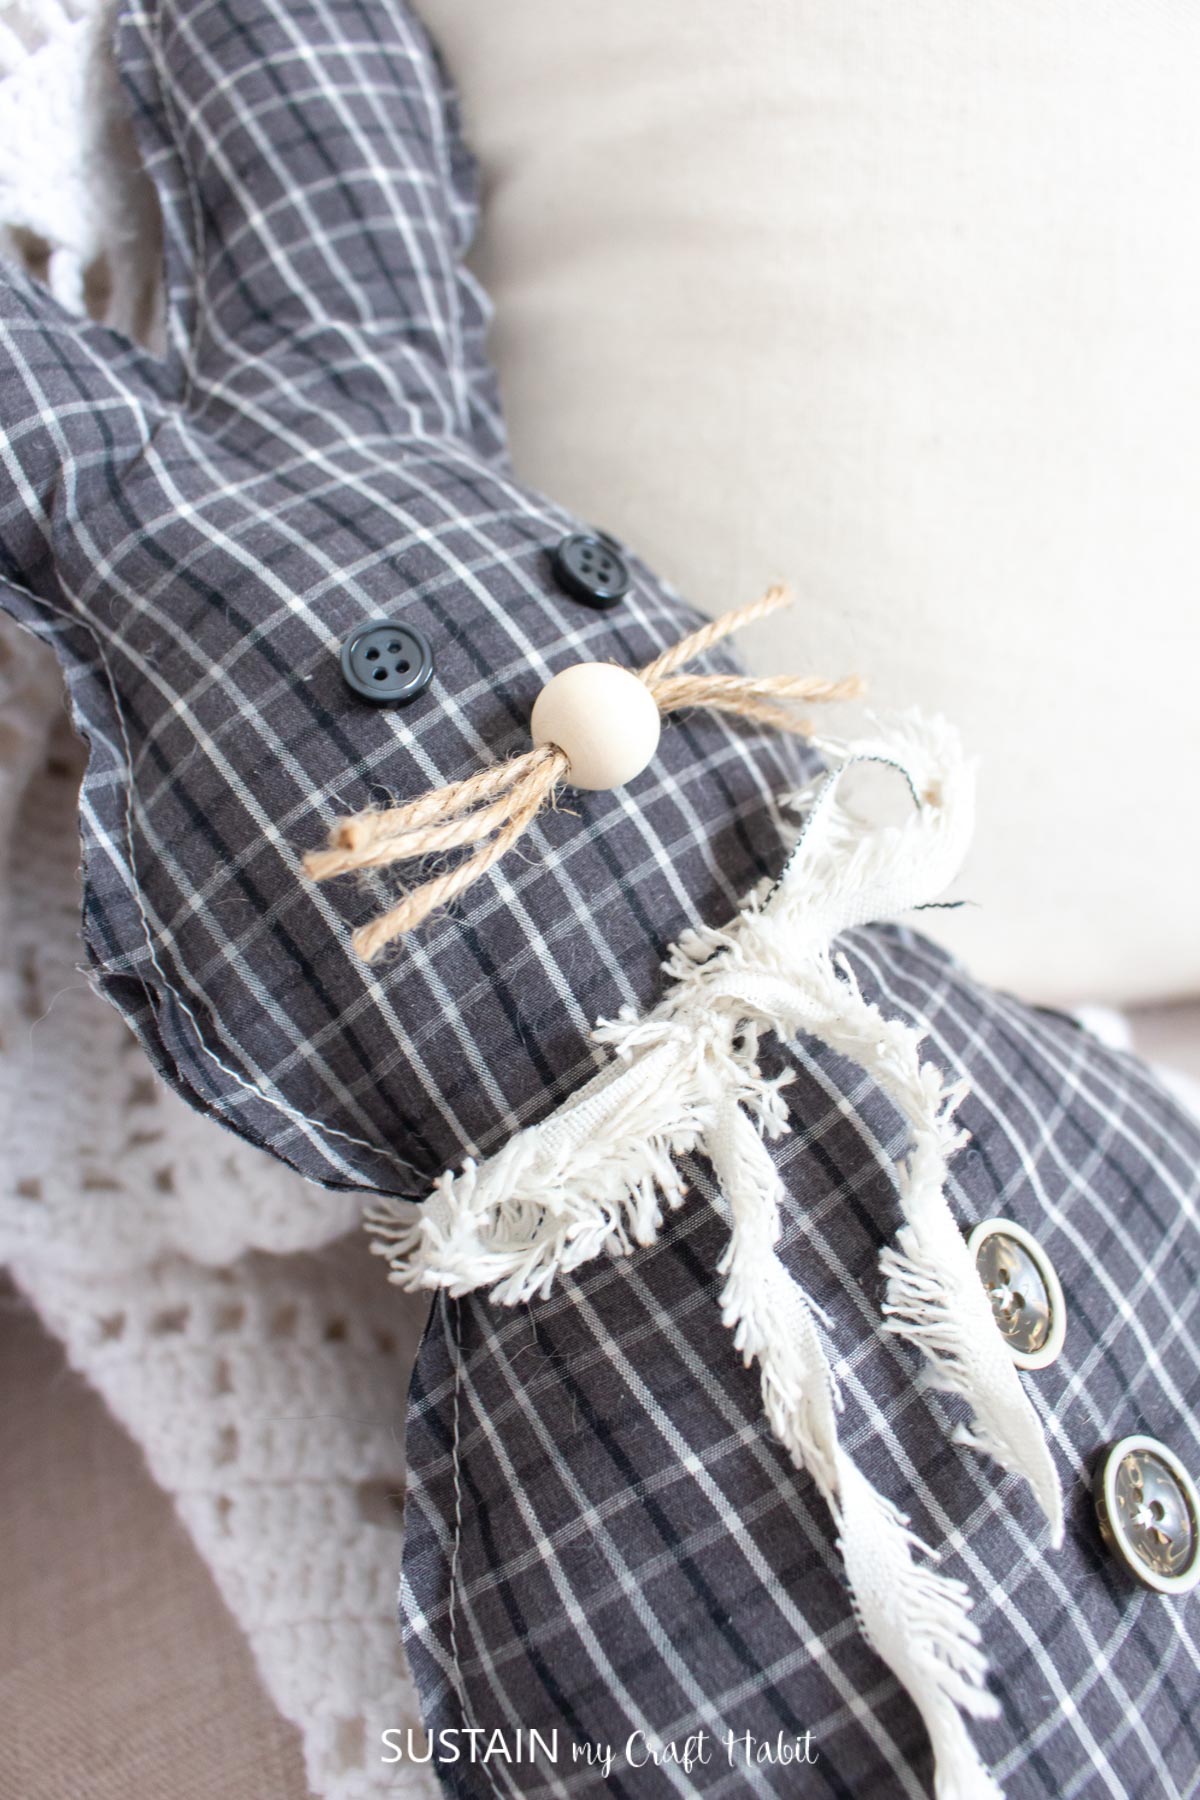
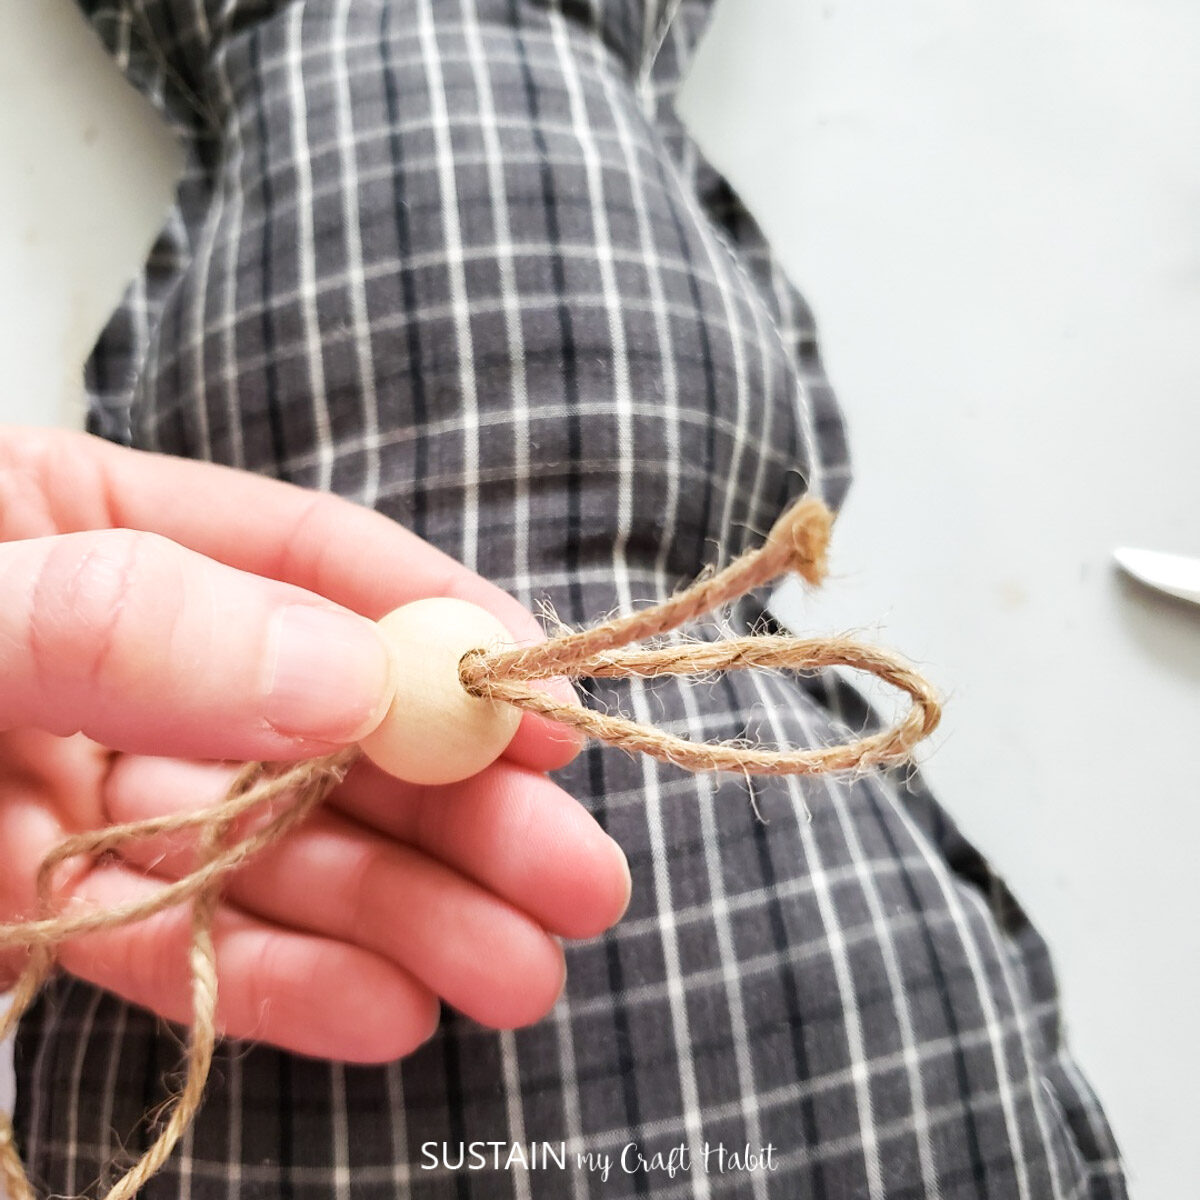
Cut 3 strands of twine approx 3-4” long and insert through the wooden bead. Attach the bead to the head of the bunny for the nose. Glue the twine in place if it’s too loose.
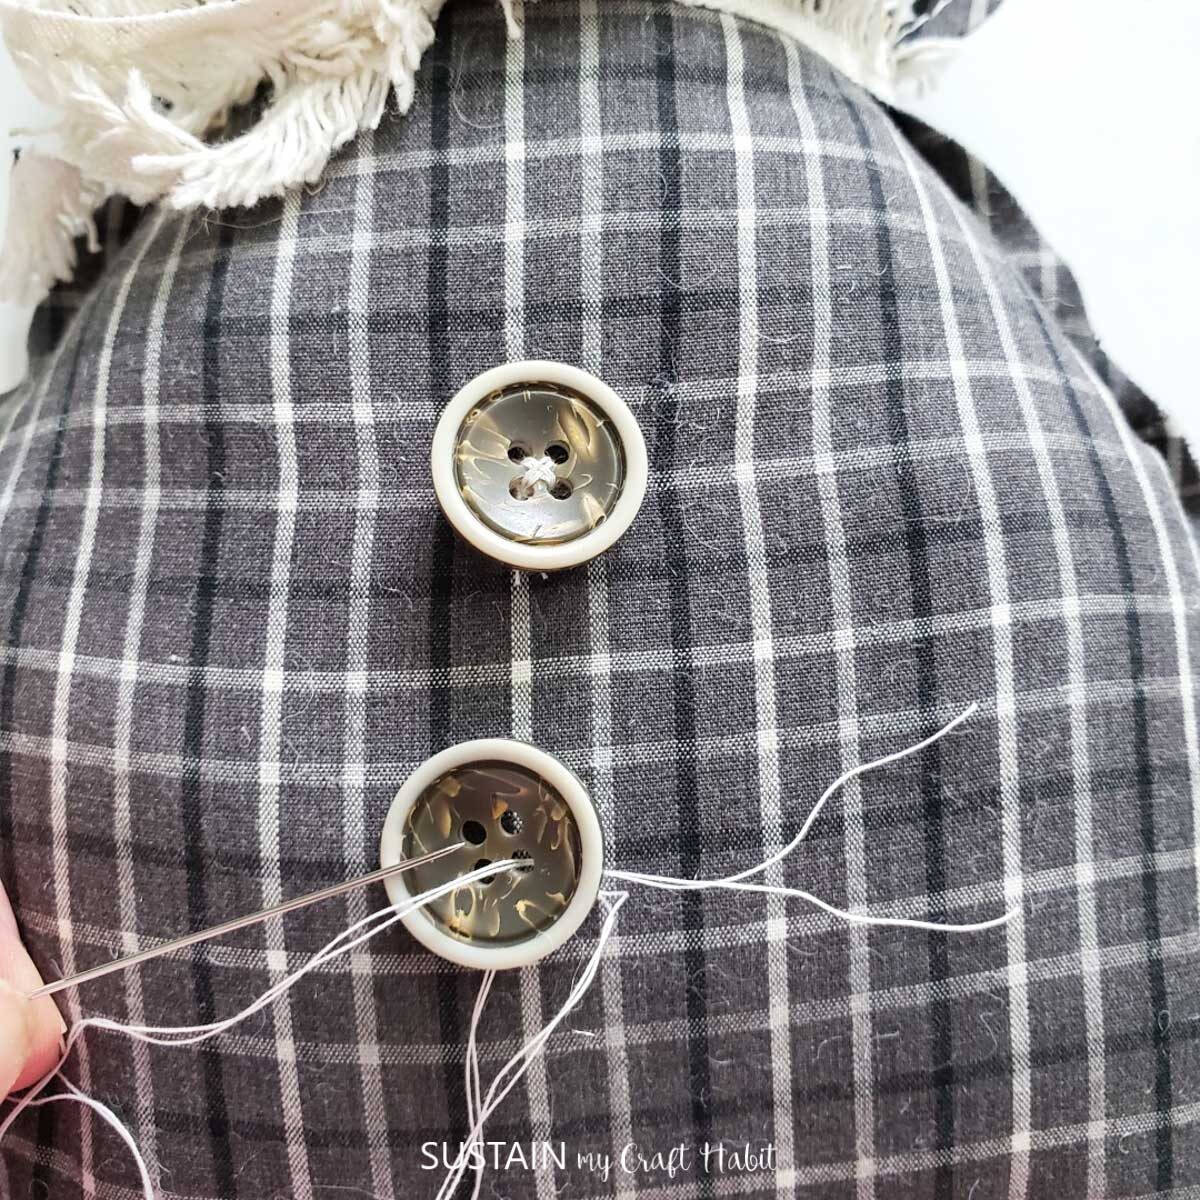
Stitch on the larger buttons on the belly and two of the smaller buttons for the eyes.
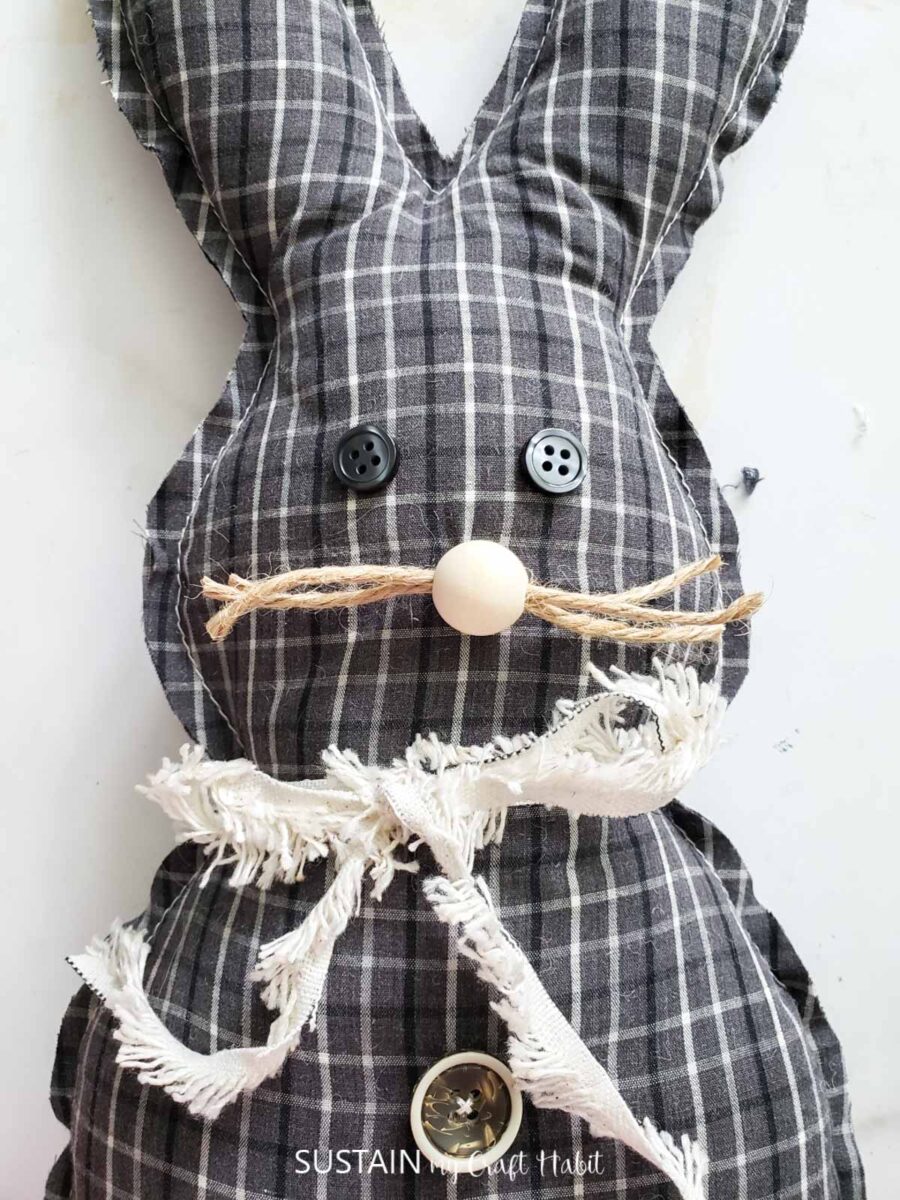
Wrap a piece of ribbon around the neck to finish.
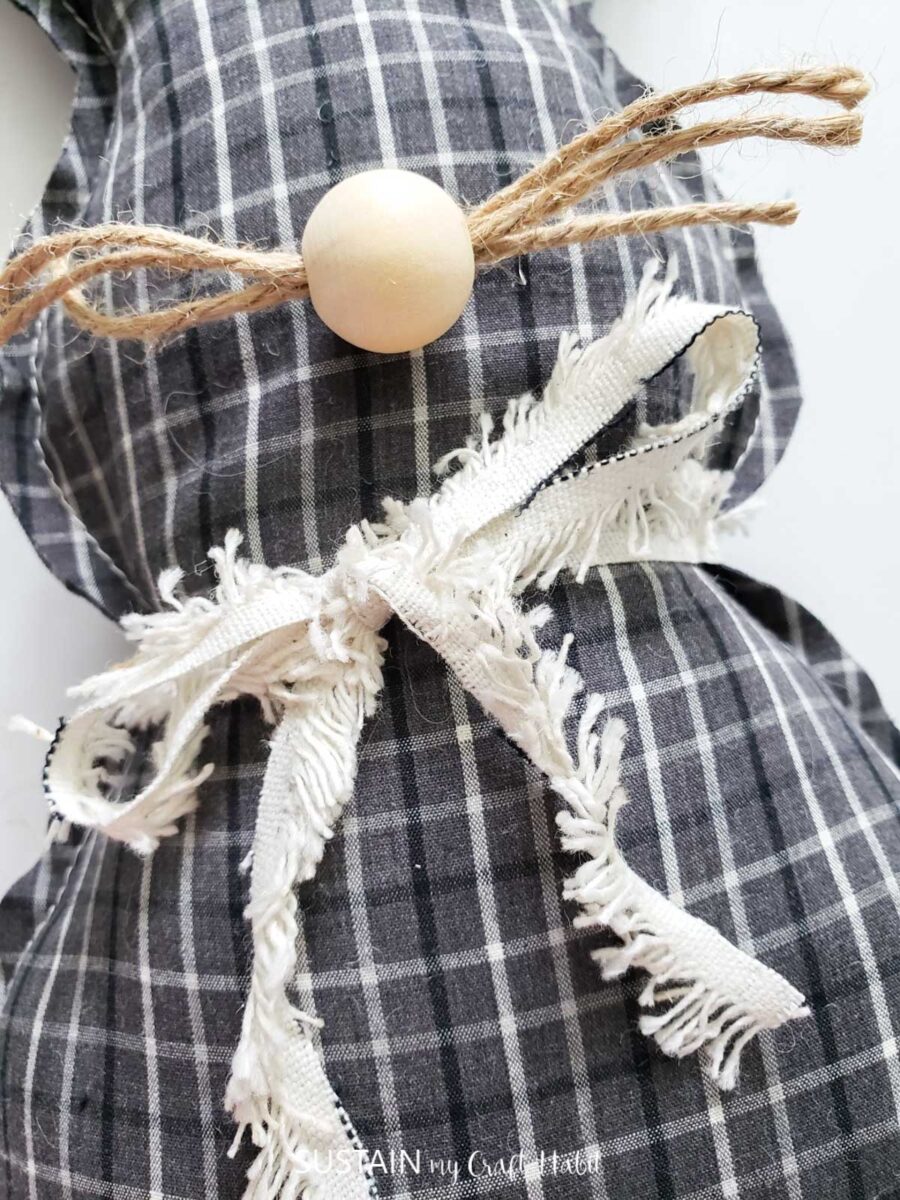
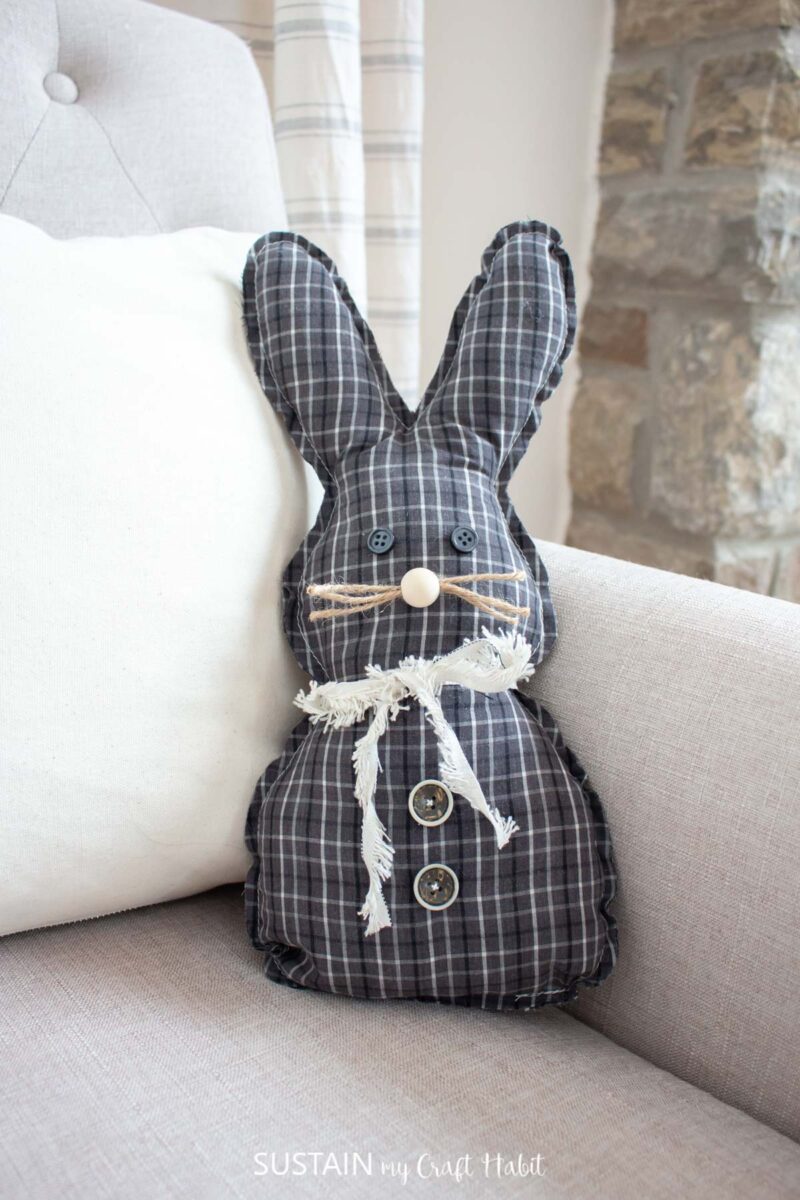
And with that the bunny craft is complete. I love how this little guy turned out. I can just imagine the different looks you can make simply by changing the fabrics, buttons and ribbon.
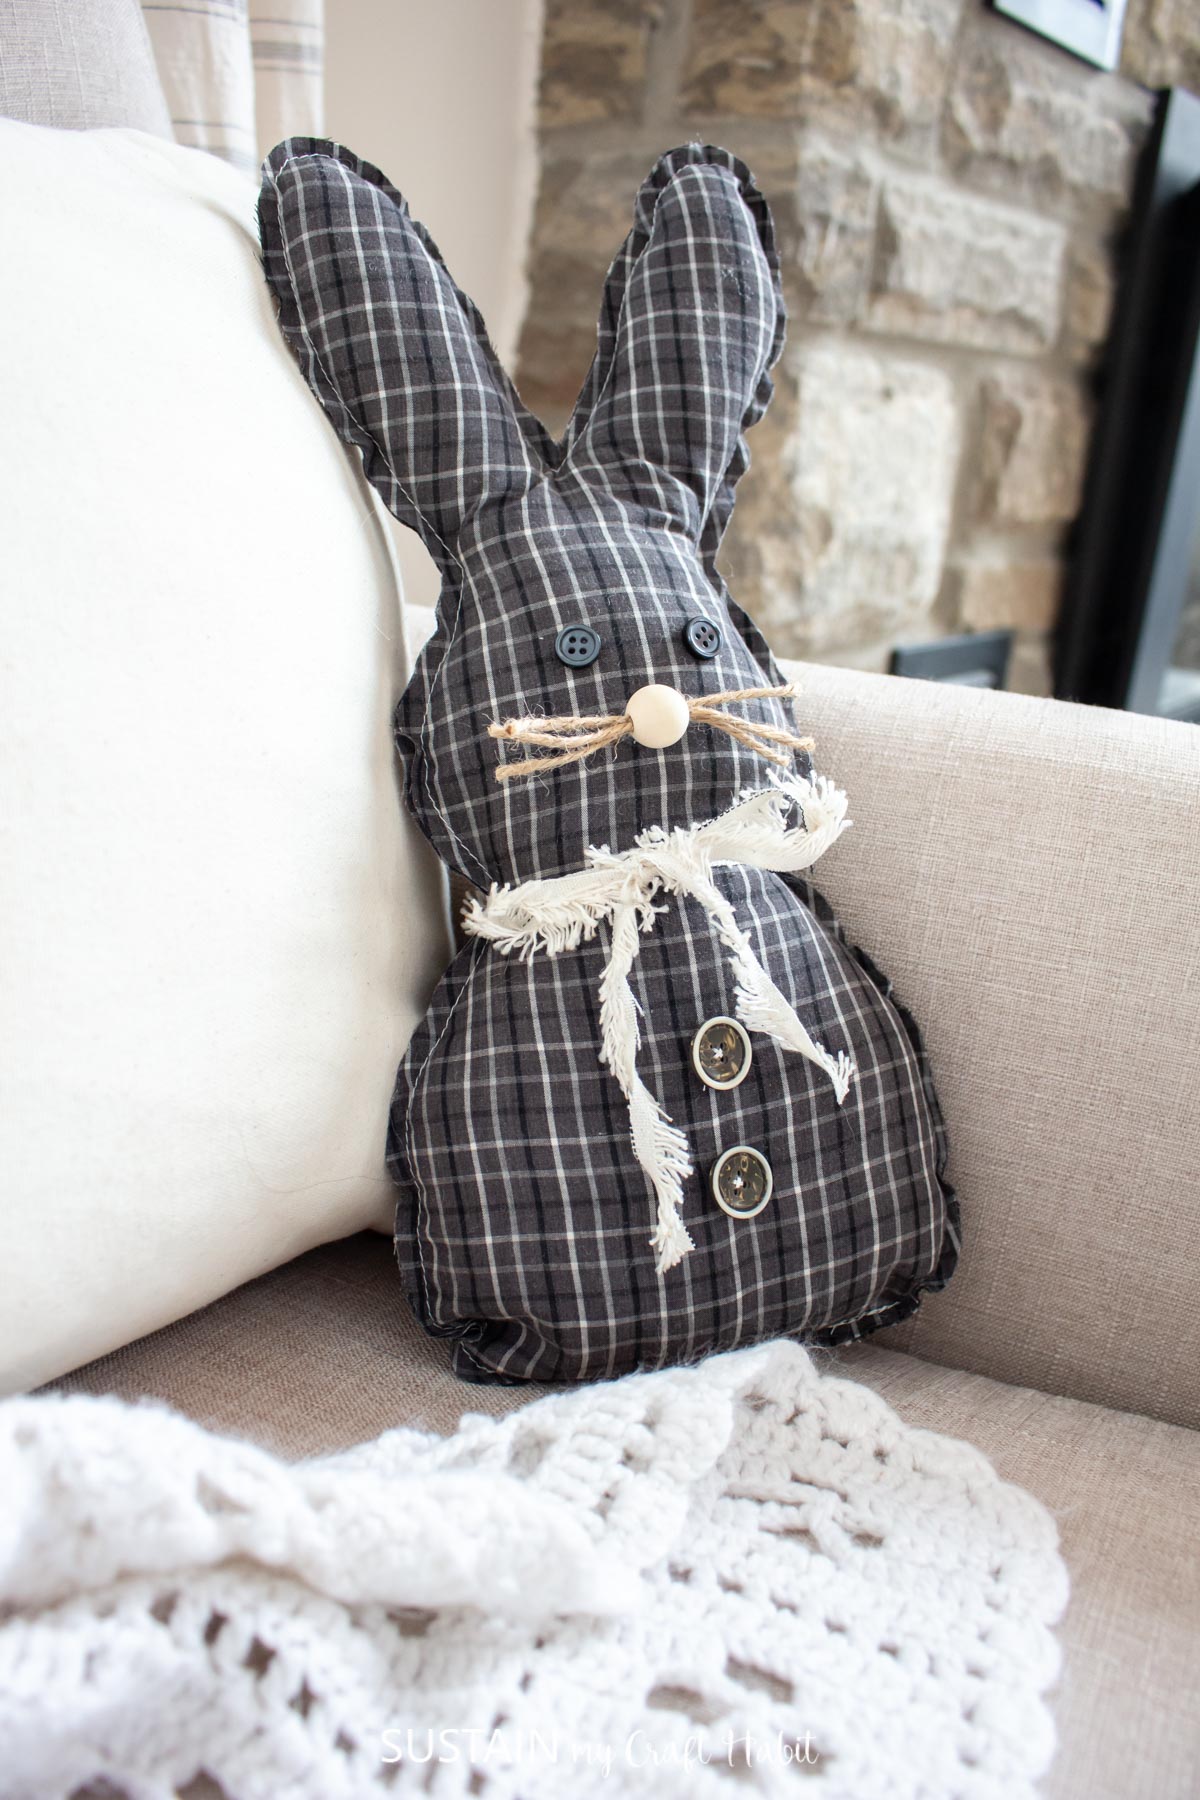
The other wonderful thing with this craft is you can use it as a keepsake bunny by using an old woven plaid shirt from a loved one you have lost. Similar to how we made these keepsake Christmas ornaments with clothing.
More Easter Crafts
We have plenty of other bunny craft ideas here on the blog, check out some of our most favorite DIYS –
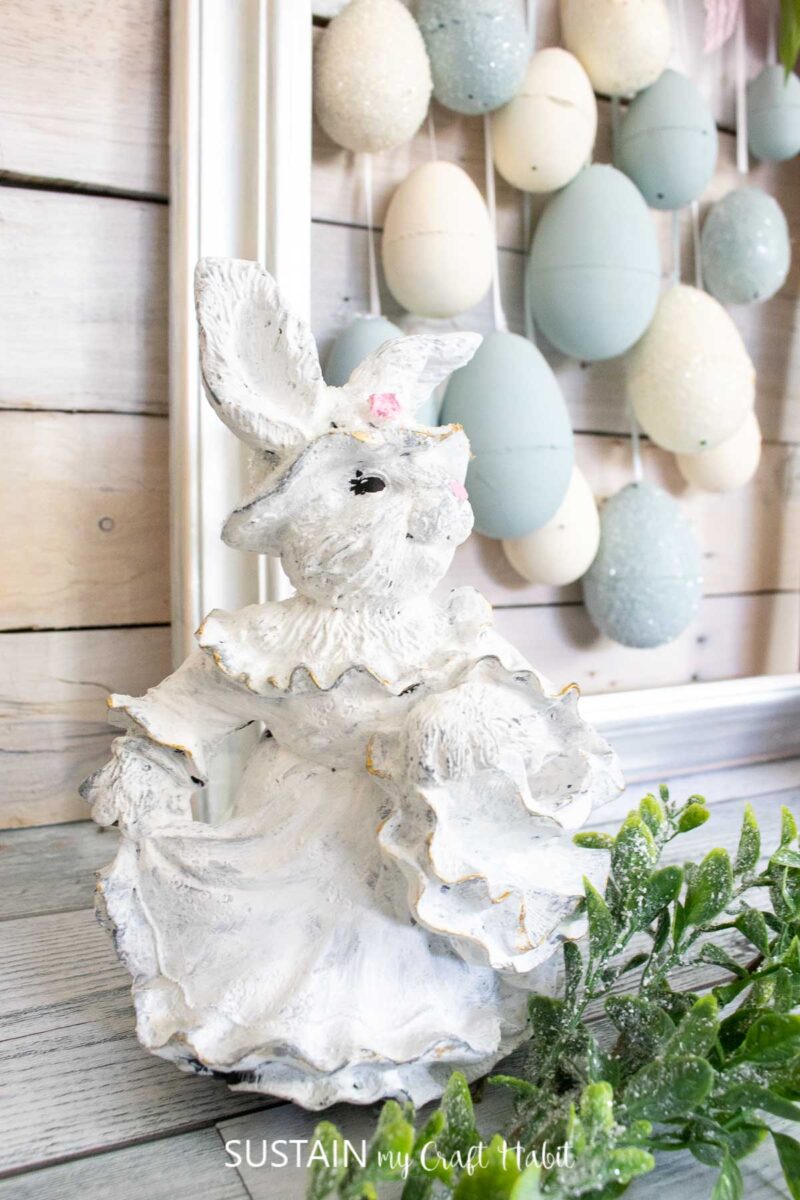
- Painting a Thrift Store Ceramic Figurine for Easter
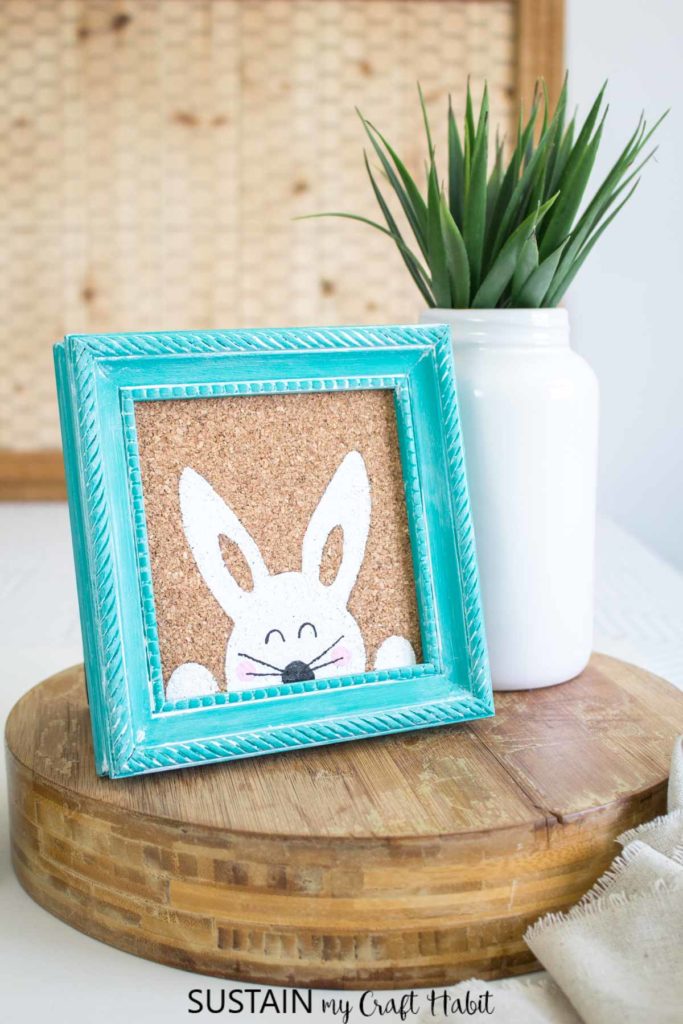
- Framed bunny art
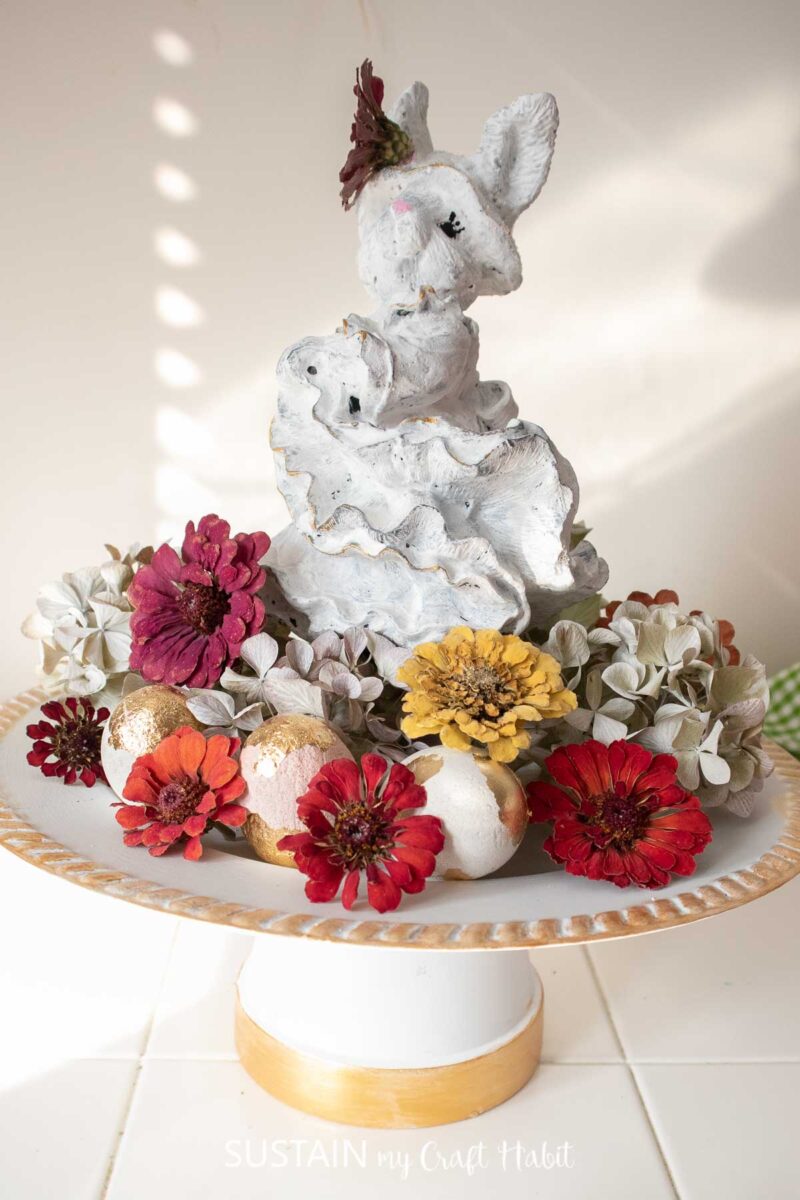
- Easter Table Raised Centerpiece Idea
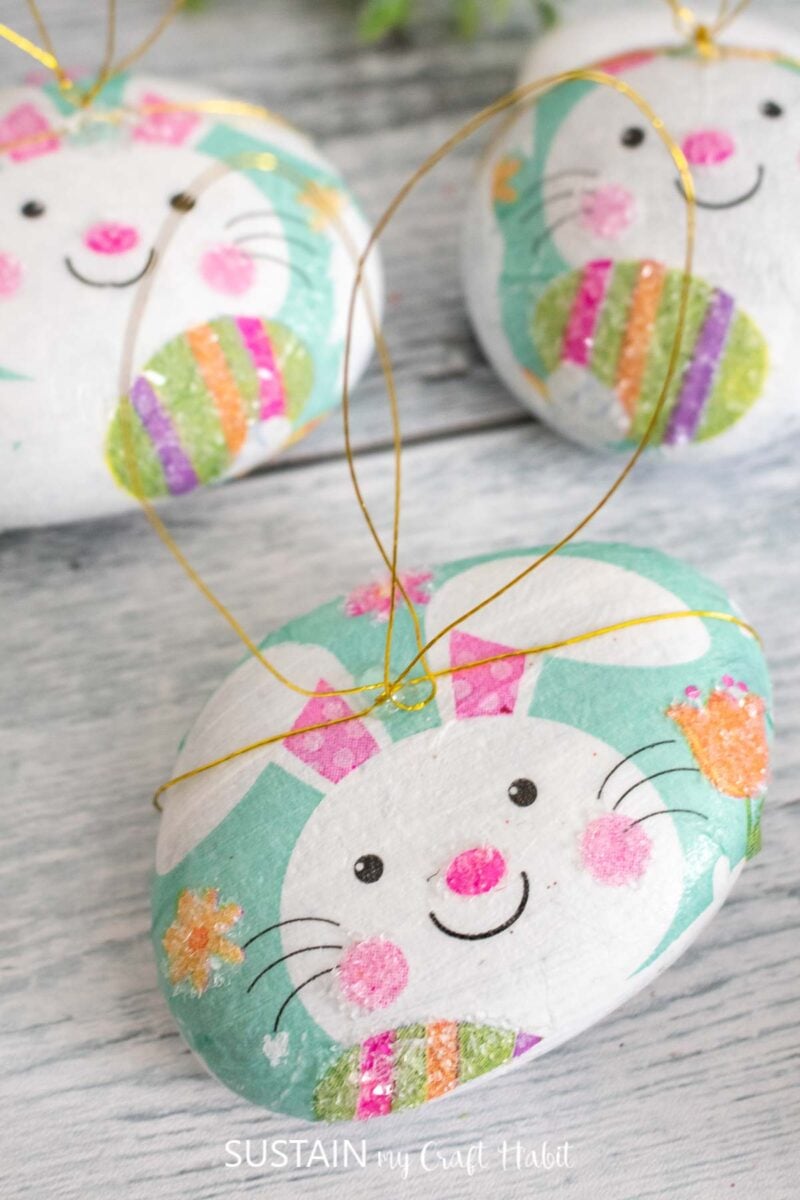
- Decoupage Rocks with Bunny Napkins
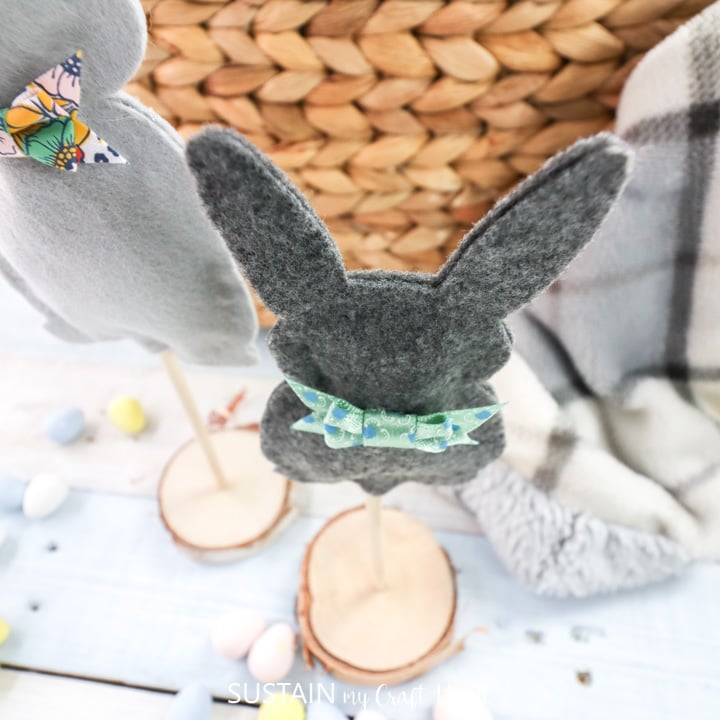
- Felt bunny decor
Thankyou so much for stopping by to visit us here on the blog. Let us know how your bunny craft turned out in the comments below and make sure to show it off to us! Tag us on Facebook or Instagram – we can’t wait to see it!
Stay in the know on our latest crafts, special offers and freebies by joining our mailing list.
Like it? Pin it for later!

Have I missed the pattern somewhere here on this Pinterest Sue?