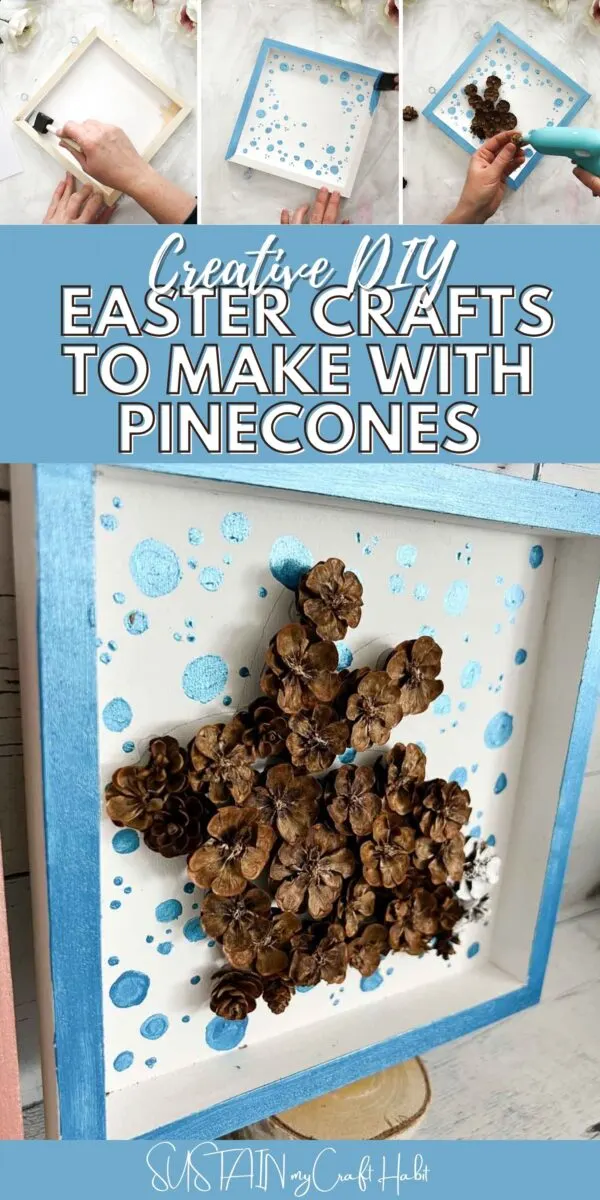
Want the ultimate DIY Easter craft but struggling to choose between the plethora of Pinterest images? Try one that is not only fun but a great nature project!
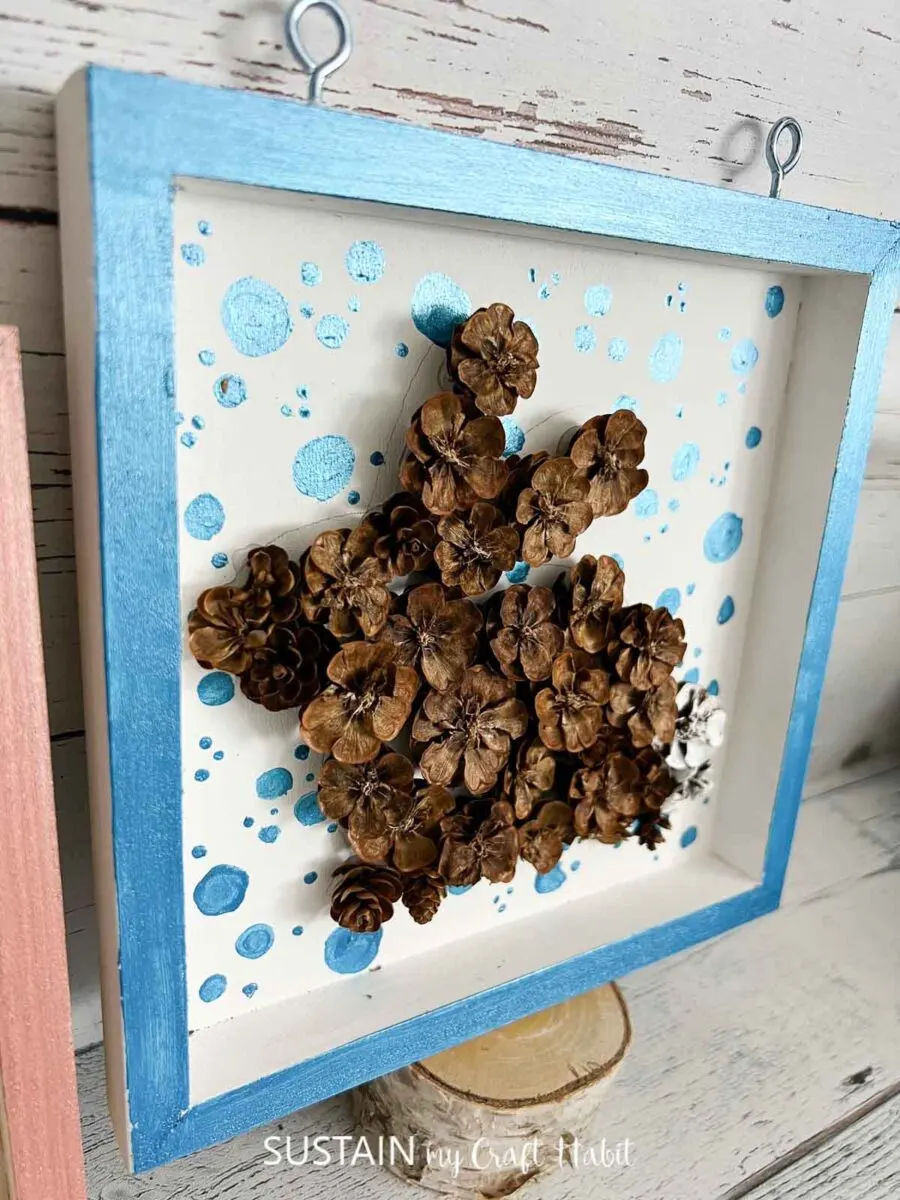
A DIY Easter Craft That is Sure to Impress!
Anyone else here love the light pastel colors?
I love when crafts have pastel-like colors because they are both light and bright at the same time. They add color to whatever you are creating without it being overwhelming. That is exactly what these colors do in this DIY Easter craft.
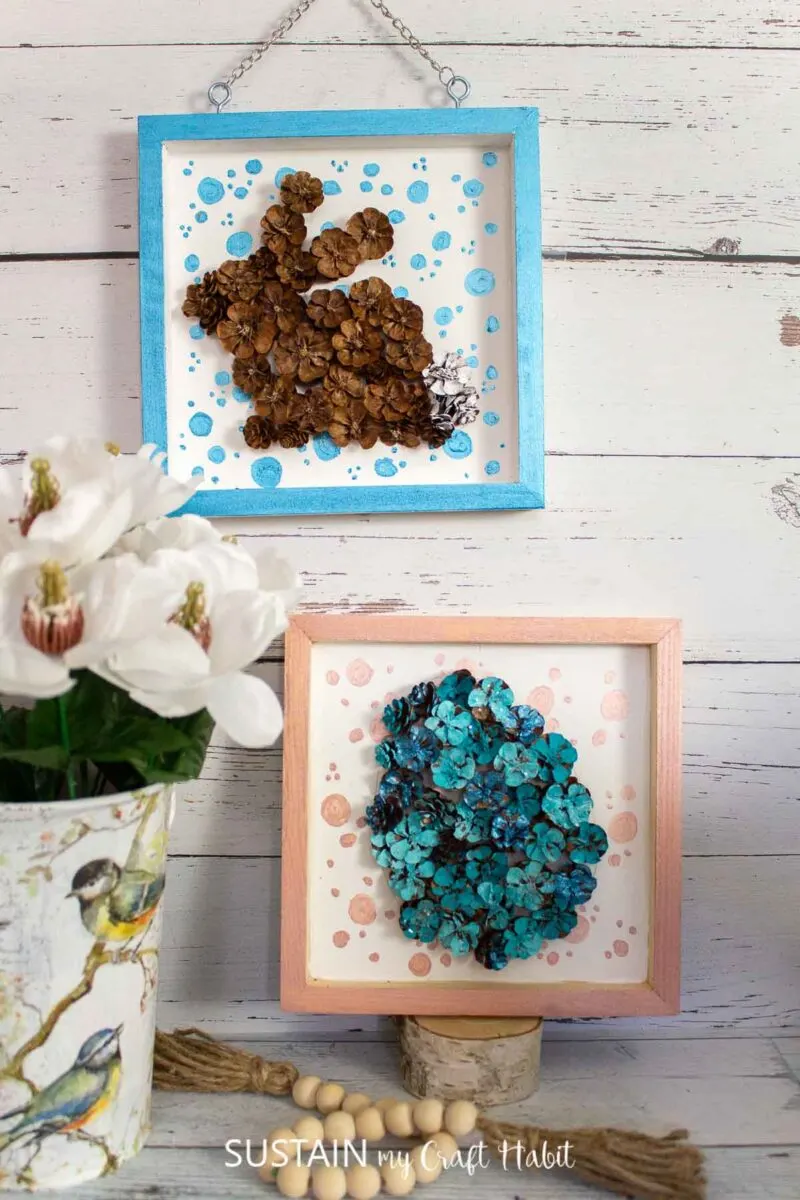
We chose pinecones for this craft because it is a great way to upcycle, or create something new from what is already in the world! Why add more to the world when we can reuse and help the environment? This craft is a great example of that. Simply by painting pinecones we create something brand new, just in time for Easter.
Join our crafting community to find more nature-inspired DIYs and upcycled craft ideas. It feels good to repurpose, upcycle and create with nature!
Materials Needed
Disclosure: This post contains affiliate links for your shopping convenience. Should you choose to purchase through them, we will make a small commission at no extra cost to you. You can read our full disclosure here.
- 8″x8″ wood panels
- pine cone florets
- white acrylic (or chalky) paint
- paint (in any color of your choosing) but we used metallic blues and coppers for these crafts
- paint brushes (in assorted sizes)
- hot glue gun
How-To Create This Upcycled DIY Easter Craft
I shared the tutorial for this upcycled treasure box craft on a recent Facebook Live which you can catch here. All of the step-by-step instructions can be found in the video. If you prefer step-by-step picture instructions, see them below.
Start by painting the surface of the wood panel in white.
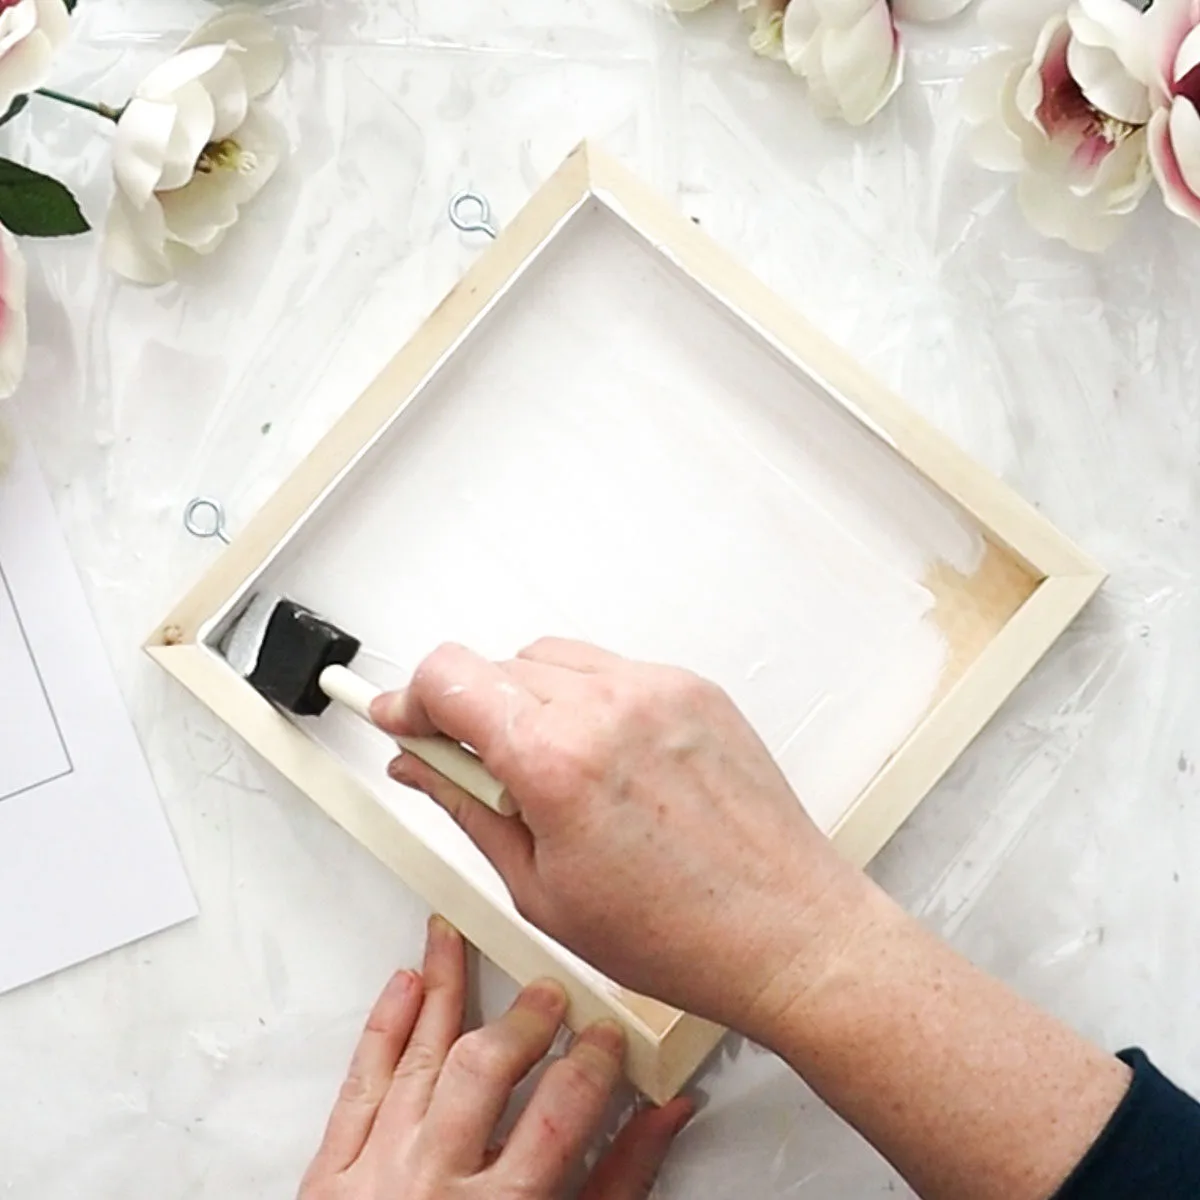
Use a template of your choose or draw a basic template directly on to the panel as a guide for placing the pinecone florets.
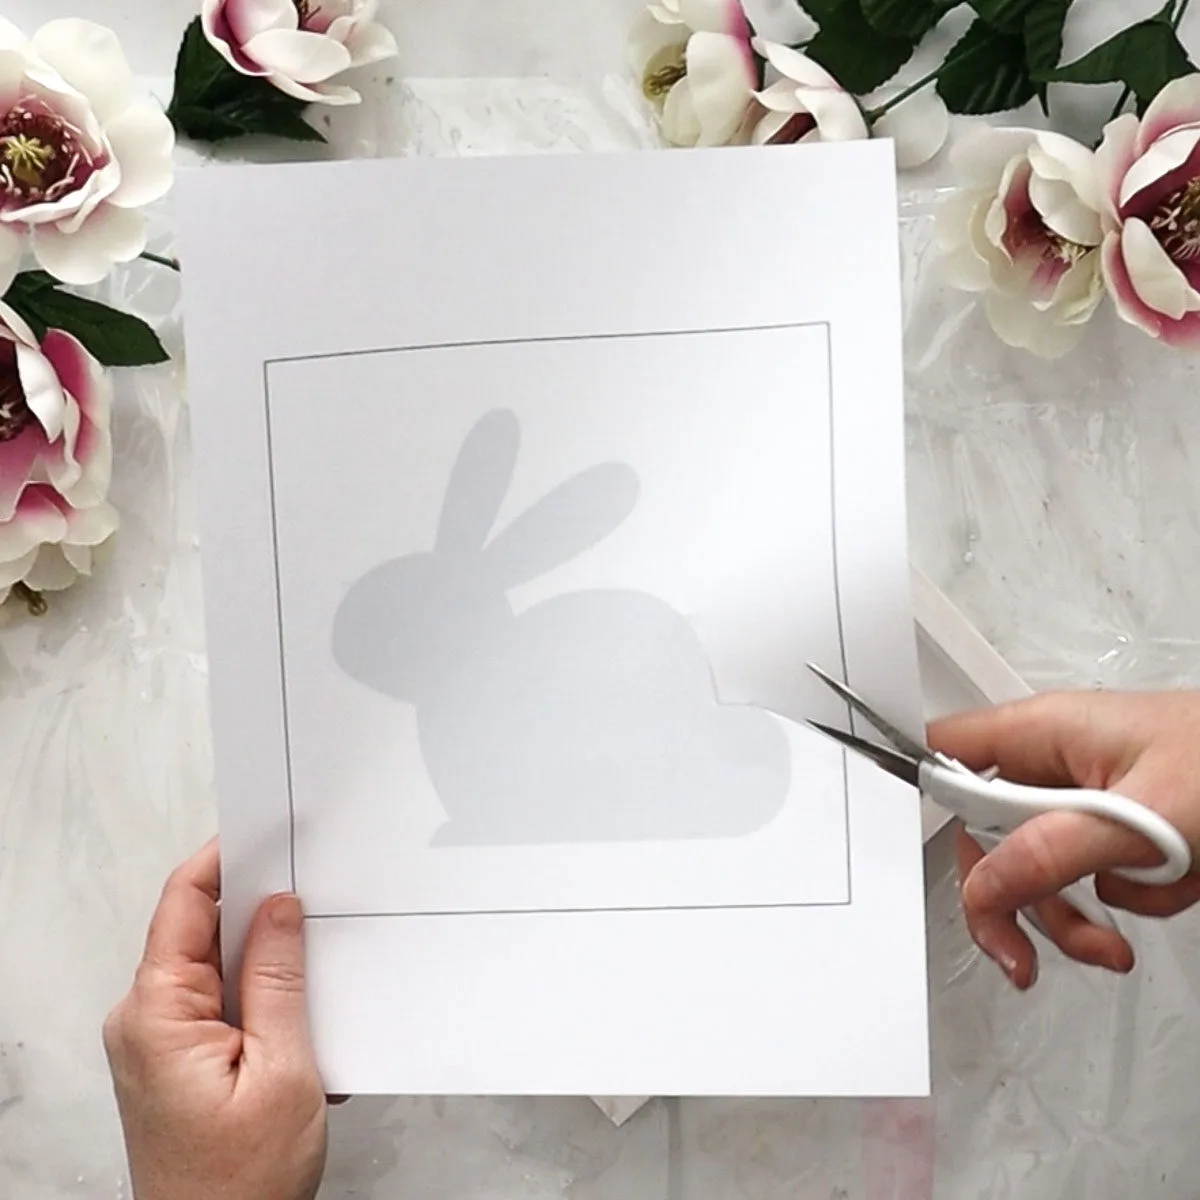
If using a printed template, simply cut out and trace lightly on to the panel in pencil.
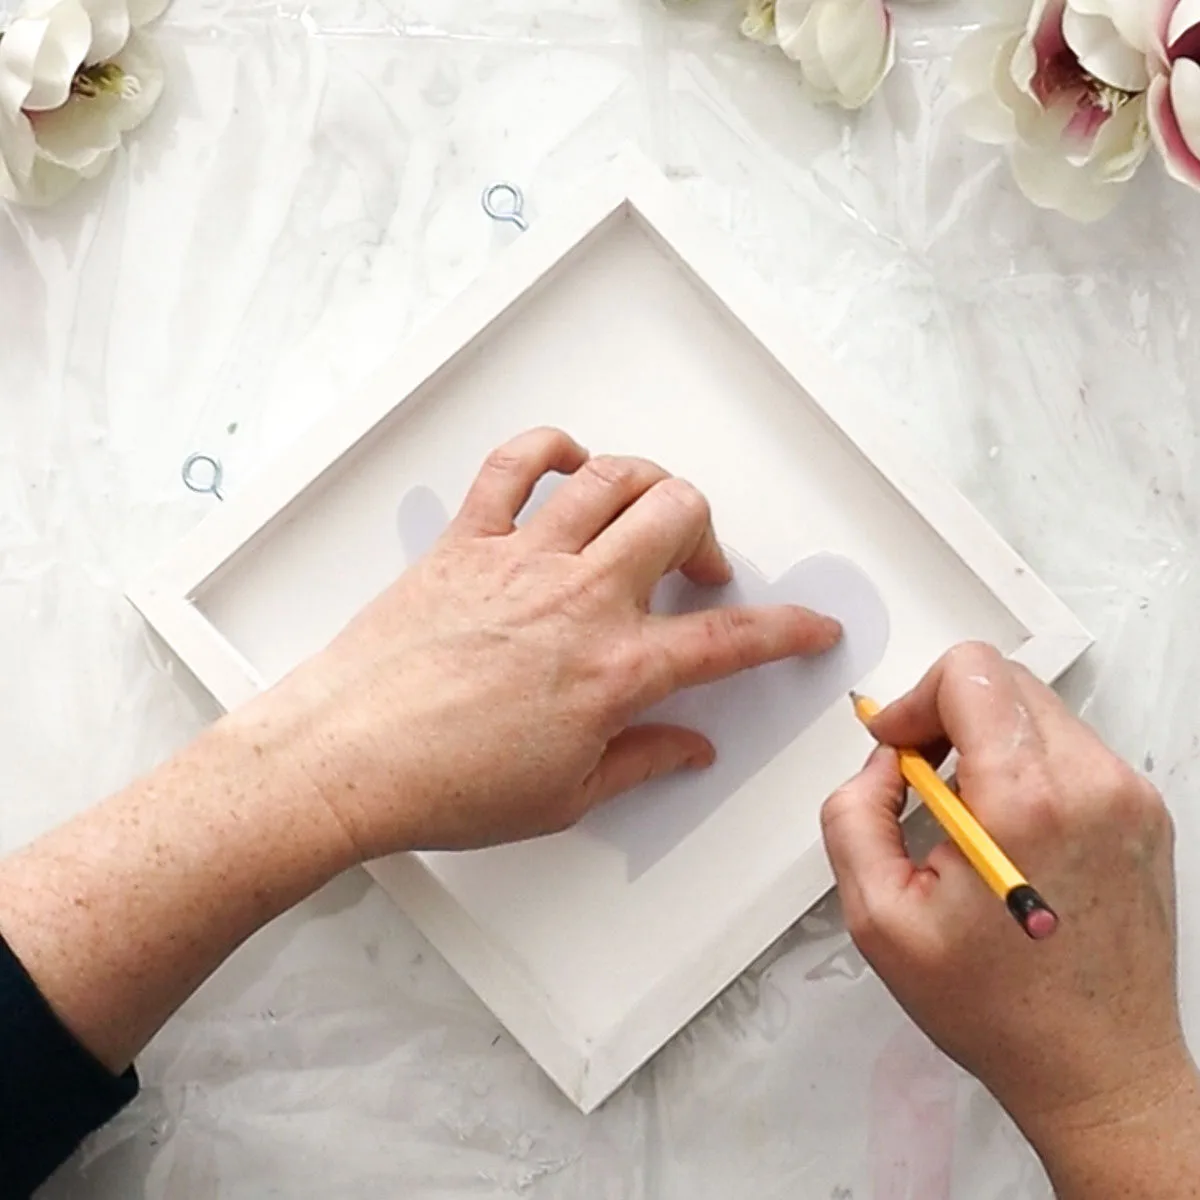
Next, dab various sized dots on the panel surrounding the “template” area. Add as many or as few as you like!
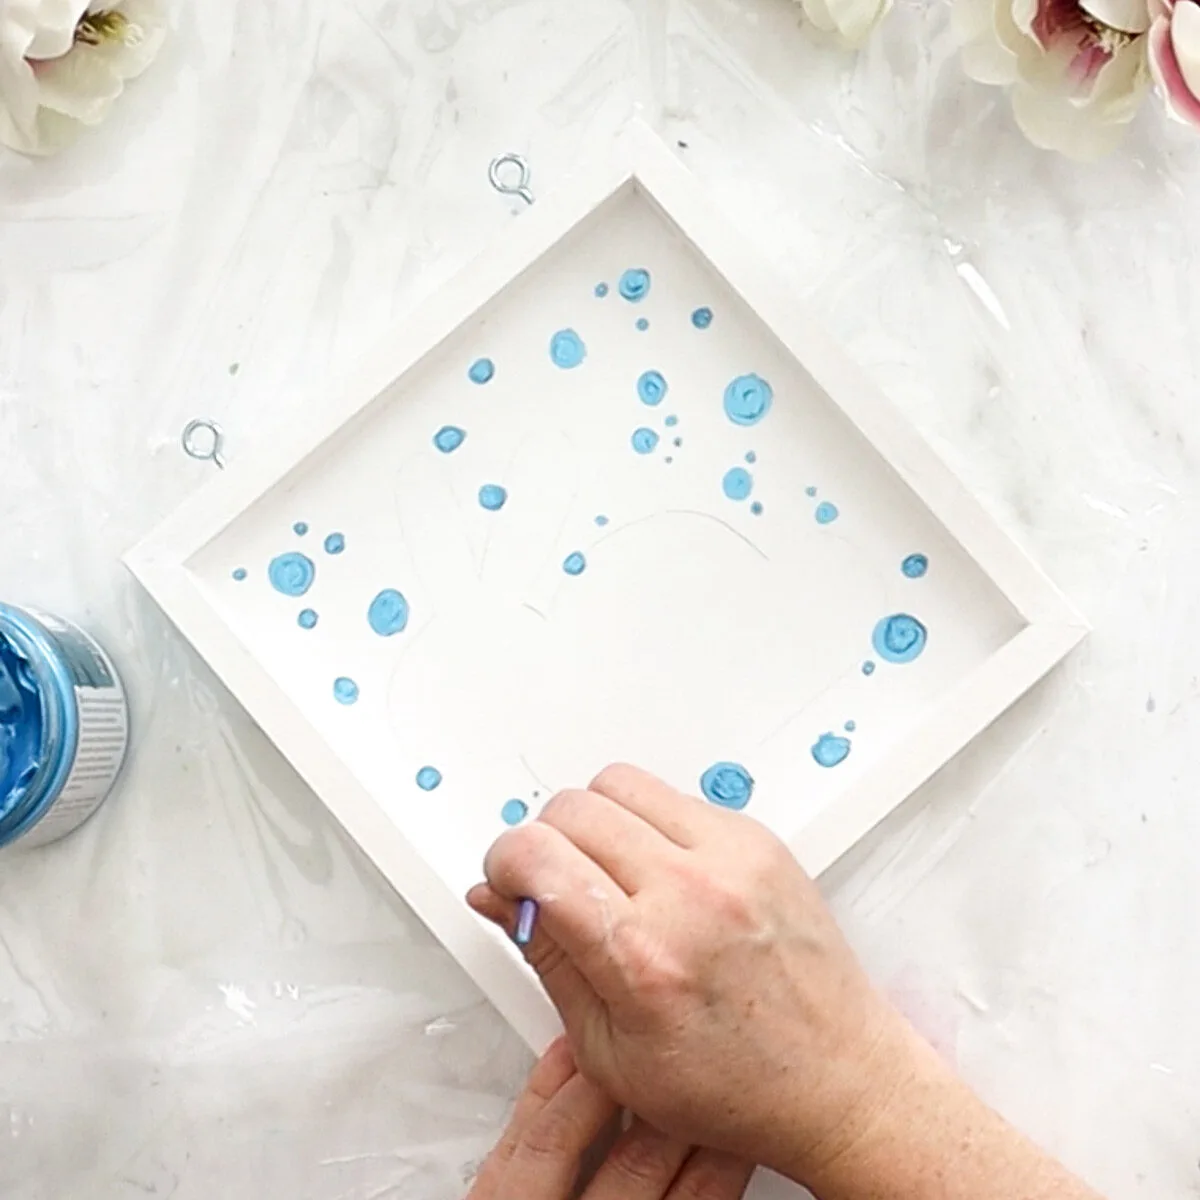
Then paint the frame in the same color as the dots.
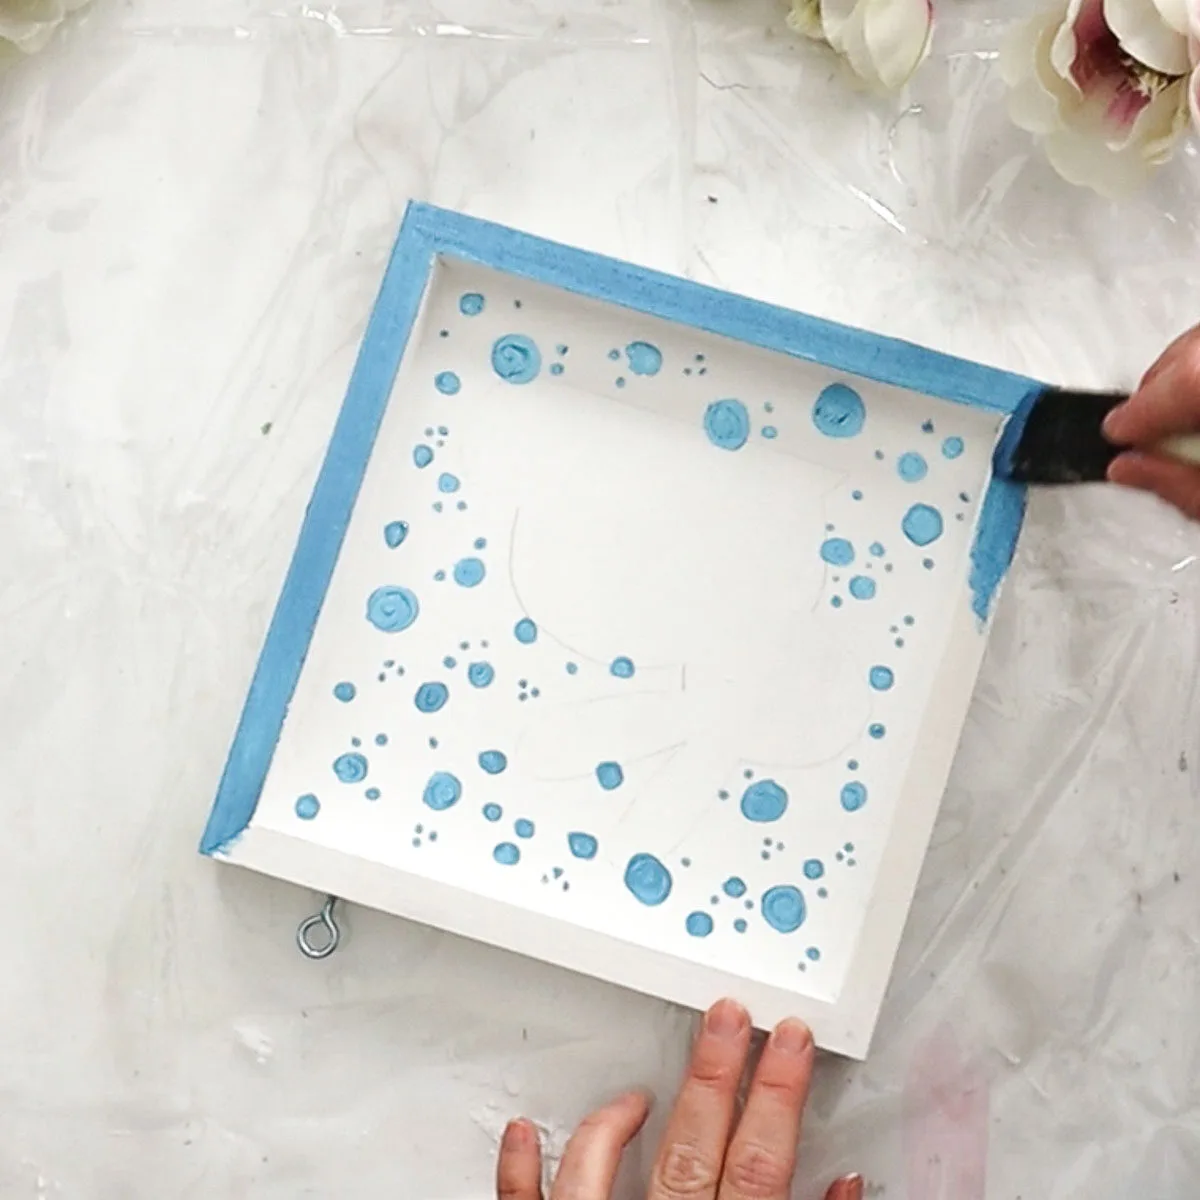
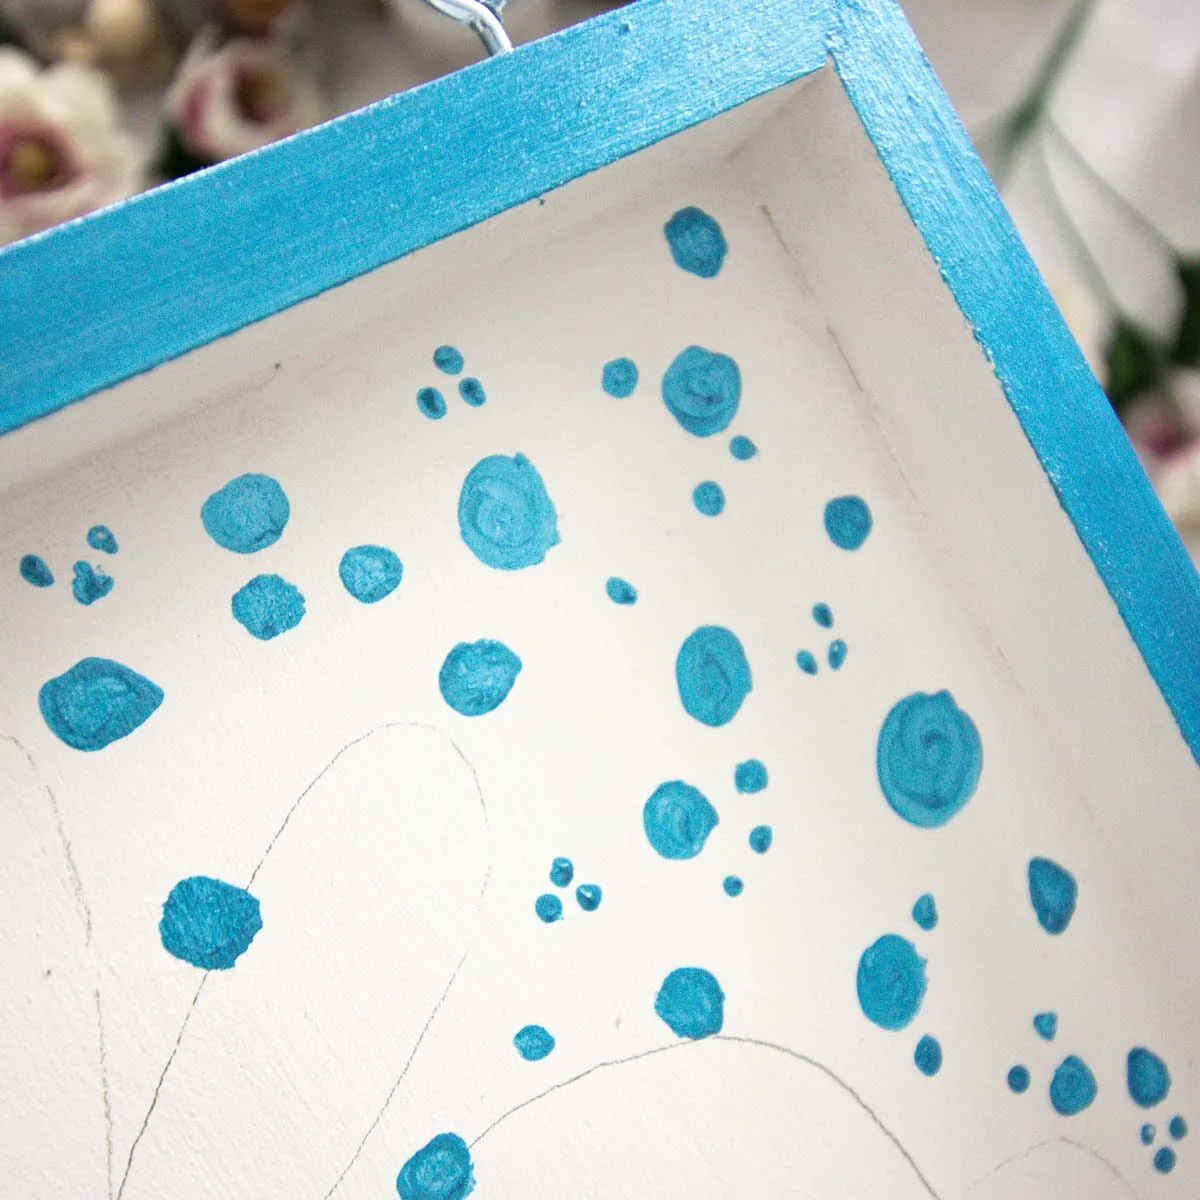
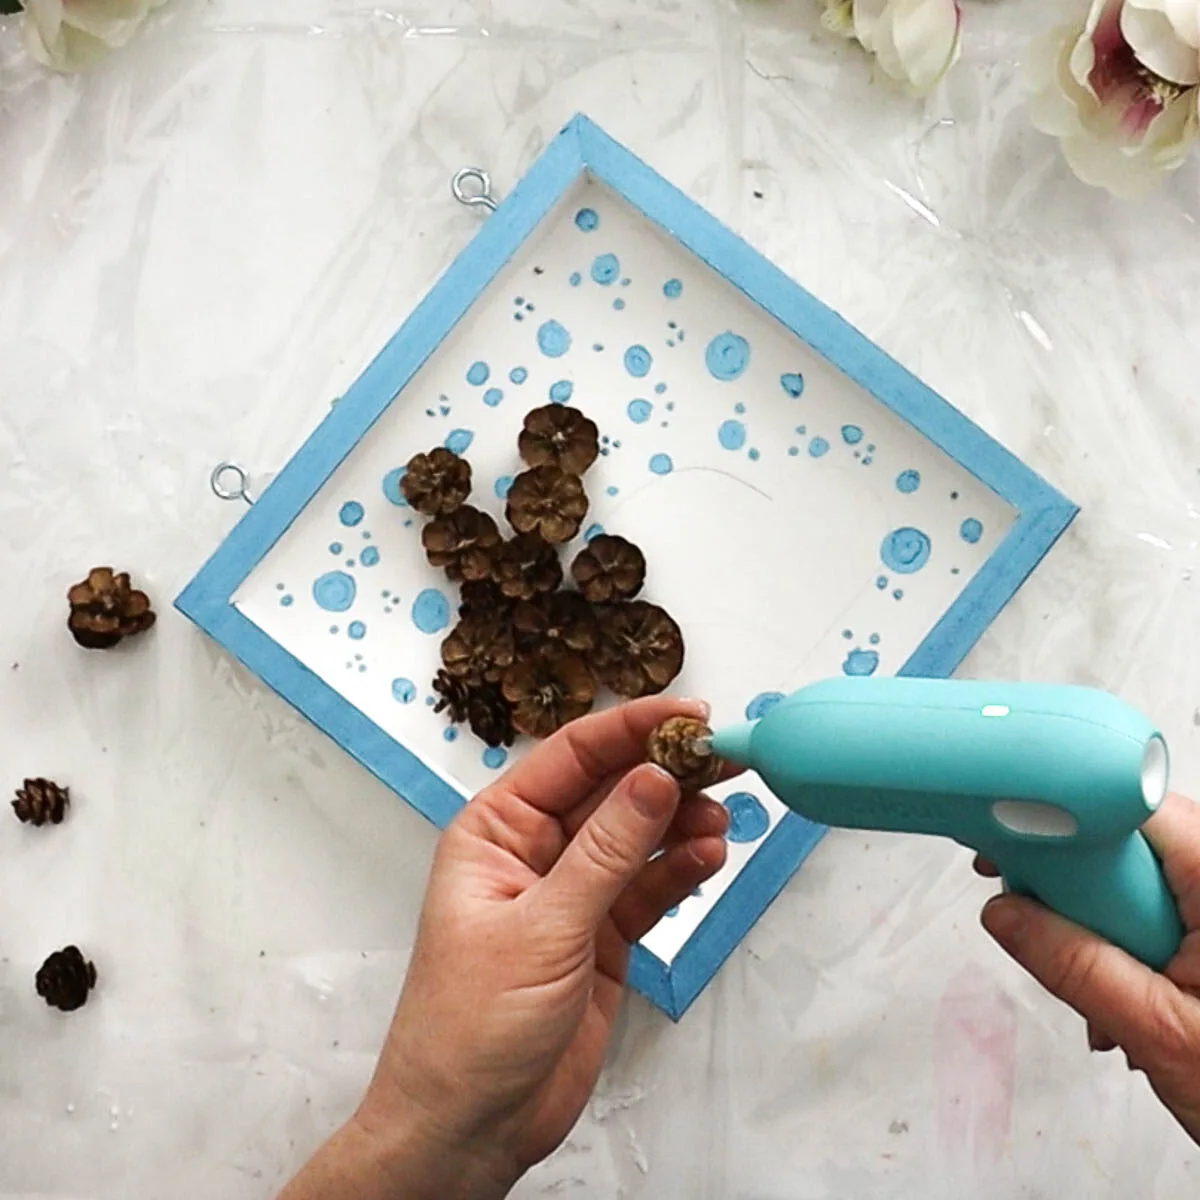
Now that the base is prepared, begin placing the pinecone florets on to the panel with hot glue using the template as a guide.
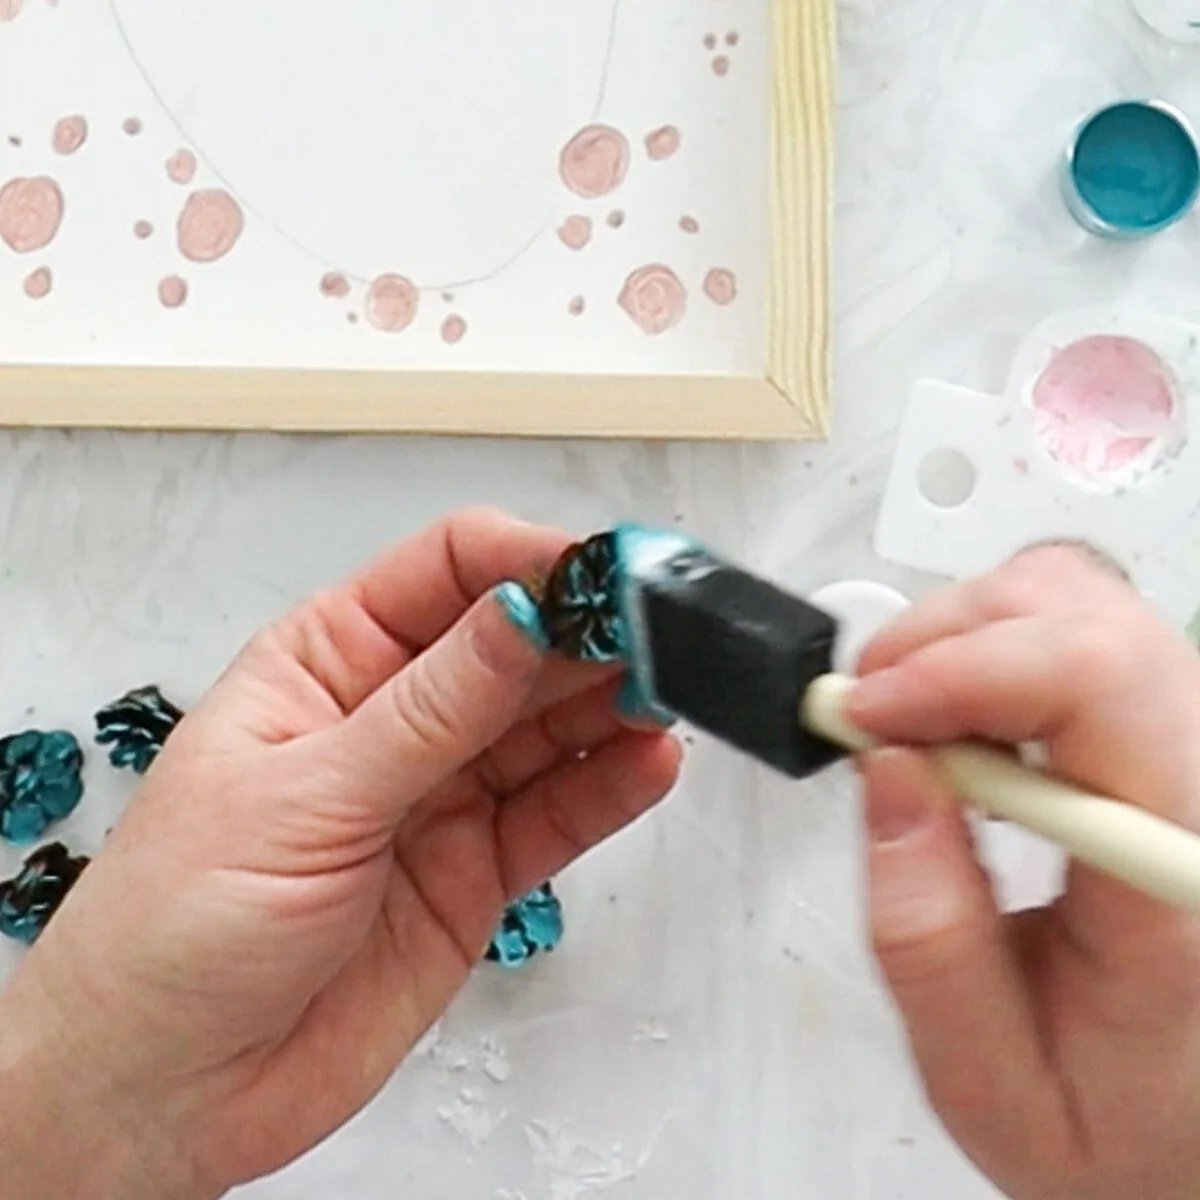
As an alternative, you can also paint the pine cone florets before glueing them on to the panel.
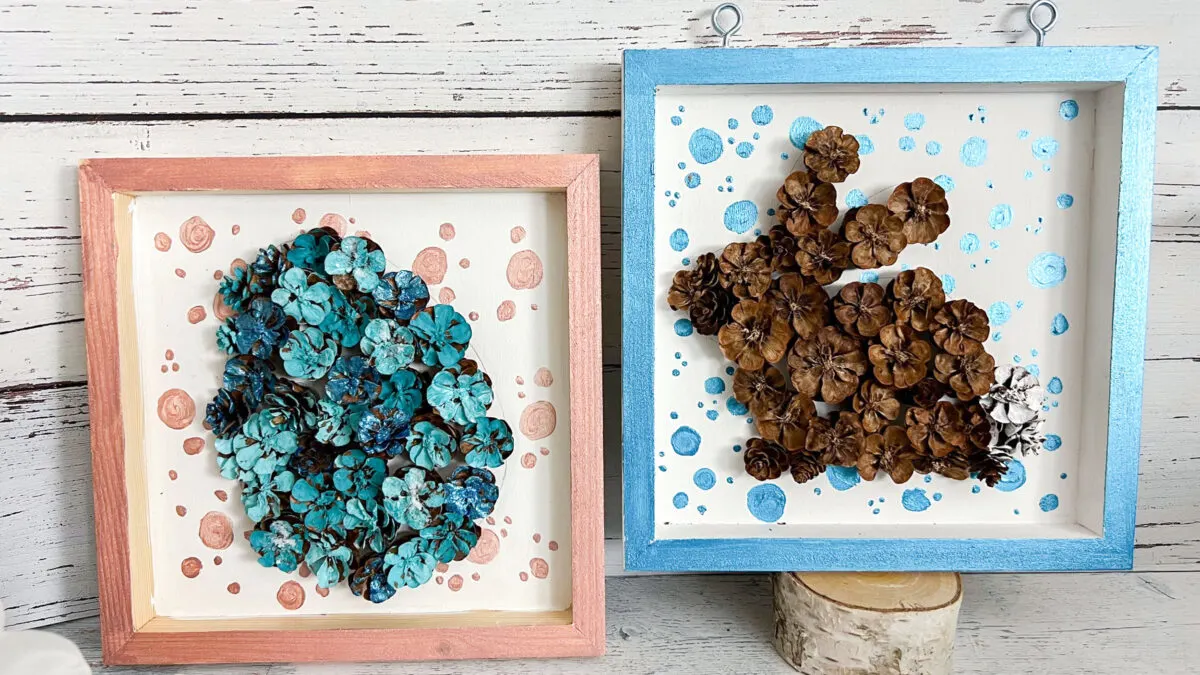
There you have it- two different great DIY Easter crafts! Which one did you end up going with? Or both?
More DIY Easter Crafts to Make!
If you’re looking for more Easter craft ideas, we have plenty to share here on the blog! Here are just a few to check out.
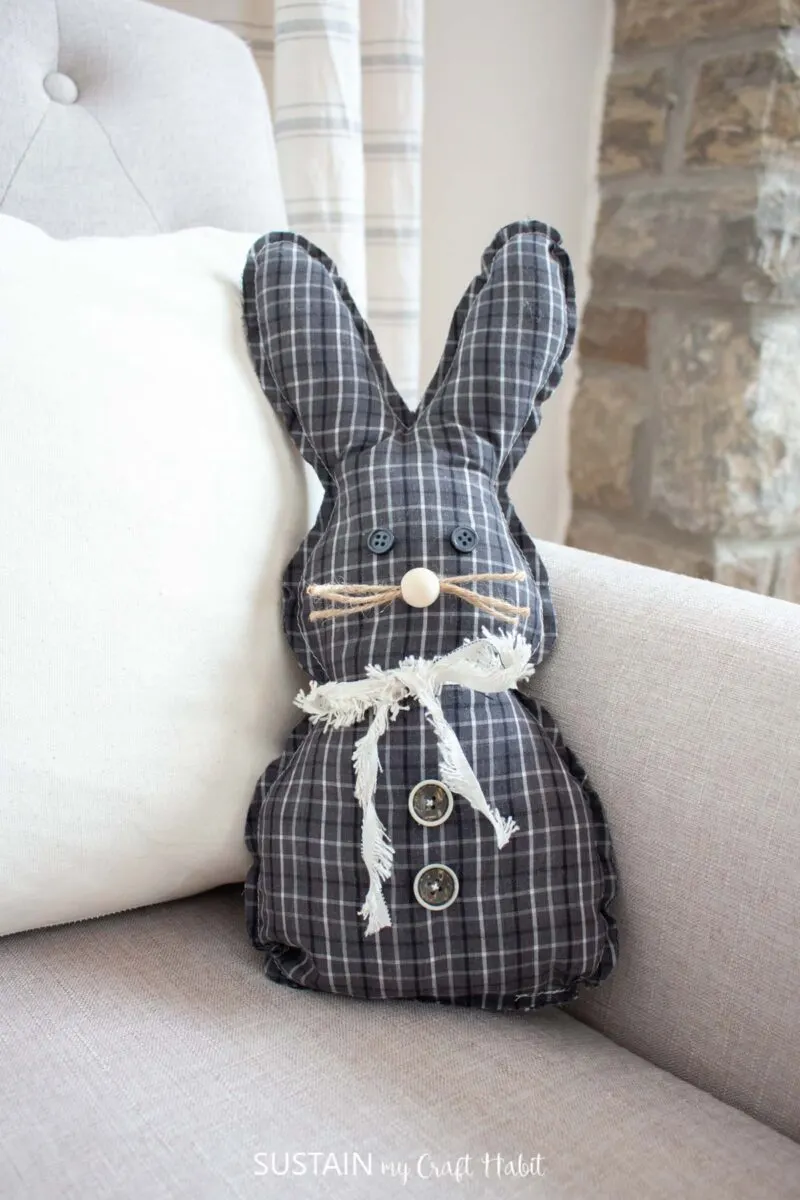
- Memory bunny stuffie from upcycled clothes with free pattern
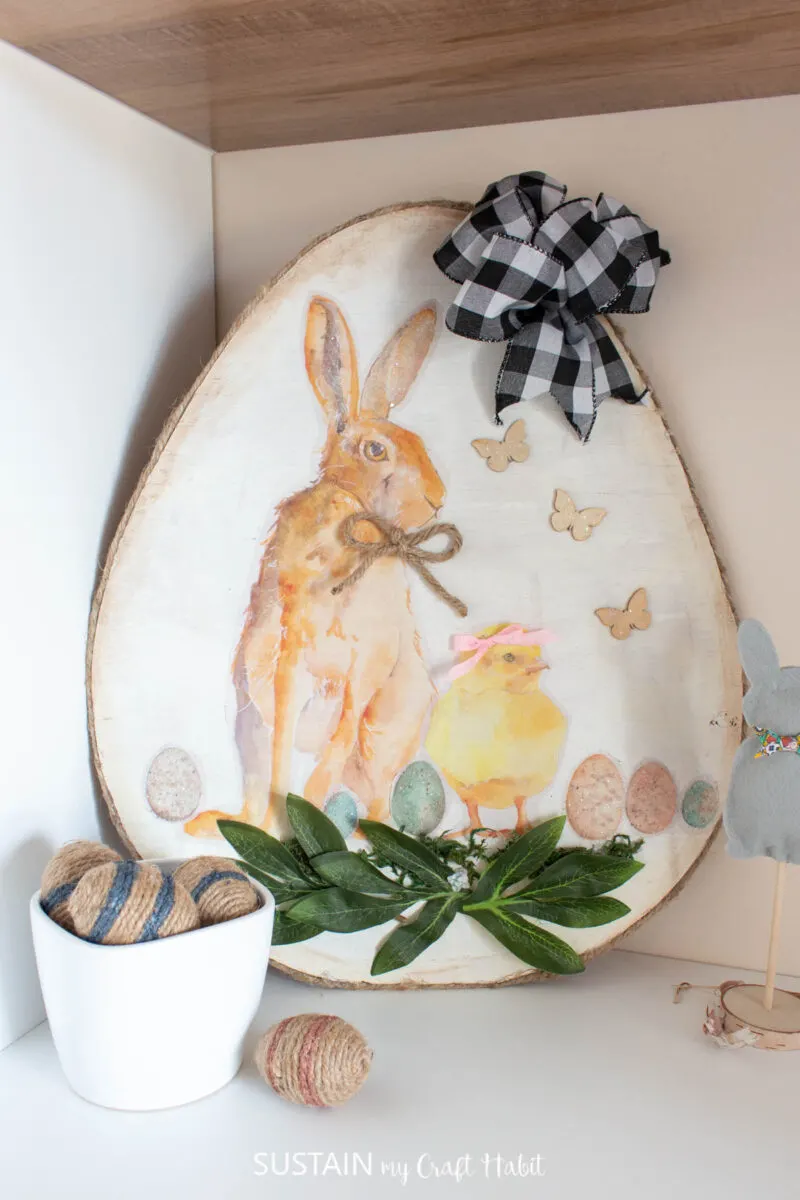
- Easter egg sign with decoupage
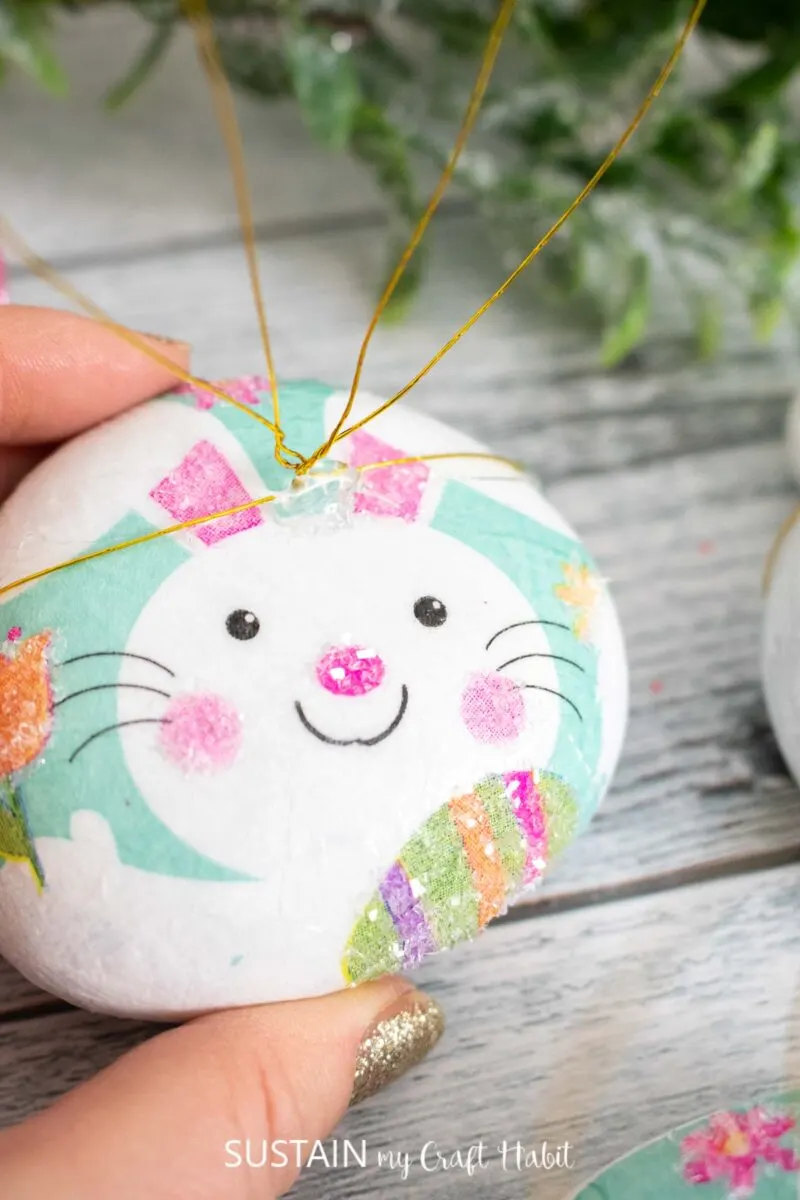
- Napkin decoupage on rocks
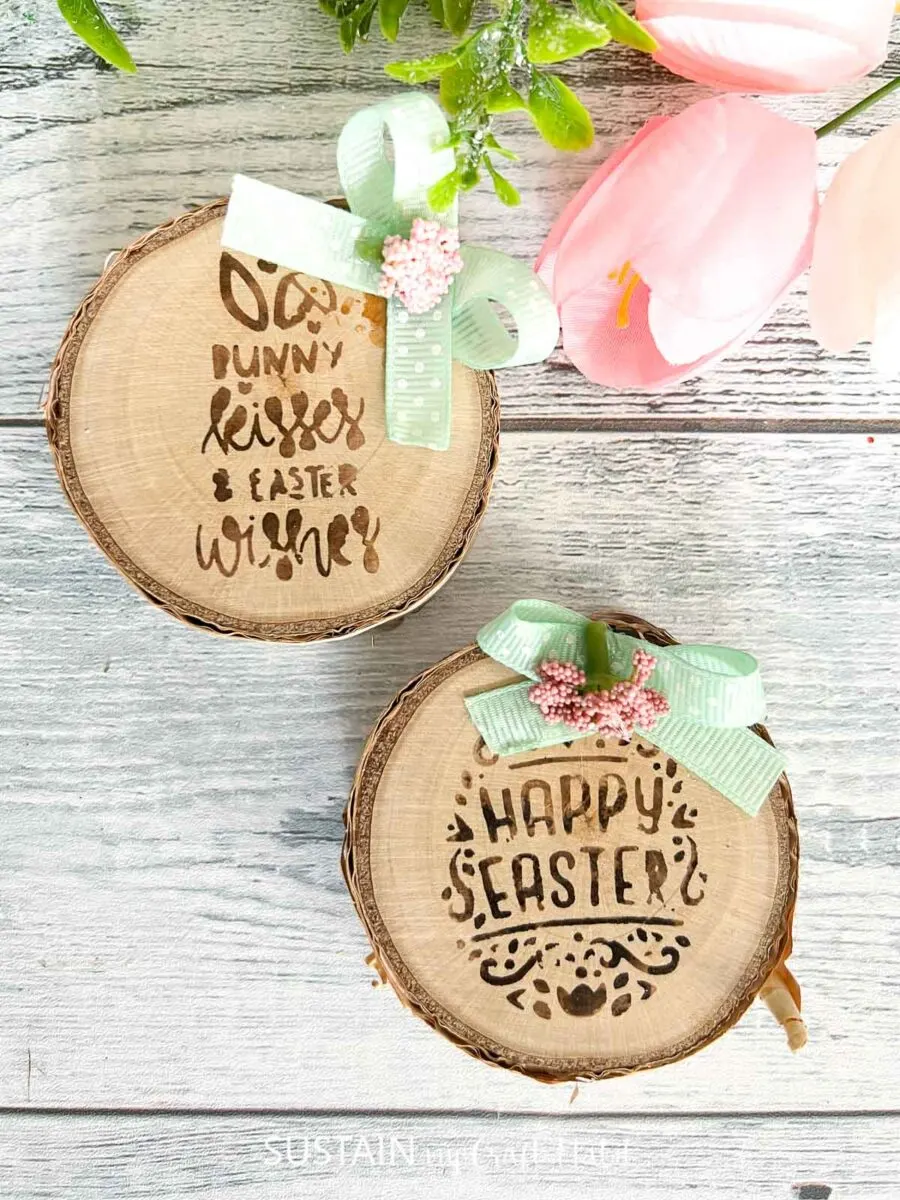
- Wood slice Easter ornaments with wood burning pen
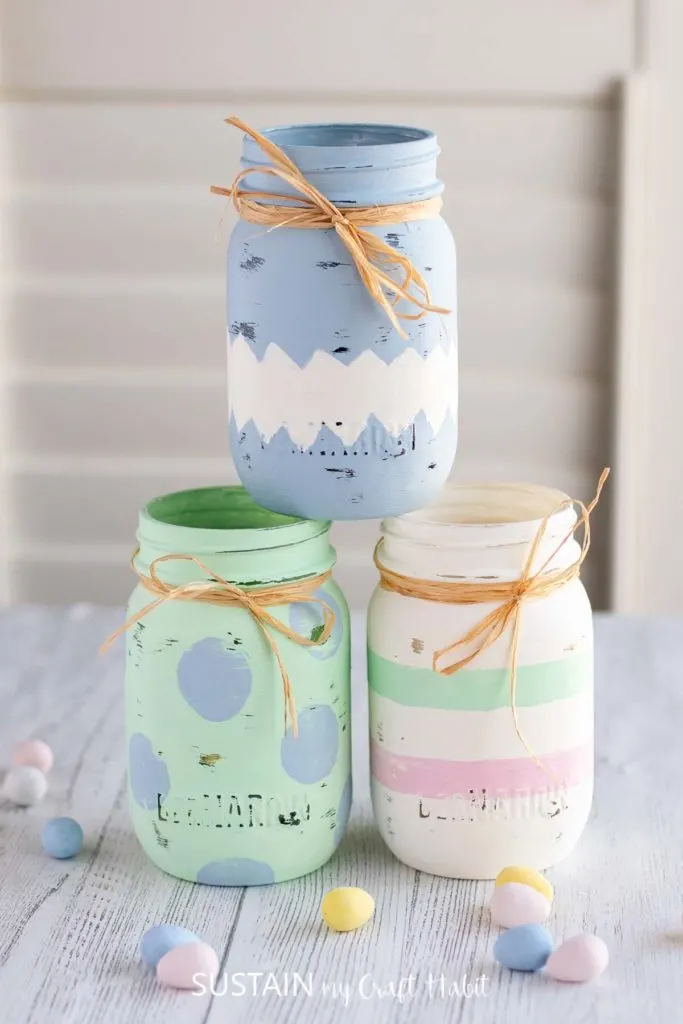
- Painted Easter egg mason jars
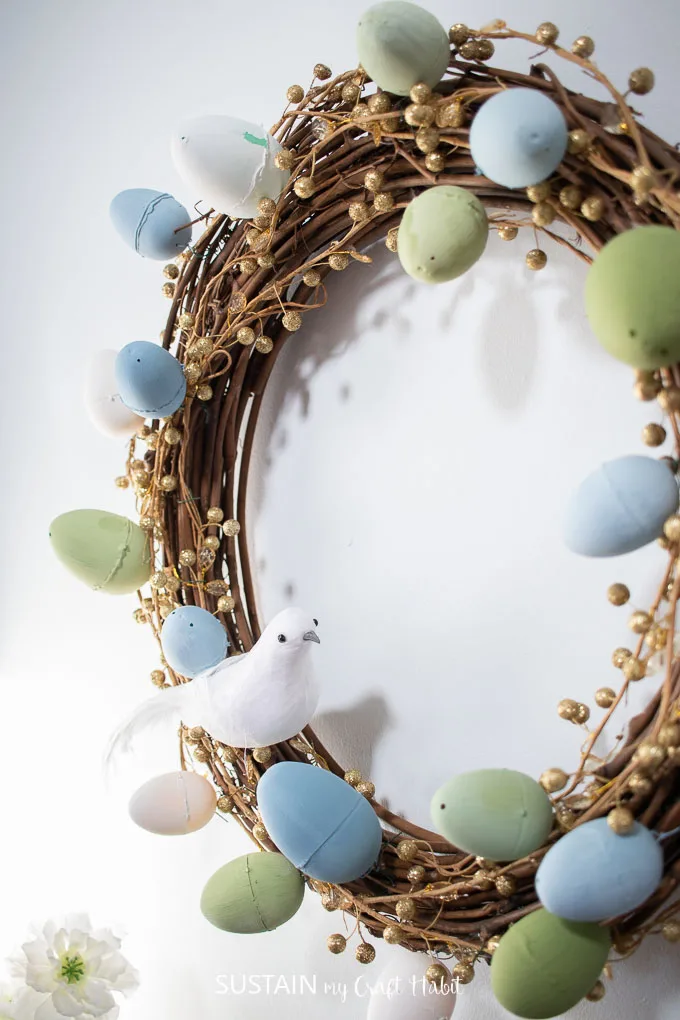
- Chalky painted egg wreath with upcycled plastic egss
How did yours turn out? Make sure to show it off to us! Tag us on Facebook or Instagram– we can’t wait to see it!
Want to receive a ton of inspiration and money saving ideas for decorating, gift-giving and crafting? Join HERE!
Like it? Pin it for later!
