Sustainable Spring Styling: Upcycled Tin Can Centerpiece
Don’t toss those soup cans! Learn how to upcycle ordinary tin cans into stunning table centerpieces with this easy DIY tutorial.
We believe that a beautiful home isn’t defined by the price tag on your decor, but by the creativity you bring to your space.
This DIY upcycled tin can decoration is one of those projects that turns something ordinary into something you actually want on display.
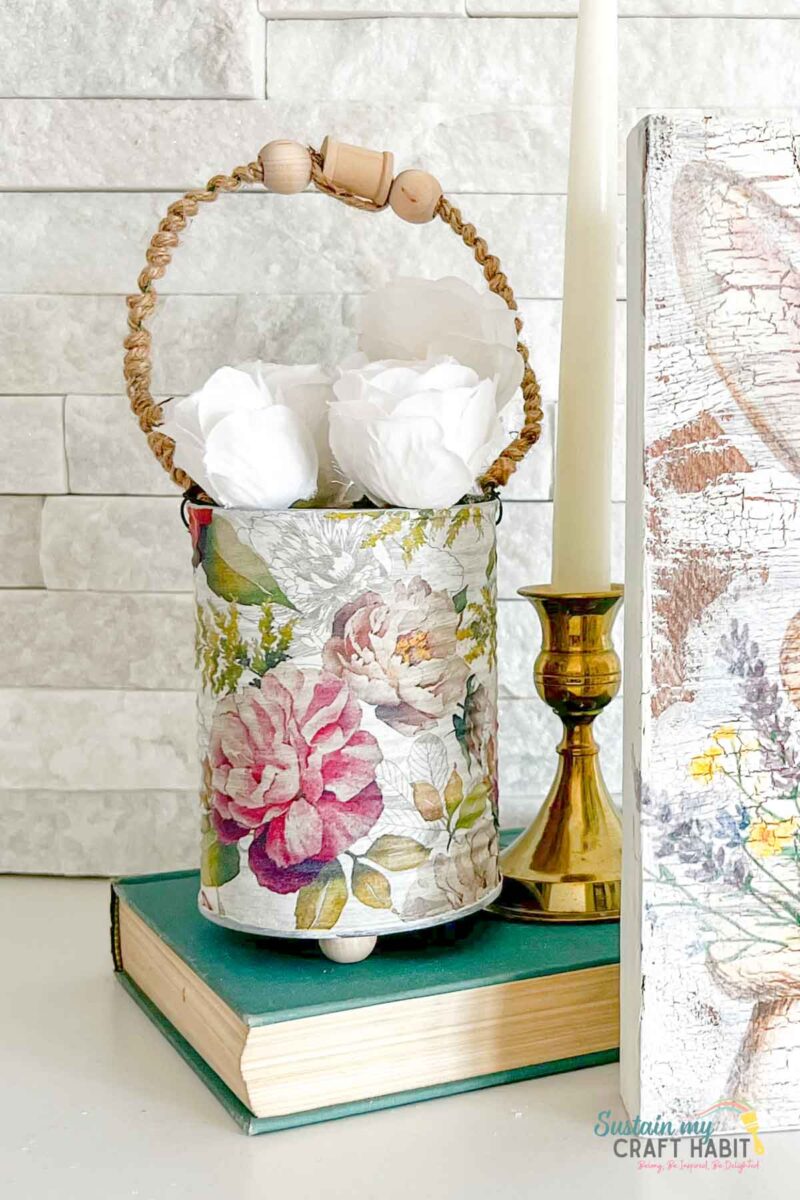
So before you go to throw away another tin can, consider this simple DIY for repurposing them into lovely handmade décor.
You’ll learn how to transform basic cans into soft, romantic pieces using napkin decoupage, with tips to avoid wrinkles and get that smooth, painted-on finish.
Why You’ll Love This Project
- Uses recycled materials, making it an eco-friendly craft
- Easy and inexpensive materials you likely already have at home
- Full step-by-step tutorial with beginner-friendly techniques
- Perfect for handmade gifts, table décor, or romantic home accents
- Customisable with different napkin patterns, colours, and finishes
Join our crafting community to find more DIYs and upcycled craft ideas. It feels good to repurpose and upcycle!
Materials Needed
- Large Tin Can, cleaned and dried with 2 holes punched on either side for handle placement
- Paintbrush
- Mod Podge in matte
- Paper Napkins
- Paper scissors
- Chalky paint in white
- Wire
- Sisal rope
- Wooden beads and spool, 1” diameter
- Smaller wooden beads, ½” diameter
- Hot Glue Gun
- Faux florals
- Sandpaper

How to Make an Upcycled Tin Can Centerpiece
Paint the surface of the tin can in white and let the paint dry fully. Add an extra coat of paint if needed for better coverage.

Separate the plies of paper napkins, you’ll just need the top printed layer of paper.
Apply a coat of Mod Podge on to the tin can and press the prepared napkin on top.

Smooth out the paper and press out any bubbles underneath gently.

Using sandpaper, lightly sand away the longer edges of the napkin from the tin can edges.

Apply another coat of Mod Podge over top of the tin can to seal the surface. Leave it to dry.

Cut a piece of wire for the decorative handle.
Separate a piece of sisal rope into a single strand. Wrap the single strand around the wire handle and secure the ends with hot glue. Thread the wire through the larger wooden beads and spool and center them on the wire (glue in place if needed).

Insert the ends of the wire to the top side edges of the tin can and secure the ends in place.

Glue the smaller beads to the bottom of the tin can.

Insert the faux florals to complete the decoration.

Get updates on the latest posts and more from Sustain My Craft Habit straight to your inbox by joining our weekly newsletter. We promise to send you only the good stuff!
Style Options
Floral printed napkins give a soft, romantic feel but you can experiment with any napkin design that you like! The style possibilities are endless: just check out how much the napkin changes the look with these other napkin decoupage craft ideas:
- Tin Can Napkin Decoupage Idea
- How to Decoupage Clay Pots
- Christmas Decoupage Ideas with Mason Jars
- How to Paper Napkin Decoupage on Clay Pots
- Decoupaged Coffee Tin Centerpiece

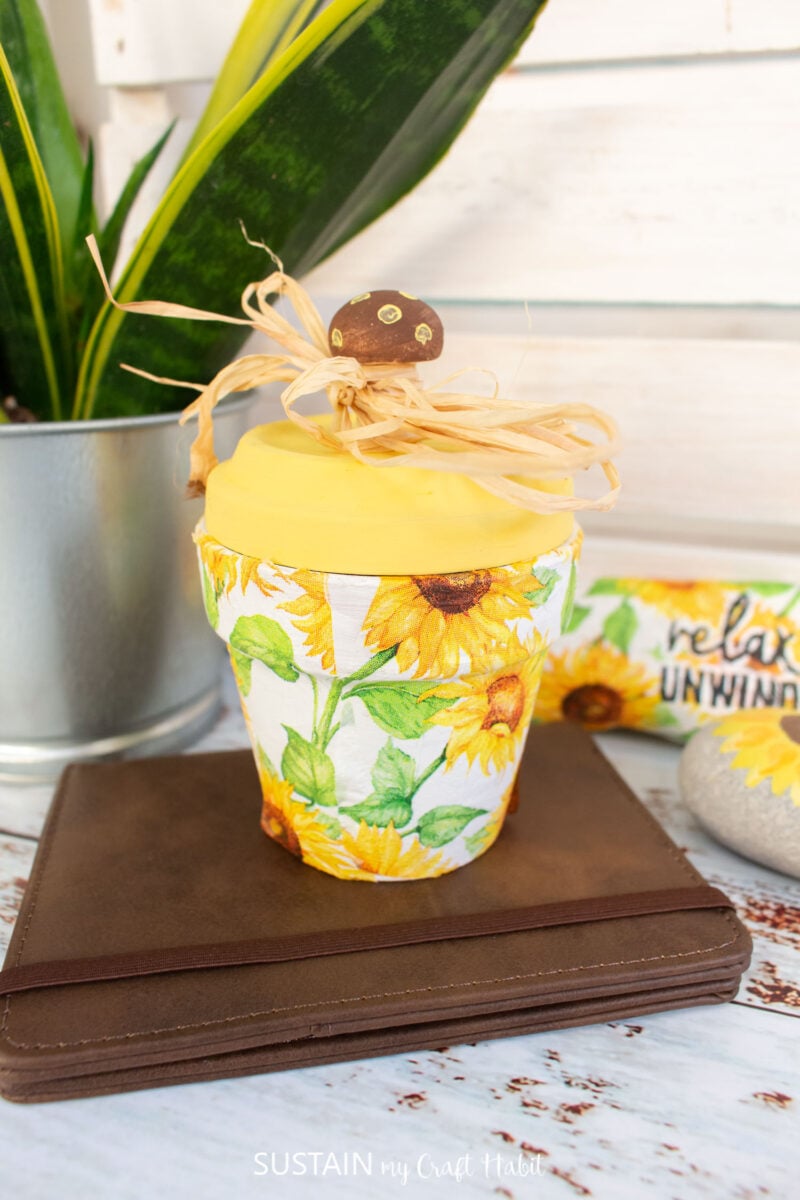

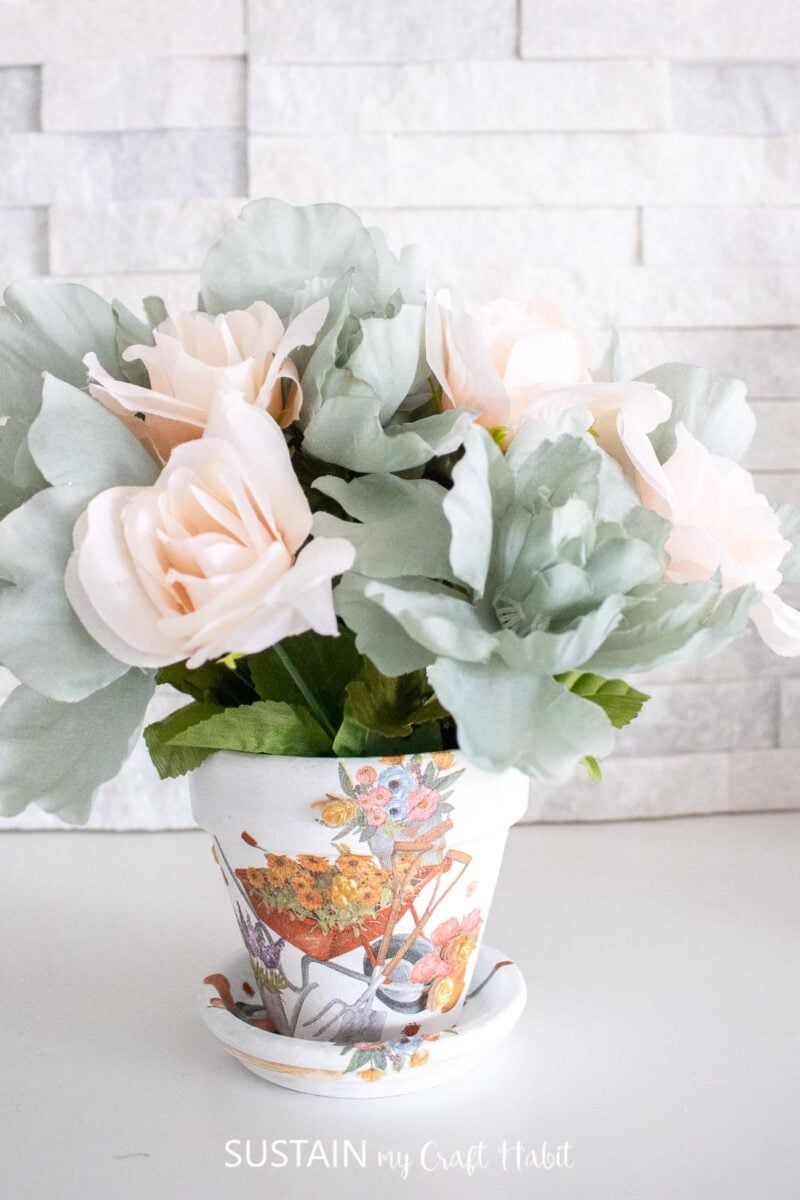
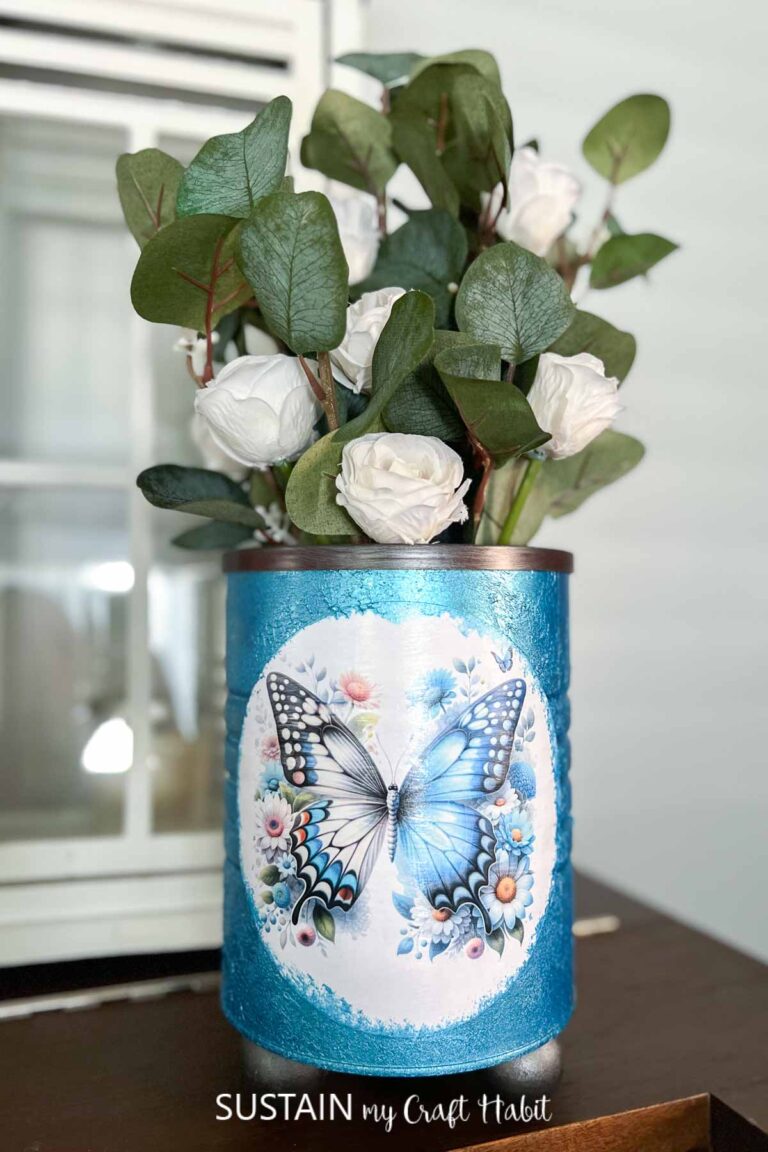
Additionally, you can tie twine, lace, or ribbon around the top edge for a finished piece. And a small wooden tag or charm can turn it into a more personalised gift for Mother’s Day.
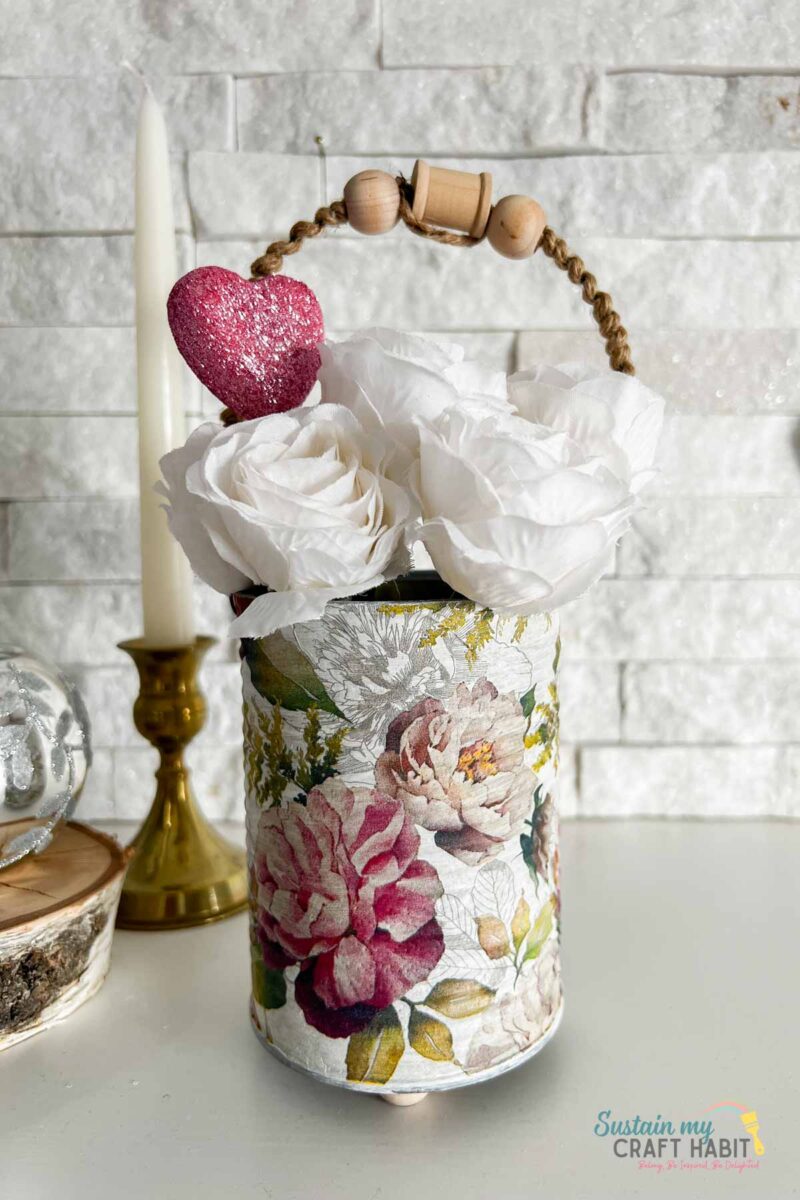
How to Display Your Upcycled Tin Can Centerpiece
These little tins are surprisingly versatile once finished!
- Use them as a home décor idea by placing a tealight inside for a soft evening glow on a shelf or coffee table. The light catches the napkin design and makes it feel extra cosy.
- They also work beautifully as a gift décor idea—fill them with chocolates, small gifts, or even a handwritten note for a simple but thoughtful present.
- Another favourite is using them as mini vases. A few fresh or dried flowers instantly turn them into a centrepiece for a dining table or sideboard.
Like it? Pin for later!
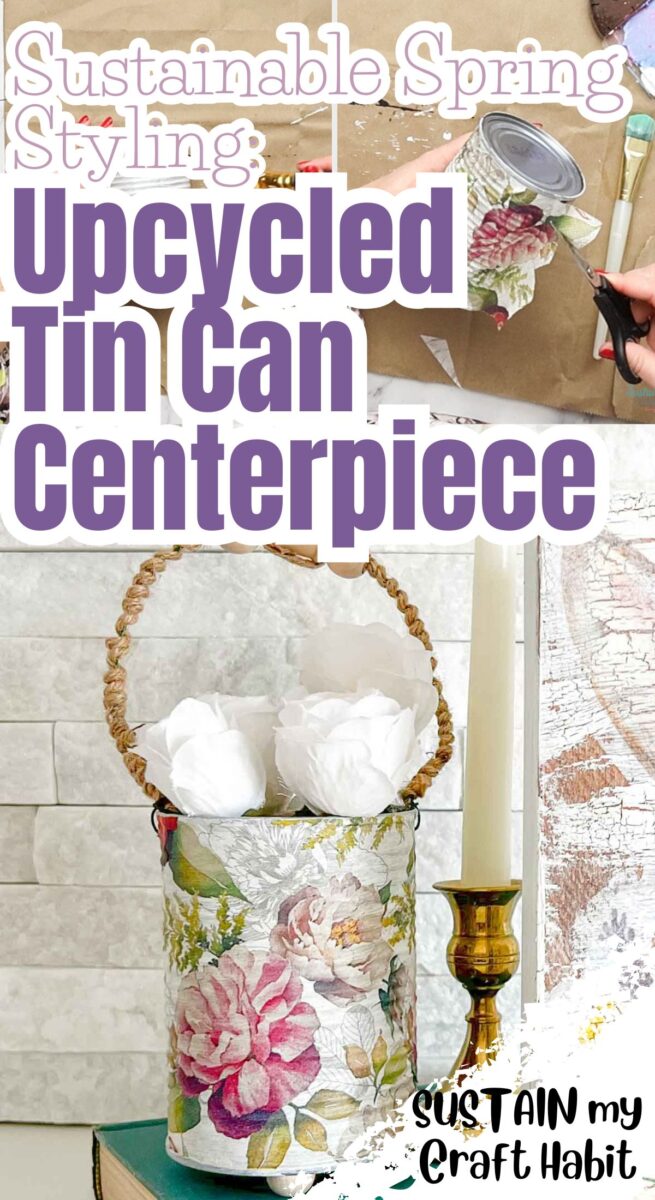
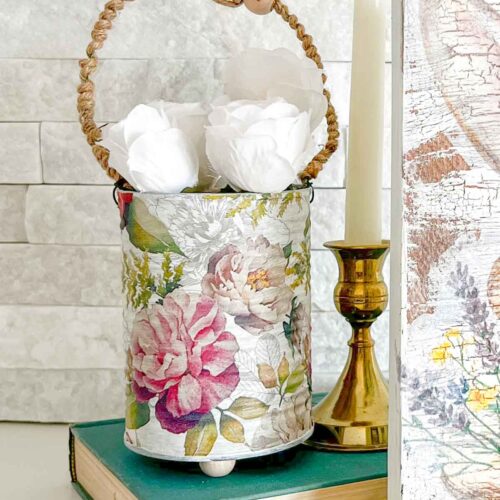
DIY Tin Can Valentine’s Decoration with Napkin Decoupage
Materials
- Large Tin Can cleaned and dried with 2 holes punched on either side for handle placement
- Paintbrush
- Mod Podge in matte
- Paper Napkins
- Paper scissors
- Chalky paint in white
- Wire
- Sisal rope
- 1” diameter Wooden beads and spool
- Smaller wooden beads ½” diameter
- Hot Glue Gun
- Faux florals
- Sandpaper
Instructions
- Paint the surface of the tin can in white and let the paint dry fully.
- Separate the plies of paper napkins, you’ll just need the top printed layer of paper.
- Apply a coat of Mod Podge on to the tin can and press the prepared napkin on top.
- Smooth out the paper and press out any bubbles underneath gently.
- Using sandpaper, lightly sand away the longer edges of the napkin from the tin can edges.
- Apply another coat of Mod Podge over top of the tin can to seal the surface. Leave it to dry.
- Cut a piece of wire for the decorative handle.
- Separate a piece of sisal rope into a single strand. Wrap the single strand around the wire handle and secure the ends with hot glue. Thread the wire through the larger wooden beads and spool and center them on the wire.
- Insert the ends of the wire to the top side edges of the tin can and secure the ends in place.
- Glue the smaller beads to the bottom of the tin can.
- Insert the faux florals to complete the decoration.