Do you love to craft with laser wood cutouts and shapes but sometimes need a little inspiration? Well we’ll show you how to make this stunning floral pumpkin wood cutout craft with our step-by-step tutorial. It’s easier than you think!


Crafting with Laser Cut Wood Shapes
There are plenty of wood cutout shapes available to purchase at the craft store especially around the holidays. But we’ve taken crafting to the next level with our own laser cut wood shapes and the xTool M1 laser cutter and engraver. We have been crafting up a storm and I couldn’t wait to make a pretty wood pumpkin to go with my fall decor.
This Hello Pumpkin Floral cut file is available in our Craft Habit Graphics SVG shop where we create and sell loads of digital files for crafting including laser cut ready files. If you are not familiar with the xTool M1, we have a full review and YouTube unboxing video of the machine.


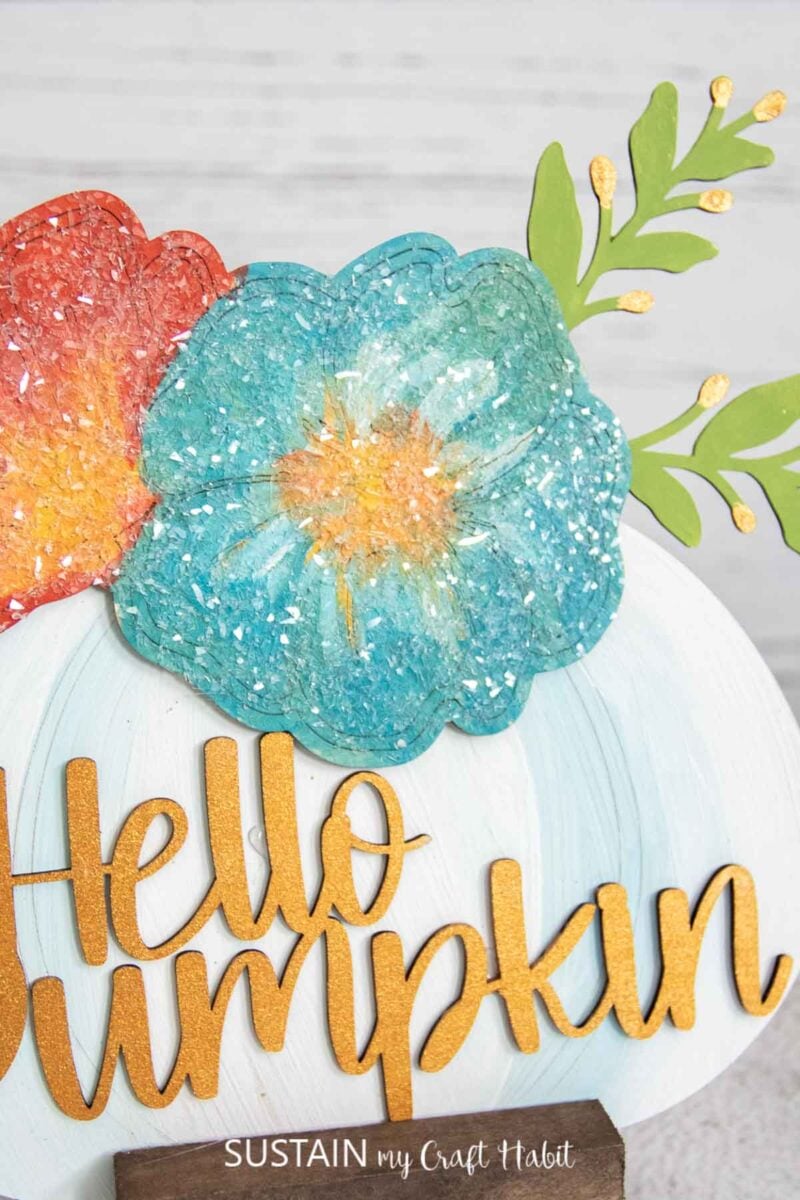
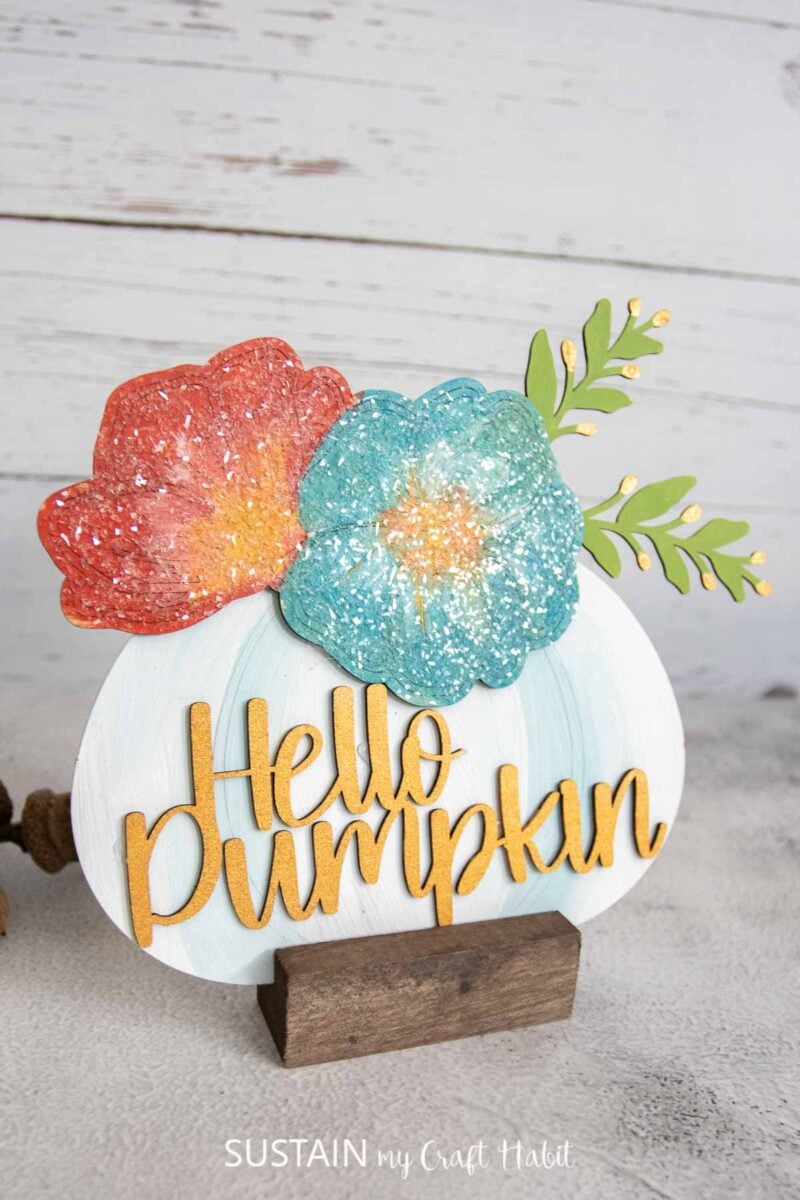
I love how this floral pumpkin cutout craft turned out! The soft colors and diamond dust take this simple craft to the next level. Plus, because the pumpkin is on a stand, it makes the best shelf sitter or tiered tray craft. Let’s get to the DIY tutorial so you can make your own wood pumpkin.

Stay in the know on our latest crafts, special offers and freebies by joining our mailing list.
Materials Needed
Disclosure: This post contains affiliate links for your shopping convenience. Should you choose to purchase through them, we will make a small commission at no extra cost to you. You can read our full disclosure policy here.
- xTool M1 or other cutting machine
- Hello Pumpkin Floral cut file
- Paintbrushes
- Paint in white, teal, green, yellow, red, gold
- Mod Podge or Decoupage
- Diamond dust
- Hot glue gun


How to Craft with a Floral Pumpkin Laser Wood Cutout
I shared the tutorial for this floral pumpkin craft on a Facebook Live which you can watch here or if you prefer the photo tutorial, continue reading below.
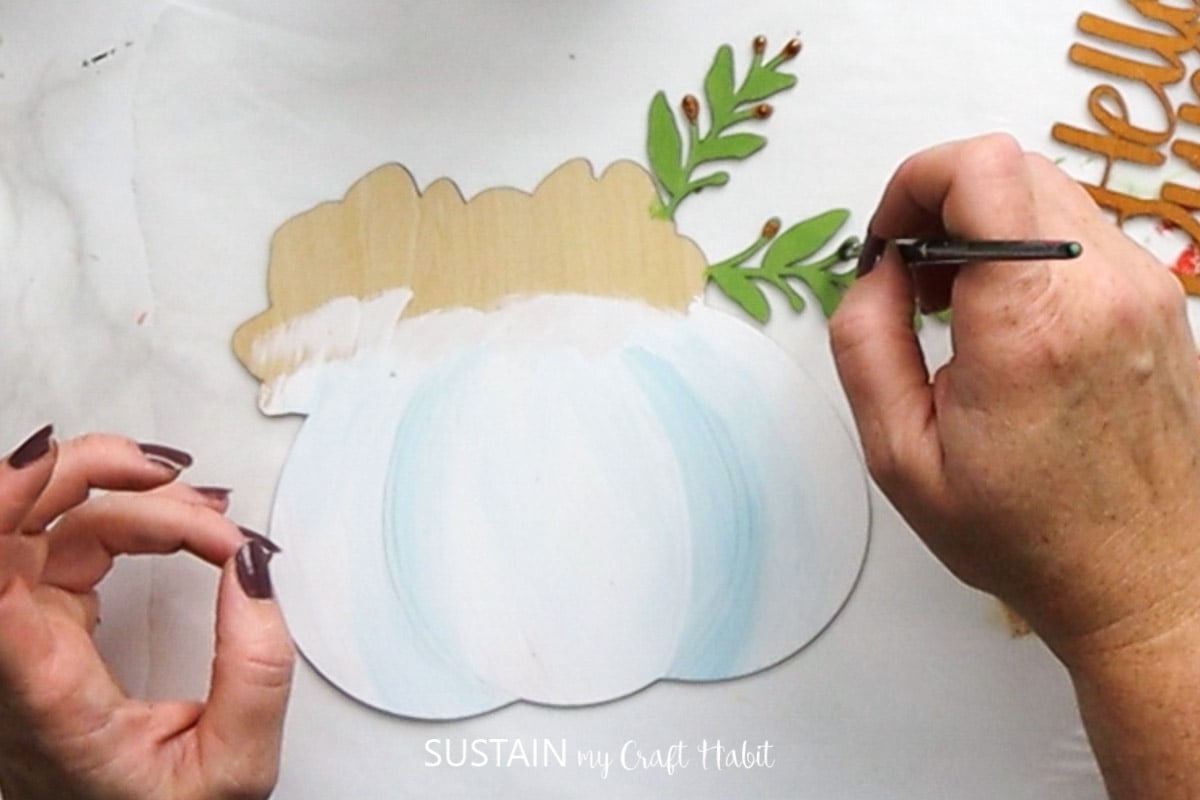
Paint the pumpkin part of the cut out with white paint.


Use brush strokes of blue paint to accentuate the ribs of the pumpkin.


Next, paint the stem with green paint.


Take some gold paint and add buds onto the stems.

Paint the pistil of the flower with yellow paint.

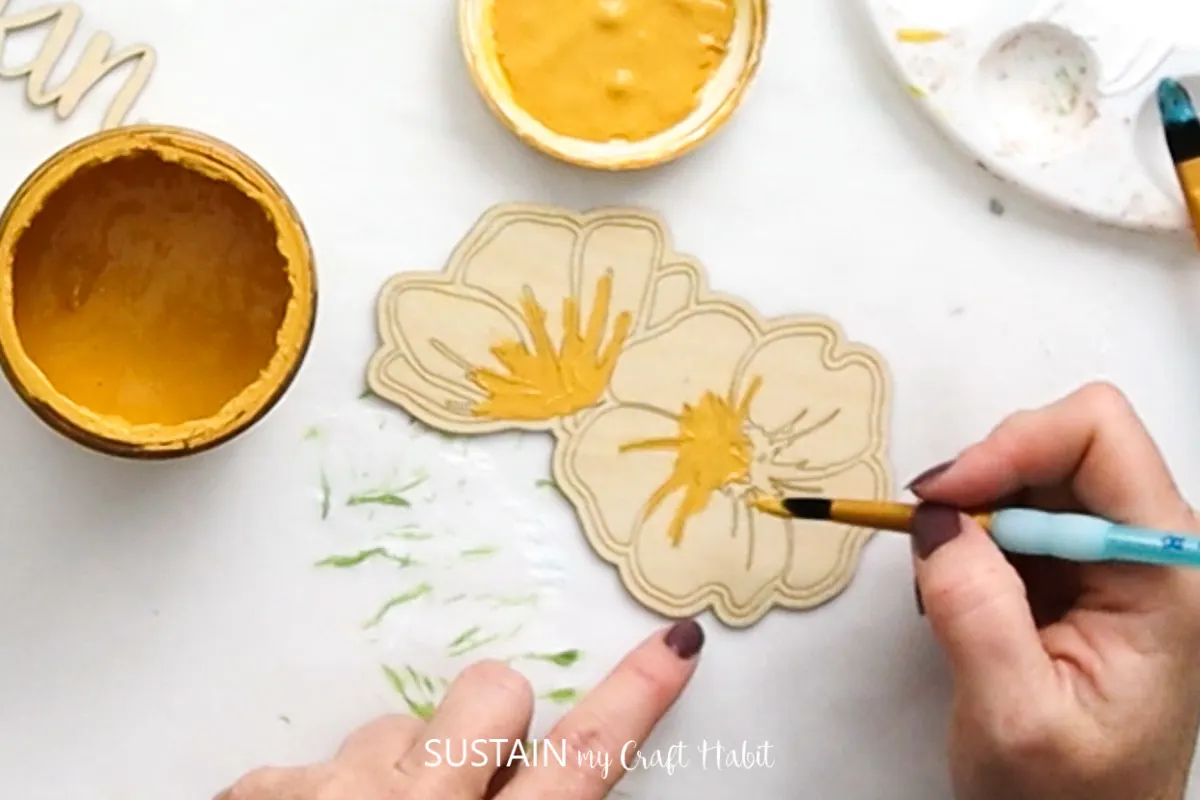
Use white and teal to paint one of the flower petals.


Use the red color to paint the other flower petals.


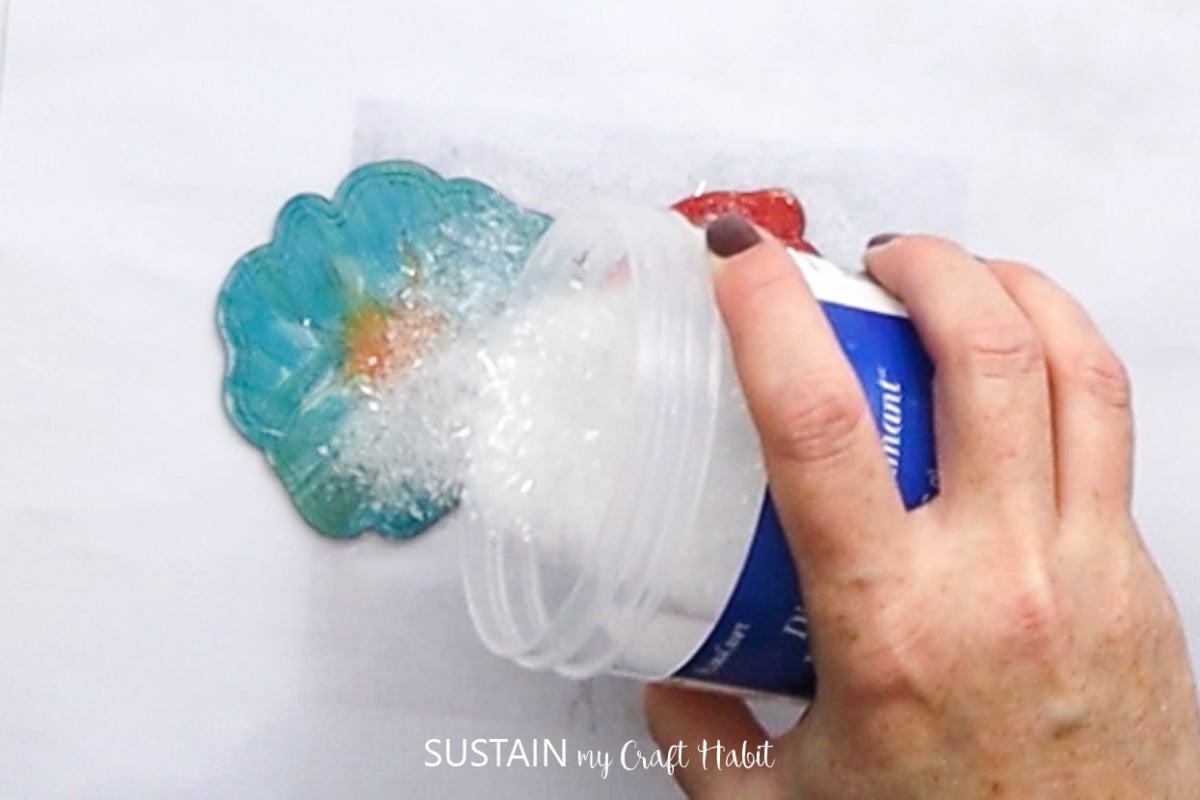
Cover the flowers with mod podge and apply some diamond dust. Shake off any excess and let it dry. You can also use glitter if you don’t have diamon dust. And remember, take extra care when working with diamon dust and ensure no loose pieces are left on your surface.

Paint the “hello pumpkin” cut out with gold paint.
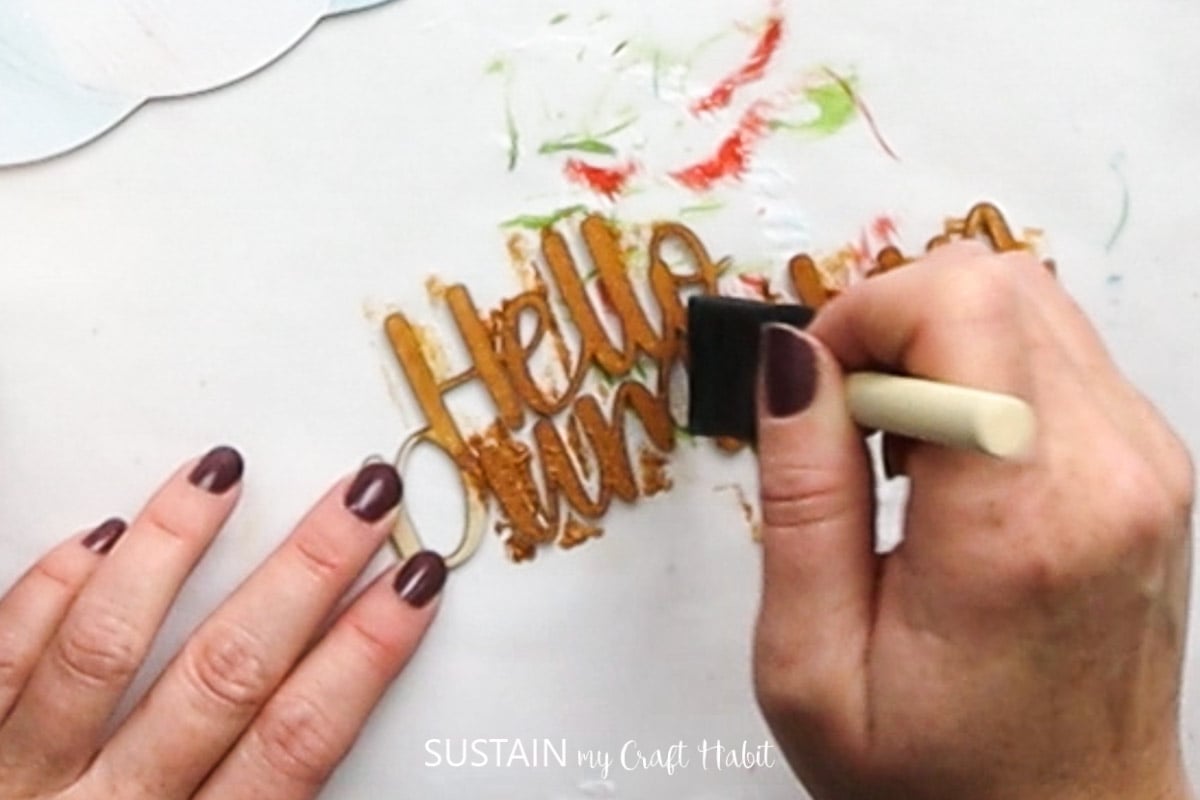

Once dry, hot glue the flowers and phrase onto the pumpkin.


And with that, the craft is complete!
What do you think of this beautiful floral wood pumpkin? The diamond dust really makes it sparkle. Are you ready to make your own? Once you begin creating with a laser cutter, you will be amazed at how many things you can make.

If you do give this craft project a try, make sure to tell us and show it off!
Tag us on Facebook or Instagram– we can’t wait to see it!
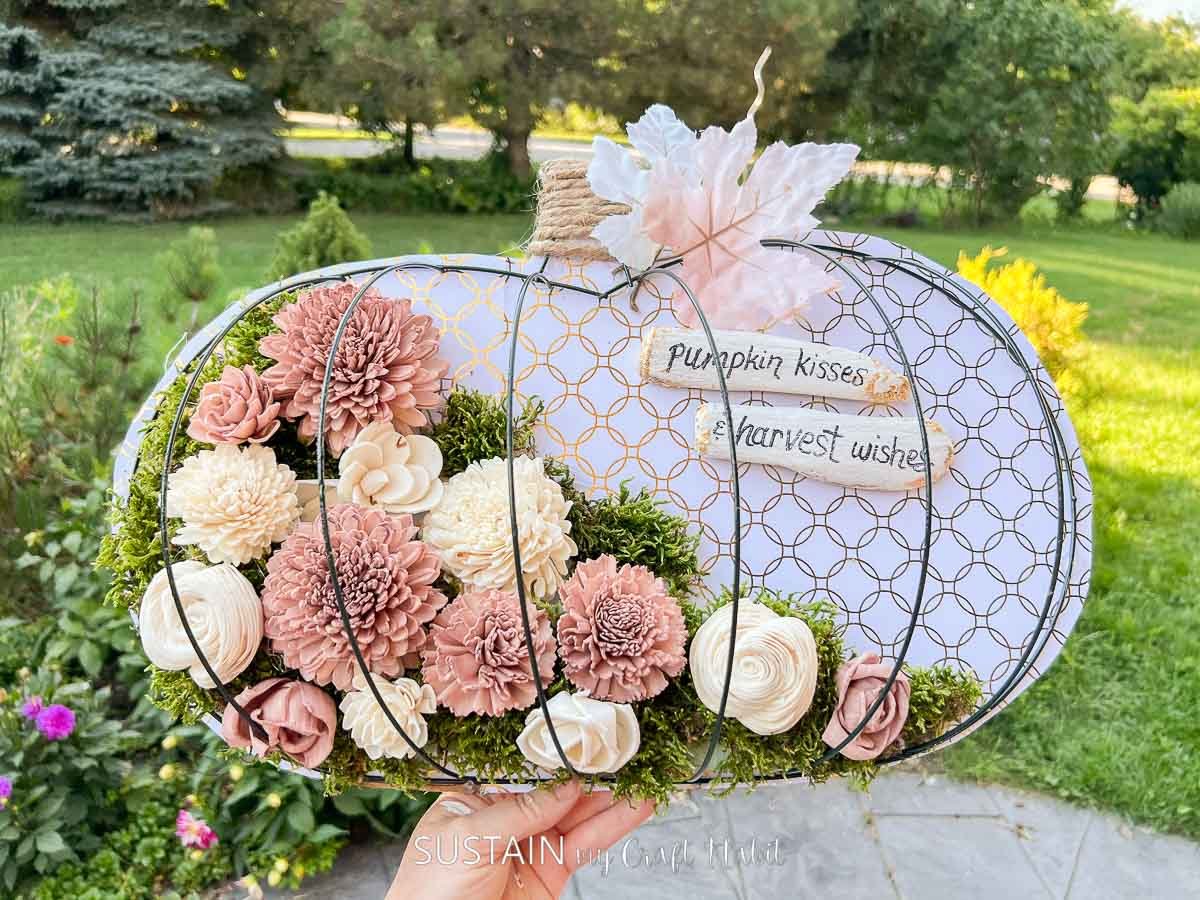
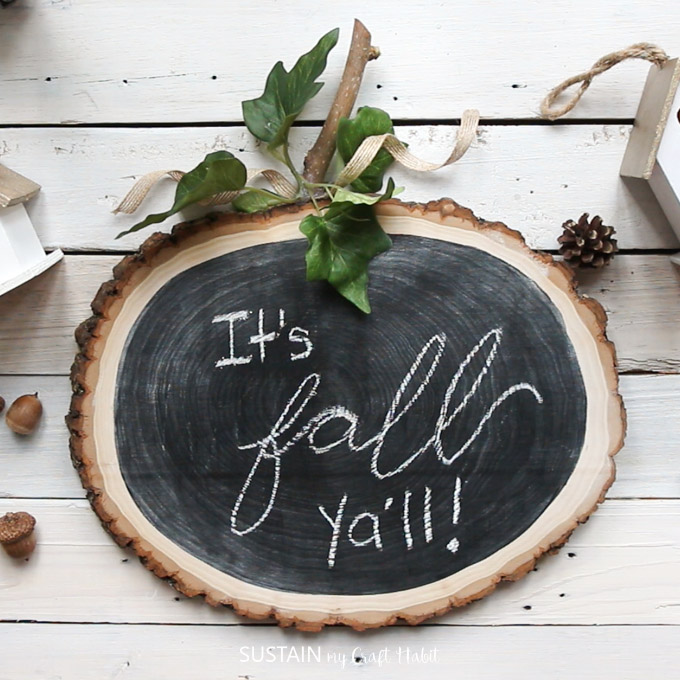
More Pumpkin Crafts
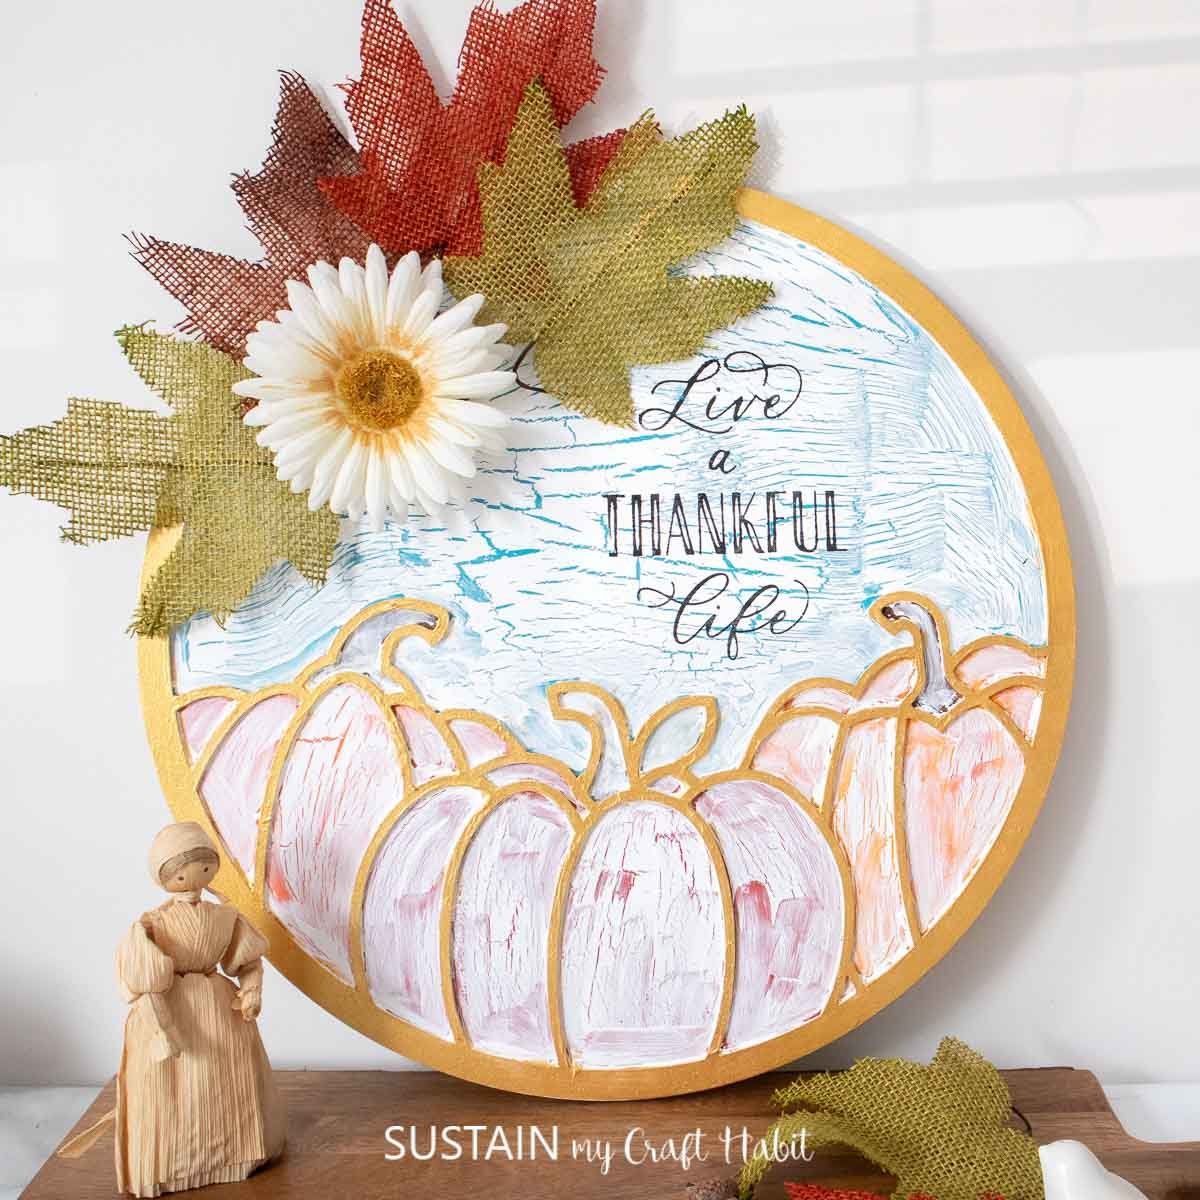
- Stacked Pumpkins Cutout Craft
- Pretty Pumpkin Cutout Craft
- Fall Door Hanger
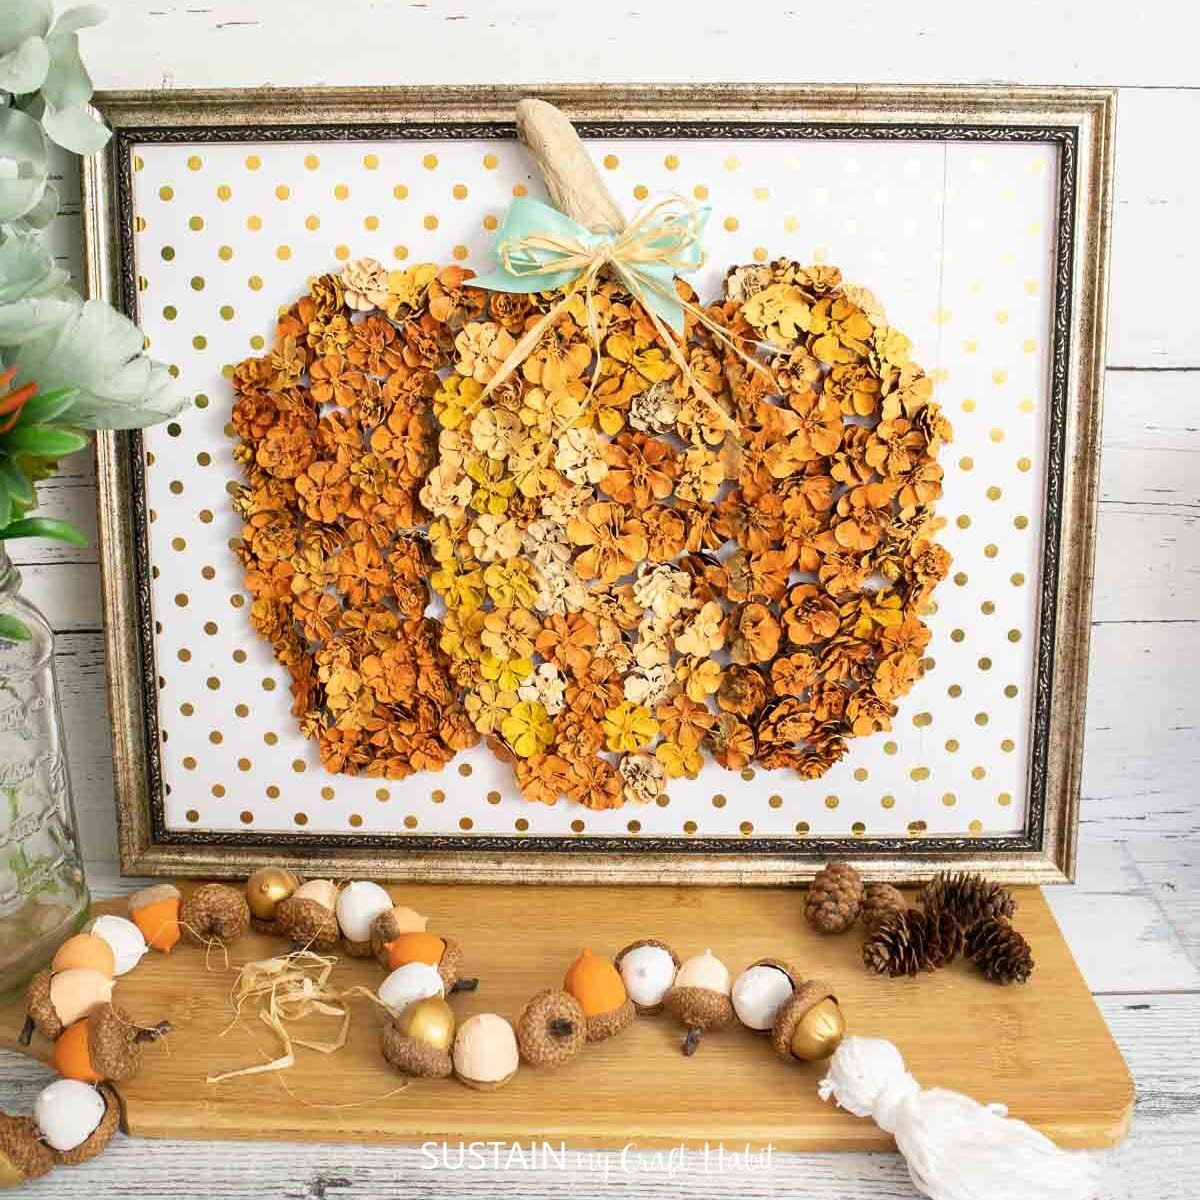
- Pumpkin Art with Pinecones
- Dollar Tree Pumpkin Wreath Craft
- Reversible Wood Slice Pumpkin


Want to receive a ton of inspiration and money saving ideas for decorating, gift-giving and crafting? Join HERE!
Like it? Pin it for later!


Crafting with a Floral Pumpkin Laser Wood Cutout
Materials
Instructions
- Paint the pumpkin part of the cut out with white paint.
- Use brush strokes of blue paint to accentuate the ribs of the pumpkin.
- Next, paint the stem with green paint.
- Take some gold paint and add buds onto the stems.
- Paint the pistil of the flower with yellow paint.
- Use white and teal to paint one of the flower petals.
- Use the red color to paint the other flower petals.
- Cover the flowers with mod podge and apply some diamond dust. Shake off any excess and let it dry.
- Paint the “hello pumpkin” cut out with gold paint.
- Once dry, hot glue the flowers and phrase onto the pumpkin.