DIY Image Transfer to Wood: A Popsicle Stick Sign
Learn how to create your own gorgeous DIY sign with an easy image transfer to wood using an inexpensive printable at home. This is a technique of transferring images with Mod Podge is one you will use over and over again!

Creative Image Transfer to Wood
We are going to show you the fascinating process of image transfer to wood. And in our case, we’re using – wait for it – popsicle sticks! Obviously, this technique can be done on all different types of wood. But the great thing about using jumbo popsicle sticks is you can easily find them at craft stores or the dollar store on a budget.

There is nothing better than a beautiful craft that is also budget-friendly! So let’s get to the tutorial so you can make your own pretty popsicle stick sign with a transferred image.
Become a Sustain My Craft Habit insider to receive fun freebies!
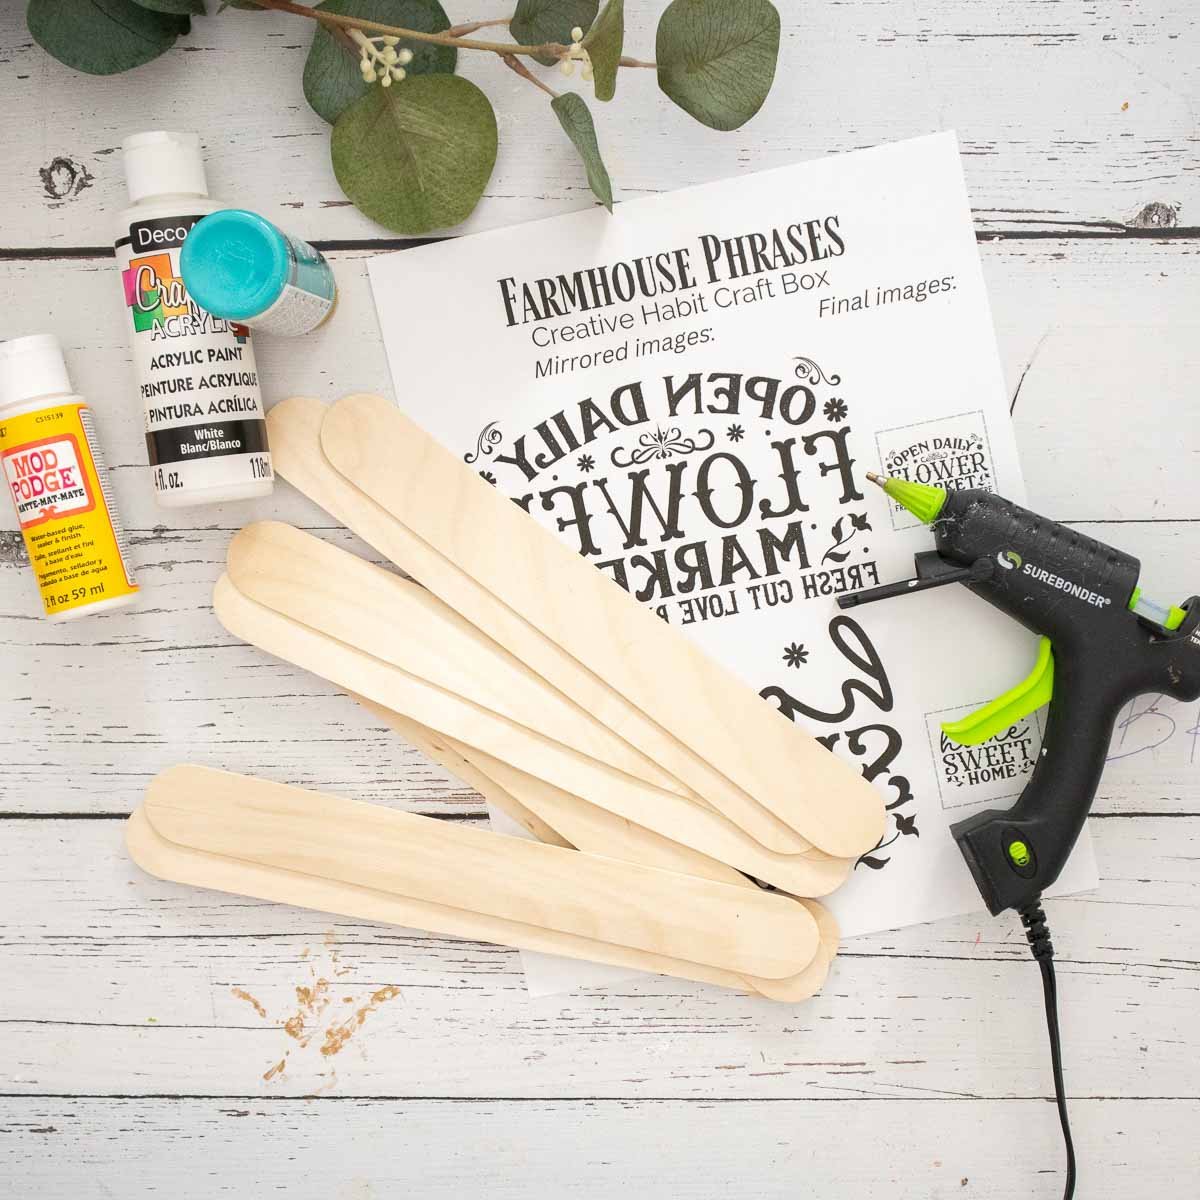
Materials Needed
Disclosure: This post contains affiliate links for your shopping convenience. Should you choose to purchase through them, we will make a small commission at no extra cost to you. You can read our full disclosure policy here.
- Jumbo craft sticks
- Faux magnolia flowers and greenery
- Acrylic paint in white and teal
Paint brushes - Image prints for transfer
- Mod Podge
- Sandpaper and cloth
Hot glue gun - Scissors
How to Image Transfer to Wood Craft Sticks
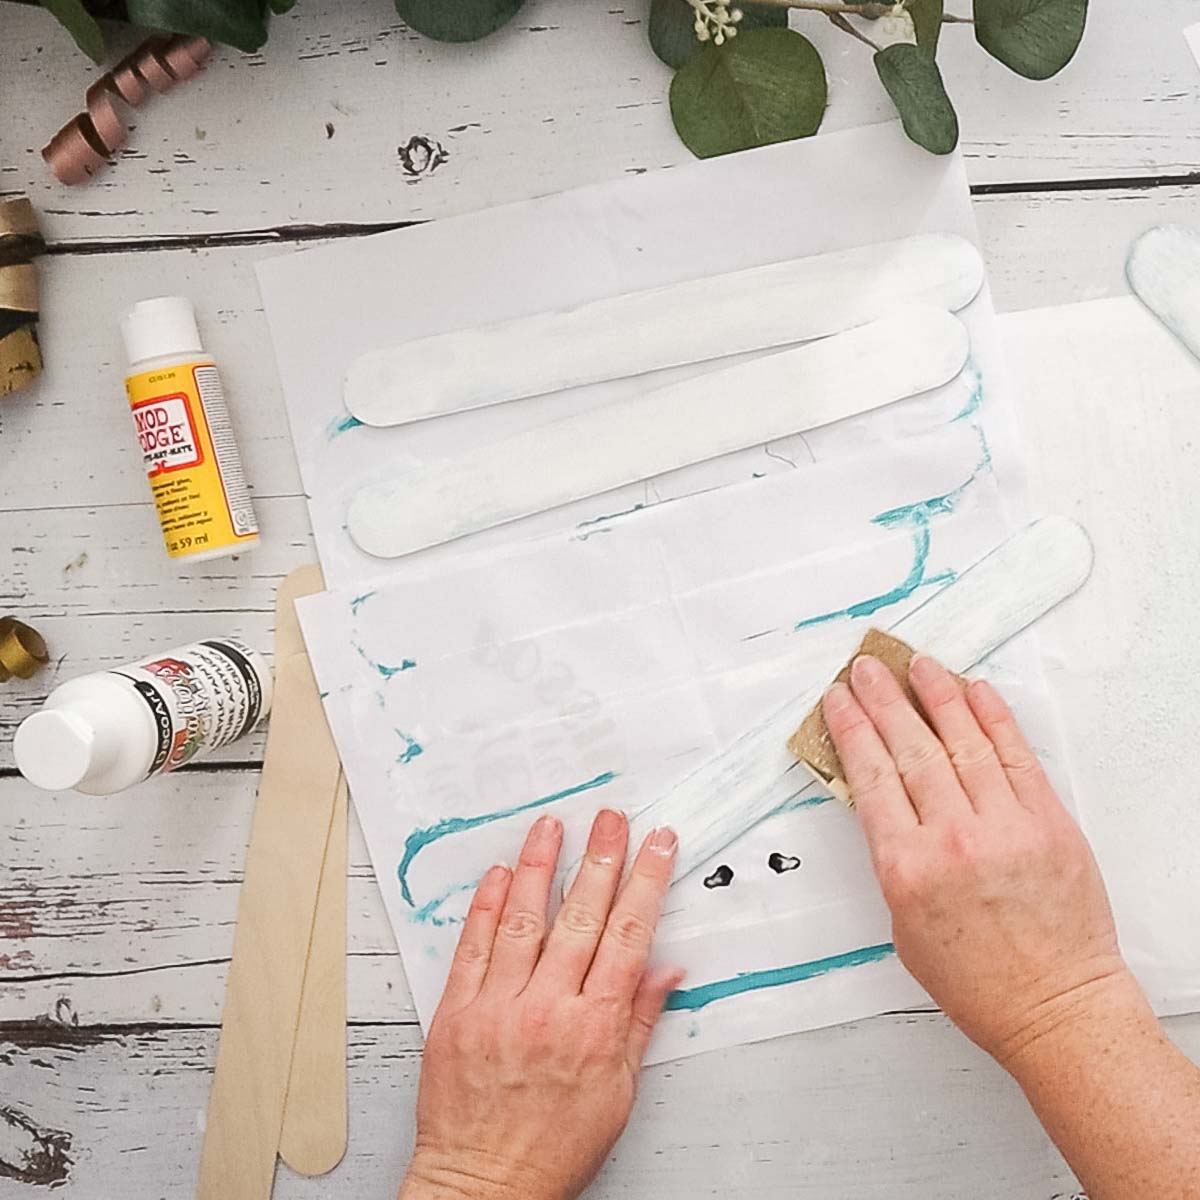
Preparing the Wood Surface
Paint the edges of the jumbo sticks in teal and let dry. Then paint over top of the teal with white.


After drying, sandpaper the edges to reveal the teal and to achieve a weathered look.
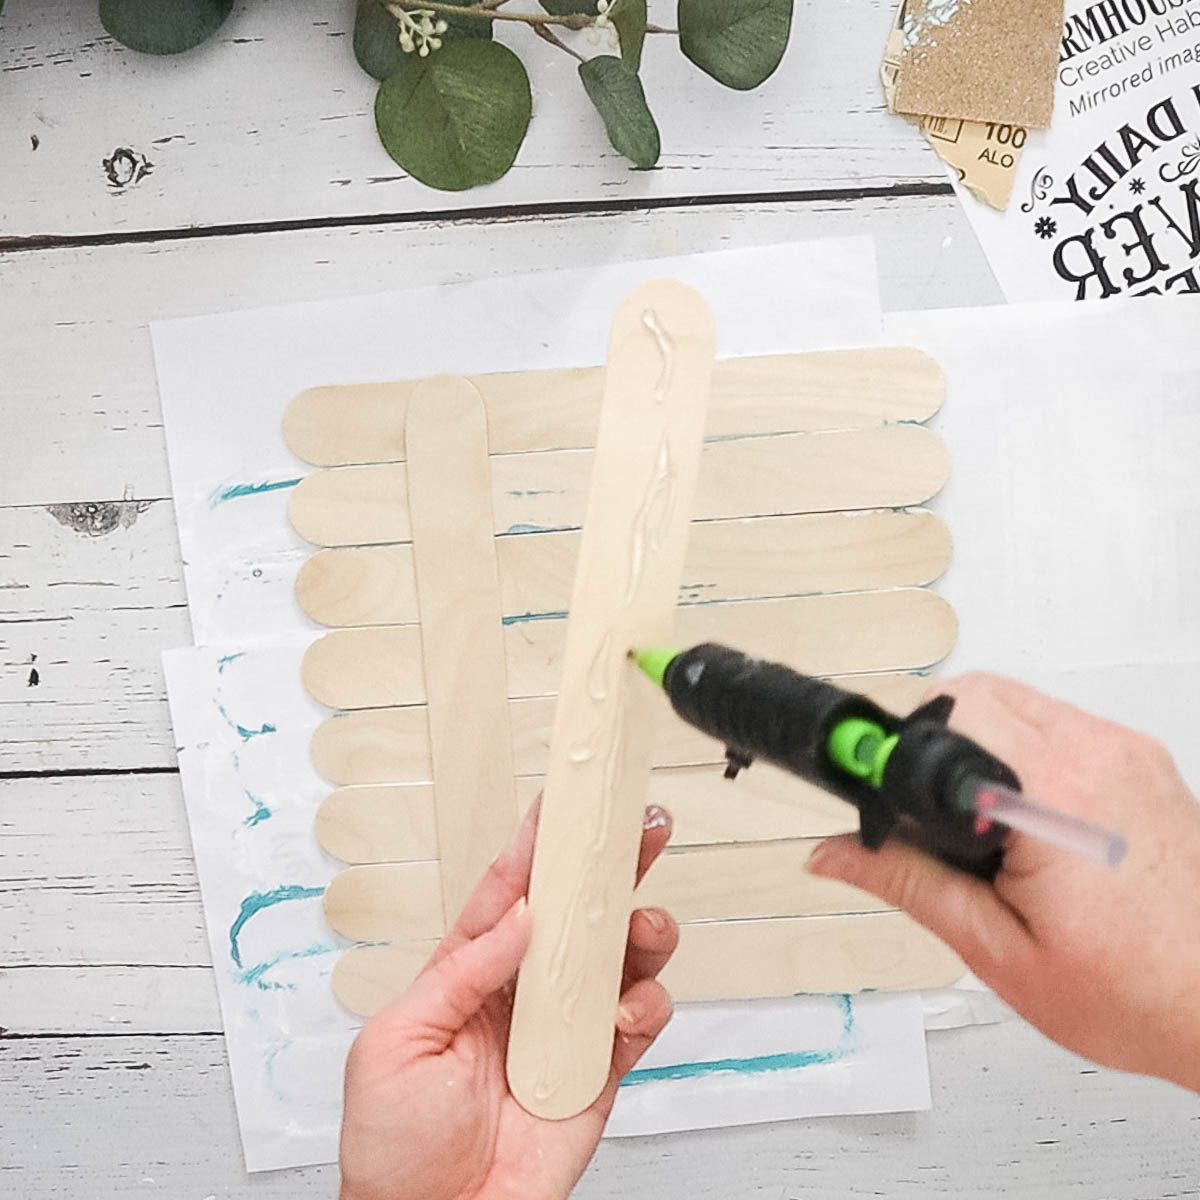
Place all but two jumbo sticks face down and join together using the other two sticks with hot glue.
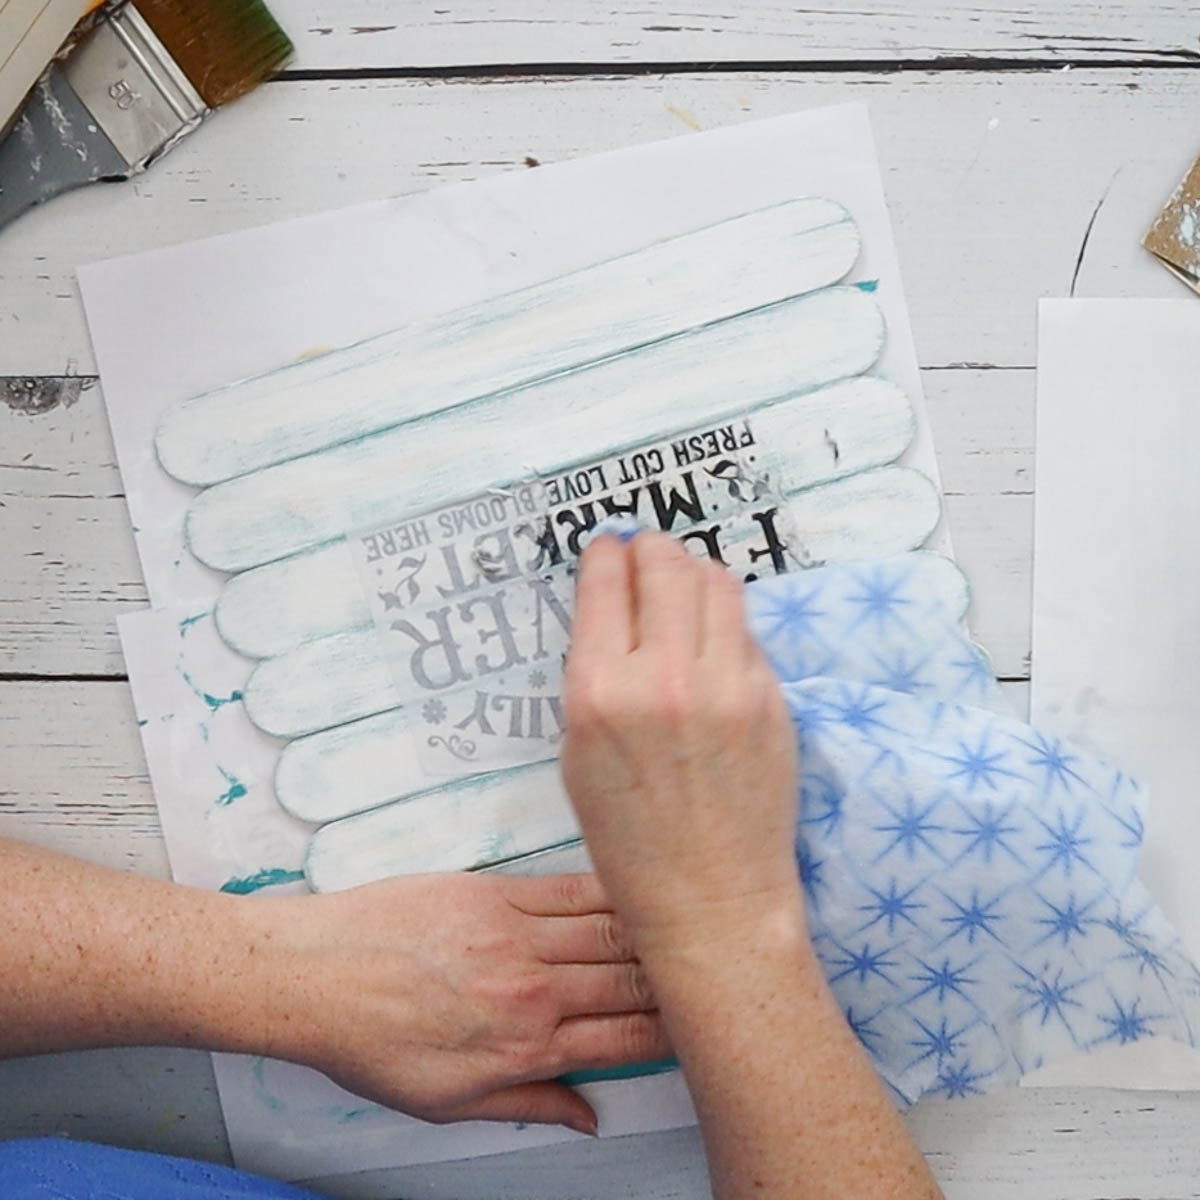
Transferring a Printed Image with Mod Podge
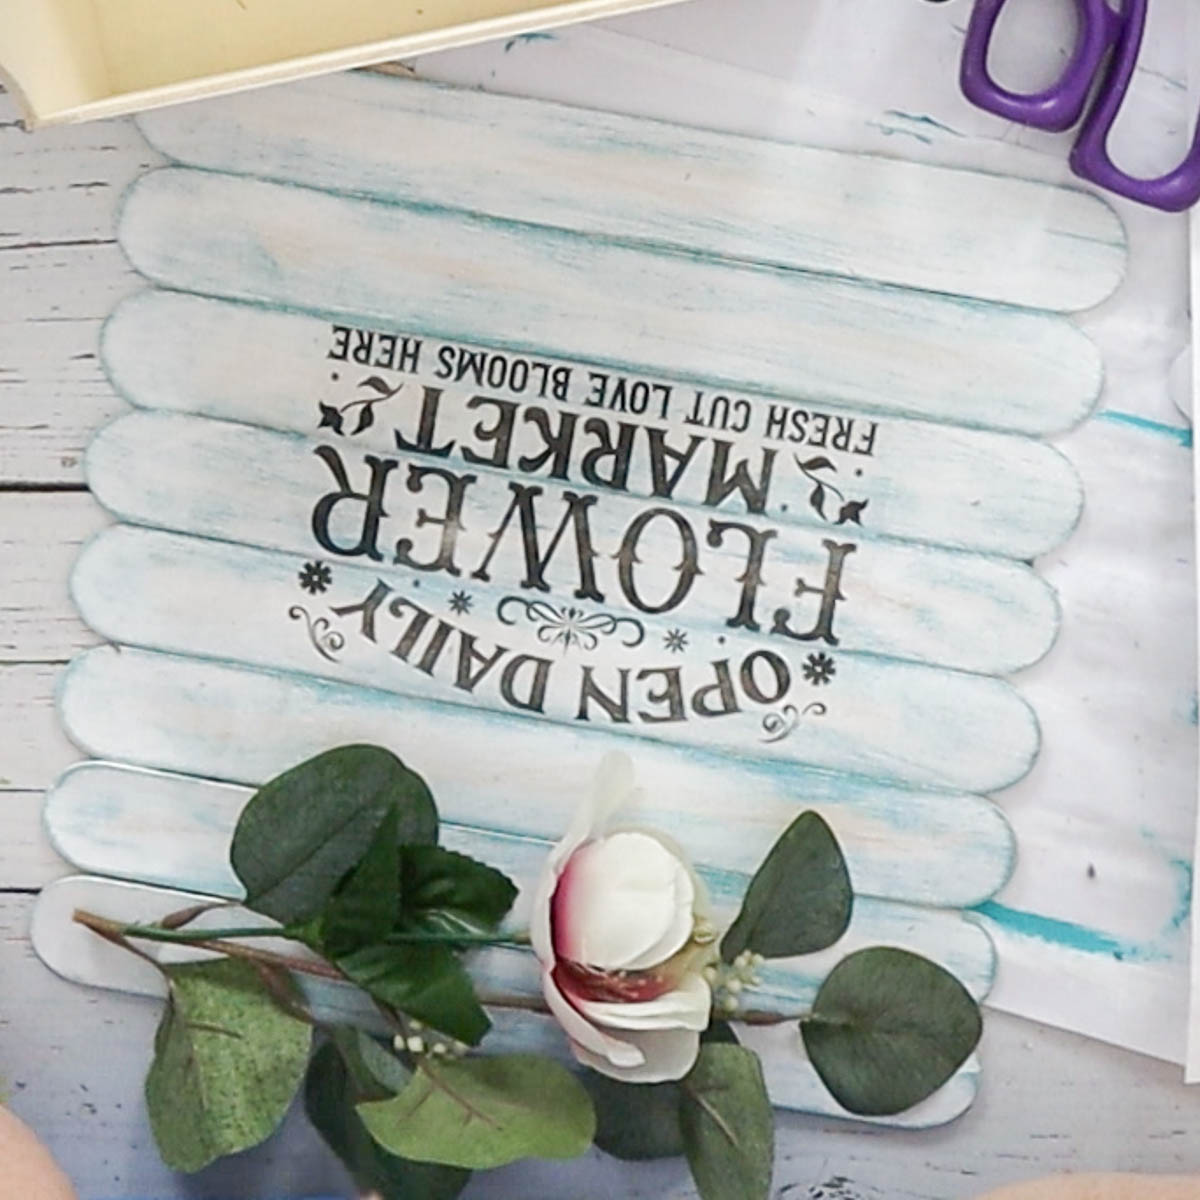
Cut around the printed image of choice. Apply layer of Mod Podge over the image. Press (face down) on to sign and let dry completely (overnight).


Fully dampen the paper with a cloth and gently rub it off leaving behind only the image on the sign.
Finishing Touches
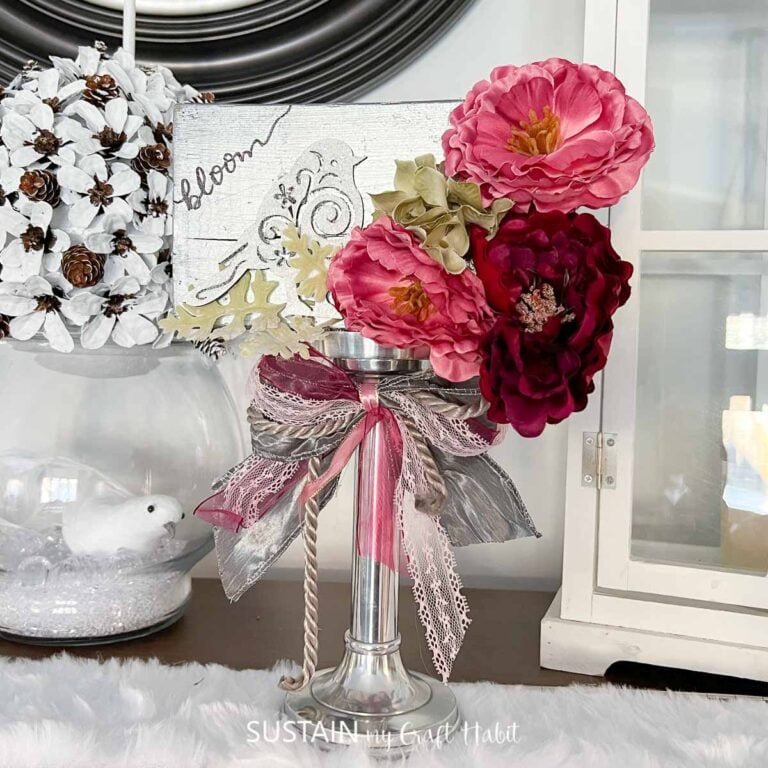
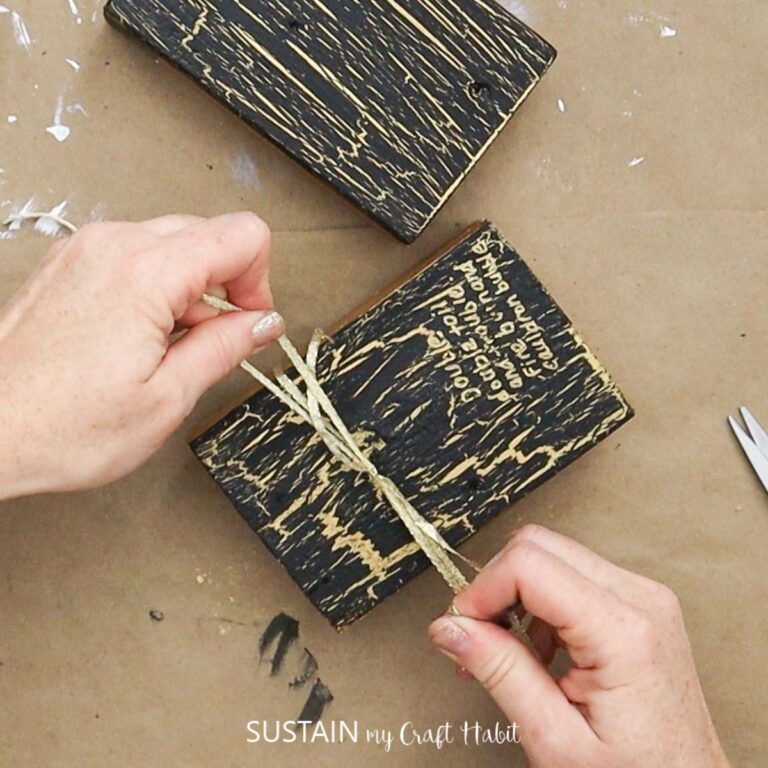
Glue one floral stem with greenery across top of the sign. Glue twine for hanging to the back of the sign to complete.
Can you believe how easy that was? Are you ready to try your own image transfer to wood?
If you do use this technique on your next project, make sure to show it off to us! It really makes our day. Tag us on Facebook or Instagram– we can’t wait to see it!
More Popsicle Stick Crafts
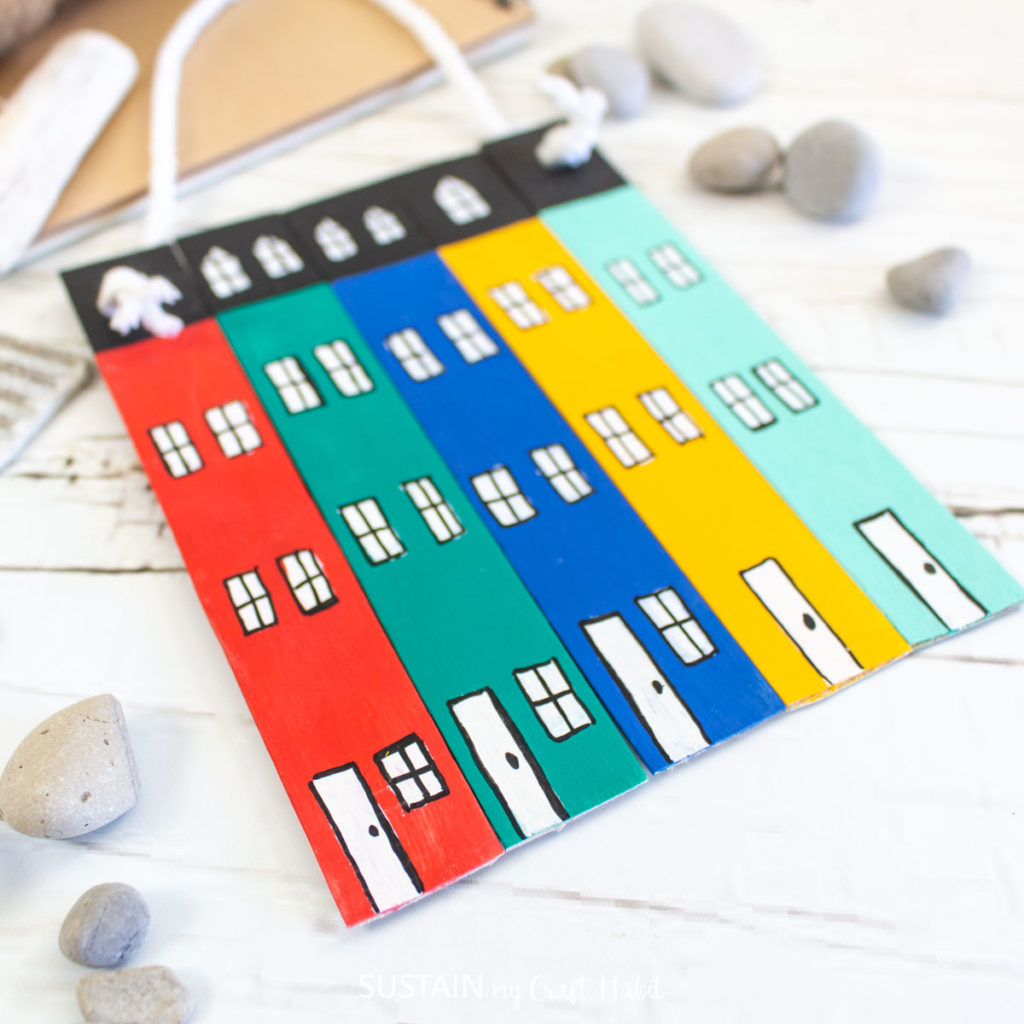
- Row House Craft Stick Ornament
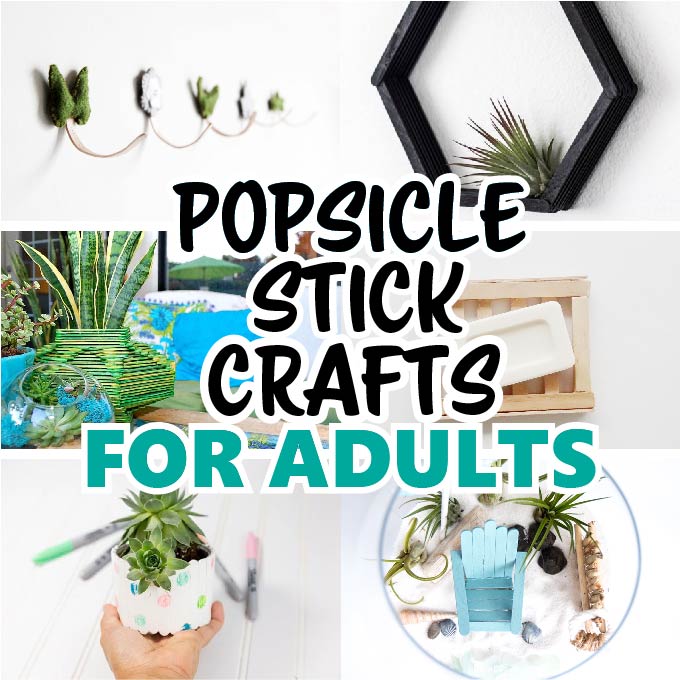
- 21 Fun Popsicle Stick Crafts for Adults
- DIY Plant Picks
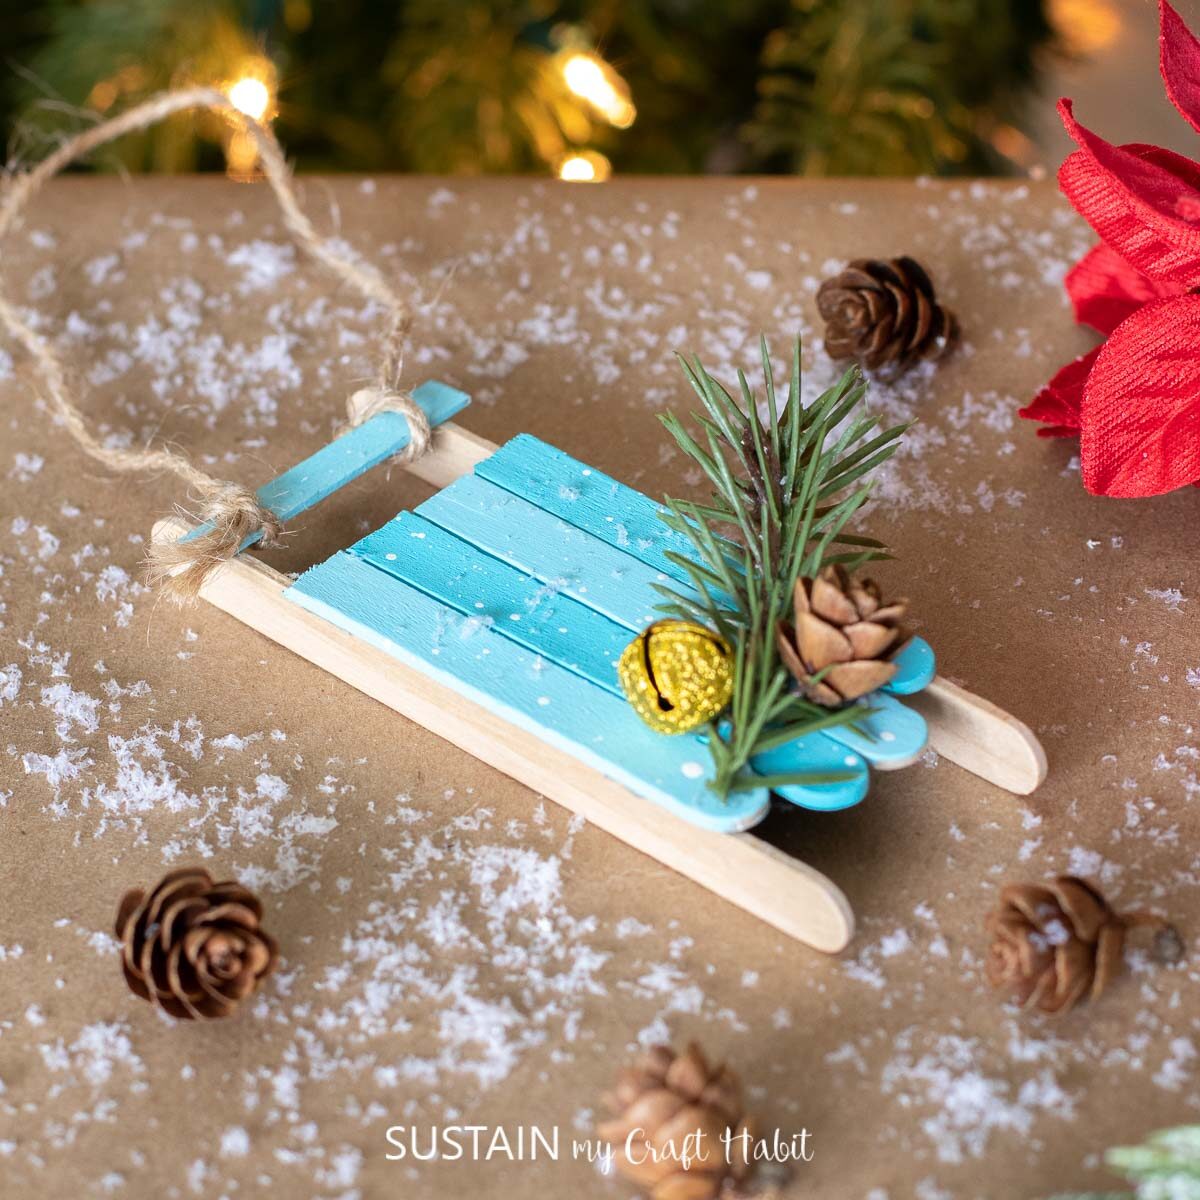
- Popsicle Stick Sled Ornament
- Small Shadow Box Art
- Popsicle Stick Decorative Sled


Get updates on the latest posts and more from Sustain My Craft Habit straight to your inbox by joining our weekly newsletter. We promise to send you only the good stuff!
Like it? Pin it for later!


DIY Image Transfer to Wood: A Popsicle Stick Sign
Materials
- Jumbo craft sticks
- faux magnolia flowers and greenery
- Acrylic paint in white and teal
- Paint brushes
- Image prints for transfer
- Mod Podge
- Sandpaper and cloth
- Hot glue gun
- Scissors
Instructions
- Paint the edges of the jumbo sticks in teal and let dry. Then paint over top of the teal with white.
- After drying, sandpaper the edges to reveal the teal and to achieve a weathered look.
- Place all but two jumbo sticks face down and join together using the other two sticks with hot glue.
- Cut around image print of choice. Apply layer of Mod Podge over the image. Press (face down) on to sign and let dry completely (overnight).
- Fully dampen the paper with a cloth and gently rub it off leaving behind only the image on the sign.
- Glue one floral stem with greenery across top of the sign. Glue twine for hanging to the back of the sign to complete.
What kind of images did you use? Inkjet? Laser jet? Help!
Hi, We use images printed from our inkjet printer.