Personalized Wood Engraving with XTool F1

Learn all about engraving wood with the XTool F1 for personalize your crafts with precision and creativity. We can all agree, there’s something really magical about engraving wood: it transforms an ordinary, everyday object into something personal and one-of-a-kind.
Let’s get to the step-by-step tutorial so you can make your own engraved wood pieces in no time!

Engraving Wood with the xTool F1
Can you imagine transforming a plain piece of wood into a stunning piece of art right from the comfort of your home? With the innovative xTool F1, that possibility is closer than ever before!
This powerful yet user-friendly tool allows even total beginners to create intricate designs on their favorite wooden items or surfaces. So, whether you’re a hobbyist looking for new ways to express your creativity or someone who loves personalized items, learning more about engraving wood with the xTool F1 is a must!
Check out our full review of the xTool FI, their newest and fastest portable laser engraver. Additionally, we’ve previously reviewed the xTool M1, their hybrid laser engraver and blade cutting machine, so be sure to check that out too.

We’d love for you to become a Sustain My Craft Habit insider to join our creative community and receive loads of fun freebies!
Materials Needed to Make Wooden Engraved Fridge Magnets
Disclosure: This post contains affiliate links for your shopping convenience. Should you choose to purchase through them, we will make a small commission at no extra cost to you. You can read our full disclosure policy here.
- xTool F1
- Plywood o any smooth wood surface (such as these wood slices)
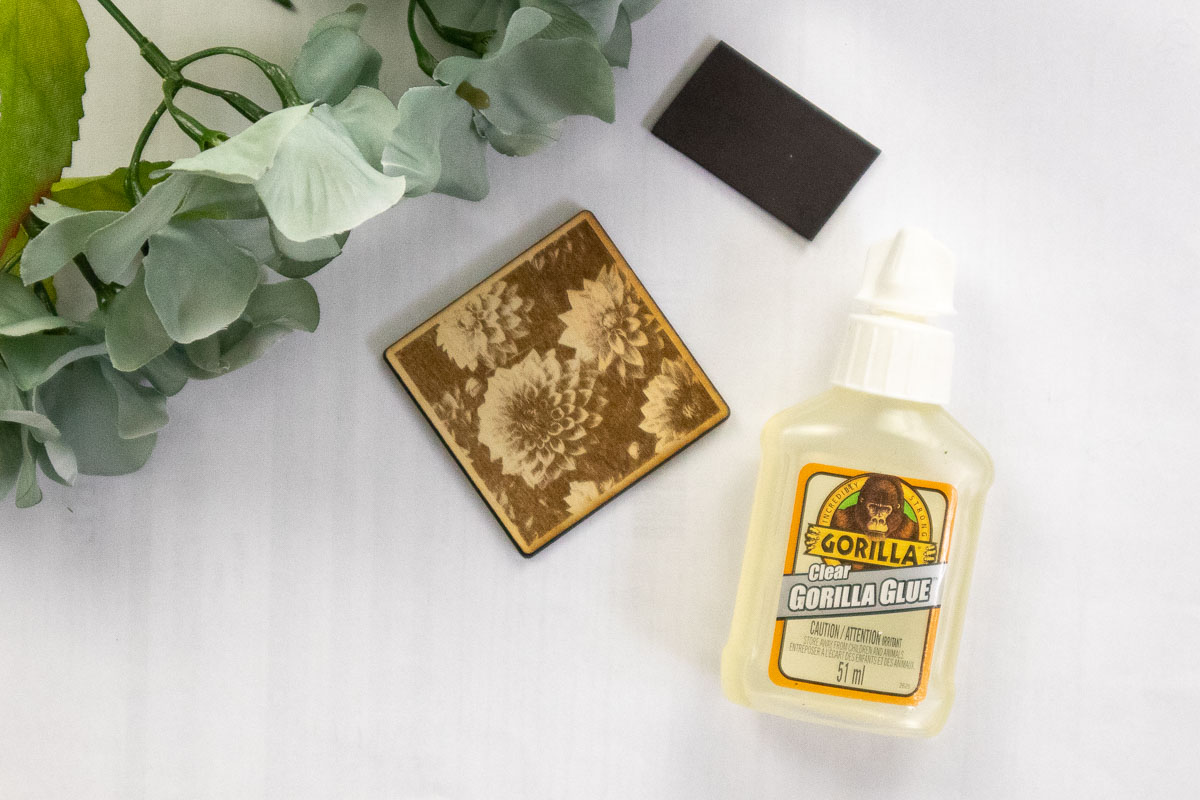
- Gorilla clear glue
- Duraclear gloss varnish
- Paint in orange
- Paintbrushes
- Magnet
How to Make a Personalized Wood Engraving with XTool F1
Click on the xArt button on the left hand panel of xTool Creative Space (on desktop).
Create a free account and open the dashboard. Each new account comes with 500 free points. Each picture generated “costs” 5 points and you can “earn” more points by posting project ideas and tutorials using the xArt function on the xTool Projects Gallery. You can learn more about the xArt program here.
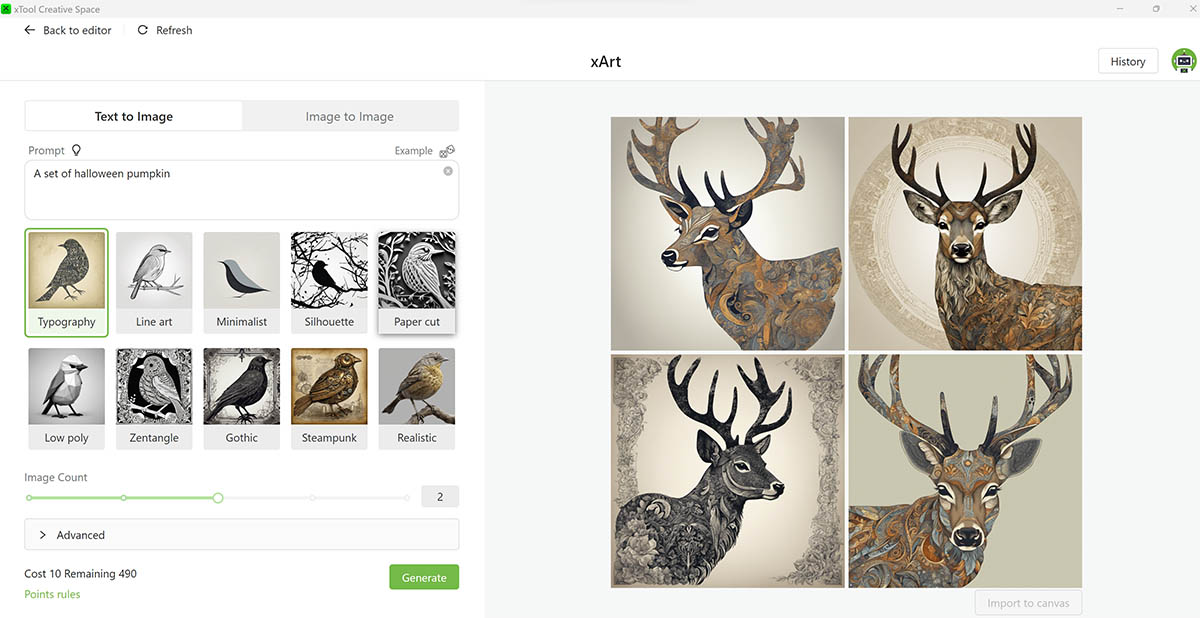
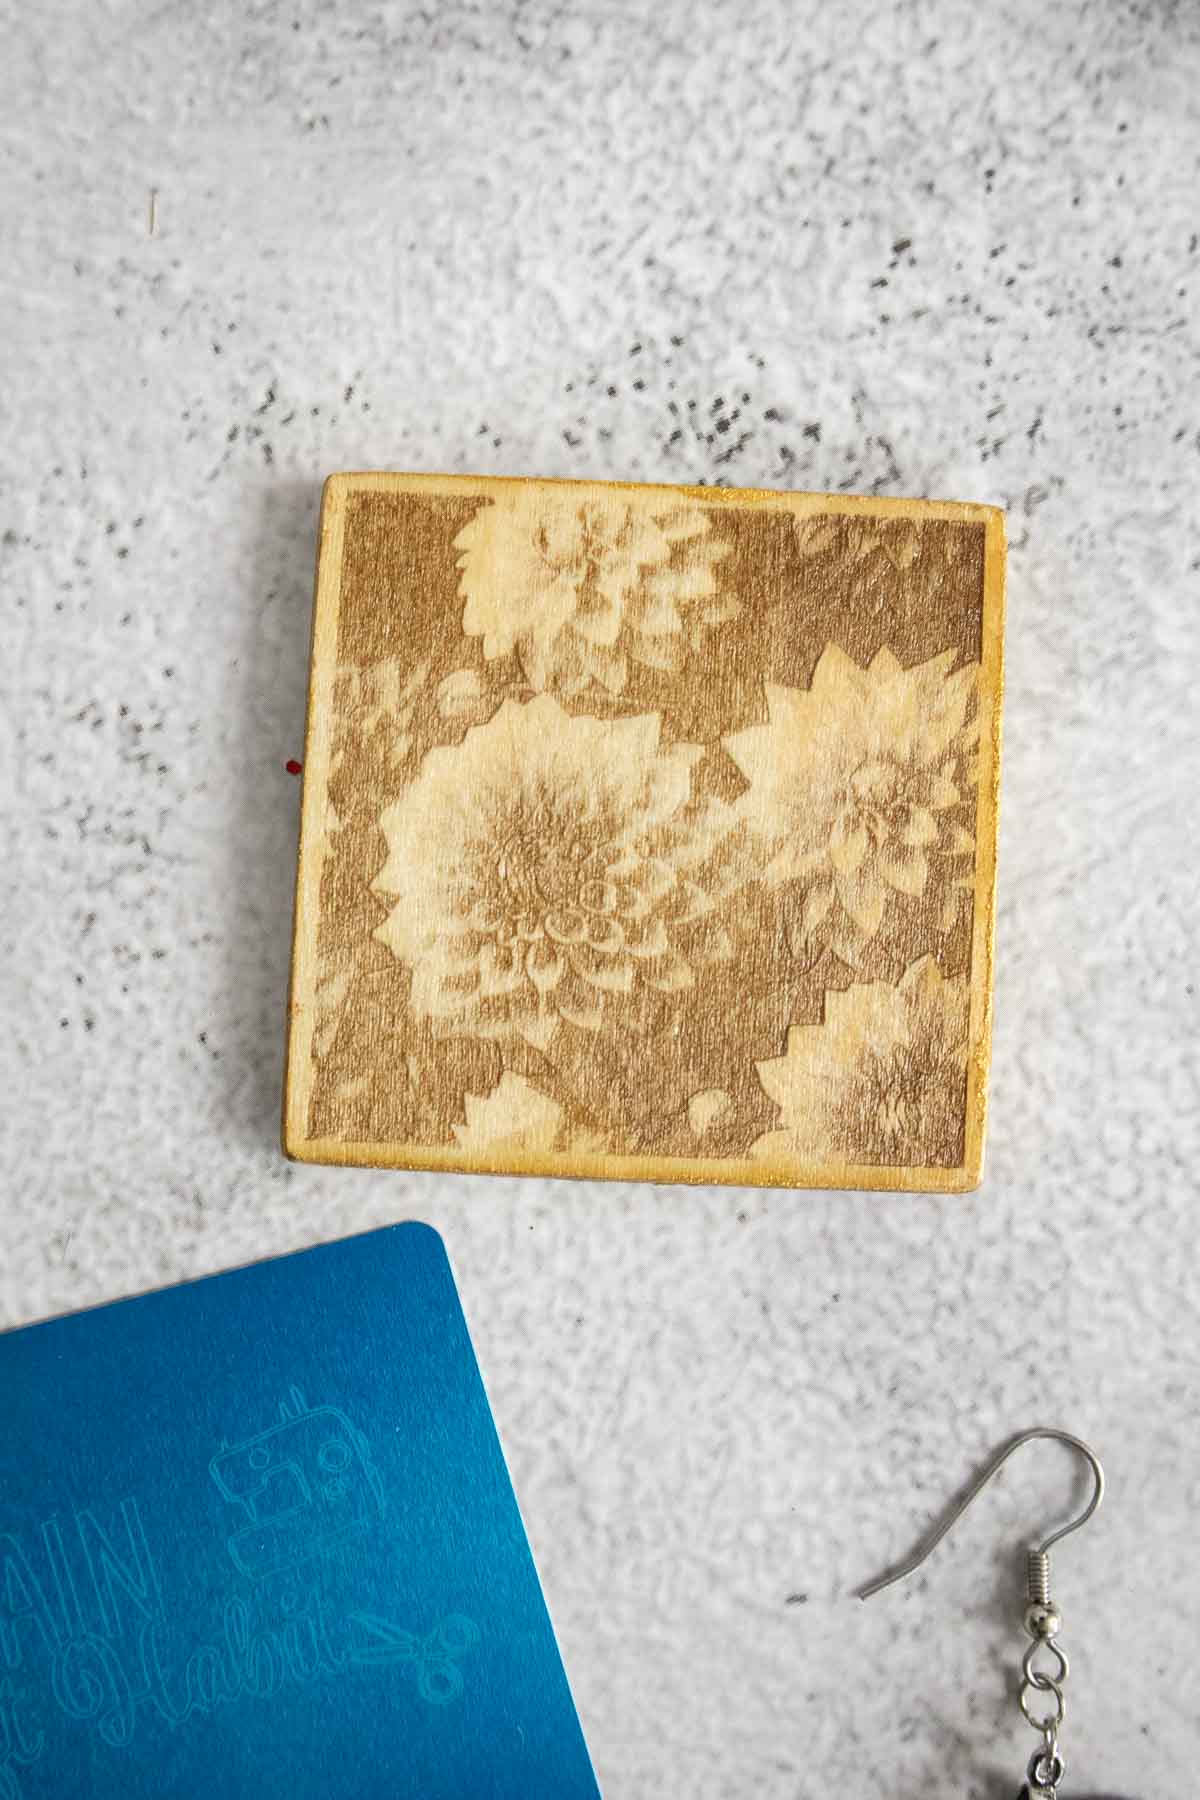
With the Text to Image button selected, write a phrase in the Prompt box. I typed dahlia bouquet to generate my images. You can choose the type of art from 10 different styles (I selected Realistic) and the number of images to generate.

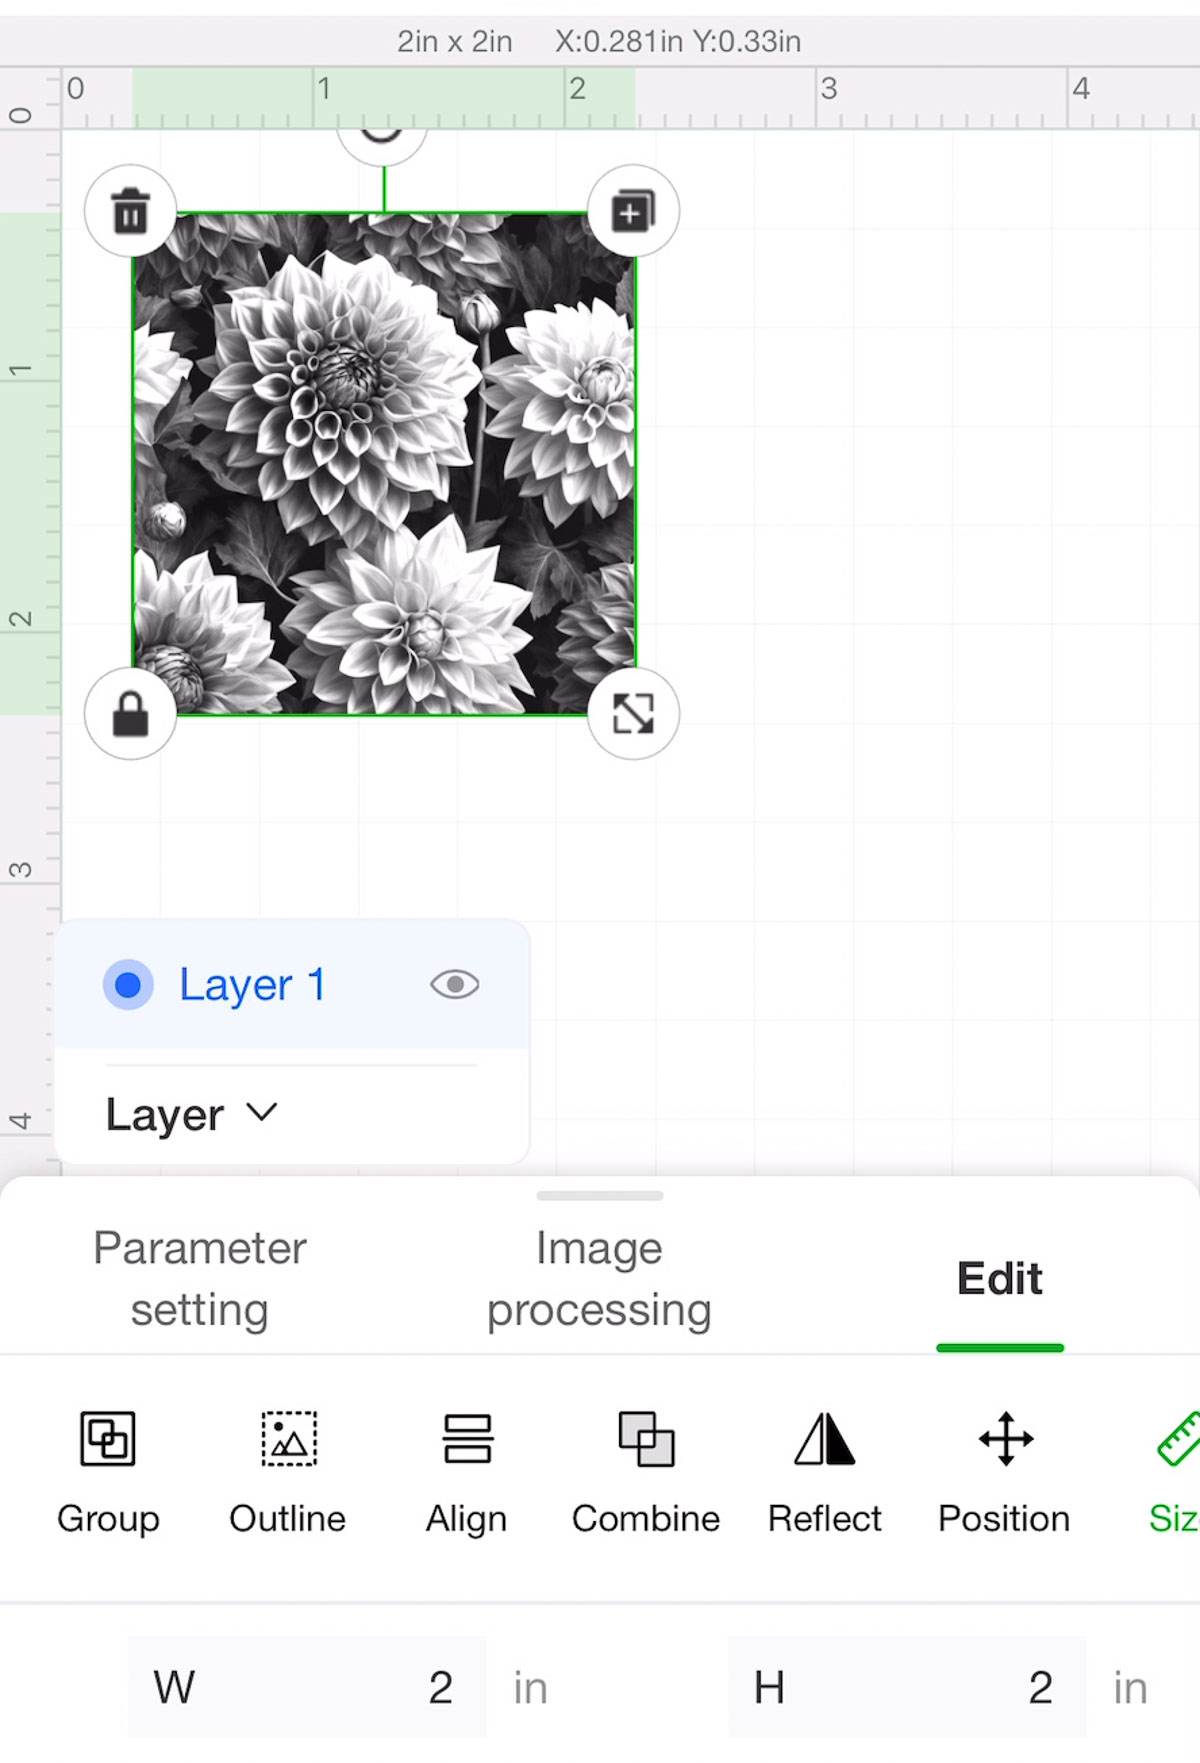
xArt generated this beautiful image of soft pink dahlias with so much detail. Next, I loaded the image onto a canvas and resized it to 2”x2”.
I created an Offset (0.079”) and then moved that to Layer 2.
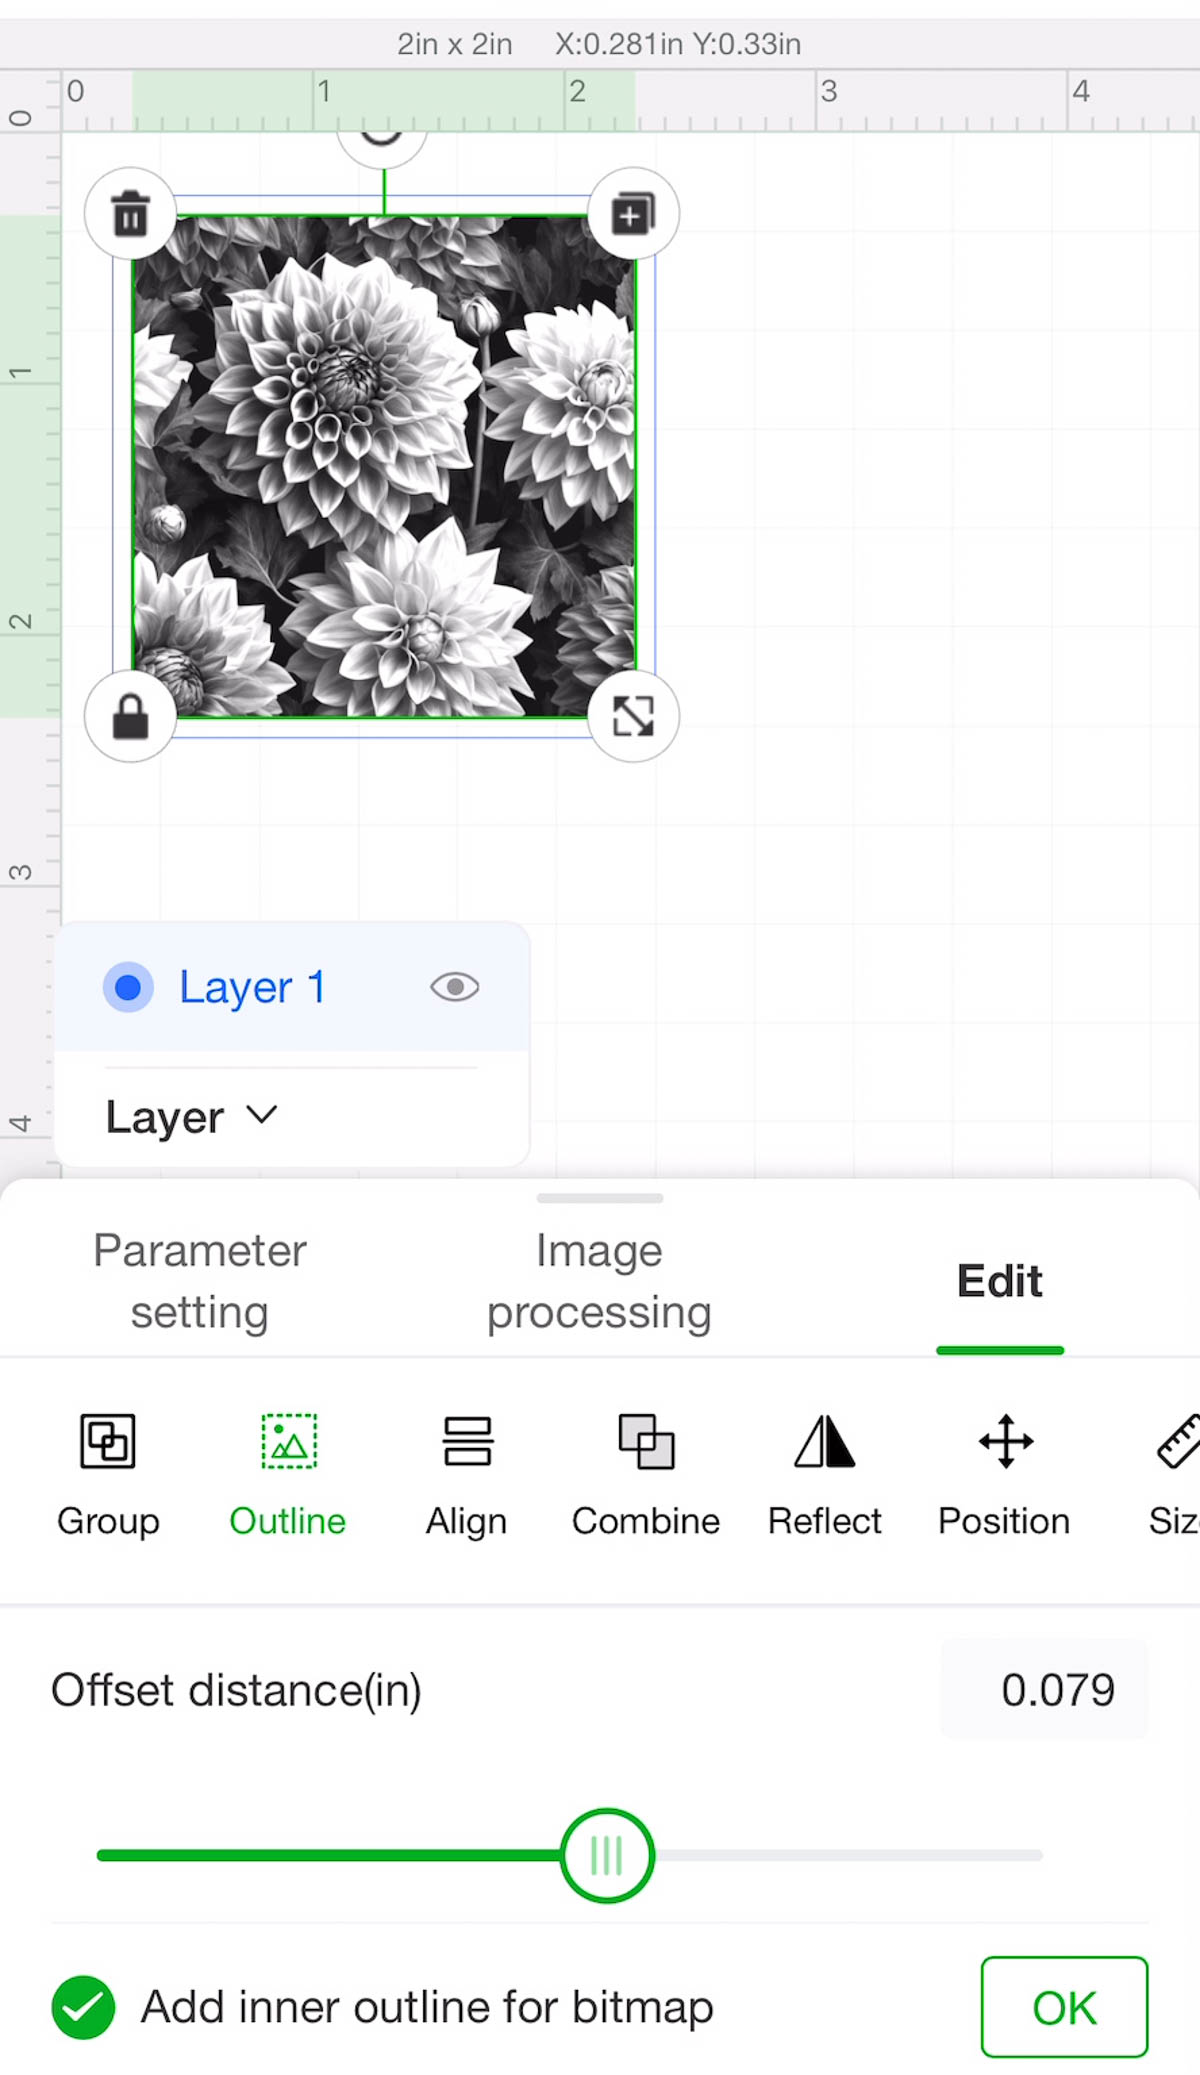
Next, I set the Layer 1 Parameter Setting to “Engrave” and the Layer 2 Parameter Setting to “Cut”.

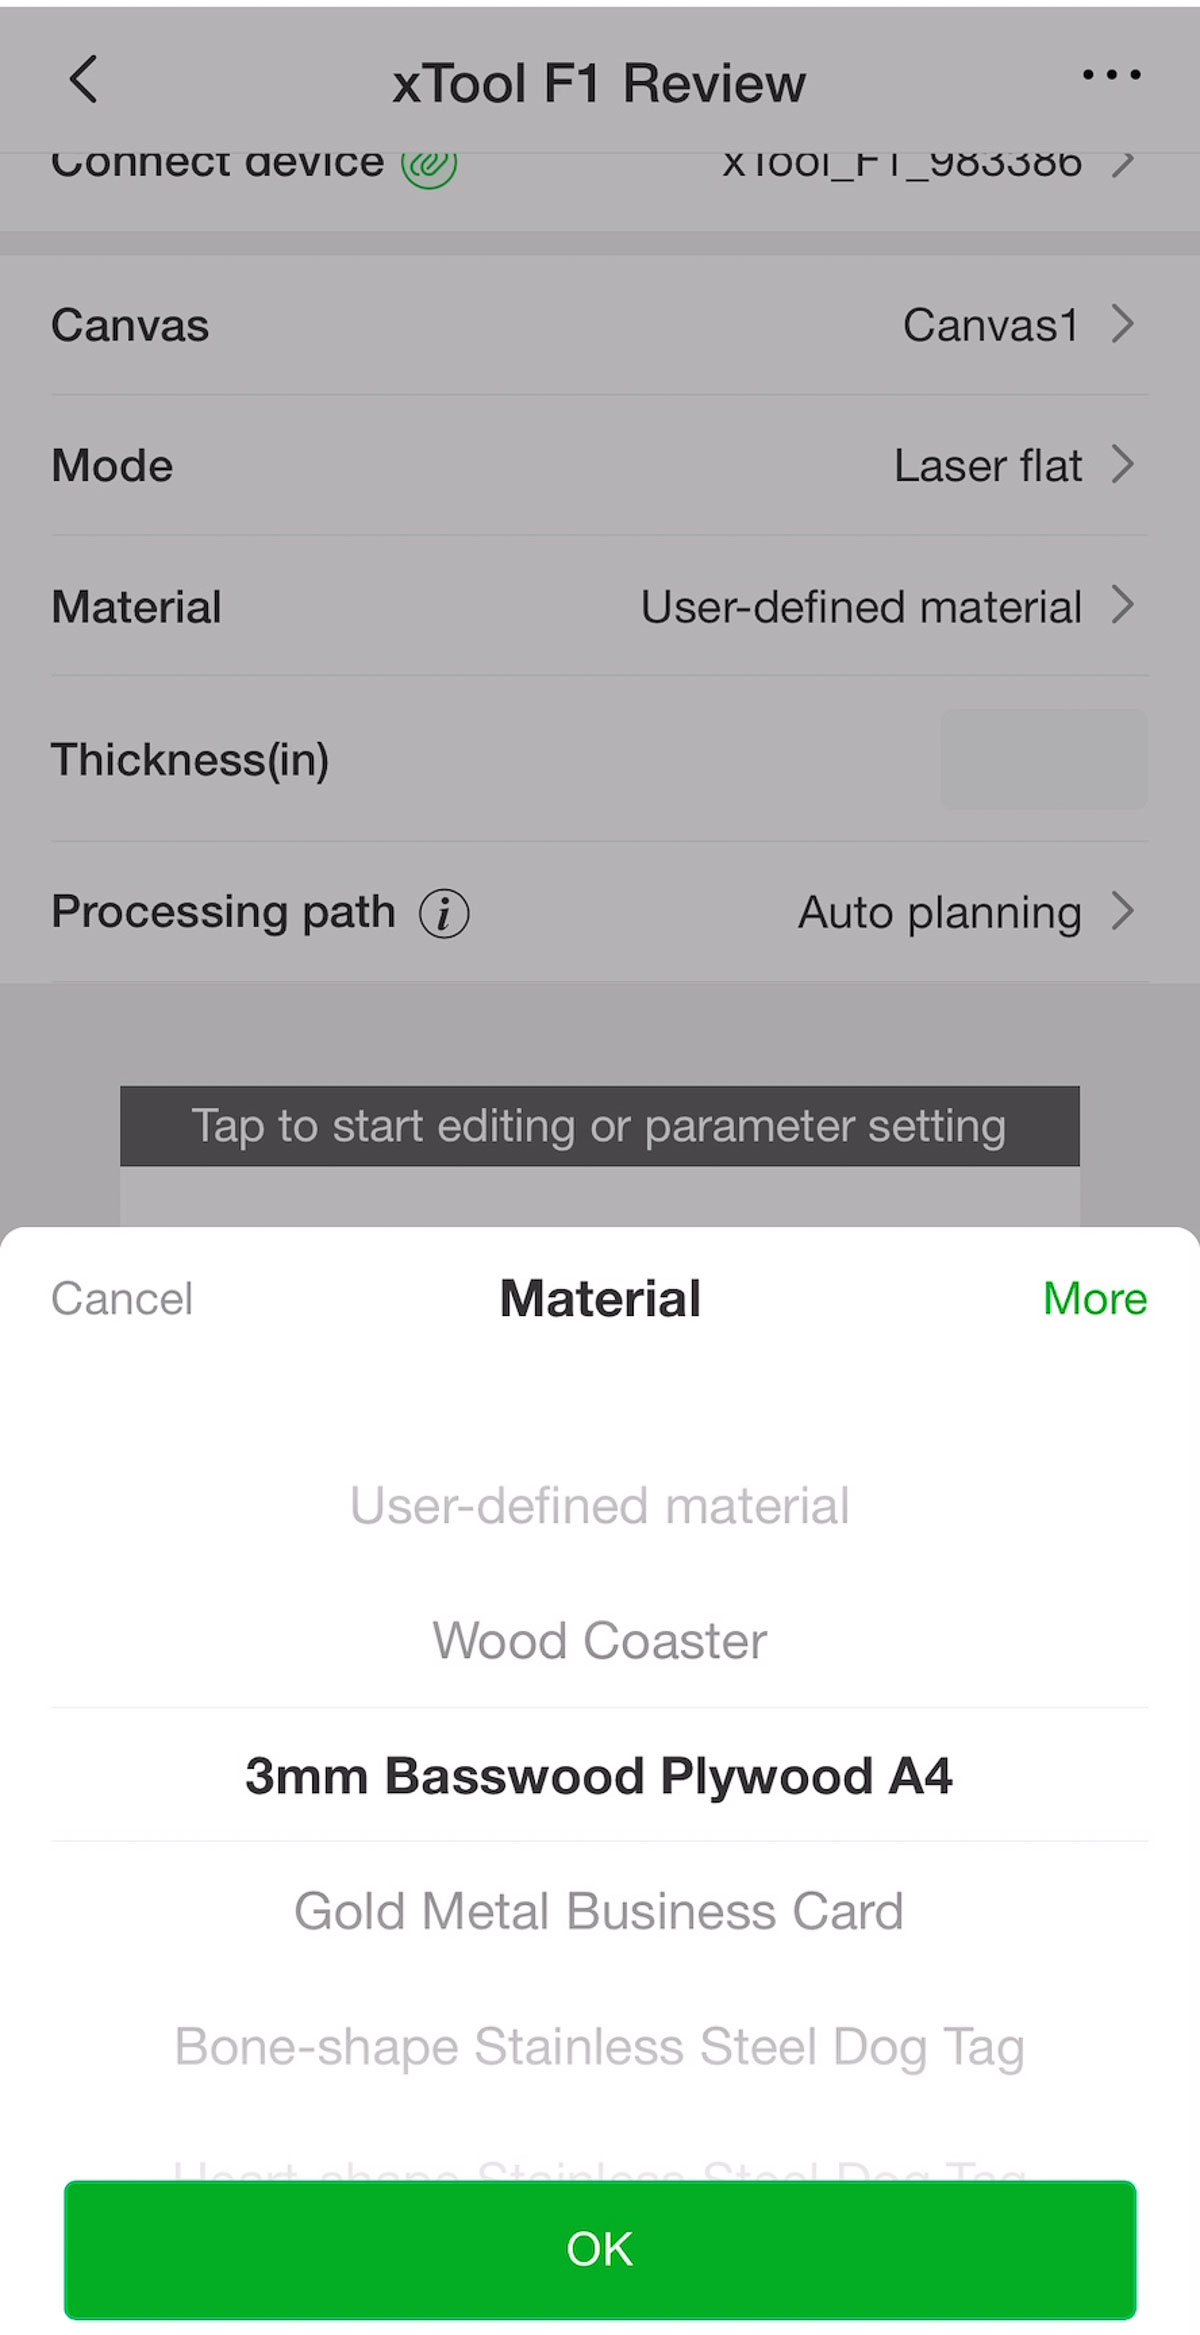
I then selected my Material on the Home screen as “3mm Basswood Plywood A4”. This then sets all the necessary parameters.
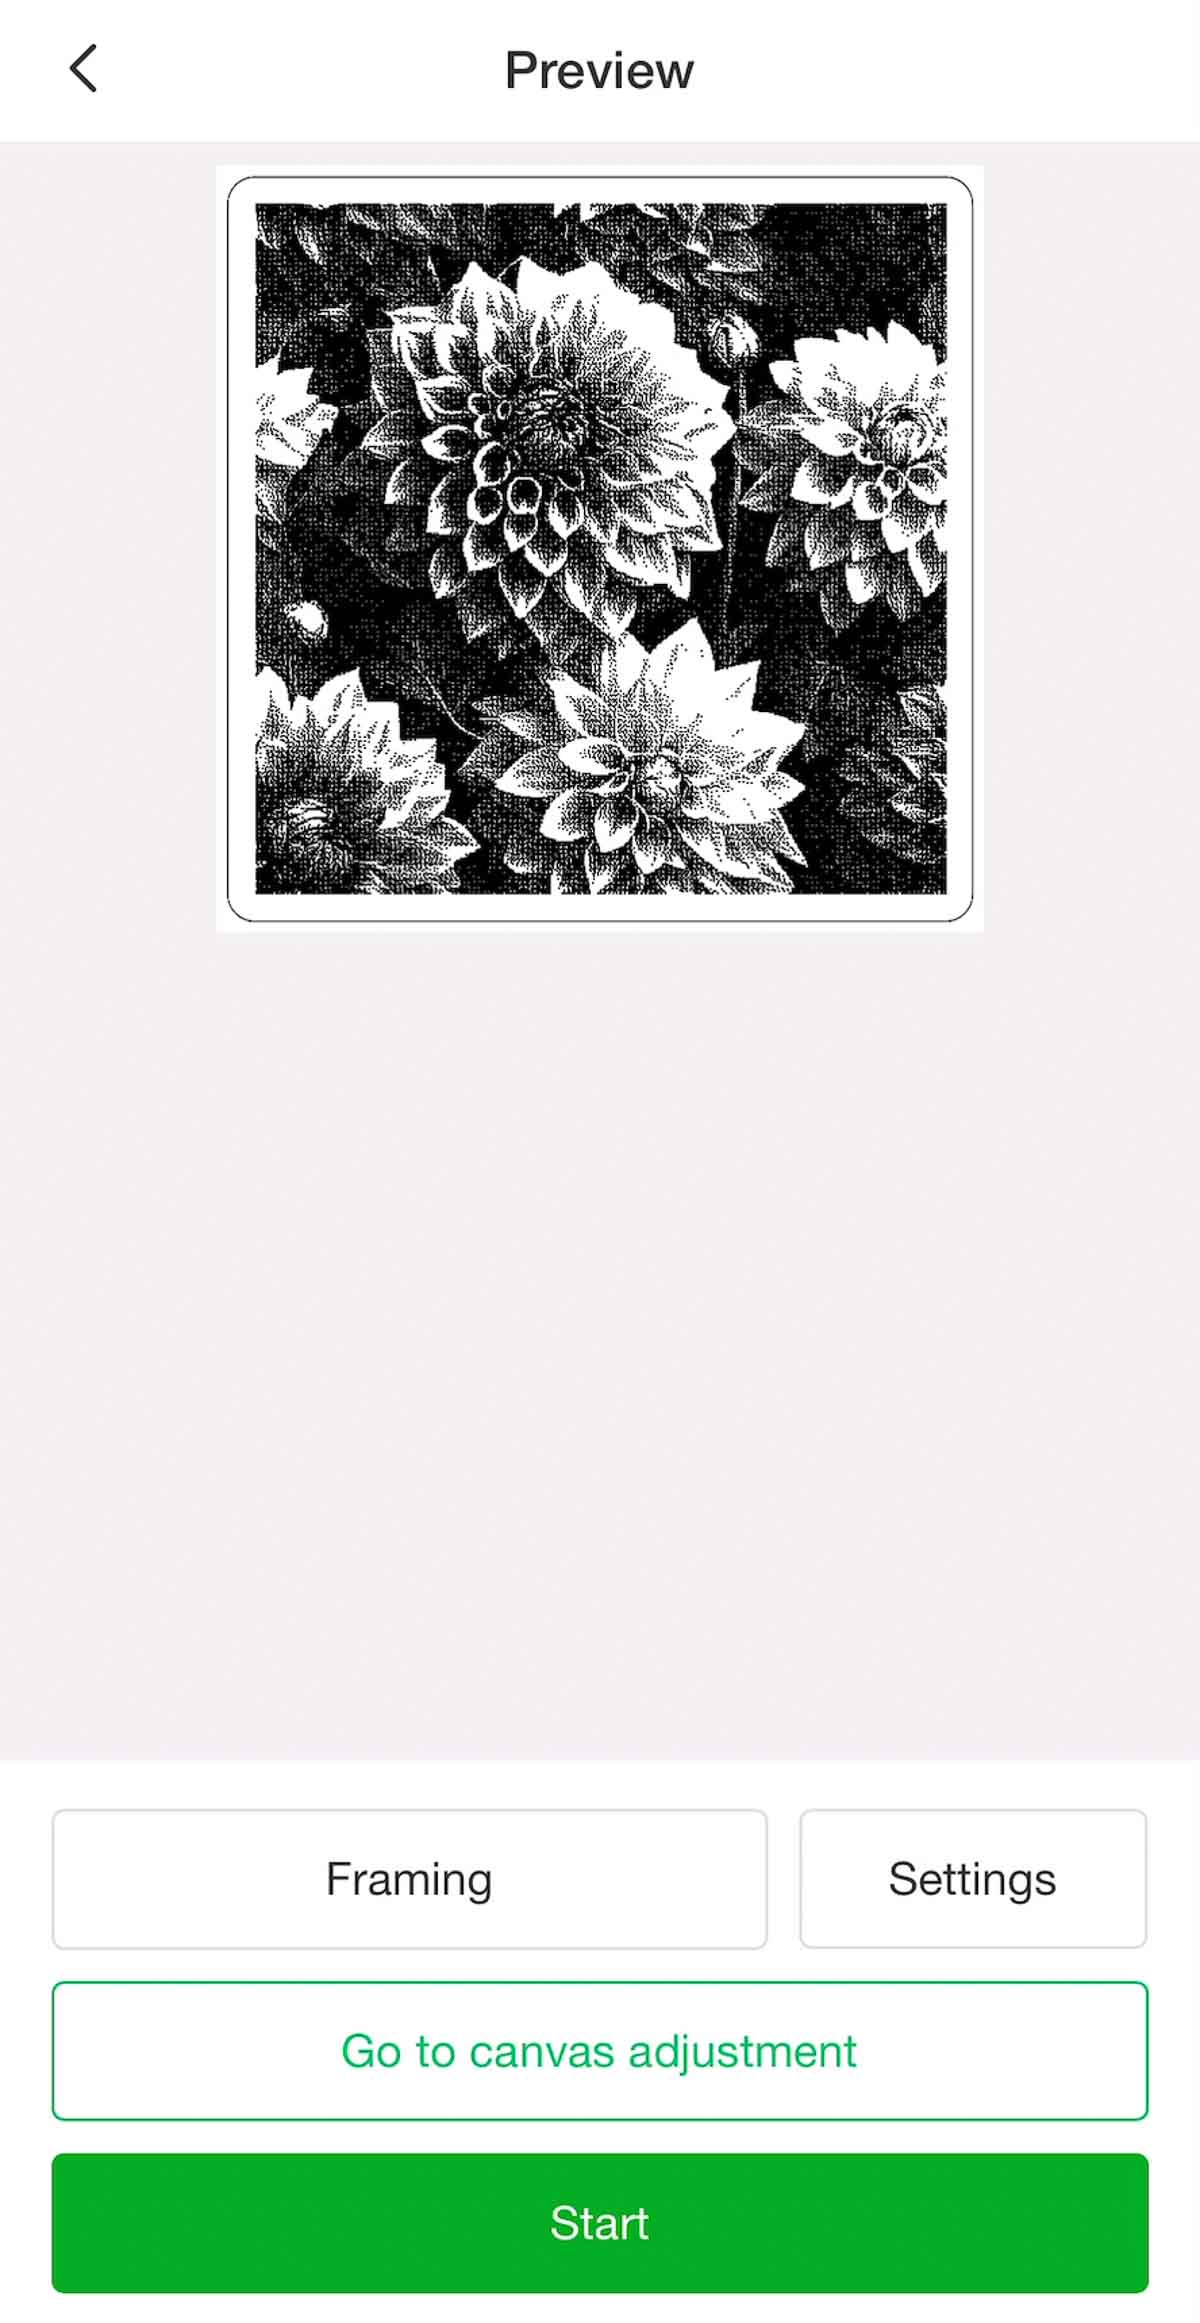
After checking the Framing, I clicked Start and then pushed the button on the machine.
Creating Magnets with Engraved Wood Slices
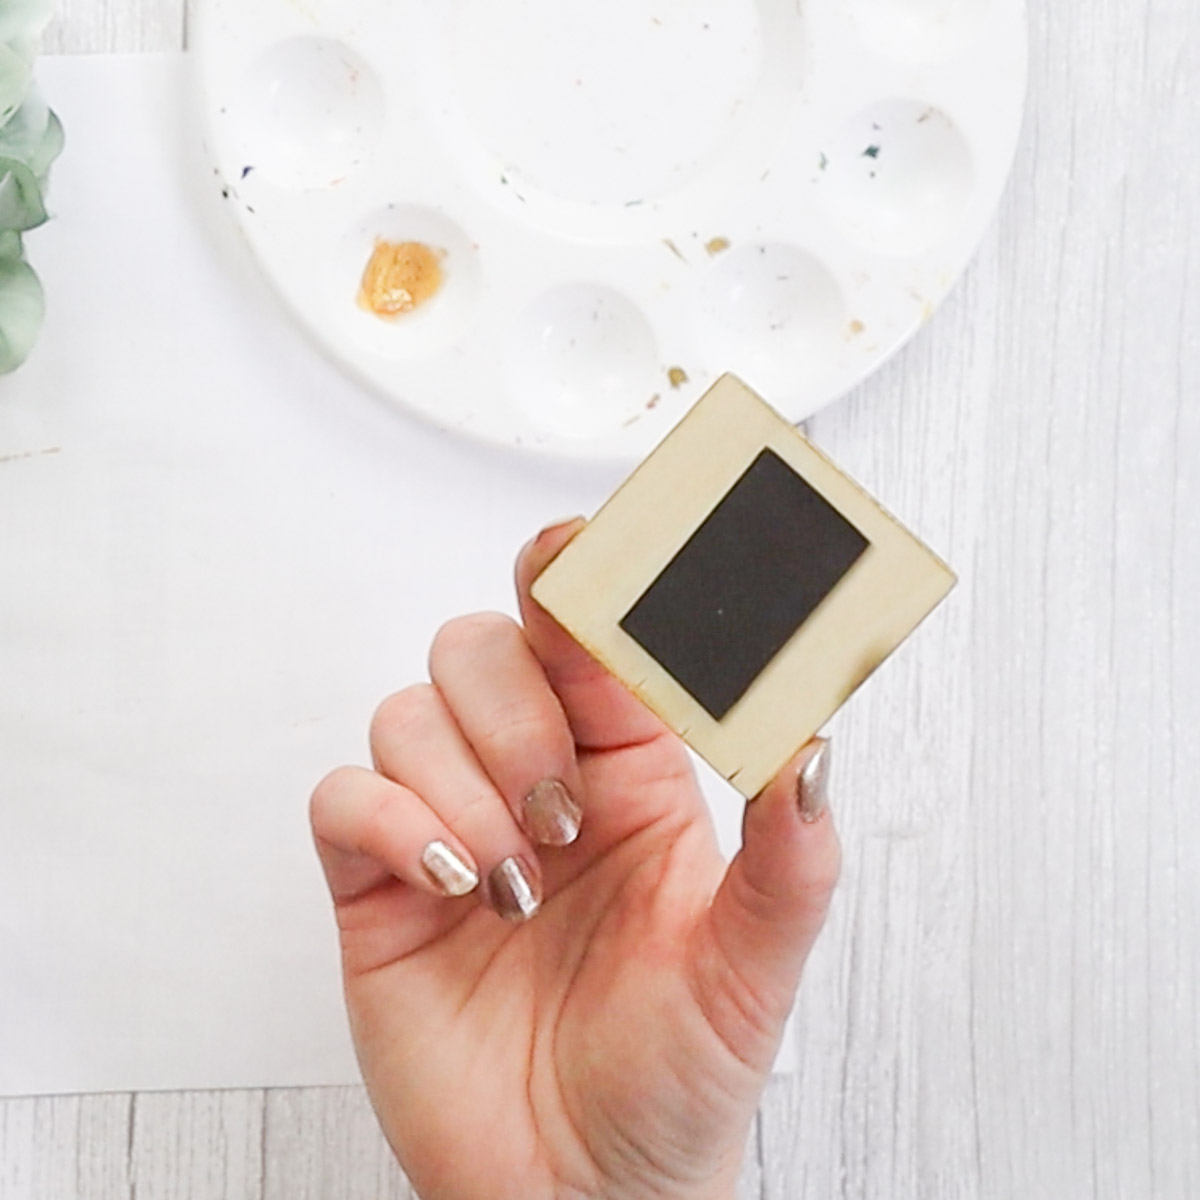
To finish the outer edges of the wood slice, I used a fine tip brush and some gold paint and carefully painted the outer edges. This is not necessary of course, but gives it a pretty, finished look.
Onc dry, use the Gorilla glue to adhere a small magnet to the reverse side of the engraved wood slice.

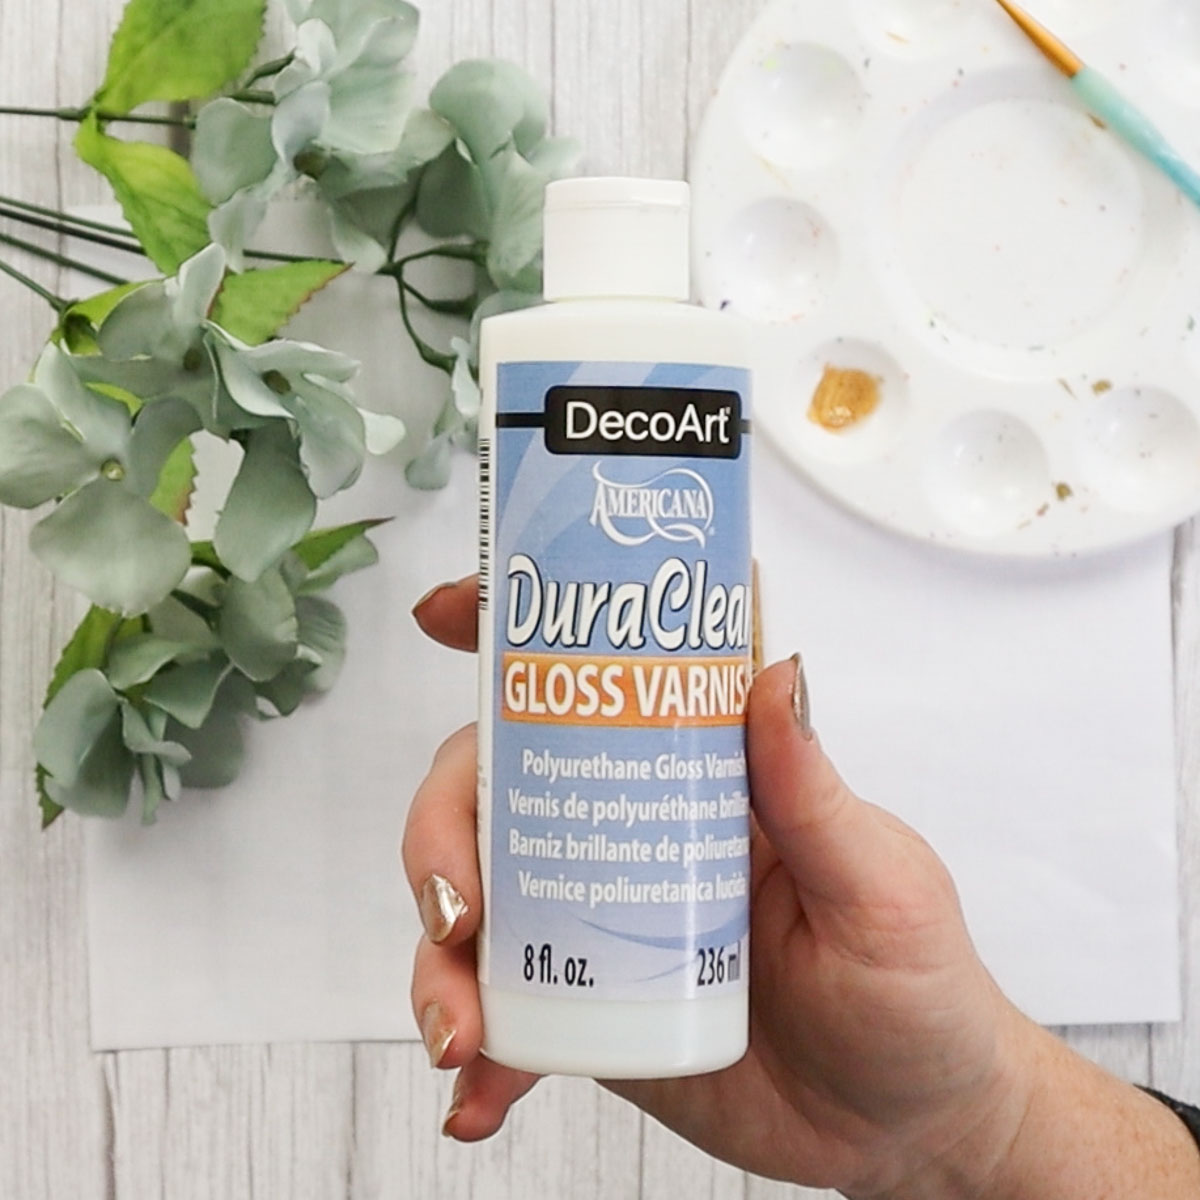
Lastly, I sealed the surface of the wood slice with a sealer in a gloss finish. This last step really makes the engraving effect pop!

Is your mind spinning with ideas? The possibilities are truly endless with the process of engraving wood with the xTool F1. What is the first project you would make?
If you do give wood engraving a try, make sure to tell us and show it off! Tag us on Facebook or Instagram– we can’t wait to see it!
Other Crafts to Make with the xTool
- XTool M1- DIY Fall Sign
- Kraft Paper Night Light with xTool M1
- Engraved Slate Coaster
- Upcycled Home Sign
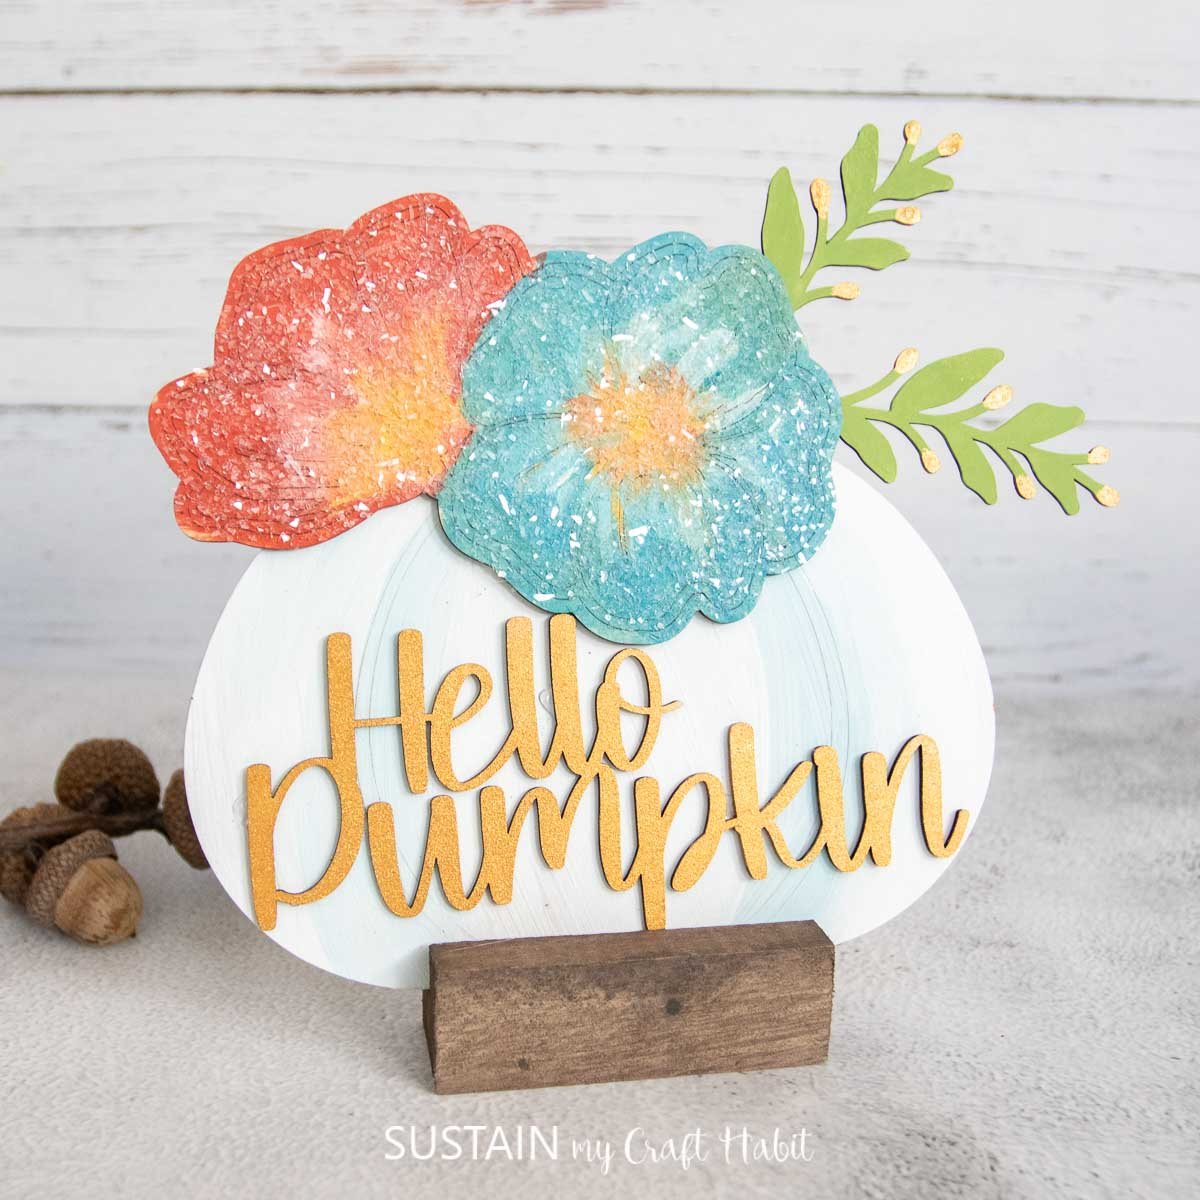
- Floral Pumpkin Laser Wood Cutout
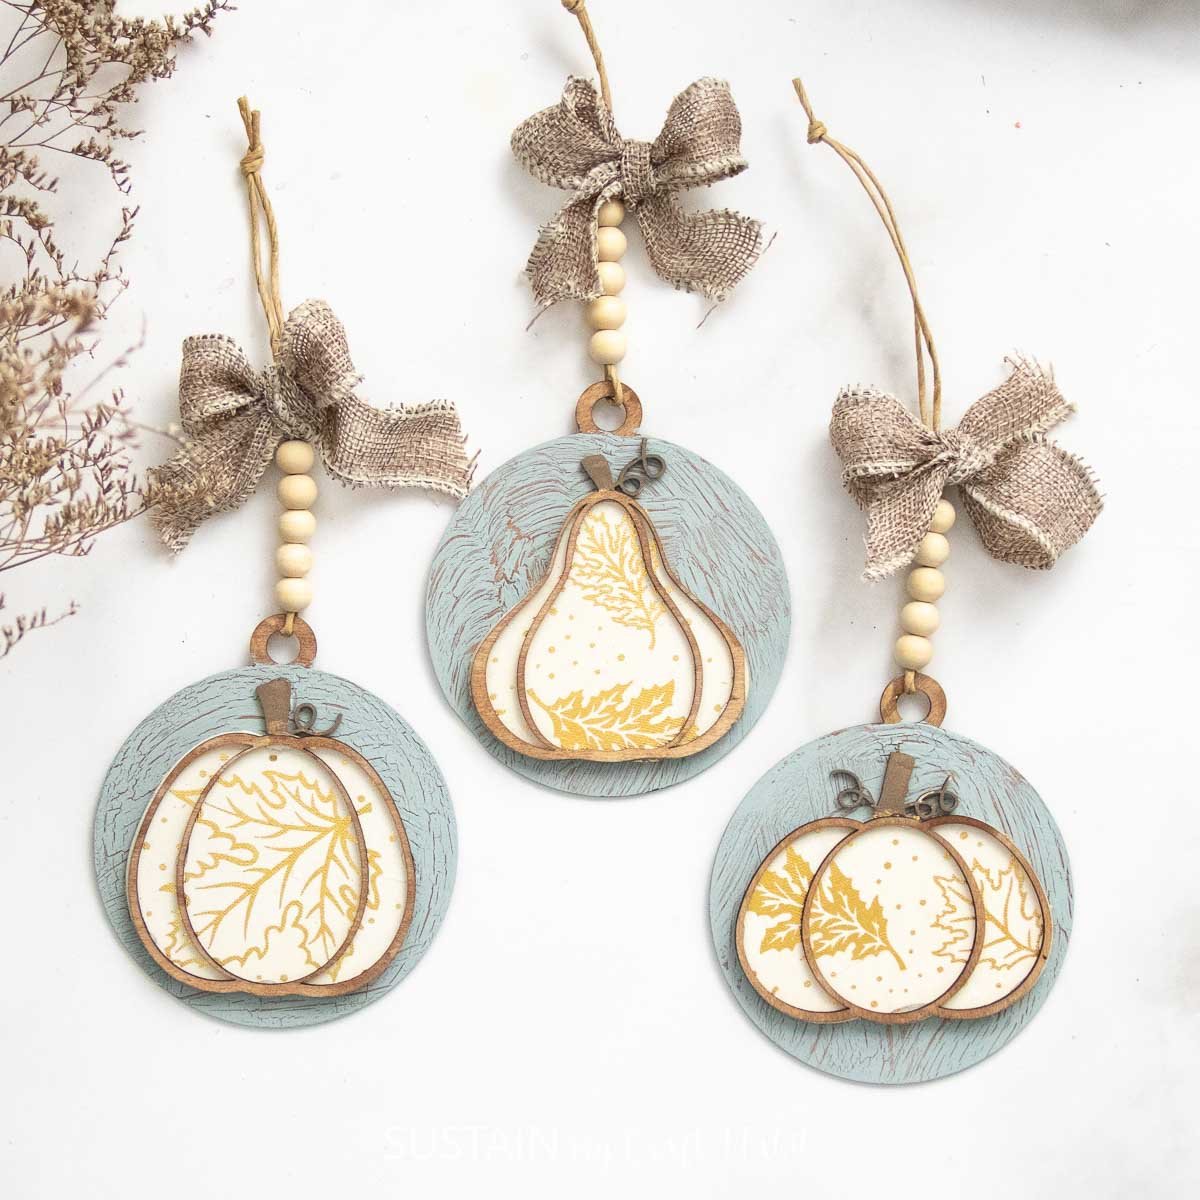
- Laser Cut Wood Pumpkin Ornaments


Get access to our resource library filled with cut files and other xTool craft ideas!
Like it? Pin it for later!


Personalized Wood Engraving with XTool F1
Materials
- xTool F1
- Plywood
- Gorilla clear glue
- Duraclear gloss varnish
- Paint in orange
- Paintbrushes
- Magnet
Instructions
- Click on the xArt button on the left hand panel of xTool Creative Space (on desktop)
- With the Text to Image button selected, write a phrase in the Prompt box. I typed dahlia bouquet to generate my images.
- Load the image onto a canvas and resiz it to 2”x2”.
- Create an Offset (0.079”) and then move that to Layer 2.
- Set the Layer 1 Parameter Setting to “Engrave” and the Layer 2 Parameter Setting to “Cut”.
- Select your Material on the Home screen as “3mm Basswood Plywood A4”. This then sets all the necessary parameters.
- After checking the Framing, click Start and then push the button on the machine.