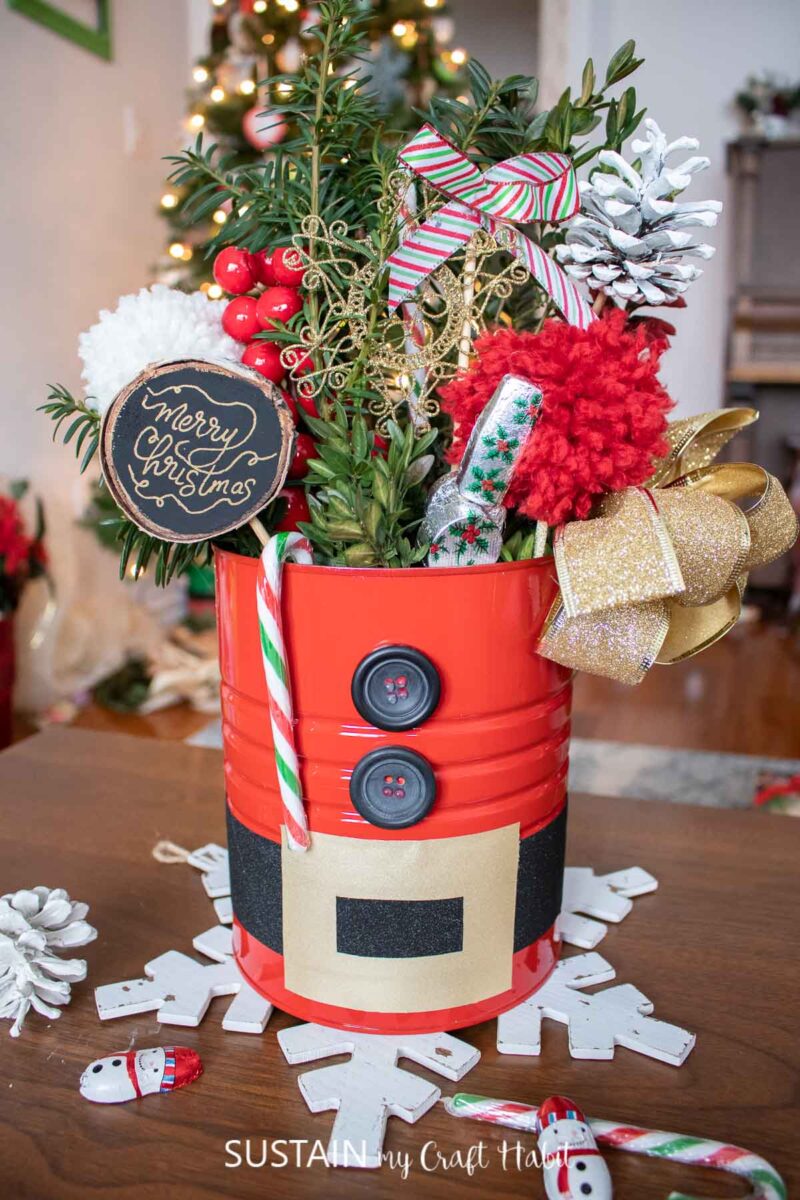
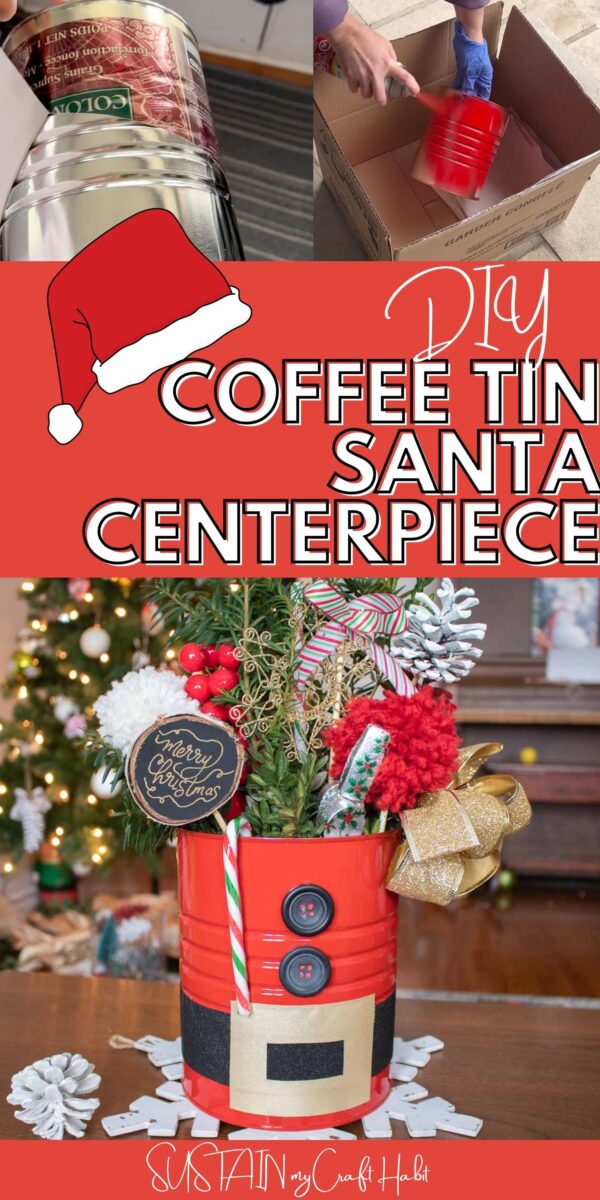
Coffee Tin Santa Centerpiece
Crafting a sweet Santa centerpiece for the holidays using an upcycled coffee tin and plenty of festive embellishments and treats. What do you think? How fun would this centerpiece look on your Christmas table?
Making a Santa Centerpiece
Seeing how much coffee we go through in the house, it’s no wonder we love using coffee tins for crafting! Our latest craft, this Santa centerpiece turned out to be super cute and will make a great addition to our holiday decor. Have you ever crafted with coffee tins?
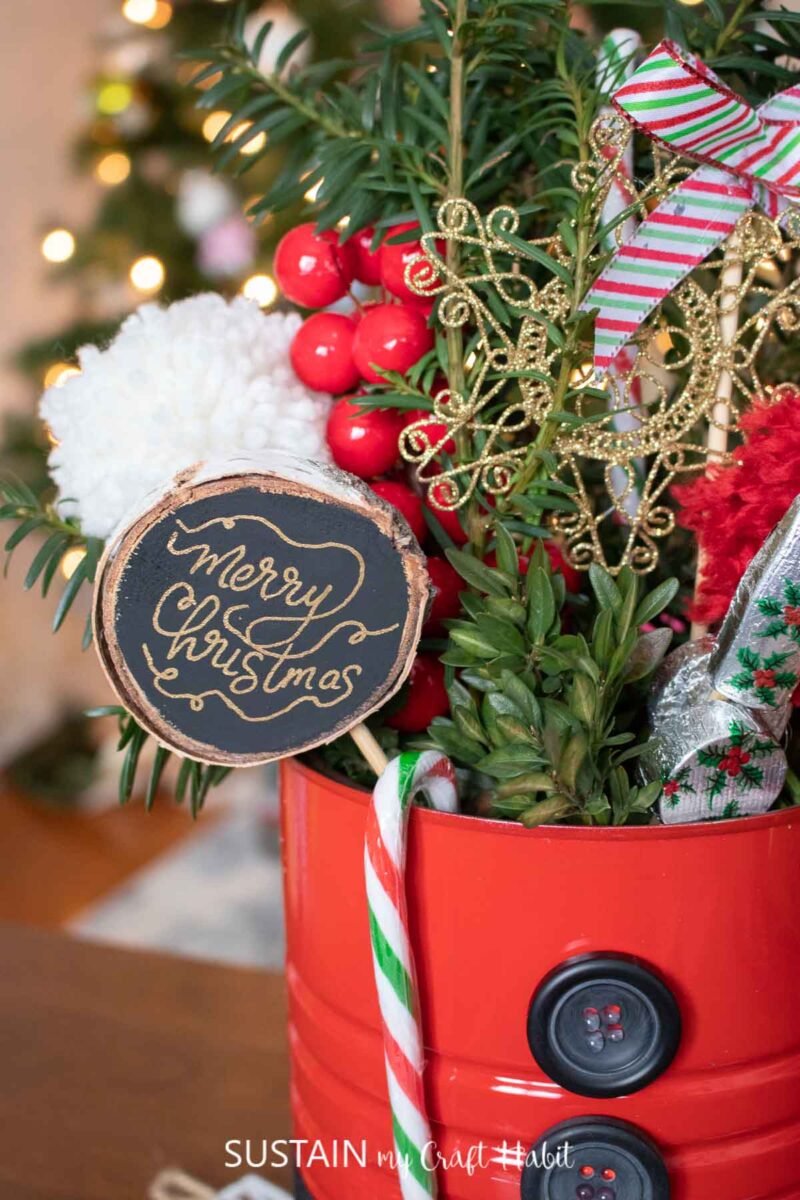
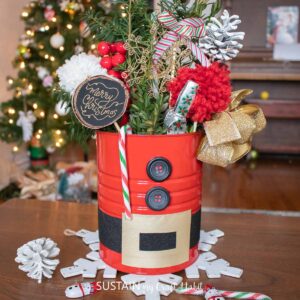
We pretty much added whatever fun embellishments we had in our crafting stash, things like painted pinecones, DIY pom-poms, decorative berries and painted wood slice picks were all included in this impressive centerpiece. As crafters, it’s amazing the things we accumulate over the years that can be used to embellish projects.
Materials Needed
Disclosure: This post contains affiliate links for your shopping convenience. Should you choose to purchase through them, we will make a small commission at no extra cost to you. You can read our full disclosure here.
- Empty Coffee Tin Can
- Red Spray Paint
Premium Vinyl in black and gold- Buttons
- Hot Glue Gun
- Greenery
- Festive Decorations such as berries, pom-pom pick, pinecone picks, wood slice pick and other decorations as desired
How to Make a Coffee Tin Santa Centerpiece
Preparing the Santa Tin
We were inspired to make this craft as part of a series of Facebook Live videos all about holiday decoratin! You can check out the video for this coffee tin santa centerpiece here or scroll down for the photo tutorial.
Start by removing the label from the coffee tin can and wash out any remaining coffee grinds. Leave the can to dry fully before proceeding.

Using the red spray paint, paint the coffee tin completely and let it dry. Apply a second coat of paint if needed and let the coffee tin dry.

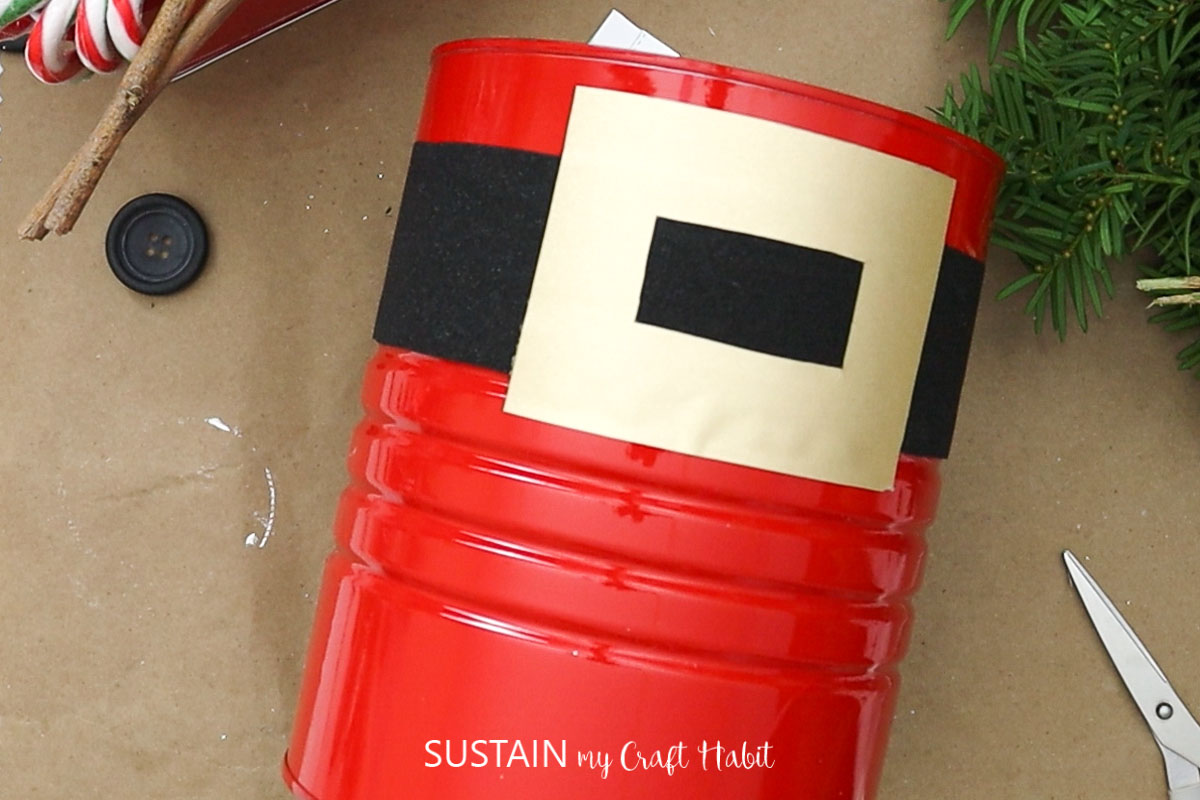
Cut a strip of the black vinyl long enough to wrap around the can and apply the vinyl around the painted coffee can, about 1/3 from the bottom.

Cut a piece of gold vinyl into a square with the center cutout for the buckle and apply it to the coffee tin over top of the black strip.
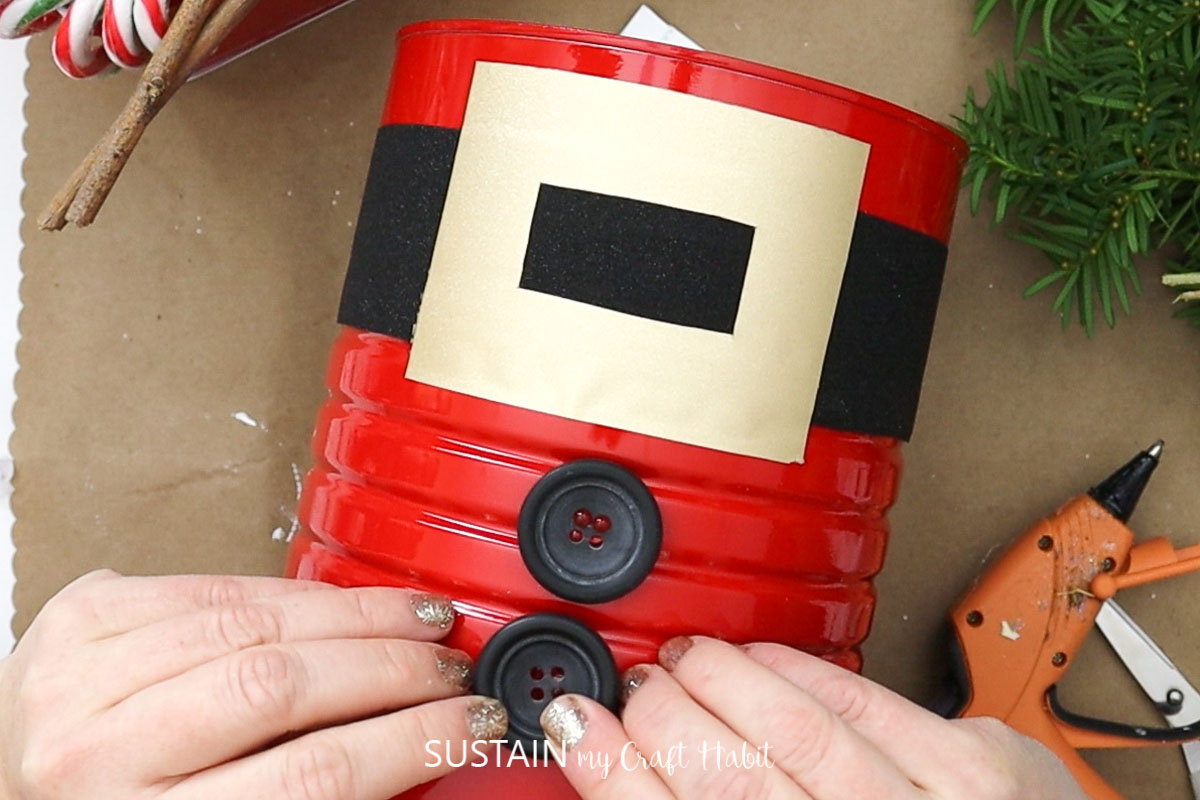
Using the hot glue gun, glue the buttons on the painted coffee can just above the buckle.
Embellishing the Santa Tin
Take some fresh greenery and place it in the coffee can.
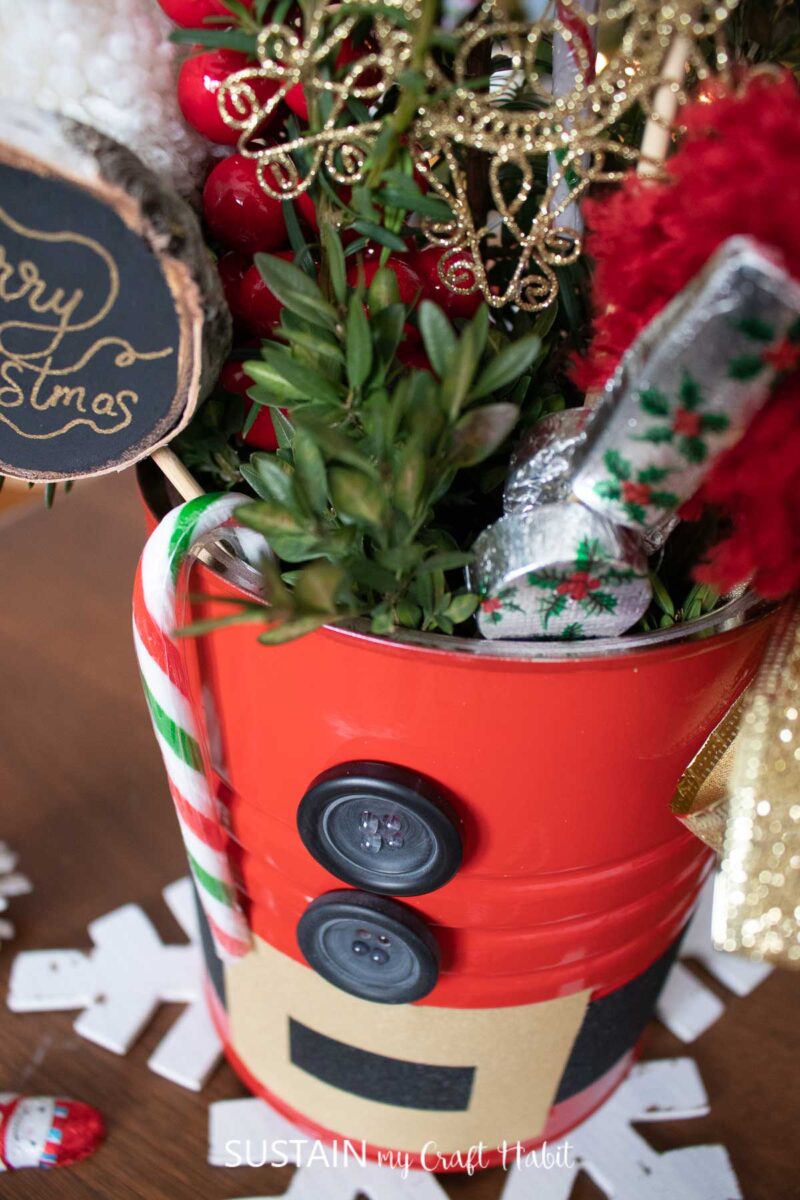
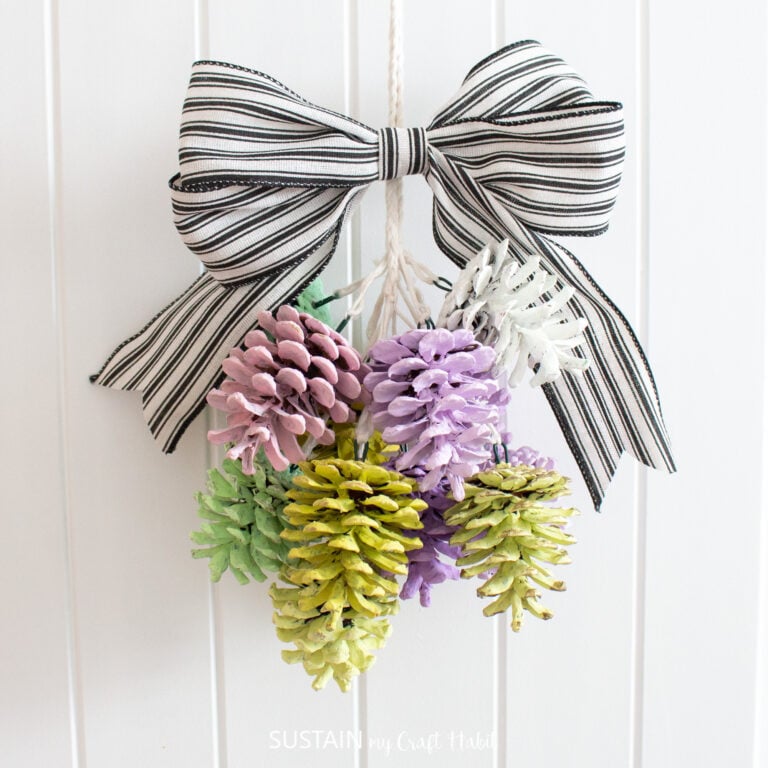
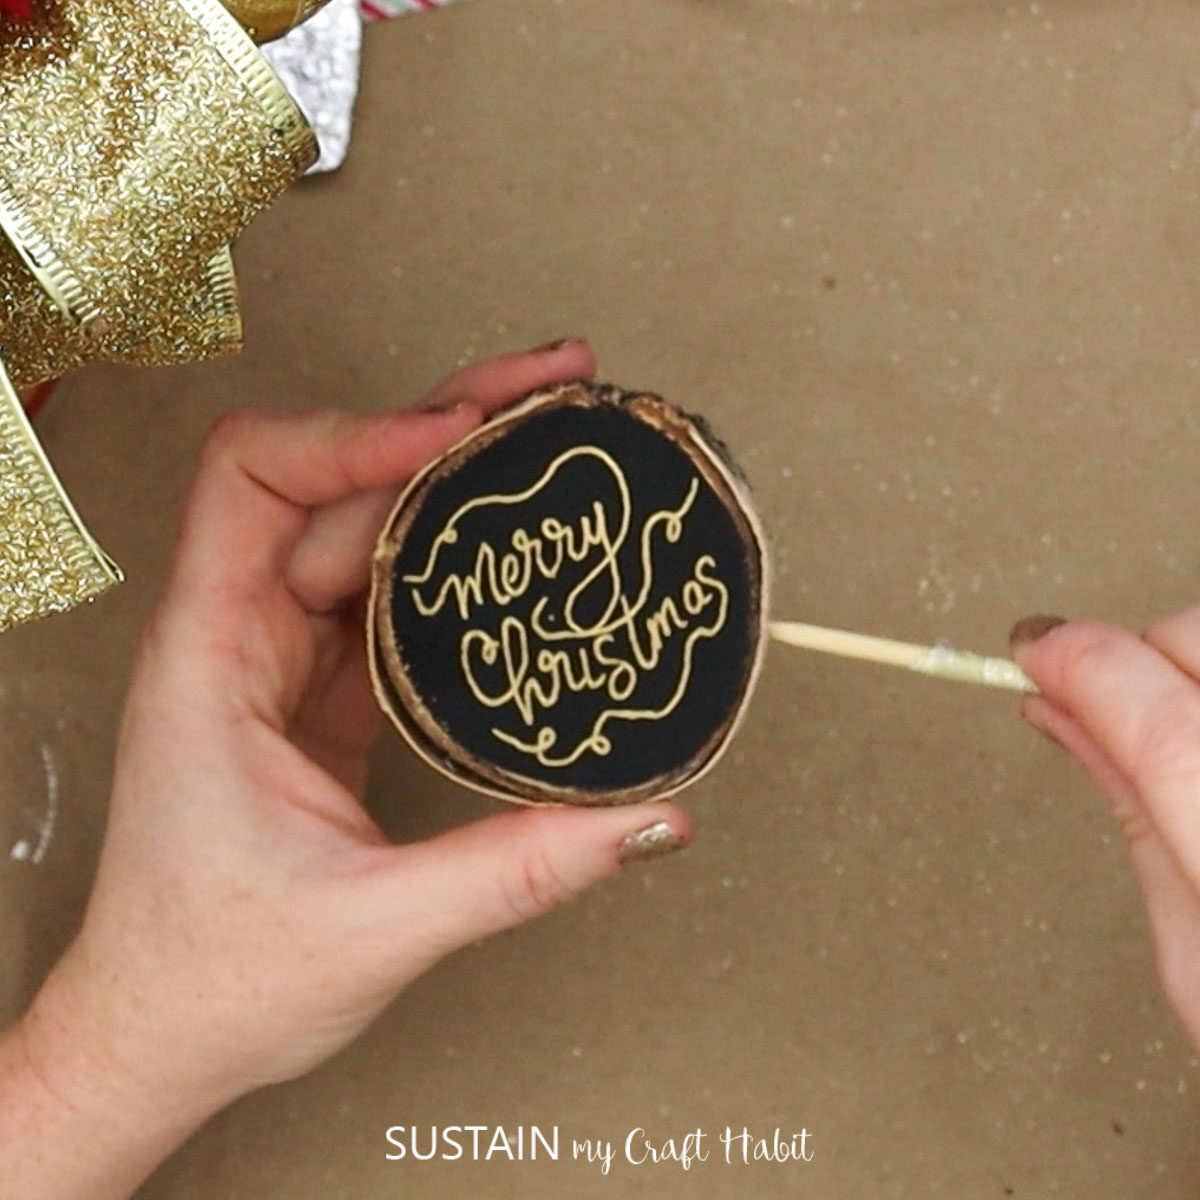
Add some festive decorations to the greenery. Make your own like we did with these birch slice wood picks or DIY pom-poms, yarn pops or painted pinecone picks.
Lastly, add a larg bow to the side of the santa centerpiece for the final touch.
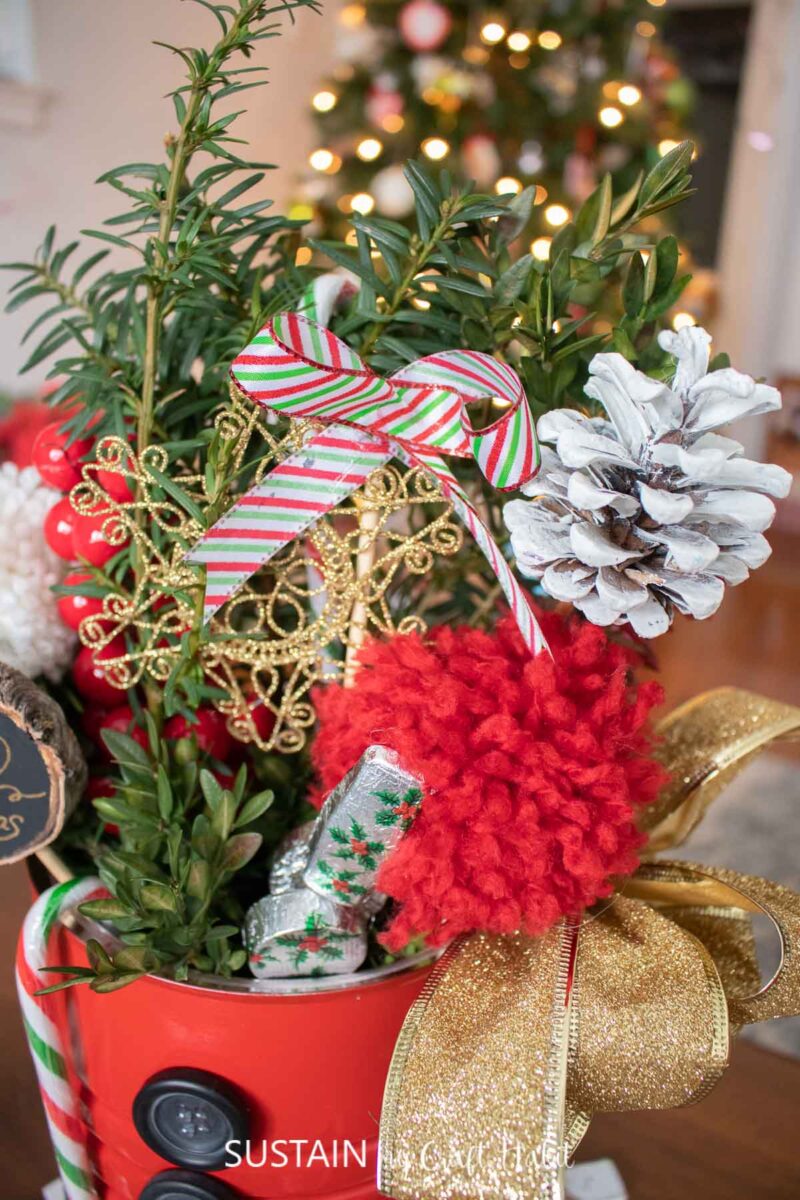
We also added some treats to the centerpiece, things like candy canes and chocolates on a skewer as we plan to give these out as hostess gifts over the holidays.
More Holiday Centerpiece Ideas
Although not all of these are coffee tin crafts, they are crafts made from repurposed pieces like bottles and natural materials. Which one of these holiday centerpiece ideas would you like to make?
- Upcycled Coffee Can Winter Centerpiece
- Frosted Wine Bottle Centerpiece
- Rustic Twig House Decorations
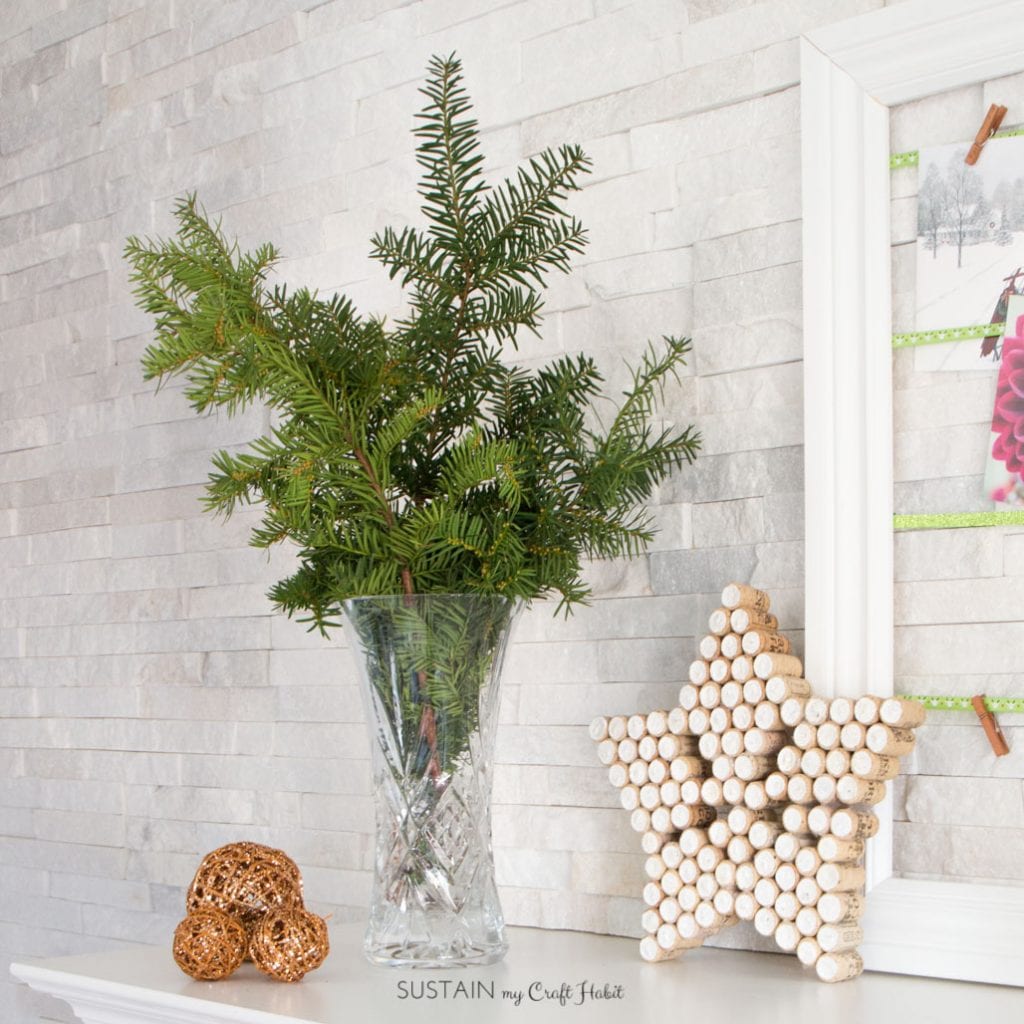
- Rustic Christmas Centerpieces with Foraged Greens

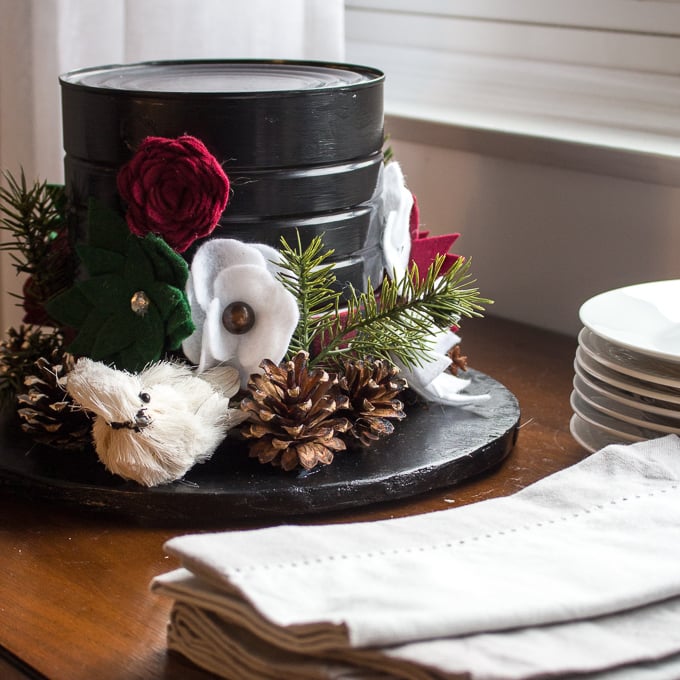
Upcycled Coffee Tin Winter Centerpiece 
Frosted Wine Bottle Centerpieces 
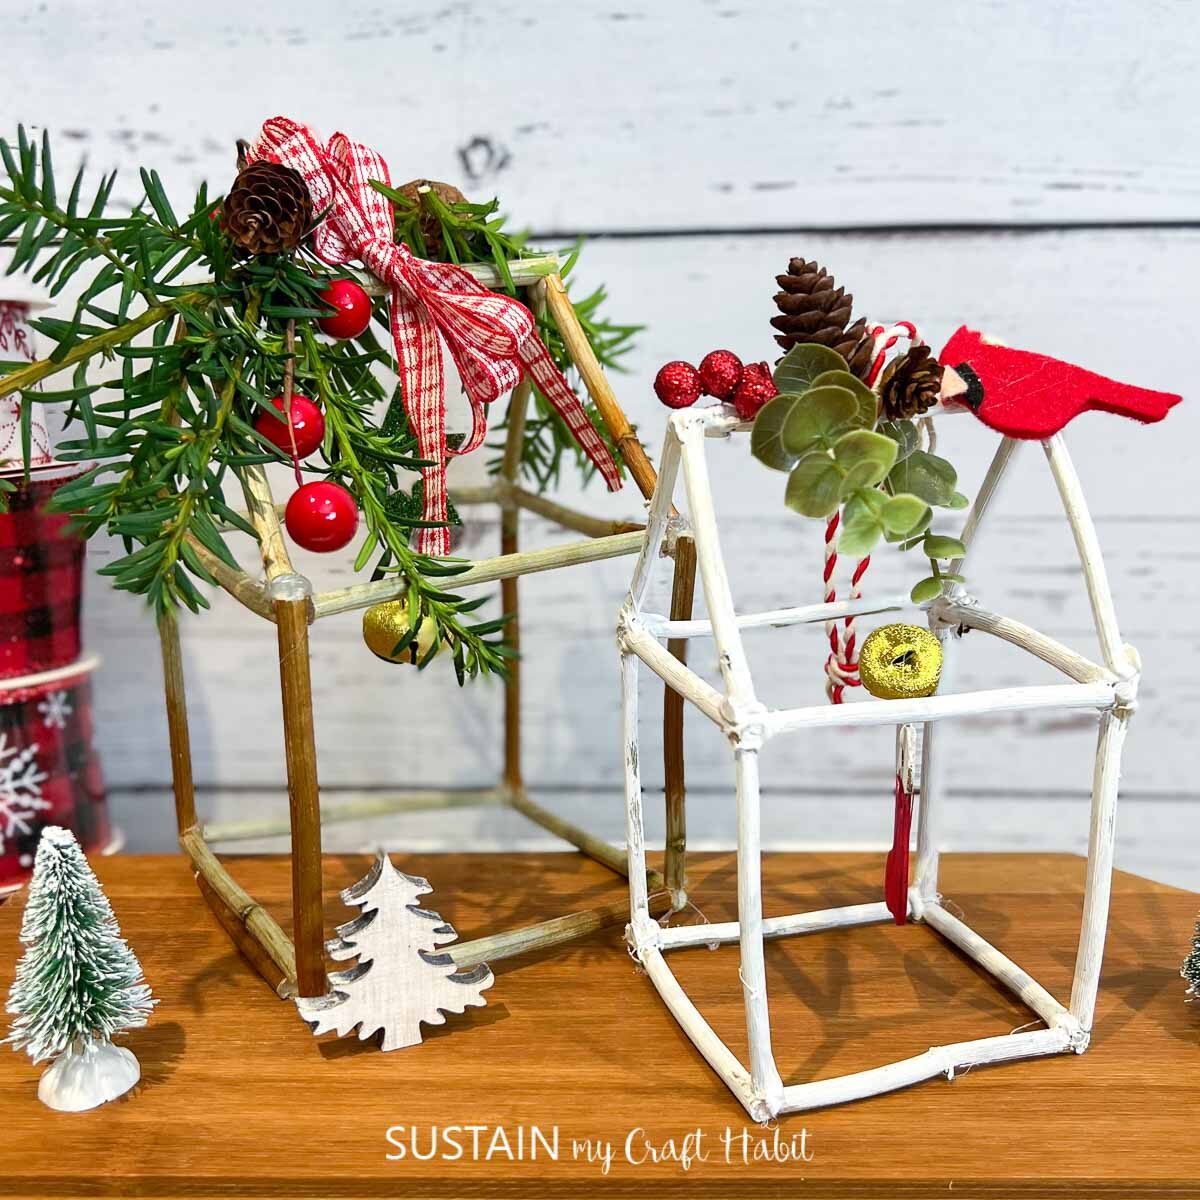
Rustic Twig Houses 
Rustic Centerpieces with Foraged Greens

Happy holidays, crafty friends!
Like it? Pin it for later!
Coffee Tin Santa Centerpiece
Materials
- empty coffee tin cleaned
- spray paint we used glossy red
- Black Adhesive Vinyl
- Gold Gitter Adhesive Vinyl
- buttons
- hot glue gun
Centerpiece Embellishments
- greenery fresh or faux
- wood slice picks
- pinecone picks
- pom-pom picks
Instructions
- Start by removing the label from the coffee tin and then washing and drying the tin before crafting.
- Using the red spray paint, paint the coffee tin completely and let it dry. Apply a second coat of paint if needed and let the coffee tin dry fully.
- Cut a strip of the black vinyl to resemble Santa's belt and wrap the vinyl around the painted coffee can.
- Cut the gold vinyl into a square for the buckle and apply to the coffee tin over top of the black vinyl.
- Using the hot glue gun, glue the buttons on the painted coffee tin just above the "buckle".
- Take some fresh greenery and place it in the coffee tin.
- Add some festive decorations to the greenery, such a wood slice pick, pinecone pick, pom-pom pick and more.
- Add a bow to the side of the centerpiece for the final touch.