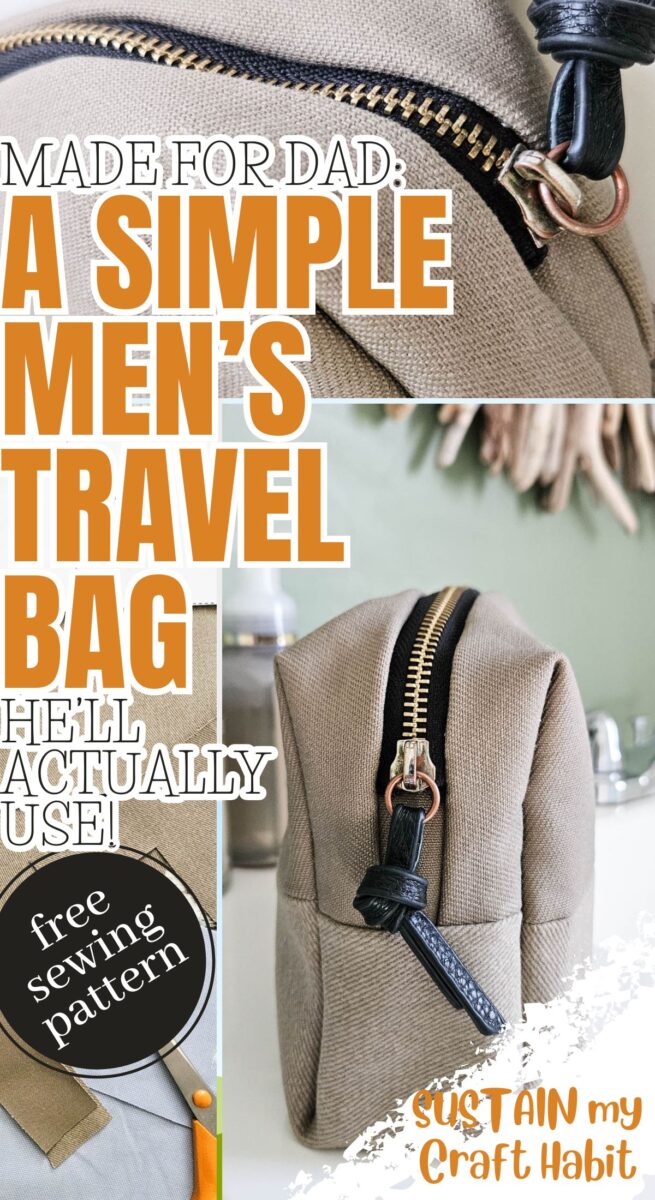
Made for Dad: A Simple DIY Men’s Travel Bag He’ll Actually Use
Finding the perfect handmade gift for the men in your life can be a challenge, but this simple DIY men’s travel bag is a guaranteed winner!
Whether he needs a rugged dopp kit for weekend getaways or a sleek organizer for tech cords, this beginner-friendly sewing tutorial and pattern for making a DIY men’s travel bag is as functional as it is stylish.
Grab your favorite heavy-duty fabric—like canvas, waxed cotton, or denim—and stitch up a high-quality, practical gift he’ll actually use and cherish for years to come!
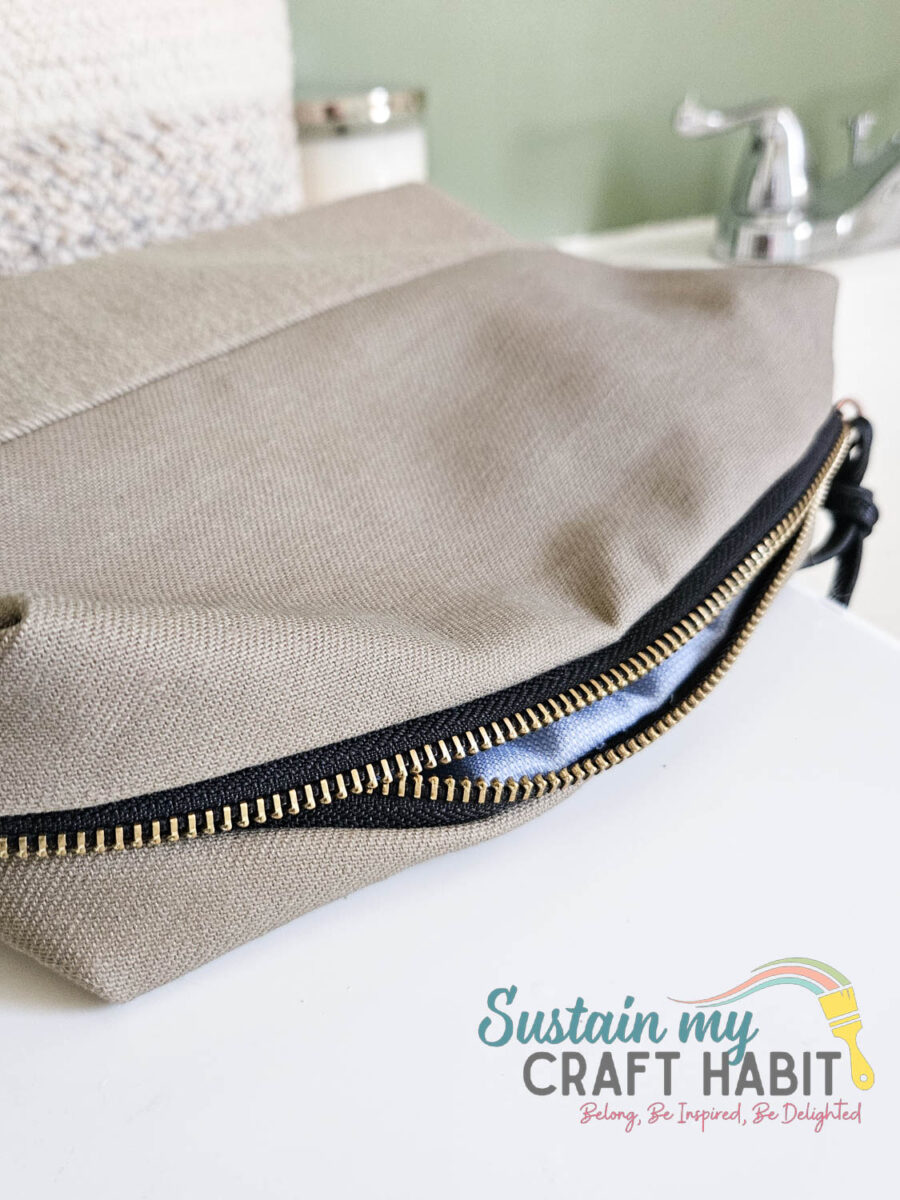
Unlike novelty gifts that often end up forgotten in a drawer, this travel bag is designed to keep toiletries, grooming essentials, and everyday accessories organized while on the go.
The best part? You don’t need advanced sewing skills or expensive supplies to make it. In this tutorial, you’ll learn how to create a durable and stylish men’s travel bag with simple materials and easy-to-follow steps.
Whether you’re crafting for Dad, a husband, or a friend, this project delivers both practicality and personal charm. Let’s get started!
Why You’ll Love Making a DIY Men’s Travel Bag
- Uses easy and inexpensive materials that are readily available.
- We’ve included the free toiletry bag sewing pattern along with the sewing tutorial to easily cut out and make your own.
- Includes a full step-by-step tutorial suitable for beginners.
- A DIY dopp kit makes a thoughtful handmade gift for Father’s Day, birthdays, or holidays.
- Can be customized with different fabrics, colors, and storage options to suit any style.
What is a Dopp Kit?
Put simply, a dopp kit is bag used to organize and carry personal grooming items and travel essentials, such as toothbrushes, razors, and skincare. Nowadays, we typically call them travel or toilery bags.
Let’s stay in touch! Subscribe for our latest sewing patterns, tutorials and tips.
Materials Needed:
- Woven fabric in a medium weight such as cotton canvas
- Sewing machine and matching thread
- Metal Zipper, closed end, 25cm long
- Fabric Scissors
- Free Travel Bag printable sewing pattern
How to Sew a Men’s Travel Bag
Cutting
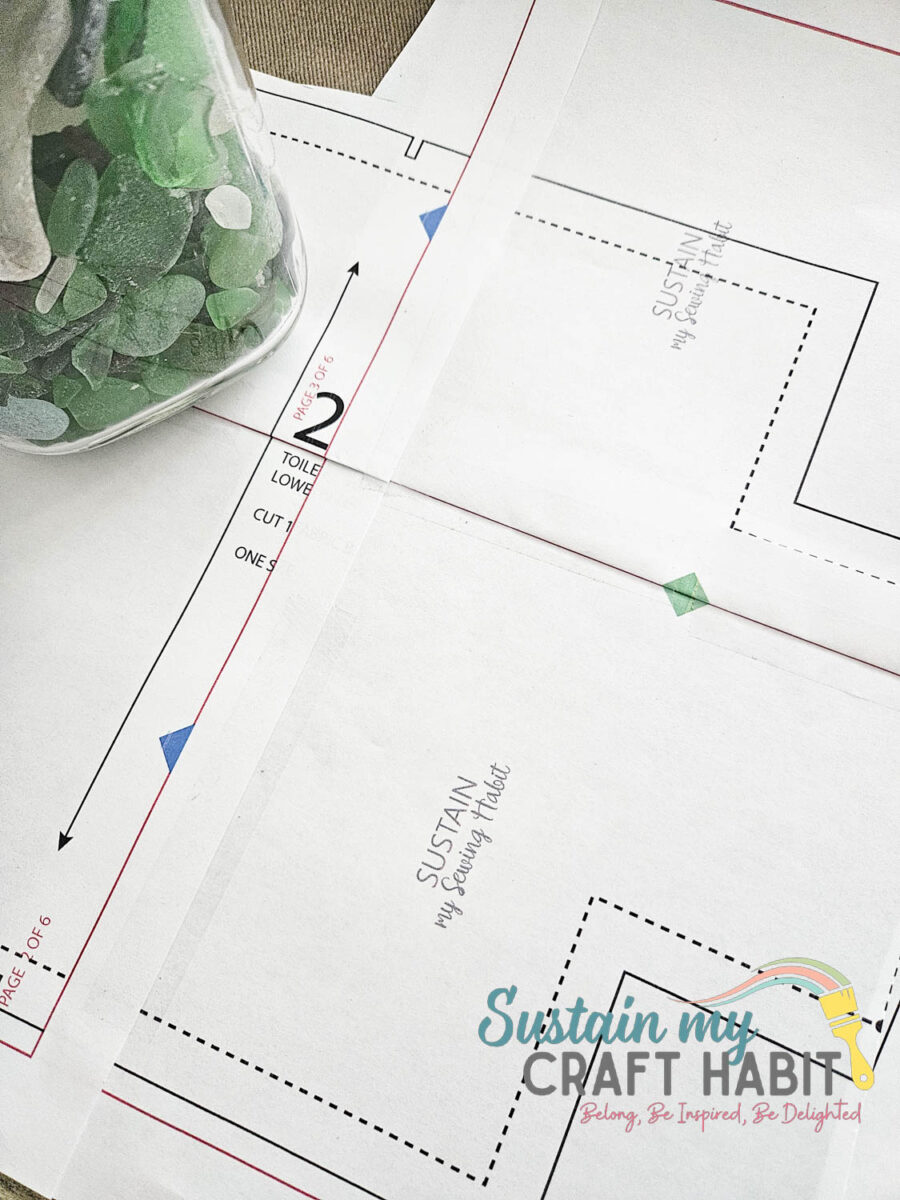
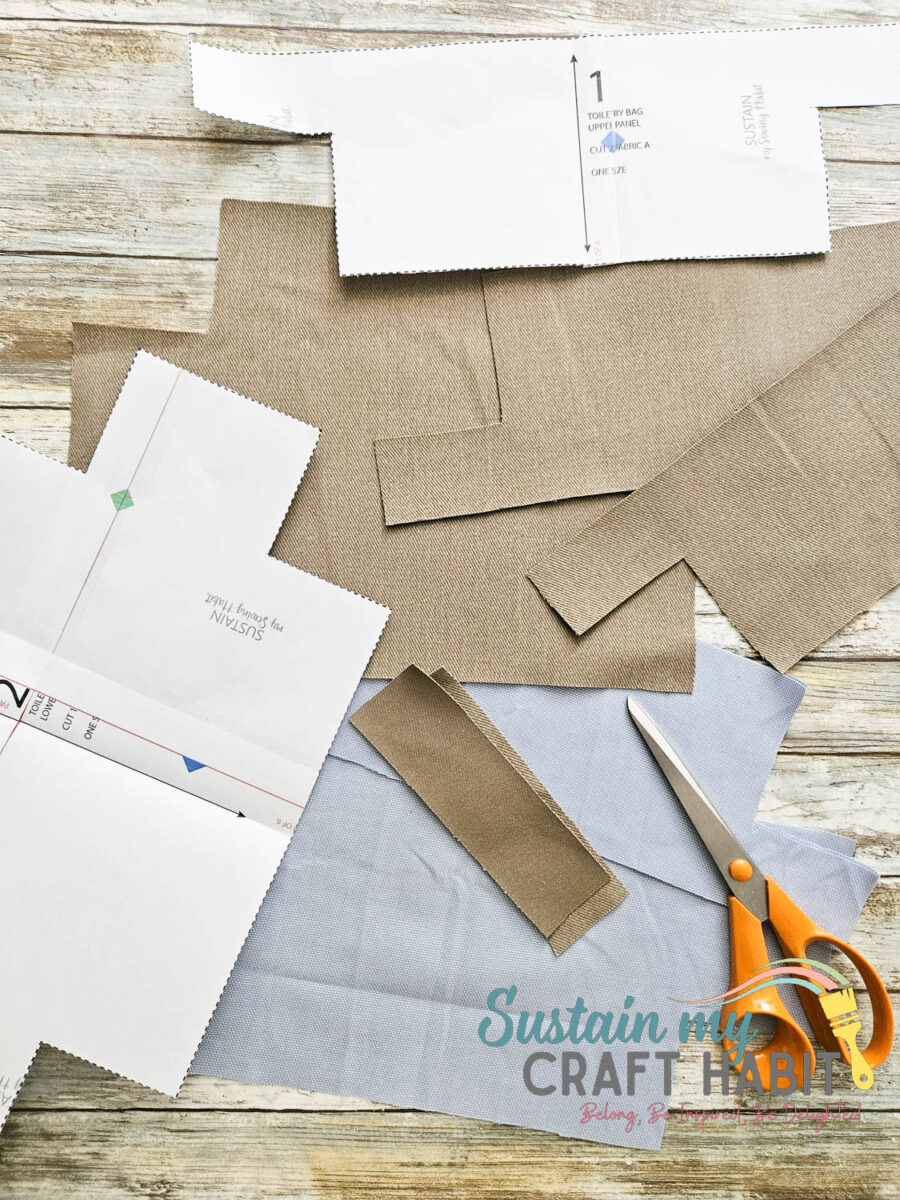
Once the printable pattern is assembled and pattern pieces are cut out, you can begin sewing.
Assembling
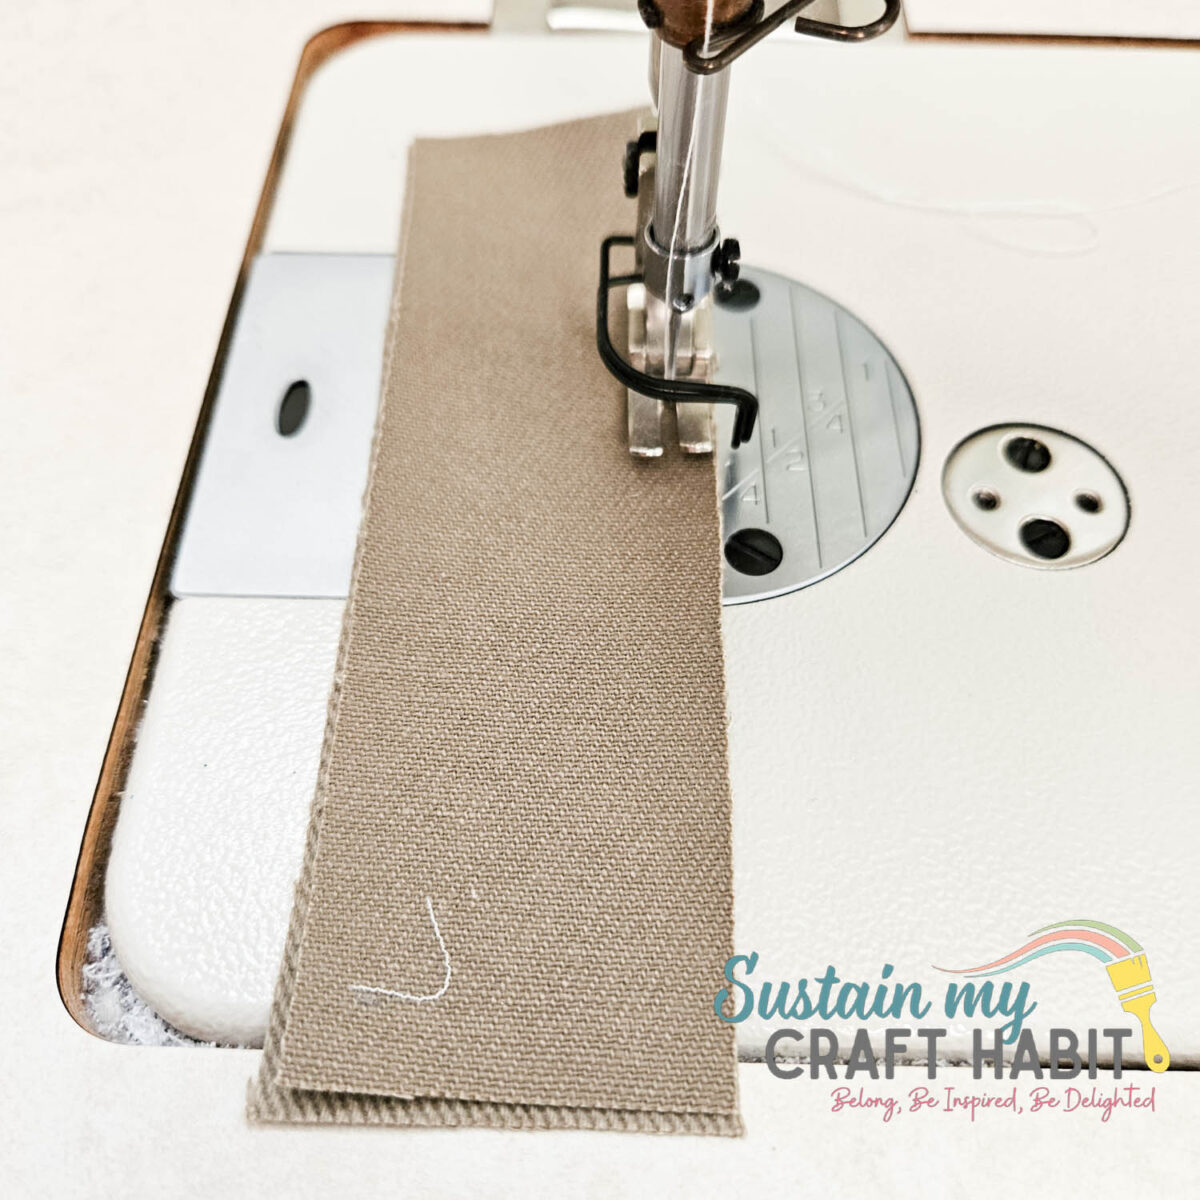
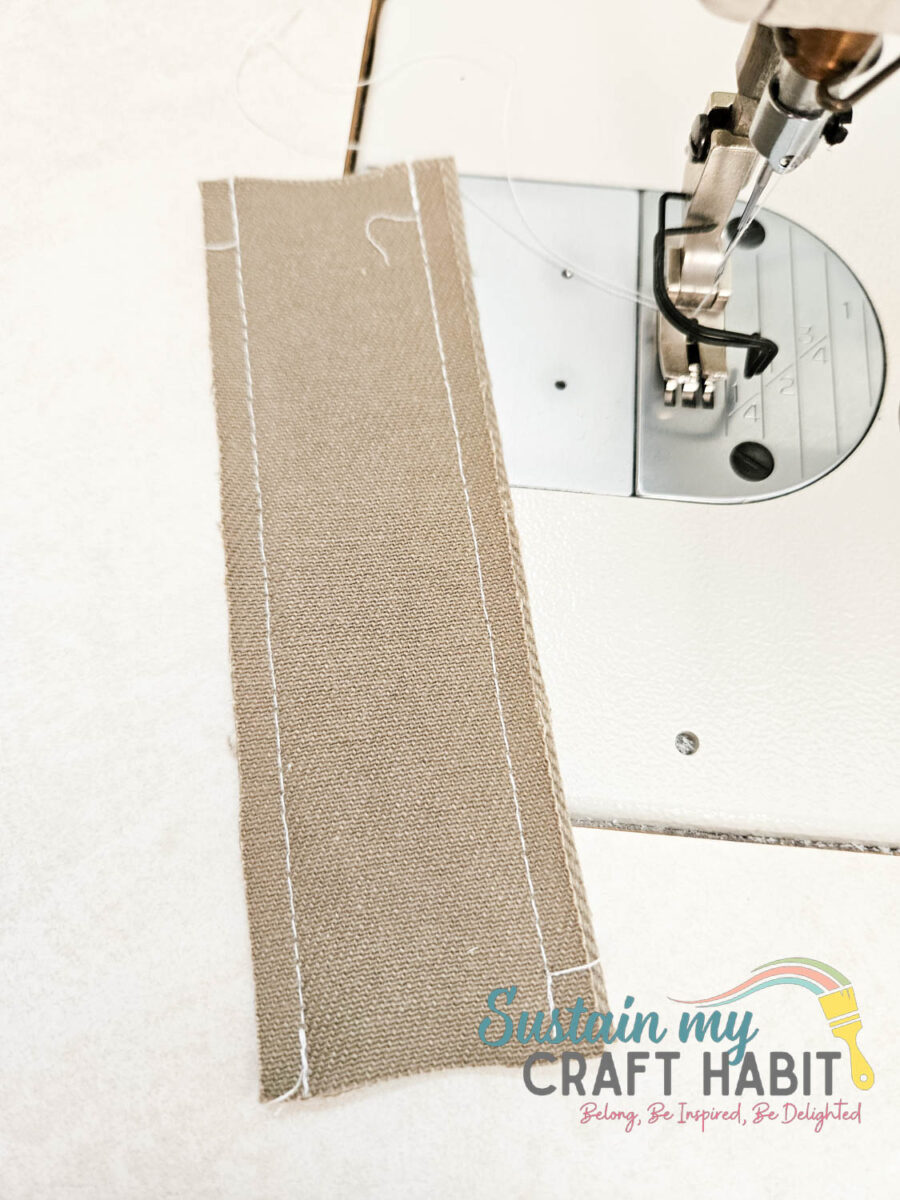
Align wrong sides of side loop pieces and sew long edges together with a ¼” seam allowance. Trim one layer of seam allowance to reduce thickness. Turn the piece right side out and put aside.
Join the upper panels with the bottom panel pieces, matching single notches in the center.
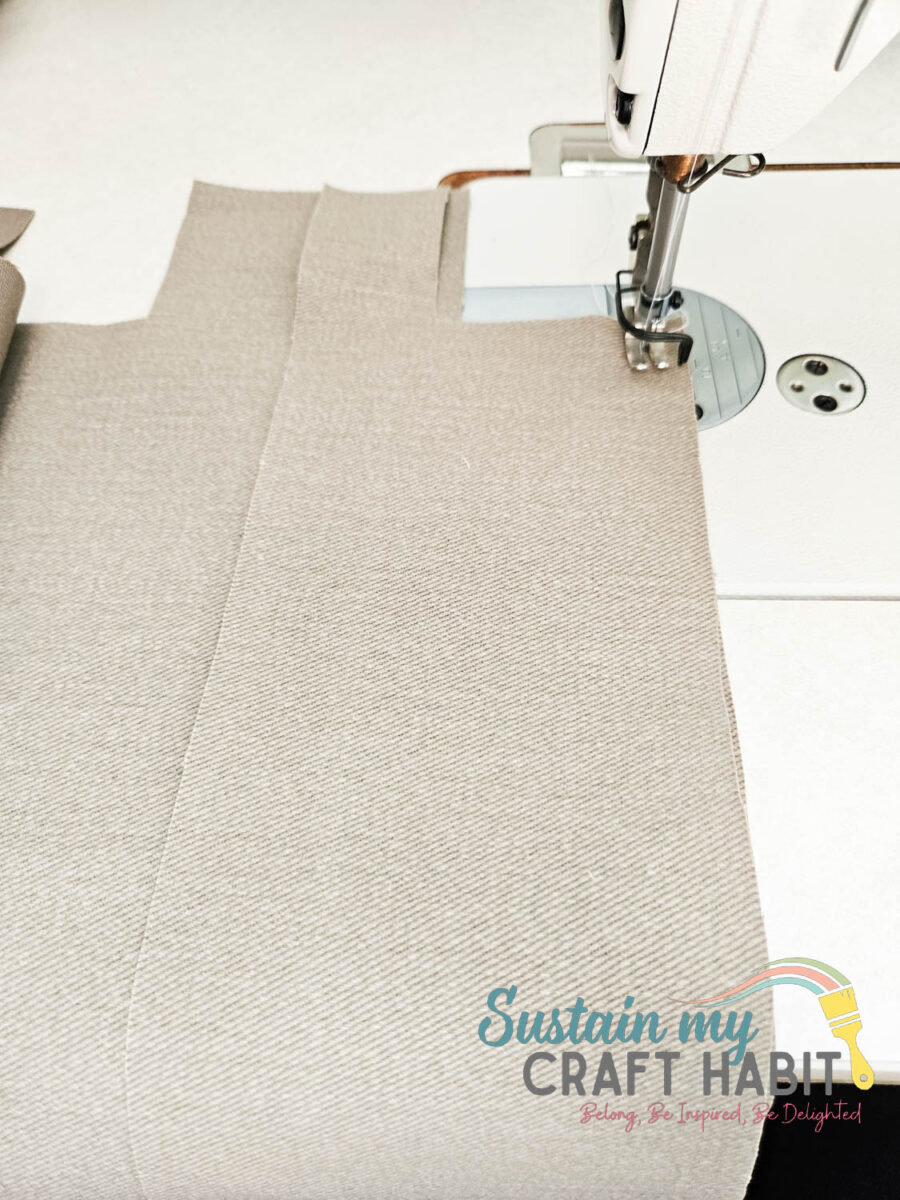
Press seam allowance open.
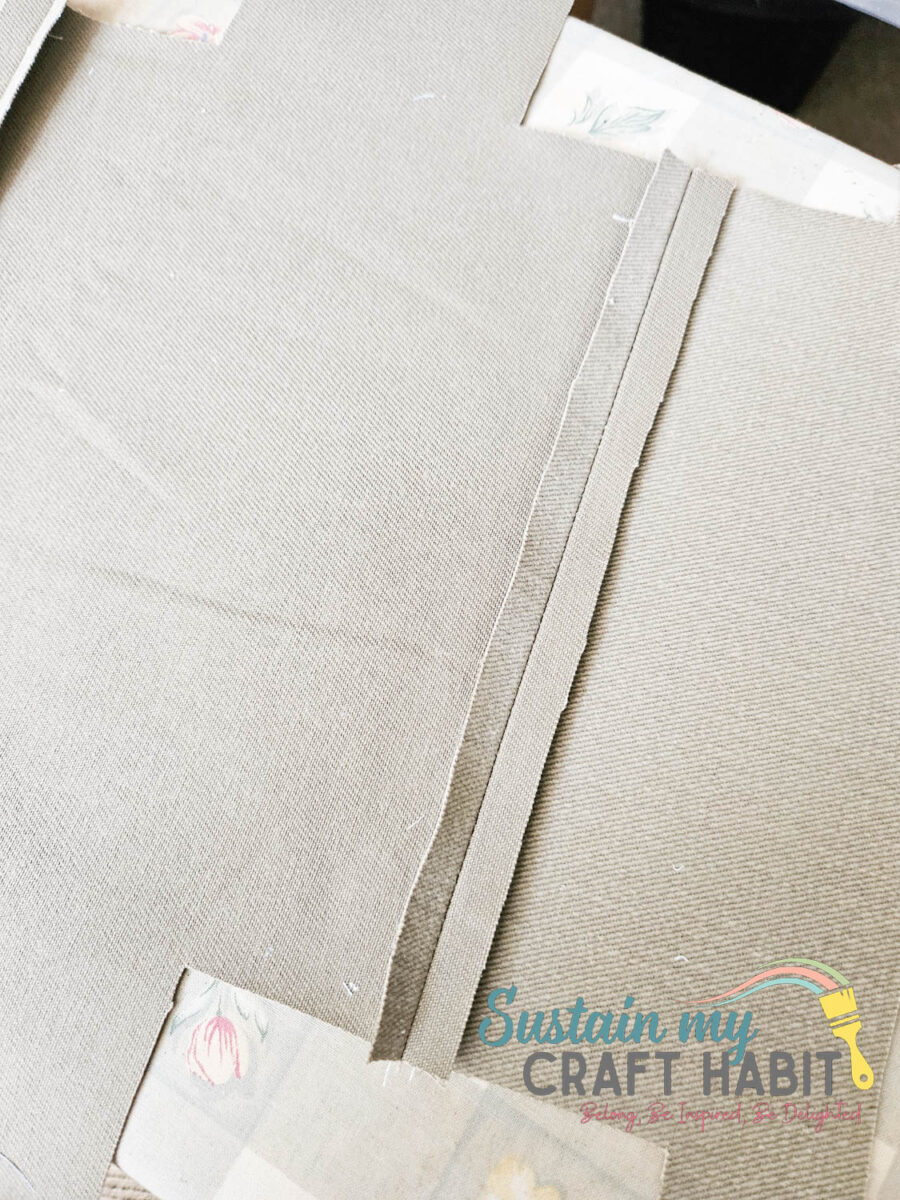
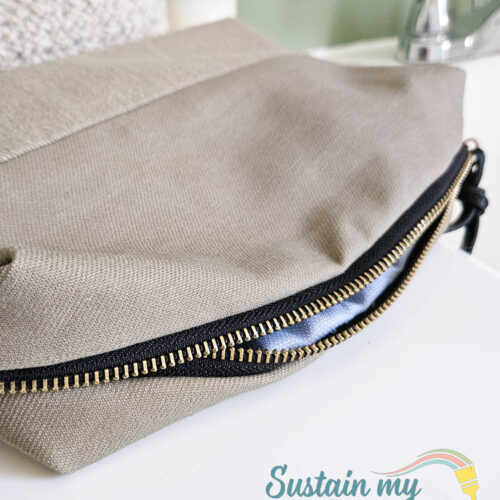
In my case, I used the brushed side of the fabric for the lower panel and side loop and the reverse side of the fabric for the upper panel.
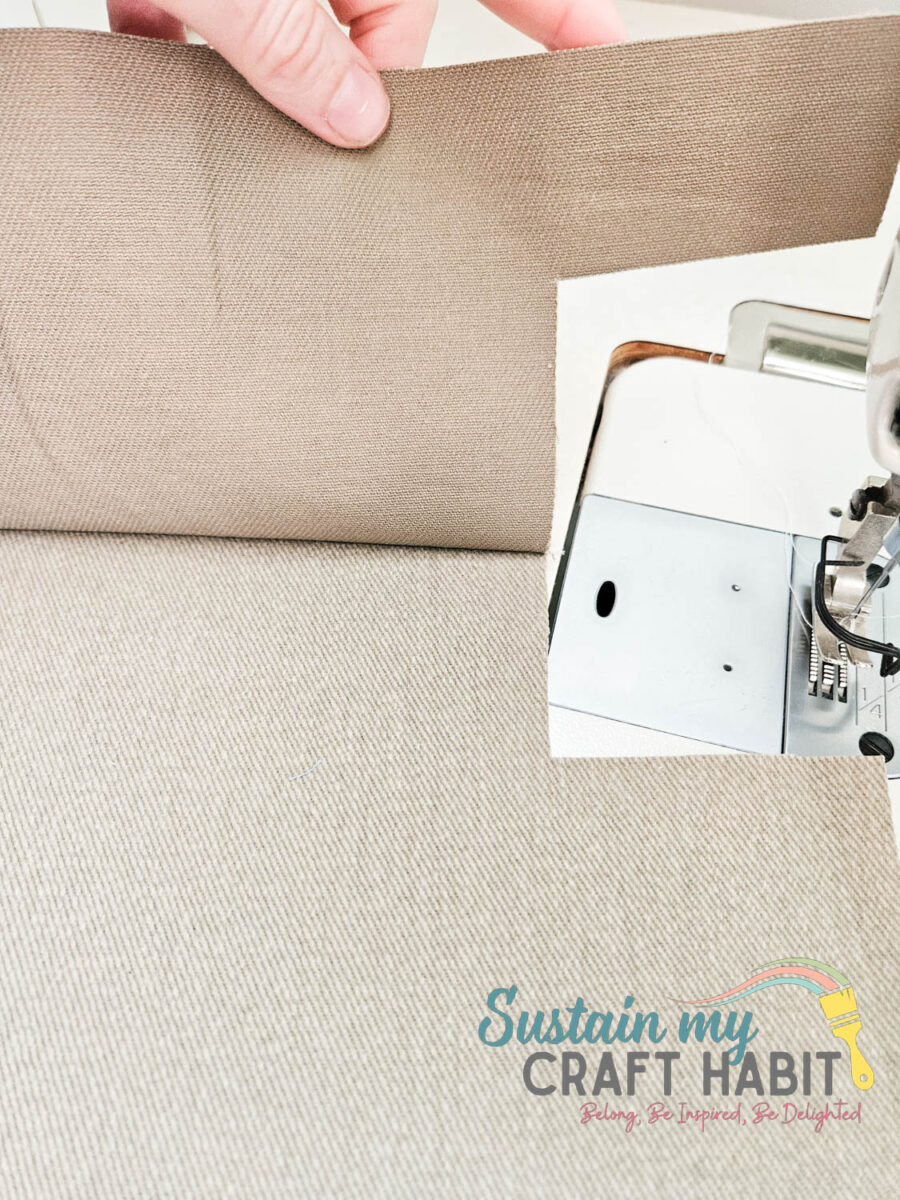
Repeat for the lining pieces making one complete lining piece.
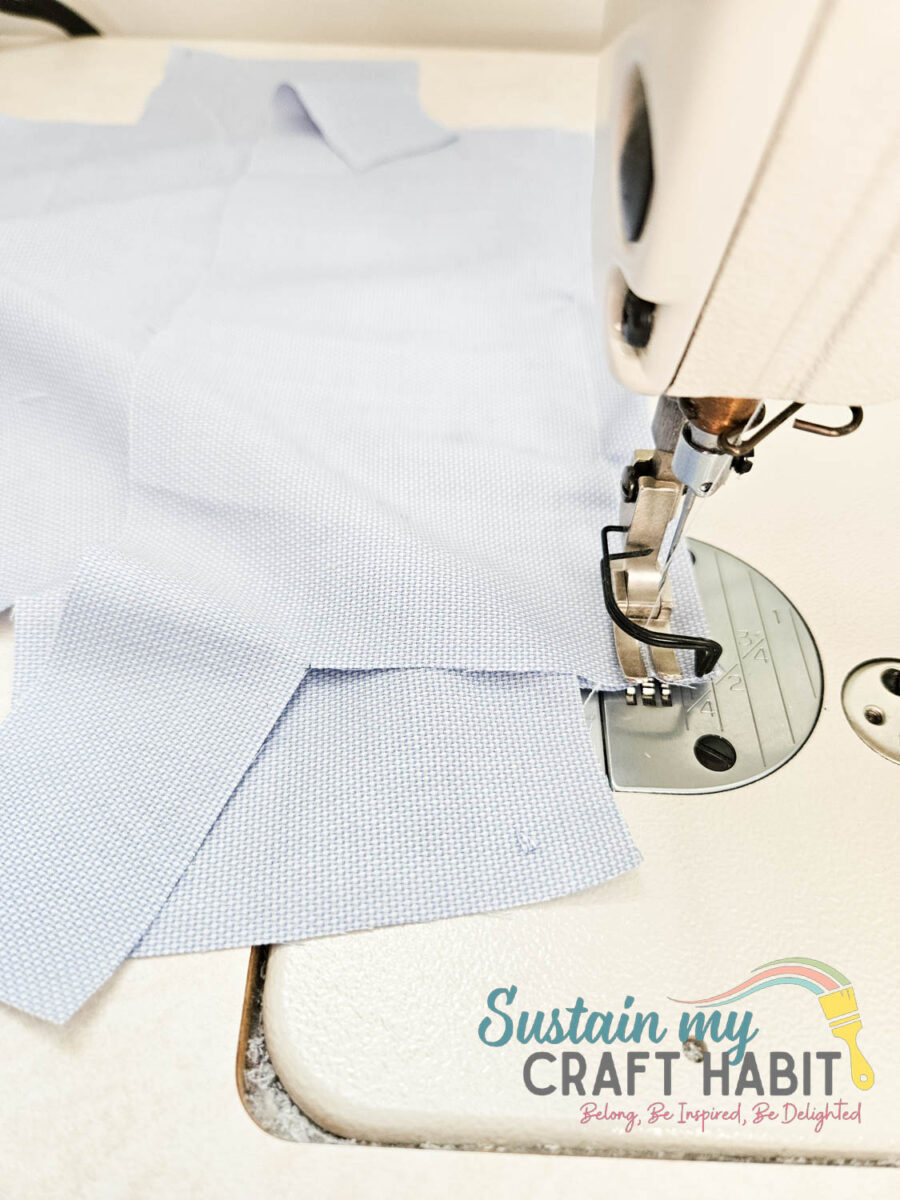
Sewing the Zipper
Open the zipper and align the zipper tape edges with the travel bag opening, matching the ends of the zipper with the small circles, ensuring the zipper teeth are facing down towards the right side of the fabric.
Stitch together with a ¼” seam allowance along one side of the zipper. Repeat with the other side of the zipper on the opposite end of the main shell piece as shown.
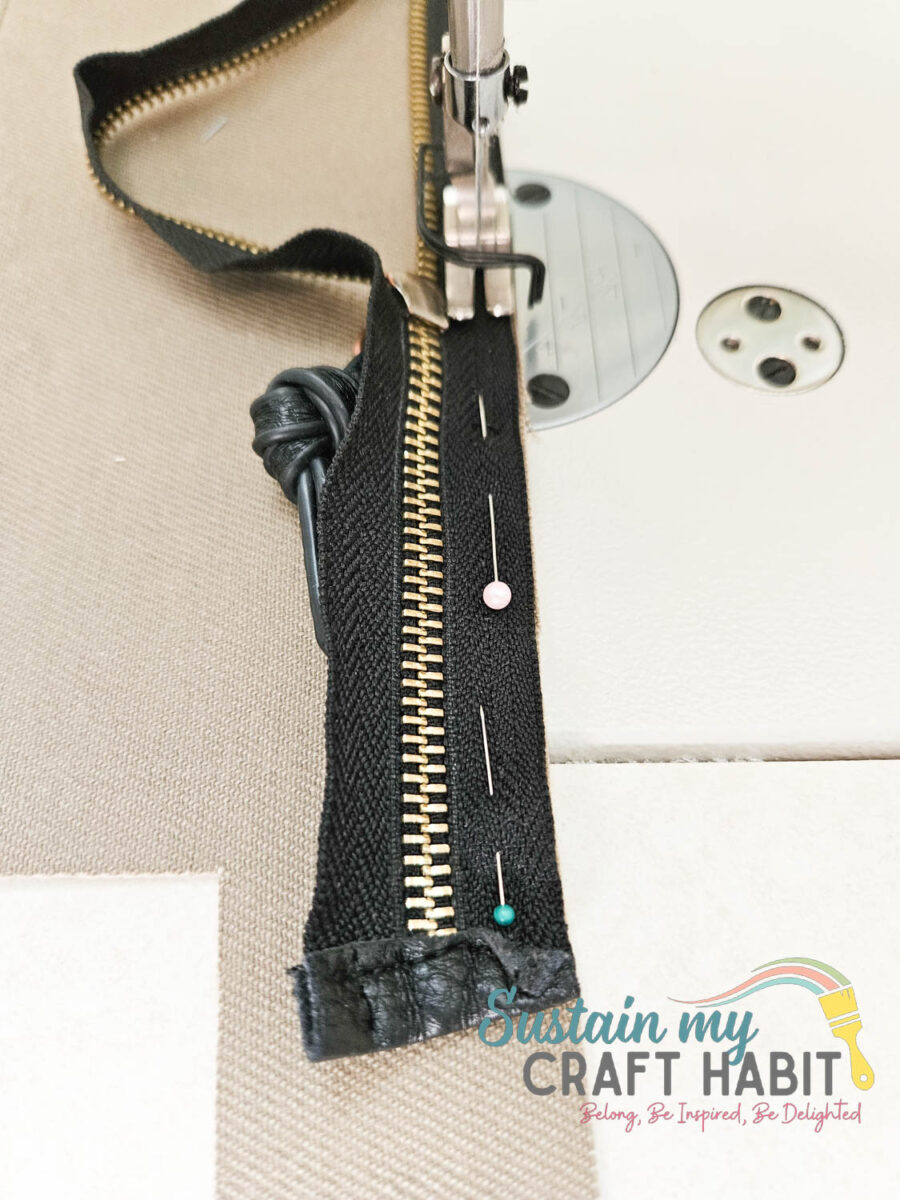
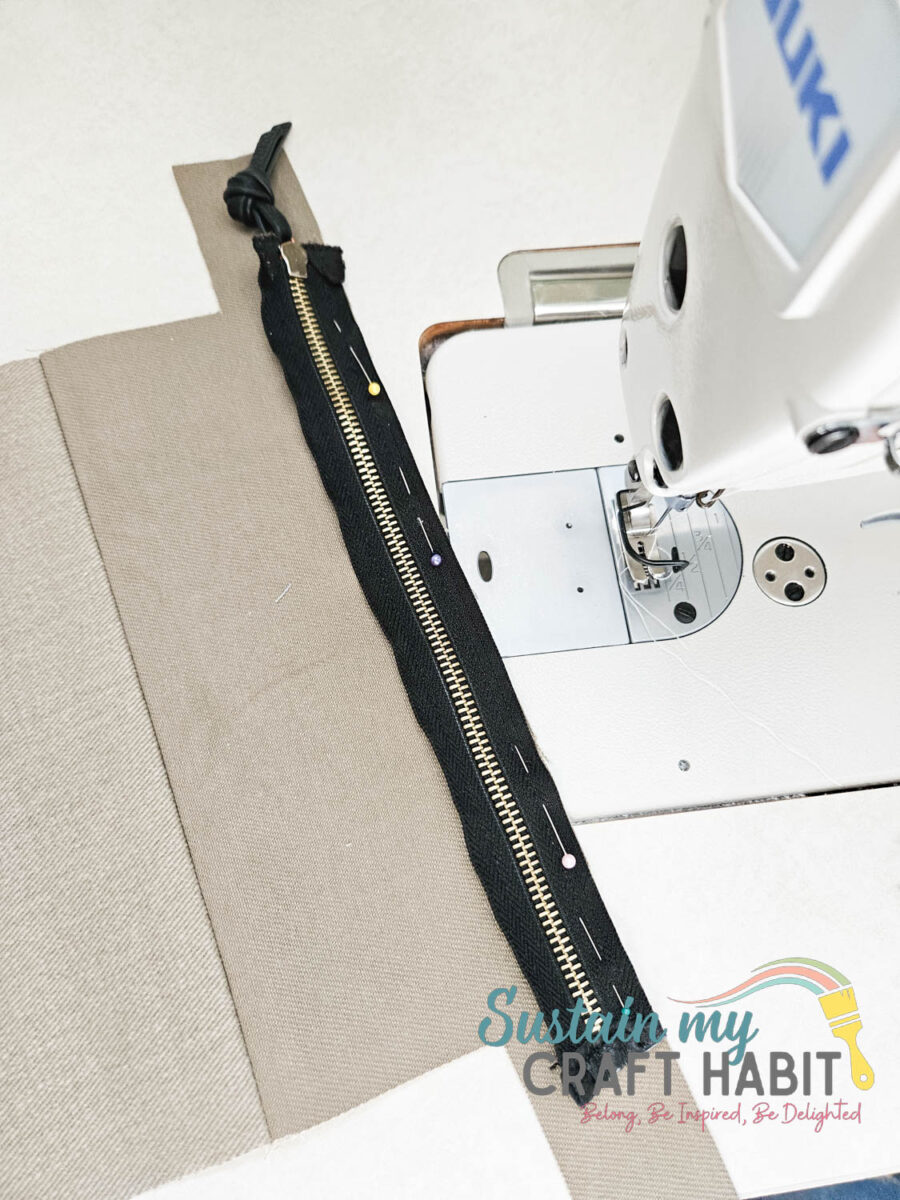
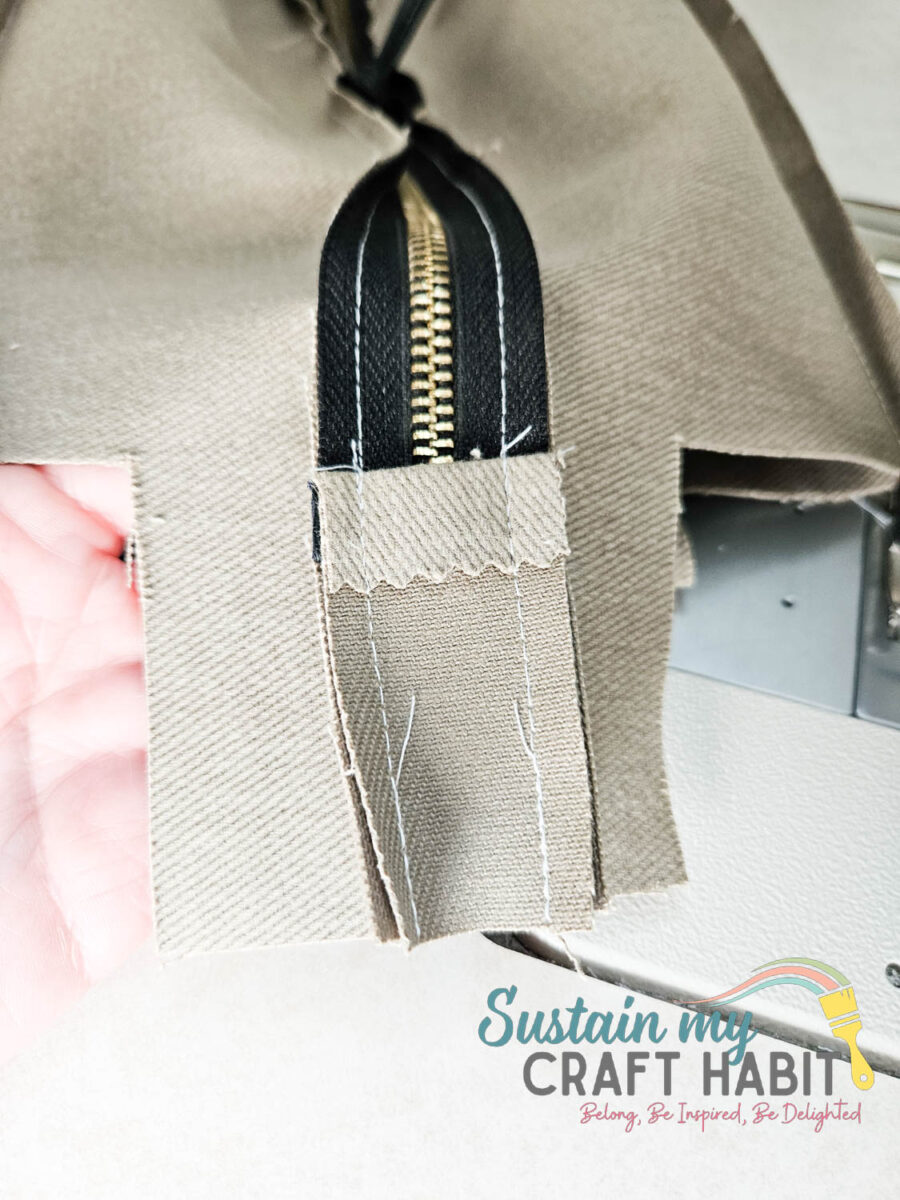
Fold and press one of the short ends of the opening panel pieces towards the wrong side by ½”. I finished the raw edge with pinking sheers to prevent fraying.
Sew the panel pieces to the ends of the zipper as shown below.
Attaching the Lining
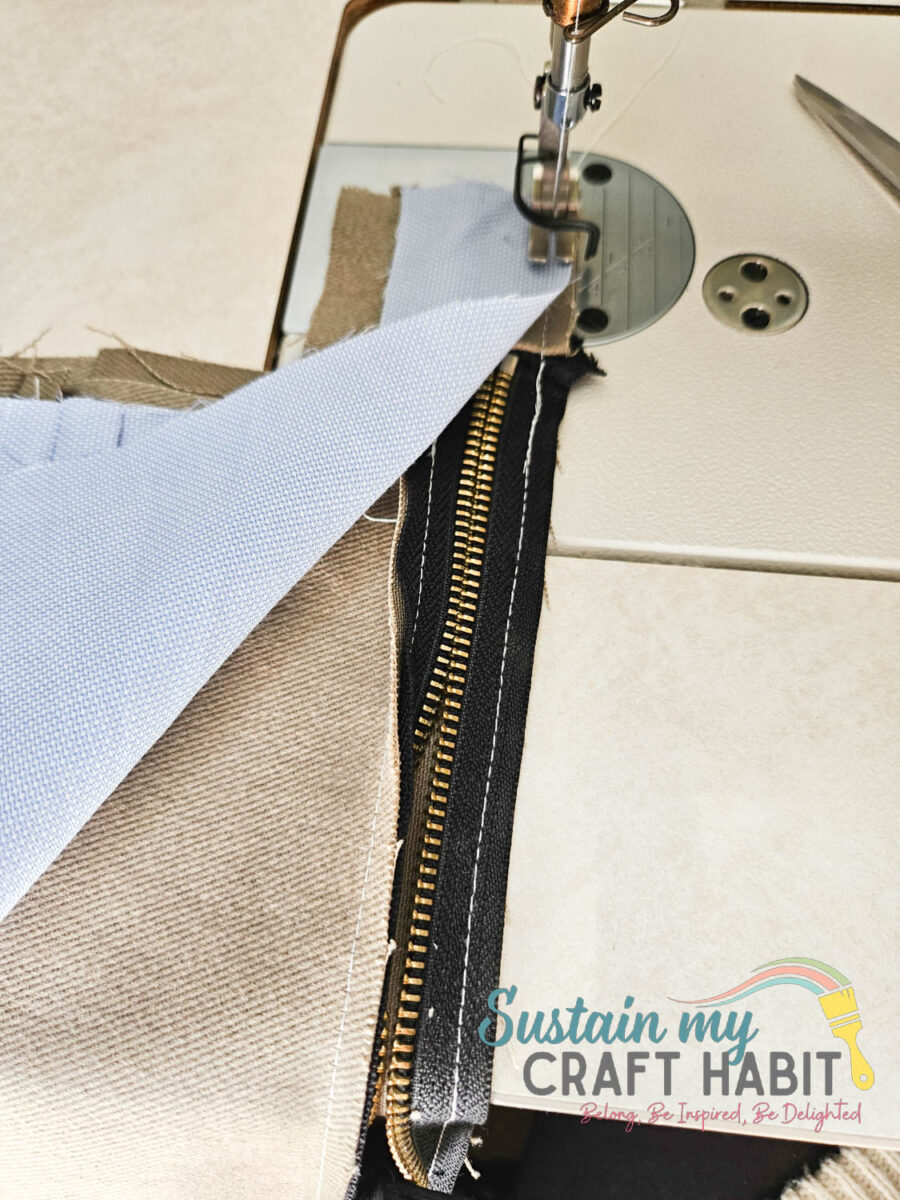
Next, align the solid lining piece with the main piece. Sandwiching the zipper (and side panels) in between, sew the lining piece to the main piece along the travel bag opening.
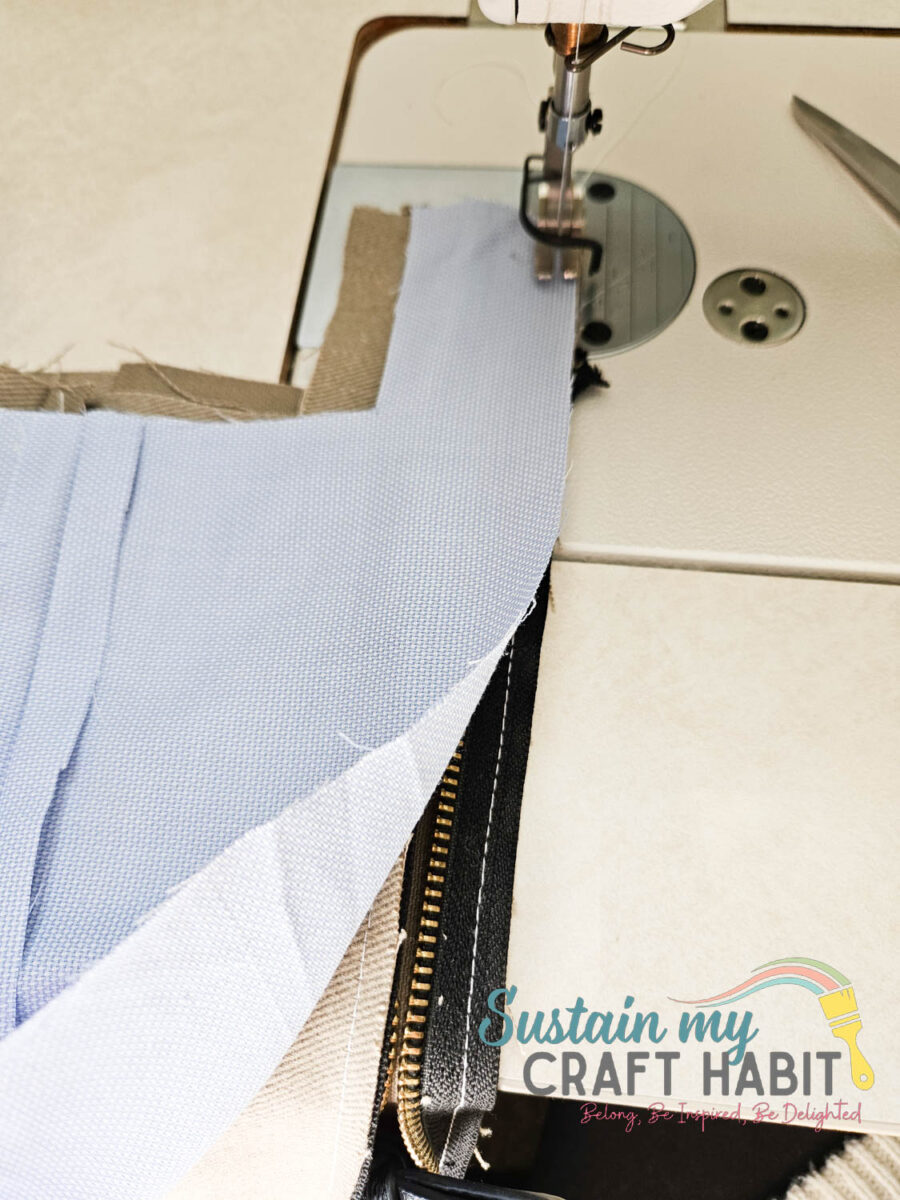
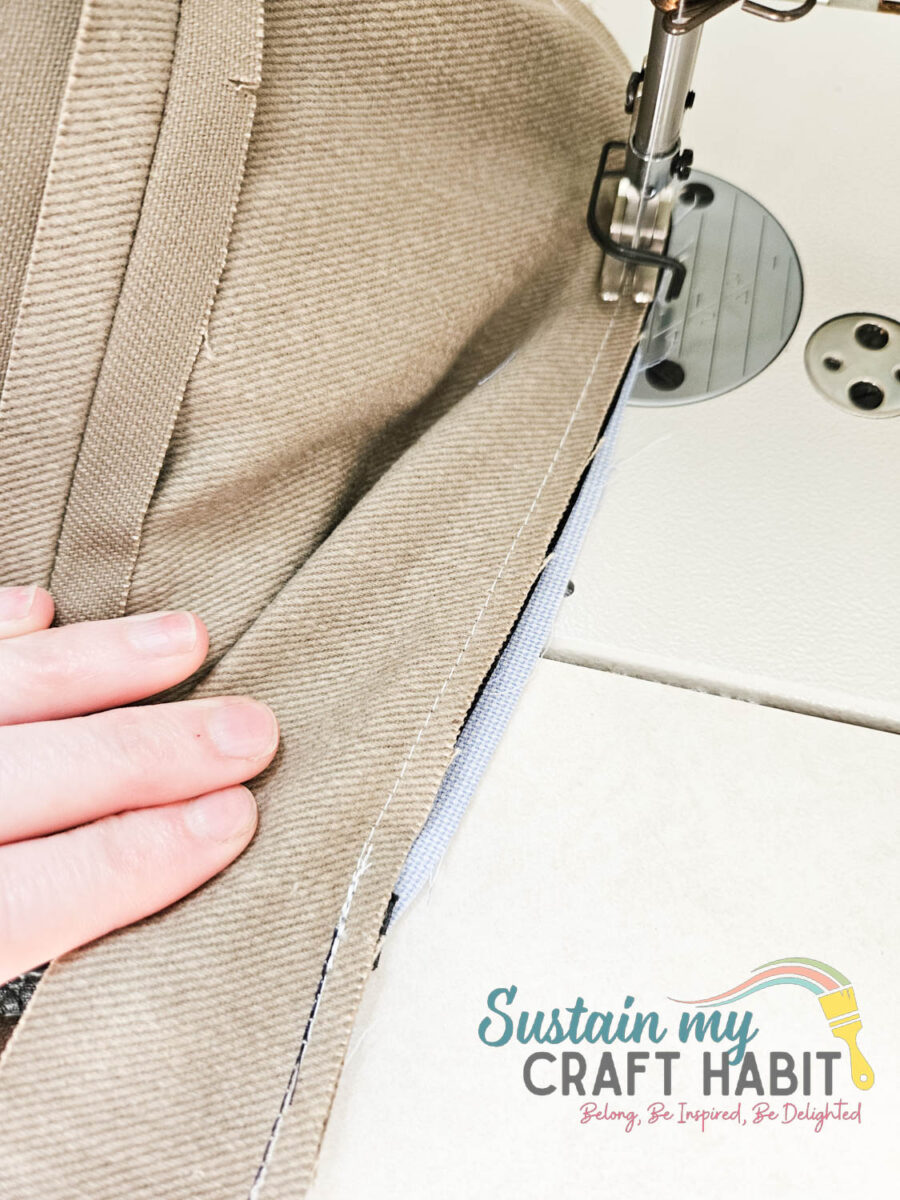
Matching the notches on the hanging loop with the one end of the travel bag, baste stitch hanging loop in place.
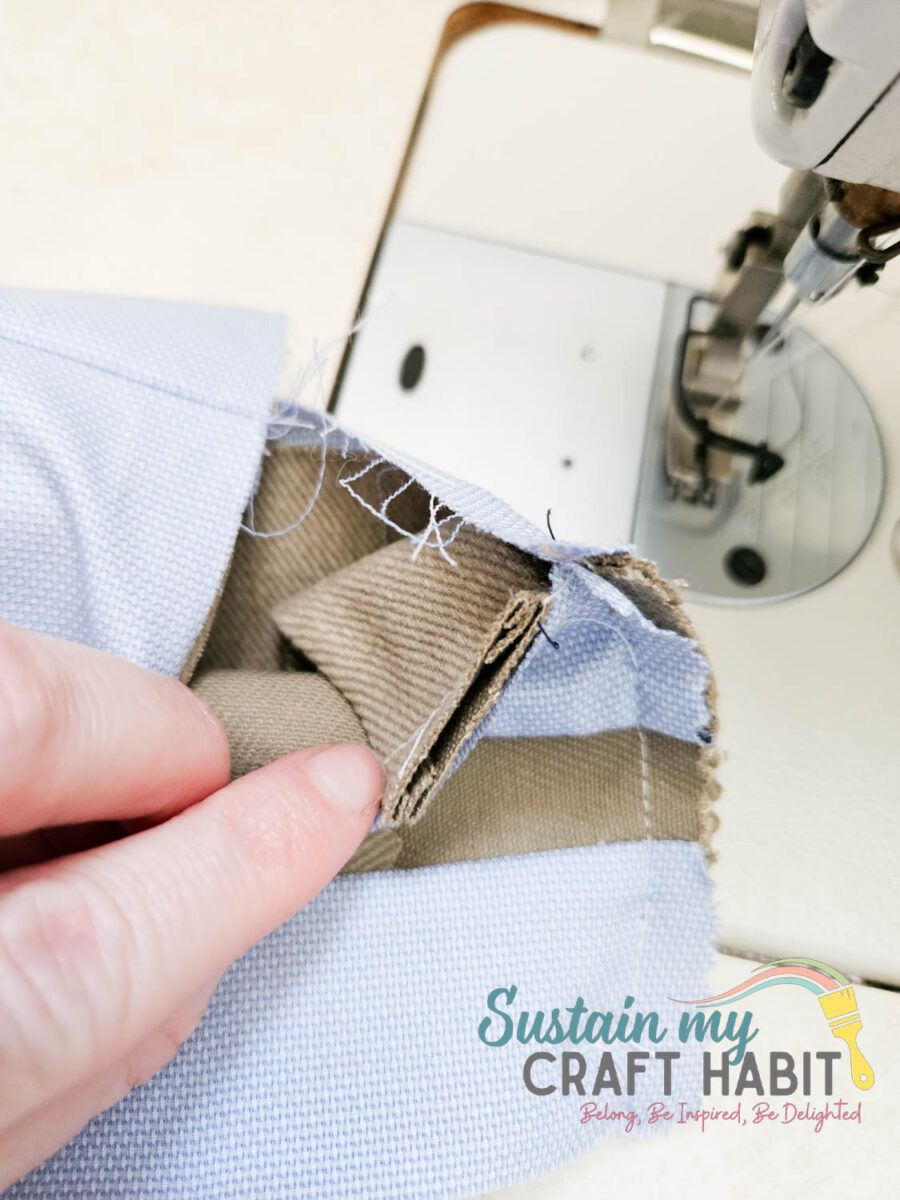
With right sides together, align squared center ends. Sew layers together with a ½” seam allowance. Repeat on the other end. .
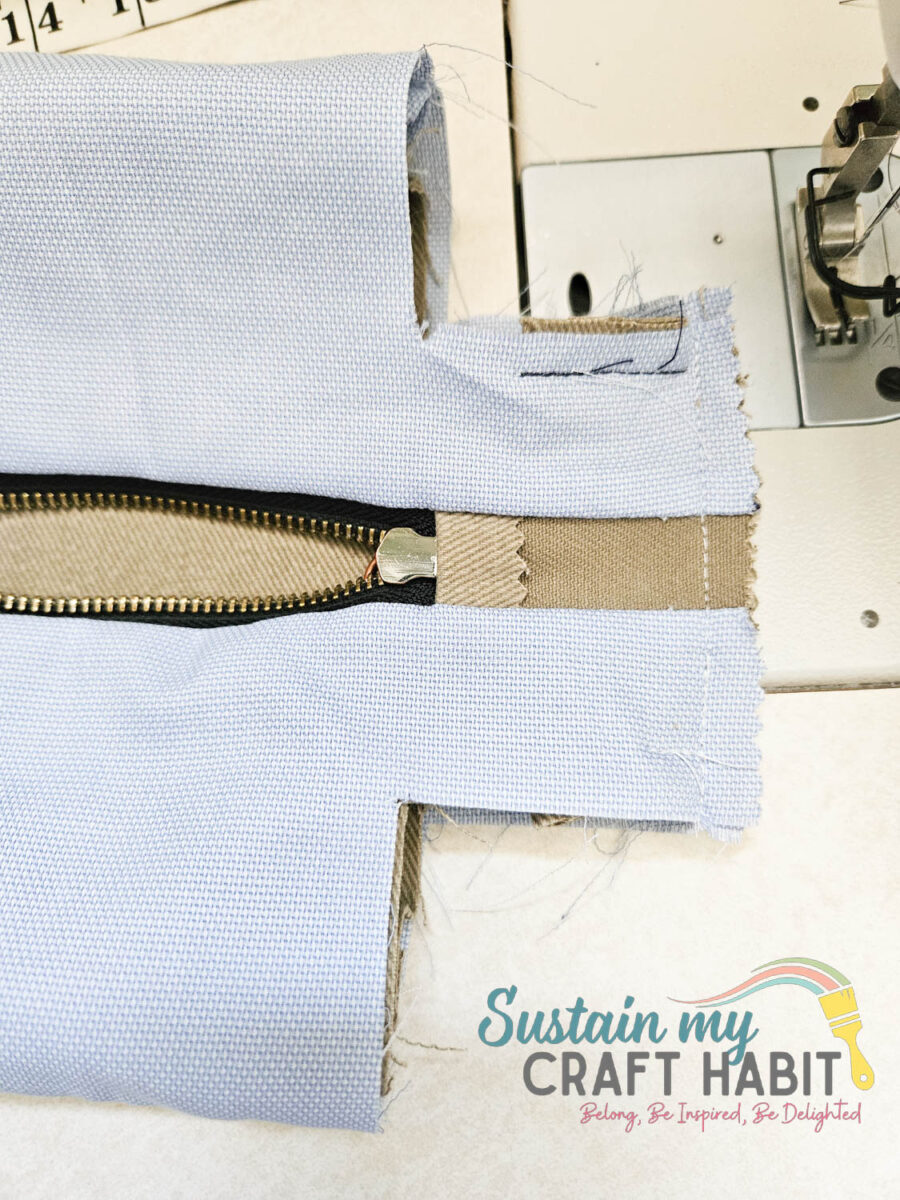
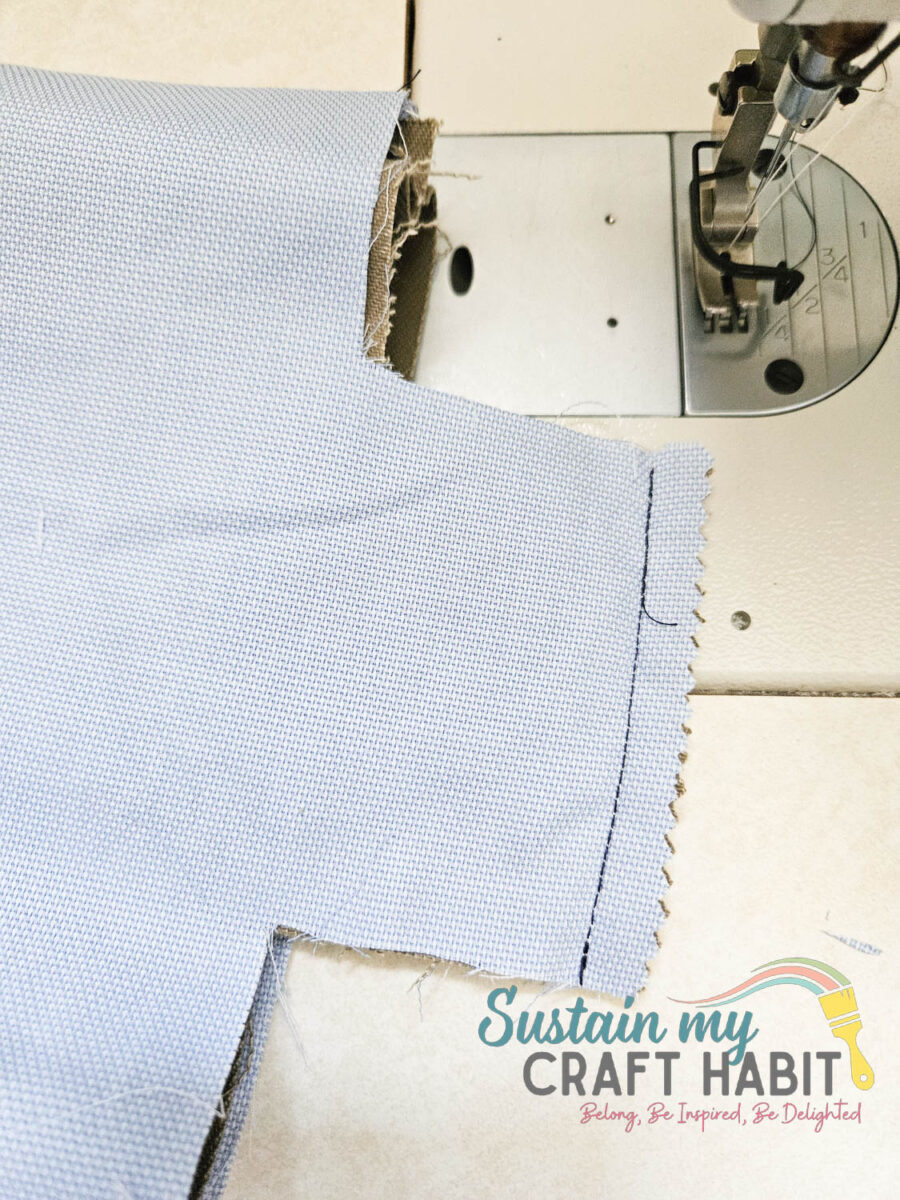
Working one corner of the travel bag at a time, fold the travel bag aligning the short ends together. Stitch through the layers with a ½” seam allowance.
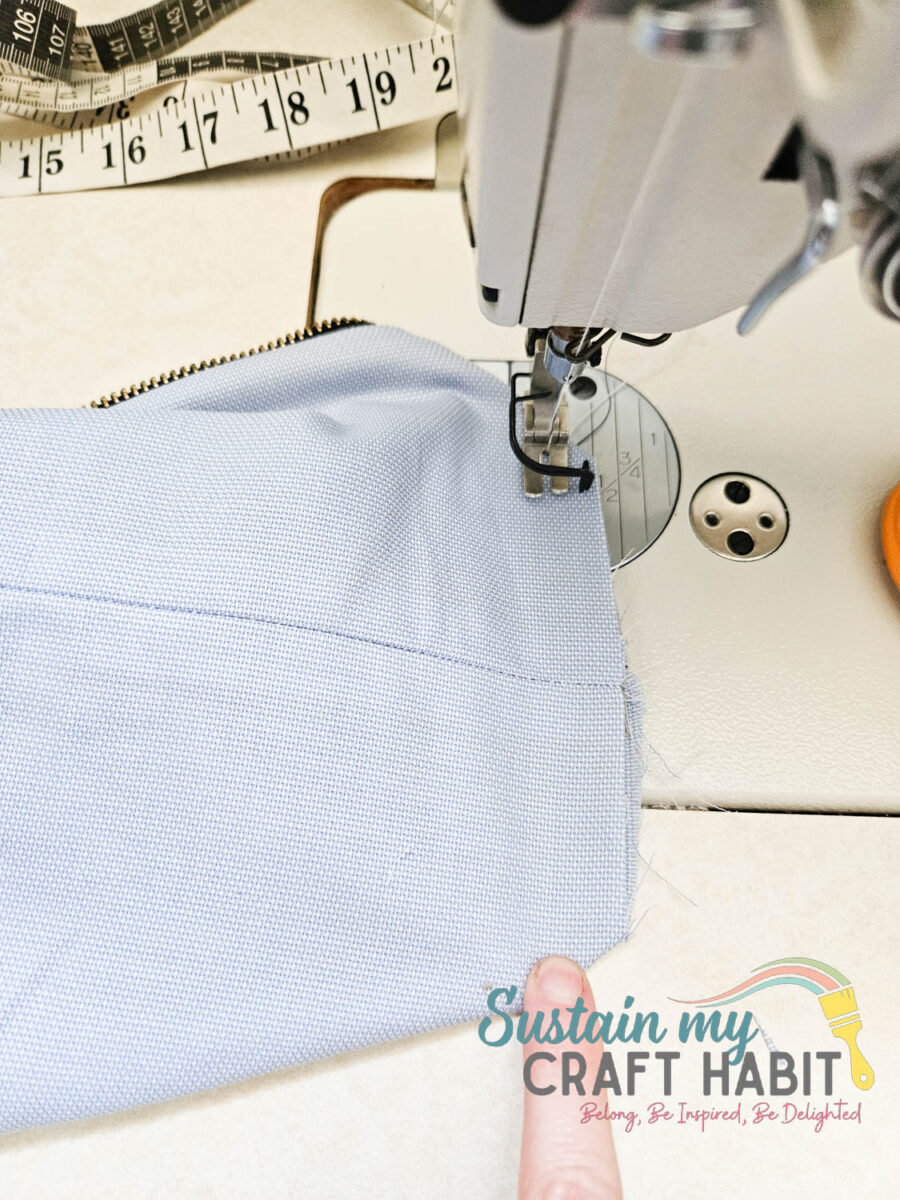
Repeat on the other four corners.
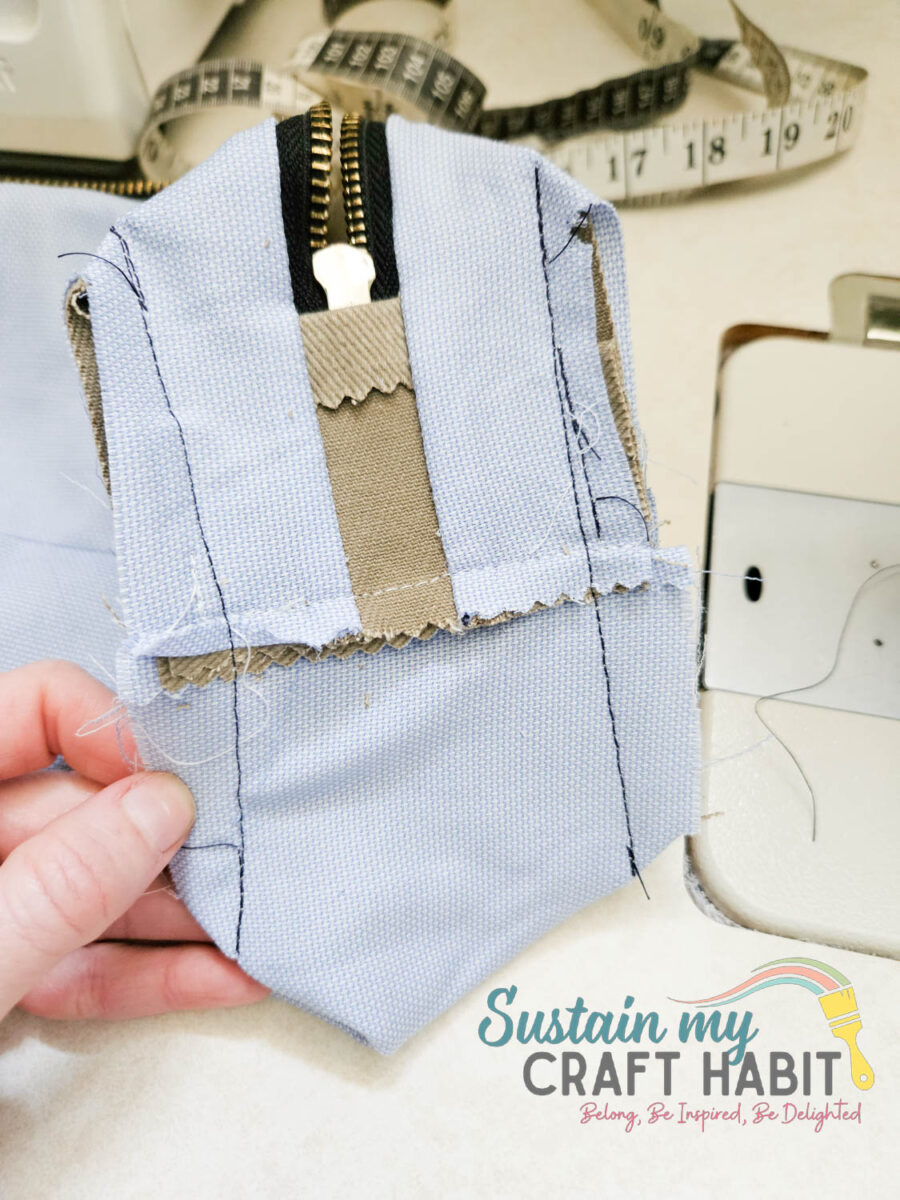
Lastly, clean finish the cut ends with pieces of lining fabric binding to prevent fraying.
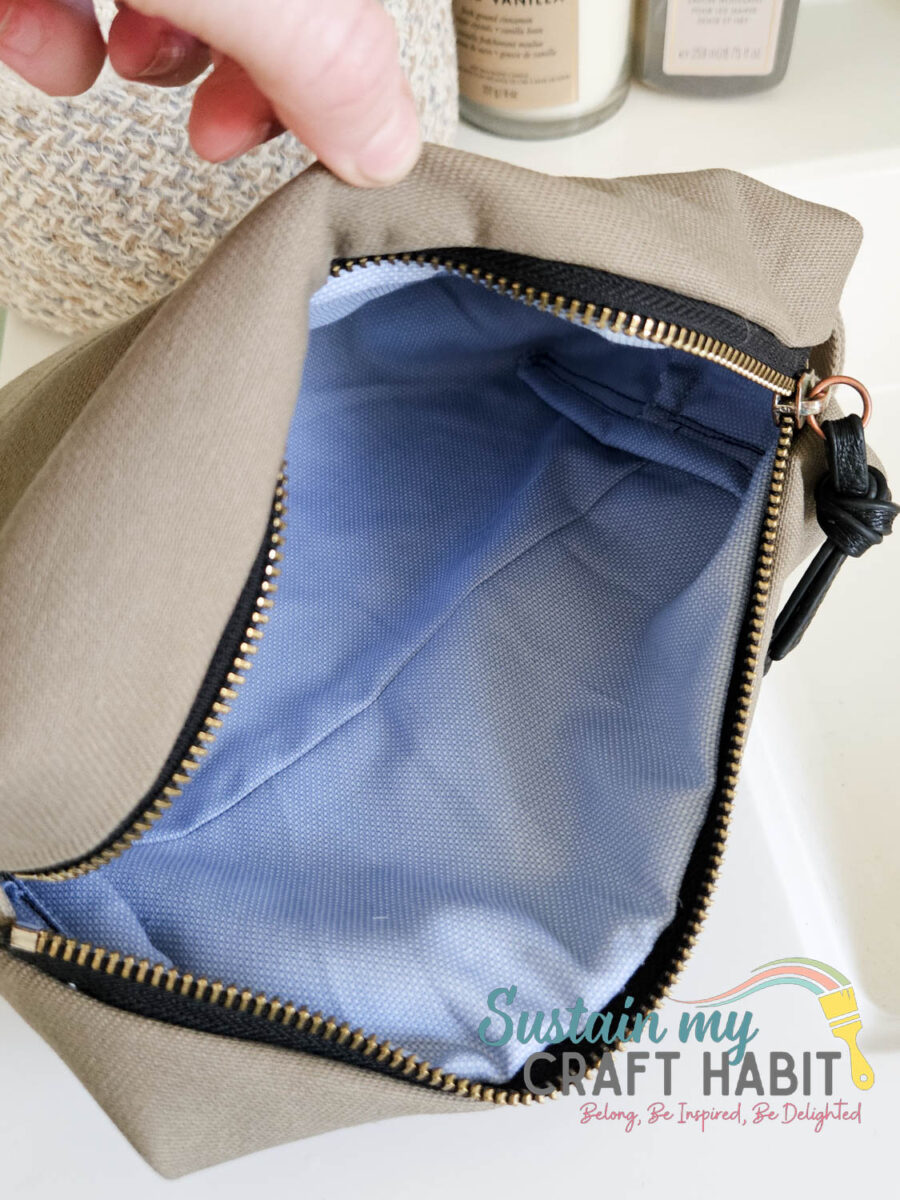
Turn the travel bag right side out and enjoy!
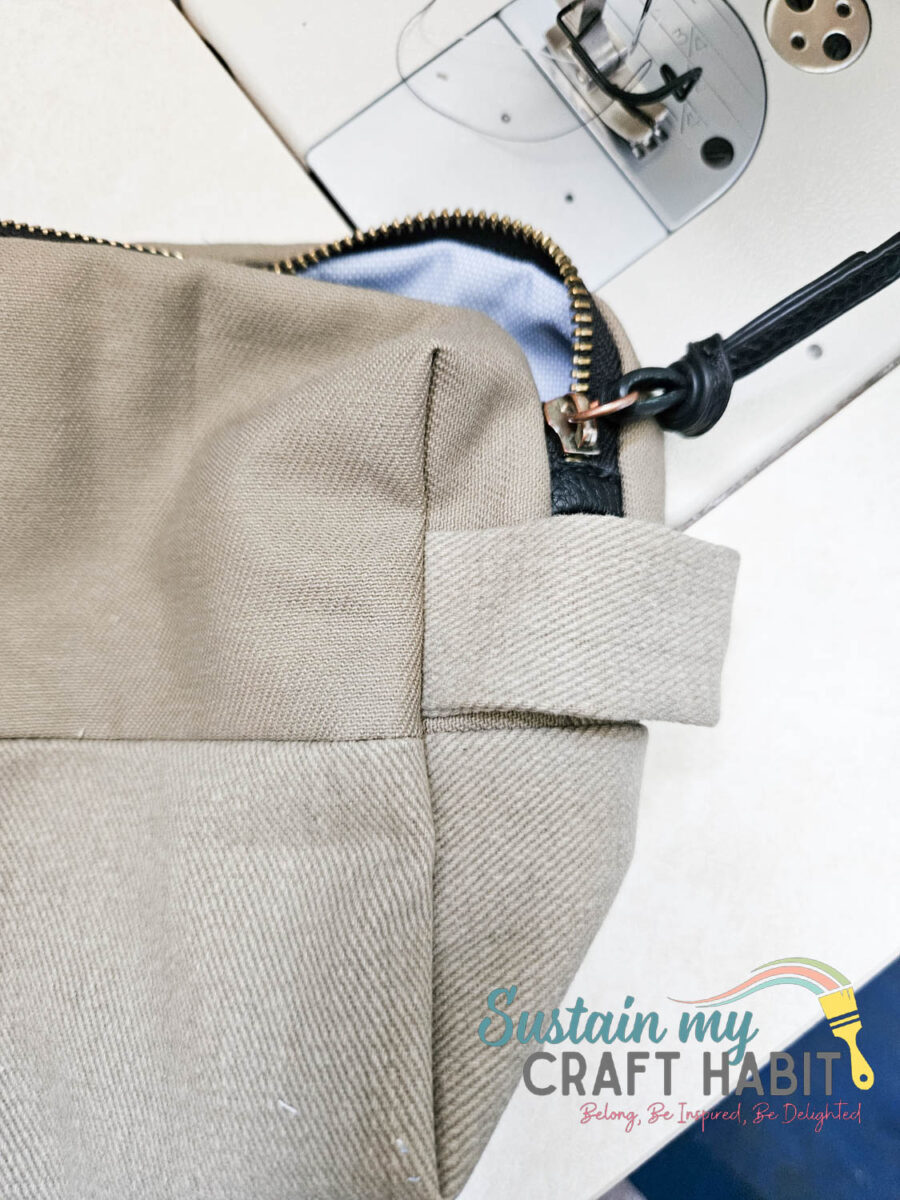
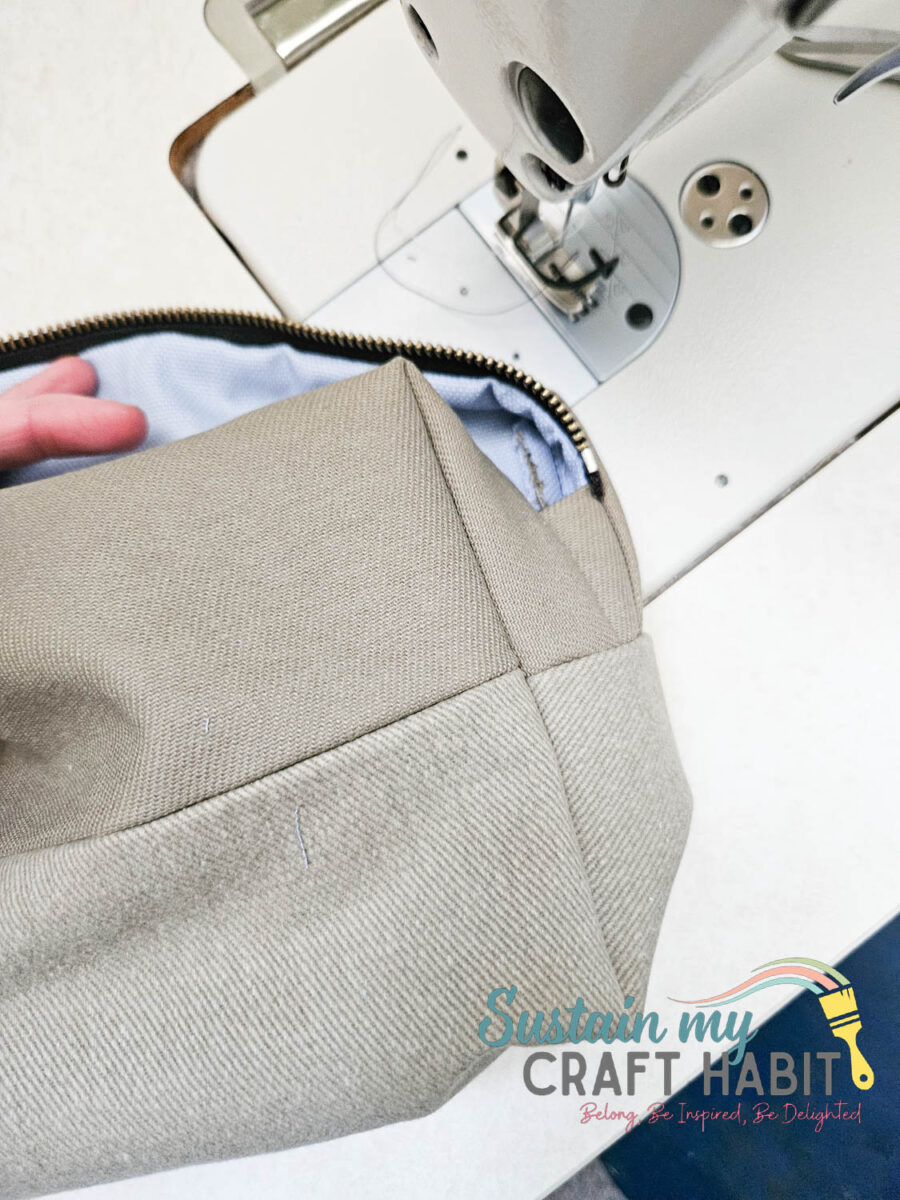
Personalized Travel Bag Variations
Make your DIY travel bag even more special by adding custom details. Consider monogramming Dad’s initials, adding a leather accent panel, or choosing fabric that reflects his hobbies or favorite colors. A waxed canvas finish can also give the bag a rugged, outdoors-inspired look.
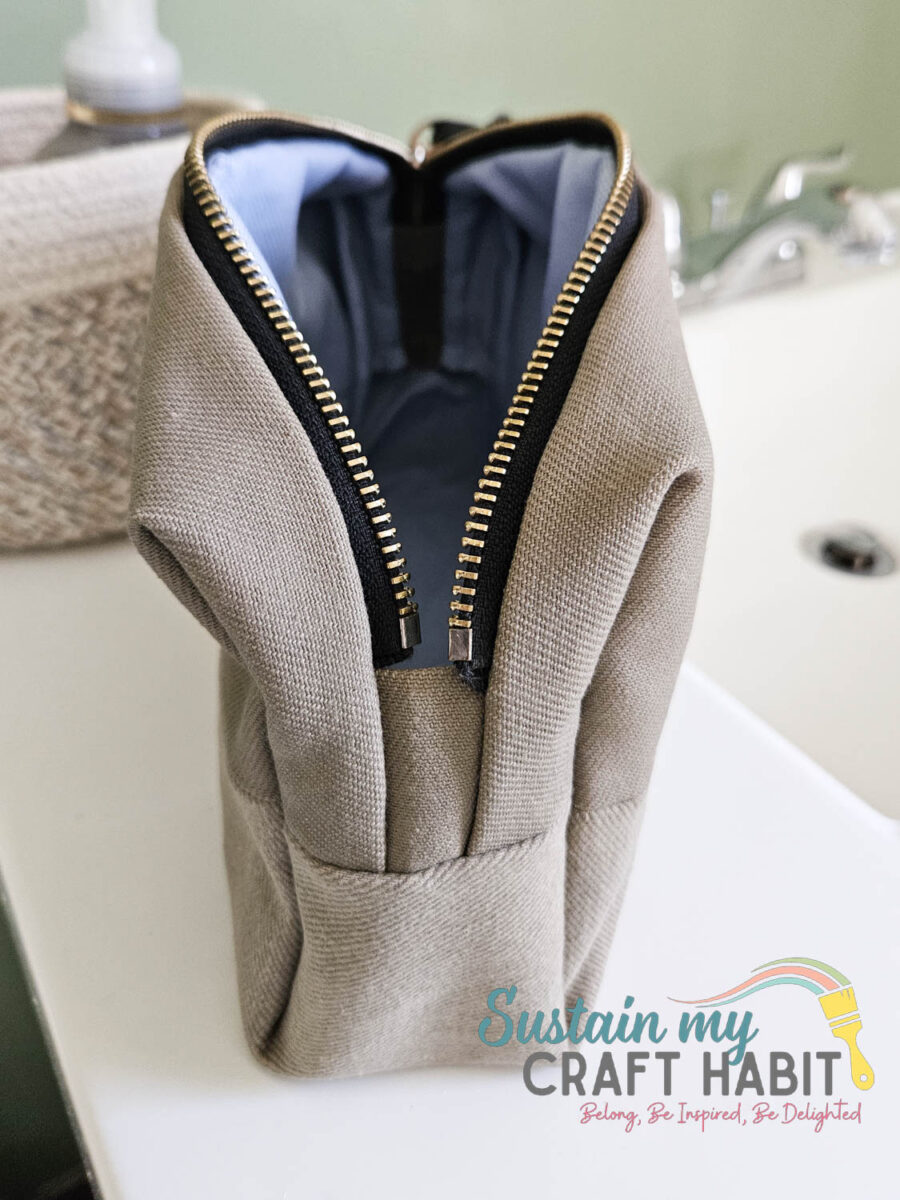
Creative Way to Gift a Travel Bag
Fill the travel bag with shaving essentials, skincare products, or travel accessories and present it as a thoughtful gift idea for Father’s Day or a birthday celebration.
A DIY Dopp kit: Combines Function and Organization
A handmade gift doesn’t have to be complicated to be meaningful. This simple DIY men’s toiletry bag combines practicality, durability, and personalization into one project Dad will actually use.
Whether you’re creating it as a gift or making one for yourself, this easy craft offers lasting value and plenty of customization options.
More sewing projects to make (with free printable sewing patterns)
If you loved making this travel bag, you’ll find plenty of other fun, high-reward projects in our extensive library of free sewing patterns and tutorials!
From quick fabric scrap-busters and cozy home decor to beautiful, everyday accessories, we have step-by-step guides perfect for every skill level. Head over to our main sewing page, pick out your next project, and let’s keep those creative juices flowing! Here are just a few of our favorites:
Like it? Pin for later!
Made for Dad: A Simple DIY Men’s Travel Bag He’ll Actually Use
Materials
- Woven fabric such as cotton canvas
- Sewing machine and matching thread
- 25cm long Metal Zipper closed end
- Fabric Scissors
- Travel Bag printable pattern
Instructions
- Once the printable pattern is assembled and pattern pieces are cut out, you can begin sewing.
- Align wrong sides of side loop pieces and sew long edges together with a ¼” seam allowance. Trim one layer of seam allowance to reduce thickness. Turn the piece right side out and put aside.
- Join the upper panels with the bottom panel pieces, matching single notches in the center. Press seam allowance open.
- Repeat for the lining pieces making one complete lining piece.
- Open the zipper and align the zipper tape edges with the travel bag opening, matching the ends of the zipper with the small circles, ensuring the zipper teeth are facing down towards the right side of the fabric.
- Stitch together with a ¼” seam allowance along one side of the zipper. Repeat with the other side of the zipper on the opposite end of the main shell piece. Ensure the puller extends past the end of the main piece.
- Fold and press one of the short ends of the opening panel pieces towards the wrong side by ½”. I finished the raw edge with pinking sheers to prevent fraying.
- Sew the panel pieces to the ends of the zipper.
- Next, align the solid lining piece with the main piece. Sandwiching the zipper (and side panels) in between, sew the lining piece to the main piece along the travel bag opening.
- Matching the notches on the hanging loop with the one end of the travel bag, baste stitch hanging loop in place.
- With right sides together, align squared center ends. Sew layers together with a ½” seam allowance. Repeat on the other end. Take care sewing through the coil zipper teeth.
- Working one corner of the travel bag at a time, fold the travel bag aligning the short ends together. Stitch through the layers with a ½” seam allowance. Repeat on the other four corners.
- Lastly, clean finish the cut ends with pieces of lining fabric binding to prevent fraying.
- Turn the travel bag right side out and enjoy!