How to Make Label Stickers with Cricut Joy Xtra
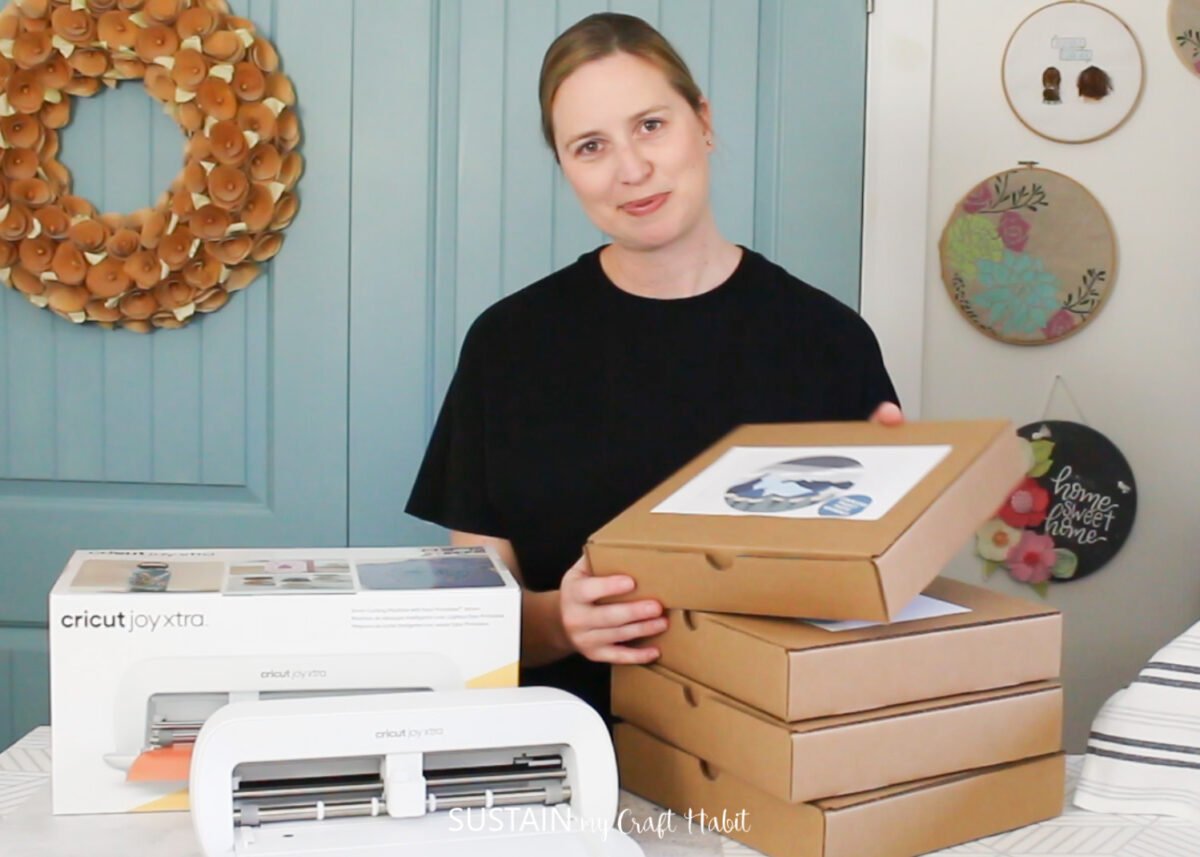
The Cricut Joy Xtra is a game-changer for DIY label making, bringing professional-quality sticker creation right to your crafting table. This compact but mighty machine takes the guesswork out of creating beautiful, durable labels for every corner of your life.
With just a few basic supplies – your Cricut Joy Xtra, smart label material, a design idea, and your imagination – you can transform ordinary spaces into organized, Pinterest-worthy displays. Whether you’re new to Cricut or a seasoned crafter, making labels has never been more satisfying.
Why You Will Love Making Label Stickers with Cricut Joy Xtra
Let’s be honest – there’s something deeply satisfying about creating custom labels that perfectly match your style and needs. This craft is particularly rewarding because it’s virtually impossible to mess up! The Cricut Joy Xtra guides you through each step, ensuring precise cuts and professional results every time. Unlike store-bought labels that come in limited designs and sizes, you have complete creative control over fonts, colors, and styles.
Plus, making your own labels is surprisingly cost-effective – one roll of smart label material can create dozens of custom stickers, making it a budget-friendly choice for large organizing projects.
What Are Some Great Ways to Use These Hand Made Stickers
The possibilities for using your handmade labels are truly endless, but here are some favorite applications that will inspire you:
Kitchen and Pantry Organization:
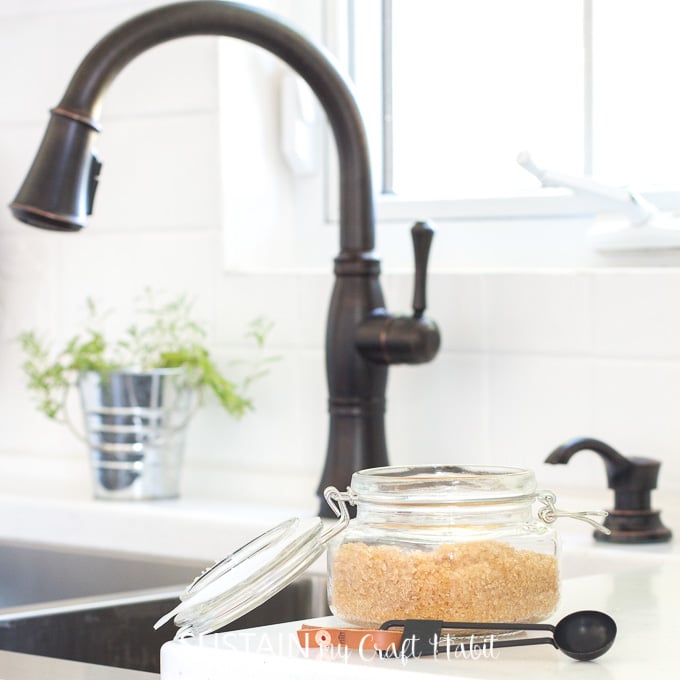
- Create matching labels for spice jars
- Mark dry goods containers with contents and expiration dates
- Label refrigerator bins for easy meal prep
Office and Home Organization:
- Design color-coded filing system labels
- Create custom tabs for planners and notebooks
- Label charging cords and electronic accessories
Personal Touch Items:
- Design personalized water bottle stickers
- Create custom name labels for school supplies
- Make seasonal gift tags for presents
Storage Solutions:
- Label clear storage bins with contents
- Create organizing systems for craft supplies
- Design waterproof labels for bathroom items
Get access to our resource library filled with SVG cut files and other Cricut craft ideas!
Materials Needed
Disclosure: This post contains affiliate links for your shopping convenience. Should you choose to purchase through them, we will make a small commission at no extra cost to you. You can read our full disclosure policy here.
How to Make Label Stickers with Cricut Joy Xtra
Creating the Designs for Labels in Design Space
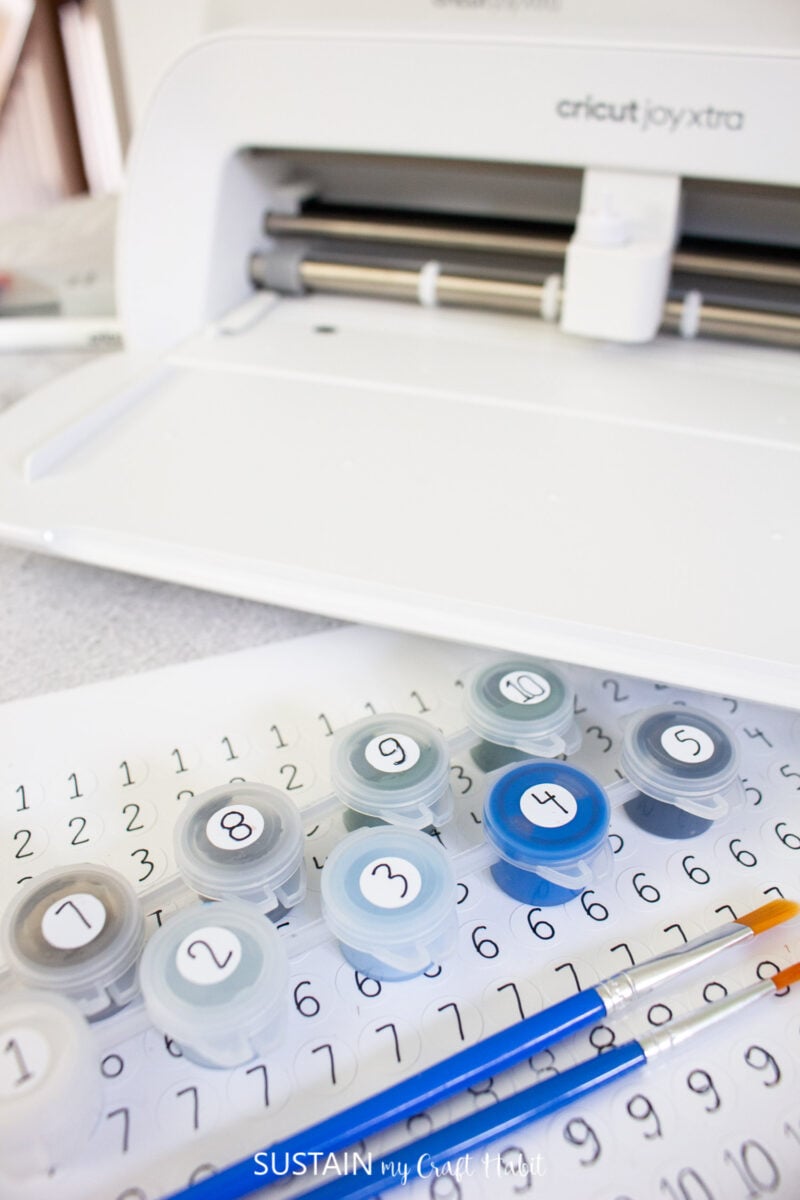
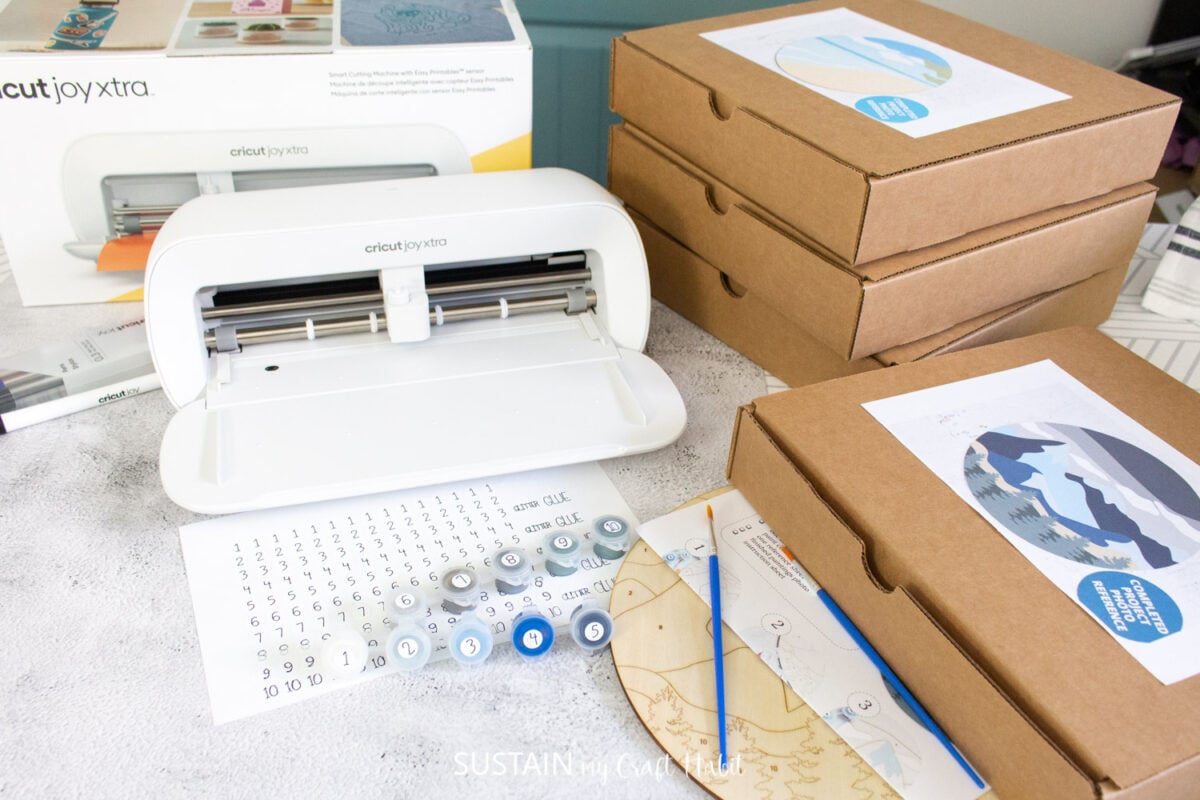
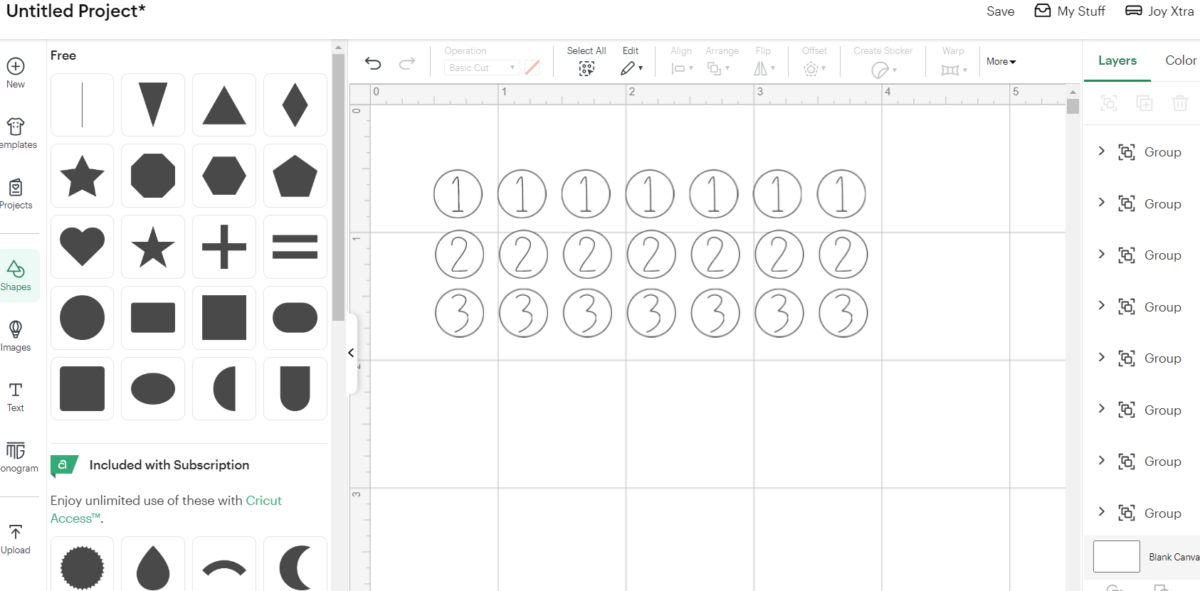
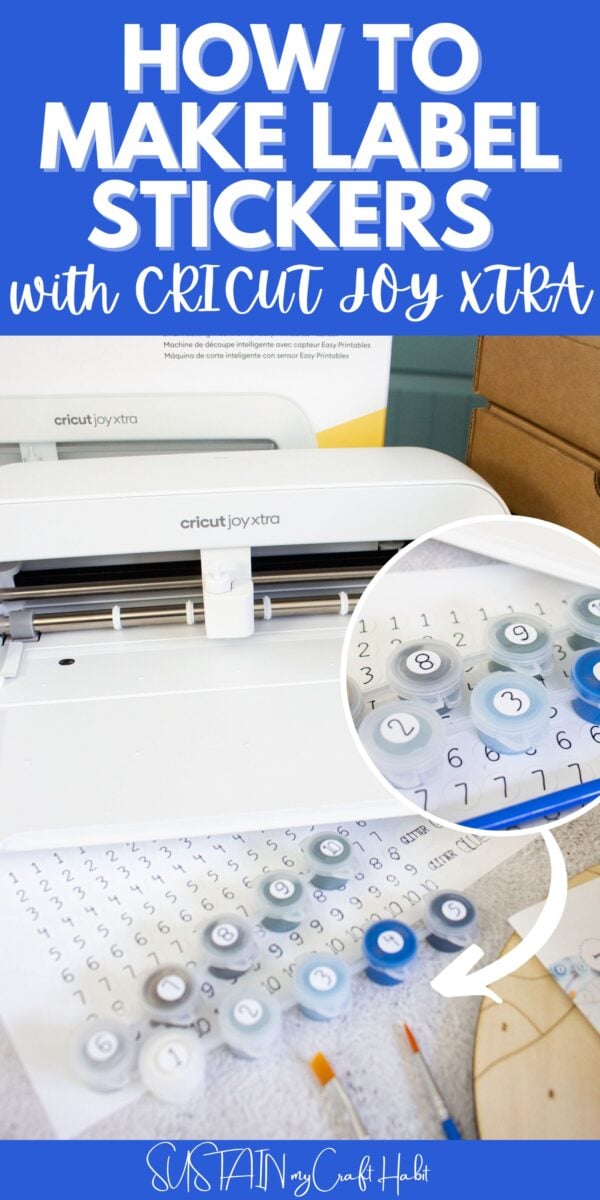
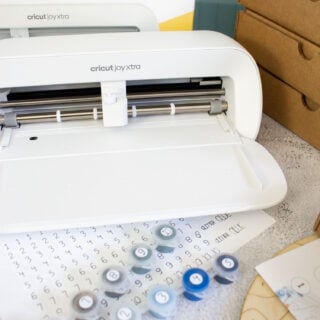
In our case, we need numbered (1 to 10) label stickers for our DIY paint-by-number kits as well as some labels that say “glue” and “glitter”. These are the steps to make this kind of a design but you can modify it to suit your needs.
Open Design Space and select a new canvas.
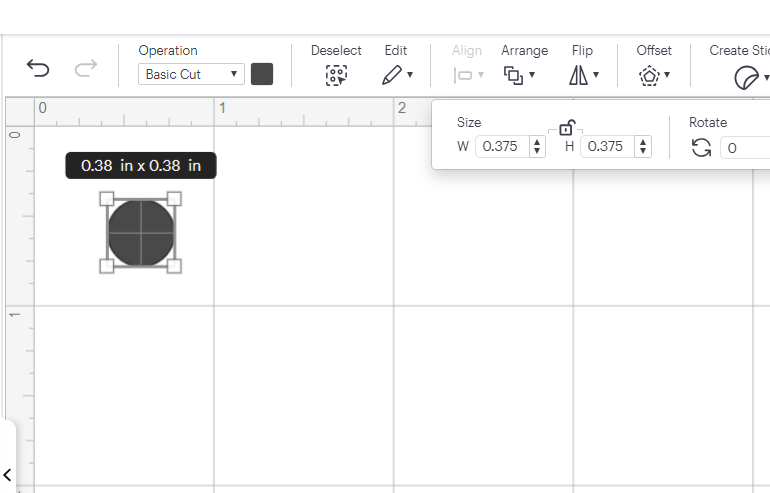
Insert a circle shape on to the canvas and size it to ⅜” diameter.
Next, insert a text box onto the canvas and change the font to your choosing.
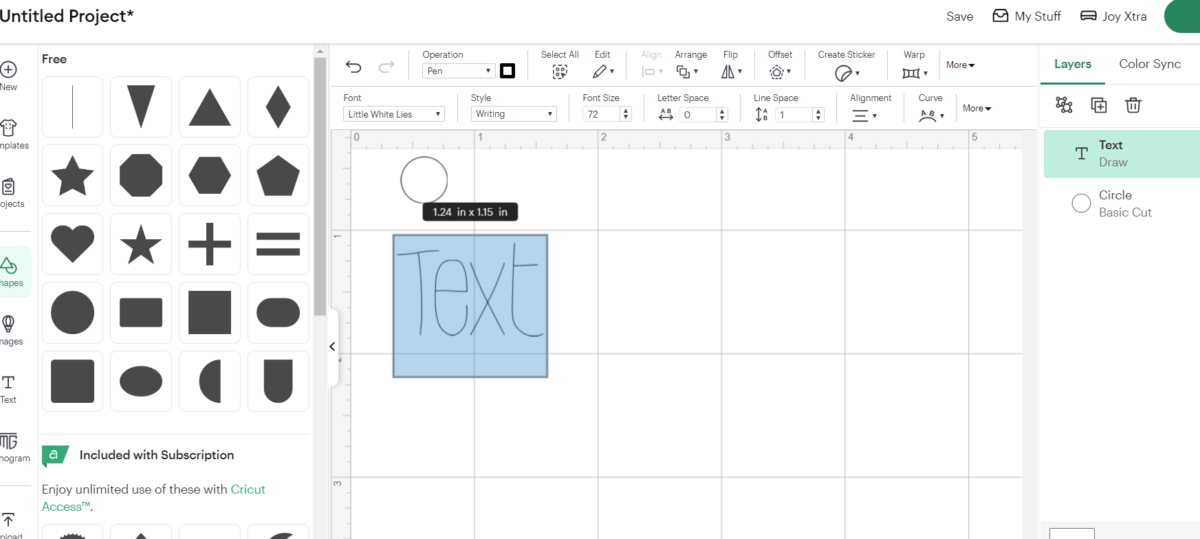
We chose “little white lies” font for our labels. This works well because of its single layer writing style option, which makes the writing process faster. Keep this in mind when choosing a font for your project.

Center the number, letter or word inside of the circle shape, centering it vertically and horizontally. Repeat this step for the other numbers, letters or words.
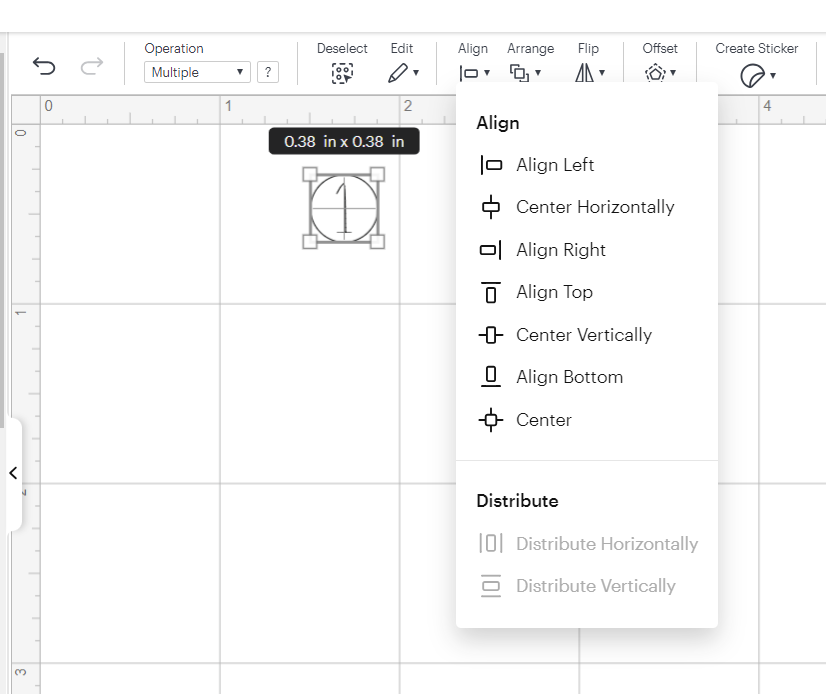
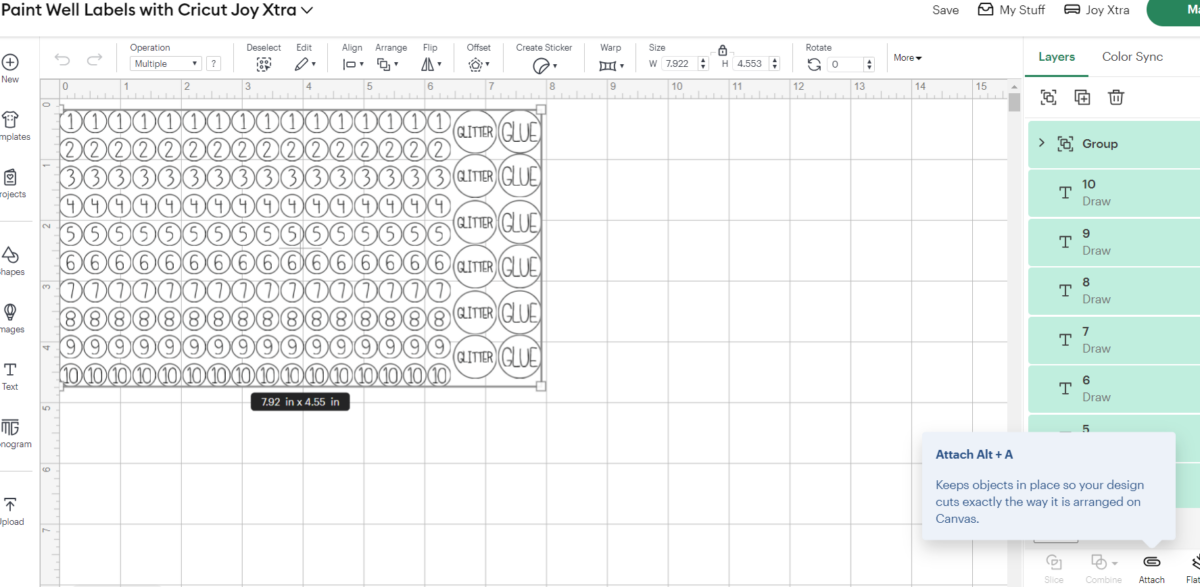
Select all and duplicate it as many times as needed for your project.
Highlight all and click on the attach button at the bottom right corner to hold all the shapes and text together.
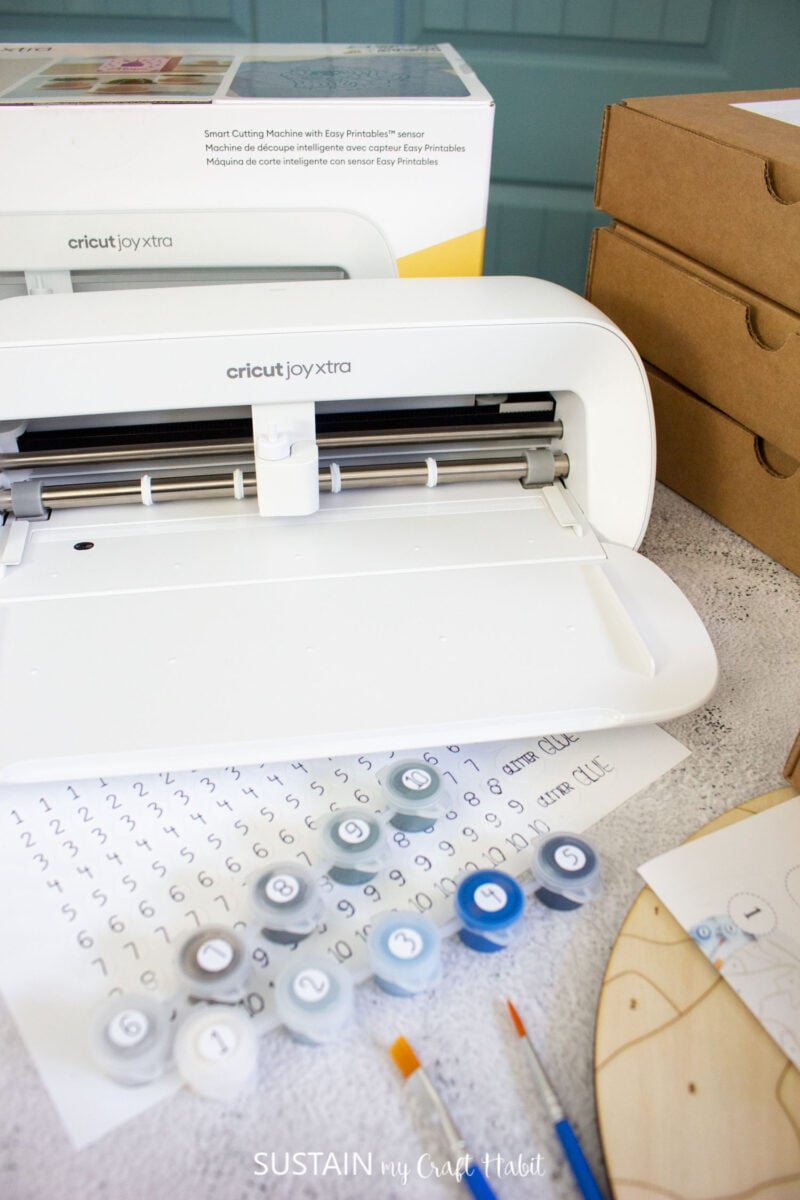
Proceed to “make it” and follow the prompts for inserting the Smart Label sticker paper into the Cricut Joy Xtra as well as loading the pen and blade.
Remove when complete.
Peel away the sticker and place on the paint well or whatever product you need to label.
A Personal Touch to Everyday Items
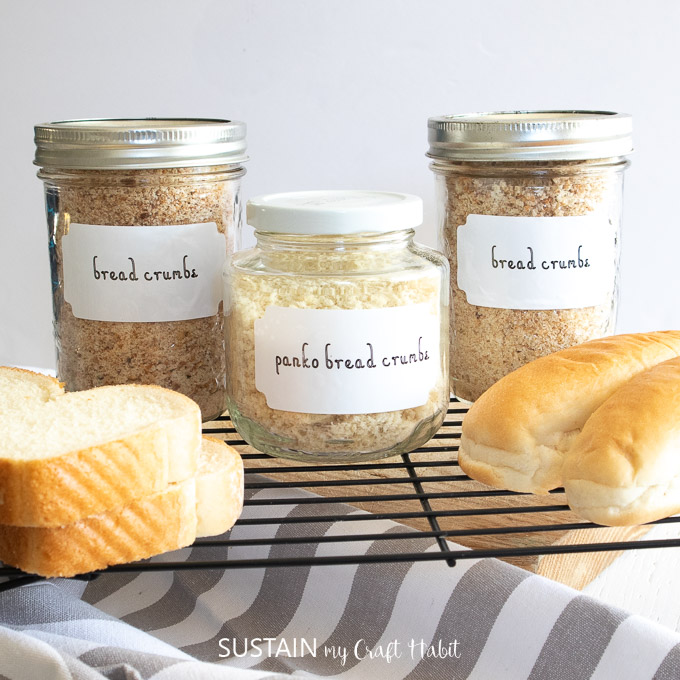
Creating custom Cricut label stickers with Joy Xtra isn’t just about getting organized – it’s about adding your personal touch to everyday items while making life a little easier. Once you start making your own labels, you’ll discover countless ways to use them throughout your home and office.
The satisfaction of seeing your handmade labels brightening up spaces and simplifying organization is truly unmatched. So power up your Cricut Joy Xtra, let your creativity flow, and watch as your spaces transform one label at a time.
More Things to Make with Cricut
- Mason Jar Labels with Cricut
- Personalized Gifts for the Holidays
- 5 Simple Ways to Organize Your Home with Cricut Joy
- Making A Card With Cricut Joy
Want to receive a ton of inspiration and money saving ideas for decorating, gift-giving and crafting? Join HERE!
Like it? Pin it for later!
How to Make Label Stickers with Cricut Joy Xtra
Materials
- Cricut Joy Xtra
- Cricut Smart Label Sticker Paper
- Cricut Pen 0.4
Instructions
- Open Design Space and select a new canvas.
- Insert a circle shape on to the canvas and size it to ⅜” diameter.
- Next, insert a text box onto the canvas and change the font to your choosing.
- Center the number, letter or word inside of the circle shape, centering it vertically and horizontally. Repeat this step for the other numbers, letters or words.
- Select all and duplicate it as many times as needed for your project.
- Highlight all and click on the attach button at the bottom right corner to hold all the shapes and text together.
- Proceed to “make it” and follow the prompts for inserting the Smart Label sticker paper into the Cricut Joy Xtra as well as loading the pen and blade.
- Remove when complete.
- Peel away the sticker and place on the paint well or whatever product you need to label.

