Crafting A Dollar Tree Bowl Pumpkin
Fall crafting doesn’t have to break the bank! With just a few Dollar Tree plastic bowls and some creative spirit, you can transform ordinary kitchenware into an adorable decorative pumpkin that looks like it came straight from a boutique.

This budget-friendly DIY project has been trending on social media, and for good reason – it’s incredibly simple to make, surprisingly elegant, and costs just a fraction of store-bought fall decor. Whether you’re a seasoned crafter or just starting out, this tutorial will walk you through creating the perfect plastic bowl pumpkin to add a touch of autumn charm to your home.
Why You Will Love Making This Dollar Tree Pumpkin
Your Dollar Tree plastic bowl pumpkin isn’t just a pretty face – it’s a budget-friendly masterpiece that costs less than $5 but looks like a high-end decor piece! Unlike real pumpkins, this durable creation lasts year after year and can be displayed anywhere from your mantel to your covered porch. It’s incredibly versatile, allowing you to paint and customize it to match any decor style. Best of all, this beginner-friendly craft takes less than an hour to make, requires no special skills, and gives you that wonderful sense of creative accomplishment.

Can I Use Different Shaped Bowls to Make Other Gourds?
You can get creative with all kinds of bowl shapes to craft a whole harvest display of faux gourds. Long oval bowls are perfect for creating butternut squash and elongated decorative gourds, while shallow wide bowls can mimic acorn squash or shorter pumpkin varieties. Small round bowls make adorable mini gourds that work great as table scatter, and even square or rectangular bowls can be arranged at angles for unique, modern-looking pieces.
Want to receive a ton of inspiration and money saving ideas for decorating, gift-giving and crafting? Join HERE!
Materials Needed
Disclosure: This post contains affiliate links for your shopping convenience. Should you choose to purchase through them, we will make a small commission at no extra cost to you. You can read our full disclosure policy here.
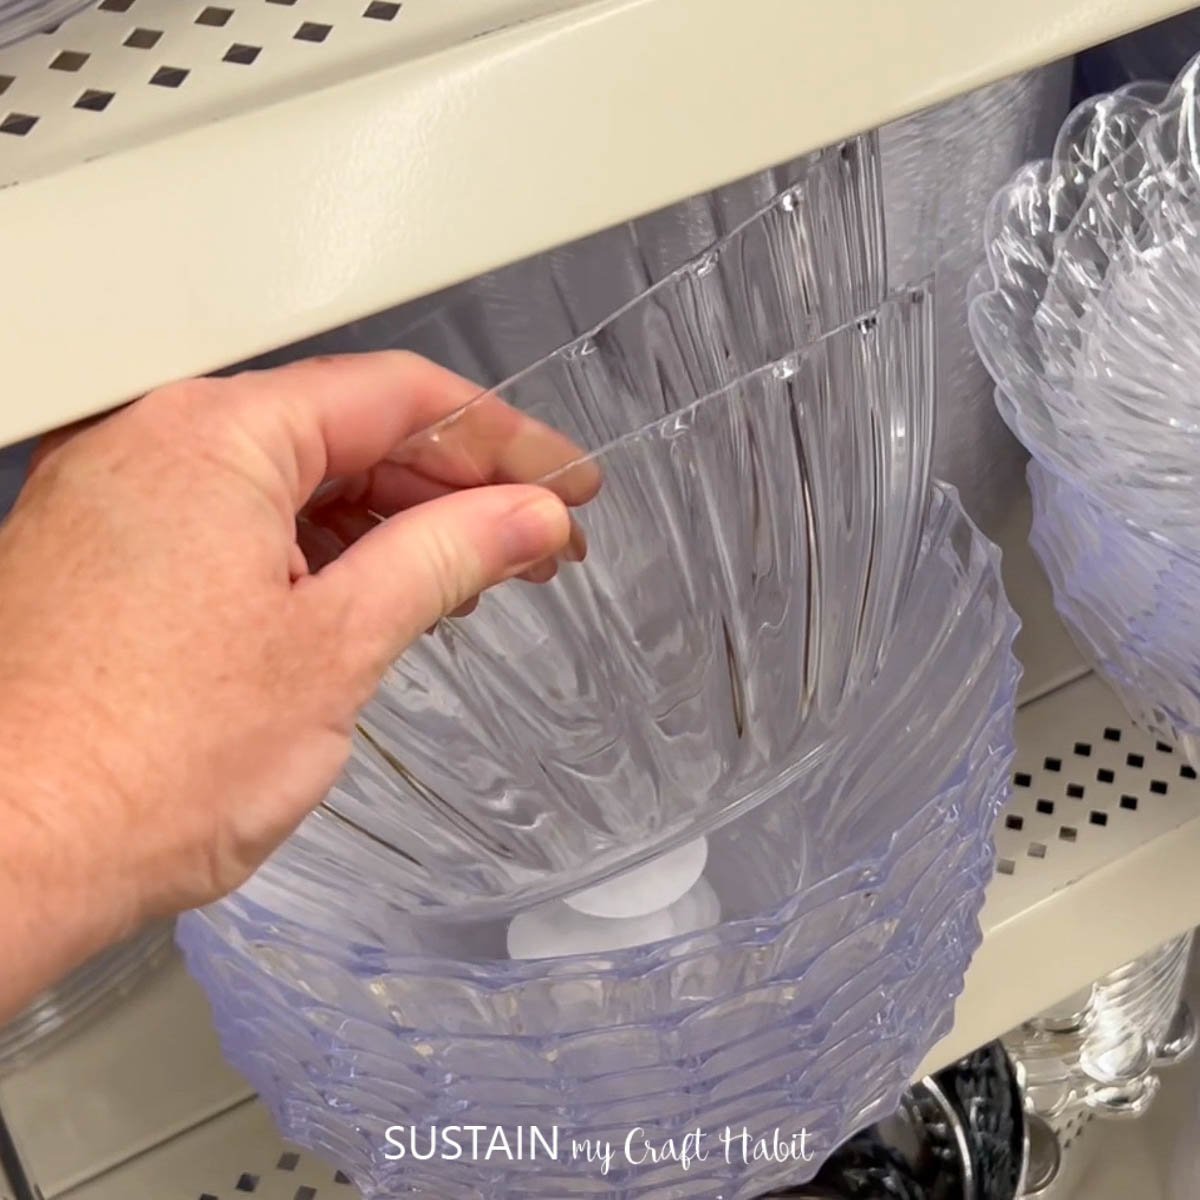
- Plastic Bowls (we got ours from Dollar Tree)
- Orange paint
- DecoArt creme wax
- Gold Rub n Buff
Paintbrushes - Gorilla glue
- Faux Sunflower
- Ribbon
- Driftwood or other wood for stem of pumpkin
How to Craft A Dollar Tree Plastic Bowl Pumpkin
I shared the tutorial for how to make this plastic bowl pumpkin on a Facebook live which you can watch here or if you prefer the photo tutorial, continue reading below.
Start by removing the stickers from each bowl.

Evenly coat the outside of each plastic bowl with orange paint. Let dry and add a second layer of paint.

Use a bit of creme wax between the grooves of the bowl to add some shading. Use a clean cloth to rub some of the wax off.

Using your finger, take a small amount of Rub n Buff and use it on the raised edges of the bowl.

Apply glue along the rim of one bowl, then press the bowls together to create the shape of a pumpkin.

Glue a piece of driftwood to the top centre of a bowl to create a stem.

Take a bow, or make your own, and attach it to the top of the bowl along with a sunflower.


A Charming Decoration
Creating your own Dollar Tree plastic bowl pumpkin is proof that stunning fall decor doesn’t require a big budget or expert crafting skills. With just a few simple supplies and a little creativity, you’ve transformed ordinary bowls into a charming decoration that will bring autumn warmth to your home for years to come.
Don’t be surprised if your friends ask where you bought this elegant piece – and feel free to share this clever DIY secret with them! Remember, the possibilities are endless when it comes to colors, sizes, and gourd shapes, so why stop at just one? Happy crafting, and enjoy watching your seasonal decor collection grow, one beautiful bowl pumpkin at a time.
More Dollar Store Fall Crafts
- Dollar Tree Pumpkin Wreath Craft
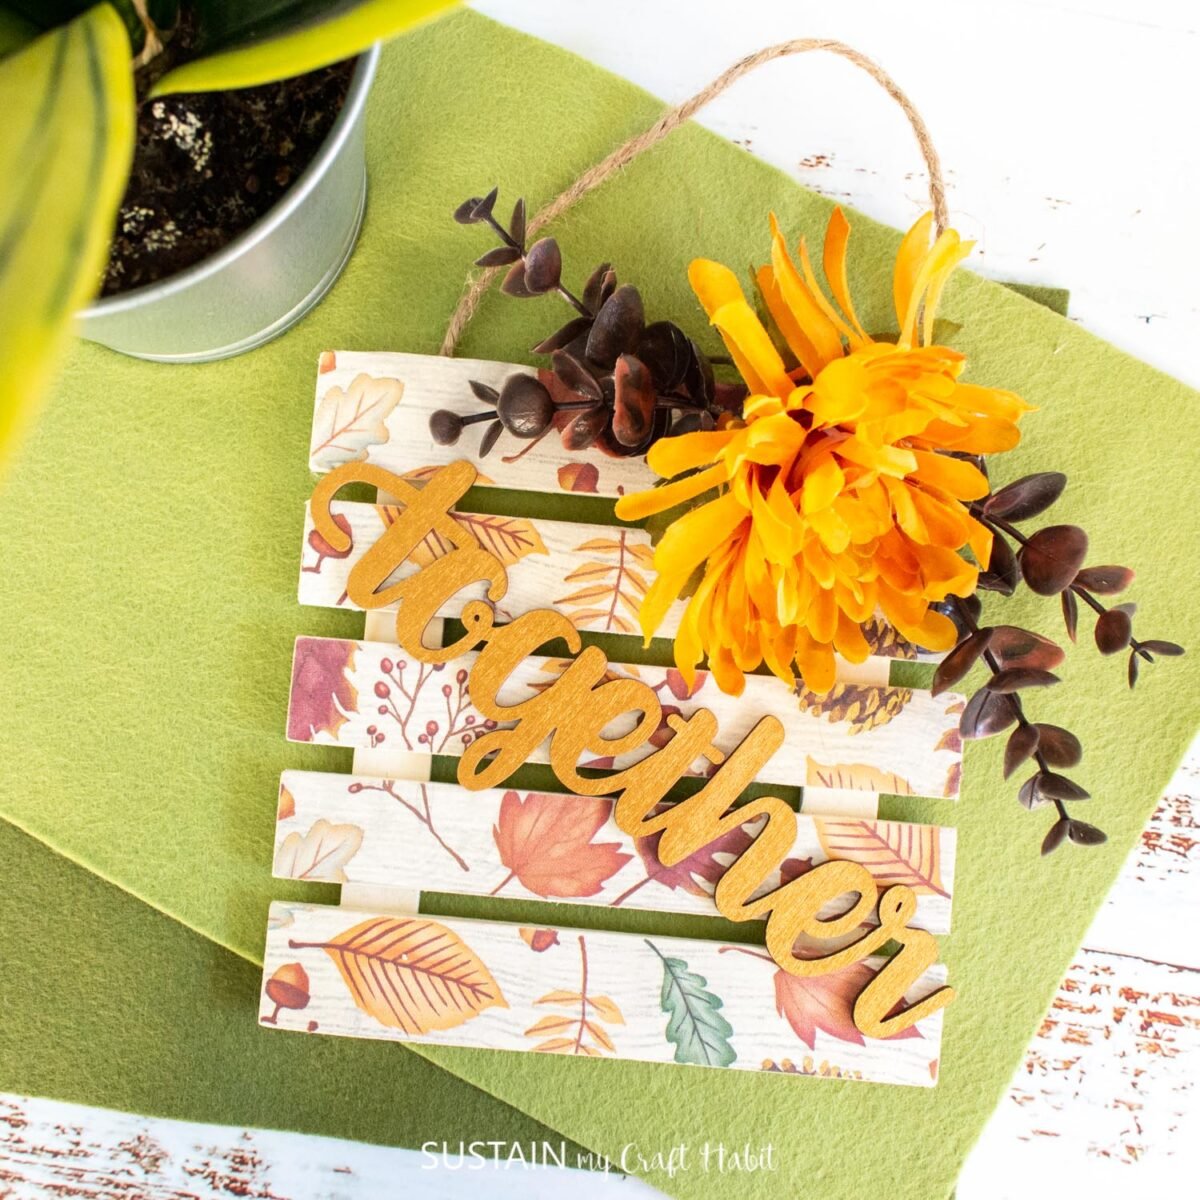
- Fall Wood Sign with Dollar Tree Supplies
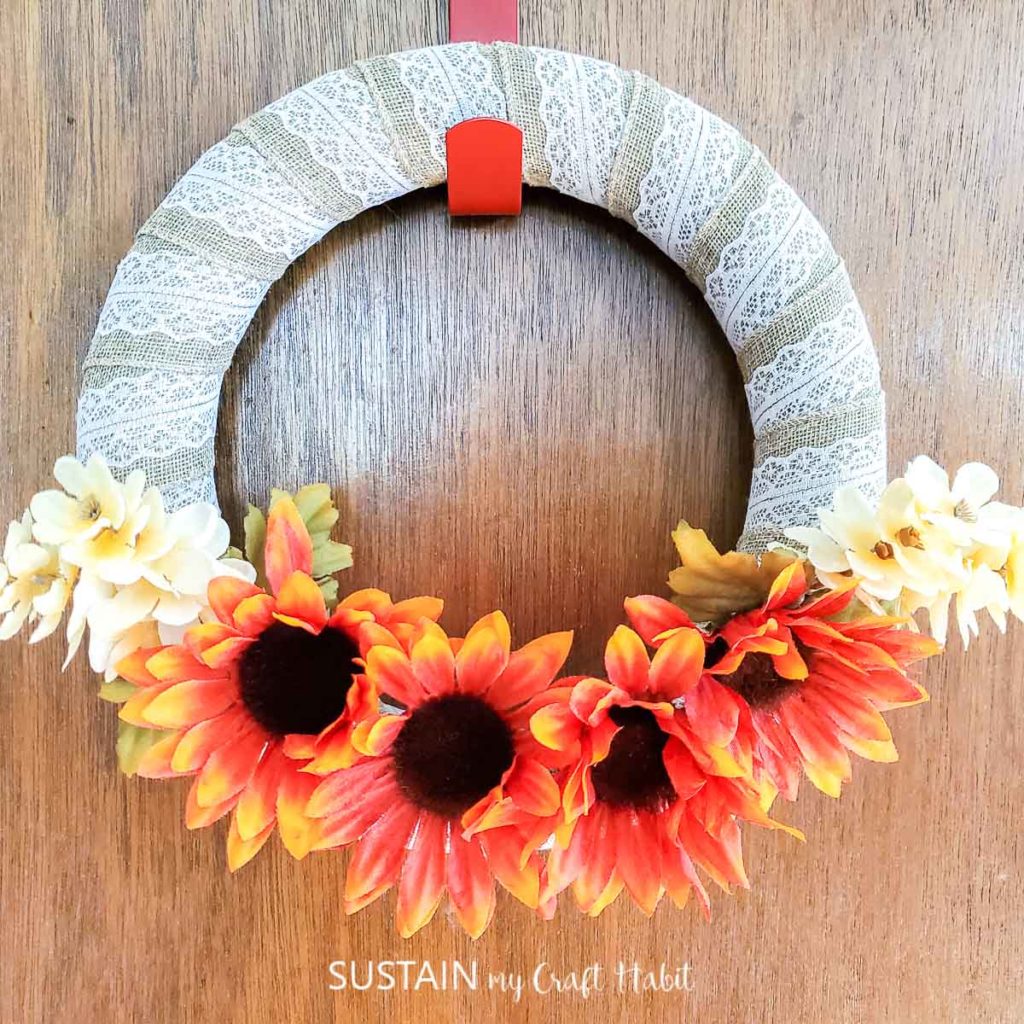
- DIY Dollar Store Wreath
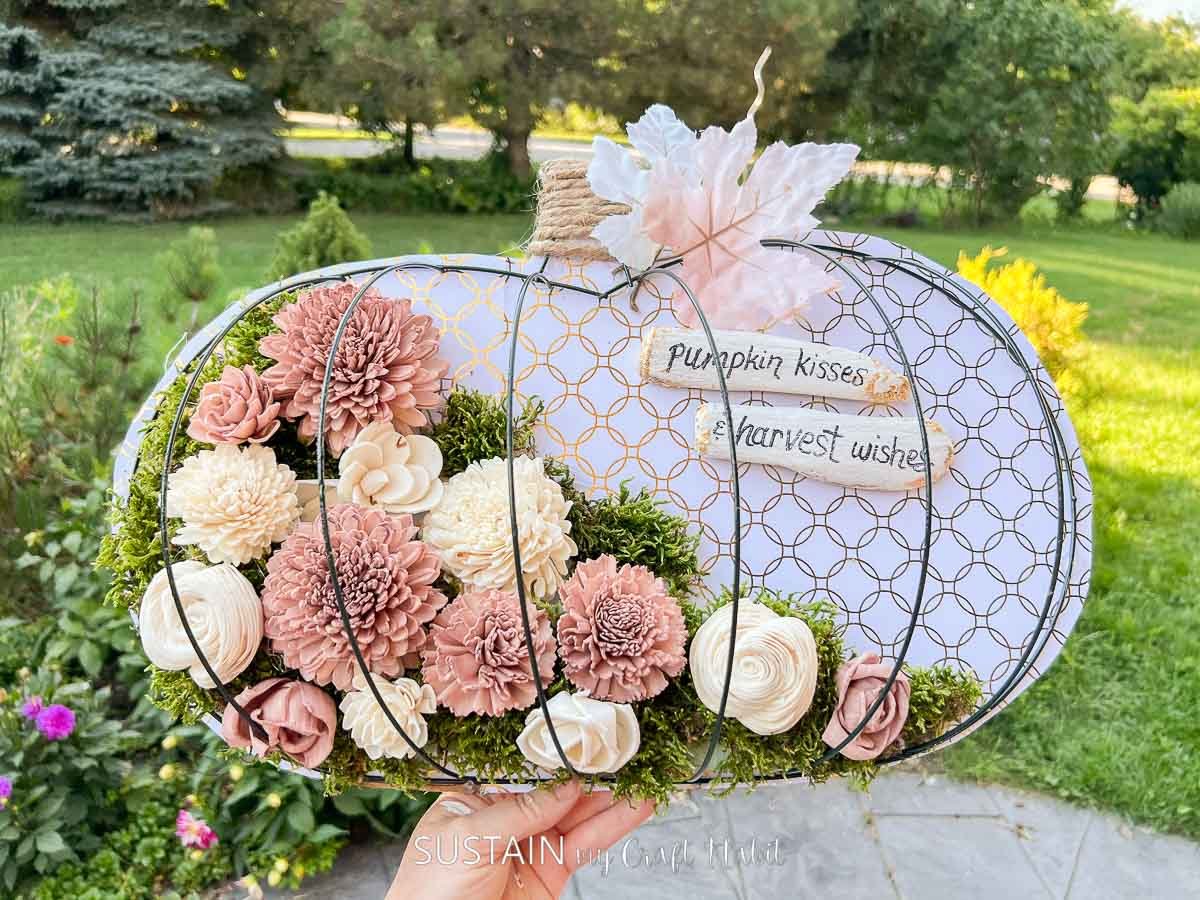
- Dollar Store Pumpkin Art Craft
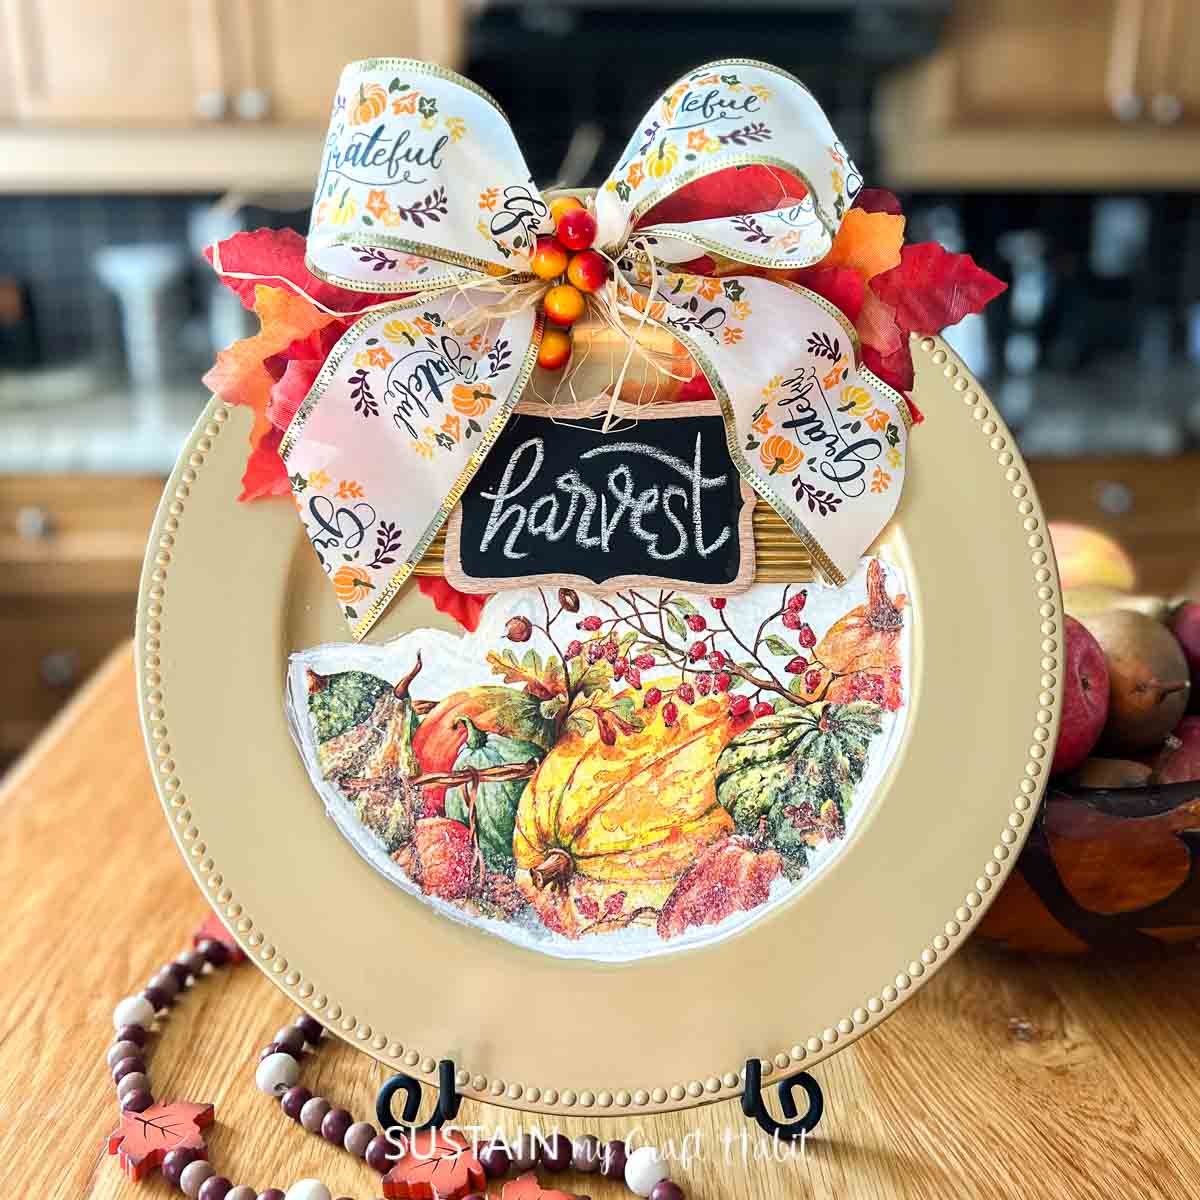
- Fall Harvest Dollar Store Charger Craft

Get updates on the latest posts and more from Sustain My Craft Habit straight to your inbox by joining our weekly newsletter. We promise to send you only the good stuff.
Like it? Pin it for later!


Crafting A Dollar Tree Plastic Bowl Pumpkin
Materials
- Plastic Bowls we got ours from Dollar Tree
- Orange paint
- DecoArt creme wax
- Gold Rub n Buff
- Paintbrushes
- Gorilla glue
- Faux sunflower
- Ribbon
- Driftwood
Instructions
- Evenly coat the outside of each plastic bowl with orange paint.
- Use a bit of creme wax between the grooves of the bowl to add some shading.
- Using your finger, take a small amount of Rub n Buff and use it on the raised edges of the bowl.
- Apply glue along the rim of one bowl, then press the bowls together to create the shape of a pumpkin.
- Glue a piece of driftwood to the top center of a bowl to create a stem.
- Take a bow and attach it to the top of the bowl along with a sunflower.


