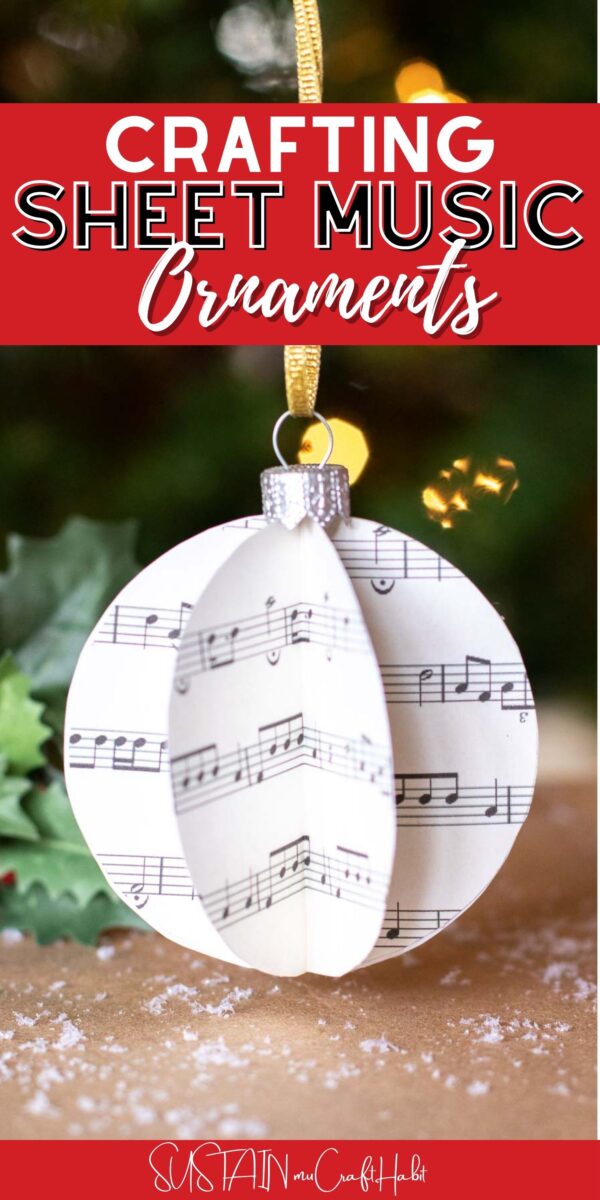
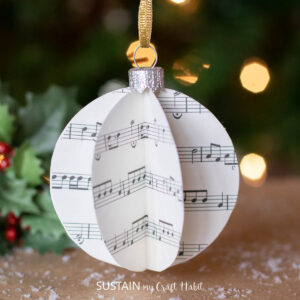
Crafting 3D Sheet Music Ornaments
The perfect mix of vintage nostalgia with a sweet handmade touch, we’ll show you how to make 3-dimensional Christmas ornaments using lovely printed sheet music.
Sheet Music Ornaments Craft
Having recently packed up my whole house to move to a new house two-hours away, I was careful with the pieces I chose to keep. Although it was hard to let go of things that I had saved for years, it was also the perfect opportunity to reset and declutter. And wouldn’t you know it, I came across a stack of old Christmas music sheets from my husband’s childhood! Those sure would have come in handy while making these 3-dimensional sheet music ornaments last year!
Join our crafting community to sustain your craft habit with nature-inspired DIYs and upcycled craft ideas. It feels good to repurpose, upcycle and create with nature!
Instead, my sister Jane and I printed off music sheets we found online to make these pretty Christmas ornaments. They are similar to our retro-inspired no-sew 3D felt ornament PDF patterns except that insead of using felt sheets we used paper.

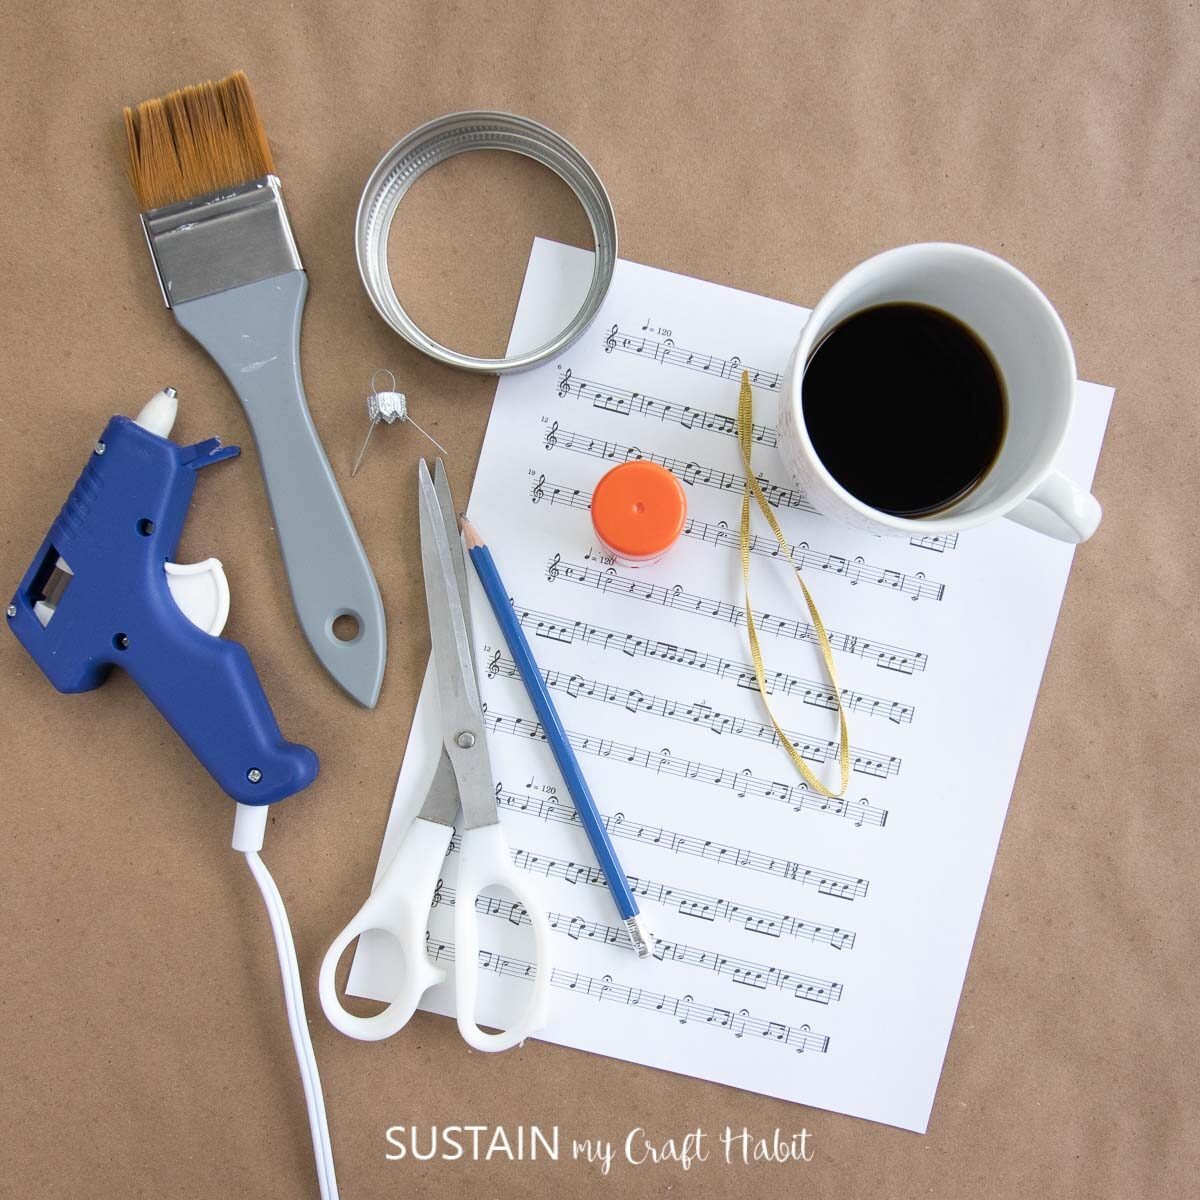
Materials Needed
Disclosure: This post contains affiliate links for your shopping convenience. Should you choose to purchase through them, we will make a small commission at no extra cost to you. You can read our full disclosure here.
- Paper music sheet
- Ornament Cap
- 1 tbsp coffee (to distress and age the music sheets)
- Paintbrush
- Mason Jar lid, approx. 3” diameter
- Scissors
- Pencil
- Glue stick
Hot glue gun and clear glue sticks- Gold ribbon, cut to 12” long
How to Make 3D Sheet Music Ornaments
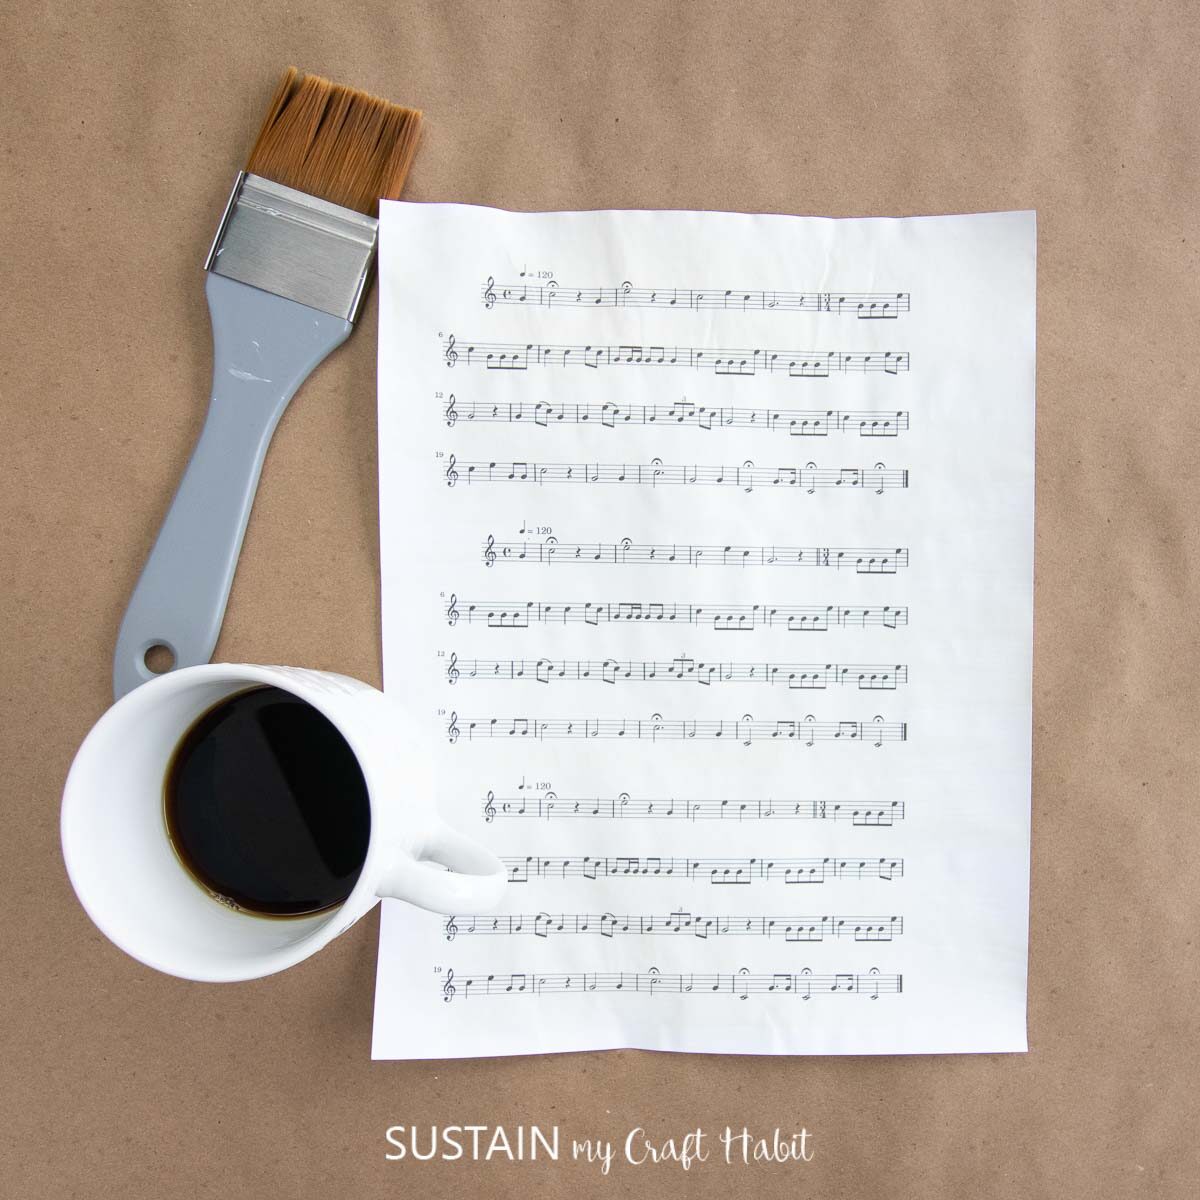
Using a paintbrush and quick strokes, brush coffee across the music sheet. Allow time to dry fully before proceeding. Alternatively, use a blow dryer or iron to quicken the drying time.
Once dry, place a lid on top of paper and trace the circle shape with pencil.
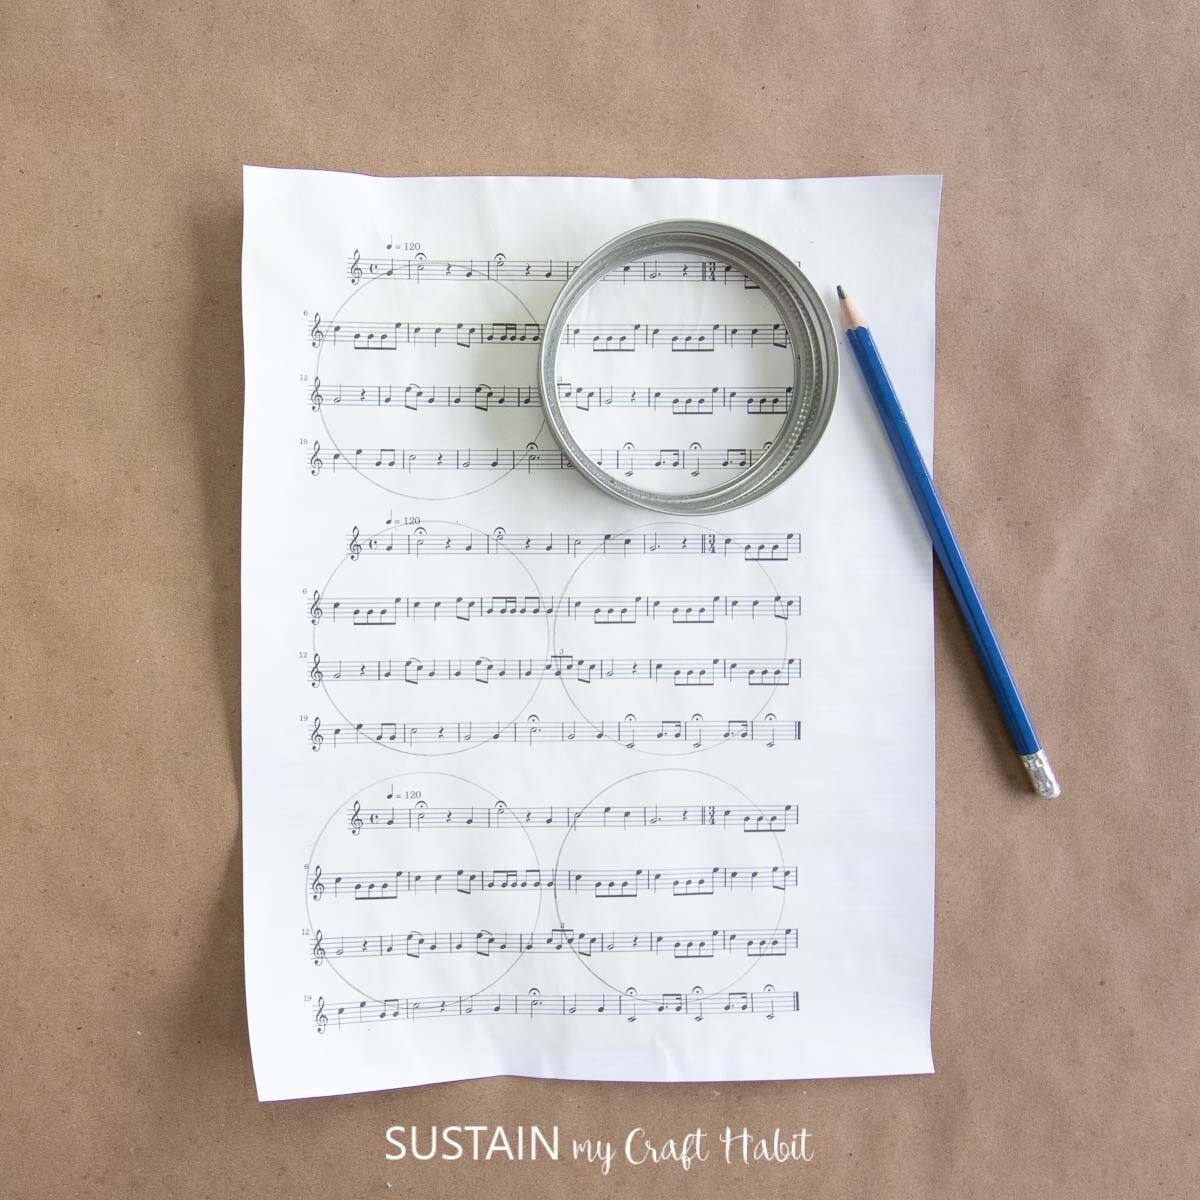
Cut 6 equally shaped circles.

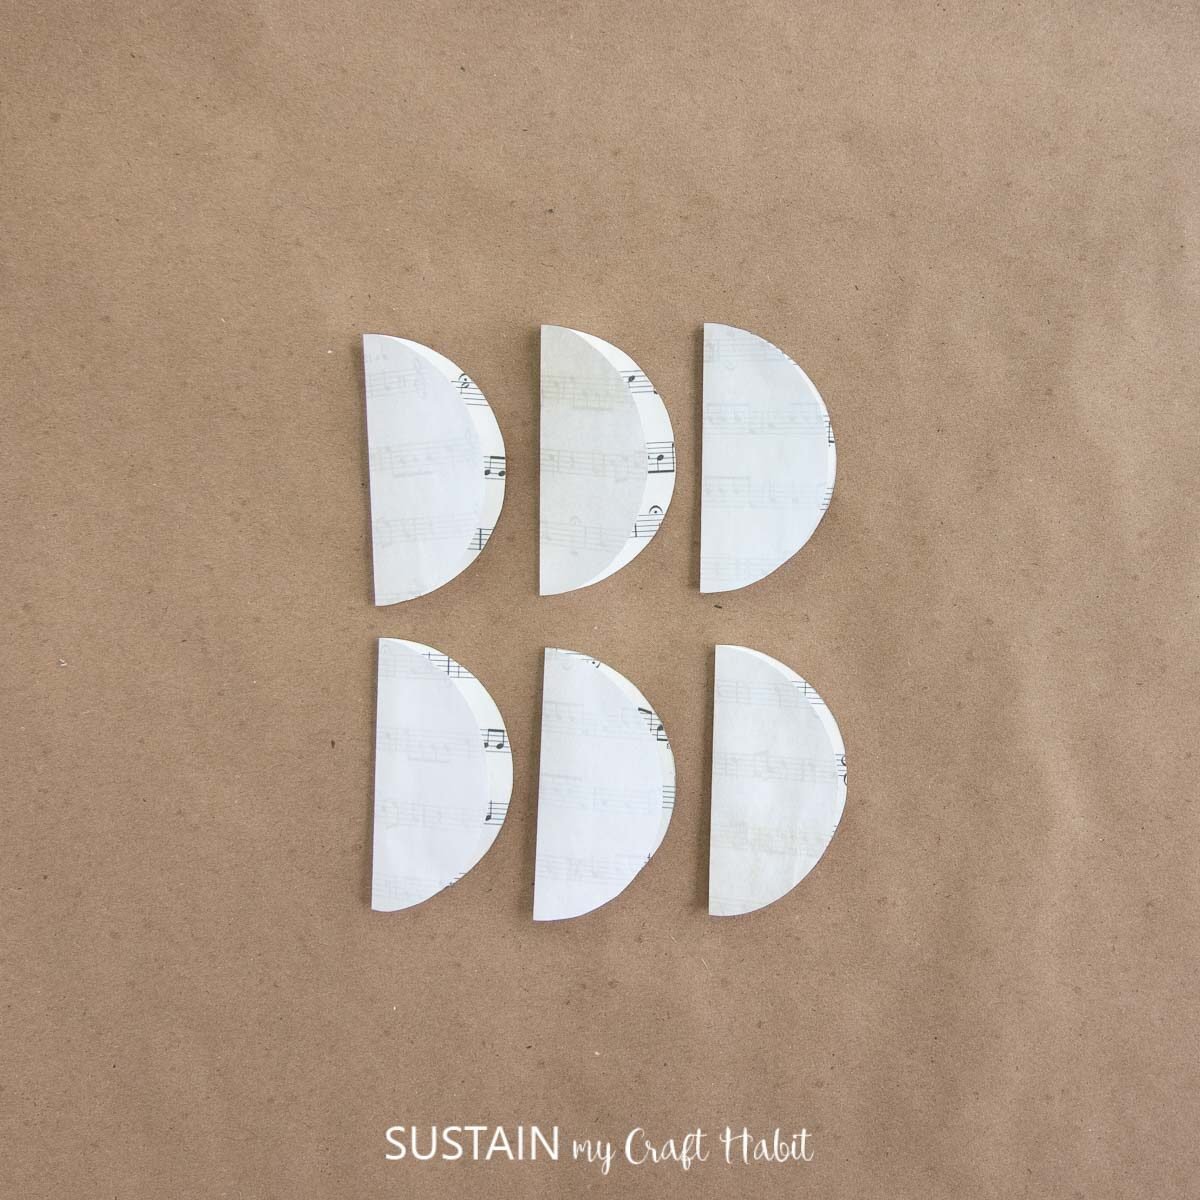
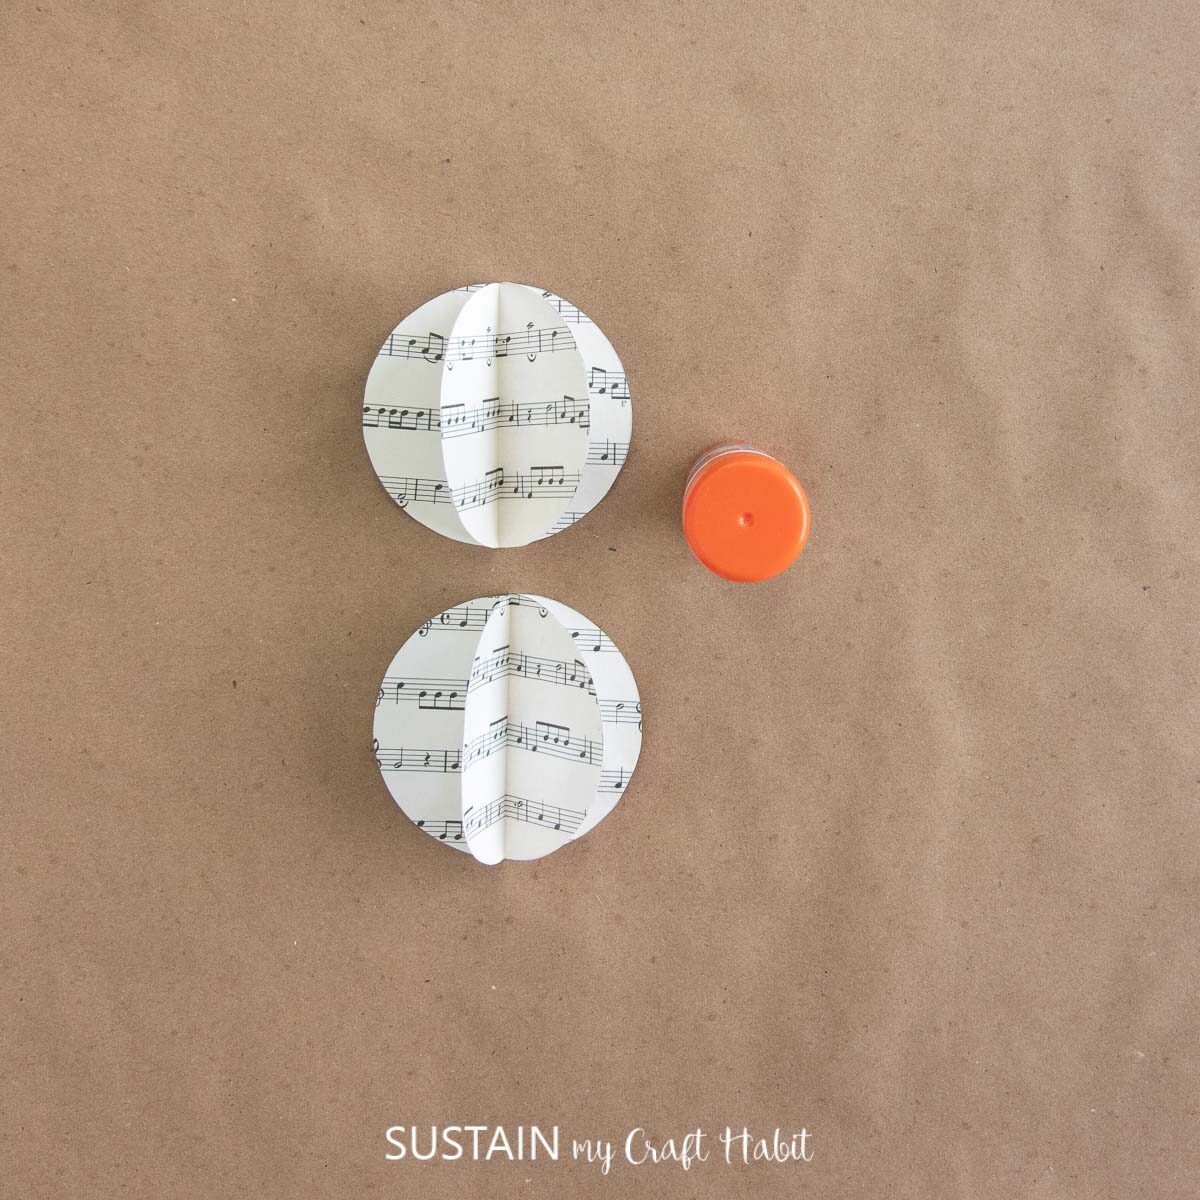
Fold circle shapes in half.
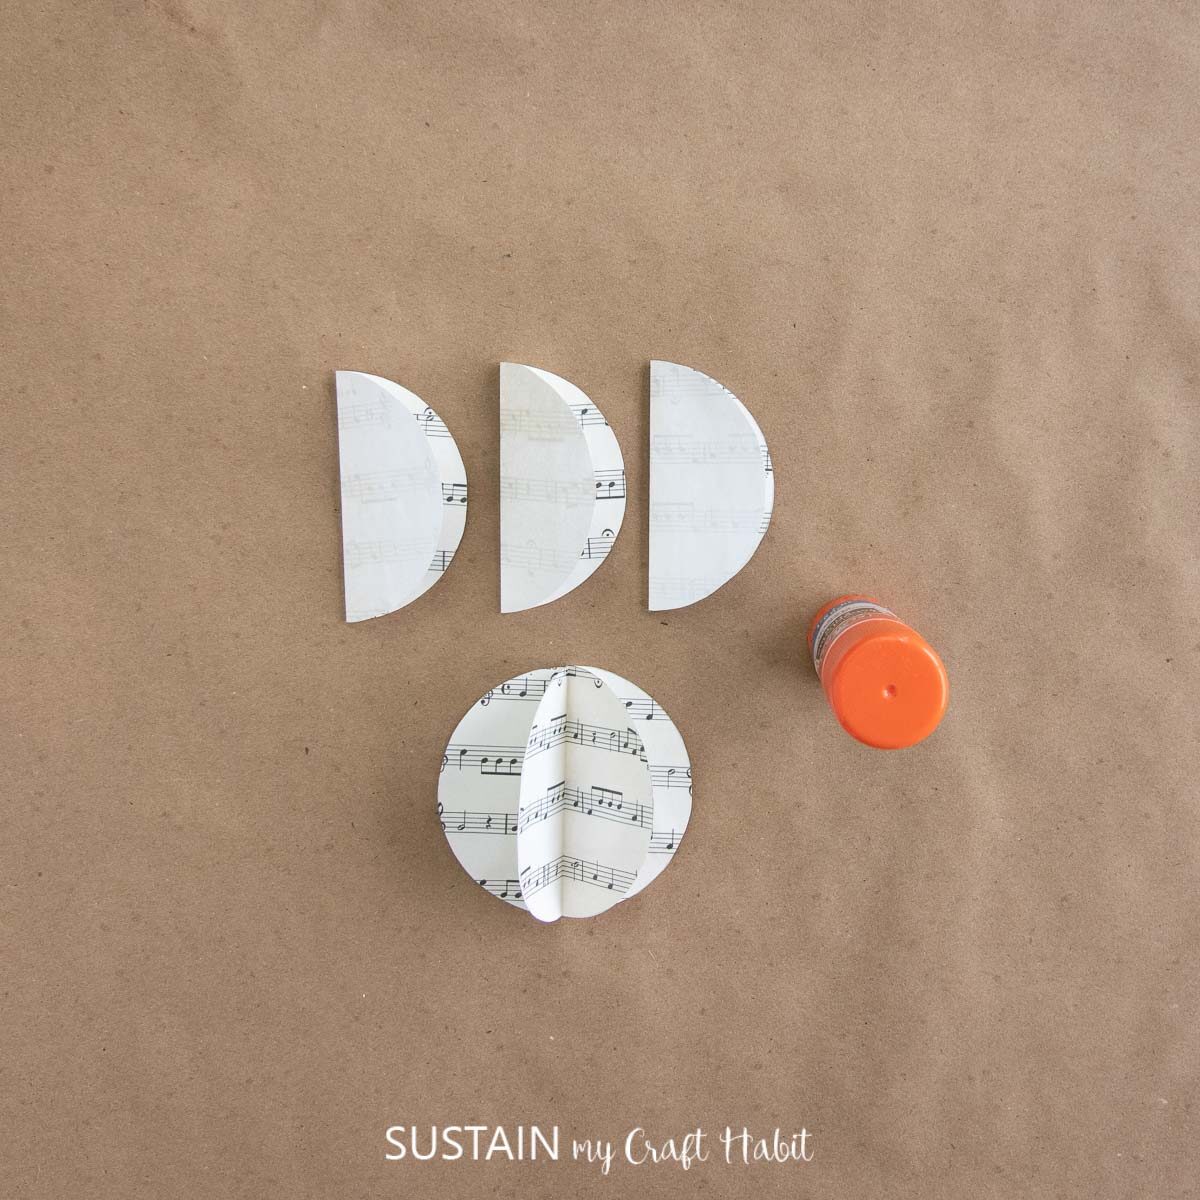
Stack three folded circles on top of each other, gluing the shapes together. Stack another three folded circles in the same way and glue together.
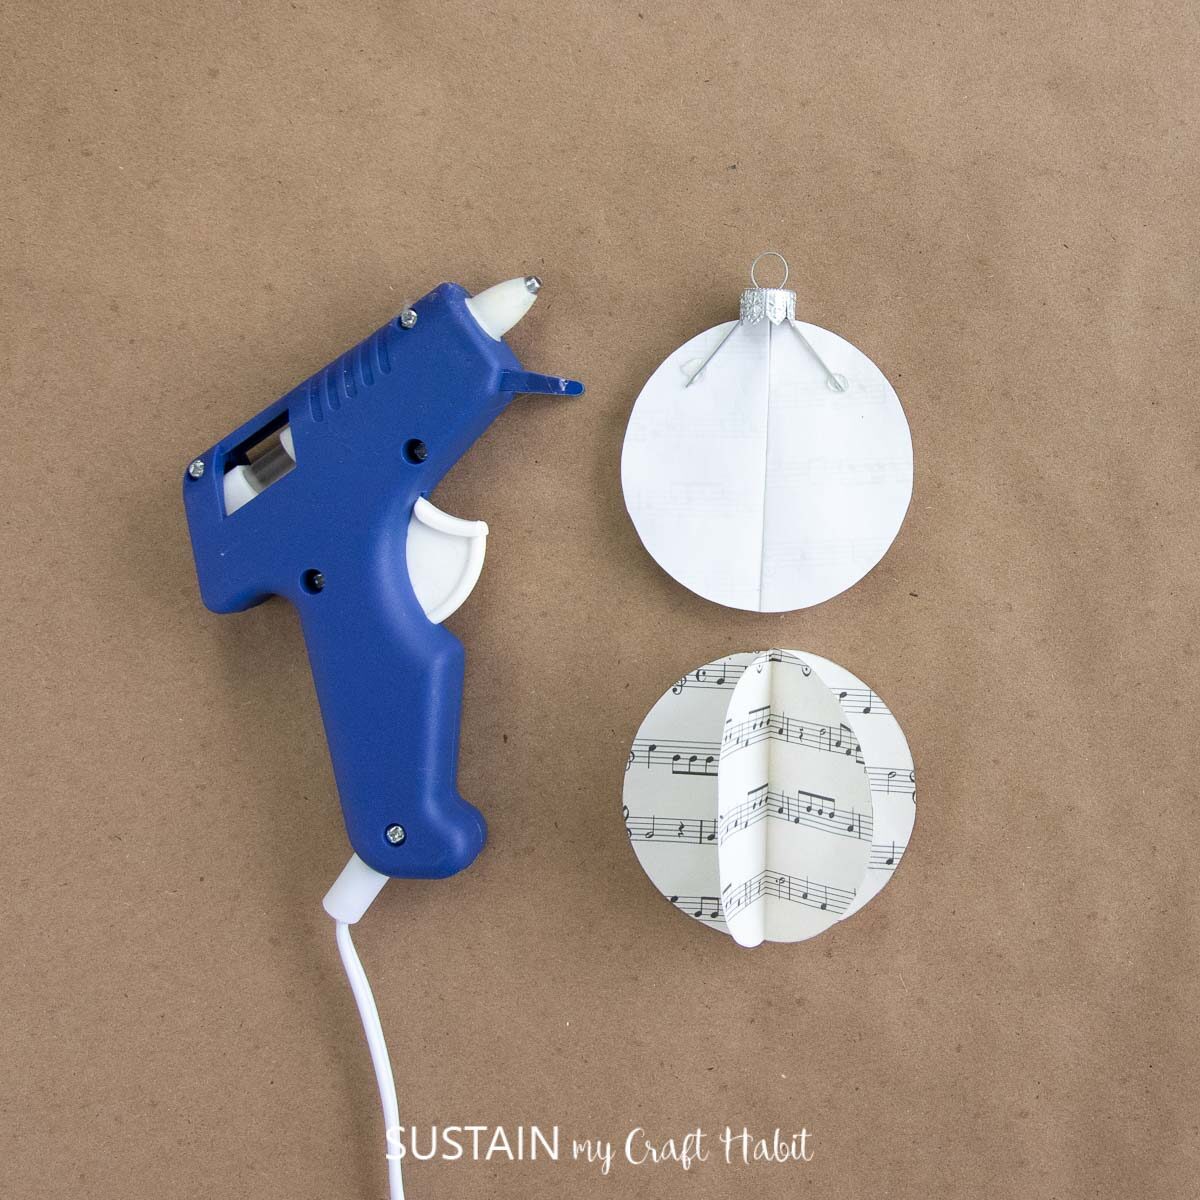
Using a hot glue gun, glue the ends of the ornament cap to the top of one 3D half circle.
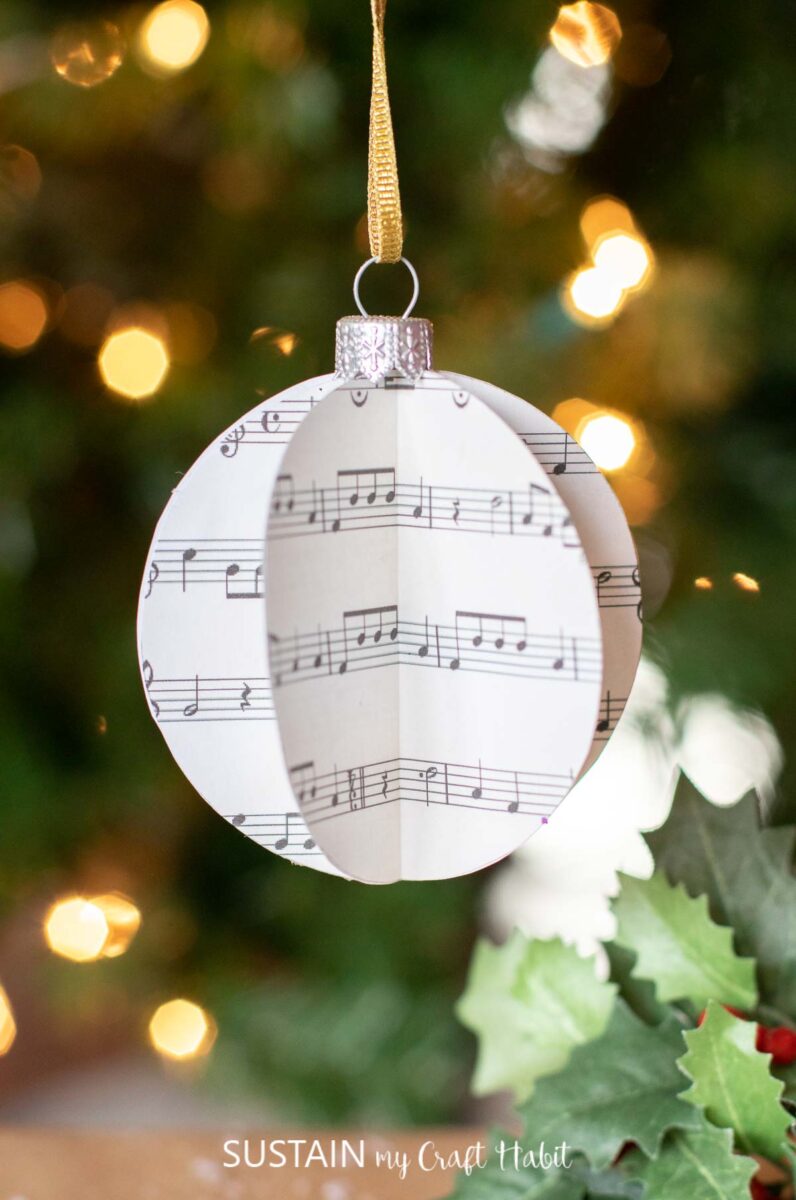
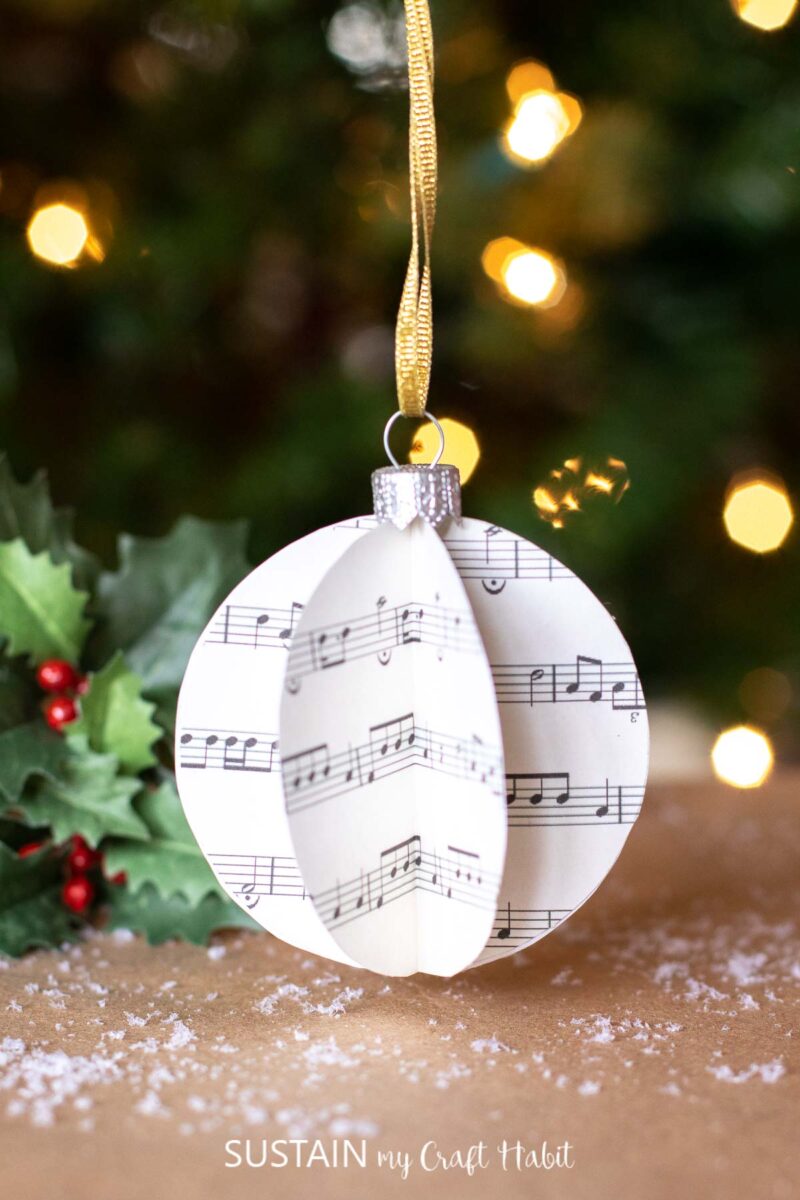
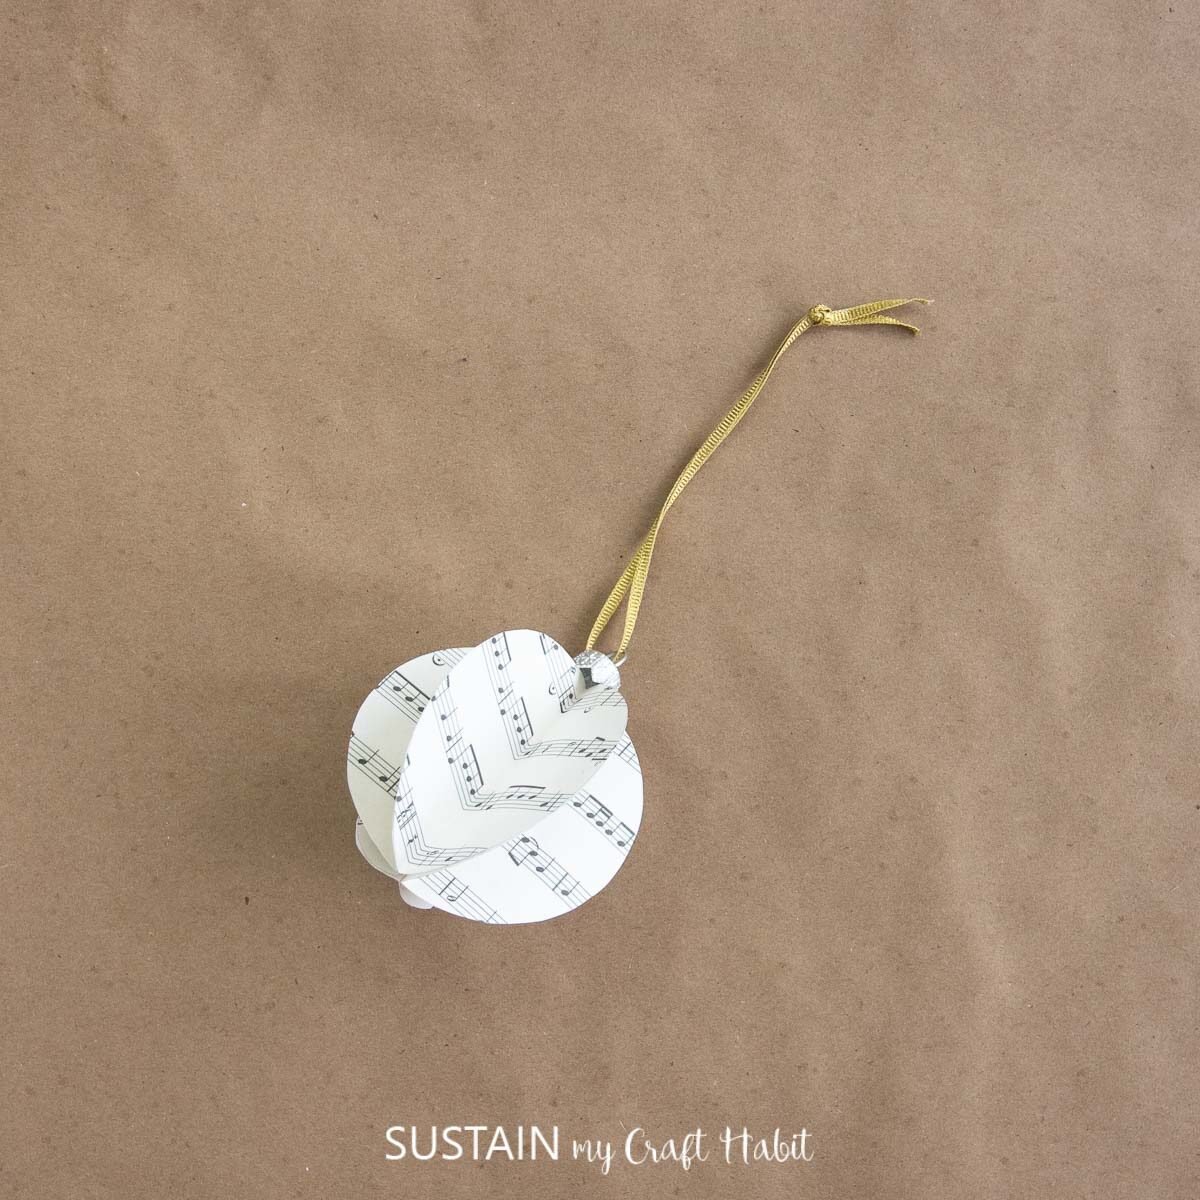
Glue the half circle together sandwiching the cap ends in between to form a finished 3D ornament. And lastly, loop the ribbon through the cap ring knotting the ends to form a loop for hanging.
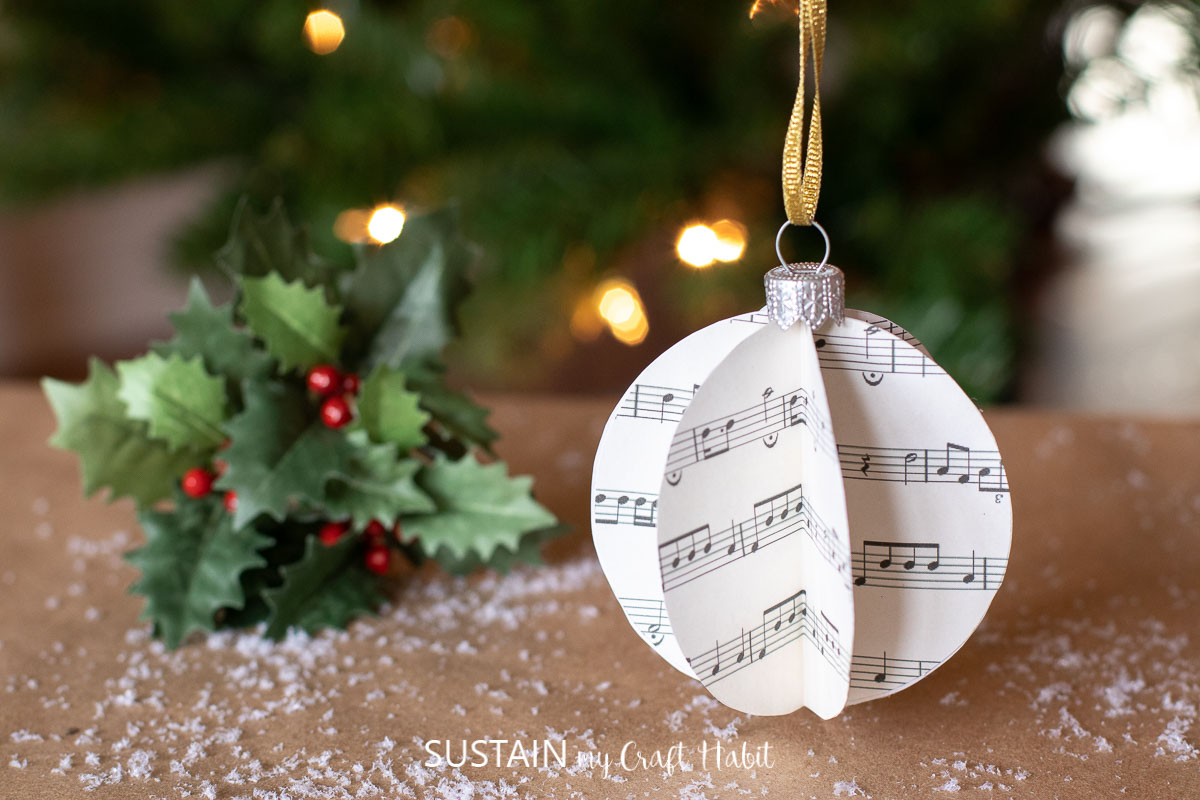
And with that, the pretty vintage inspired music sheet ornament is complete! A set of these would look darling on a Christma tree, don’t you think?
Thanks so much for stopping by! Before you go, be sure to sign up as a Sustain My Craft Habit insider to receive plenty of fun freebies!
More Upcylced Ornament Ideas
Did we mention, we looove to upcycle when crafting? Just check out any one of these DIYs using repurposed materials and nature made supplies.
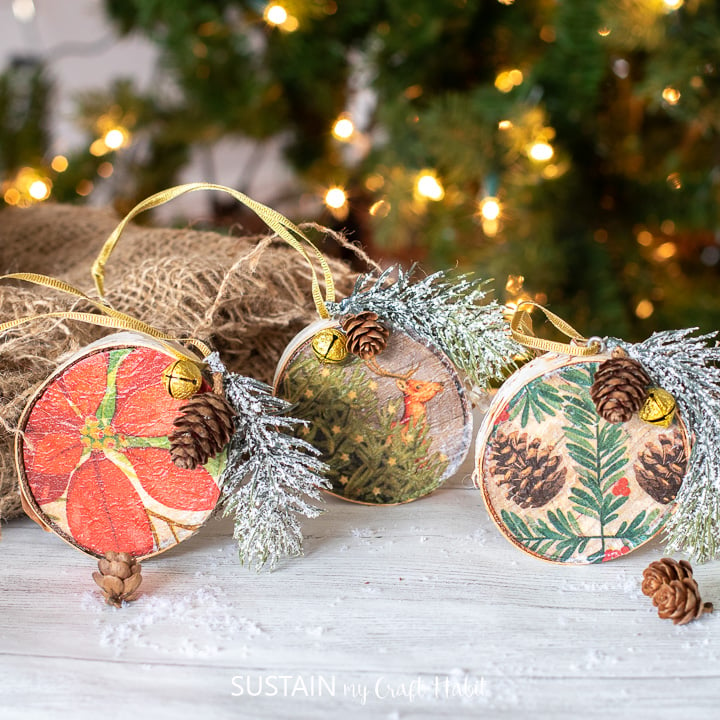
- Paper Napkin Wood Slice Ornaments
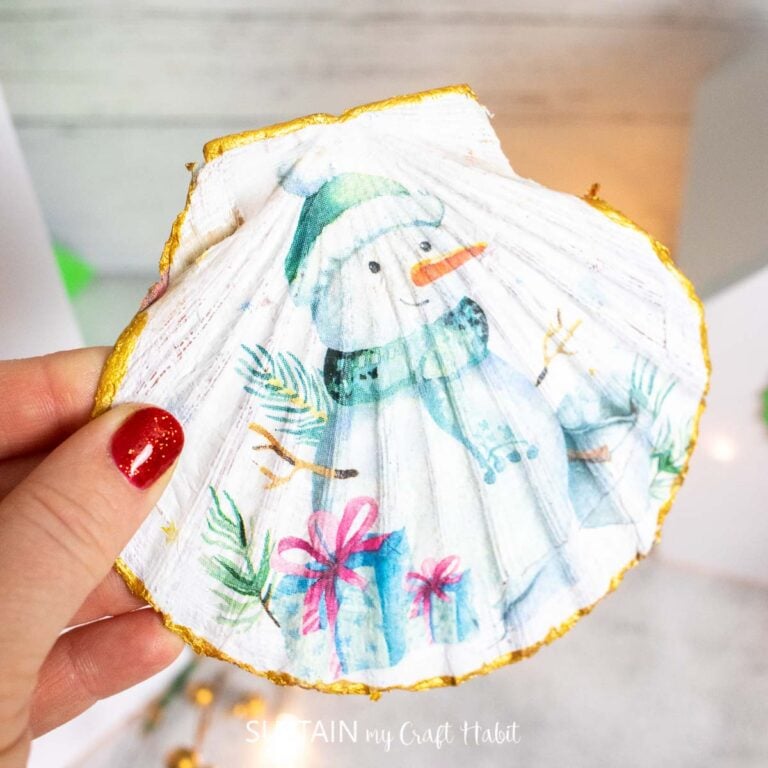
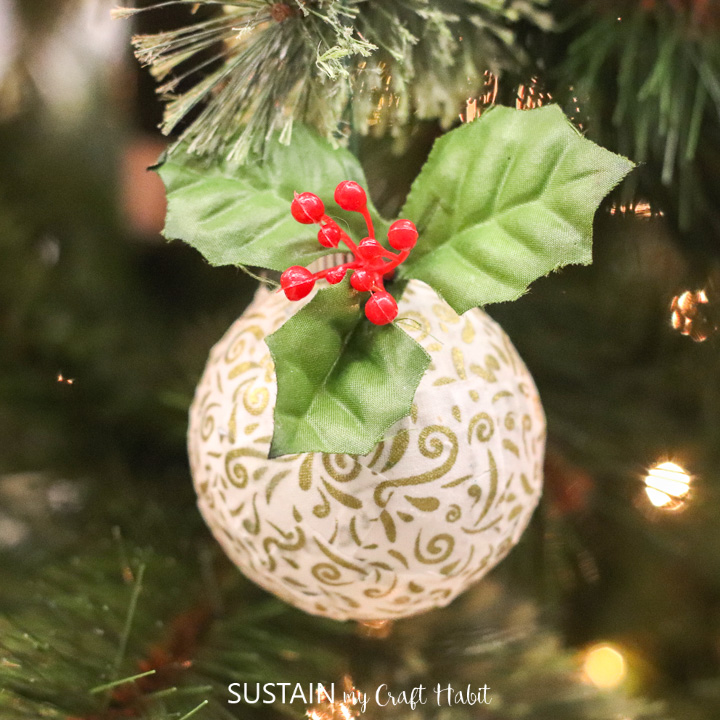
- Scrap Fabric Decoupage Ornaments
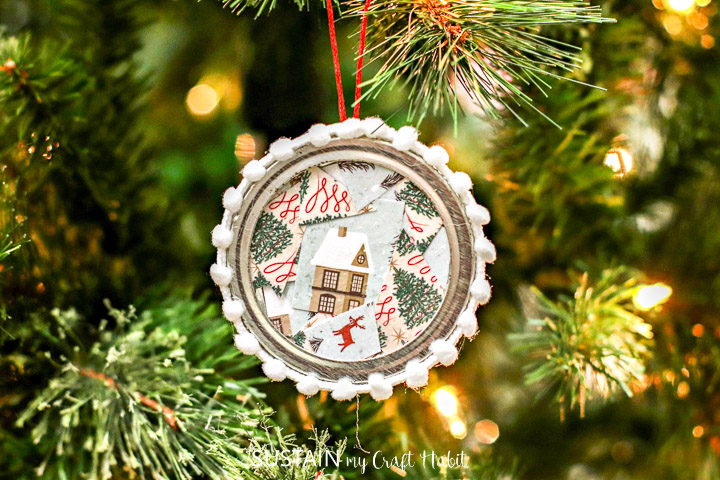
- Canning Jar Lid Ornaments
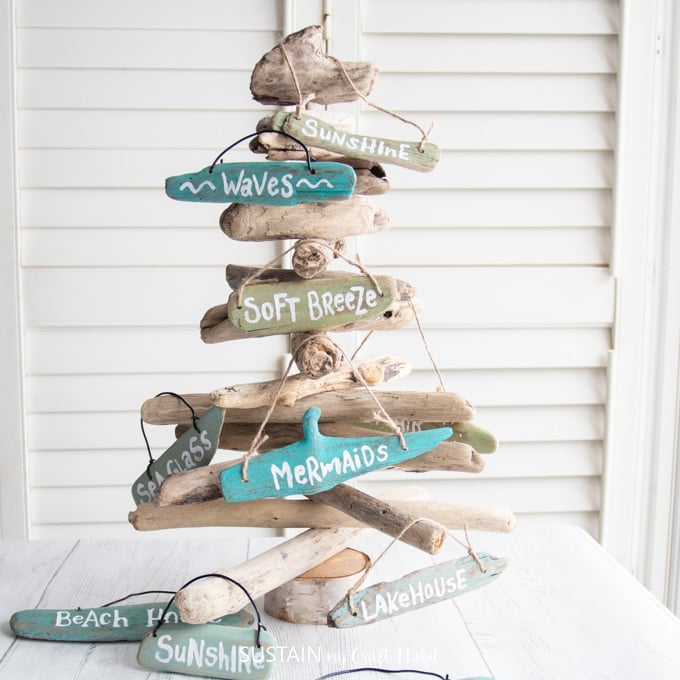
- Coastal Christmas Ornaments
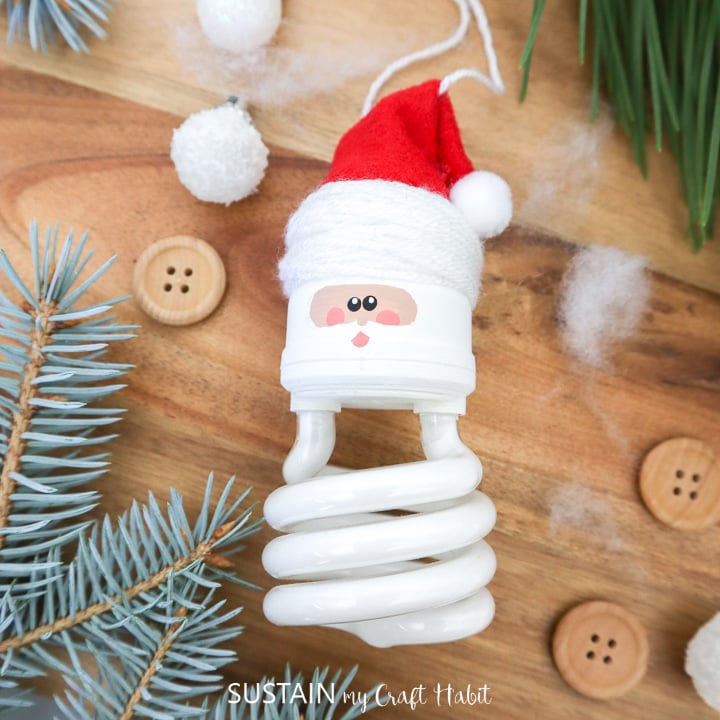
- Light Bulb Christmas Ornaments
- Painted Pinecone Christmas Ornaments

Wood Slice Ornaments Decoupage Ornaments 
Canning Lid Jar Ornaments 
Coastal Ornaments with Driftwood Santa Lightbulb Ornament 
Pinecone Ornament

Like it? Pin it for later!
Crafting 3D Sheet Music Ornaments
Materials
- Paper music sheet
- Ornament Cap
- 1 tbsp coffee
- Paintbrush
- Mason Jar lid approx. 3” diameter
- Scissors
- Pencil
- Glue stick
- Hot glue gun and clear glue sticks
- Gold ribbon cut to 12” long
Instructions
- Using a paintbrush and quick strokes, brush coffee across the music sheet. Allow time to dry fully before proceeding.
- Once dry, place a lid on top of paper and trace the circle shape with pencil.
- Cut 6 equally shaped circles.
- Fold circle shapes in half.
- Stack three folded circles on top of each other, gluing the shapes together. Stack another three folded circles in the same way and glue together.
- Using a hot glue gun, glue the ends of the ornament cap to the top of one 3D half circle.
- Glue the half circle together sandwiching the cap ends in between to form a finished 3D ornament.
- Loop ribbon through the cap ring knotting the ends to form a loop for hanging.