DIY Christmas Place Card Holders with Rocks
As we prepare to gather around the table with our loved ones, we strive to create a warm and inviting atmosphere that captures the essence of the holidays.
And what better way to add a touch of festive charm to your dinner table than with DIY Christmas place card holders made from rocks? Not only are they easy and affordable to make, but they also bring a rustic and natural element that will elevate your holiday decor.
Why should I make these Christmas Place Card Holders with Rocks?
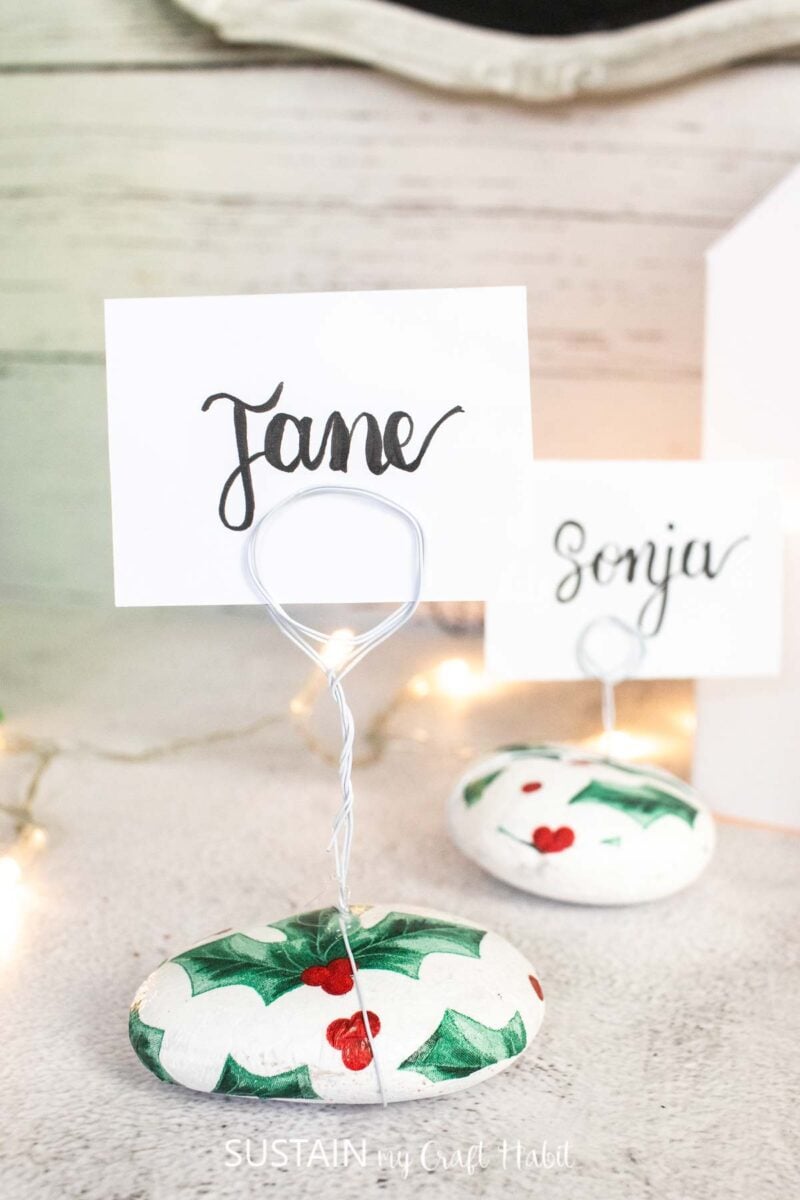
These trendy place card holders are not only functional, but they also add a touch of uniqueness and personalization to each guest’s place setting. Crafted with attention to detail, these holders are designed to impress. The intricate design and craftsmanship make them a great conversation starter, sparking delightful interactions among your guests. Additionally, they double as charming party favors for your guests to take home, serving as cherished mementos of the holiday season.
Join our crafting community to find more nature-inspired DIYs and upcycled craft ideas. It feels good to repurpose, upcycle and create with nature!
Do all the rocks need to be decorated the same?
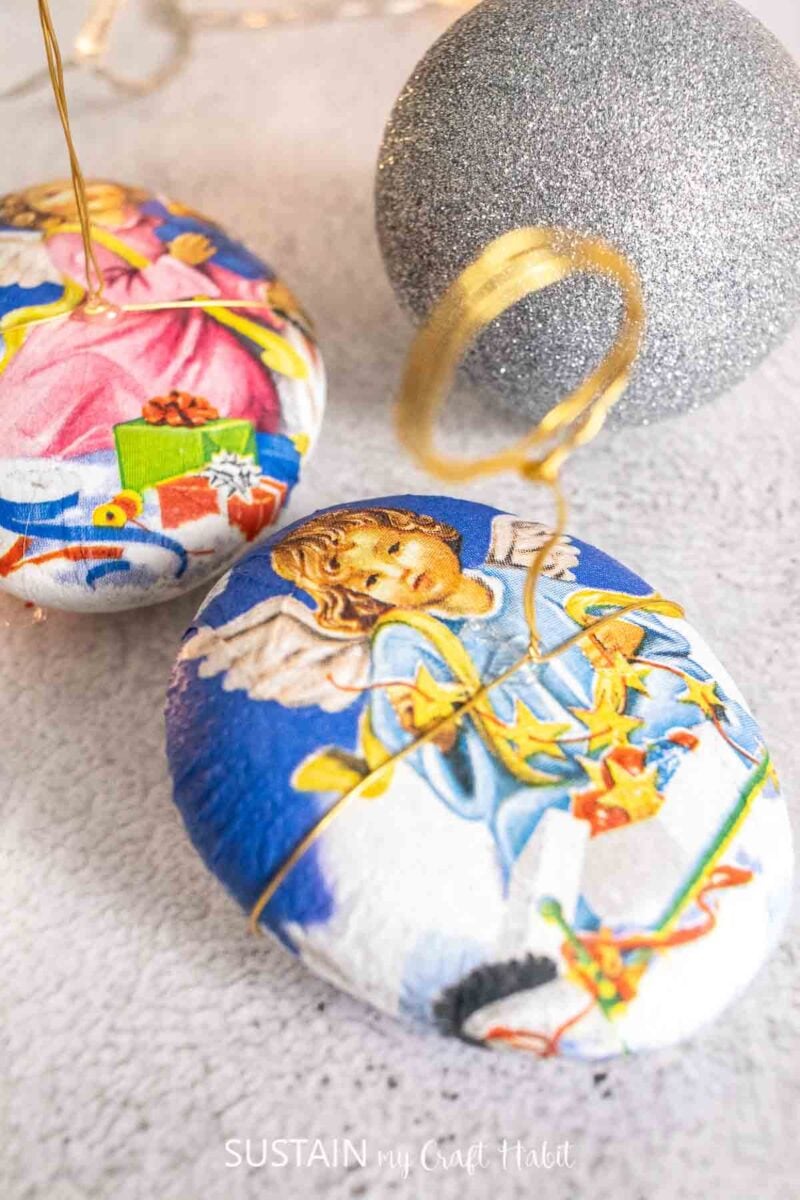
Absolutely not! The beauty of DIY projects is that you have creative freedom to make them your own. You can choose to use a different paper napkin for each rock. You can also decorate each rock individually for every guest as a memento of the holiday season.
Materials Needed
Disclosure: This post contains affiliate links for your shopping convenience. Should you choose to purchase through them, we will make a small commission at no extra cost to you. You can read our full disclosure policy here.
- large Beach Stones (we sell some over on our Etsy Shop)
- decorative paper napkins (we sell a Christmas napkin bundle on our shop)
White chalky paint - Decoupage glue or
Mod Podge Paintbrushes - Fine gauge wire
Mini heat press and parchment paper

How to Make Christmas Place Card Holders with Rocks
I shared these Christmas place cards craft on a Facebook Live which you can watch here or if you prefer the photo tutorial, continue reading below.
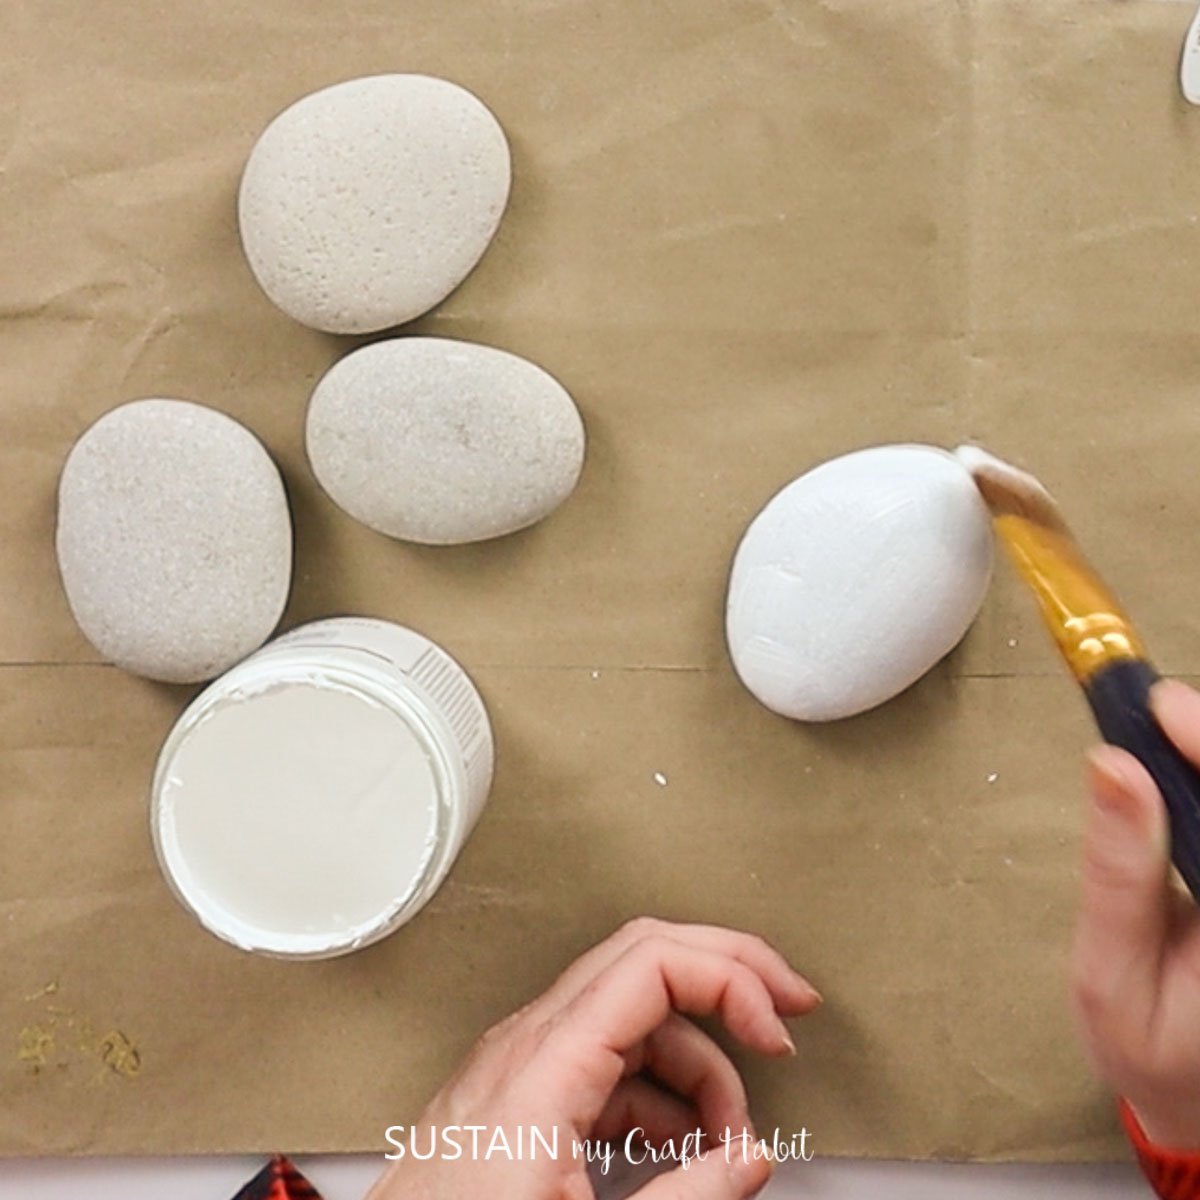
Paint the surface of the rocks in white and let the paint dry fully. Add an extra coat of paint if needed for better coverage.
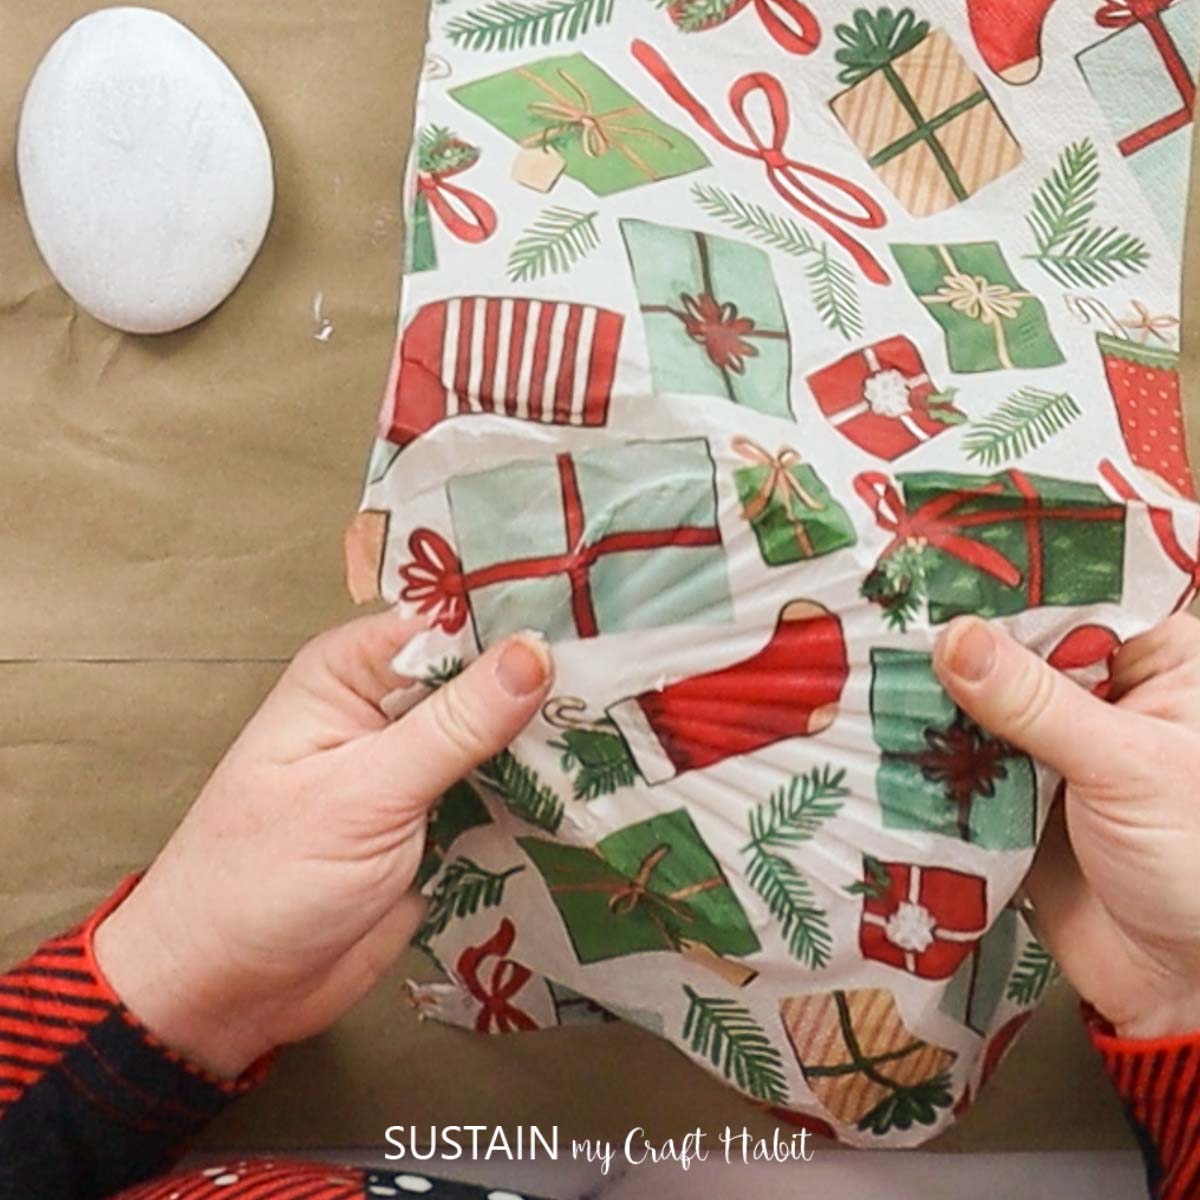
Separate the plies of paper napkin, you’ll just need the top printed layer of paper.
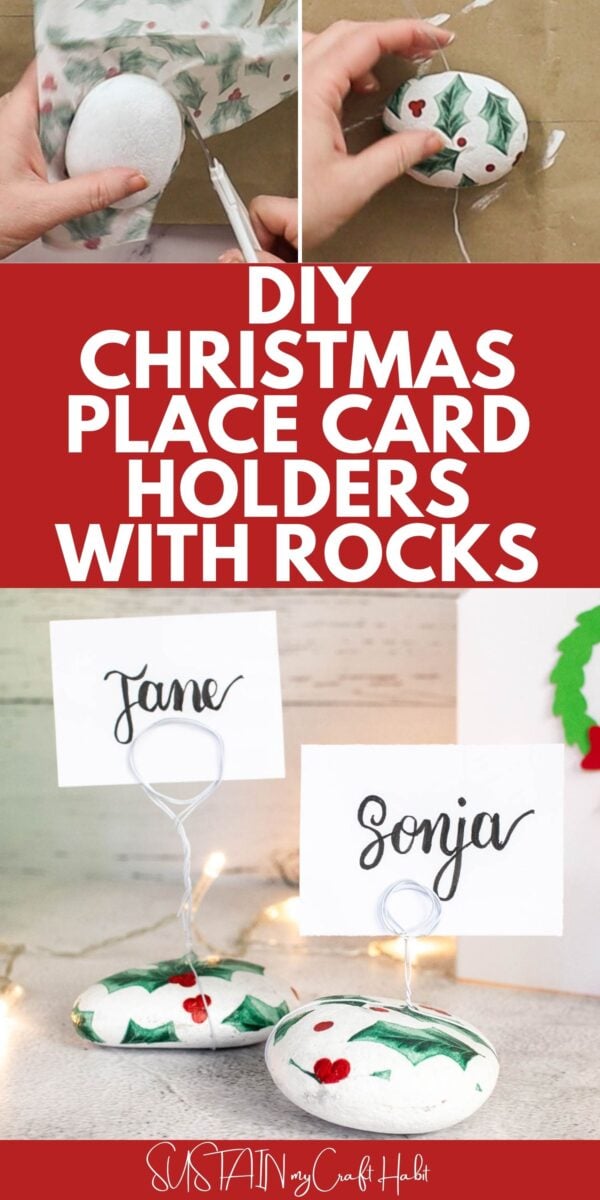
Apply a coat of Mod Podge on to the rock and gently press the prepared napkin on top.
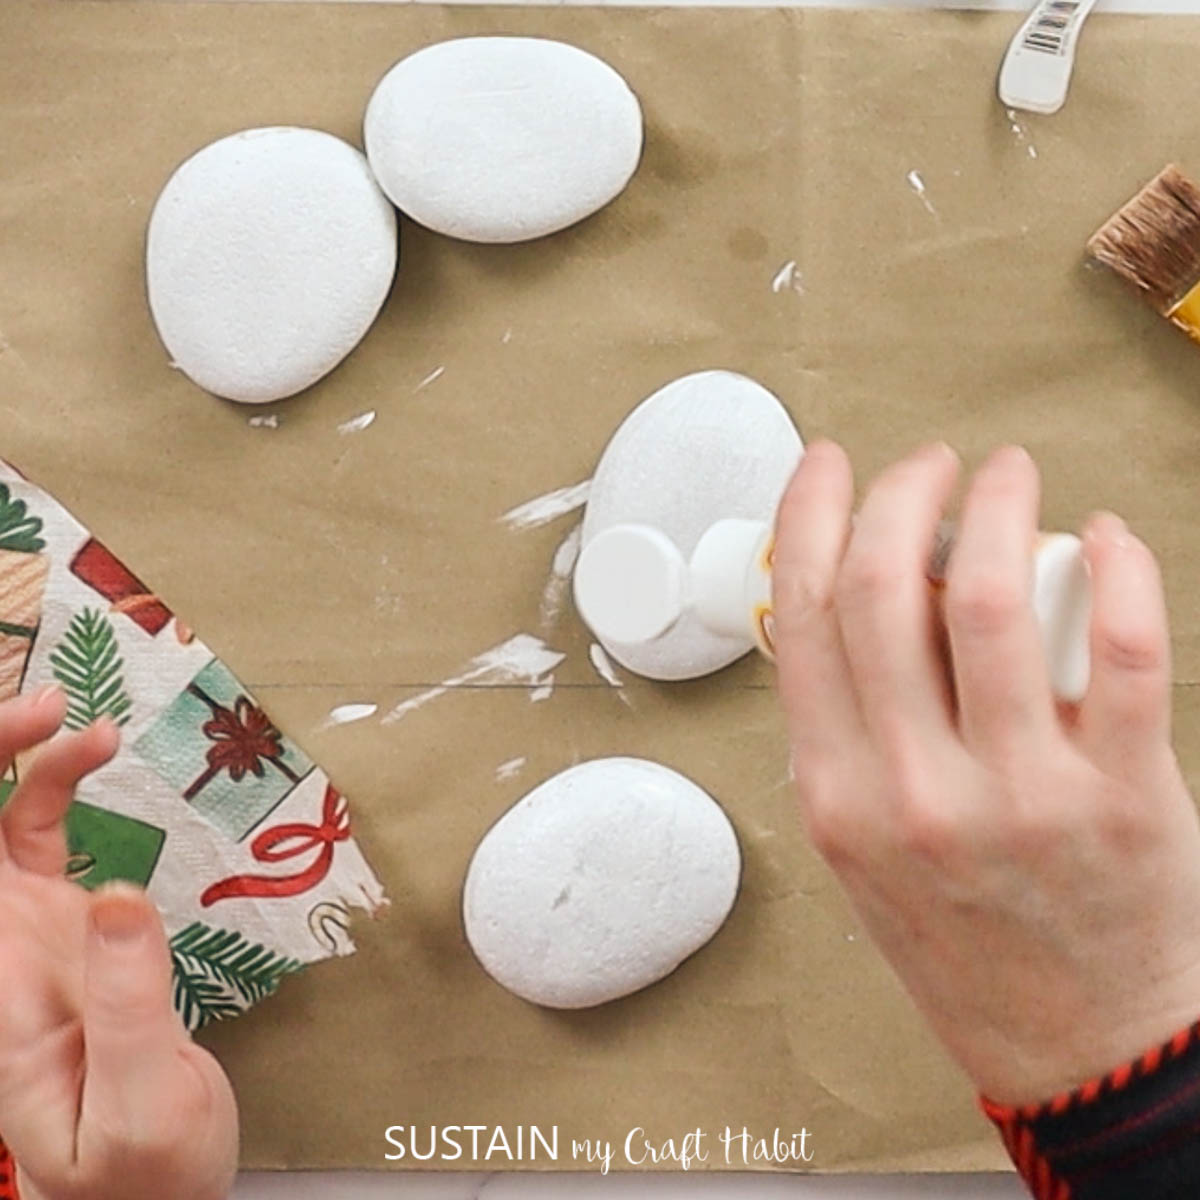
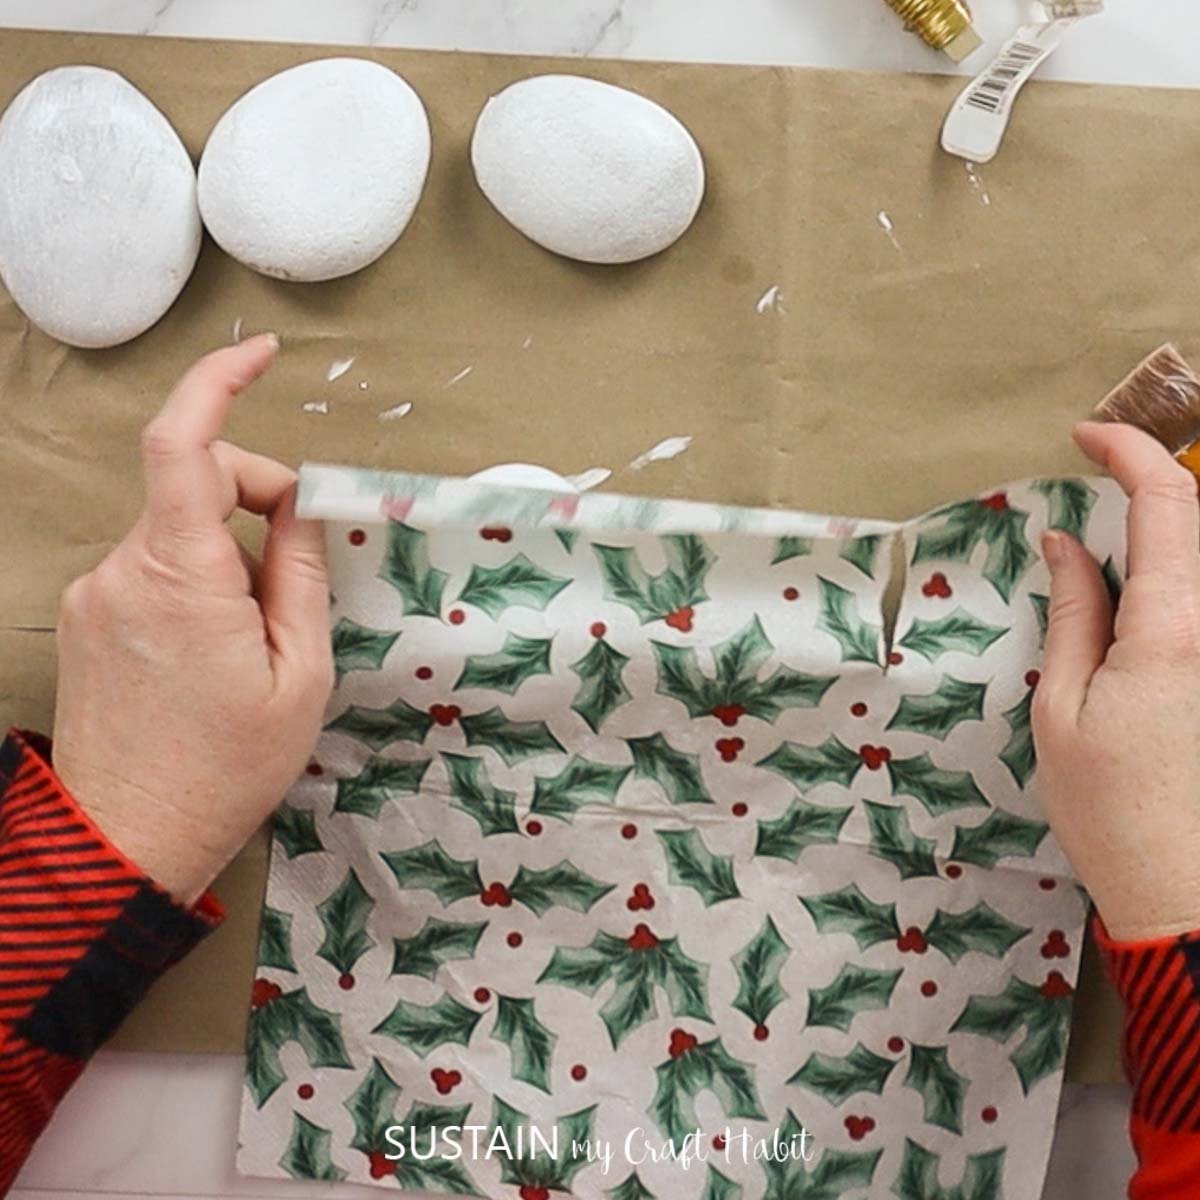
Smooth out the paper around the rock. Press out any bubbles underneath gently.
Place a piece of parchment paper over top of the napkin and take your heated iron and gently rub back and forth.

Apply another coat of Decoupage glue over top of the rock to seal the surface. Leave it to dry.
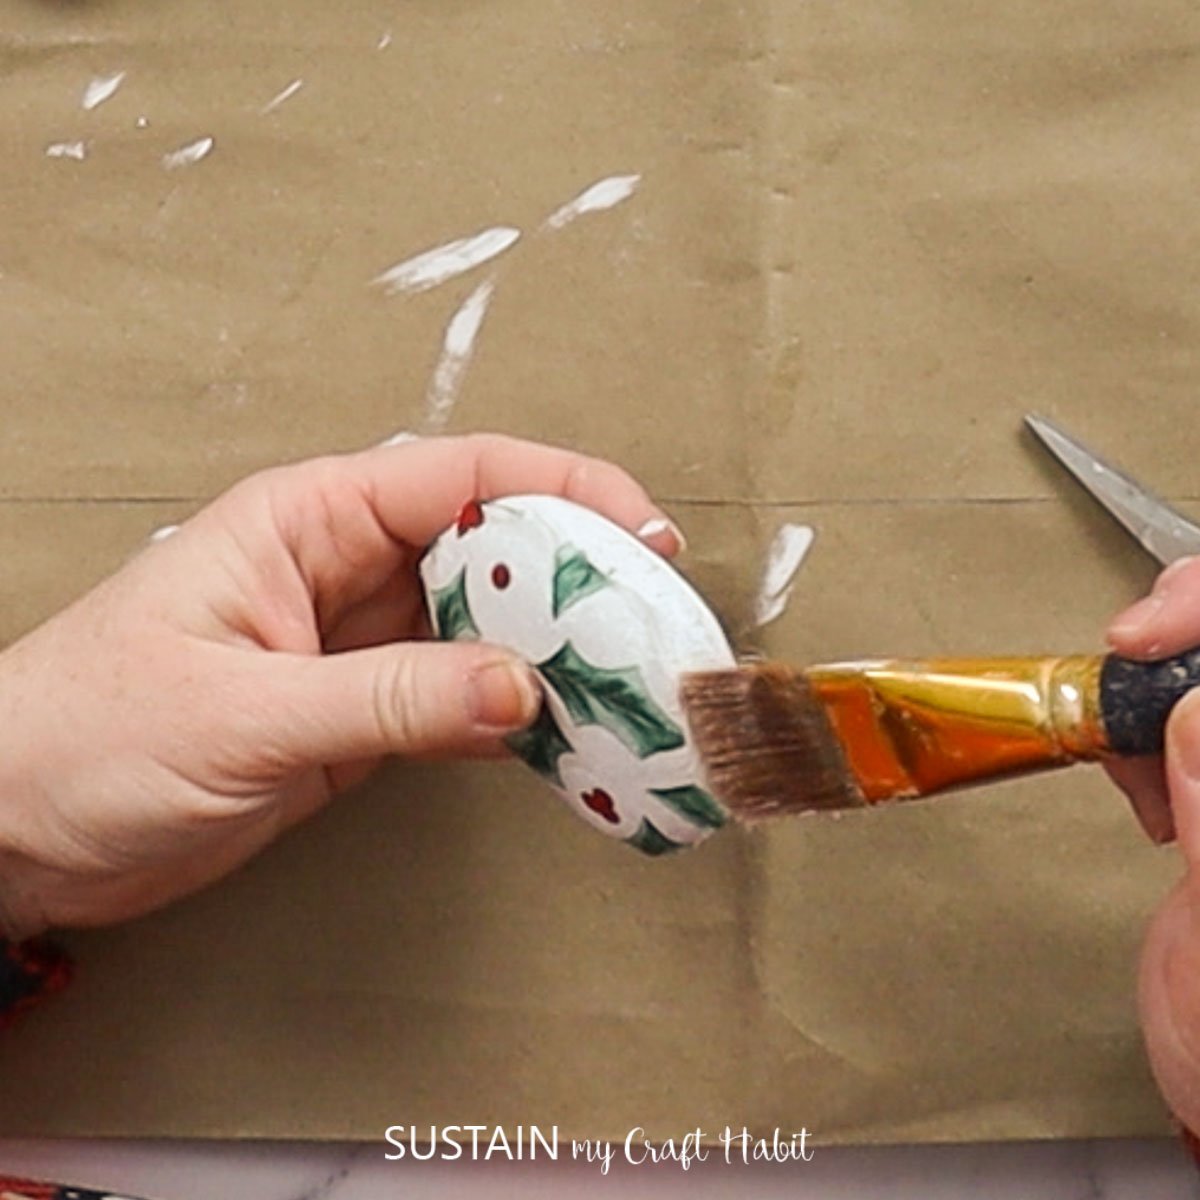
Decoupage the rest of your rocks with different napkin designs.
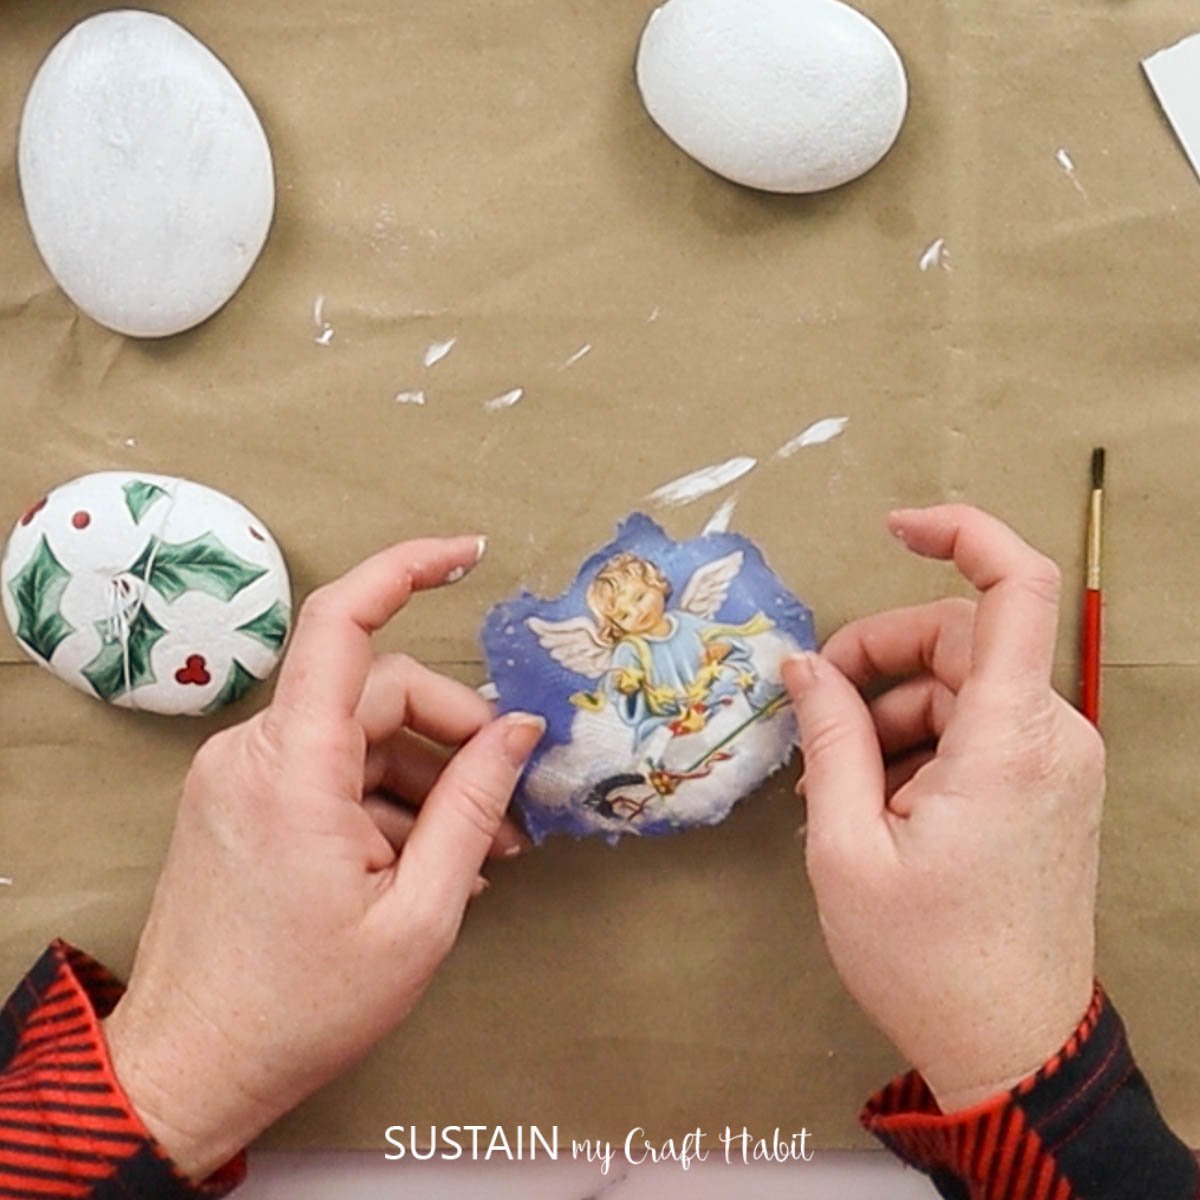
Once dry, wrap a piece of fine gauge wire and wrap it around the rock and create a loop. Add a dab of hot glue to keep the wire in place.

Now you can use your rocks as place name holders or use them to display photos around your home!
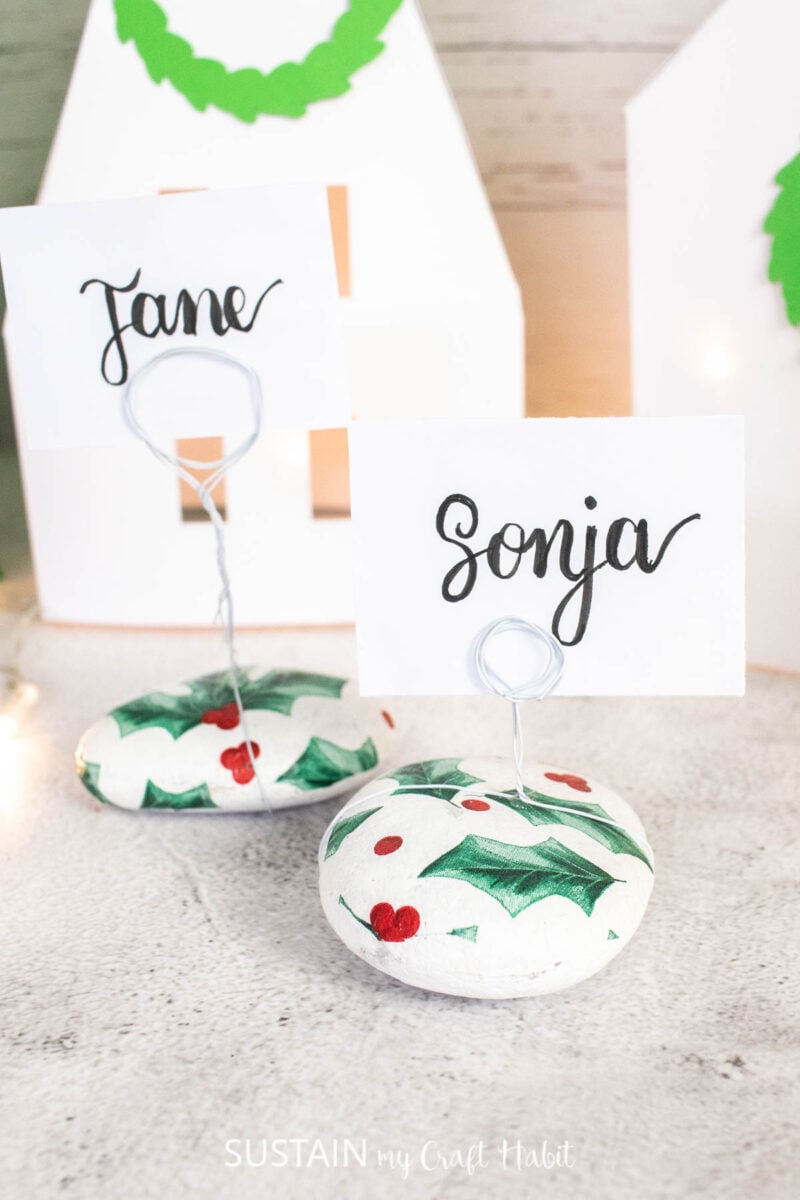
A personal touch to your holiday table
DIY Christmas place card holders with rocks are a fun and creative way to add a personal touch to your holiday table. Not only are they budget-friendly and easy to make, but they also bring a rustic charm that will enhance the festive atmosphere.
So why not gather some rocks and get crafty this holiday season? Your guests will love these unique and thoughtful place card holders, and they will surely become a cherished part of your holiday traditions for years to come.
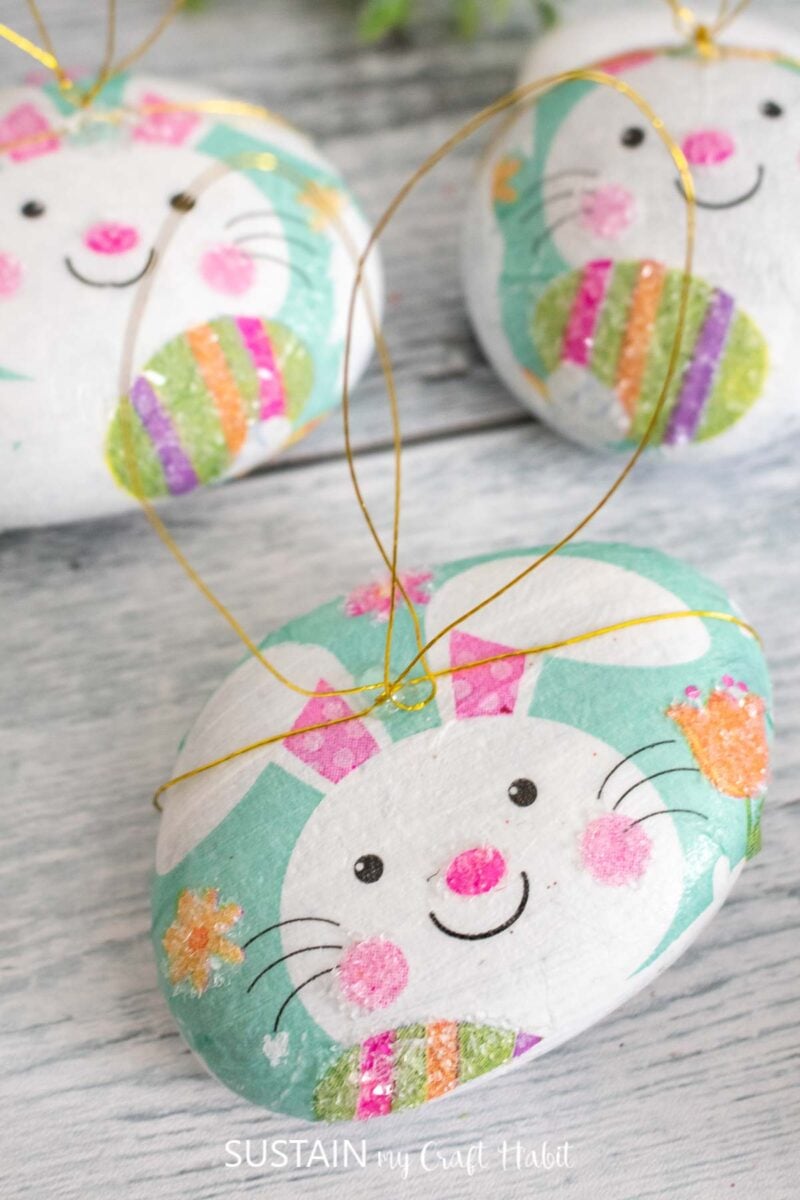
And if you loved this craft, check out these adorable decoupage rocks we made previously for Easter!
More Rock Crafts for the Holidays
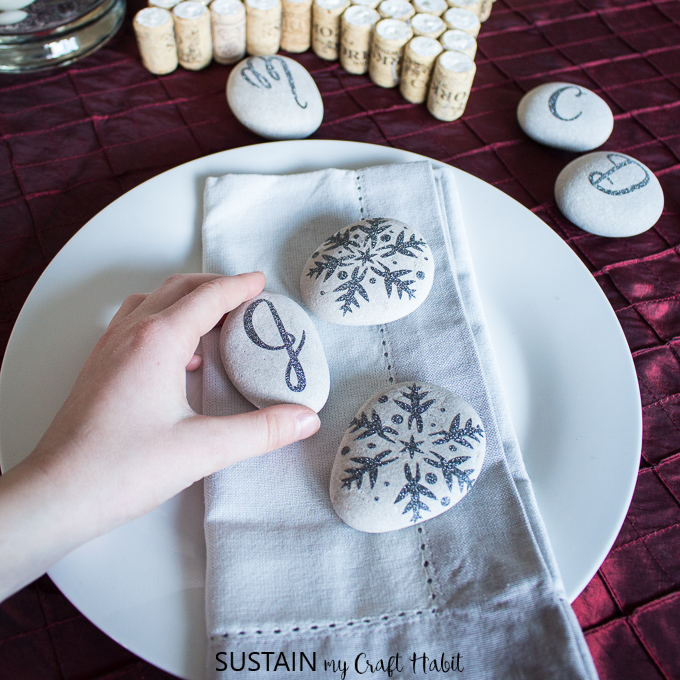
- Glittering Snowflake and Monogrammed Rocks
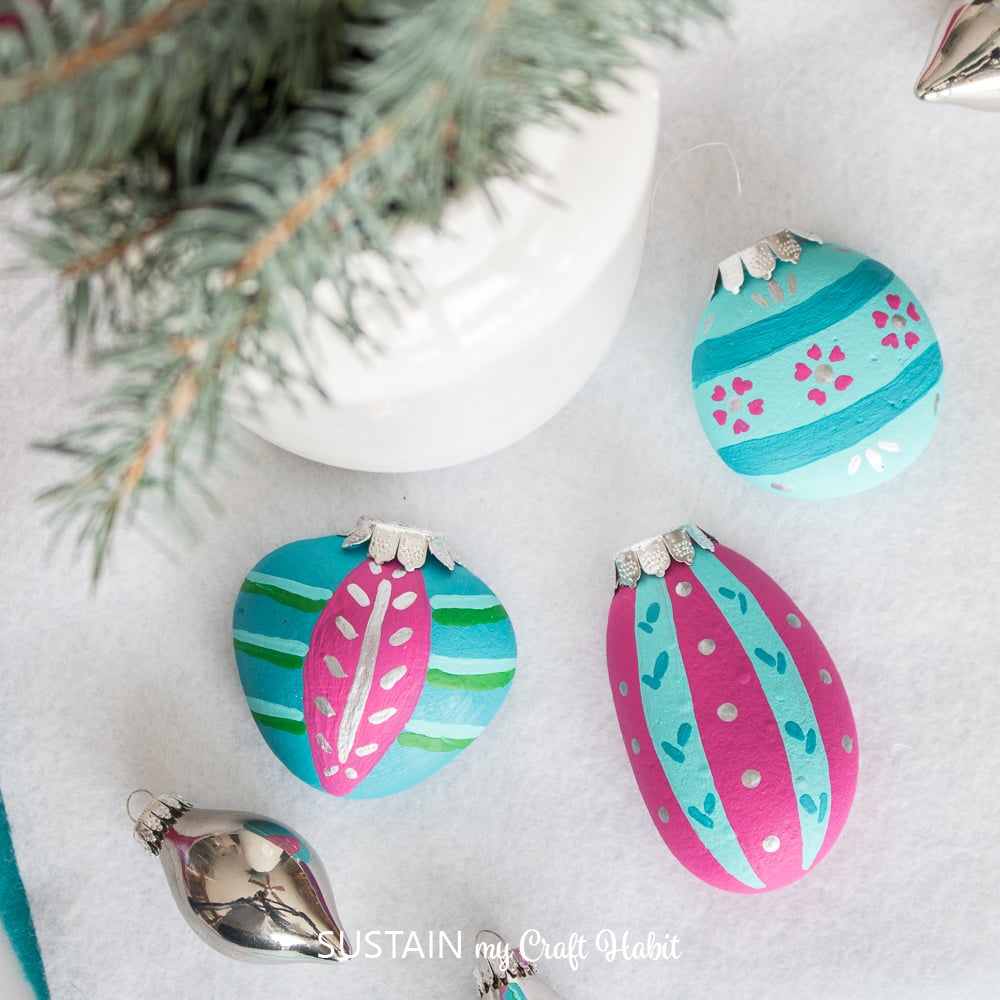
- Christmas Ornament Painted Rocks
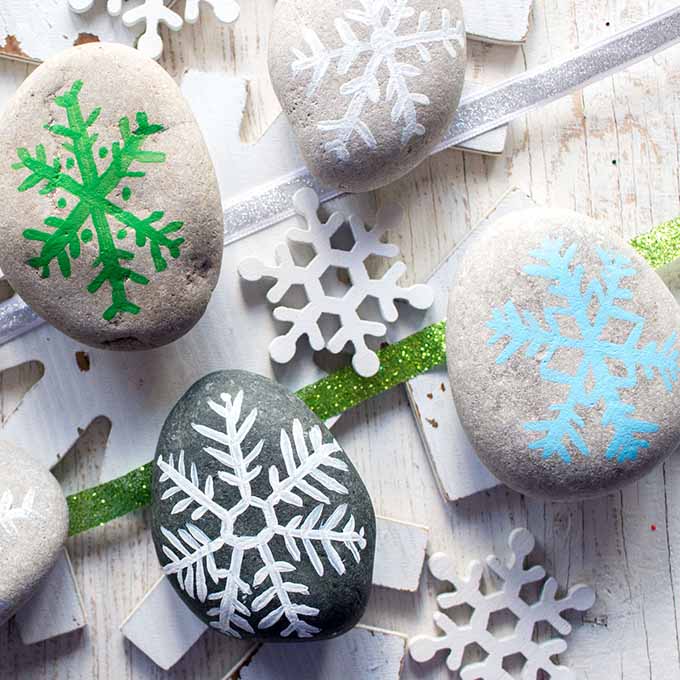
- Pretty Painted Rock Snowflakes
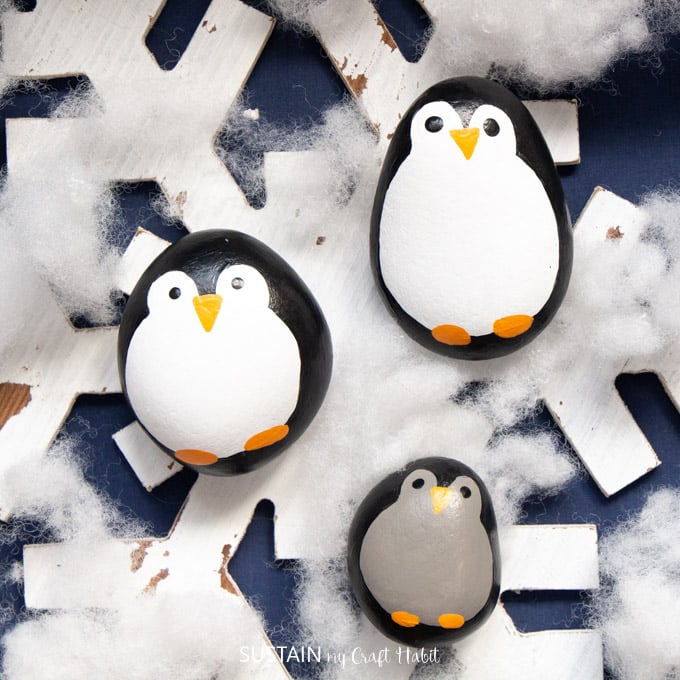
- Penguin Rocks
- Festive Christmas Rocks
Want to receive a ton of inspiration and money saving ideas for decorating, gift-giving and crafting? Join HERE!
Like it? Pin it for later!

DIY Christmas Place Card Holders with Rocks
Materials
- Beach Stones
- Decorative napkins
- White Chalky paint
- Decoupage glue or Mod Podge
- Paintbrushes
- Fine gauge wire
- Mini heat press and parchment paper
Instructions
- Paint the surface of the rocks in white and let the paint dry fully.
- Apply a coat of Decoupage glue on to the rock and gently press the prepared napkin on top.
- Smooth out the paper around the rock.
- Place a piece of parchment paper over top of the napkin and take your heated iron and gently rub back and forth.
- Apply another coat of Decoupage glue over top of the rock to seal the surface. Leave it to dry.
- Once dry, wrap a piece of fine gauge wire and wrap it around the rock and create a loop.

