Upcycled Cardboard Halloween Craft: Easy DIY Decor
Turn everyday shipping boxes into spooky-cute seasonal accents with this upcycled cardboard Halloween craft!
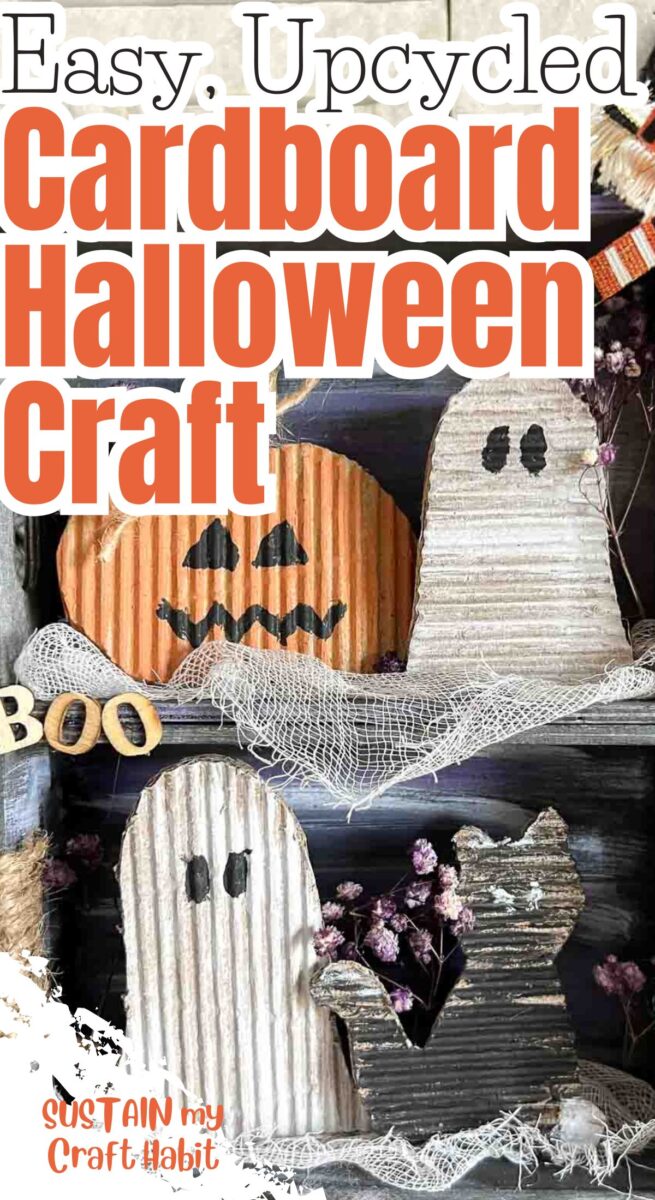
Halloween decorating doesn’t have to mean spending a fortune on decorations you’ll only use for a few weeks. This upcycled cardboard Halloween craft turns ordinary cardboard headed for the recycling bin into fun, inexpensive seasonal décor.
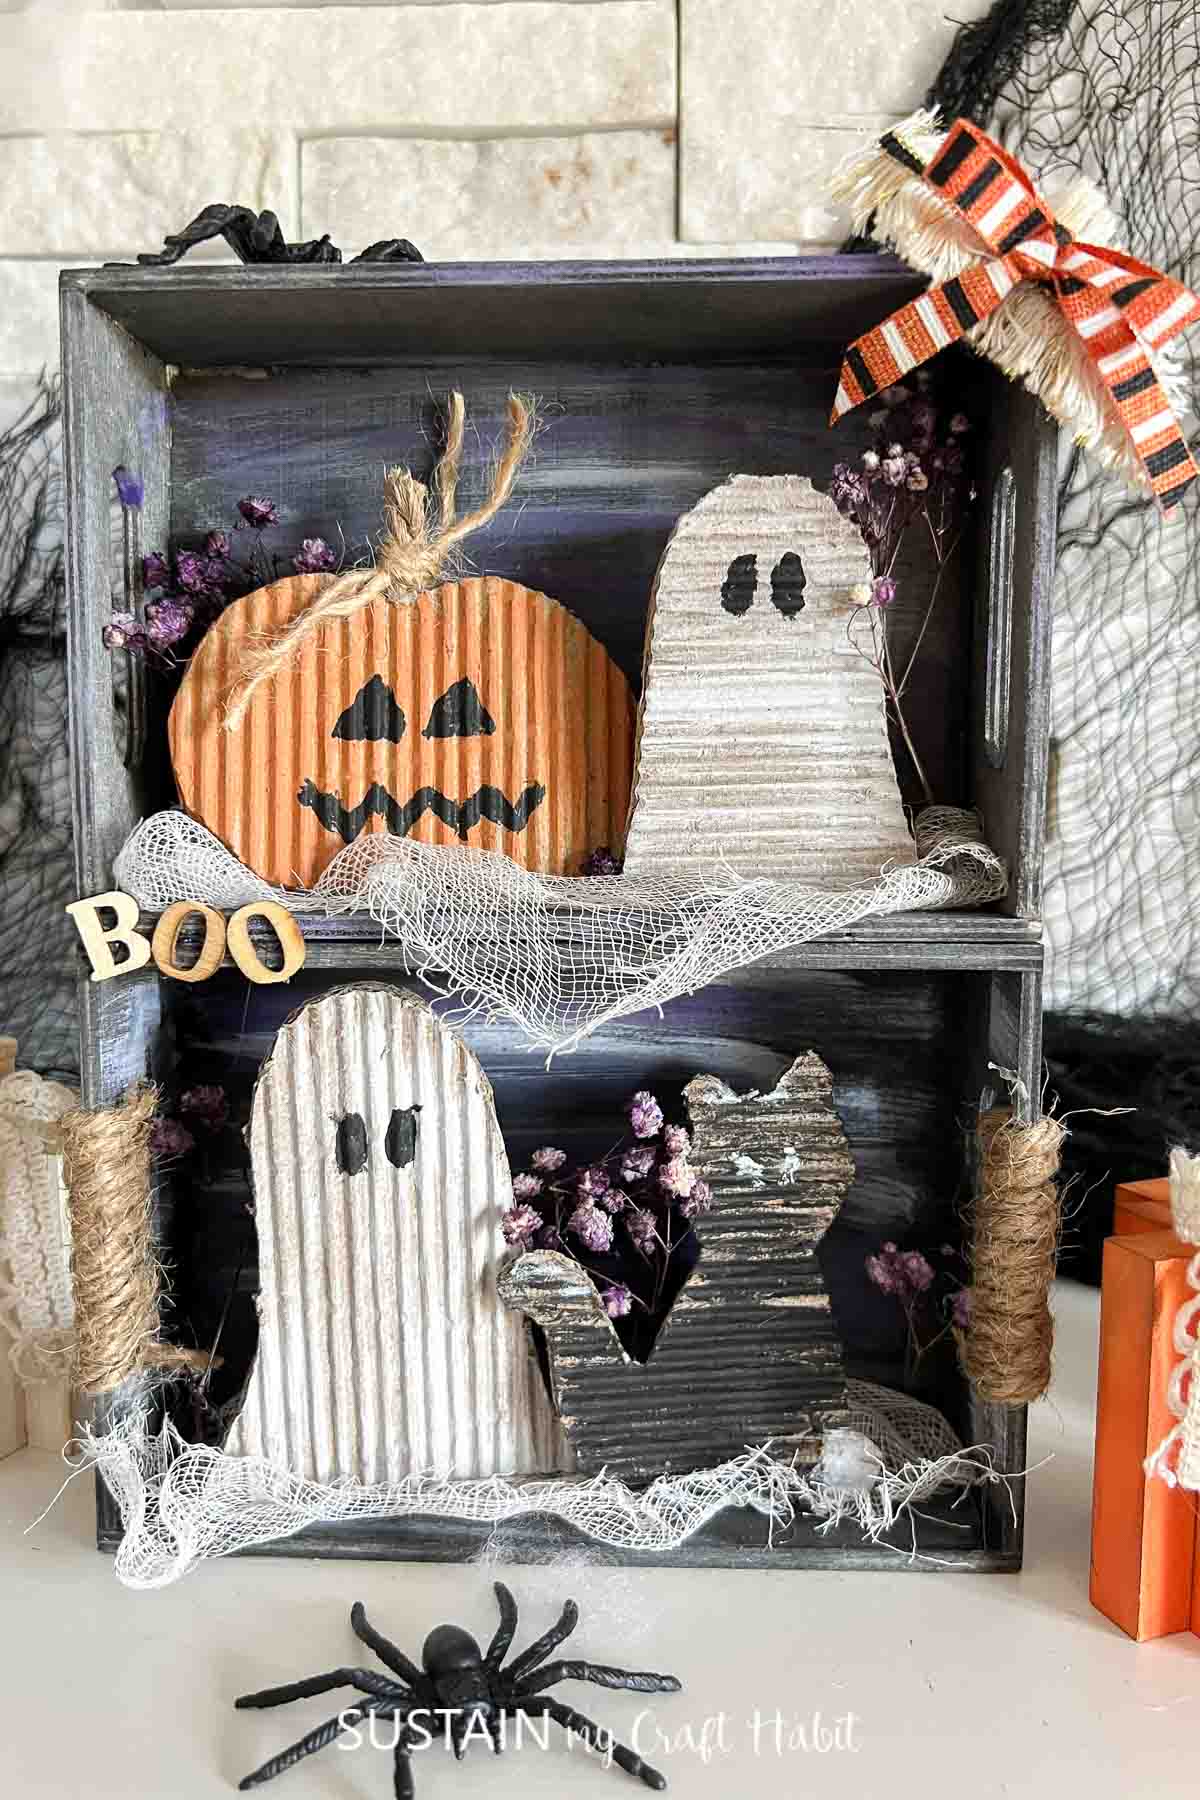
Using simple corrugated cardboard scraps, you can create Halloween decor on a dime. In this step-by-step tutorial, we’ll show you how to cut, peel, and paint budget-friendly cardboard into high-end Halloween decorations that look anything but cheap.
With a few basic craft supplies, you can create spooky shapes, Halloween characters, signs, or decorative pieces that add personality to your home. Whether you love rustic Halloween decorations or cute and colorful designs, this simple DIY can be adapted to suit your style. Let’s get started!
Why You’ll Love This Upcycled Cardboard Halloween Craft
- Budget-friendly materials: Recycled cardboard makes this an incredibly inexpensive Halloween craft, especially if you already have paint and basic supplies.
- Perfect for upcycling: It’s a creative way to reuse delivery boxes, cereal boxes, and other clean cardboard instead of throwing them away.
- Easy to customize: Create pumpkins, ghosts, bats, black cats, haunted houses, witches, or your own spooky Halloween designs.
- Family-friendly craft: Simple cardboard Halloween decorations can be a fun project for adults and children to make together.
- Works with different decorating styles: Change the colors and finishing details to create rustic, vintage, cute, or traditional DIY Halloween décor.
Join our crafting community to find more DIYs and upcycled craft ideas. It feels good to repurpose and upcycle!
Materials Needed:
- Cardboard boxes
- Acrylic paints in white, orange and black
- Paintbrushes in assorted tips
- Pencil
- Scissors
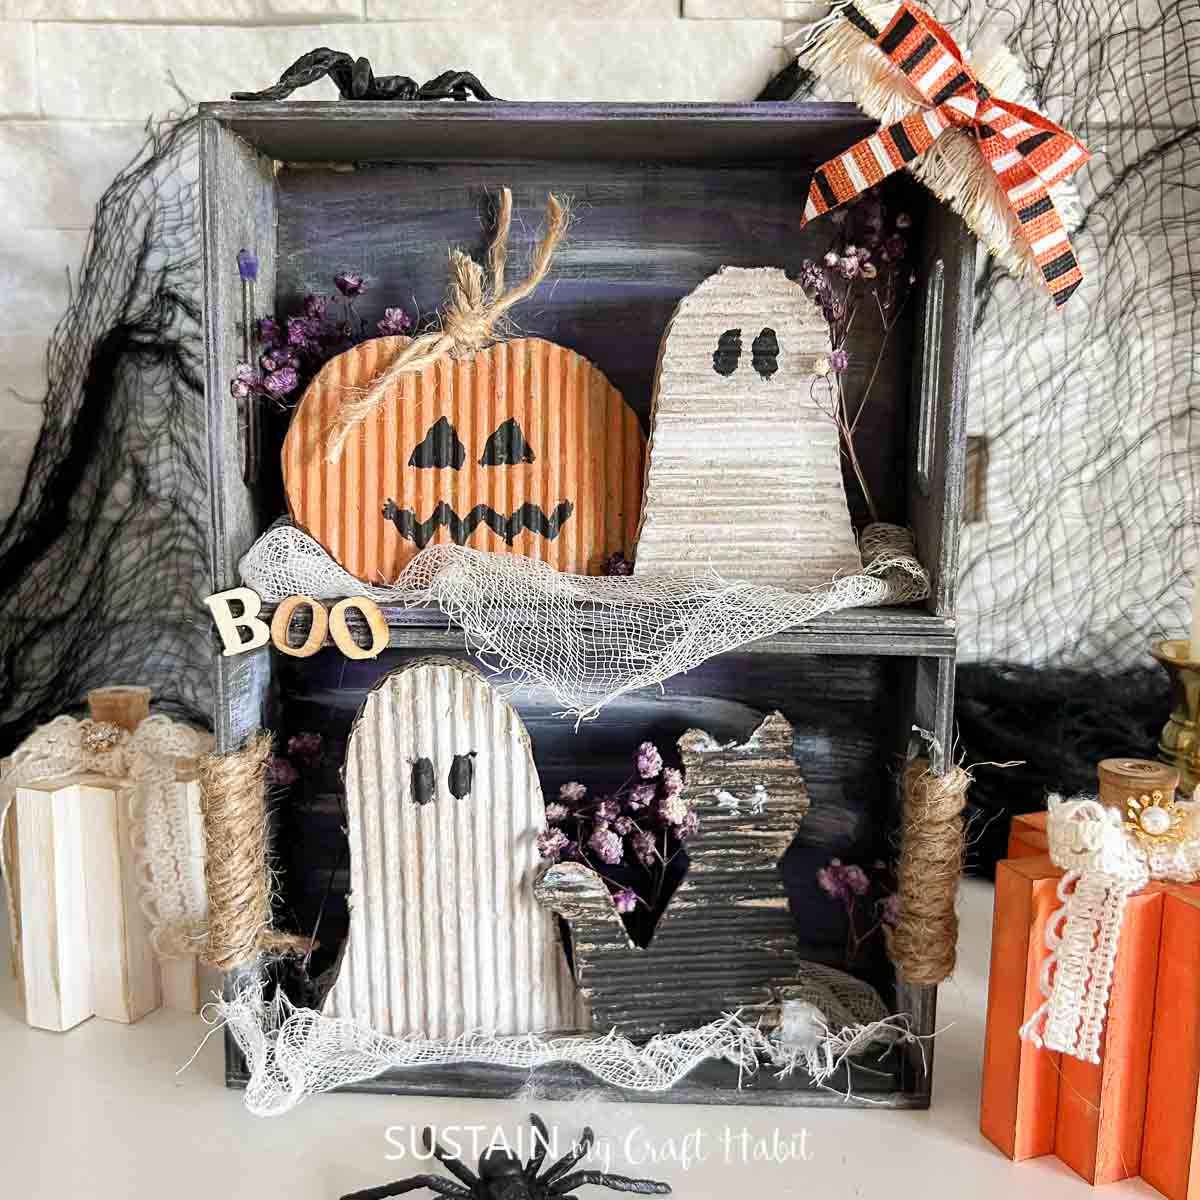
How to Make an Upcycled Cardboard Halloween Craft
Draw or trace simple Halloween shapes on to a piece of cardboard, shapes like a cat, ghost, pumpkin, etc. Draw multiples of each of the shapes to be stacked on top of each other.
With scissors, cut along the pencil lines.
On just one of the cutouts of each shape, dip a flat paintbrush over top of the cardboard and let it dampen. Then begin to peel away the top flat layer of cardboard exposing the corrugated texture underneath.
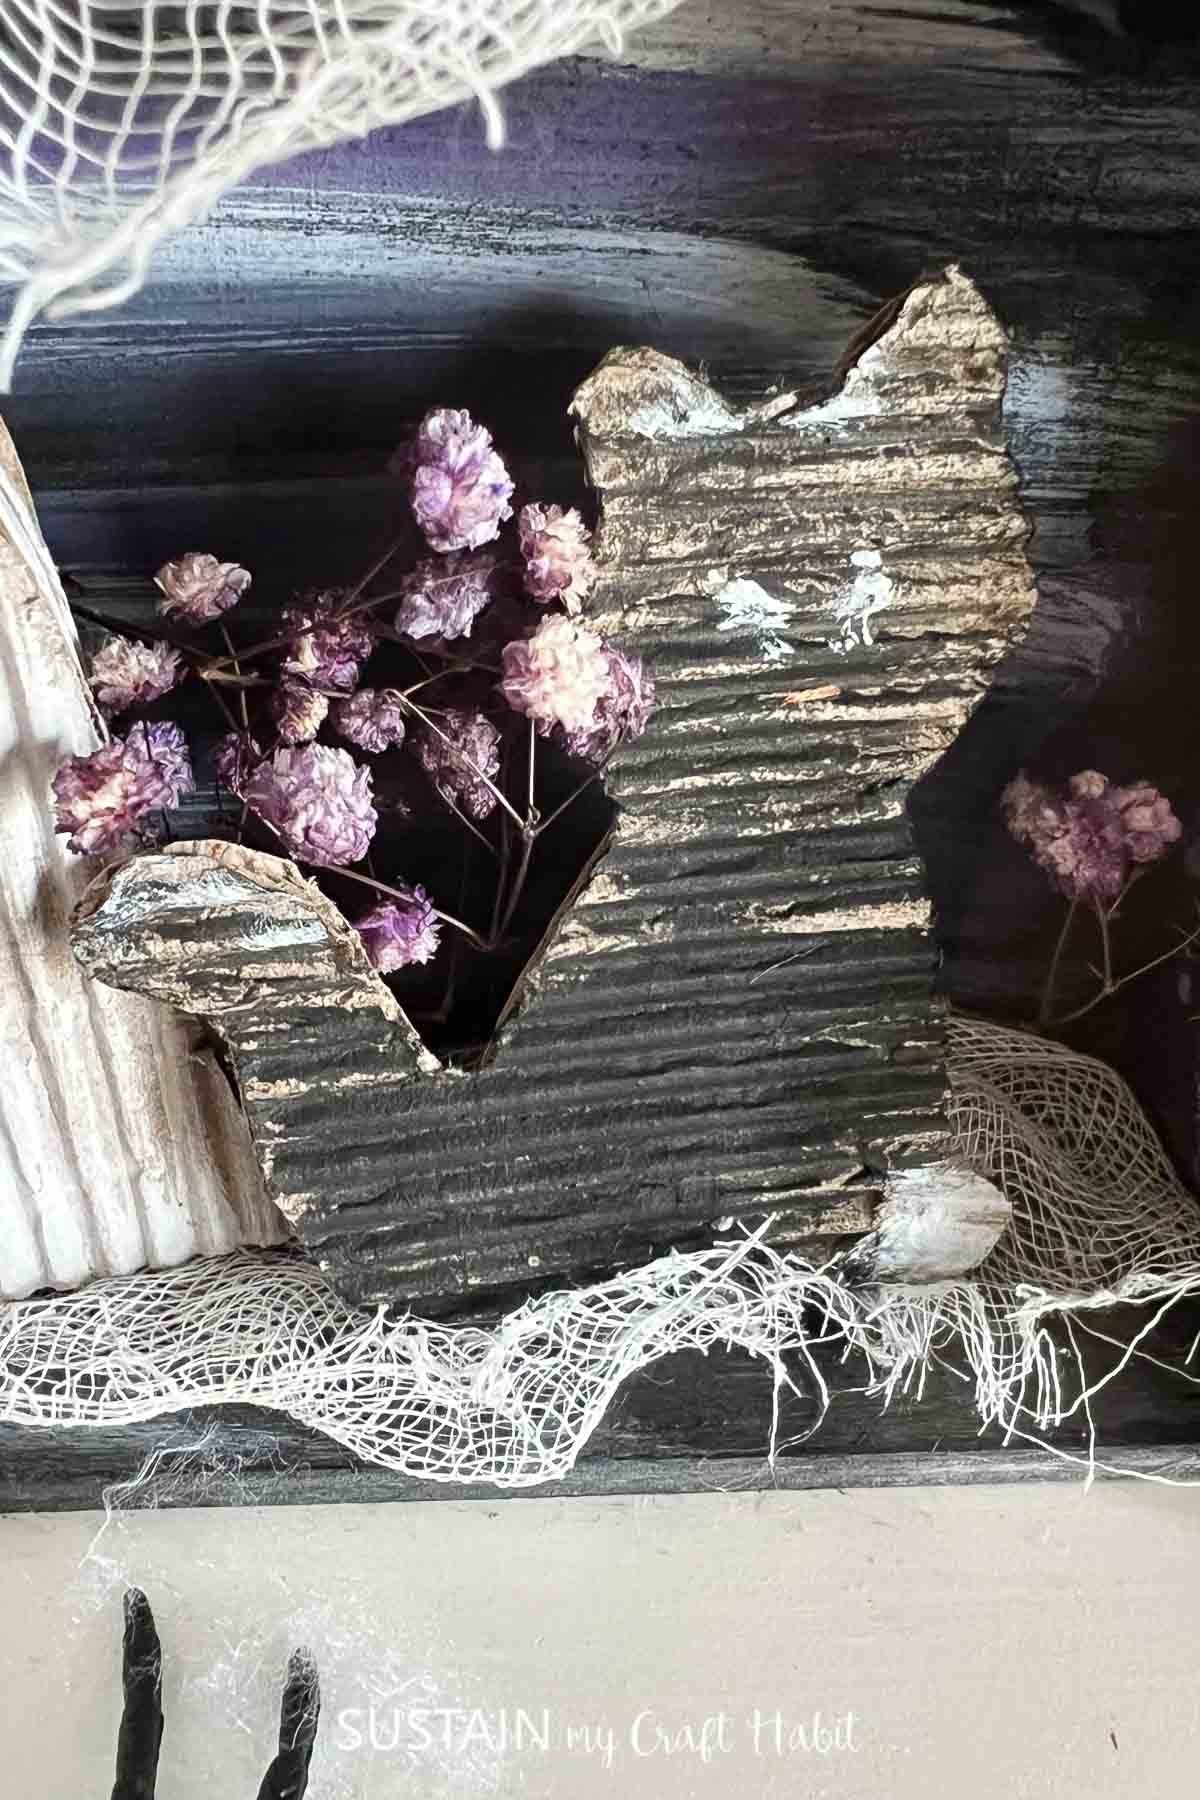
Stack and glue the same shaped cutouts together with the corrugated shape on top.
Next, dry brush over top of the cutouts with desired paint color.
Leave them to dry fully.
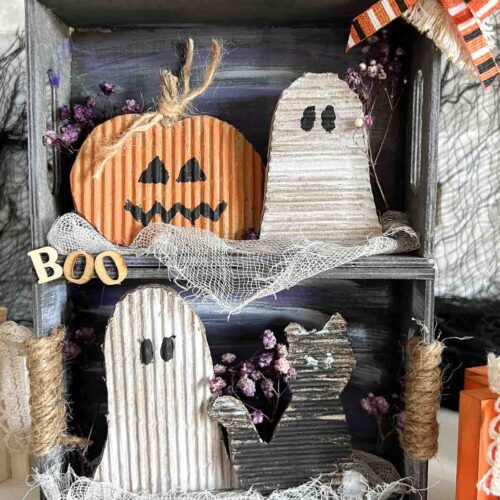
Add simple faces on the ghosts and pumpkins in black paint.
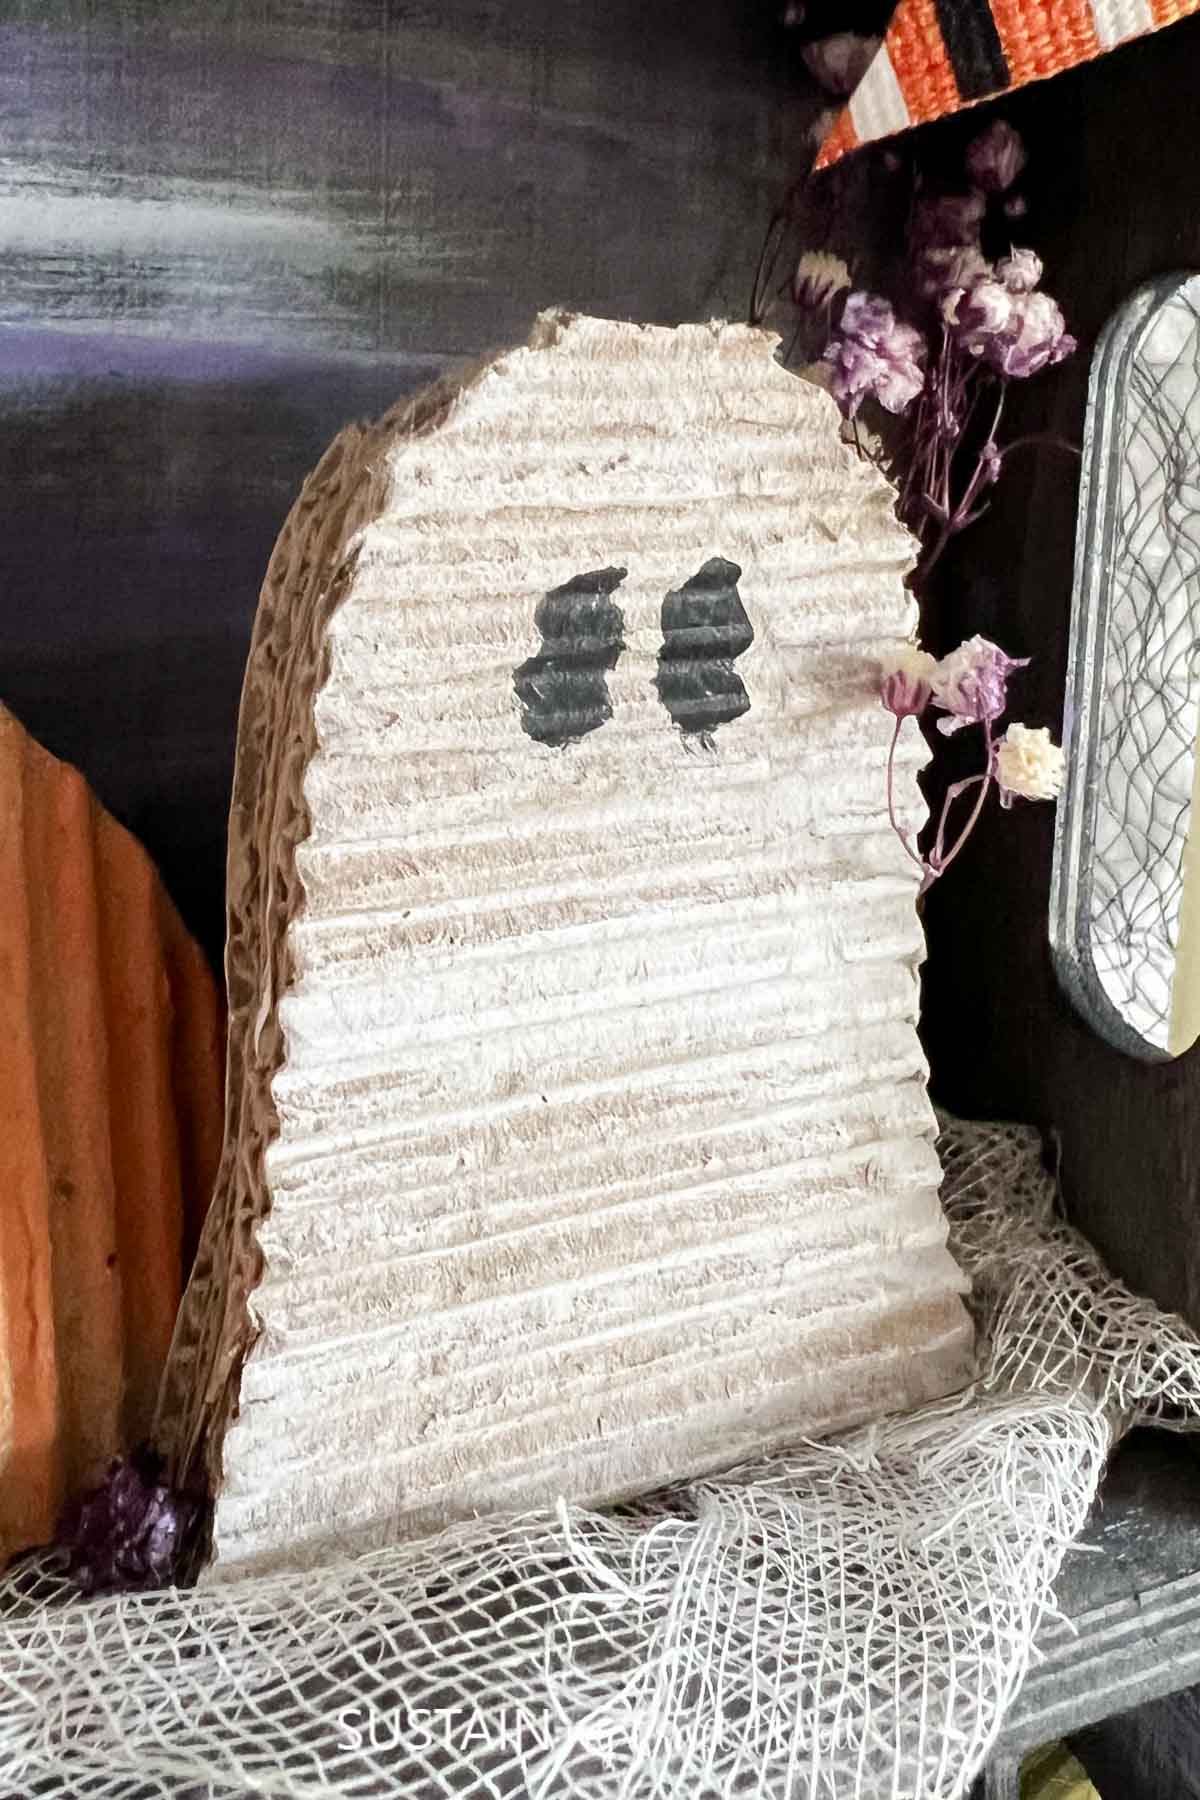
Stand up and add to a Halloween display.
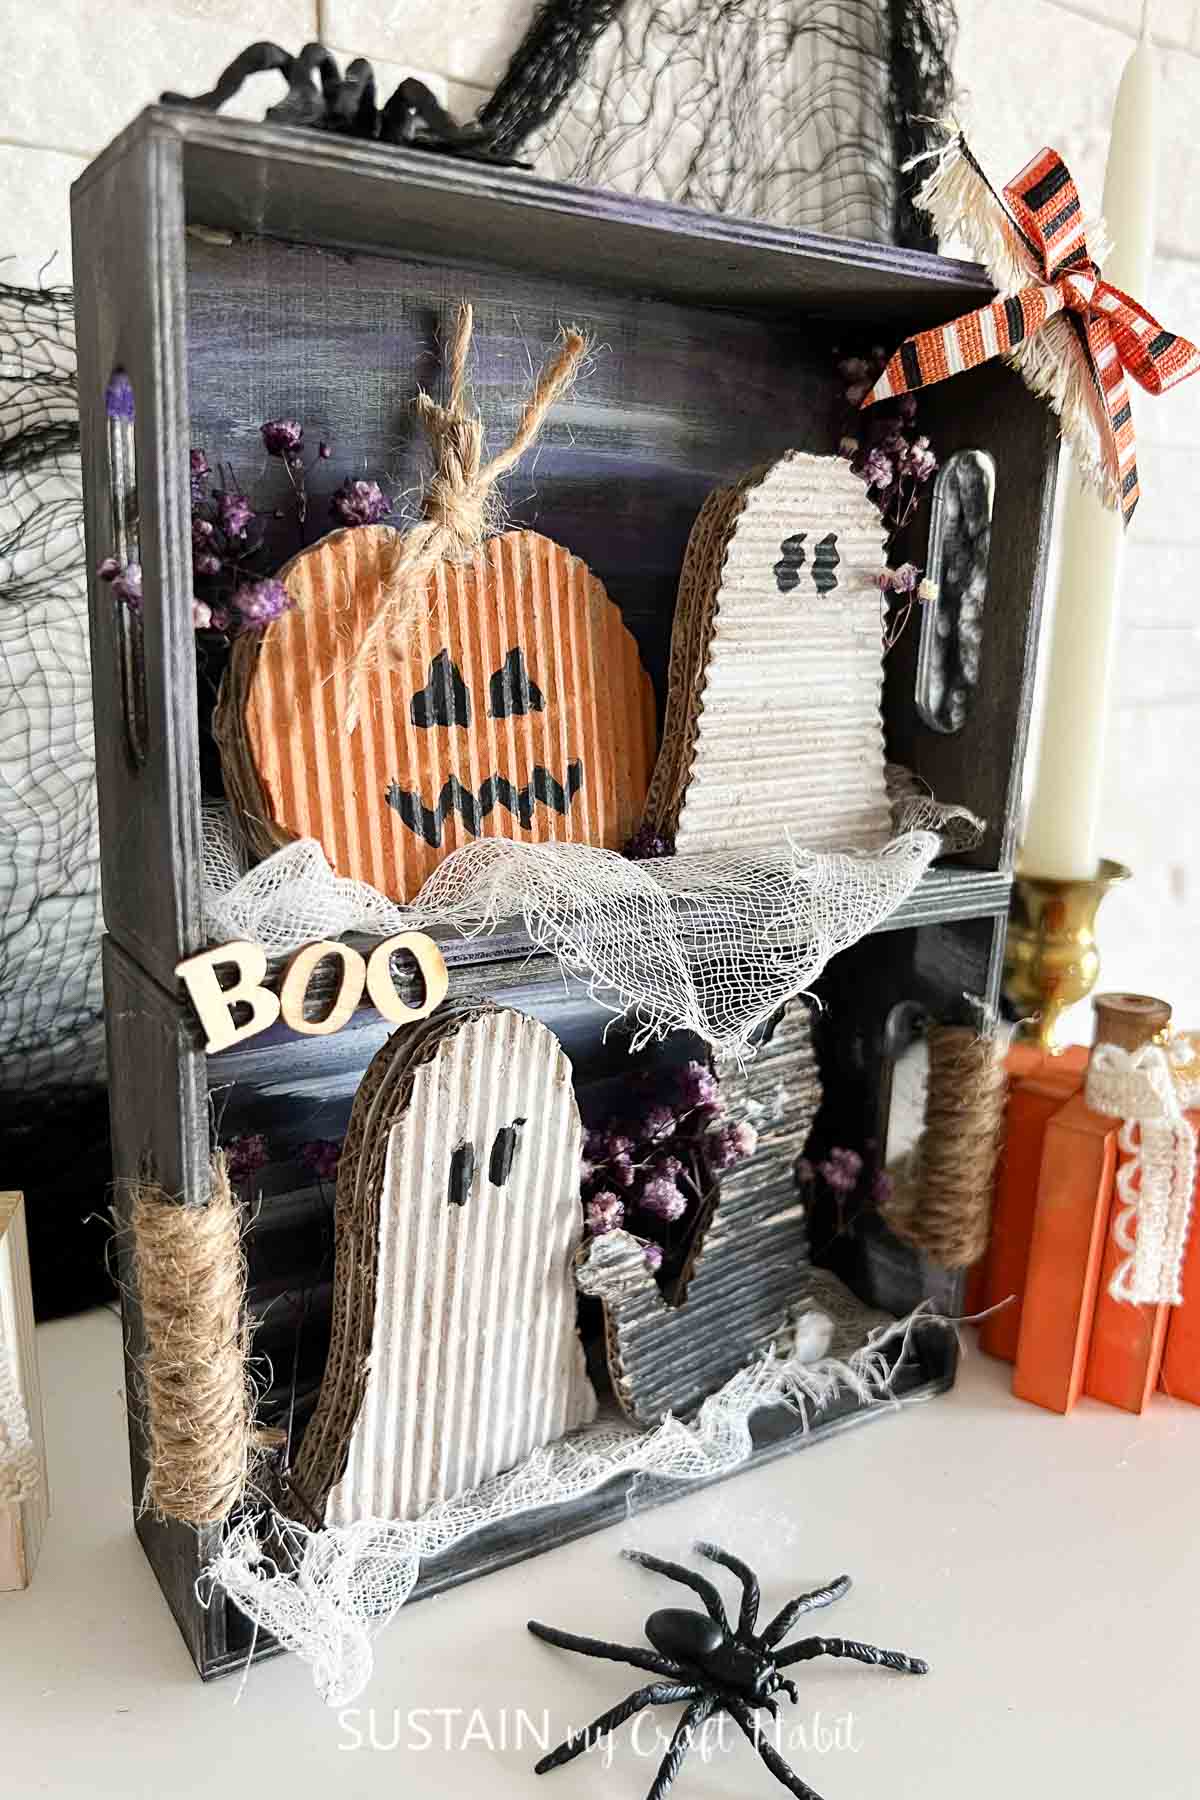
Explore our favorite DIY Halloween crafts to find easy upcycled projects, free printables, and budget-friendly decor for the season!
Experiment With Different Halloween Shapes
One of the easiest ways to customize this upcycled cardboard Halloween craft is to experiment with different shapes. Pumpkins and ghosts are simple options if you’re new to cardboard crafting, while bats, witches’ hats, tombstones, haunted houses, and black cats can add more variety.
Change the Color Scheme
Classic orange, black, purple, green, and white are obvious choices, but they aren’t your only options. For a more understated DIY Halloween home décor idea, try cream, muted orange, brown, charcoal, and antique white.
Add Texture and Details
Cardboard provides a blank surface that can be dressed up with materials you already have. Try adding twine, ribbon scraps, buttons, fabric, raffia, paper, wooden sticks, or leftover craft embellishments.
Prevent Cardboard From Warping
Cardboard may curl or warp when too much wet paint or glue is applied at once. Use thin coats of paint and allow each layer to dry completely before adding another.
Fix Rough or Uneven Edges
Corrugated cardboard can sometimes leave rough edges after cutting. Use sharp scissors or a craft knife suitable for your cardboard thickness and work slowly around detailed areas.
For rustic Halloween décor, slightly imperfect edges can actually add charm. You can also paint the exposed edges black or brown to make them look intentionally finished.
A Unique Cardboard Box Halloween Craft
This upcycled cardboard Halloween craft proves that festive decorating can be creative without being expensive. Before buying another seasonal decoration, take a look through your recycling and craft supplies—you may already have everything you need to create something unique.
Experiment with shapes, colors, and embellishments to make your cardboard Halloween décor fit your home and decorating style perfectly. Arrange your finished cardboard pumpkins, ghosts, bats, or haunted houses alongside candles, autumn leaves, small pumpkins, and other seasonal decorations.
More Upcycled Halloween Decor
If you loved this budget-friendly project, be sure to check out our full collection of DIY Halloween crafts for even more spooky-cute upcycling ideas and seasonal decor inspiration!
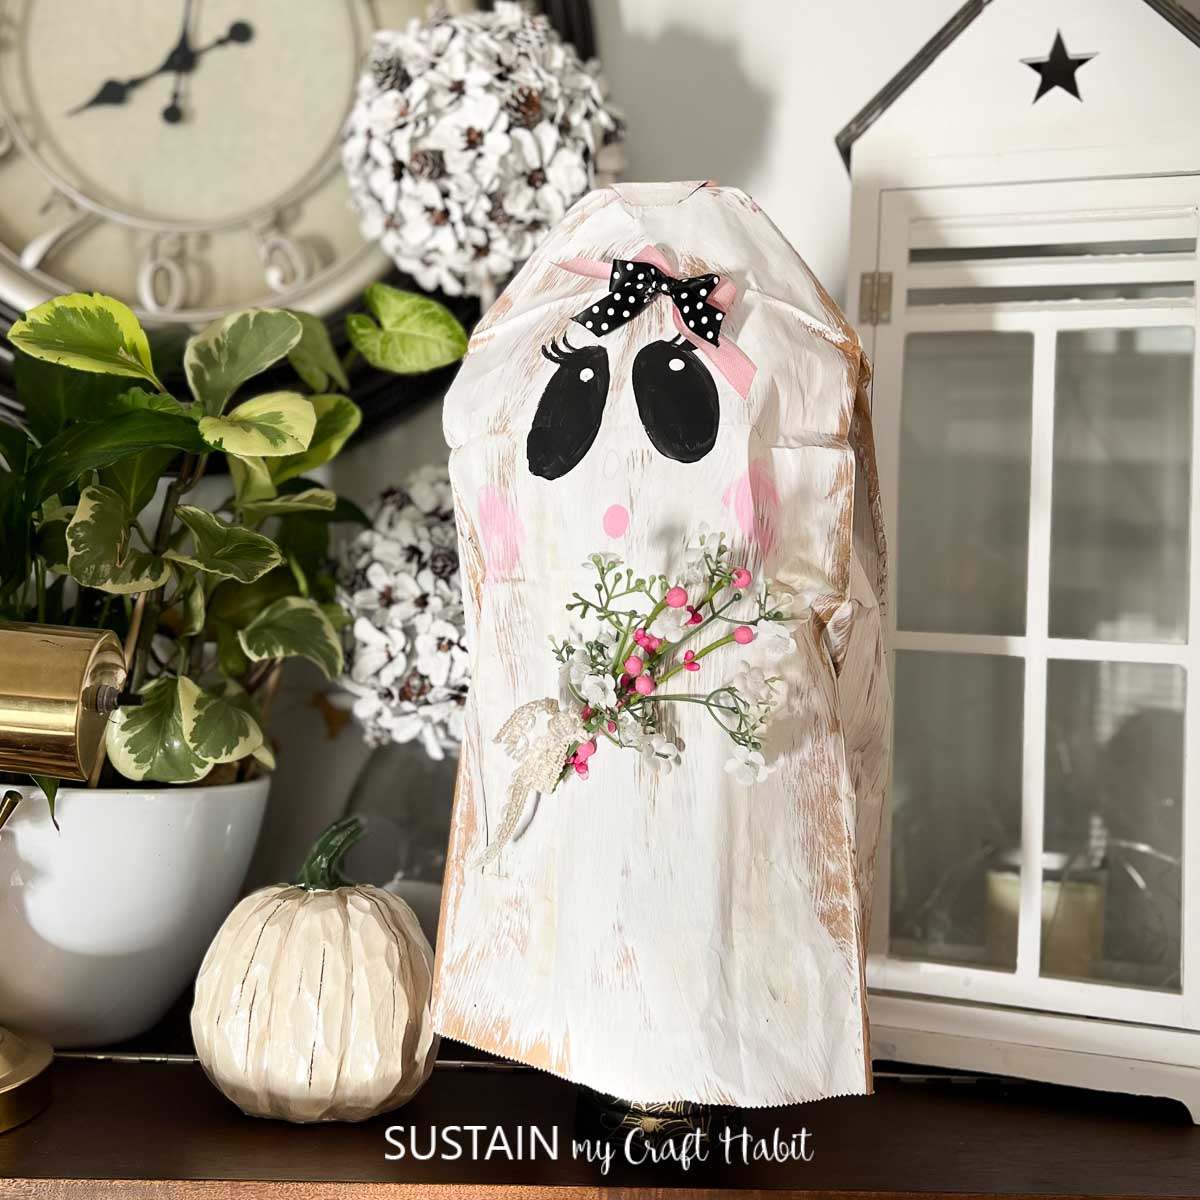
- Paper Bag Ghost Craft
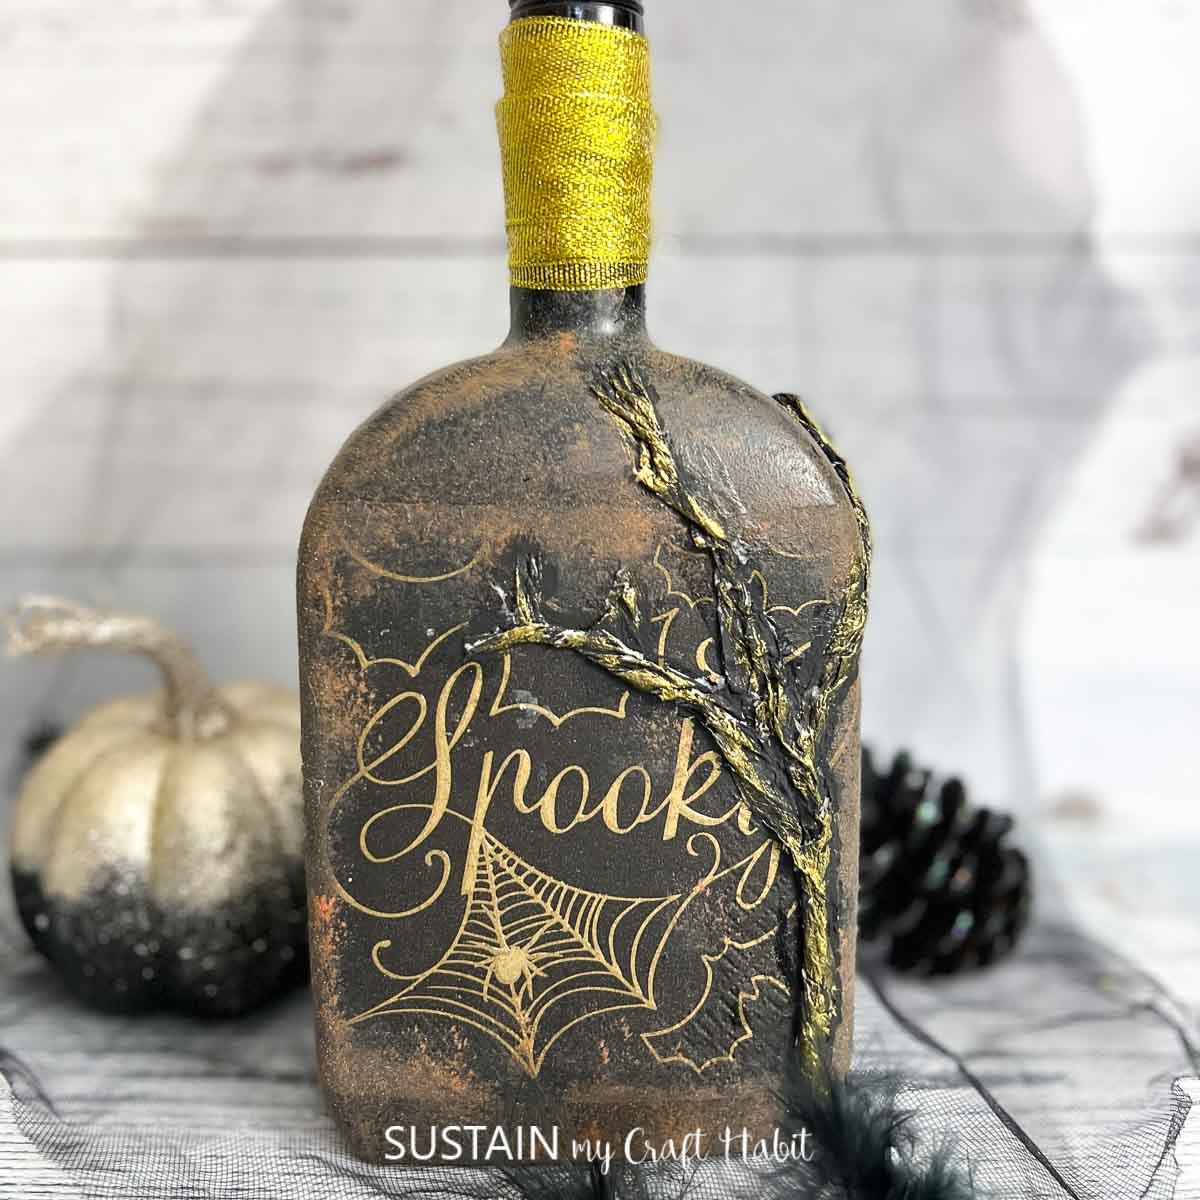
- Spooky Halloween Wine Bottle
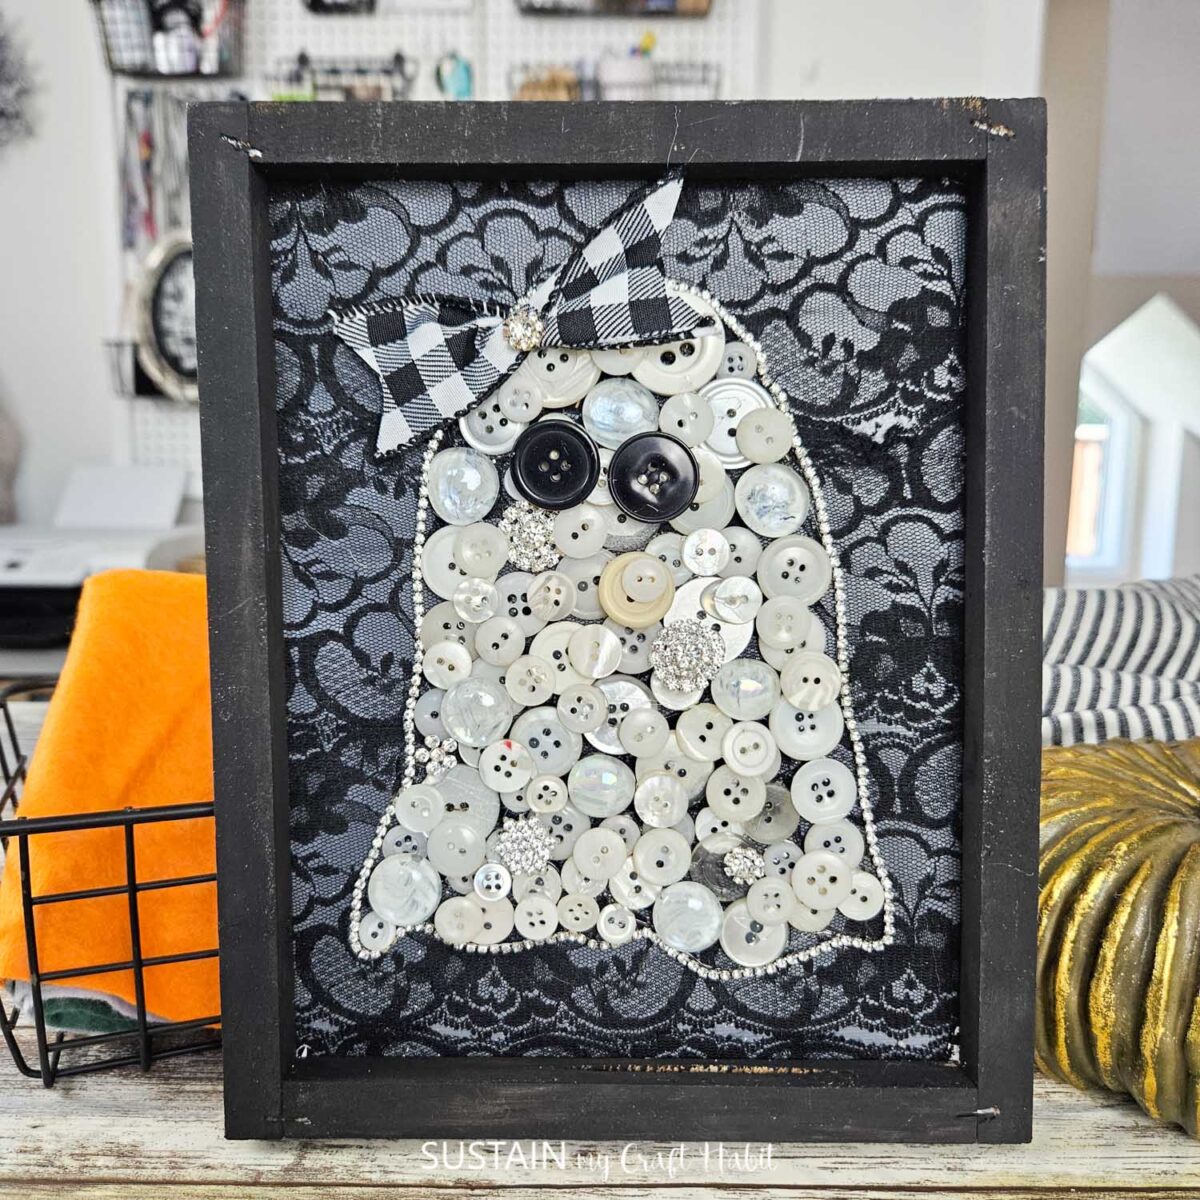
- Halloween Button Art Ghost
- Halloween Garland with Dried Leaves
- Halloween Candy Bowl Upcycling Craft

Get updates on the latest posts and more from Sustain My Craft Habit straight to your inbox by joining our weekly newsletter. We promise to send you only the good stuff!
Like it? Pin for later!
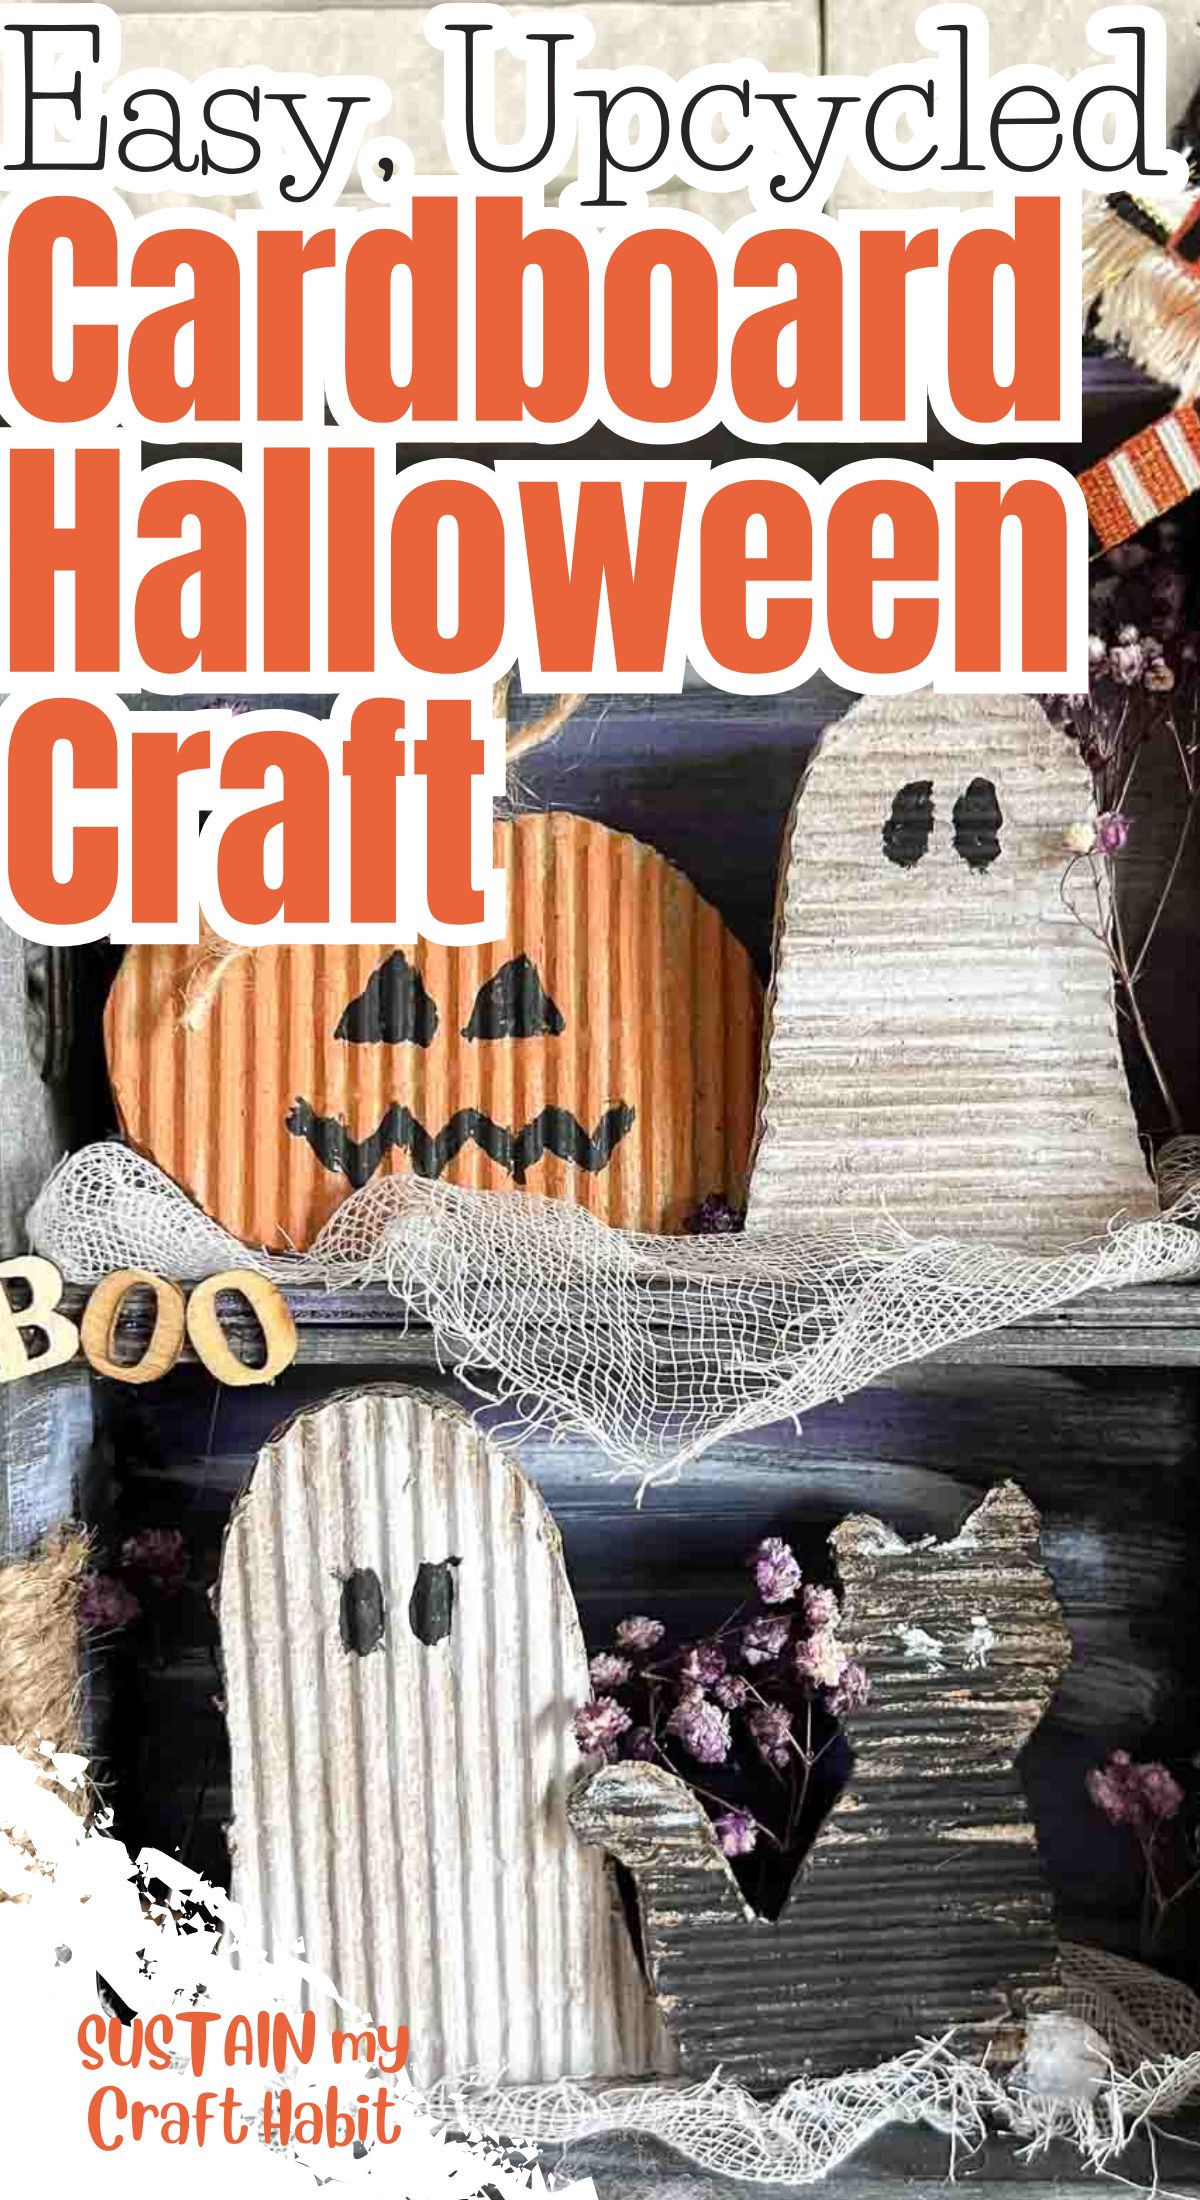
Upcycled Cardboard Halloween Craft: Easy DIY Decor
Materials
- Cardboard boxes
- Acrylic paints in white, orange and black
- Paintbrushes in assorted tips
- Pencil
- Scissors
Instructions
- Draw or trace simple Halloween shapes on to a piece of cardboard, shapes like a cat, ghost, pumpkin, etc. Draw multiples of each of the shapes to be stacked on top of each other.
- With scissors, cut along the pencil lines.
- On just one of the cutouts of each shape, dip a flat paintbrush over top of the cardboard and let it dampen. Then begin to peel away the top flat layer of cardboard exposing the corrugated texture underneath.
- Stack and glue the same shaped cutouts together with the corrugated shape on top.
- Next, dry brush over top of the cutouts with desired paint color.
- Leave them to dry fully.
- Add simple faces on the ghosts and pumpkins in black paint.
- Stand up and add to a Halloween display.