Hello creative friends! We’ve put together this ultimate guide to answer all your French seaming questions, topics such as the best types of fabrics to use, the advantages versus the disadvantages are covered and even a step by step tutorial on how to sew a French seam.

What is a French seam?
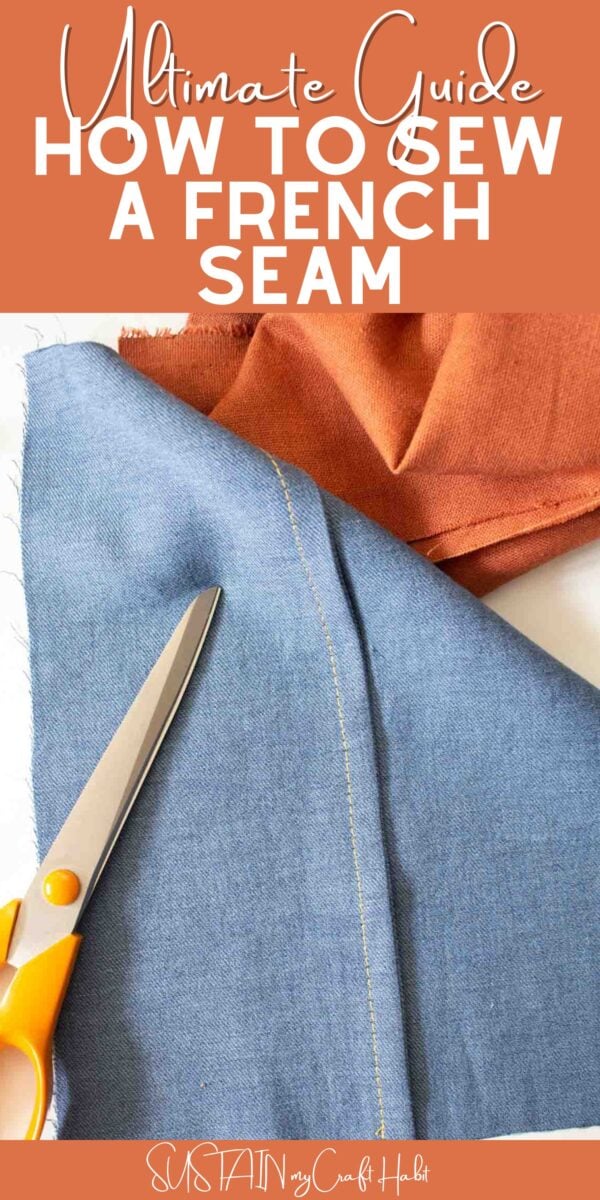
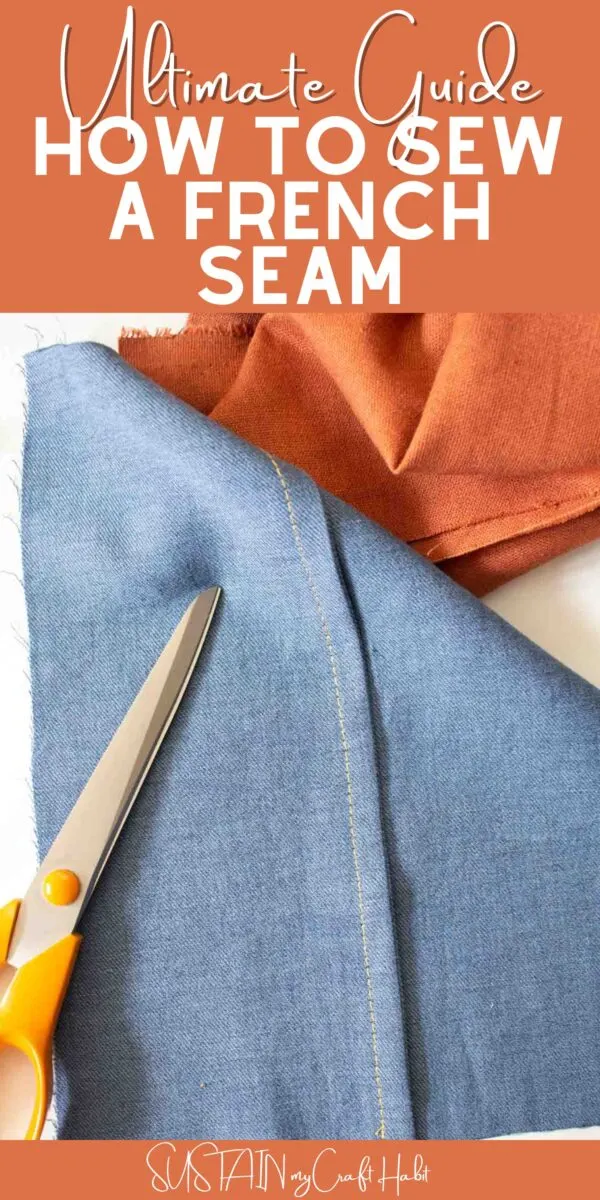
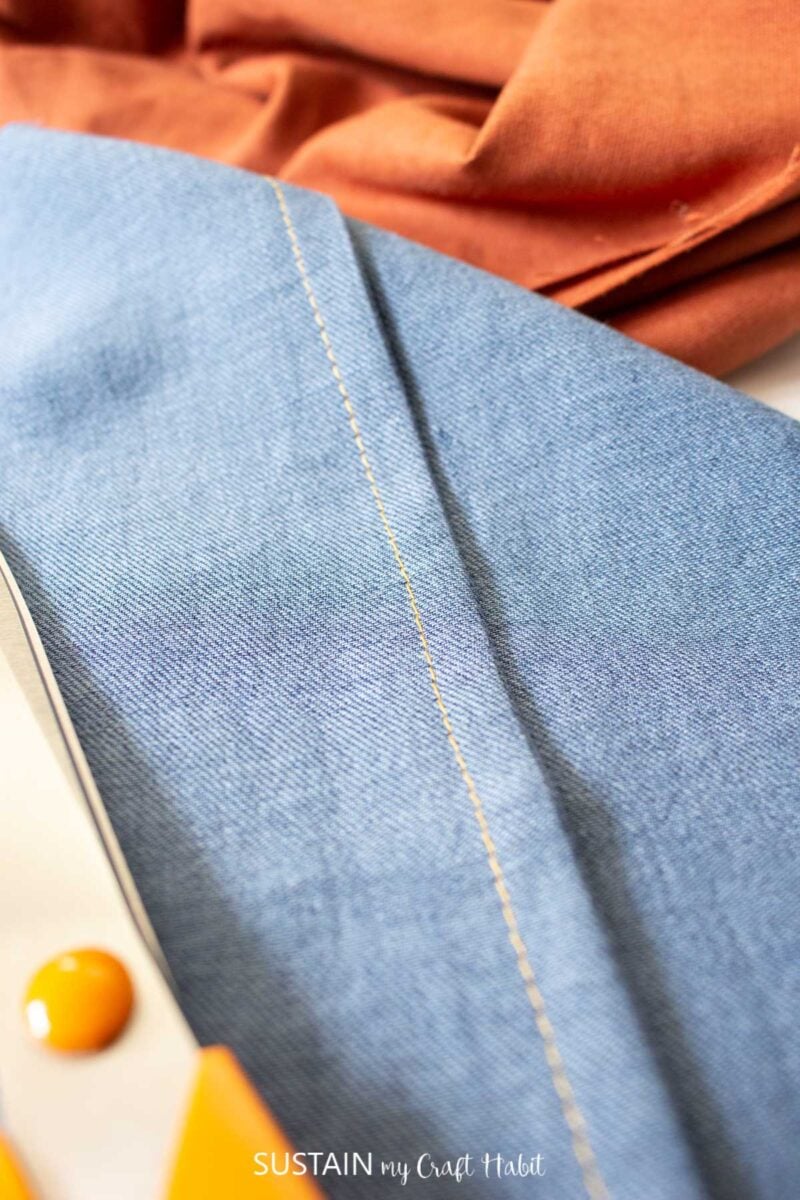
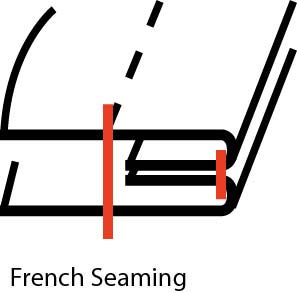
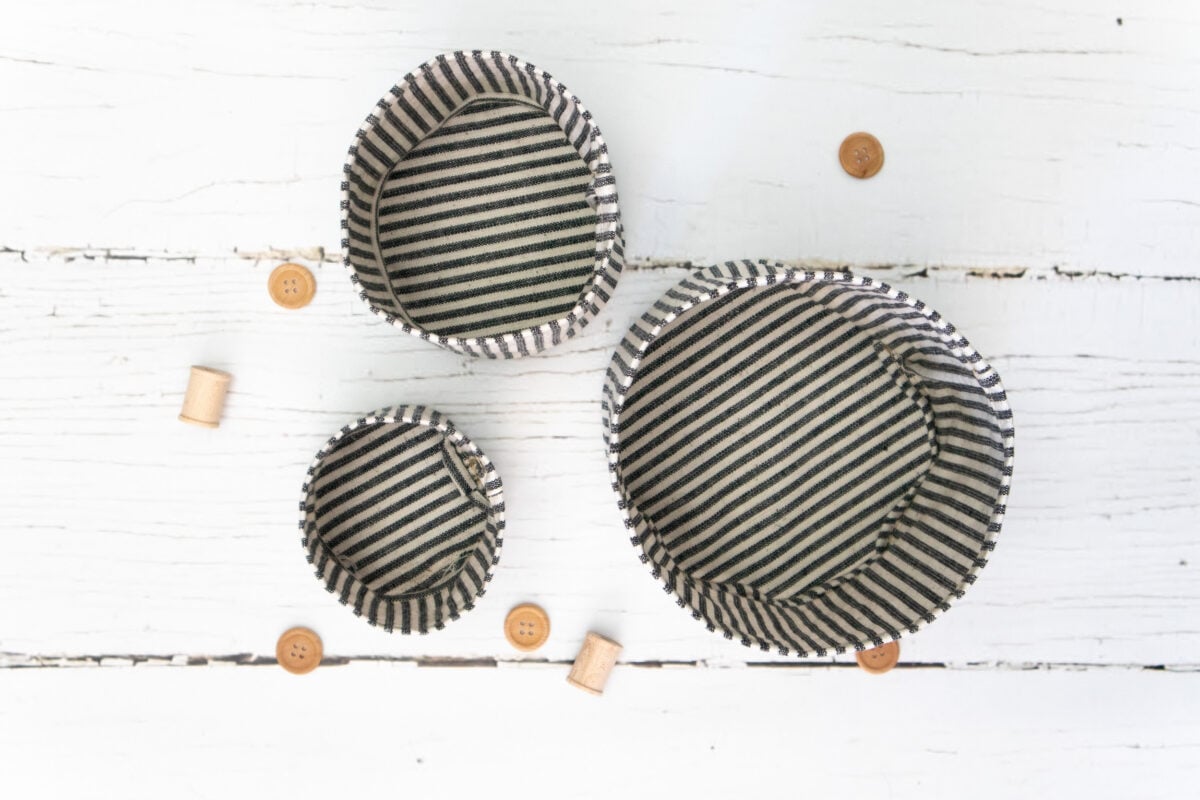
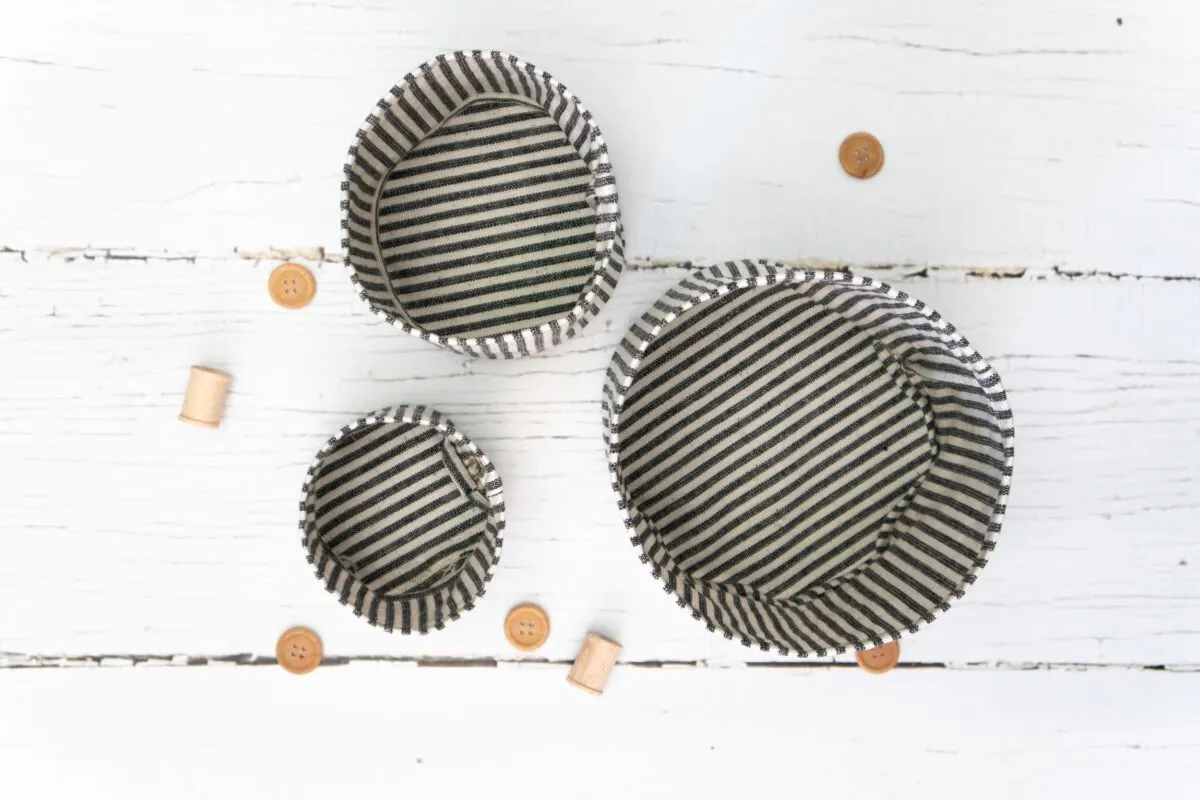
Let’s start at the beginning by answering the question ‘what is a French seam?’. Well to put it simply, a French seam is a type of seam that is stitched on both sides of the fabric to fully enclose the raw fabric edges. Using this seam eliminates the need to clean finish seam allowance as is typically required with a regular seam. The appearance of a french seam as you can see below is neat and tidy and noticeably different from a normal seam.

The way in which french seaming works is by ensuring the first seam is smaller than the second seam. Otherwise, raw fabric edges will be visible on the right side of the garment. For a proper French seam, the second stitch line needs to fully enclose the first seam.
Let’s stay in touch! Subscribe for our latest sewing patterns, tutorials and tips.
This guide will cover the following topics, feel free to jump to any of these sections by clicking on the topics below:
- How to Sew A French Seam
- Sewing Tips and Reminders
- Best Uses for a French Seam
- Fabrics that Work Best with a French Seam
- French Seaming: The Pros vs. The Cons
- How to Sew a Mock French Seam

How to Sew a French Seam
Disclosure: This post contains affiliate links for your shopping convenience. Should you choose to purchase through them, we will make a small commission at no extra cost to you. You can read our full disclosure policy here.
Materials List
- sewing machine with standard presser foot
- thread
- woven fabric in a light-weight or medium-weight
- fabric scissors or rotary cutter (with cutting mat)
Step by step Instructions
Whether the sewing pattern calls for a 1/2″ total seam allowance or a 5/8″ total seam allowance, the method for making a french seam will be the same. Take this as an example for sewing patterns requiring a 5/8″ seam allowance.
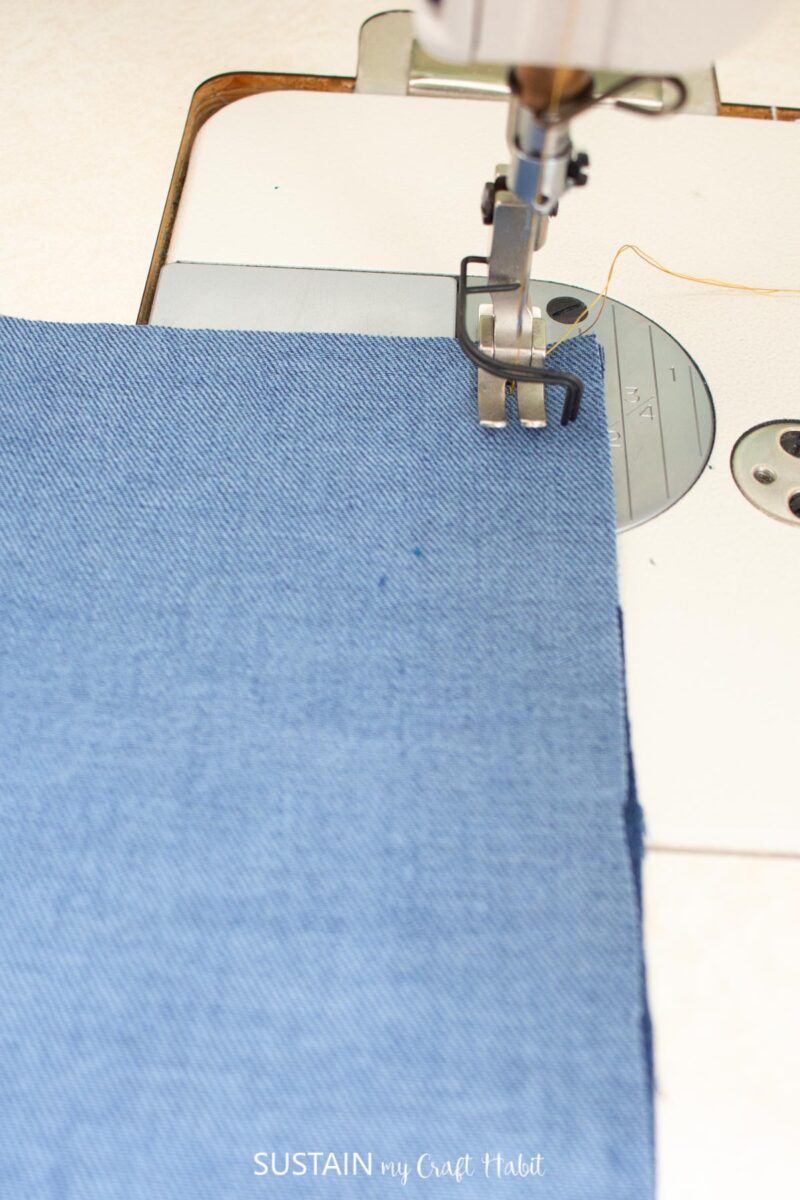
Work one seam at a time.
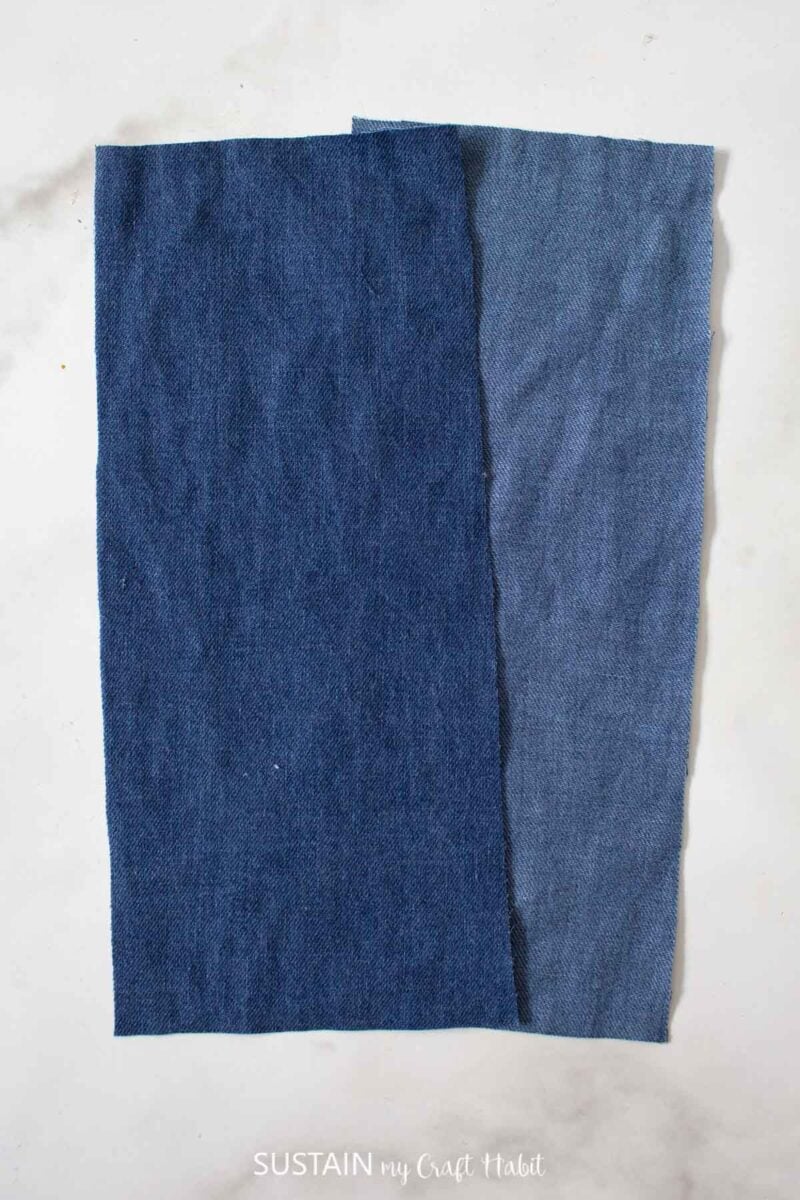

Align WRONG sides of the fabric together.
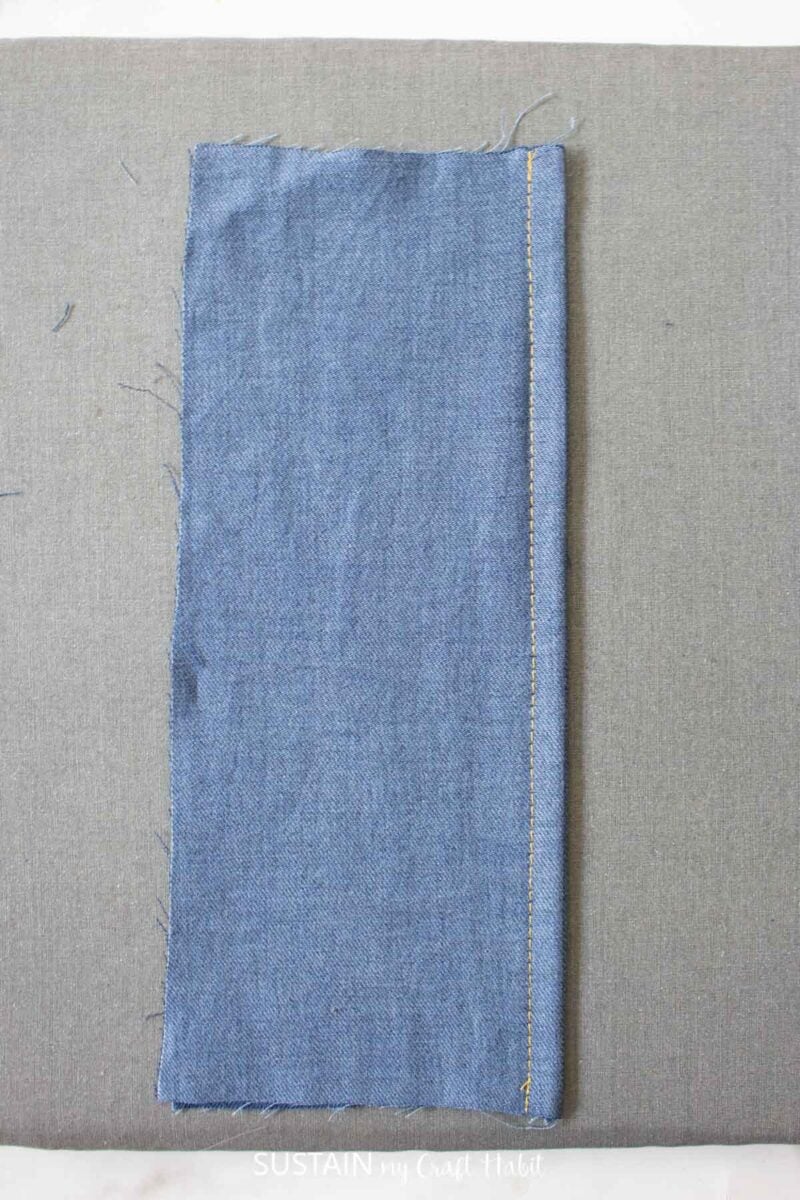
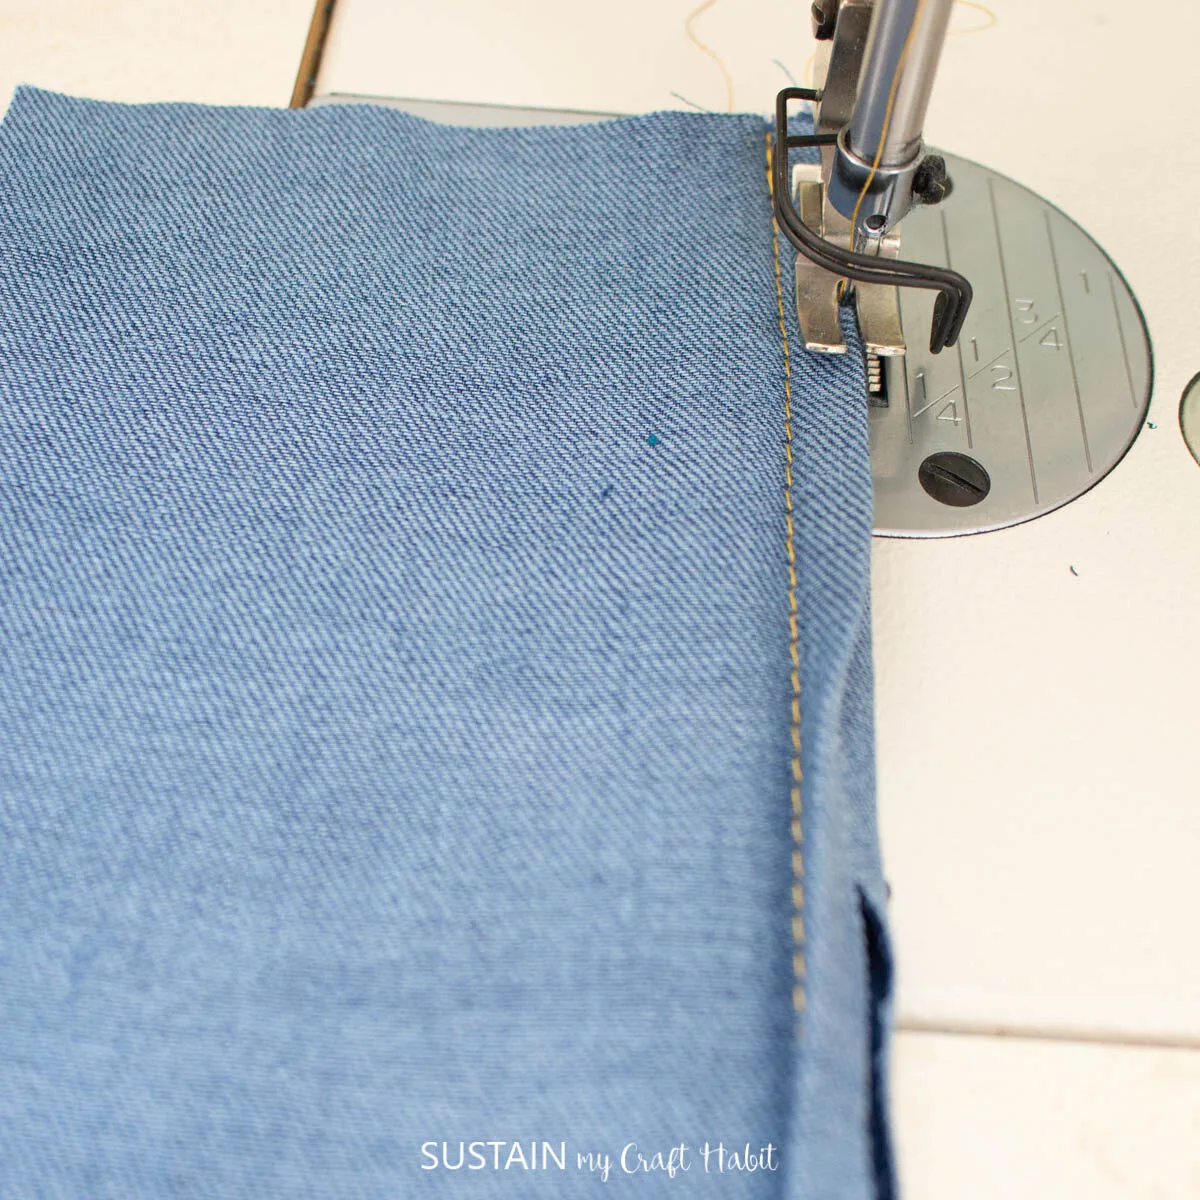
Using your sewing machine set to a straight stitch, sew the edges together with a ¼” seam allowance.

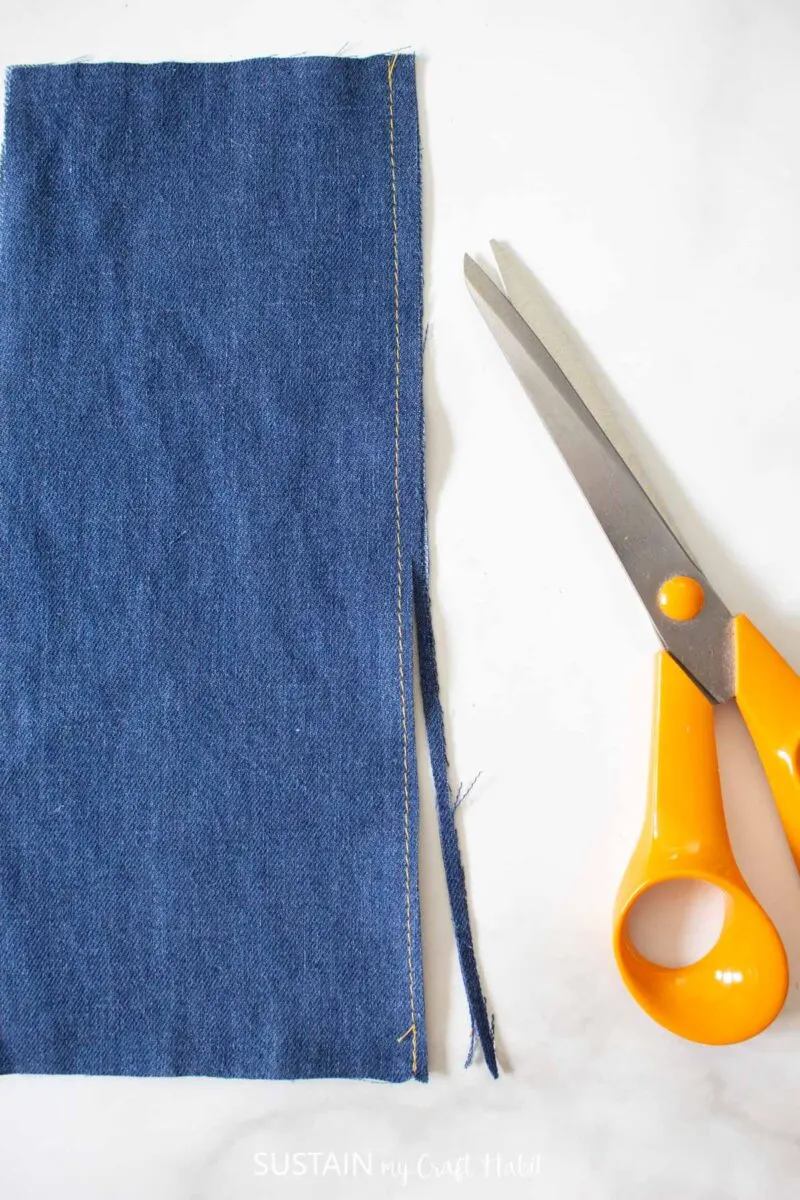
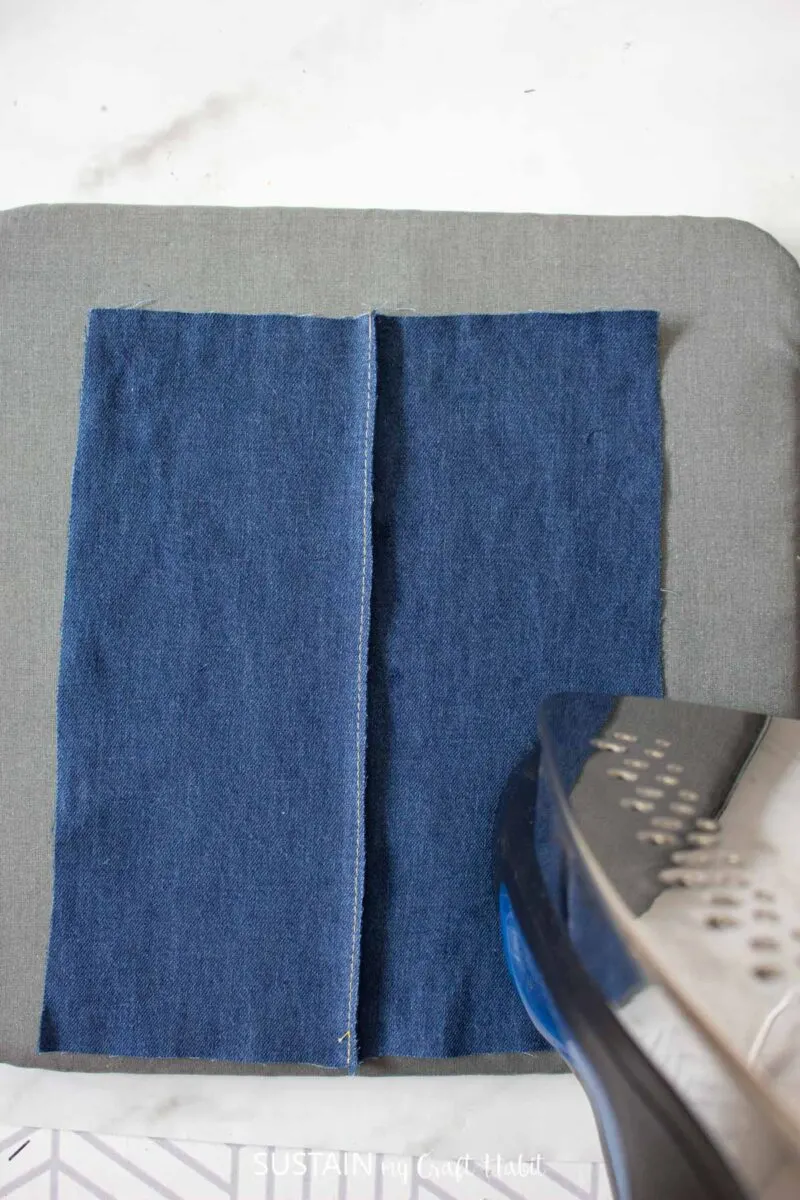
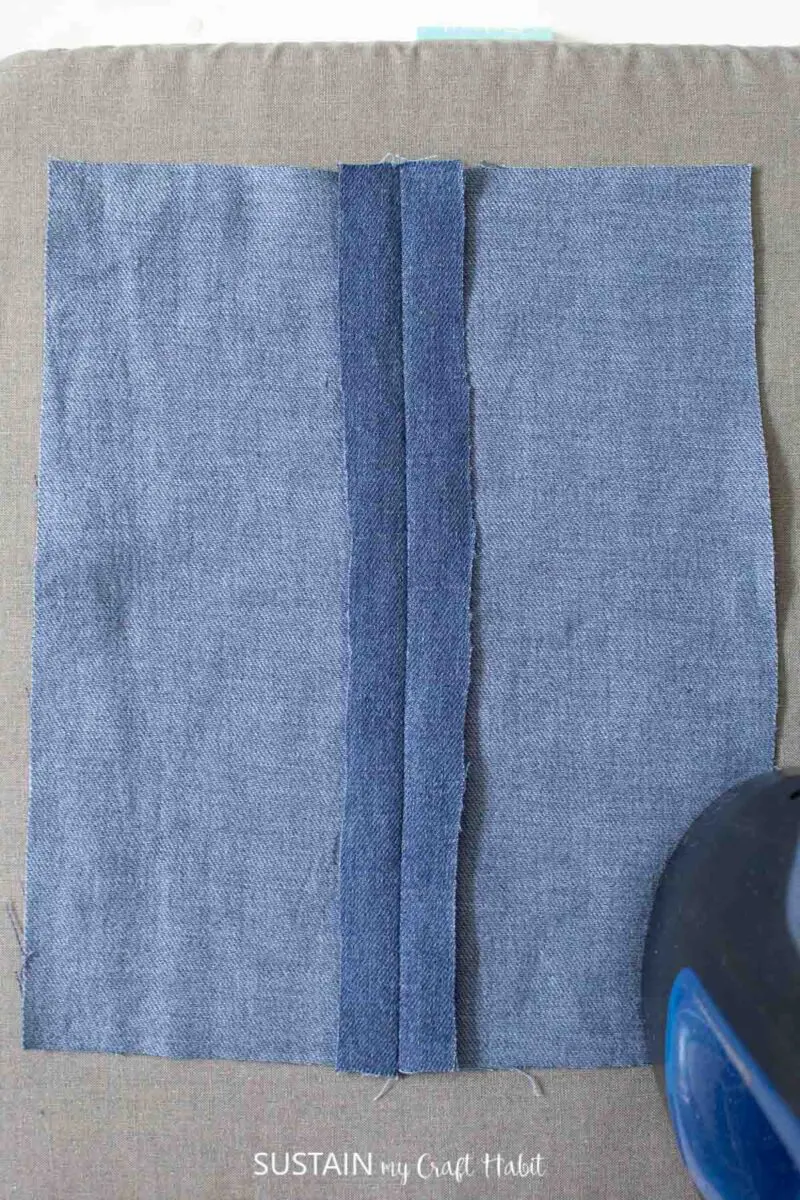
At the ironing board, press the seam flat with an iron.
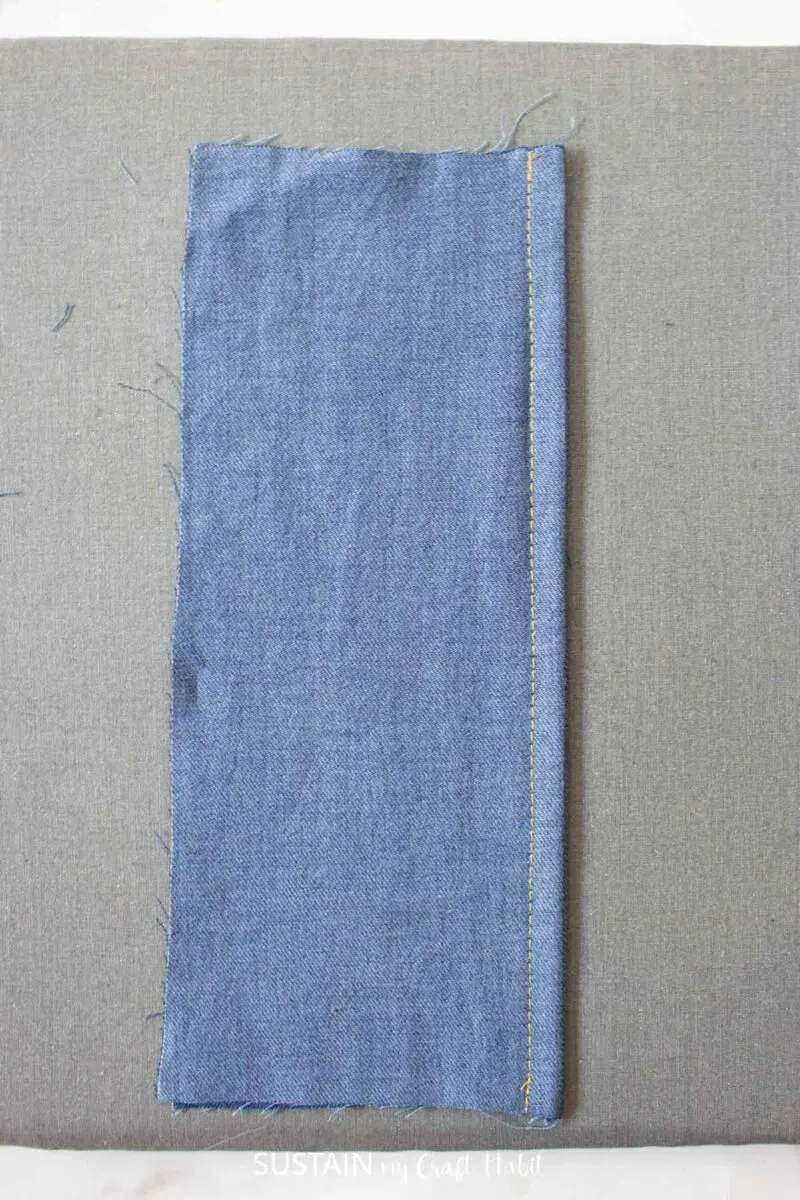
Trim the seam allowance to 1/8” wide.

Press the seam open and press the seam allowance to one side.

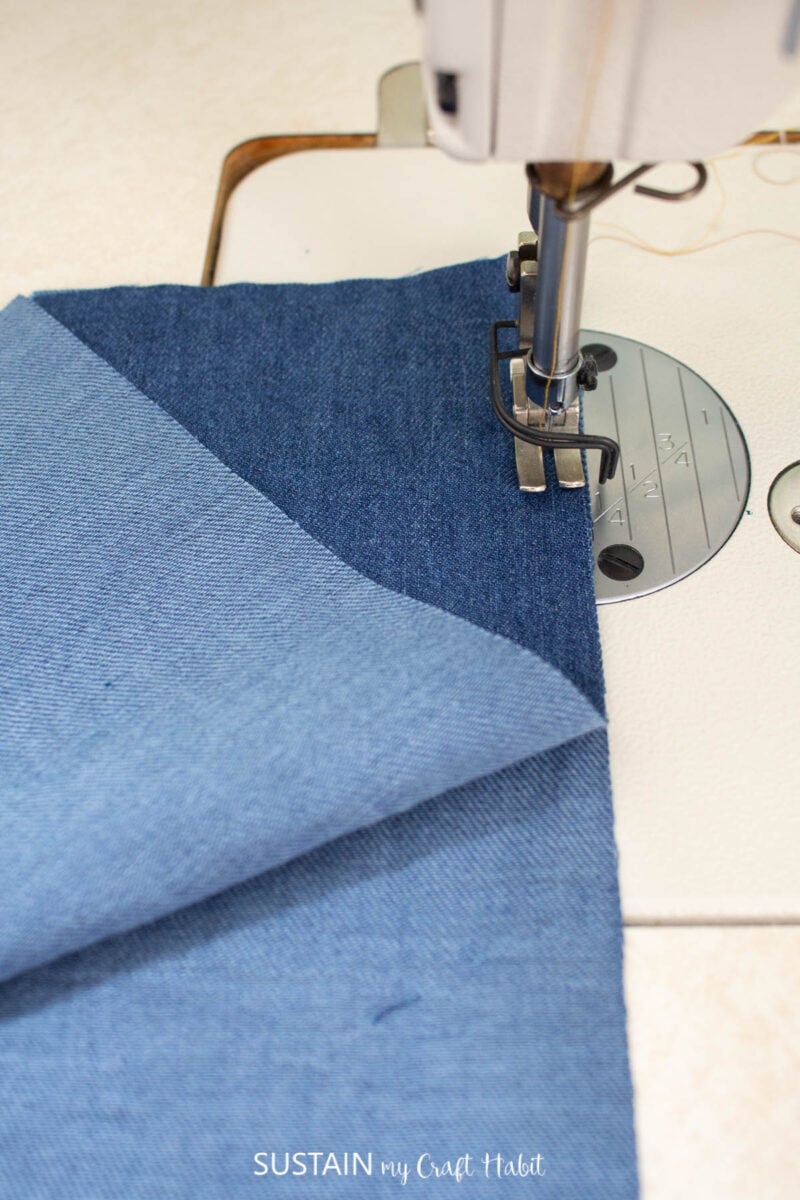
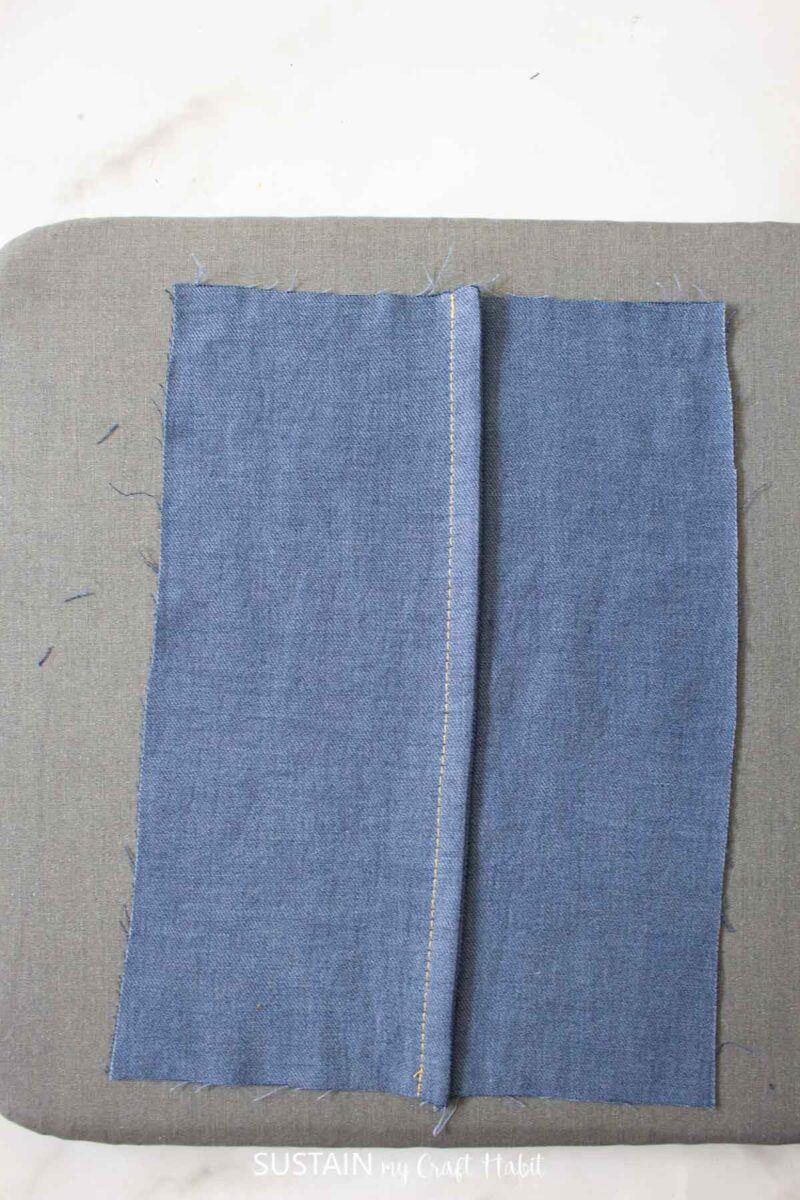
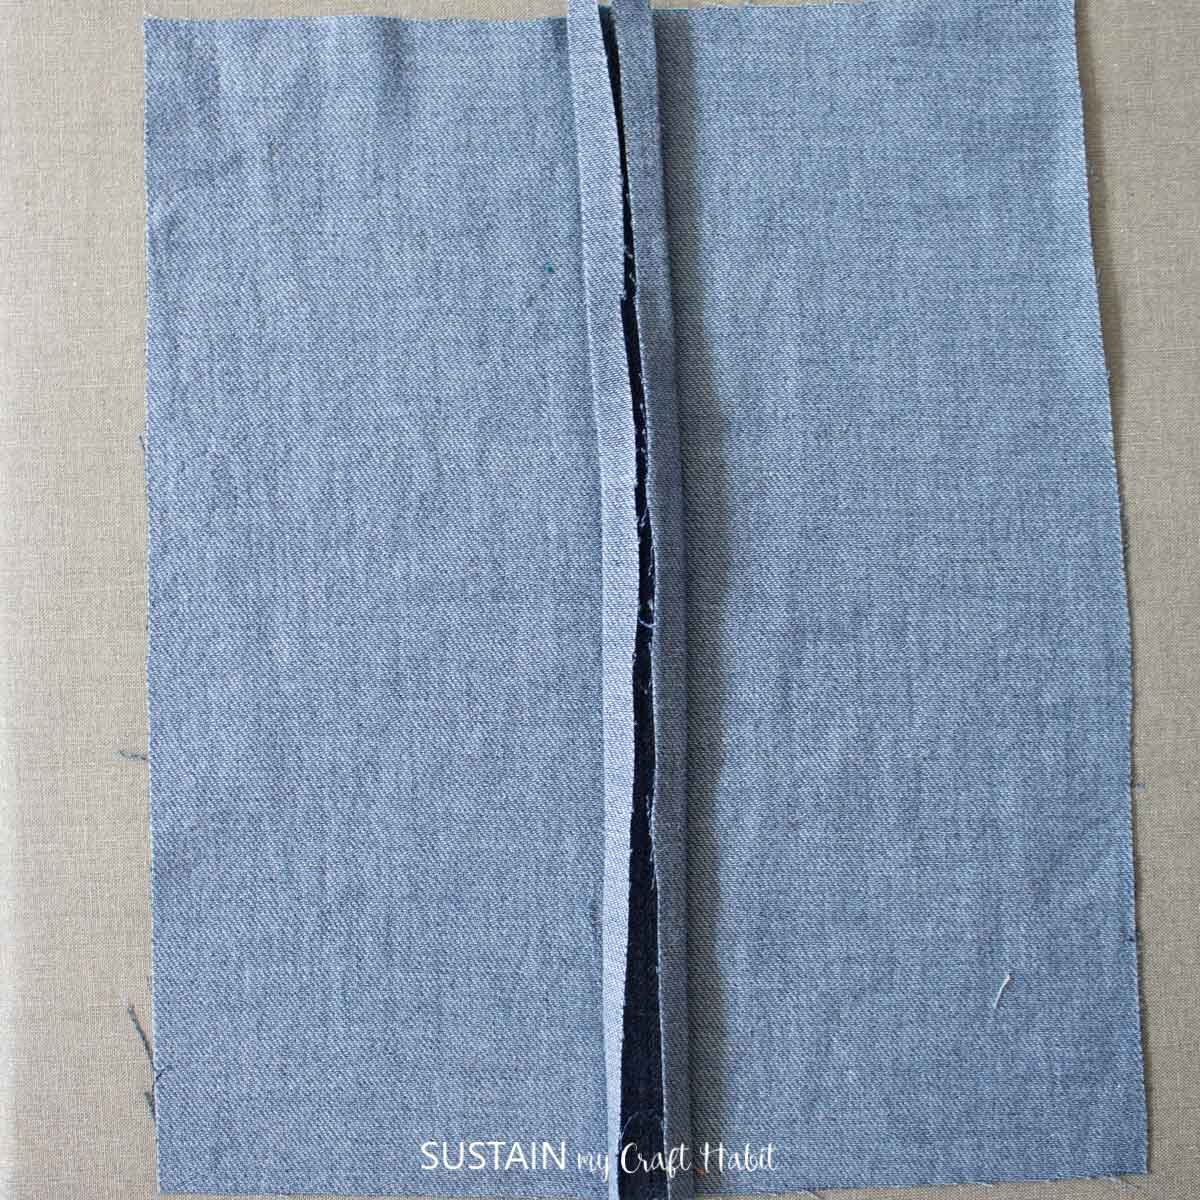
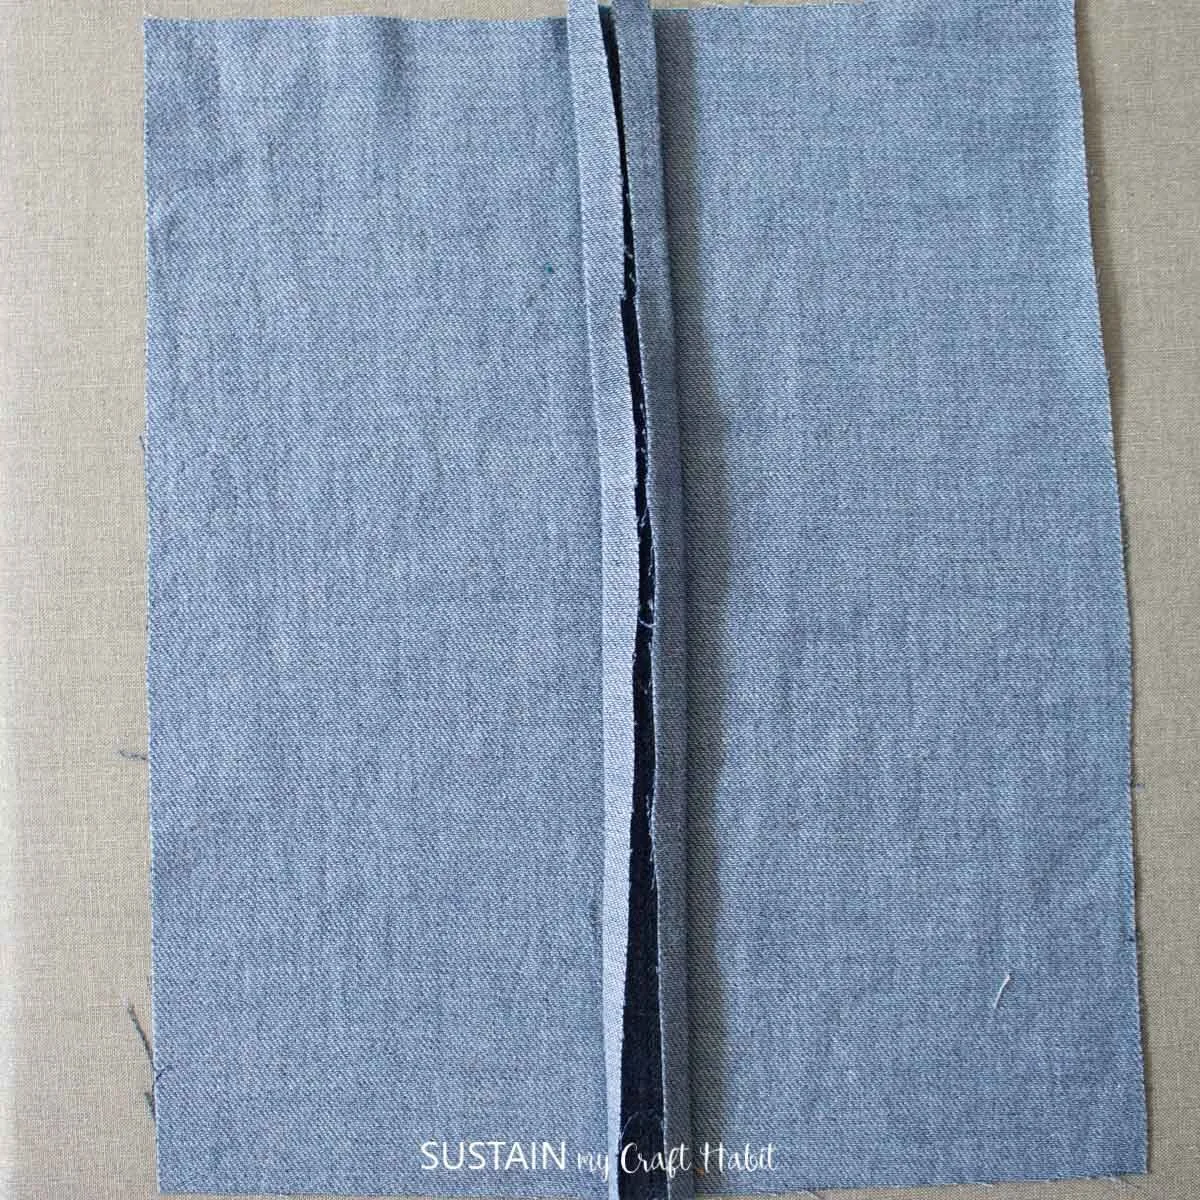
Turn the seam so that the RIGHT sides of the fabric is facing each other.
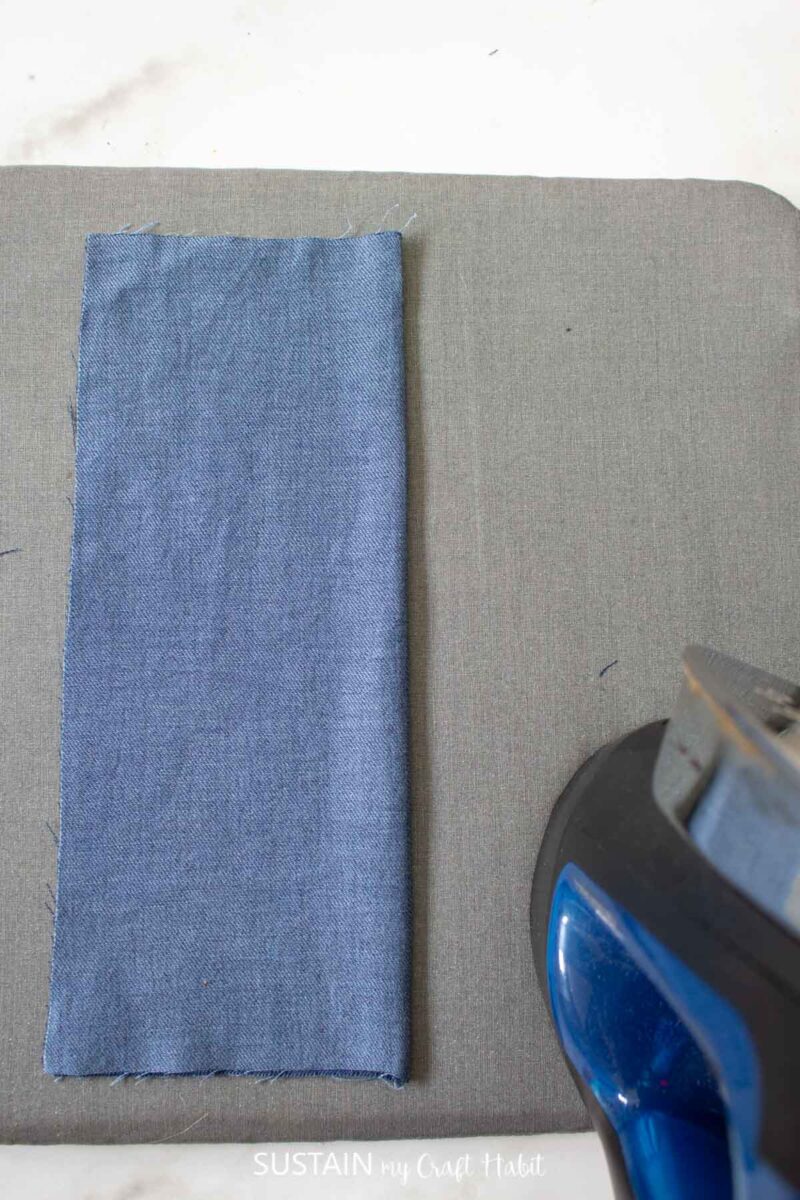
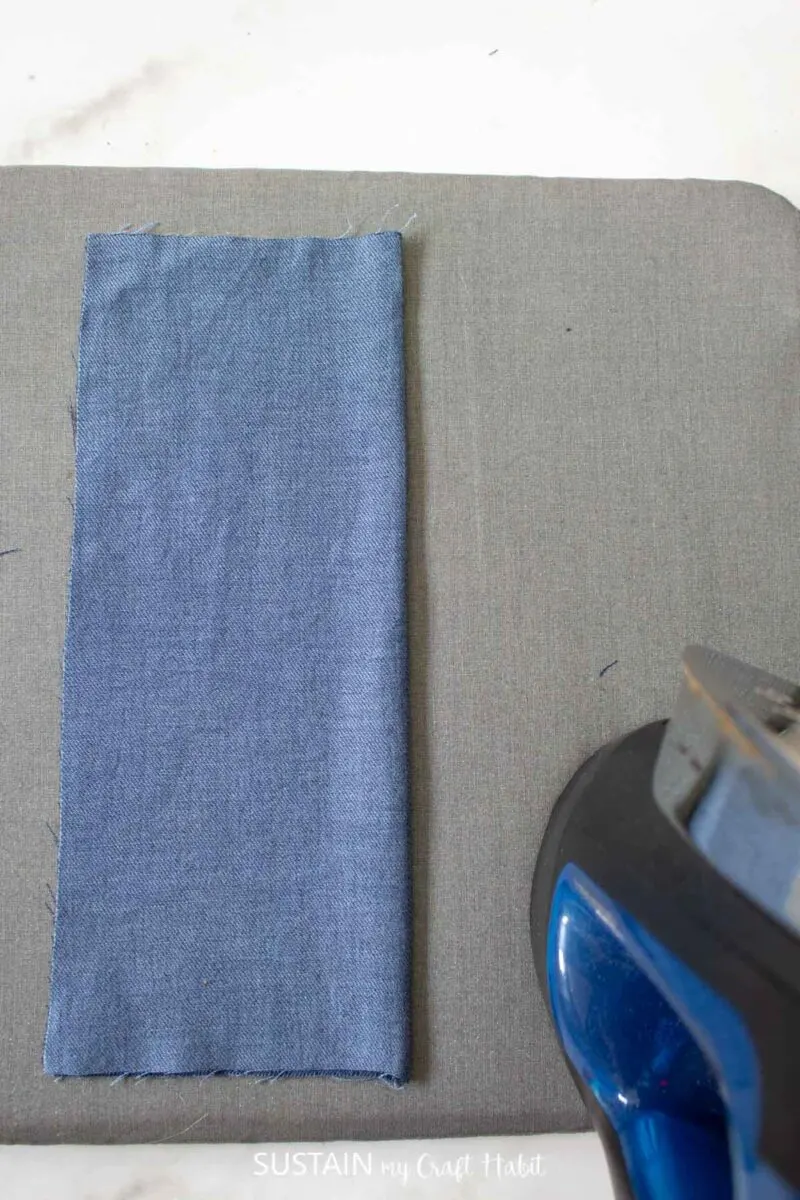
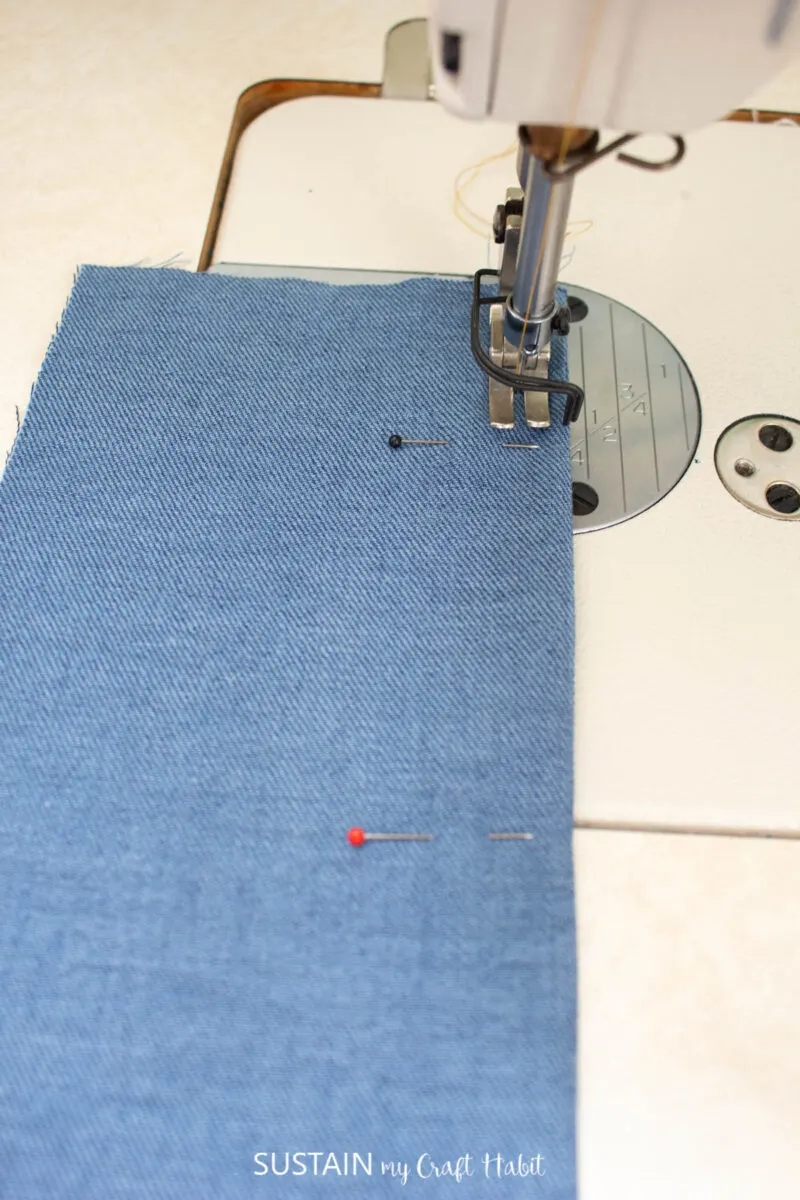
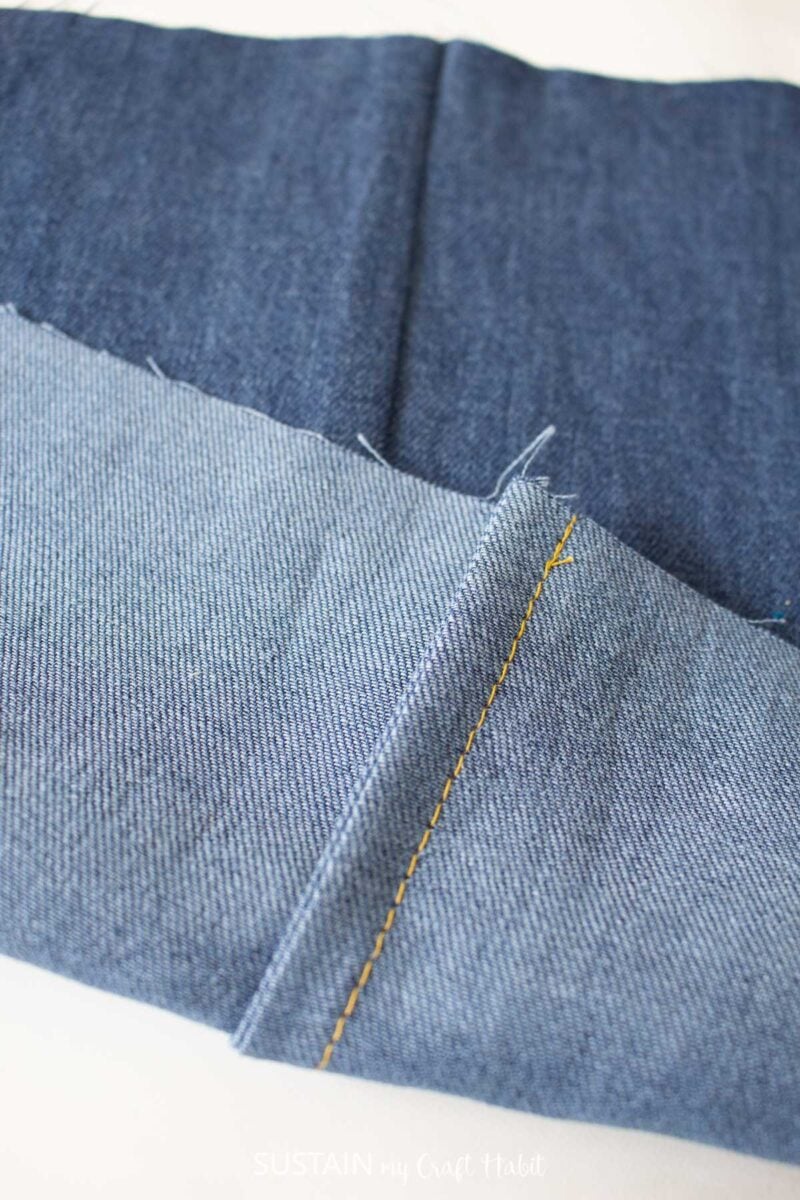
Sew the second seam with 3/8” seam allowance (for a 5/8″ total seam allowance OR 1/4″ seam allowane for a 1/2″ total seam allowance) enclosing the raw edges from the first seam inside. Use pins to hold the two layers together.

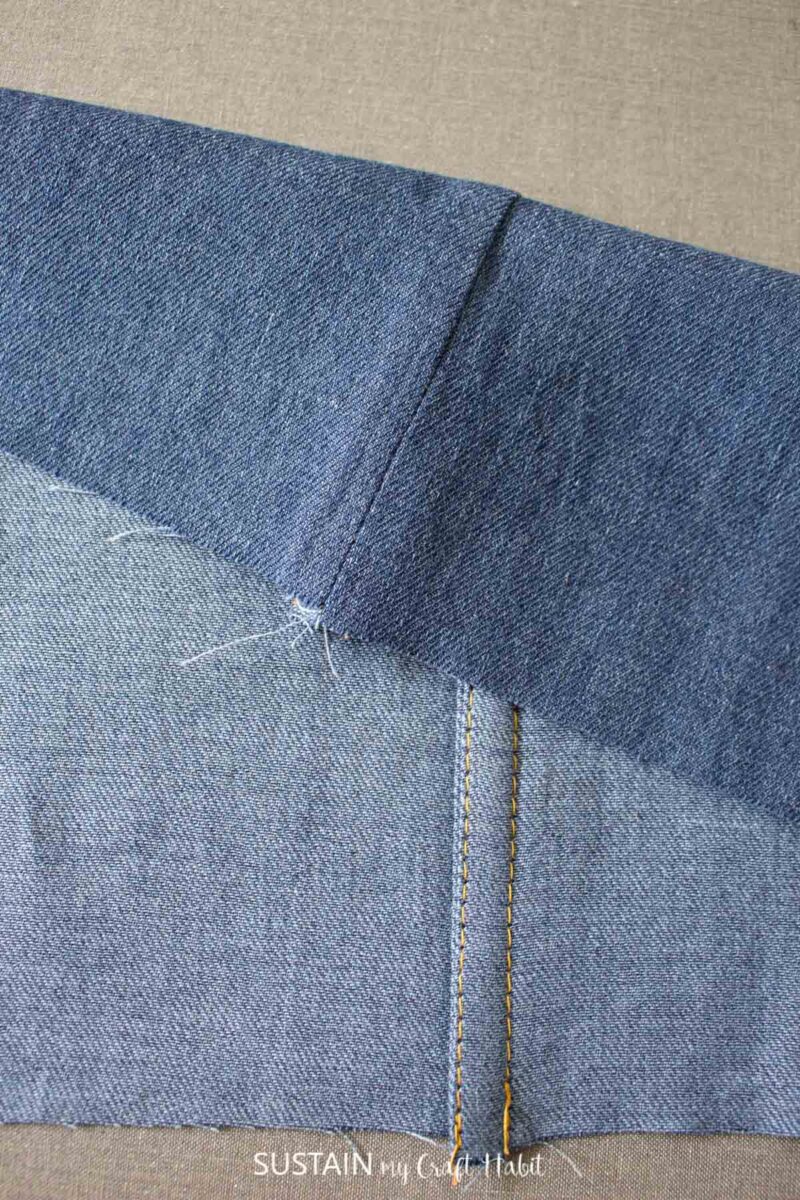
Press the seam open and press the seam allowance to one side.

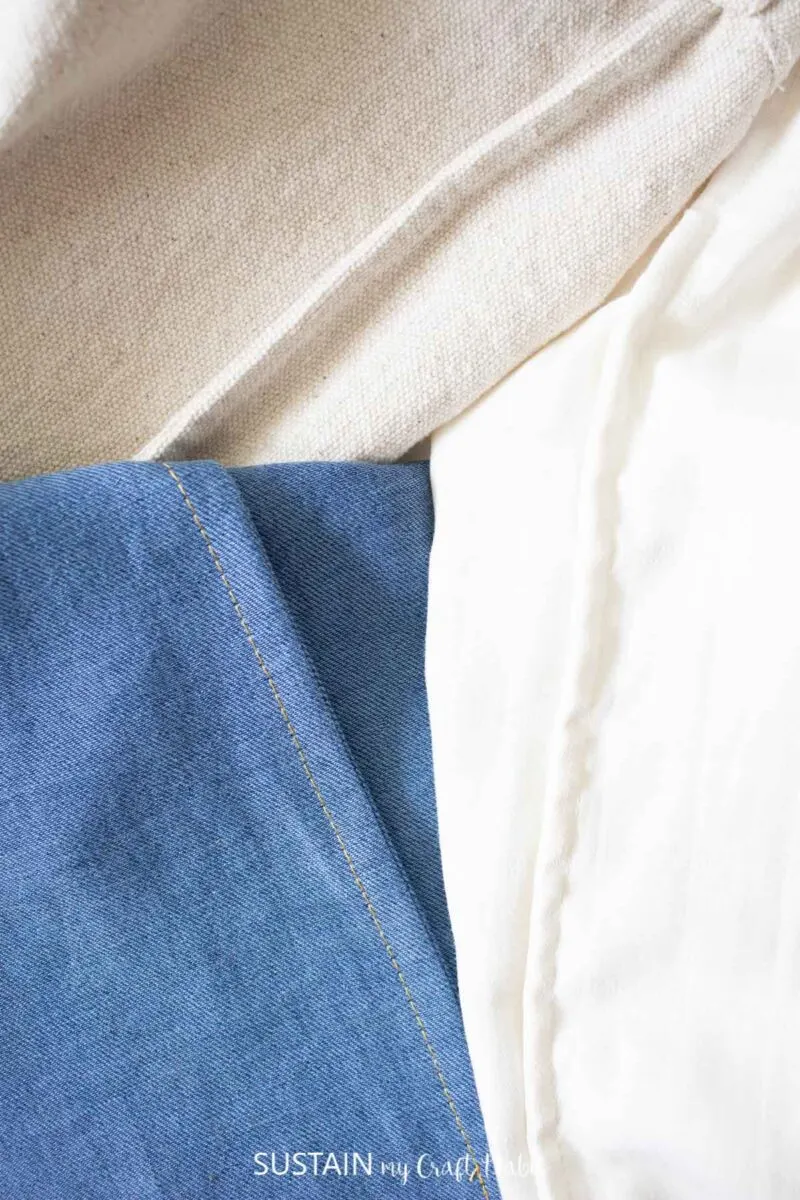
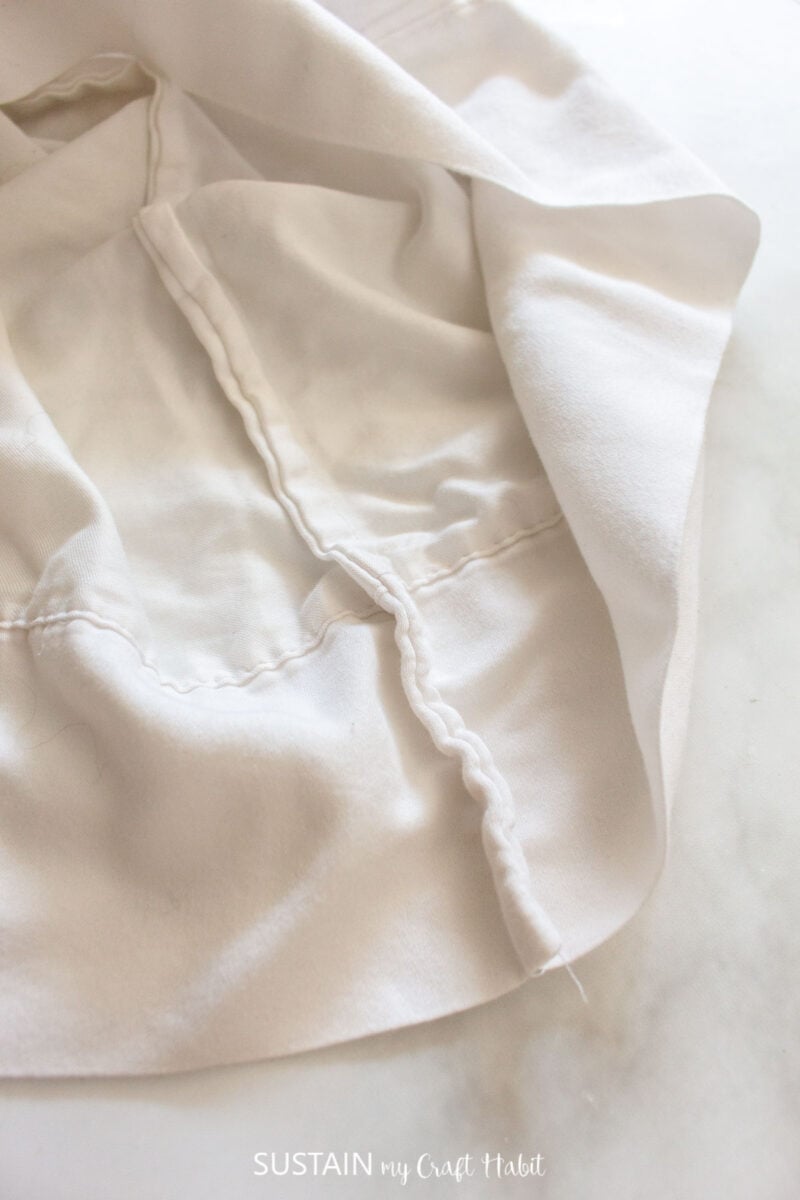
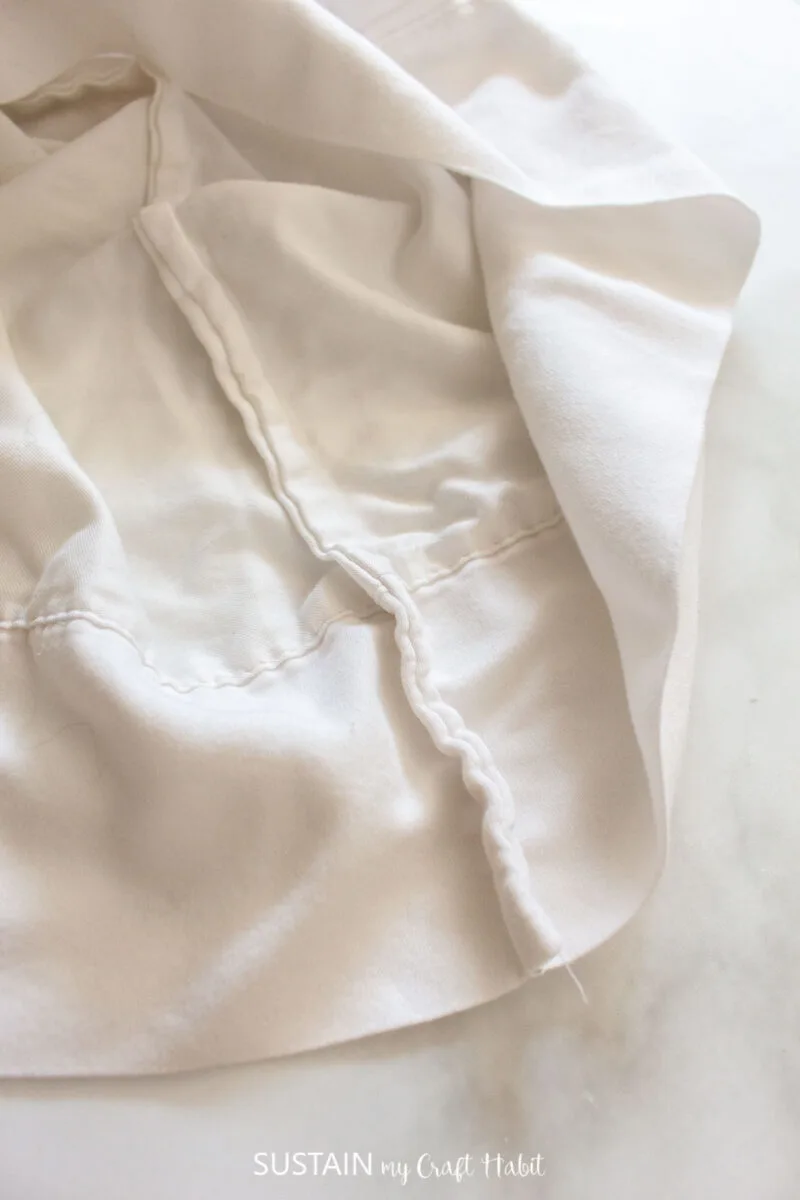
Turn the piece over and admire your tidy seam! If you happen to see any fraying edges though the stitching line, carefully trim the loose edges as close to seam as possible.

Tips for Sewing a French Seam
- Iron as you go between each and every seam. Don’t wait to press until the end!
- Trim the first seam to reduce the seam allowance with a pair of scissors or if possible, with a rotary cutter which works well.
- Sew the second seam slowly to keep a consistent seam allowance and maintain an even distance from the edge of the fold.
- Pin seam before sewing the second stitch to avoid fabric from shifting as you sew along.
- And remember that it takes practice to master this sewing technique!
What are the Best Uses for a French Seam
Now that you know what a French seam is, you are probably wondering when to use this type of seam. Here are some things to consider when deciding whether or not to use a French seam.
- French seams are great way to finish any exposed seams not covered by facing, for example, along a side seam but not for a shoulder seam or neckline.
- French seams work best on straight seams or seams with only a gentle curve. Avoid using french seams on a pattern piece that has overly curvy edge, although it can be done, it will require an extra step of clipping in to the first seam allowance to avoid wrinkles.
- Don’t bother using this type of seam for projects with seams that will be fully enclosed such as a two-layer scarf or shawl.
Which Fabrics Work Best with French Seams
- Best for lightweight fabrics or medium weight fabrics. If using heavier fabrics, it would be best to use a regular seam and then clean finish the seam allowance with a zig zag stitch or serged seam to avoid too much bulk.
- Any kind of woven fabric such as cotton canvas, broadcloth, twill, silk chiffon, organza, linen, etc.
- Excellent way to clean finish sheer fabrics such as chiffon and organza or delicate fabrics such as silk fabric.
Advantages vs. Disadvantages of a French Seam
The Pros
These are the main reasons why we love to use a French seam when sewing.
- Only need to use regular straight stitches to create a french seam which means no wasted time switching between pressor feet or machines.
- The finished result creates a tidy, professional look and a beautiful seam.
- It eliminates fraying edges on wovens that would otherwise inevitably fray over time and with washing.
- It is a durable seam due to it’s double stitched seam
- Excellent way to clean finish see-thru fabrics like chiffon and organza at areas of the garment that will be visible, such as the side seam
The Cons
Here are a few reasons why this type of seam may not be the right fit to your project. Consider this points when deciding whether or not to use a French seam.
- It reduces the width of a seam allowance so if you need to let out a seam, you will have less wiggle room to do so.
- Not so great for curved seams, such as armholes or princess seams. If using on curves, you will need to clip the curves close to the first seam to give the seam flexibility and get rid of wrinkles. To clean finish an armhole seam, we recommend using a binding or even more simply by serging or applying a zig-zag stitch.
- Requires a larger seam allowance, greater than 1/2″ wide so it is not a suitable seam for patterns with small seam allowance
- Not great for matching fabrics with patterns. In that case, it would be better to do a “mock” French seam (see below).
What is a “Mock” French Seam (also known as faux french seam)?
A mock French seam is another way of clean finishing the seam allowance, appearing to be a french seam but sewn without the second stitch line. Similar to a true french seam, it requires a wider seam allowance, such as 5/8″.
How to Sew A Mock French Seam
Align RIGHT sides of fabric together. Cut seam allowance down to 5/8” (unless it already is at 5/8″) at at the sewing machine, sew a straight stitch with a 5/8″ seam allowance.

Press seam allowance open.

Fold and press the raw fabric edges towards the seam.


Stitch the folded edges together with an edgestitch to create a mock French seam.

Open seam and press mock french seam to one side. Looks pretty tidy too, doesn’t it?

Other popular ways to clean finish a seam include serging, zig zag stitch or with pinking shears.
Best Sewing Projects to use a French Seam on
- pillow cases and throw pillow covers
- tote bags and makeup bags
- woven tanks and casual woven tops such as our women’s bell sleeve top digital sewing pattern
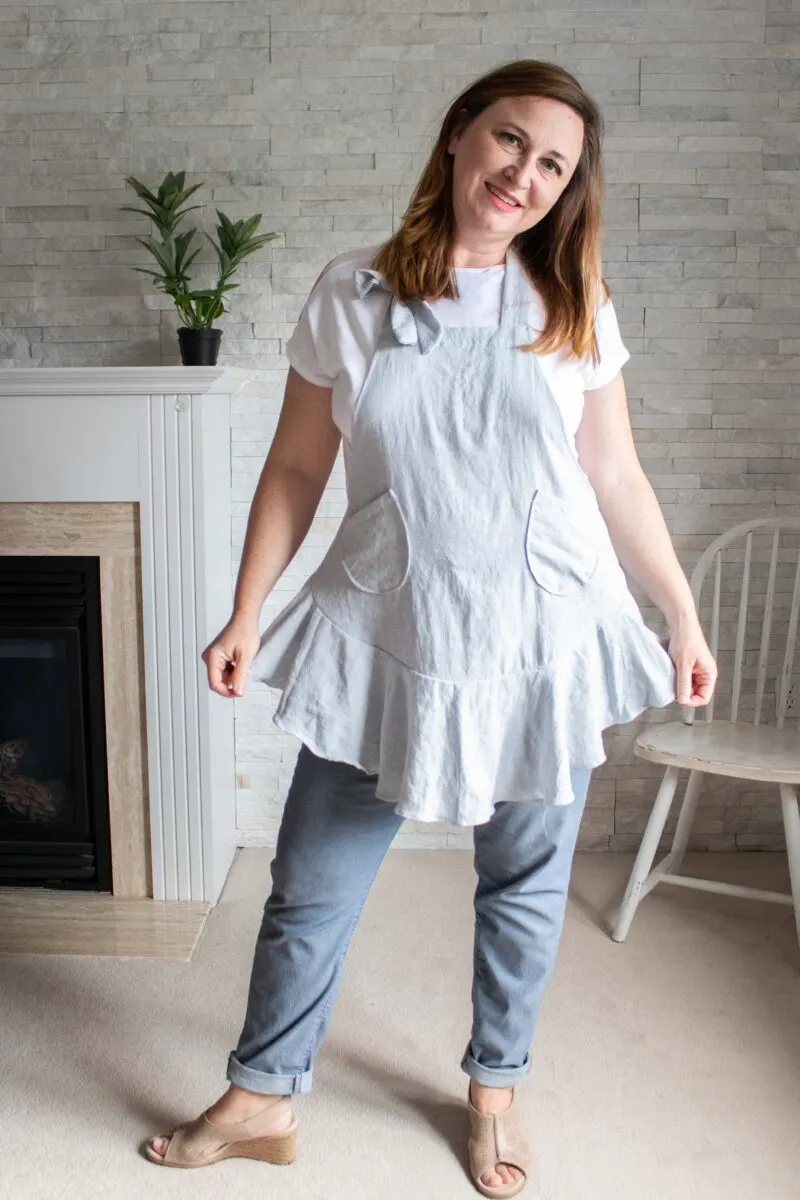
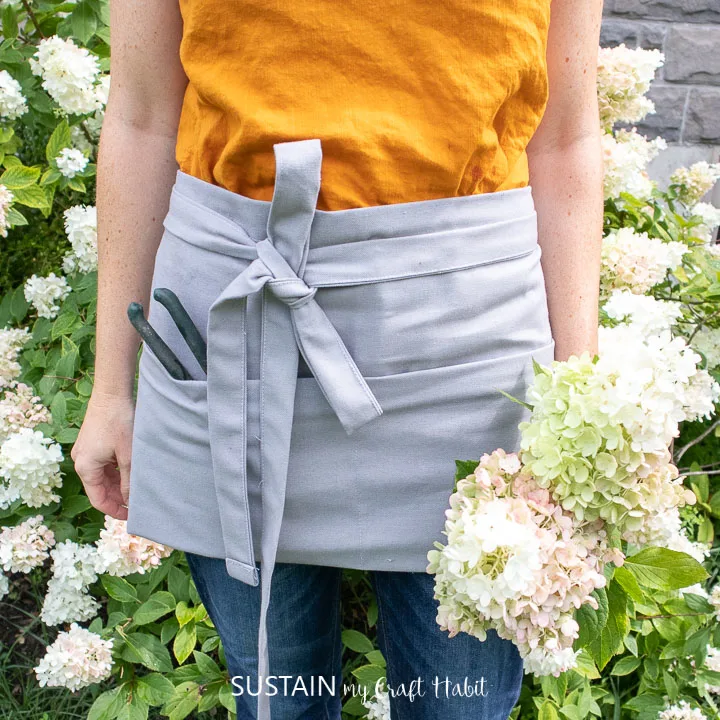
- ruffled apron sewing pattern from our Sustain My Sewing Habit shop on Etsy


Women’s Bell Sleeve Top 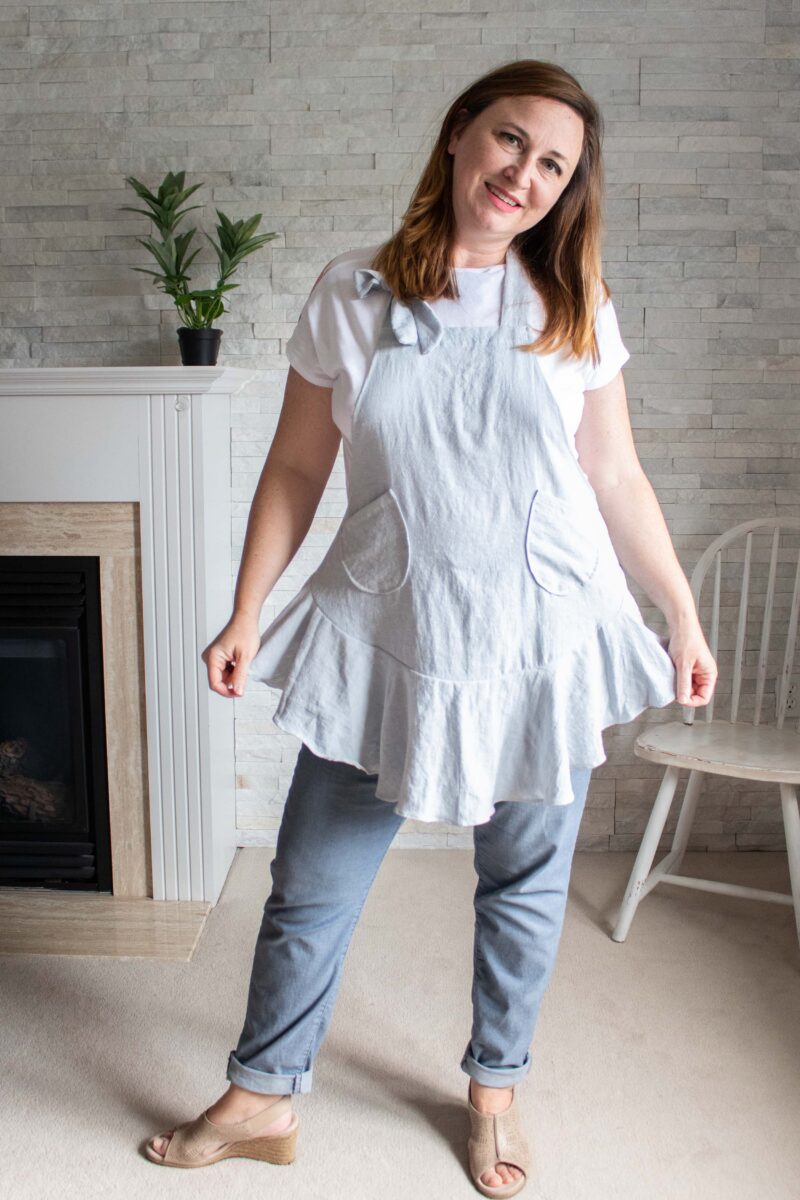

Ruffled Apron 

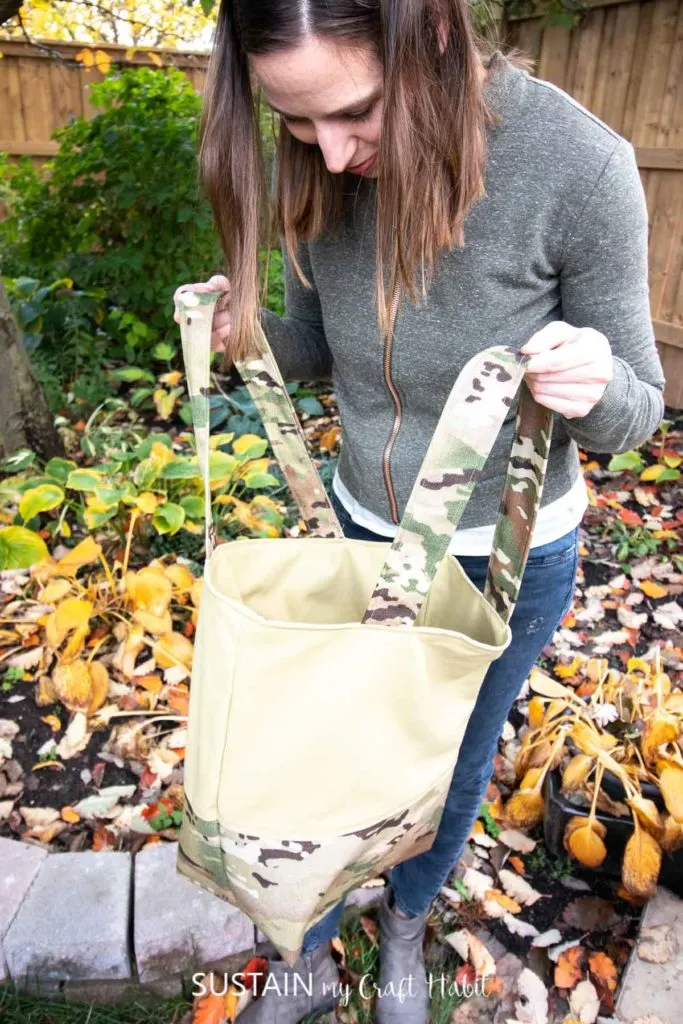
Camo Tote Bag

More Sewing Tutorials
Head over to our Sustain My Craft Habit Youtube channel for sewing tutorials and fun craft ideas. And if you’d like to check out some of our free sewing patterns, visit our project library here.
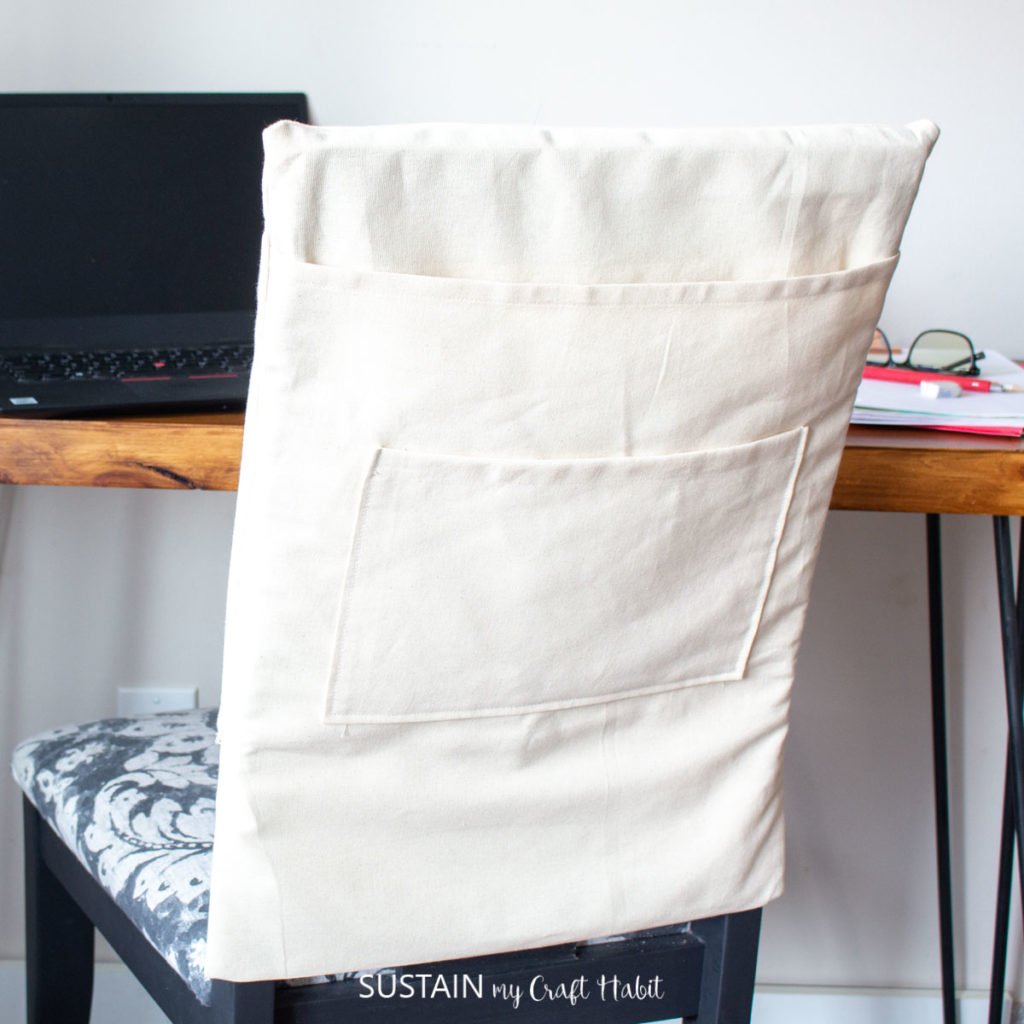

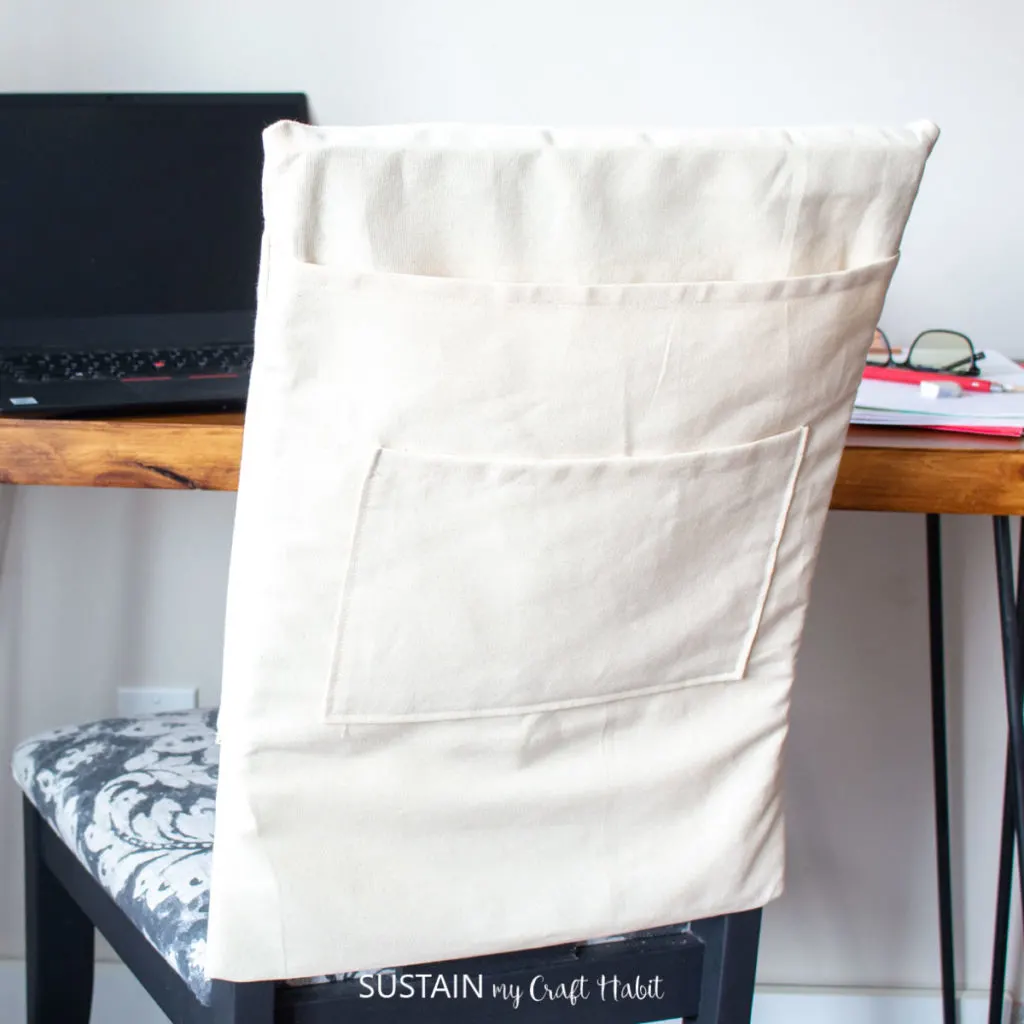
Student chair organizer – free sewing pattern 

DIY Half Apron – free sewing pattern 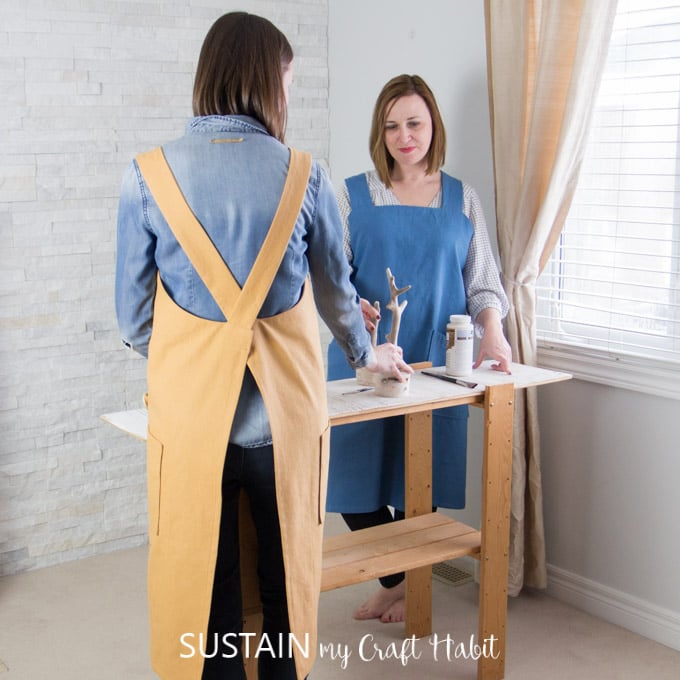

Utility Apron – free sewing pattern

Become a Sustain My Craft Habit insider to receive fun freebies!
As you expand your sewing expertise, think of it as a sewing journey in which practice makes perfect. French seaming gives a sewing project that professional finish from the inside out. It’s a different technique that is worth trying and perfecting! Happy sewing, friends!
Like it? Pin it for later!