Crafting a Glass Jar Pumpkin Centerpiece
Crafting a glass jar pumpkin centerpiece is a wonderful way to welcome the changing season. It’s a quick project that feels festive without being fussy, and it works whether you’re into rustic farmhouse style or just want a seasonal pop of orange on the mantel.
I originally made one on a rainy Sunday with scraps from my craft box and a leftover jar of cinnamon sticks—it turned out so well that I made four more by the end of the week. It’s easy to adapt, budget-friendly, and a great excuse to use up those empty jars collecting dust in the cupboard.
Why You’ll Love This Simple Fall DIY
You’ll love this craft for a few reasons.
- First, it’s seriously beginner-friendly. Whether you’re a casual crafter or just want a fun weekend activity, you don’t need fancy tools or perfect technique—just a jar, some paint, and a bit of imagination.
- It’s also incredibly versatile. You can go for classic orange, try a whitewashed look, or even metallics if you’re leaning into glam fall decor.
- Plus, it makes a lovely gift—add a ribbon and a small tag, and it’s perfect for teachers, neighbours, or as a sweet little thank-you gesture.
Creative Ways to Use Your Glass Jar Pumpkin
Once your glass jar pumpkin is finished, you’ve got endless ways to use it. Pop in a tea light for a glowing centerpiece, especially if you’ve gone with frosted glass or translucent paint. Use it as a container for cinnamon sticks or cloves to subtly scent the room. They also make cute table decorations for Thanksgiving—line them up on a runner with dried leaves and mini pumpkins. For a more practical use, they’re great on a desk or kitchen counter for holding pens, utensils, or even small cooking tools.
Want to receive a ton of inspiration and money saving ideas for decorating, gift-giving and crafting? Join HERE!
Materials Needed
Disclosure: This post contains affiliate links for your shopping convenience. Should you choose to purchase through them, we will make a small commission at no extra cost to you. You can read our full disclosure policy here.
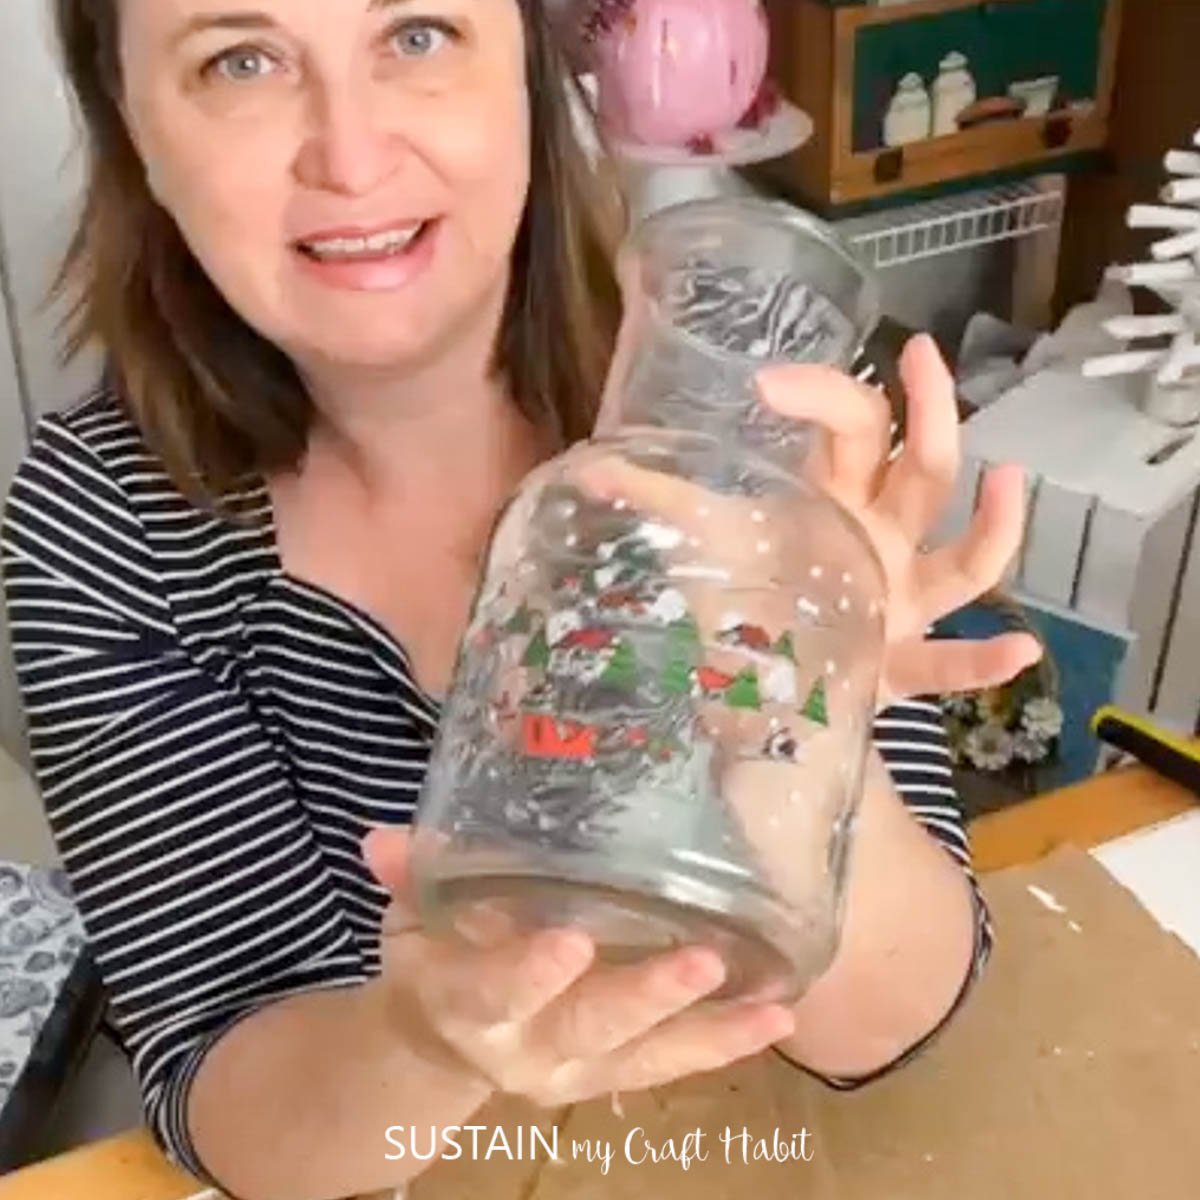
- Glass jar (or mason jar)
- Decorative paper
- Paintbrushes
- Paint in orange and brown
- Mod Podge
- Jute rope
- Wood slices
- Black marker
- Hot glue
- Flowers (Faux or real)
How to Craft a Glass Jar Pumpkin
I shared the tutorial for how to make this glass jar pumpkin on a Facebook live which you can catch here. Or if you prefer the photo tutorial, continue reading below.
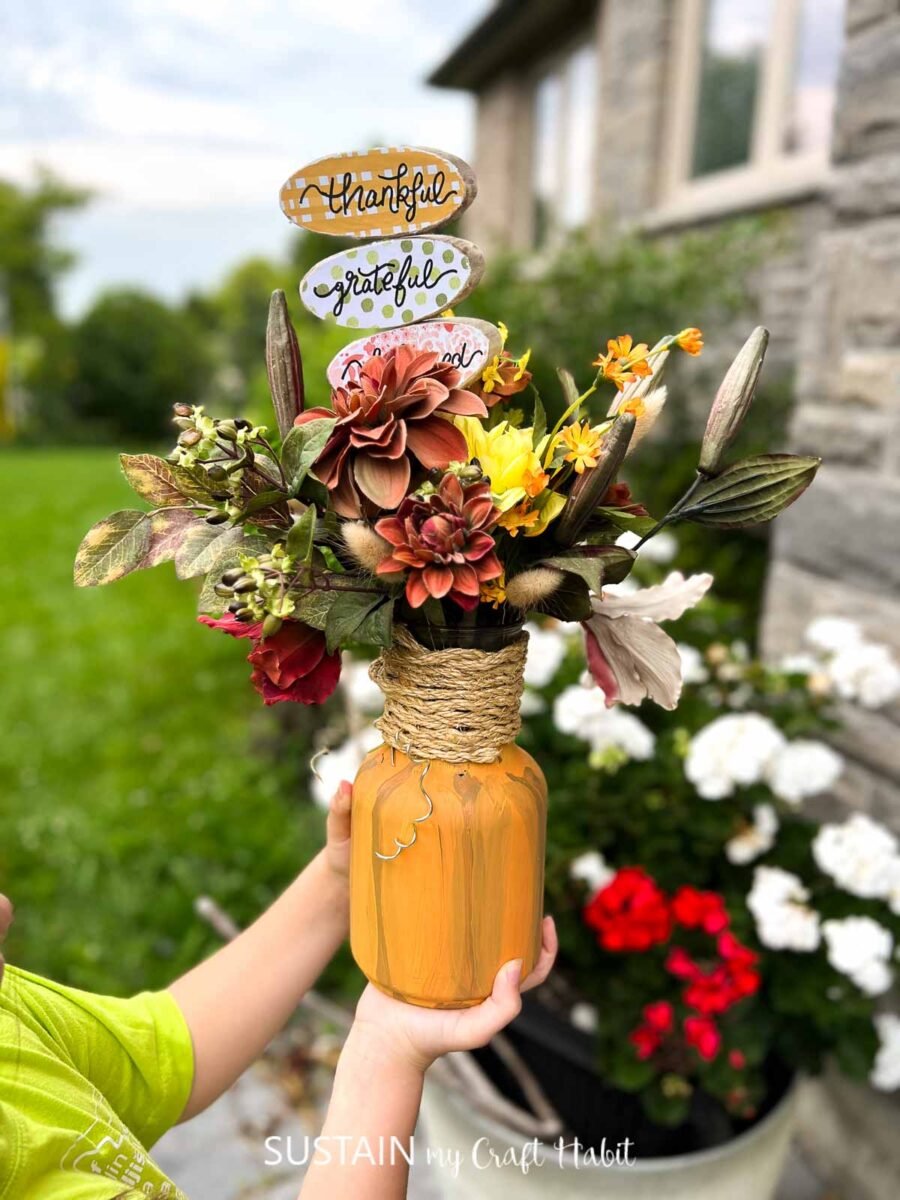
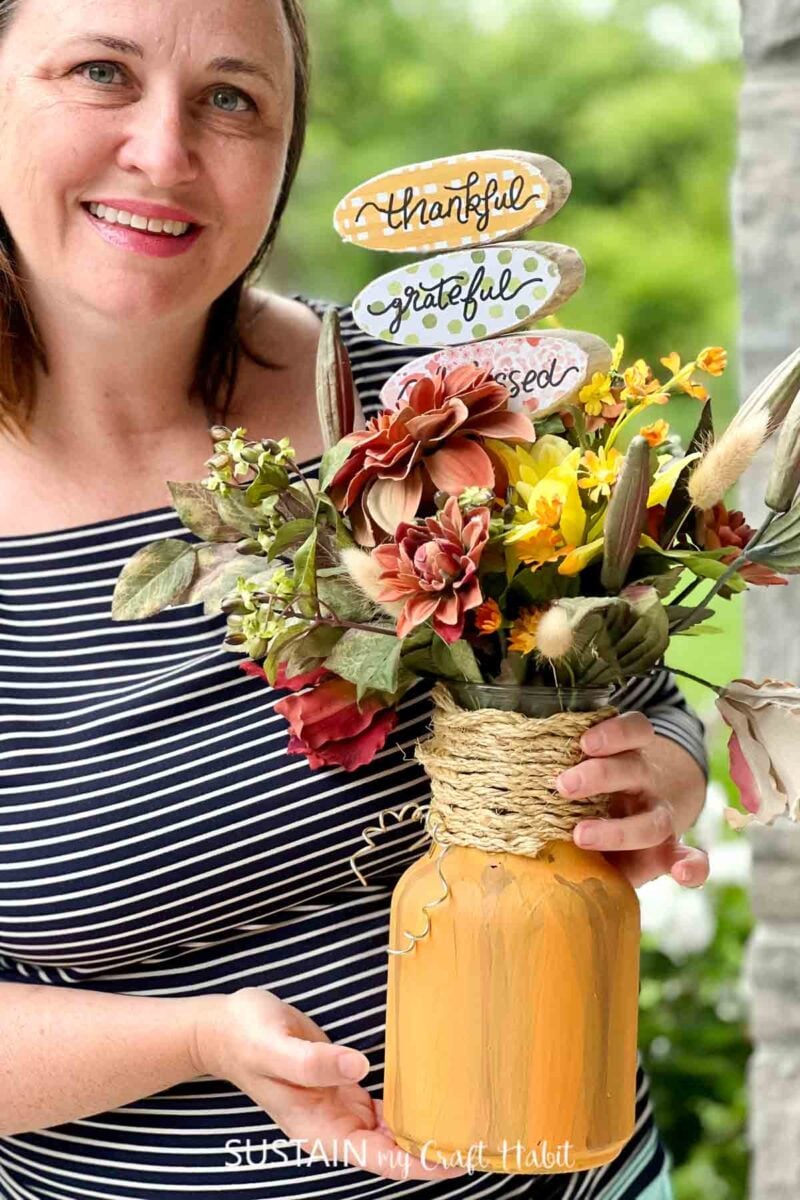
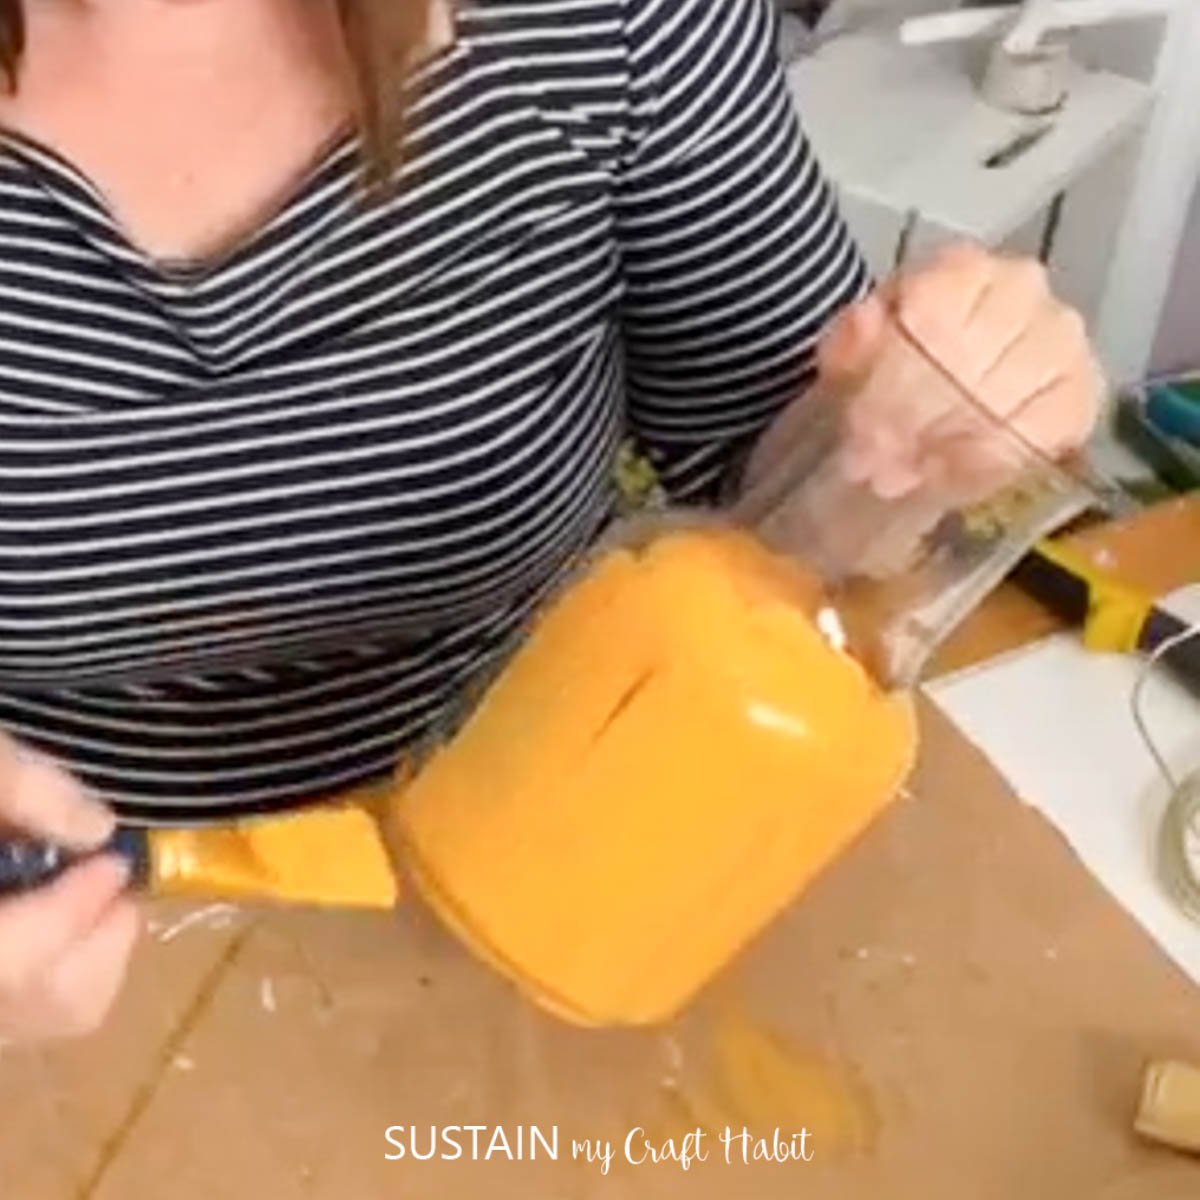
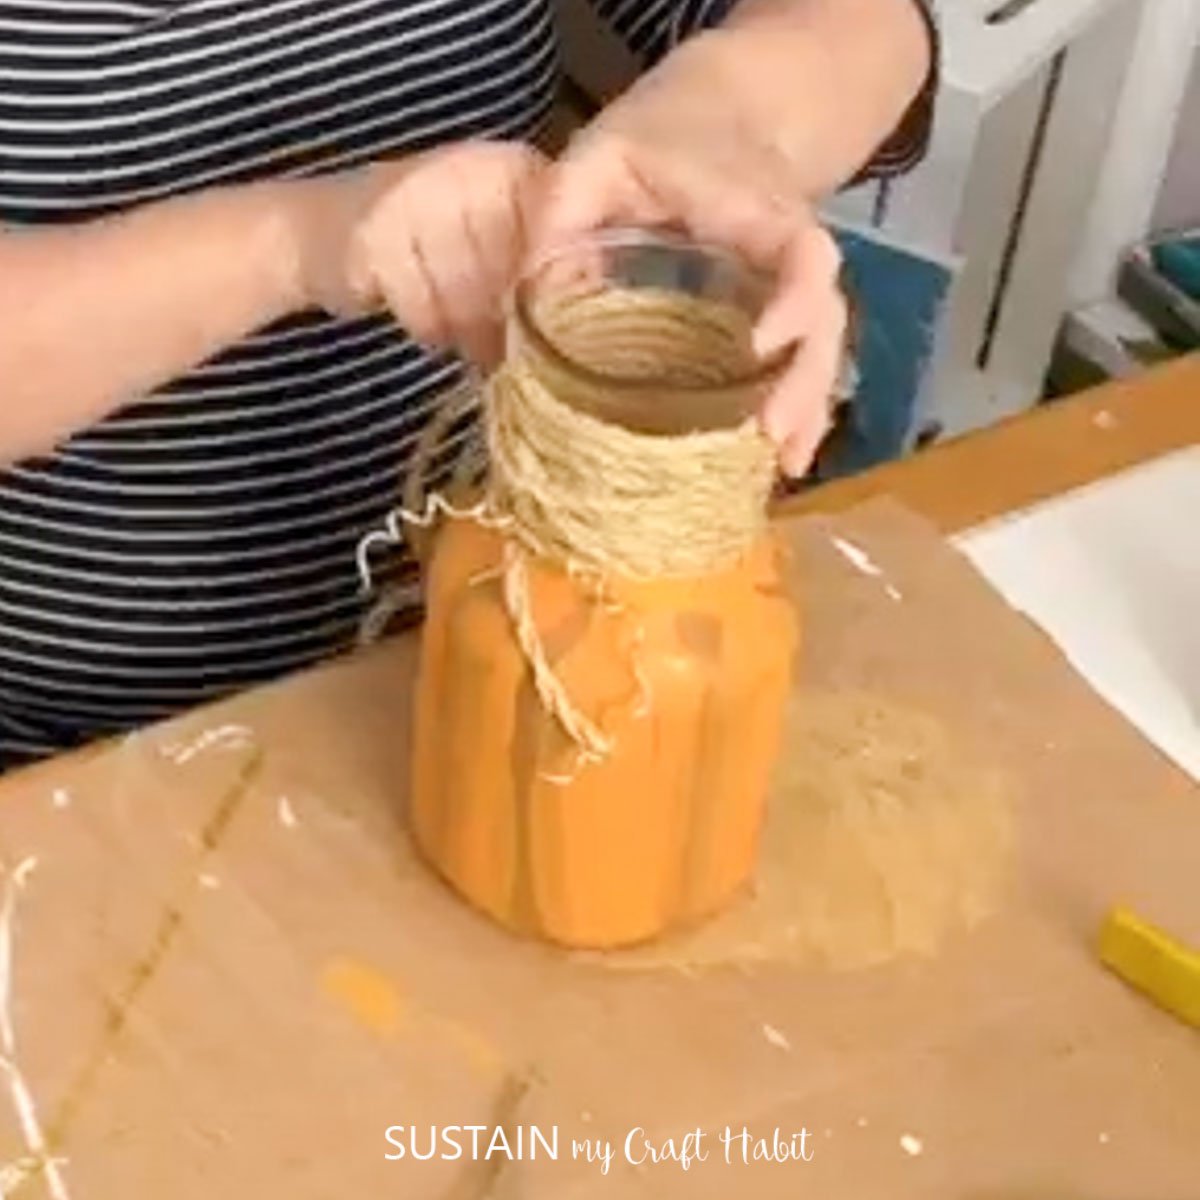
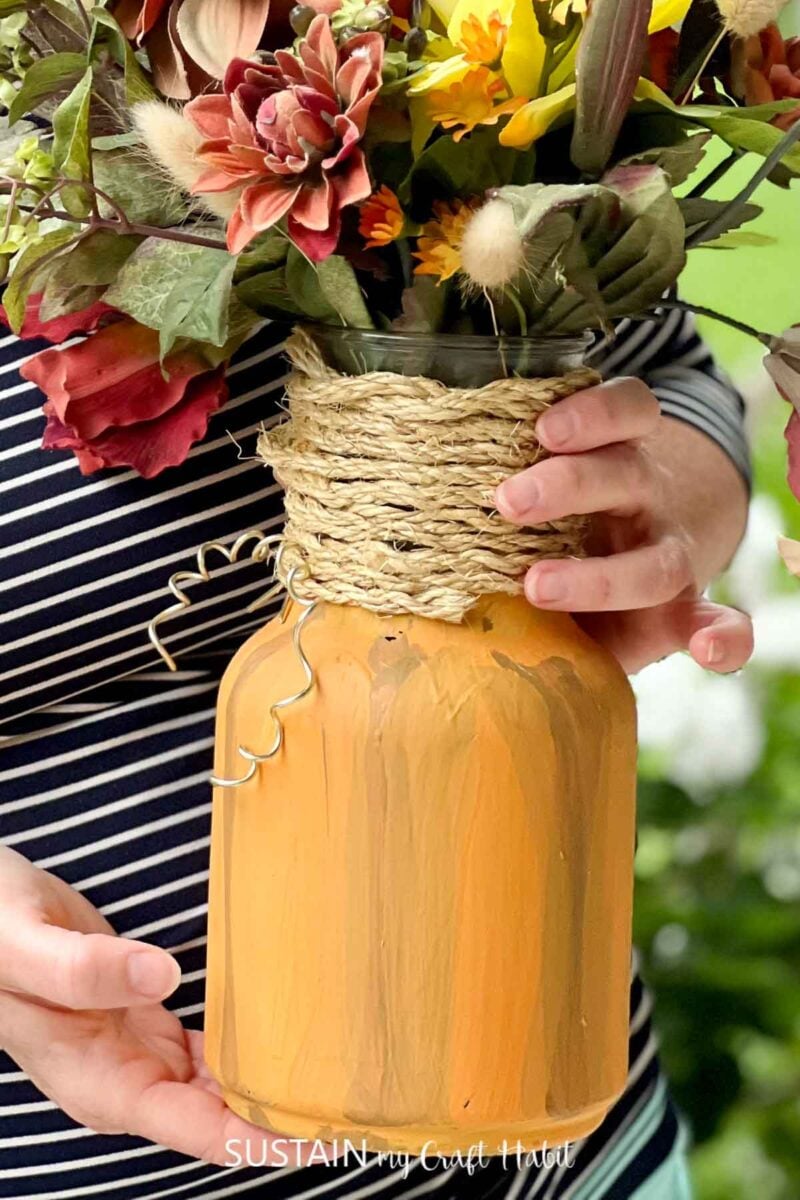
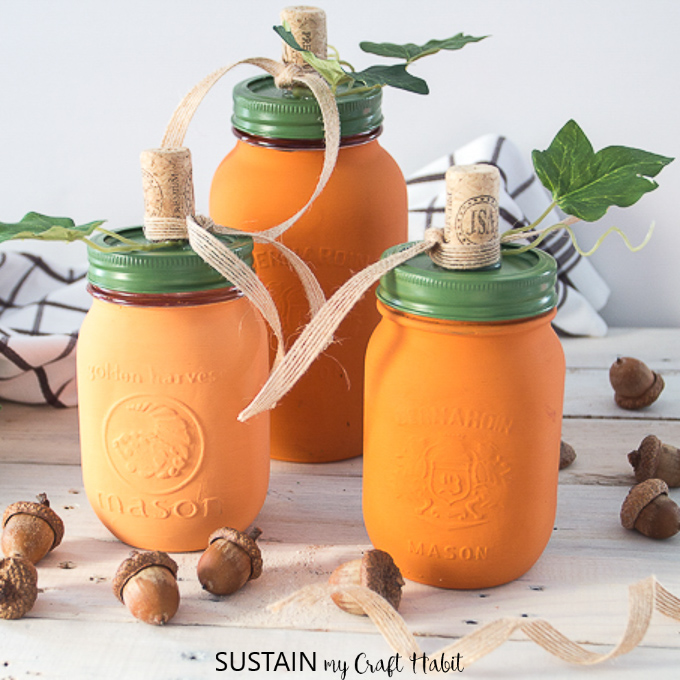
Paint the surface of the mason jar leaving the top section unpainted. Let dry and repeat with a second coat. Then add streaks of brown paint along the edges to create the ribs of the pumpkin.
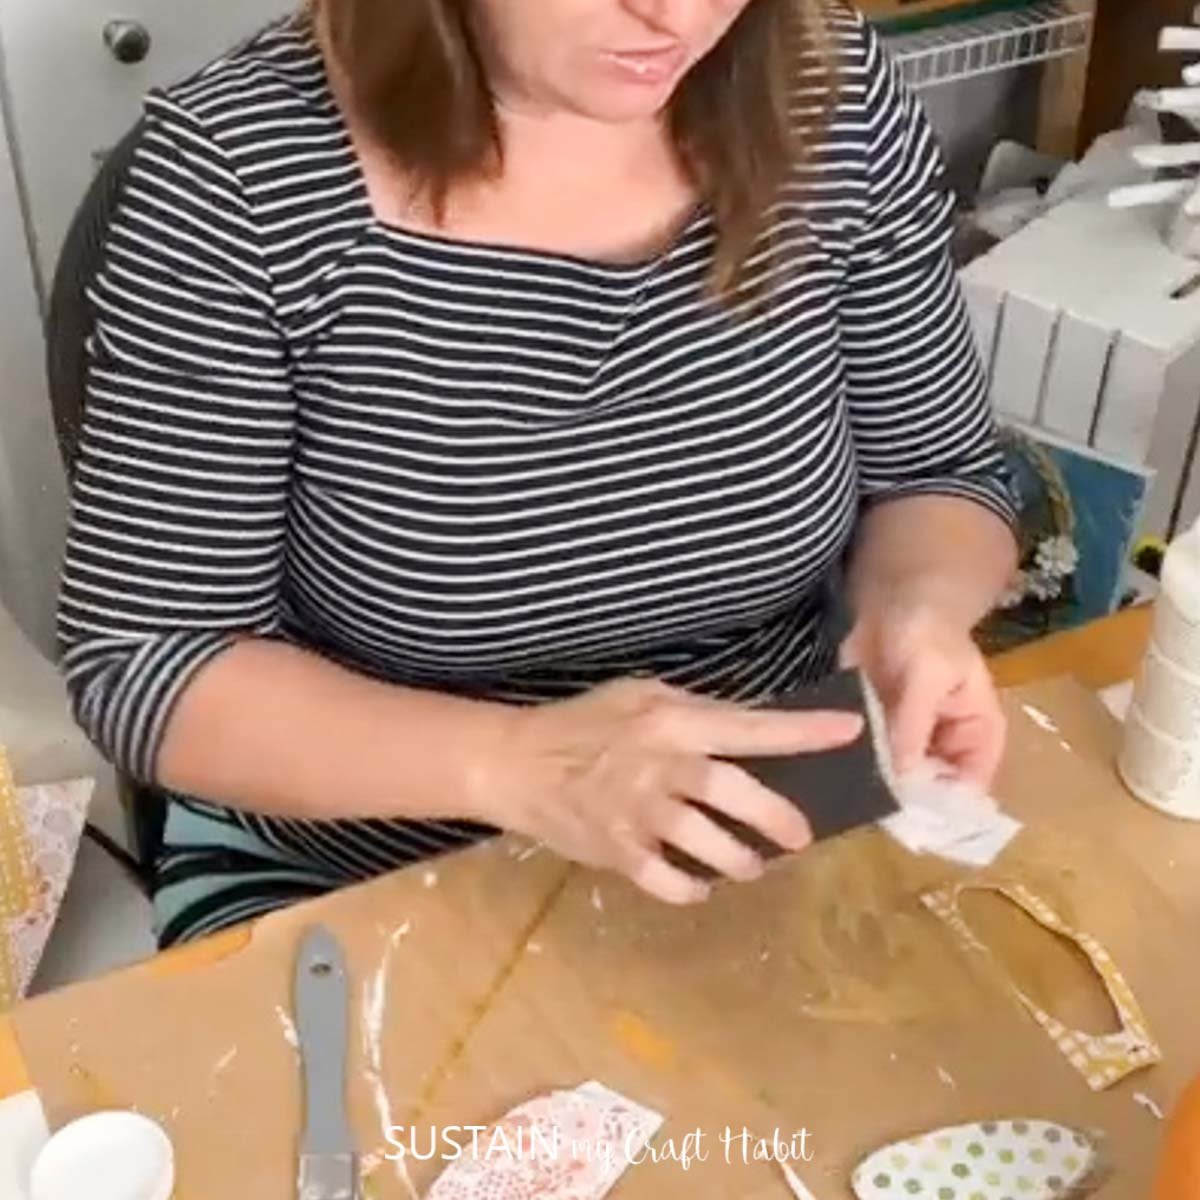
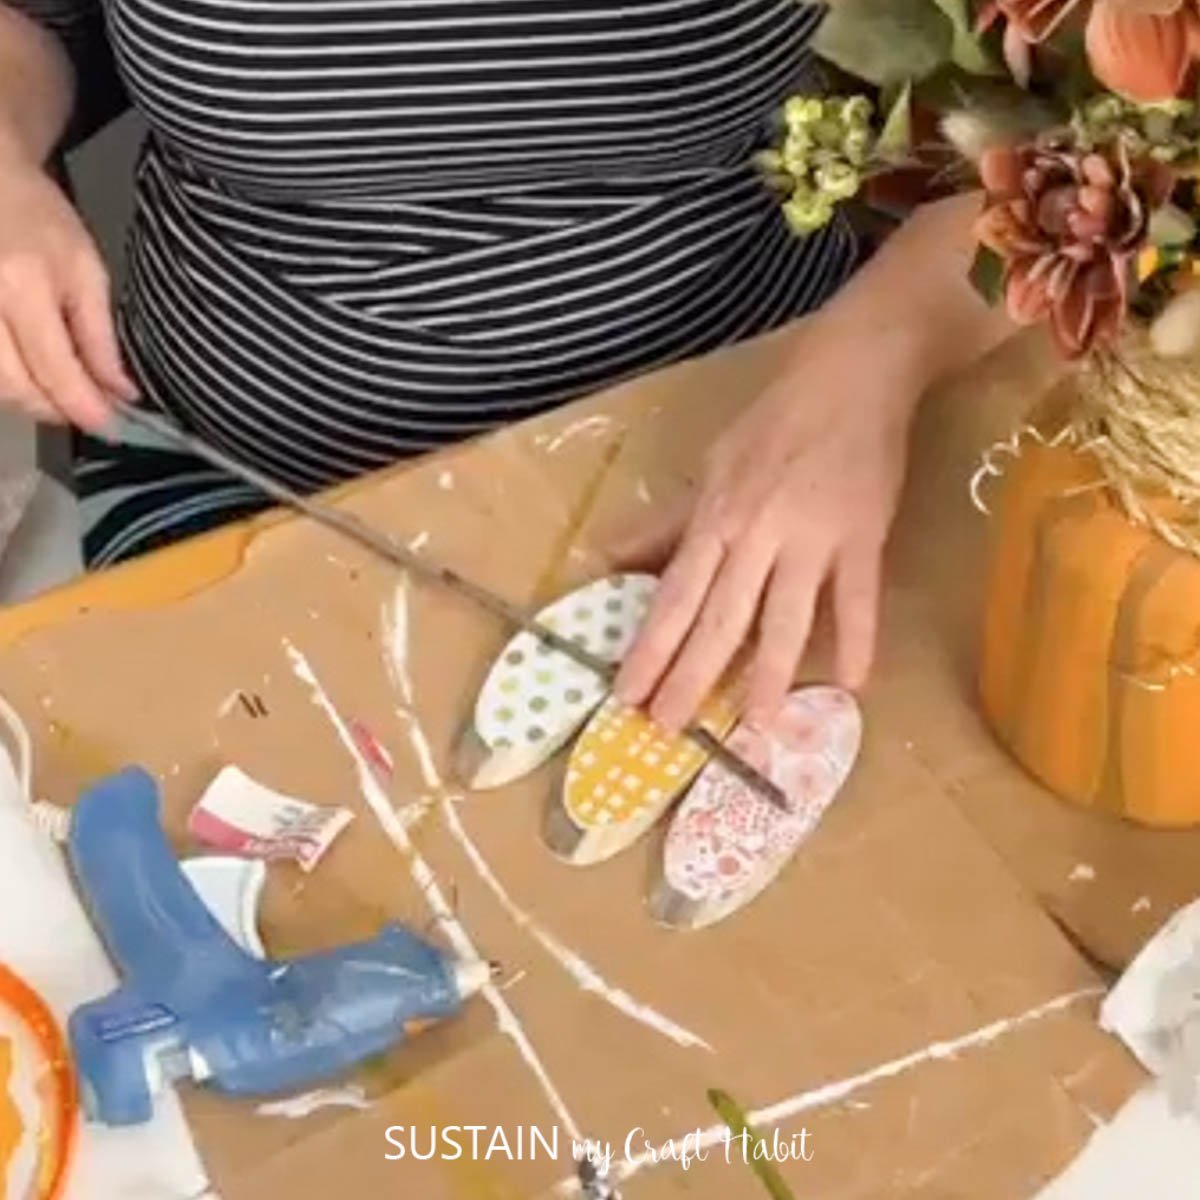
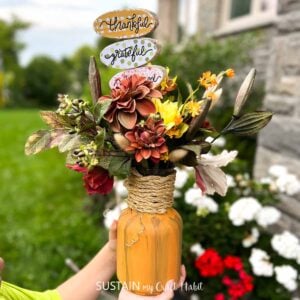
While your jar is drying, glue decorative paper or napkins onto wood slices.
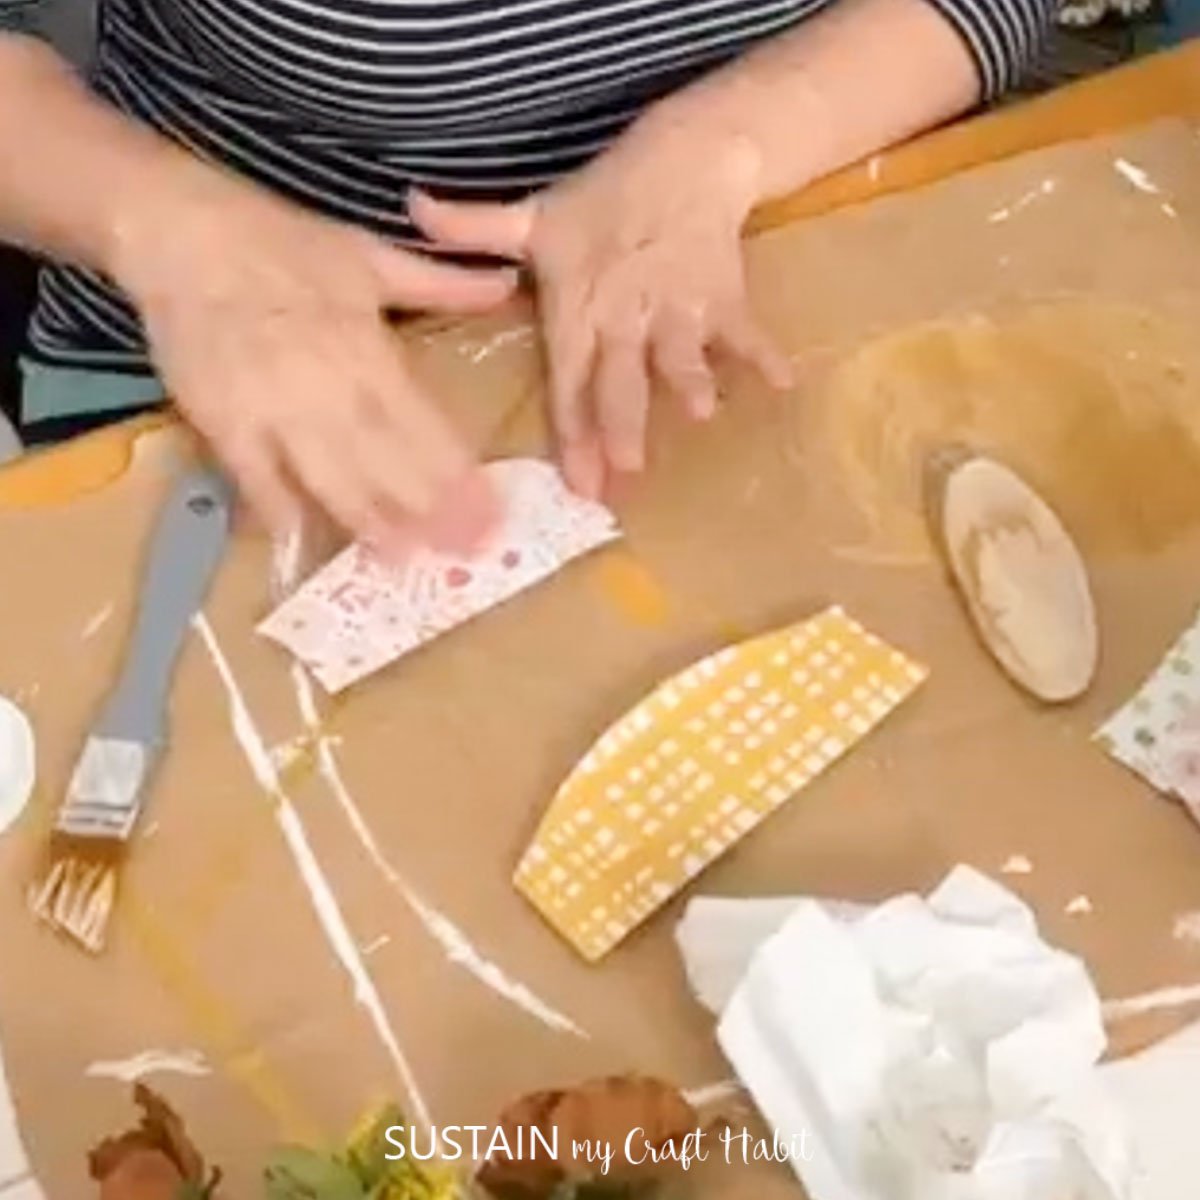
Remove excess paper from the edges with a sanding block or scissors.
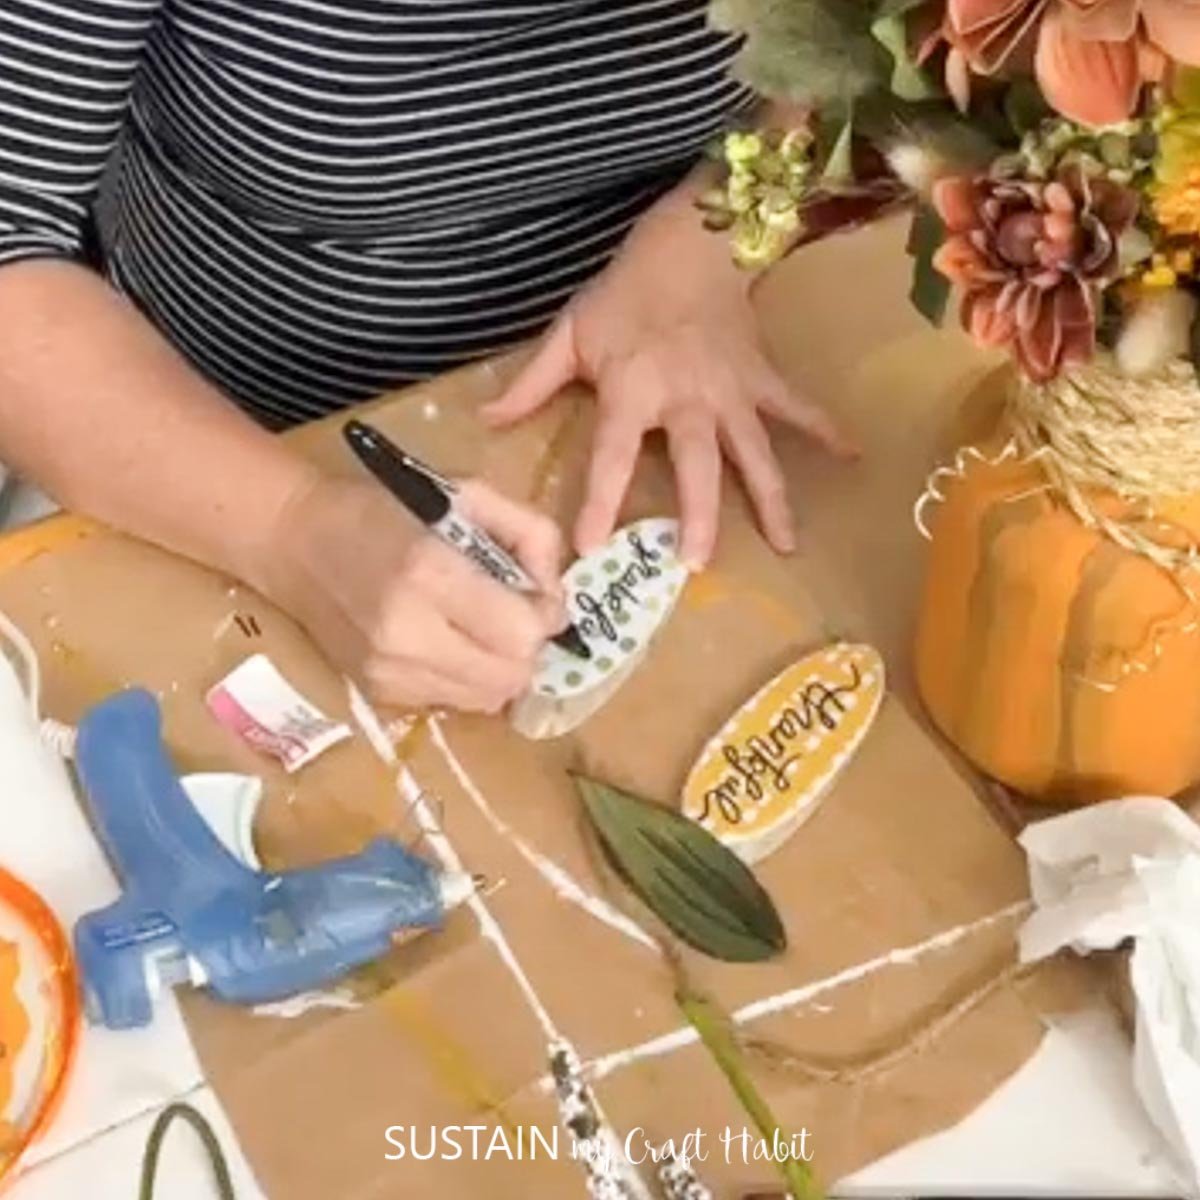
Use a black marker to write the phrases (such as “thankful”, “grateful” and “blessed”) onto the decorative paper.
Next, wrap the jute rope around the neck of the glass jar. Use hot glue to hold into place.
Fill the jar with flowers.
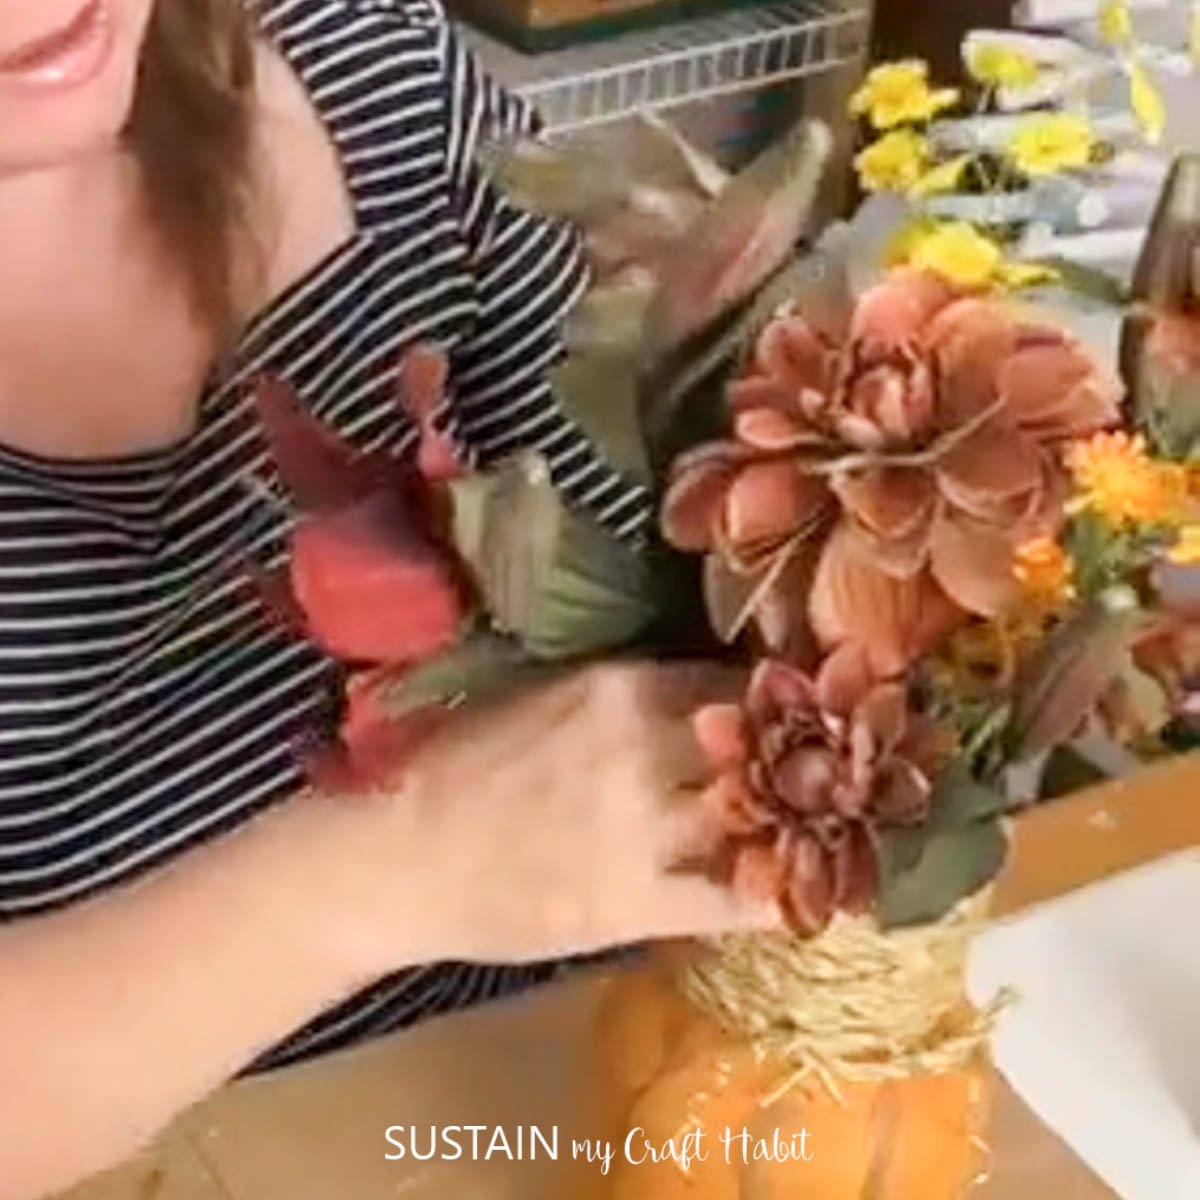
Finally, glue your wood slices onto a wooden skewer or twig and insert into the flower arrangement.
And voila! the centerpiece is complete and ready to be displayed and enjoyed.
A Fun and Festive Finish
Glass jar pumpkins are the kind of project that gives back—easy to make, fun to personalise, and instantly festive. Whether you make one or a whole set, it’s a simple way to add some autumn spirit to your home without needing a full decorating overhaul. Grab your glue gun and your favourite fall colours—it’s time to make something cozy.
More Glass (Mason) Jar Crafts
- Painted Jars for Thanksgiving
- Fall Leaf Luminaries
- Pretty Pumpkin Decor
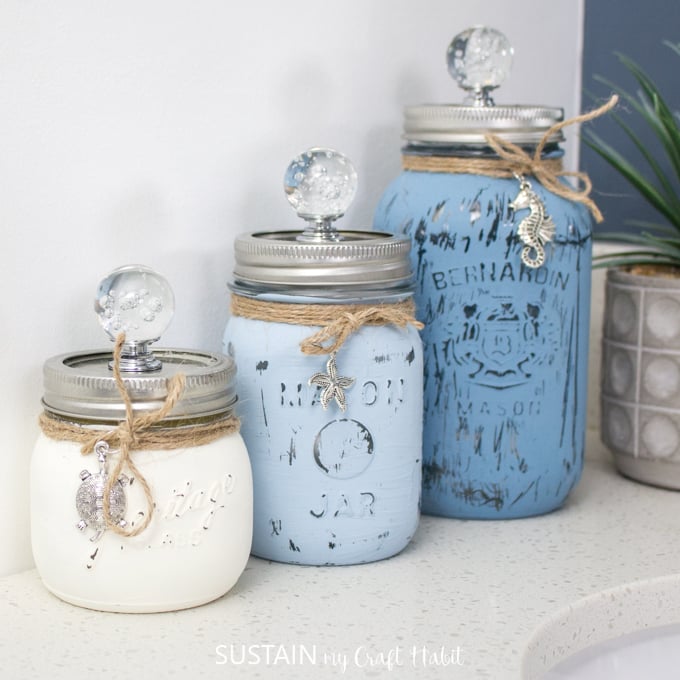
- Mason Jars Bathroom Containers
- Mason Jar Candles with Lavender
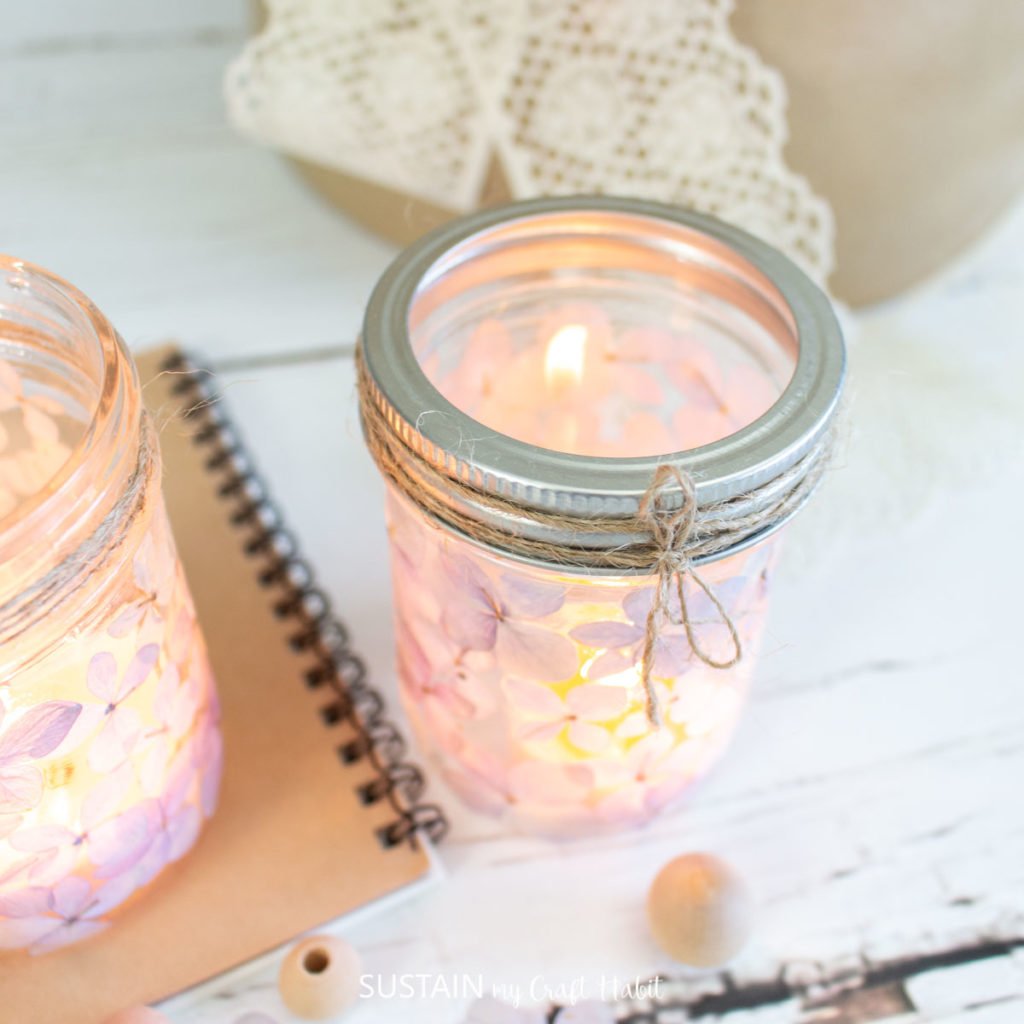
- Pressed Flower Mason Jar Luminaries


Join our crafting community to find more nature-inspired DIYs and upcycled craft ideas. It feels good to repurpose, upcycle and create with nature!
Like it it? Pin for later!

Crafting a Glass Jar Pumpkin
Materials
- Glass jar
- Decorative paper
- Paintbrushes
- Paint orange and brown
- Mod Podge
- Jute rope
- Wood slices
- Black marker
- Hot glue
- Flowers Faux or real
Instructions
- Paint the surface of the mason jar leaving the top section unpainted. Then add streaks of brown paint along the edges to create the ribs of the pumpkin.
- While your jar is drying, glue decorative paper or napkins onto wood slices.
- Remove excess paper from the edges with a sanding block or scissors.
- Use a black marker to write the phrases (such as “thankful”, “grateful” and “blessed”) onto the decorative paper.
- Next, wrap the jute rope around the neck of the glass jar.
- Fill the jar with flowers.
- Finally, glue your wood slices onto a wooden skewer or twig and insert into the flower arrangement.

So cute! I need to find a container like that.