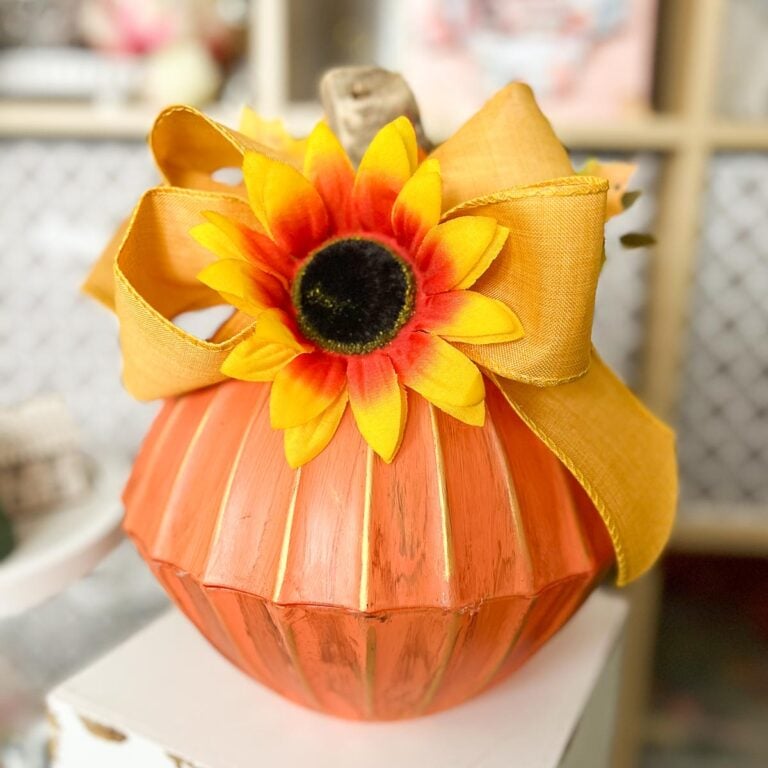
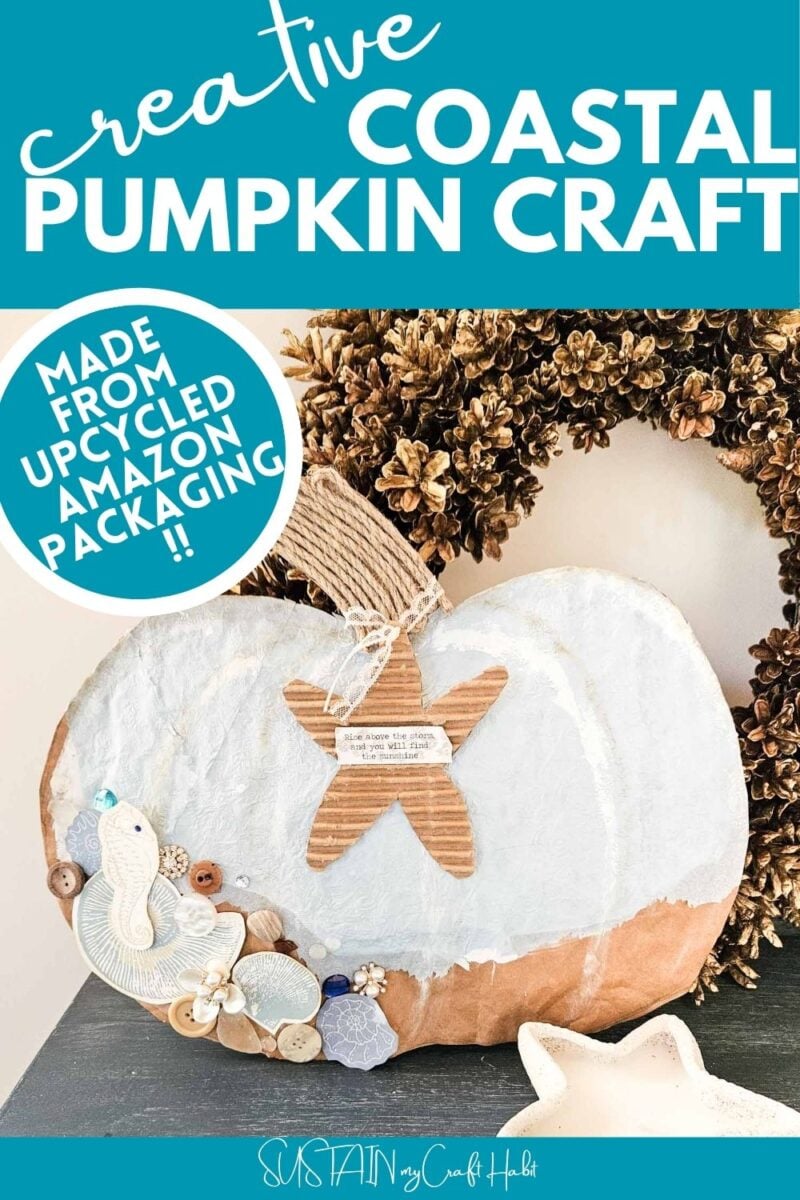
Creative Coastal Pumpkin Craft Idea
Pumpkins usually make us think of crisp air, falling leaves, and rustic country charm. But if you love coastal decor, there’s no reason you can’t give them a seaside twist. A coastal pumpkin craft combines the calming hues of the ocean with the warmth of autumn, creating a craft that feels refreshing and unique.

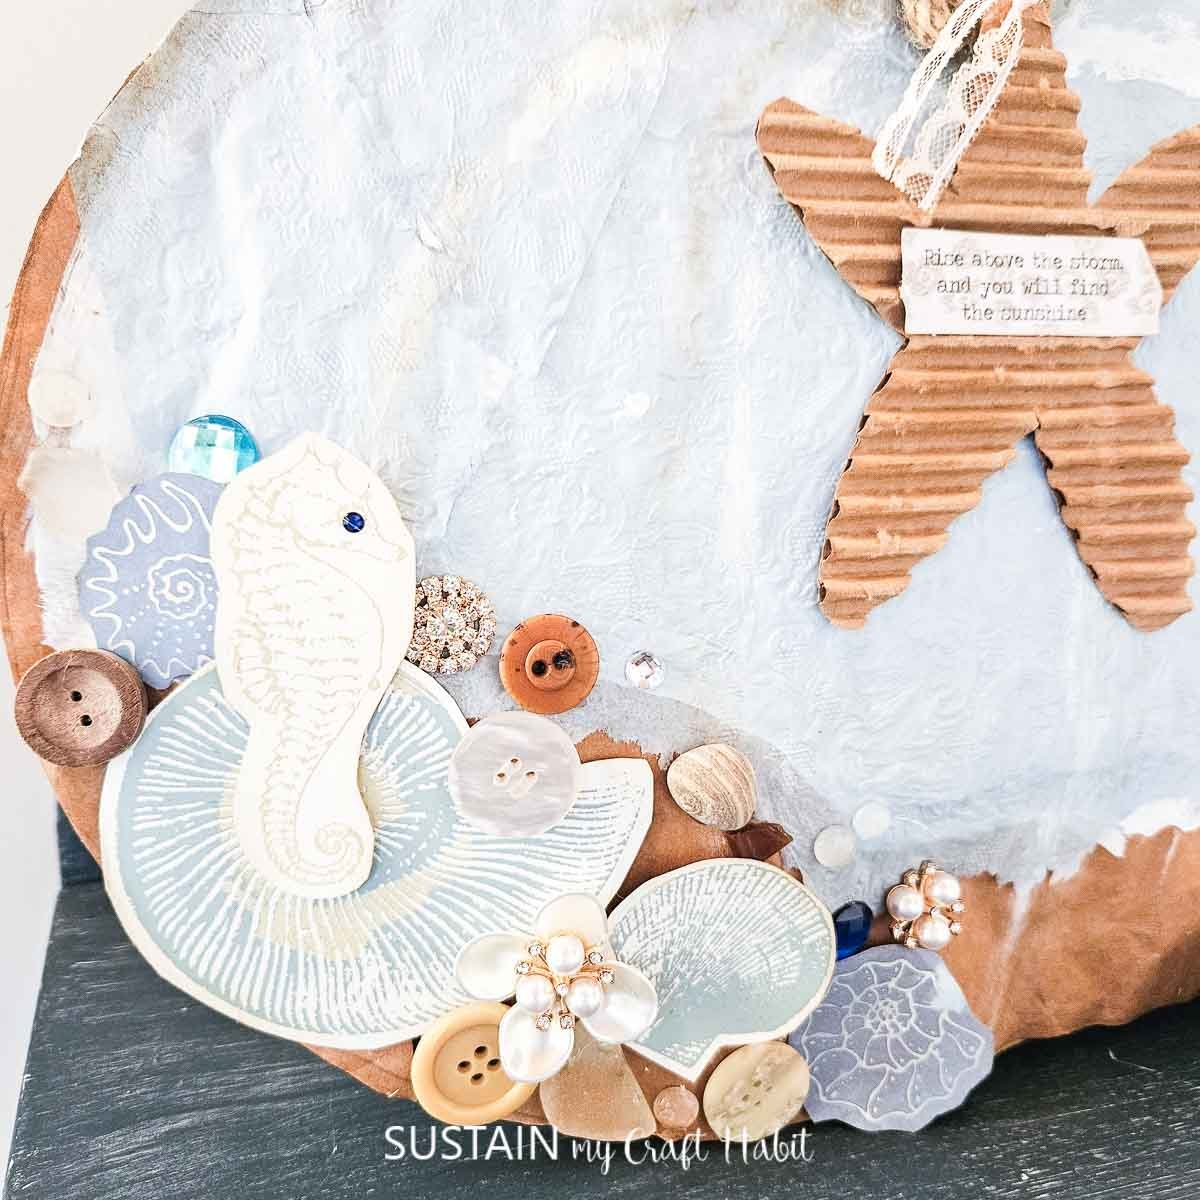
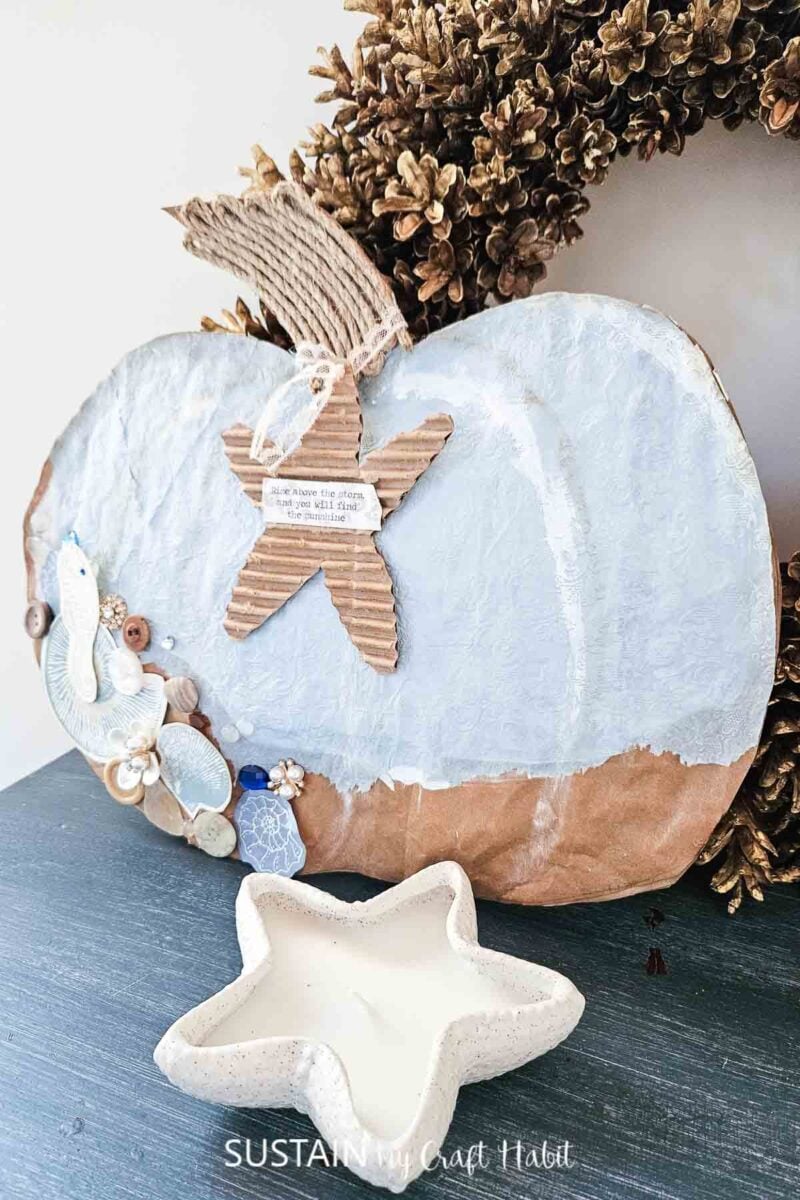
Think soft seafoam blues, sandy neutrals, shells, driftwood, and a touch of jute rope wrapped around the stem. When I first made one, it instantly transformed my fall display, standing out as a centerpiece that blended the best of both worlds. Whether you live near the beach or just wish you did, this idea brings seaside calm into your seasonal decorating.
Why You’ll Love This Craft
This craft isn’t just pretty—here are just a few reasons to love this coastal pumpkin craft:
- it’s versatile and approachable.
- budget-friendly since many of the materials can be found at craft stores or collected from your last trip to the beach.
- easy to personalize: seashells, sand dollars, bits of rope, or even pearl beads can be added for different looks.
- simple process of painting and decorating—it’s a fun project to do with kids or as part of a relaxing weekend craft session.
Adapting It for Every Season
The beauty of a coastal pumpkin is that it doesn’t need to be limited to fall. By tweaking the colors and accents, you can carry the idea through the year.
- In winter, try painting pumpkins in icy whites and silvers, adding pearl beads or frosted starfish for a festive, seaside-inspired holiday piece.
- In spring, swap in pastel paints and mix seashells with tiny faux flowers to bring out a fresh coastal garden vibe.
- For summer, go bold with bright turquoise, nautical stripes, or coral-inspired embellishments that feel lively and beachy.
- Then, when autumn returns, stick with warm teals, sandy browns, and natural rope or driftwood accents to keep the balance between fall coziness and coastal calm.
Join our crafting community to find more DIYs and upcycled craft ideas. It feels good to repurpose and upcycle!
Materials Needed
Disclosure: This post contains affiliate links for your shopping convenience. Should you choose to purchase through them, we will make a small commission at no extra cost to you. You can read our full disclosure policy here.
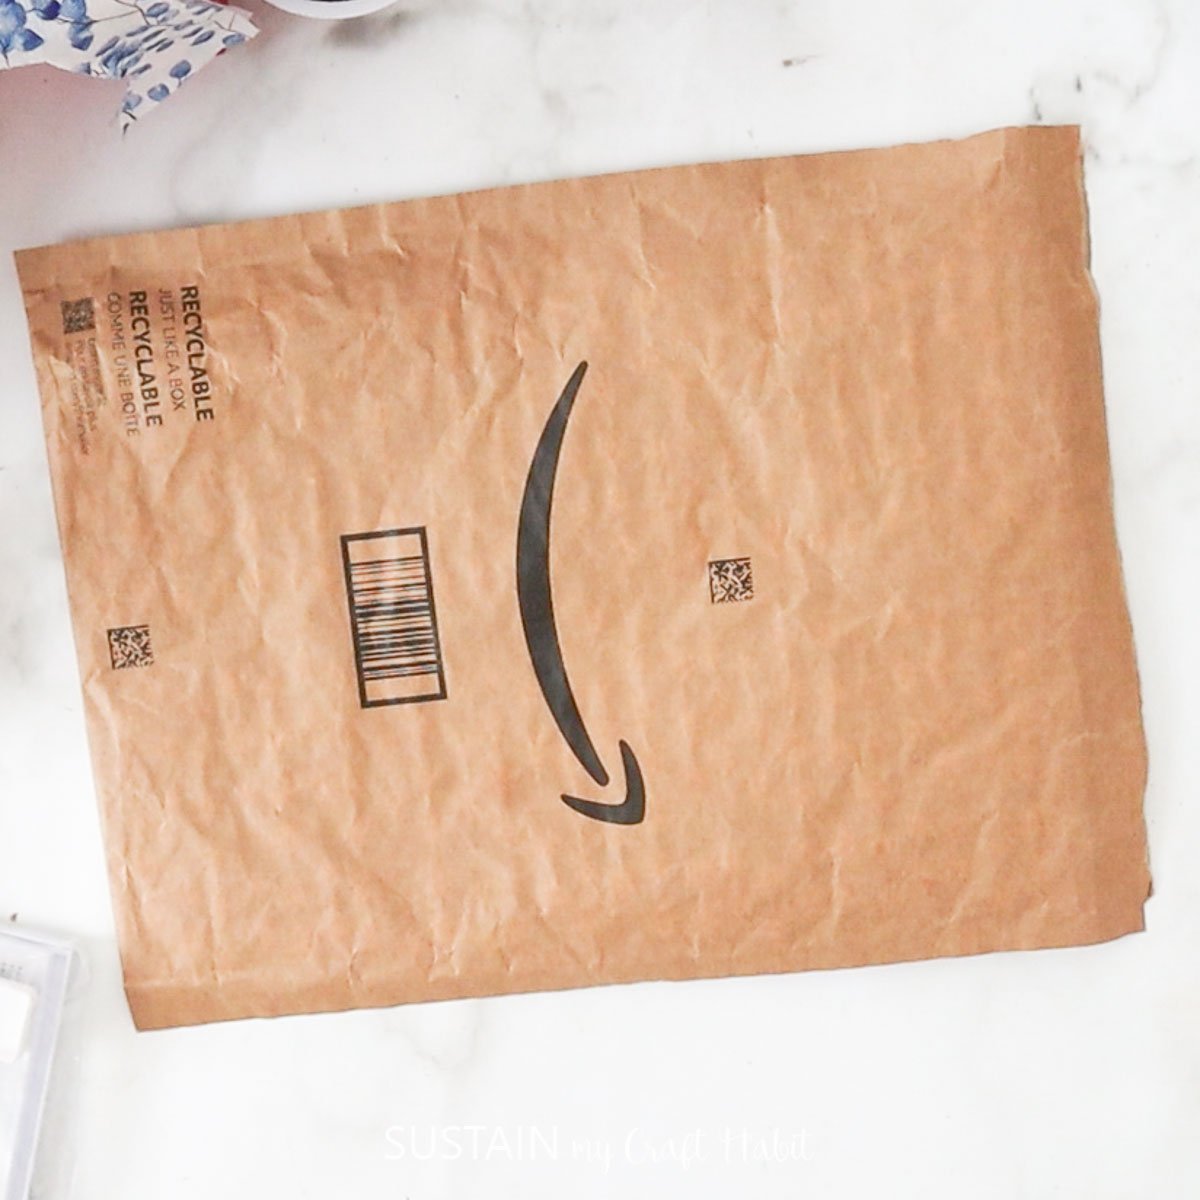
- Amazon Packaging or Paper bag
- White Paint
- Paintbrushes
- Tissue paper
- Jute Rope
- Sea glass, driftwood, other embellishments
- Scissors and hot glue
How to Make a Coastal Pumpkin Craft
Here is a step-by-step video of this pumpkin craft we made on our Facebook page! Or if you prefer the photo tutorial, continue reading below.
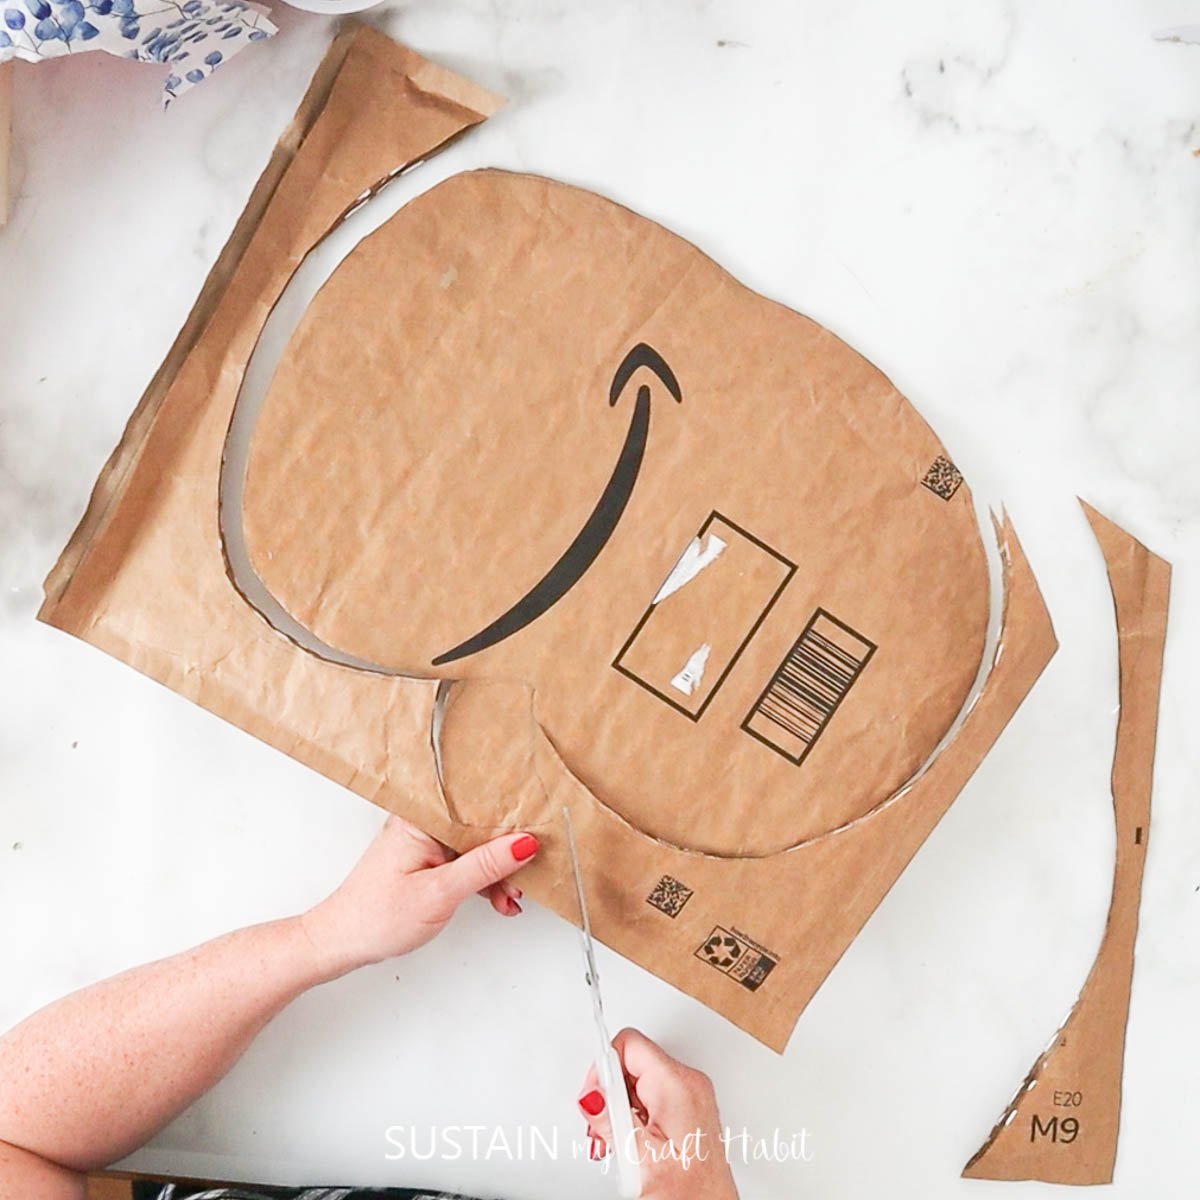
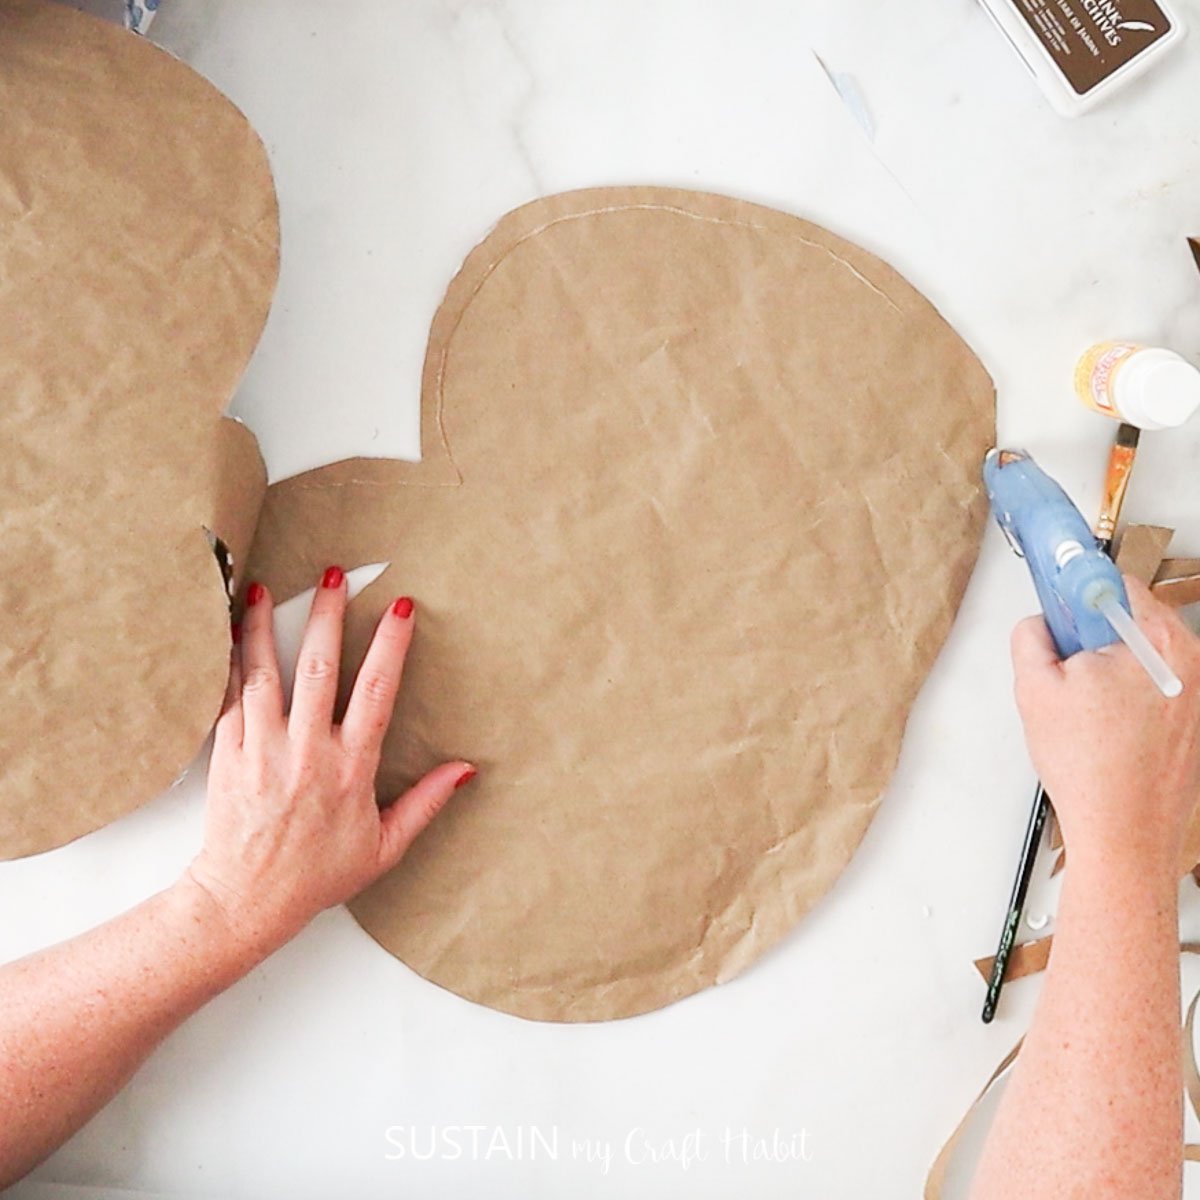
Start by cutting out a pumpkin shape out of the packaging. There should be two pieces.
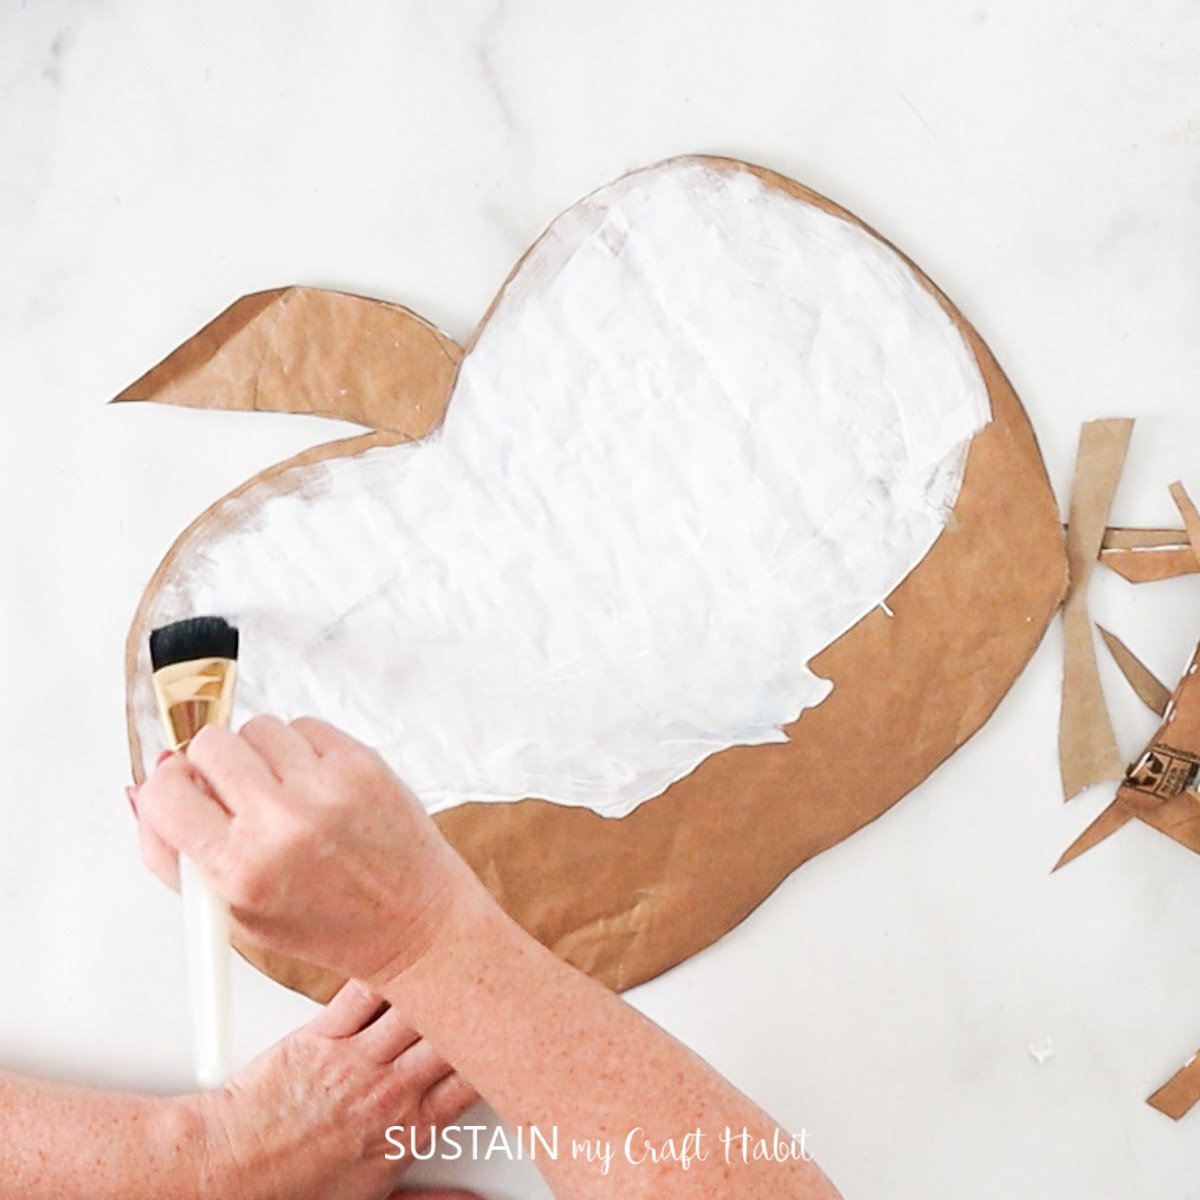
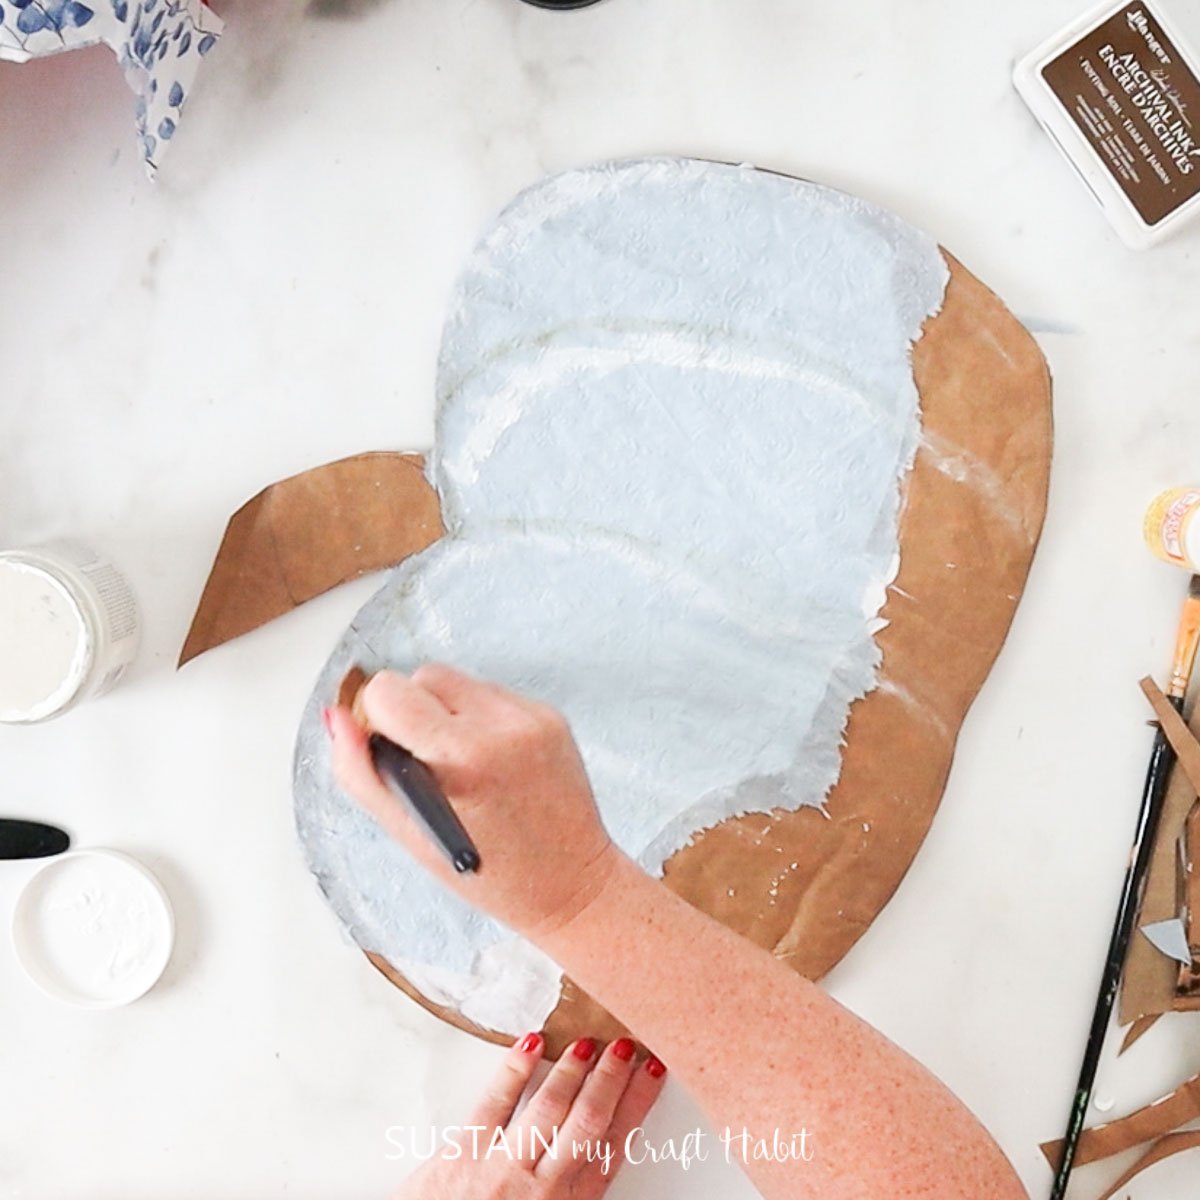
Paint both pumpkin pieces with white paint.
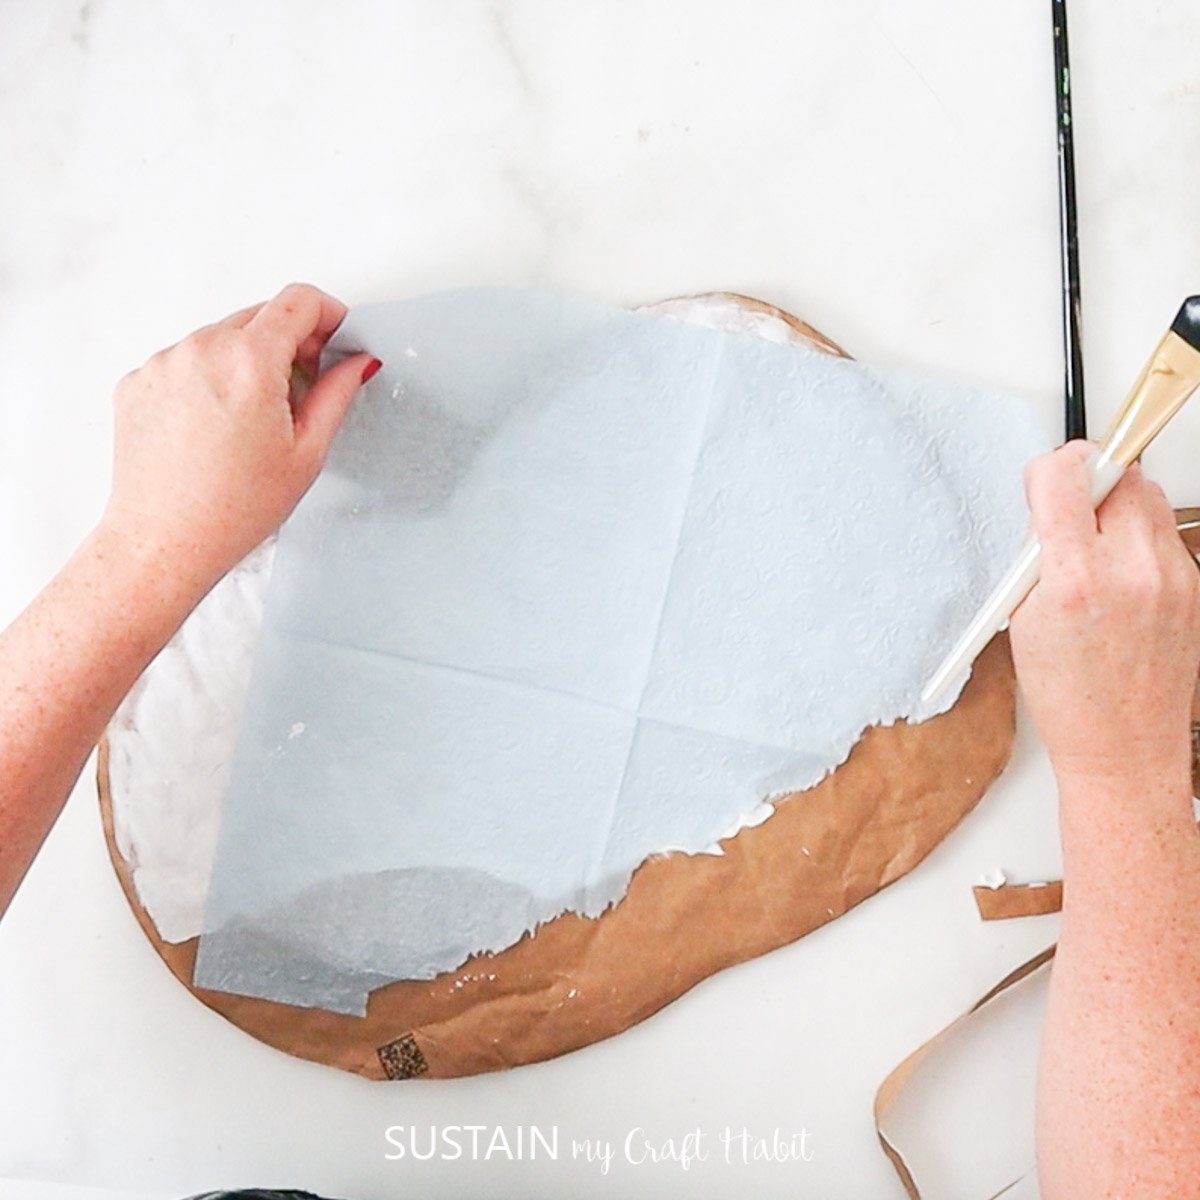
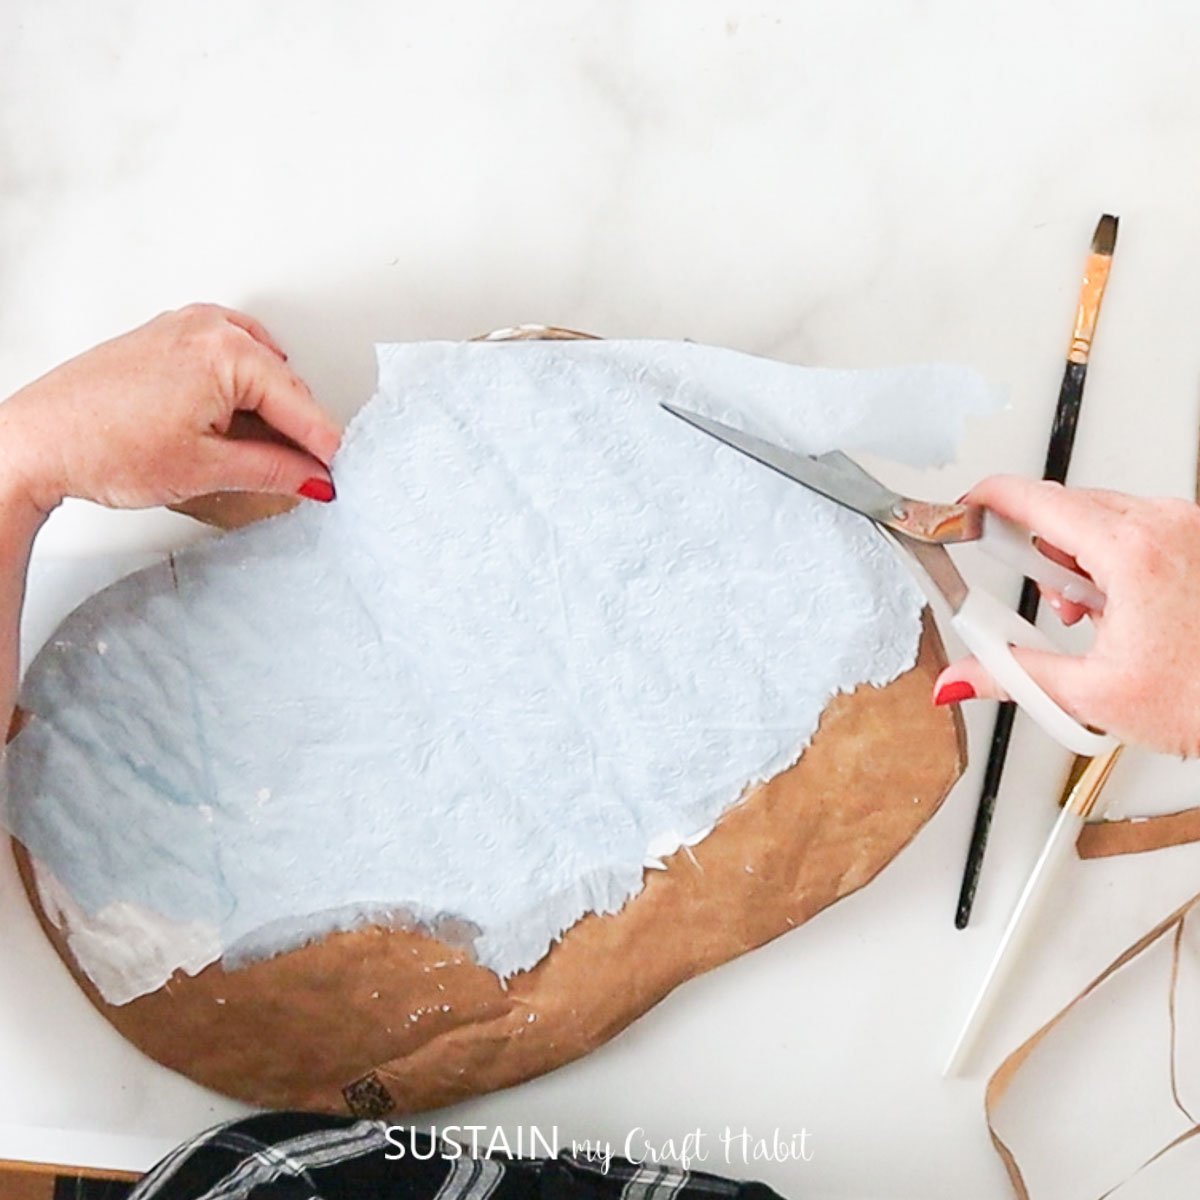
While the paint is still wet, add some tissue paper over it and let dry. Remove any excess tissue paper.
Taking a bit of brown and white paint, dry brush “ribs” onto the pumpkin.
Next, glue around the inside edge of the pumpkin and press the two pieces together. Leave a gap at the bottom.
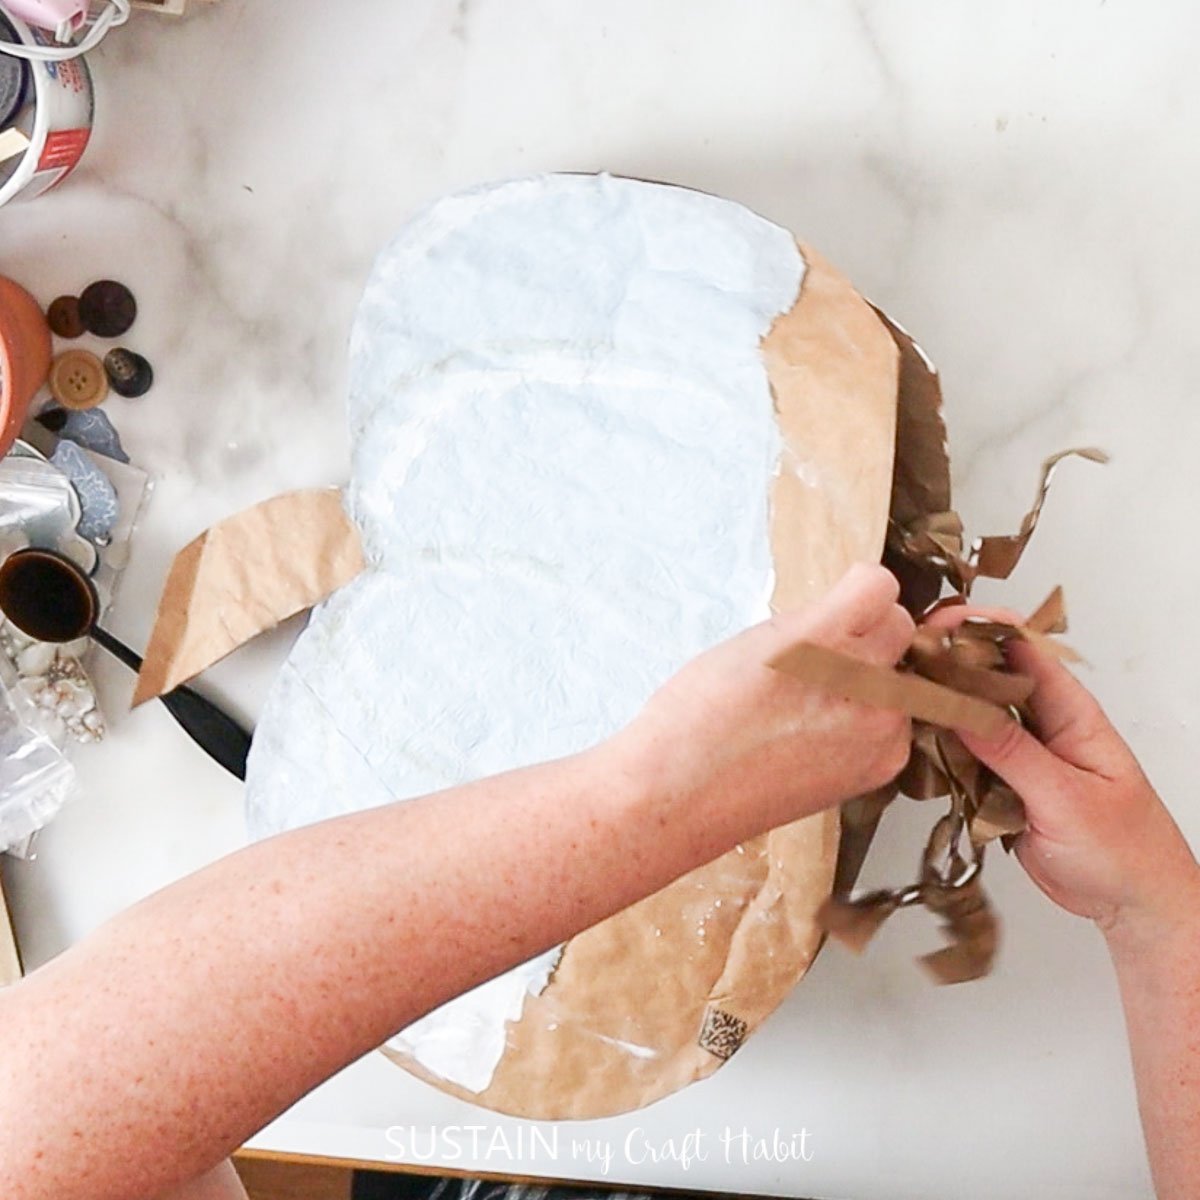
Through the opening, gently add stuffing (like crumpled paper) and glue closed.
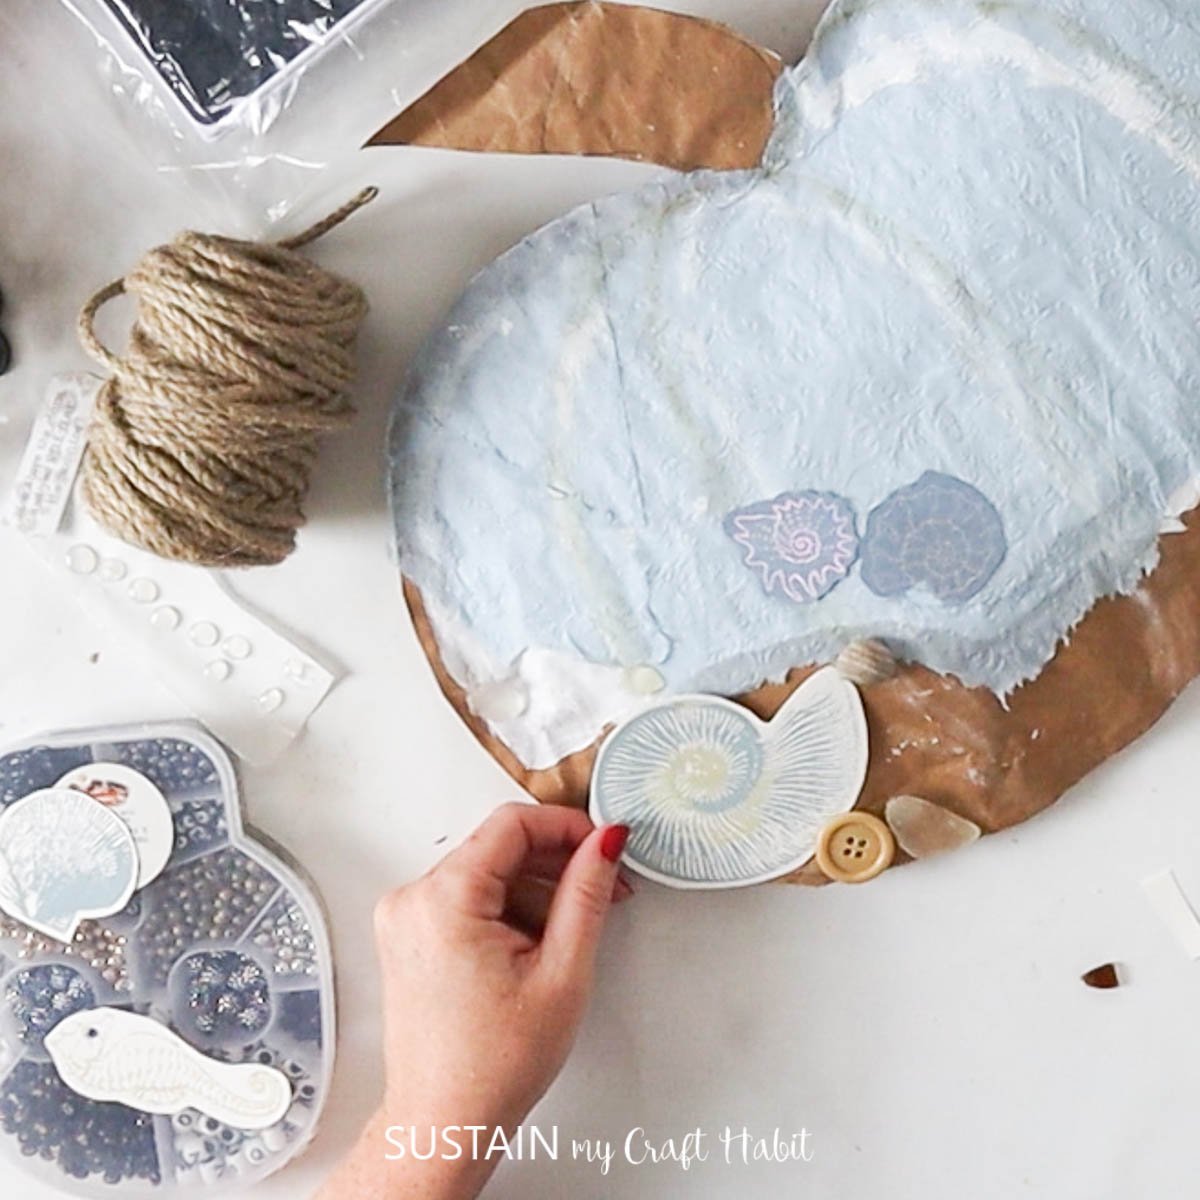
Finally, wrap jute around the stem of the pumpkin or add smaller pieces. Glue sea glass, driftwood or other embellishments to the pumpkin.
A Craft That Lasts Beyond Autumn
Coastal pumpkins are more than just a seasonal project—they’re a way to celebrate your love of the sea all year round. Whether you’re decorating a mantel, brightening a dining table, or adding charm to your porch, this craft brings a fresh coastal spirit to every season.
Once you try it, you may find yourself making a whole collection, each one capturing a little bit of the ocean and a little bit of autumn magic.
More Upcycled Pumpkin Crafts
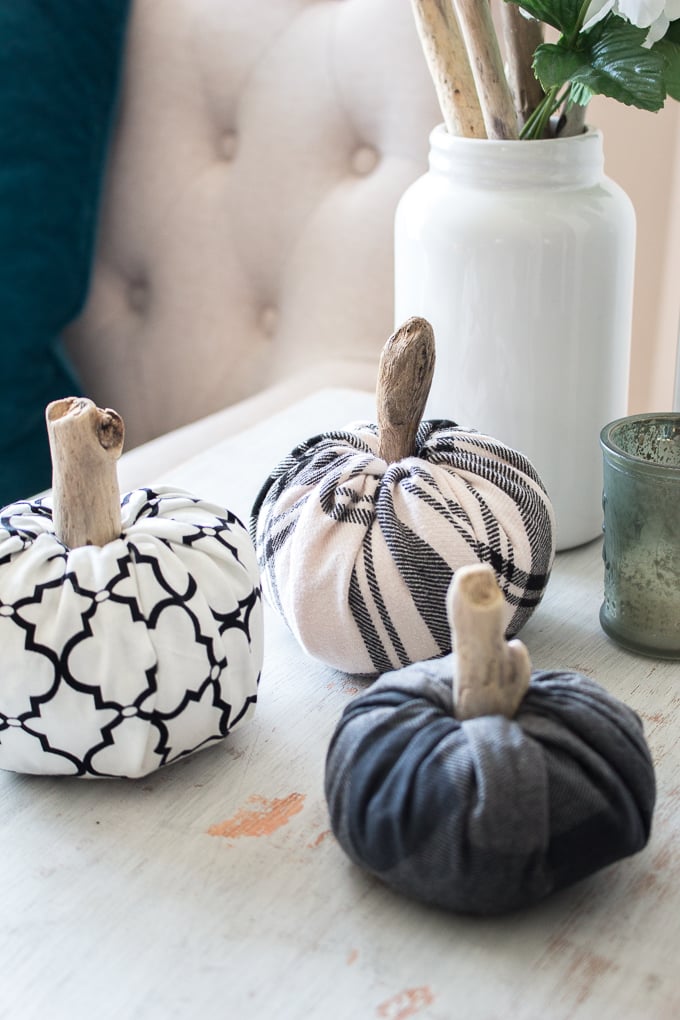
- Fabric Pumpkins with Scrap Fabric
- Dollar Tree Bowl Pumpkin
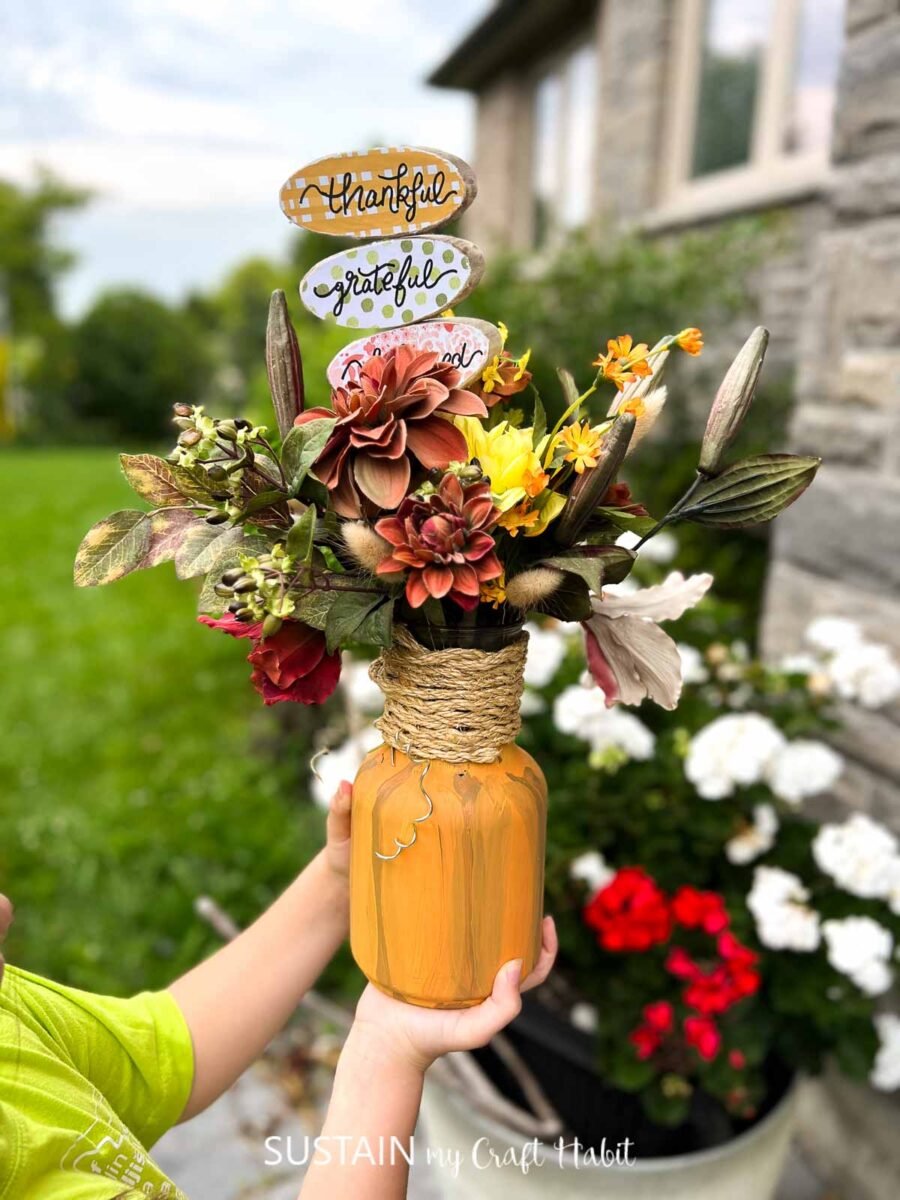
- Glass Jar Pumpkin Centerpiece
- Pumpkin Art With Pinecones
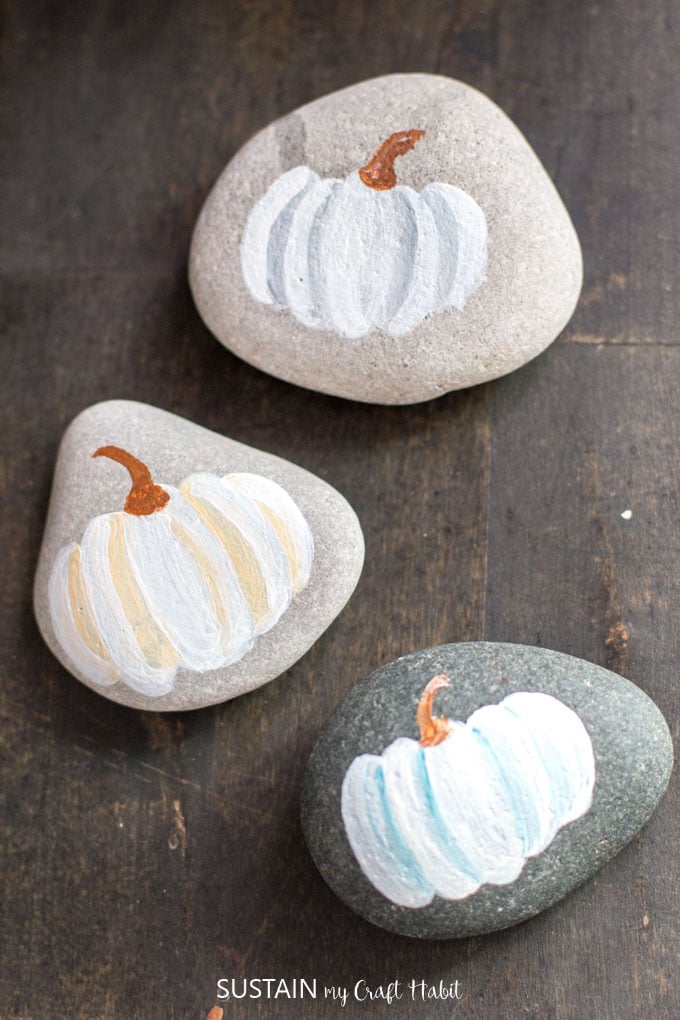
- Fall Painted Rock Pumpkins


Want to receive a ton of inspiration and money saving ideas for decorating, gift-giving and crafting? Join HERE!
Like it? Pin for Later!
Creative Coastal Pumpkin Craft Idea
Materials
- Amazon Packaging or Paper bag
- White Paint
- Paintbrushes
- Tissue paper
- Jute Rope
- Sea glass driftwood, other embellishments
- Scissors and hot glue
Instructions
- Start by cutting out a pumpkin shape out of the packaging. There should be two pieces.
- Paint both pumpkin pieces with white paint.
- While the paint is still wet, add some tissue paper over it and let dry.
- Taking a bit of brown and white paint, dry brush “ribs” onto the pumpkin.
- Next, glue around the inside edge of the pumpkin and press the two pieces together. Leave a gap at the bottom.
- Through the opening, gently add stuffing (like crumpled paper) and glue closed.
- Finally, wrap jute around the stem of the pumpkin or add smaller pieces. Glue sea glass, driftwood or other embellishments to the pumpkin.