DIY Framed Chalkboard Wall Art
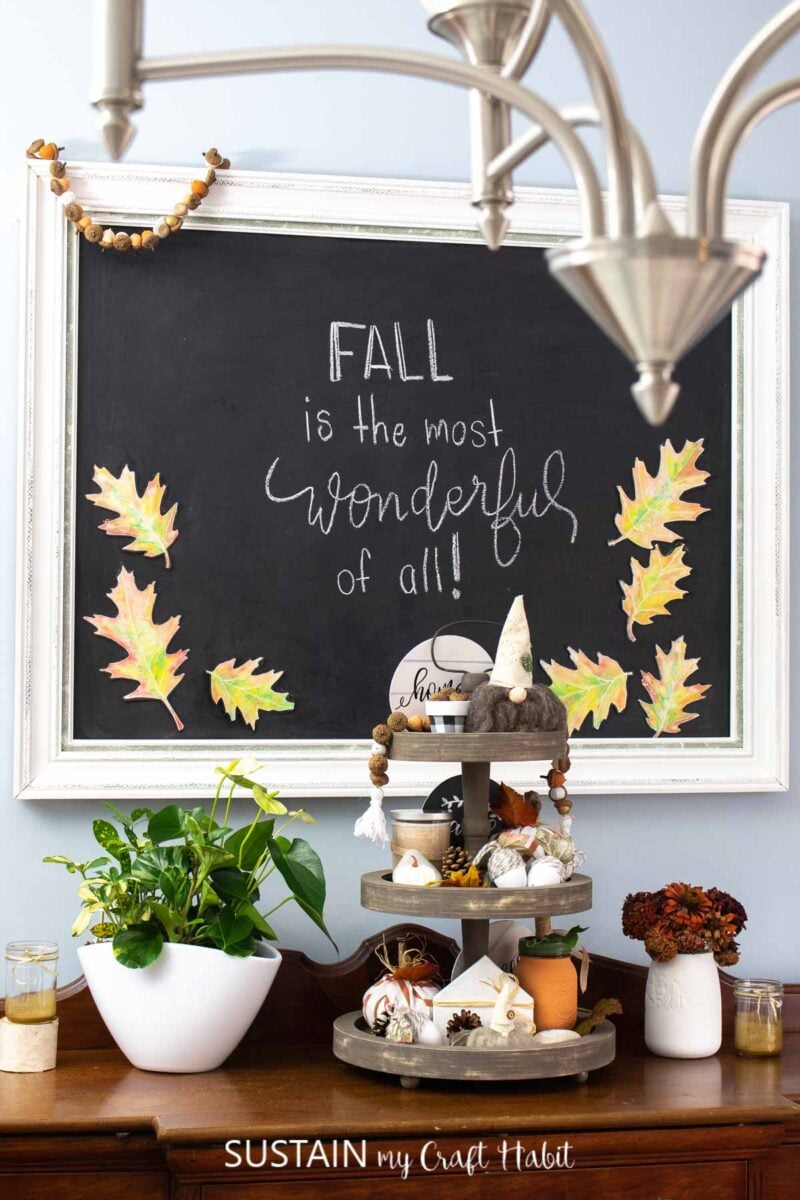
I’ve been wanting to make this framed chalkboard art idea even since I stumbled upon an old picture frame at the curb of my neighbou’s home. It’s true what they say, one woman’s trash is another woman’s treasure!
Making a Large Framed Chalkboard
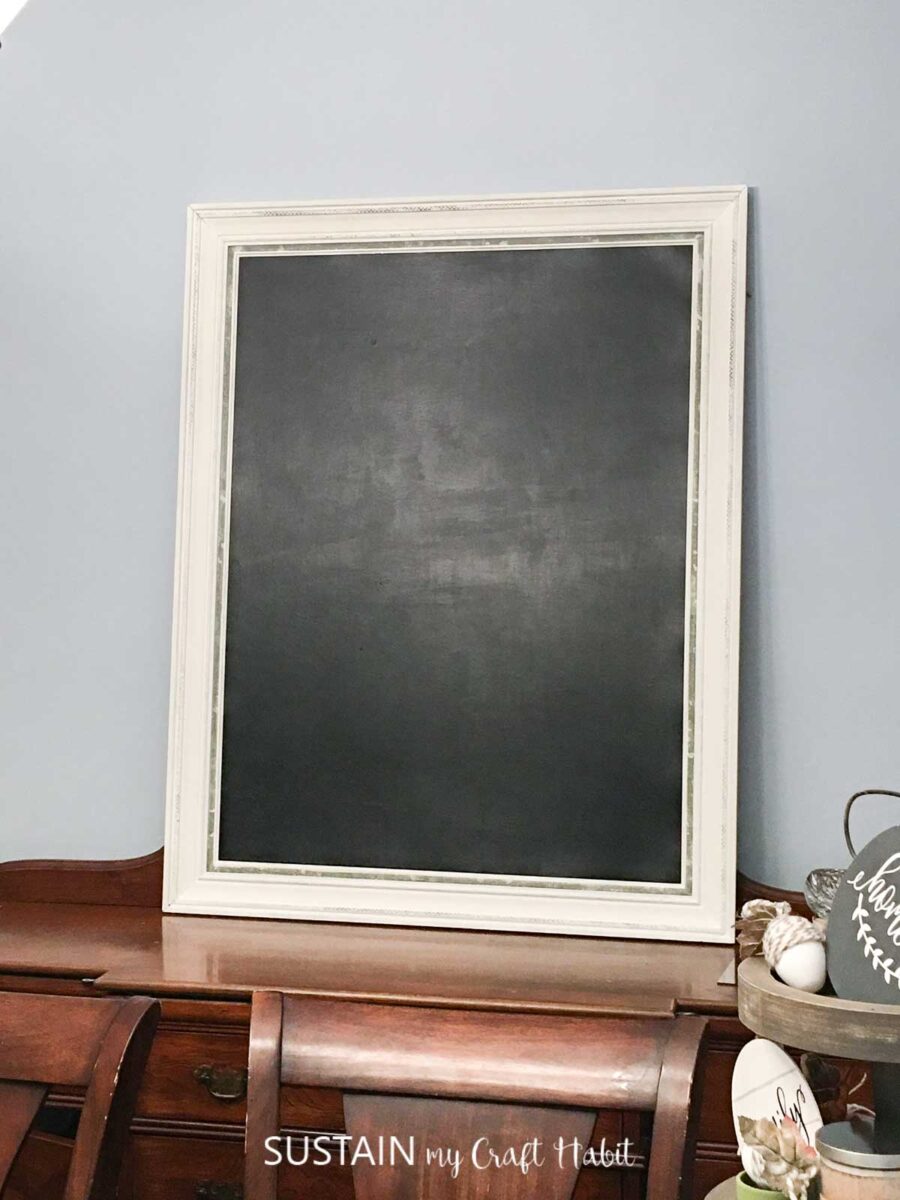
I love the idea of using this large framed chalkboard to leave and exchange messages with the kids. Messages like “I love you” and “happy birthday” will be passed along as the year moves on. So it not only does it look great against my light blue painted wall in the dining room, it also serves a purpose.
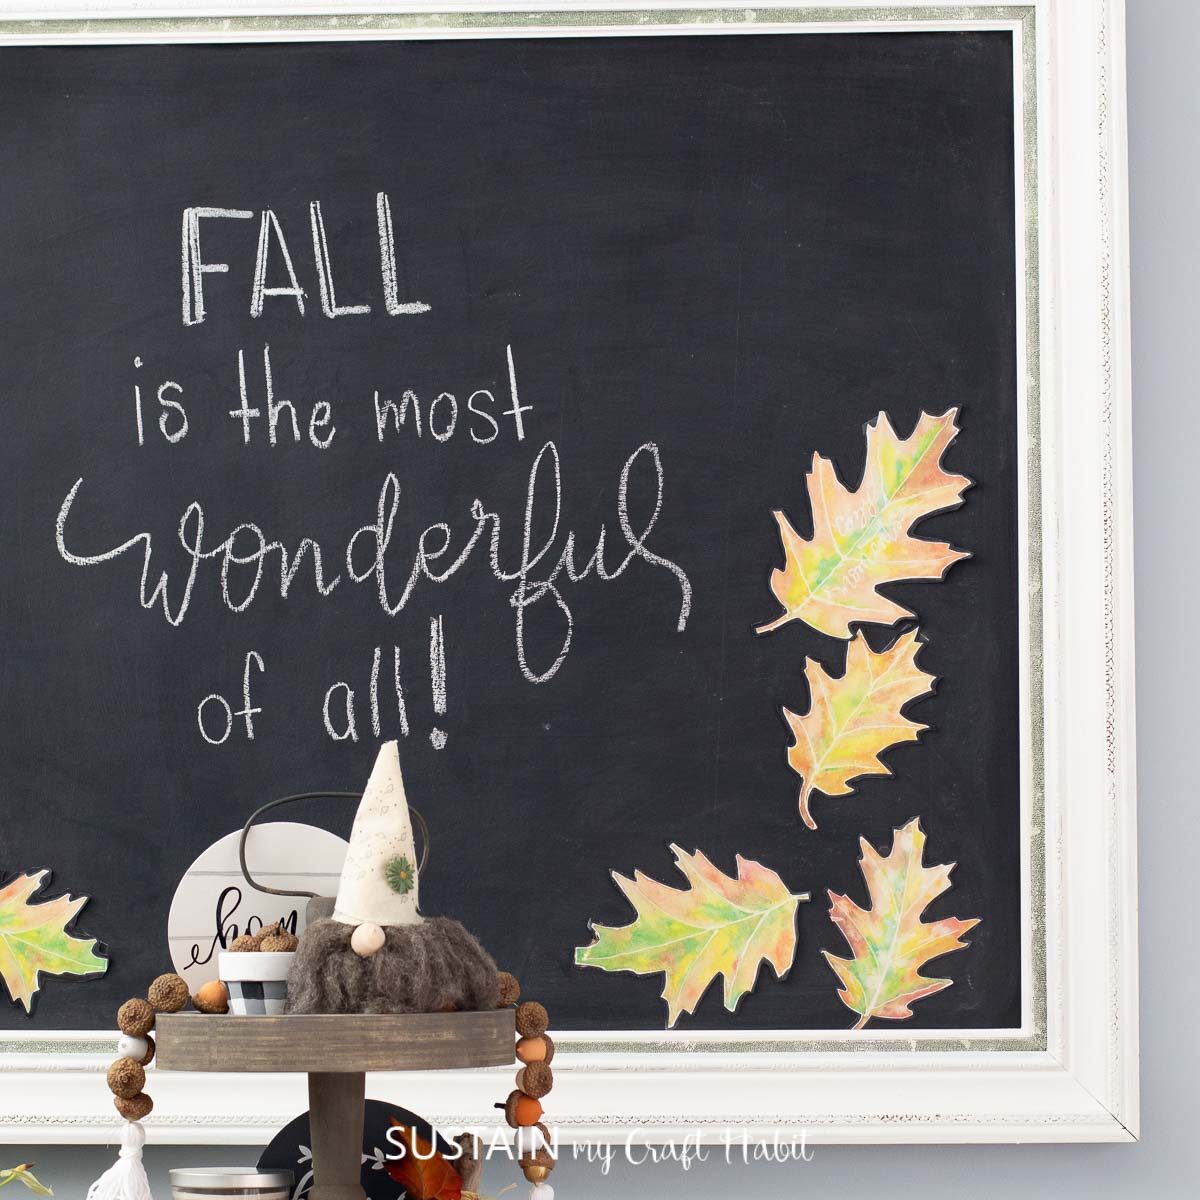
I also look forward to restyling the frame with the changing seasons. For now, I’ve decked out my chalkboard art for Fall with all my Fall-themed crafts surrounding it. Things like my no-sew scrap fabric gnome, rustic acorn garland and buffalo plaid painted terracotta pots.
Materials Needed
Disclosure: This post contains affiliate links for your shopping convenience. Should you choose to purchase through them, we will make a small commission at no extra cost to you. You can read our full disclosure here.
- large picture frame meauring 36″ x 48″ and with the glass removed
- White Paint
- Chalkboard Paint
- Paint Brushes
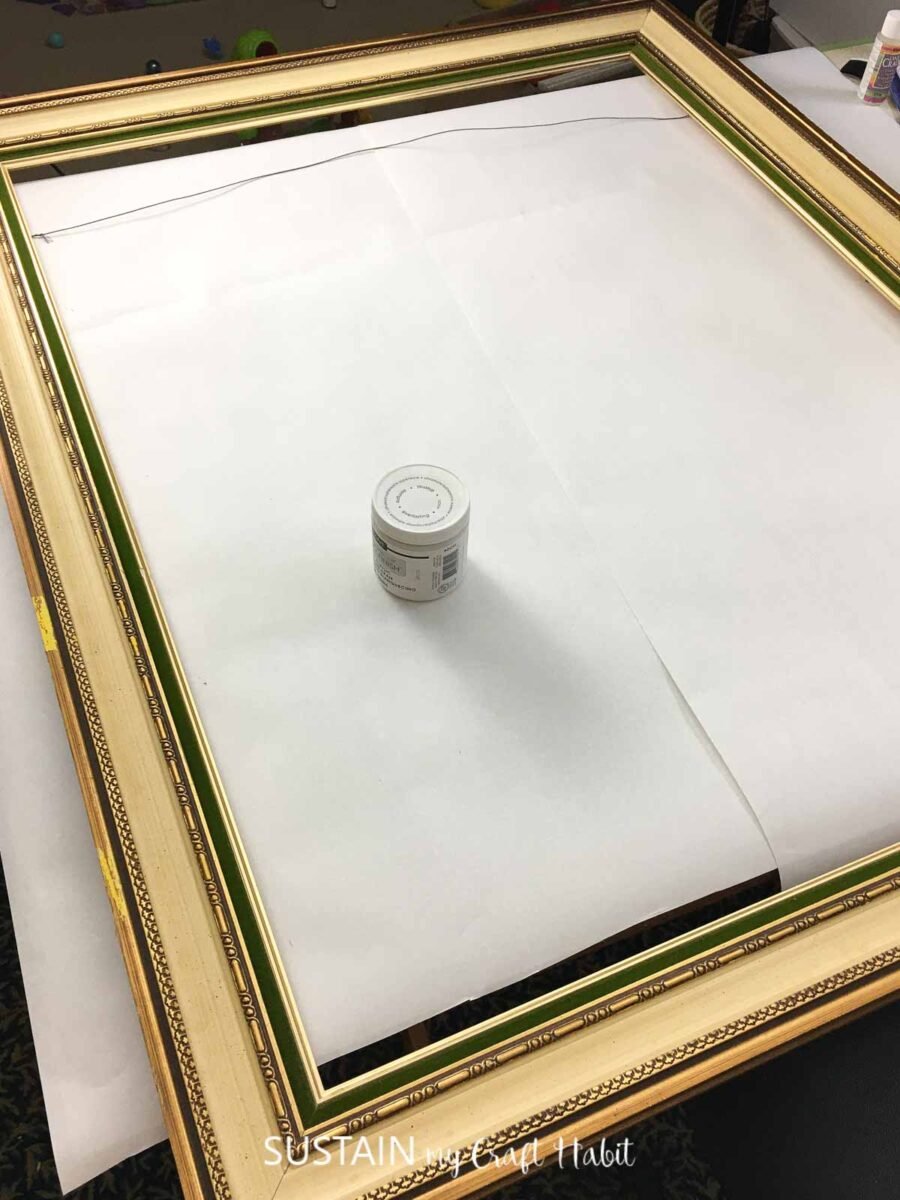
If you don’t stumble upon a large frame as I did with this one, then head to the thrift store or a neighbor’s garage sale. You will likely find these large frames at a super cheap price!
How to Make Framed Chalkboard Wall Art
If you want to catch the video of making this craft in action, watch the Facebook Live video here or keep reading to get the step-by-step instructions below.
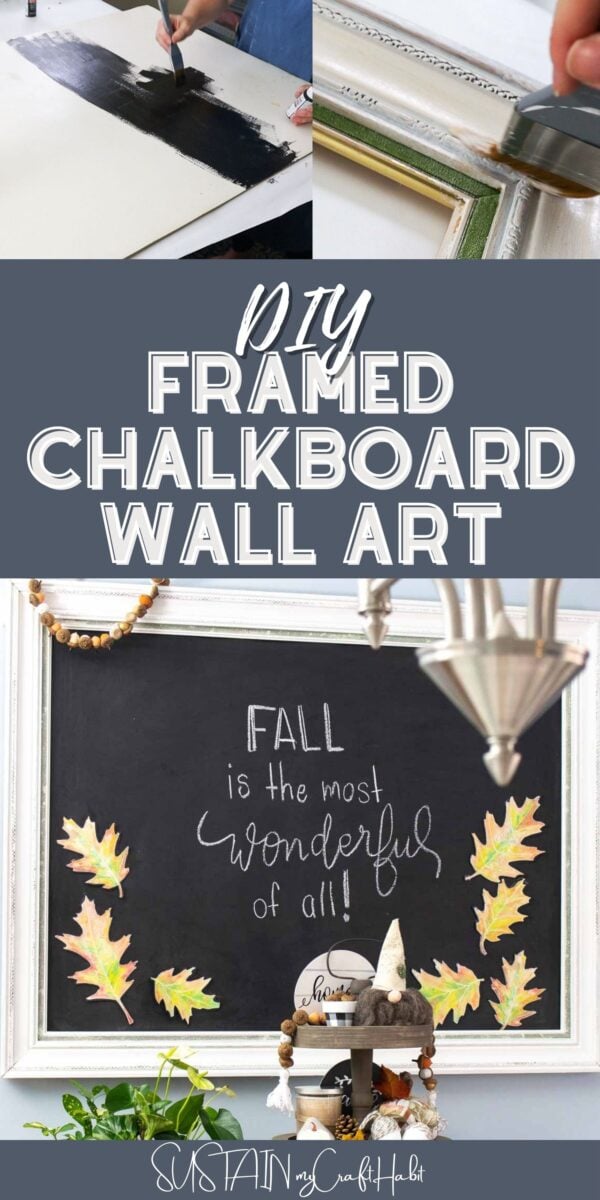
Start by removing the glass from the frame if it has one and put aside or carefully recycle it. In my case, the frame was without the glass which is likely why I found it at the curb of someone’s house. Clean the surface of the frame to remove any built on dirt and dust.
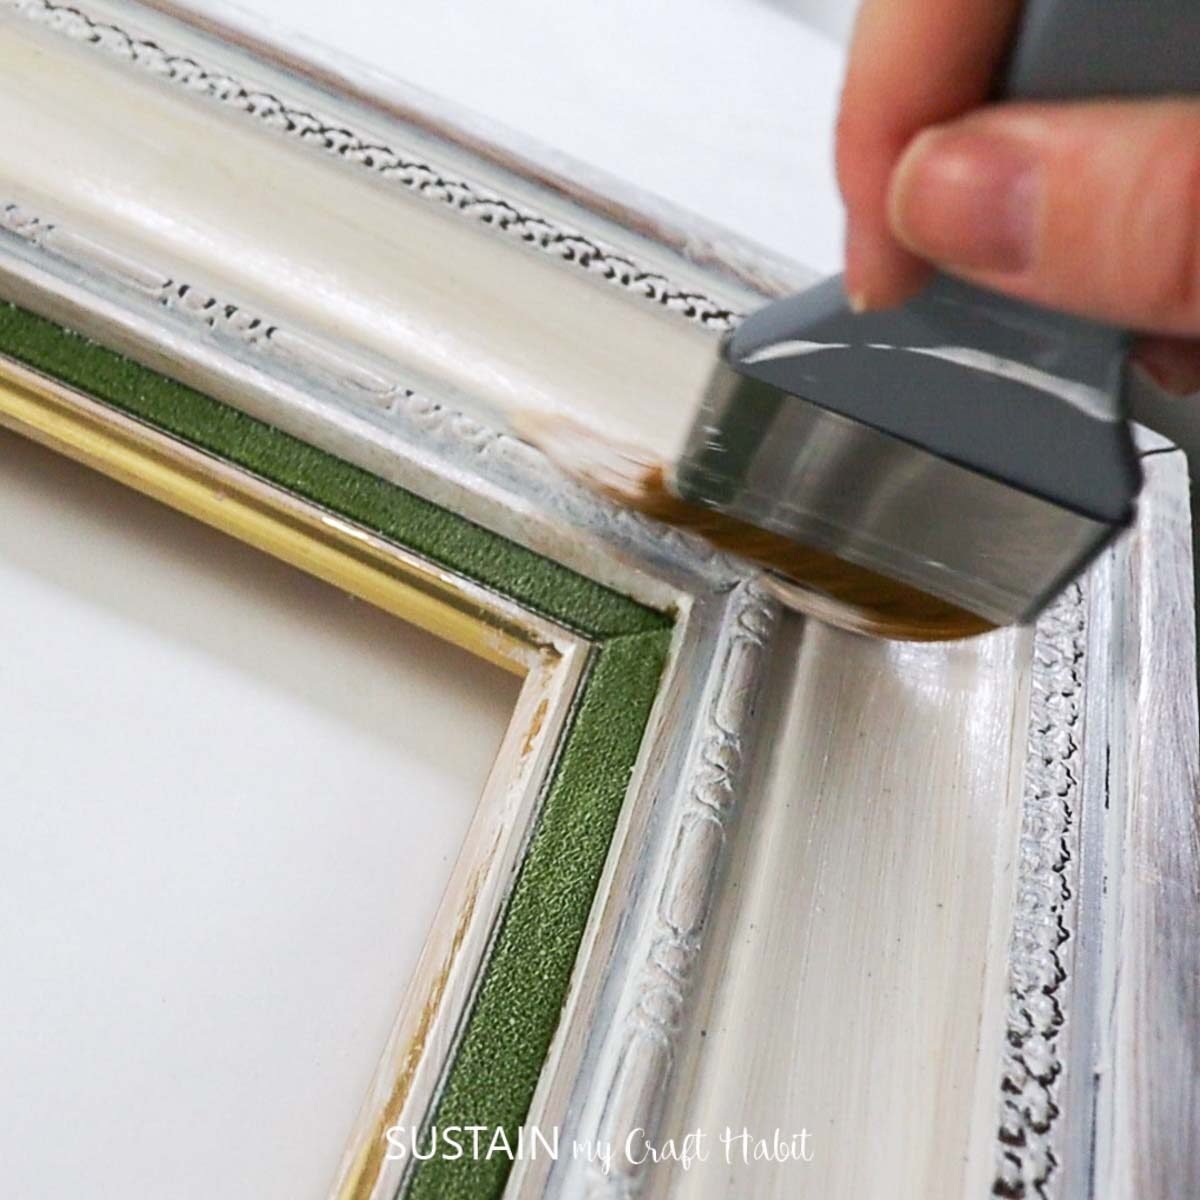
Next, paint the picture frame in white or any color you like! I used a white chalky paint for a smooth matte finish on the frame. Let it dry and add an extra coat of paint if needed until you’re happy with the coverage.
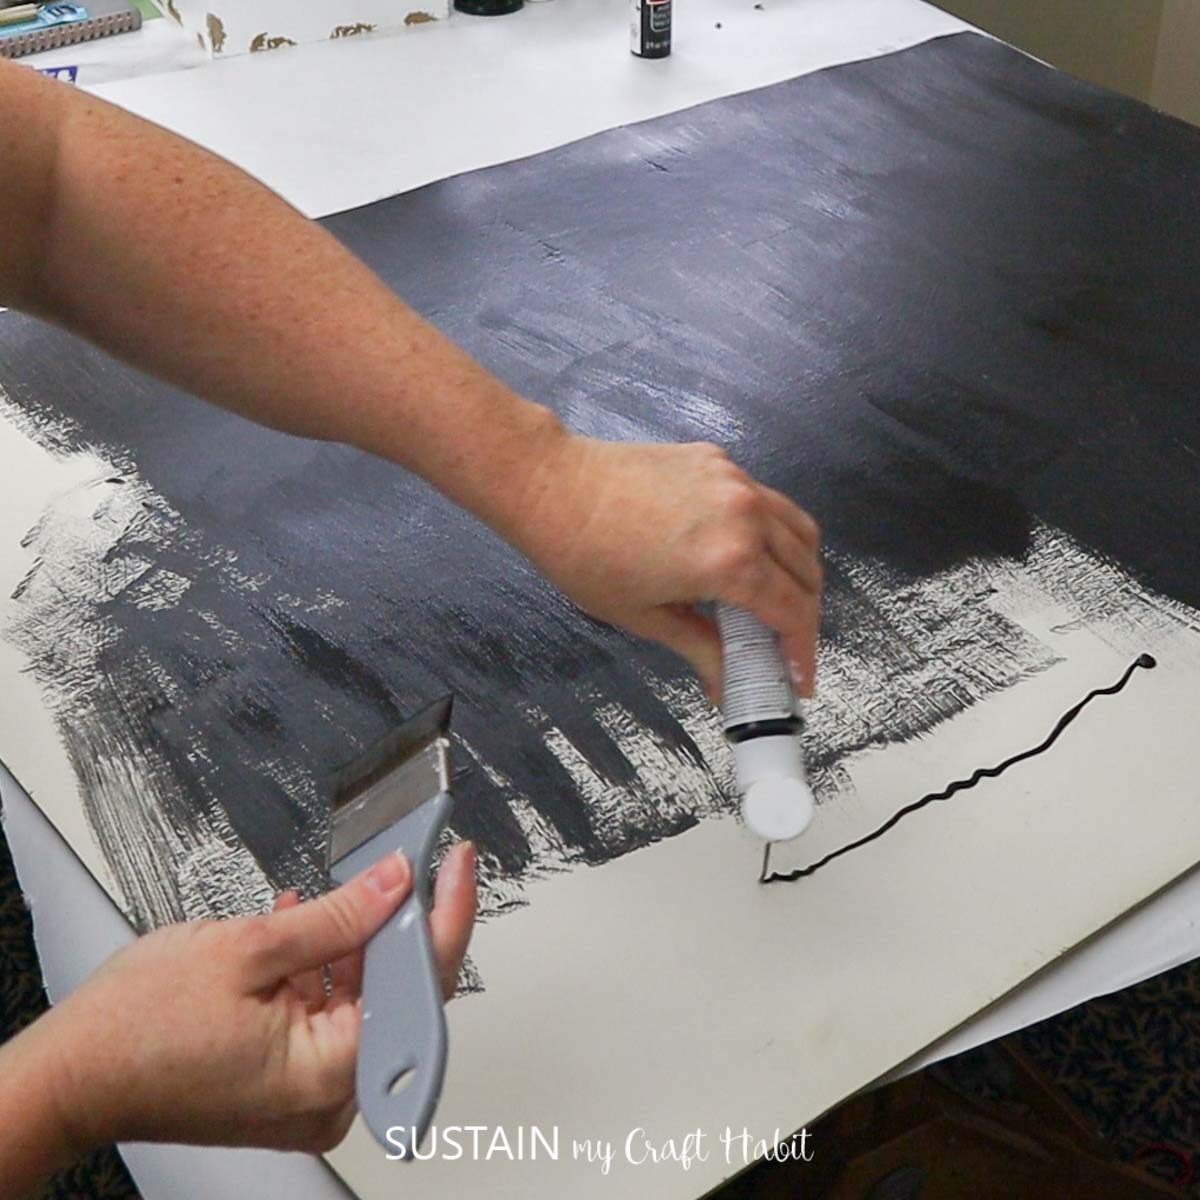
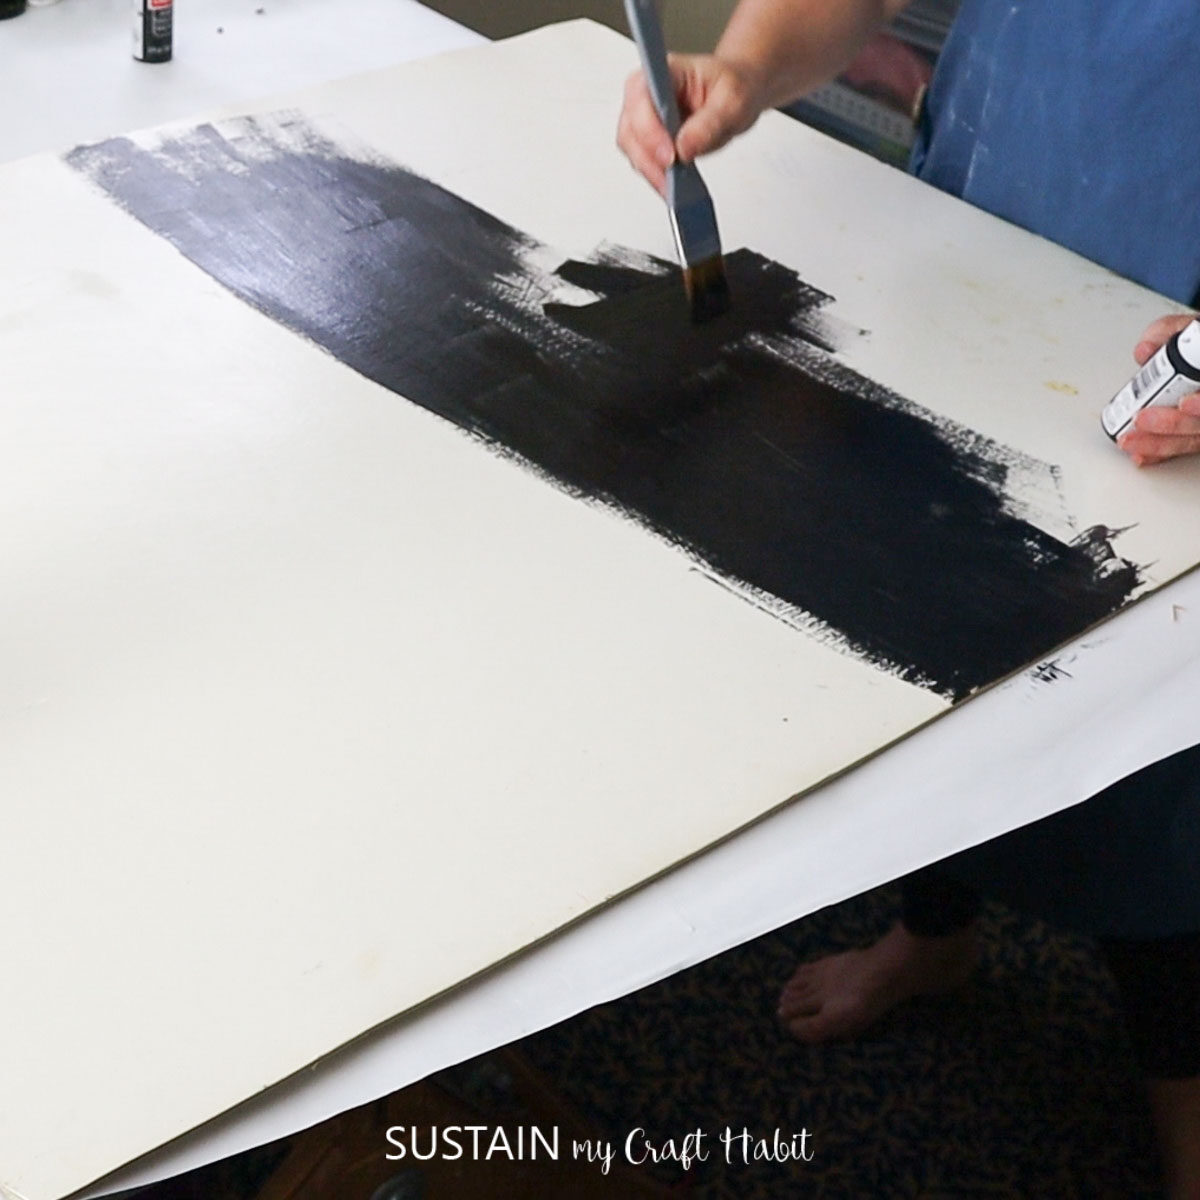
Using chalkboard paint, paint the entire surface of the picture frame backing, the thick piece of cardstock that is used to hold the glass in place.
Let the chalkboard paint dry and then reattach it to the painted picture frame. Hang on the wall to enjoy and use with the family.
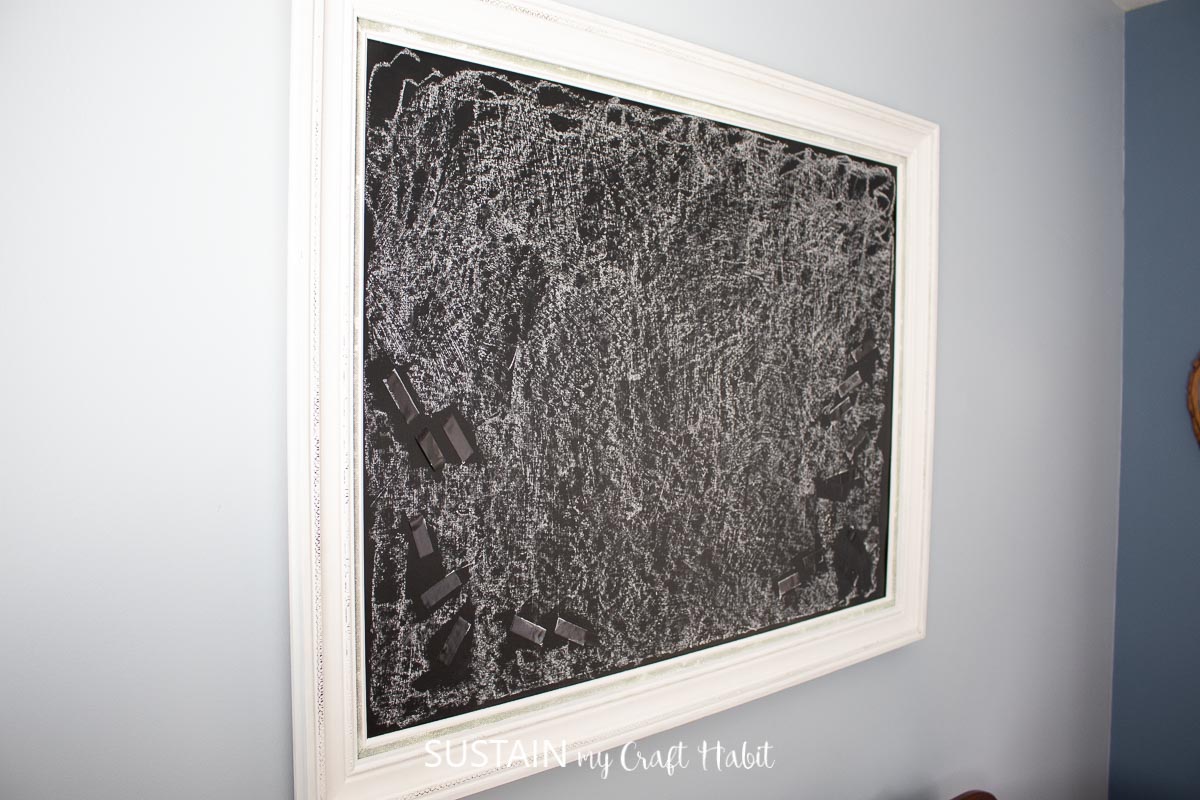
Using Magnets on the Framed Chalkboard Art
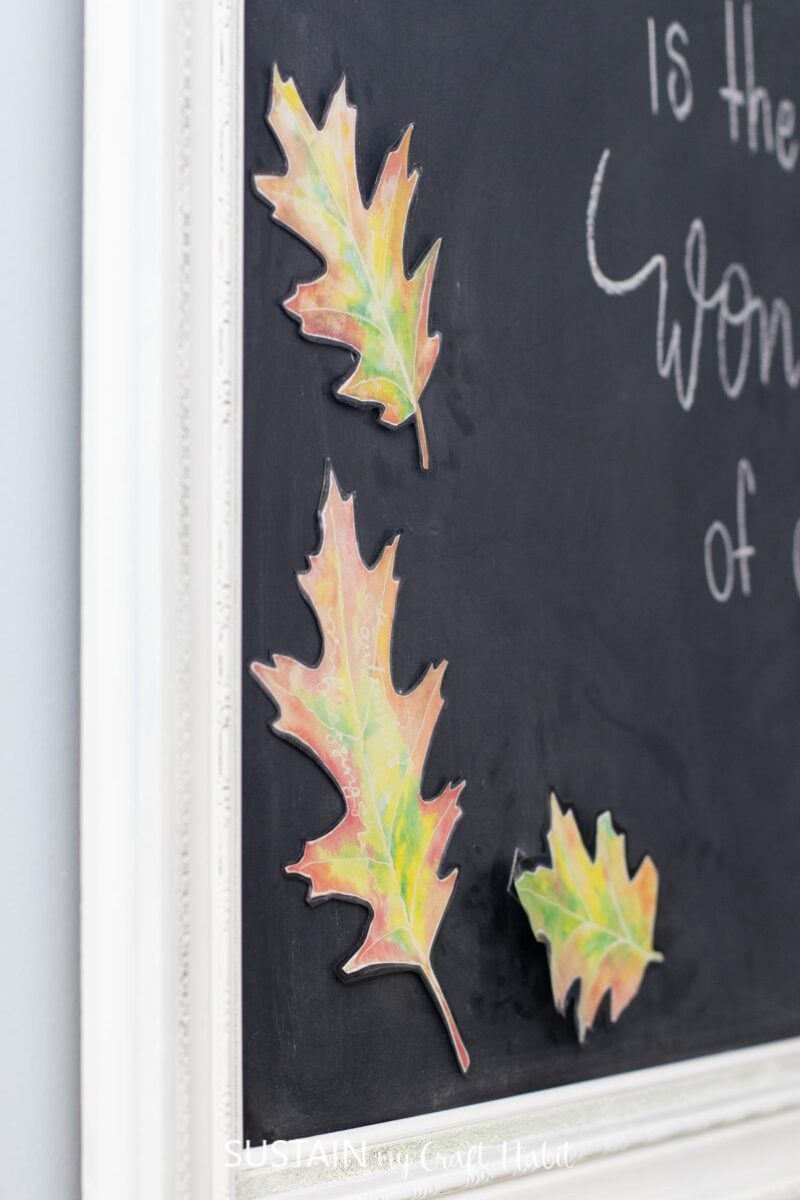
As an option, you can decorate the chalkboard with some seasonal magnets such as these watercolored paper leaf magnets we made on another Facebook Live video.
More DIY Upcycled Frame Crafts
If you’re like us and have plenty of old picture frames lying around, then take a look at these DIY project ideas for your next craft. And if you don’t have any lying around, consider picking some up at a local thrift store garage sale and get creative.
- Spring Thrift Store Crafts with Cricut
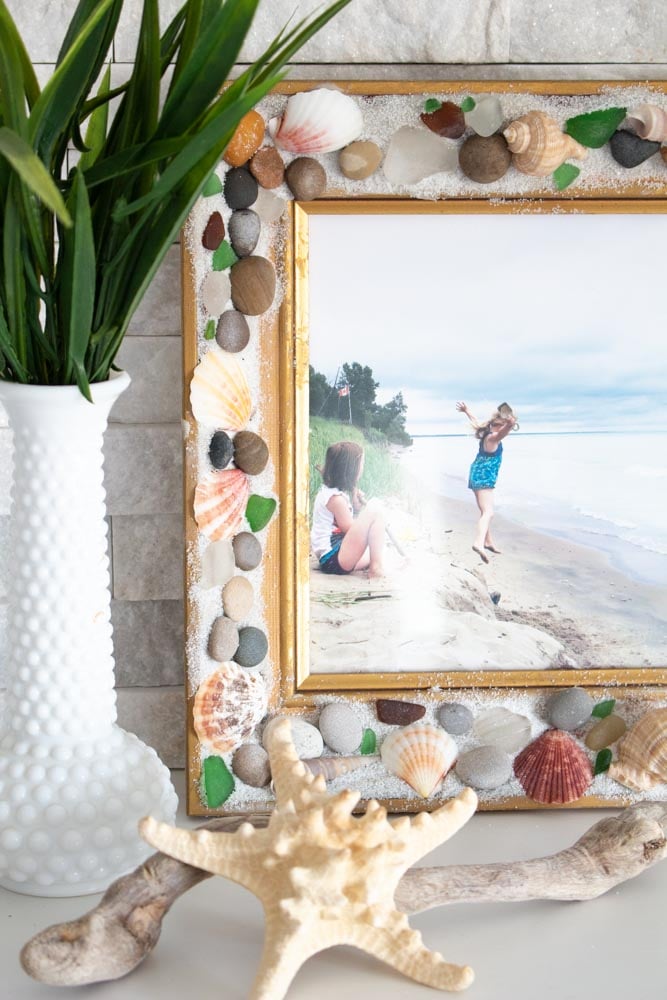
- Beachy-themed Keepsake Picture Frame
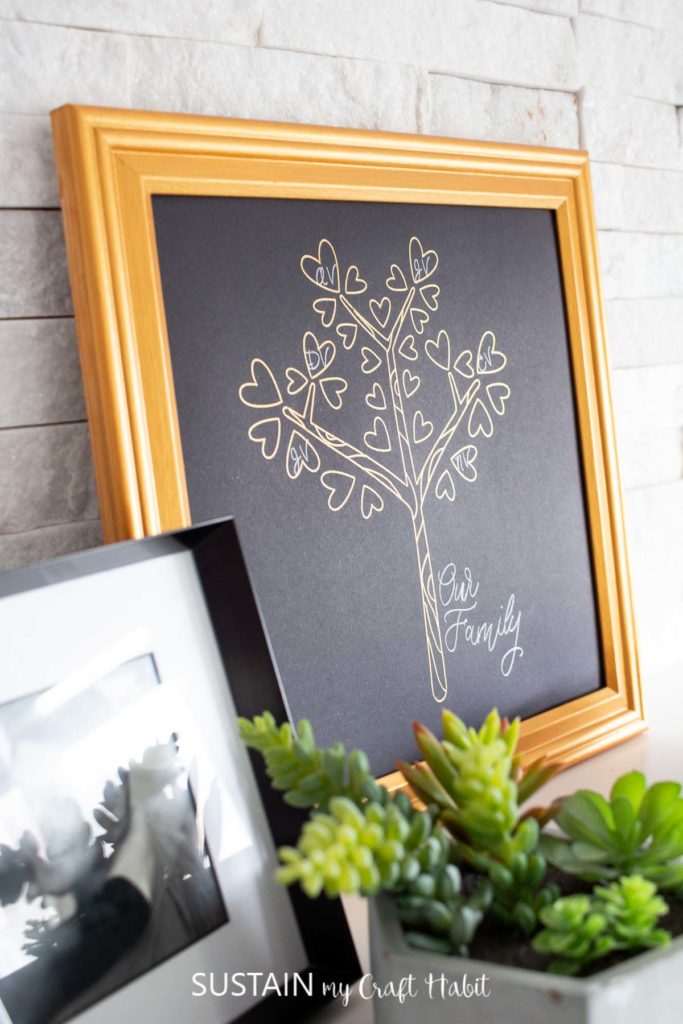
- Upcycled Frame with Gold Foil Art
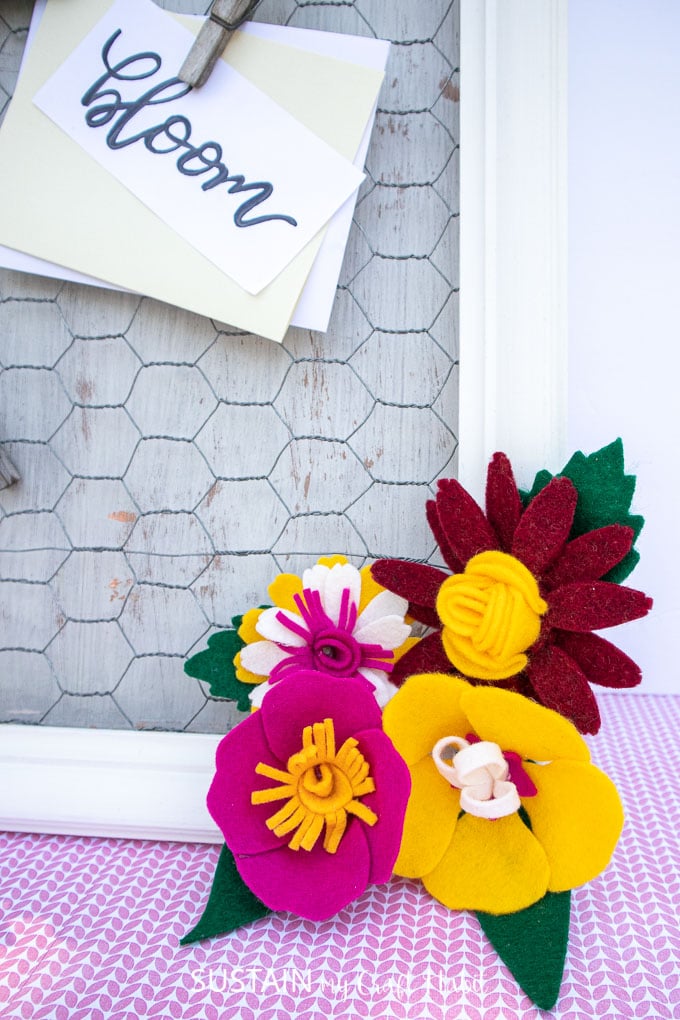
- Photo Display with Felt Flowers
Like it? Pin it for later!

DIY Framed Chalkboard Wall Art
Materials
- Picture frame with the glass insert any size, we used 36" x 48"
- White acrylic paint or Chalky Finish in Everlasting
- Chalkboard paint black
- Paint brushes
Instructions
- Paint the picture frame and backboard white. Let it dry.
- Using the chalkboard paint, apply it to the backboard of the picture frame and let it dry.
- As an option, you can decorate the chalkboard with dried leaves glued to magnets.

