Fall Harvest Dollar Store Charger Craft
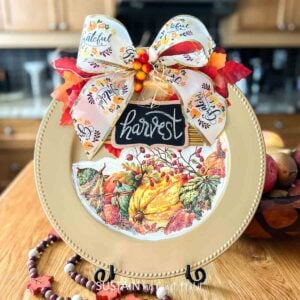
Fall is the perfect time to get crafty and bring some cozy, autumn vibes into your home. And what better way to do that than with a fun DIY project that won’t break the bank? In this blog post, we’ll show you how to create a beautiful fall harvest charger craft using items from your local dollar store. These charming chargers will add a touch of rustic elegance to your fall tablescape, and you can make them for just a few dollars each.

Why You Will Love Making Fall Harvest Dollar Store Chargers
These fall harvest chargers will not only add a unique touch to your table settings, but they’ll also save you money and allow you to unleash your creativity. By using items from the dollar store, you can create an entire set of chargers for a fraction of the cost compared to buying them from a home decor store. Plus, these chargers are versatile and can be used for different occasions from Thanksgiving to Halloween, or even as everyday home decor.
Can I Upcycle Charges For Other Seasons?
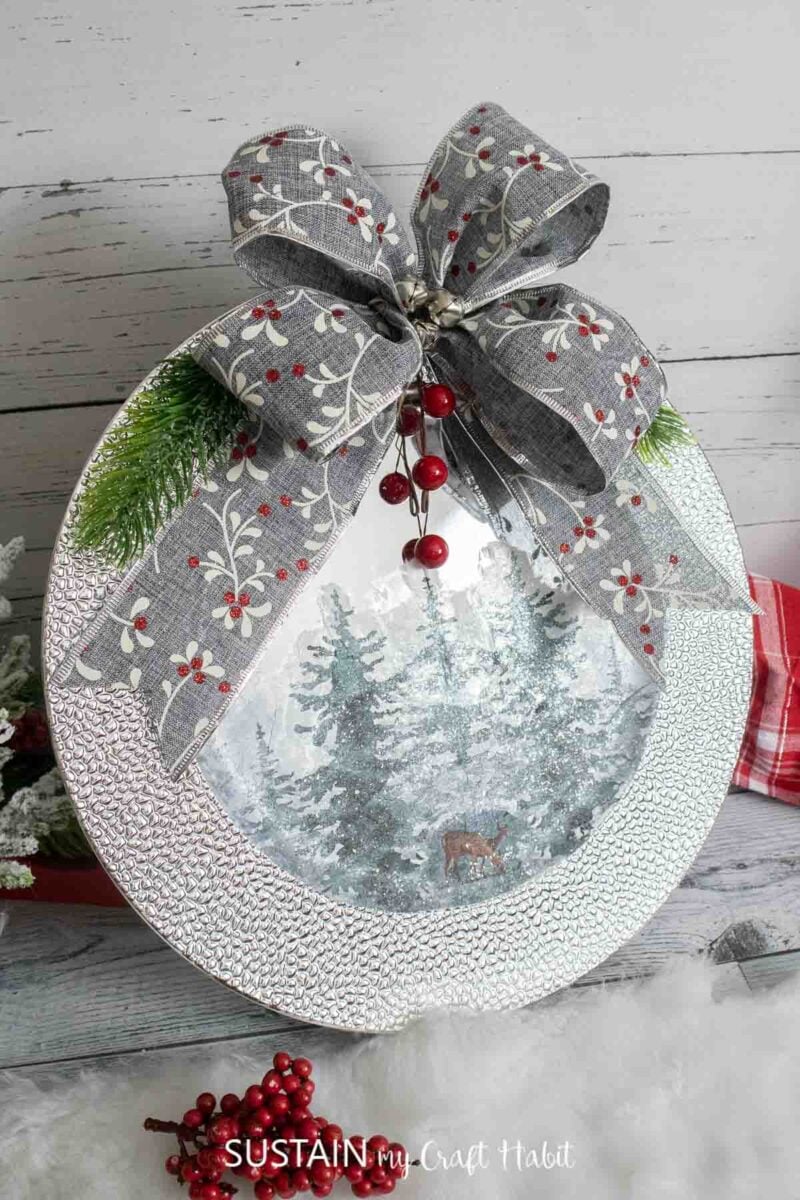
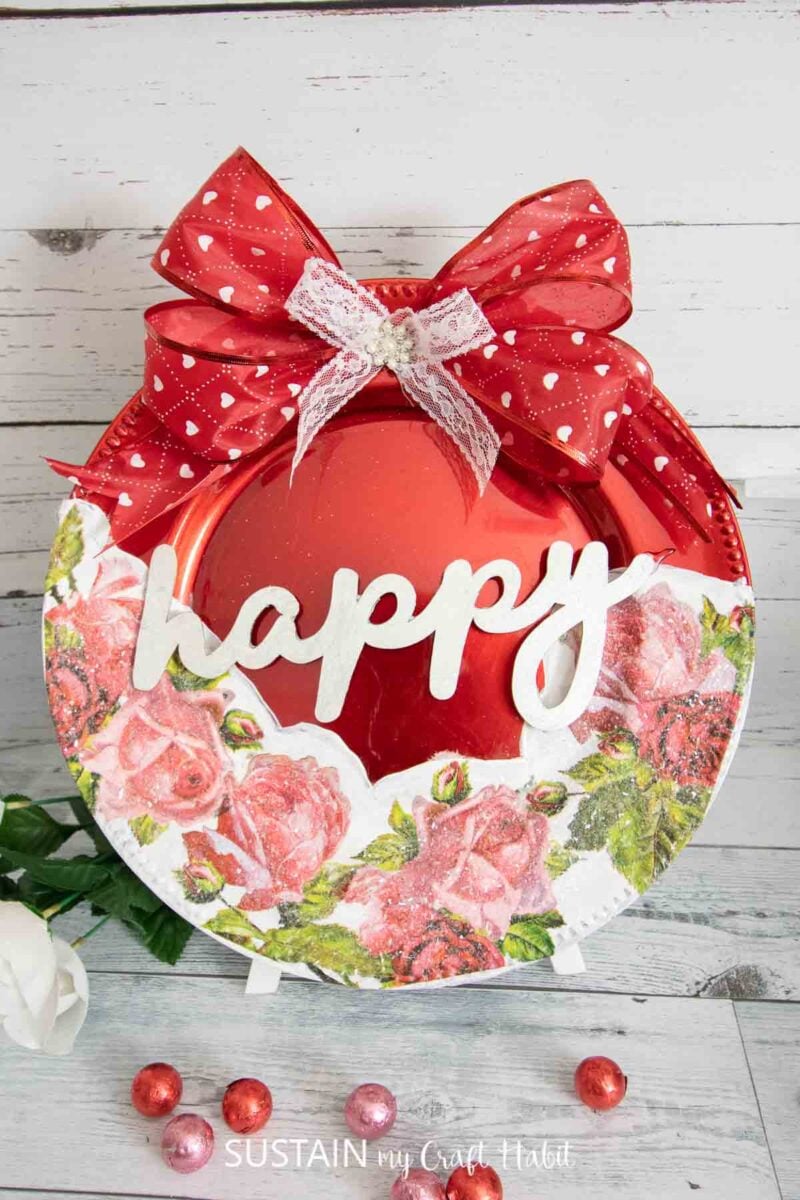
Upcycling table chargers is a great way to add a personal touch to your home for any season or holiday. For example, you can create winter-themed silver charger crafts for Christmas or floral red charger crafts for Valentine’s Day. The possibilities are endless! So don’t limit yourself to just fall harvest, let your creativity flow and have fun with it!
Want to receive a ton of inspiration and money saving ideas for decorating, gift-giving and crafting? Join HERE!
Materials Needed
Disclosure: This post contains affiliate links for your shopping convenience. Should you choose to purchase through them, we will make a small commission at no extra cost to you. You can read our full disclosure policy here.
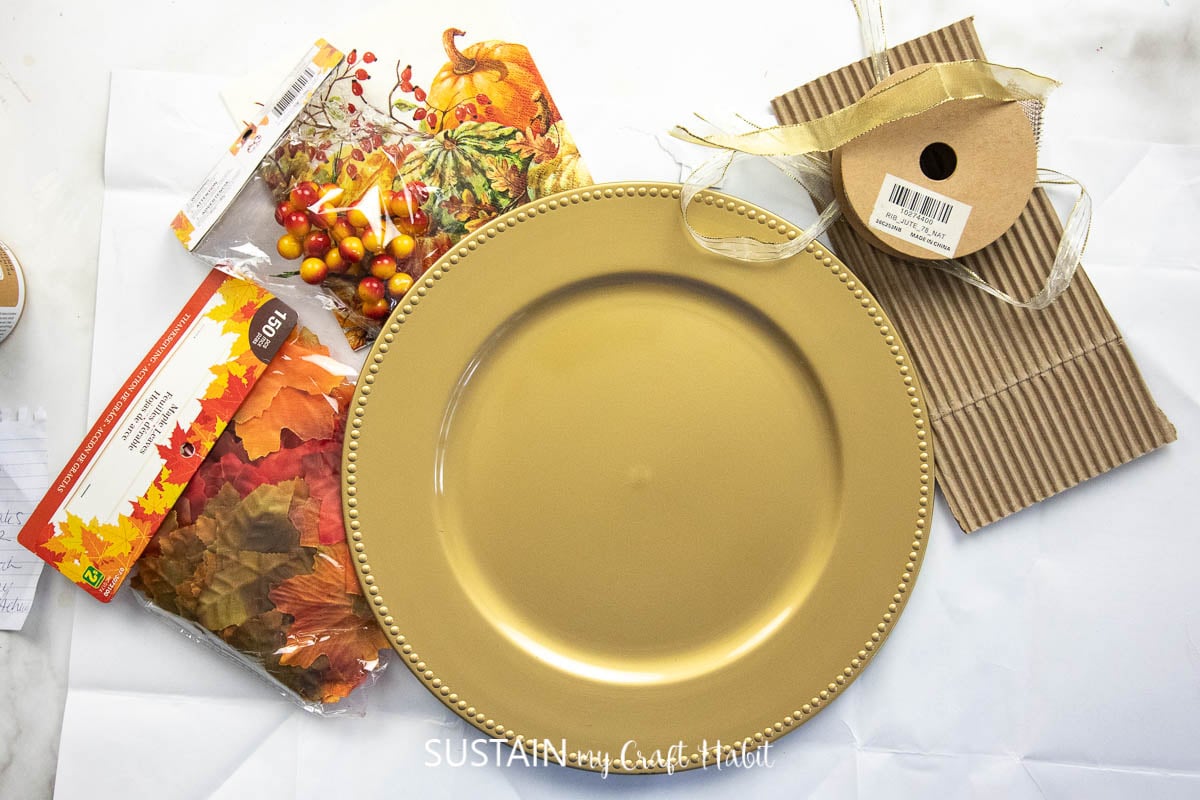
- Gold charger plate (we got ours from the dollar store)
- Printed paper napkins
White paint - Decoupage glue or
Mod Podge Paint brushes - Water pen
- Ribbon
- Faux leaves and berries
- Diamond dust
EasyPress Mini Hot glue gun
How to Make a Fall Harvest Dollar Store Charger Craft
I shared the tutorial for this fall harvest craft on a Facebook Live which you can catch here. Or if you prefer the photo tutorial, continue reading below.
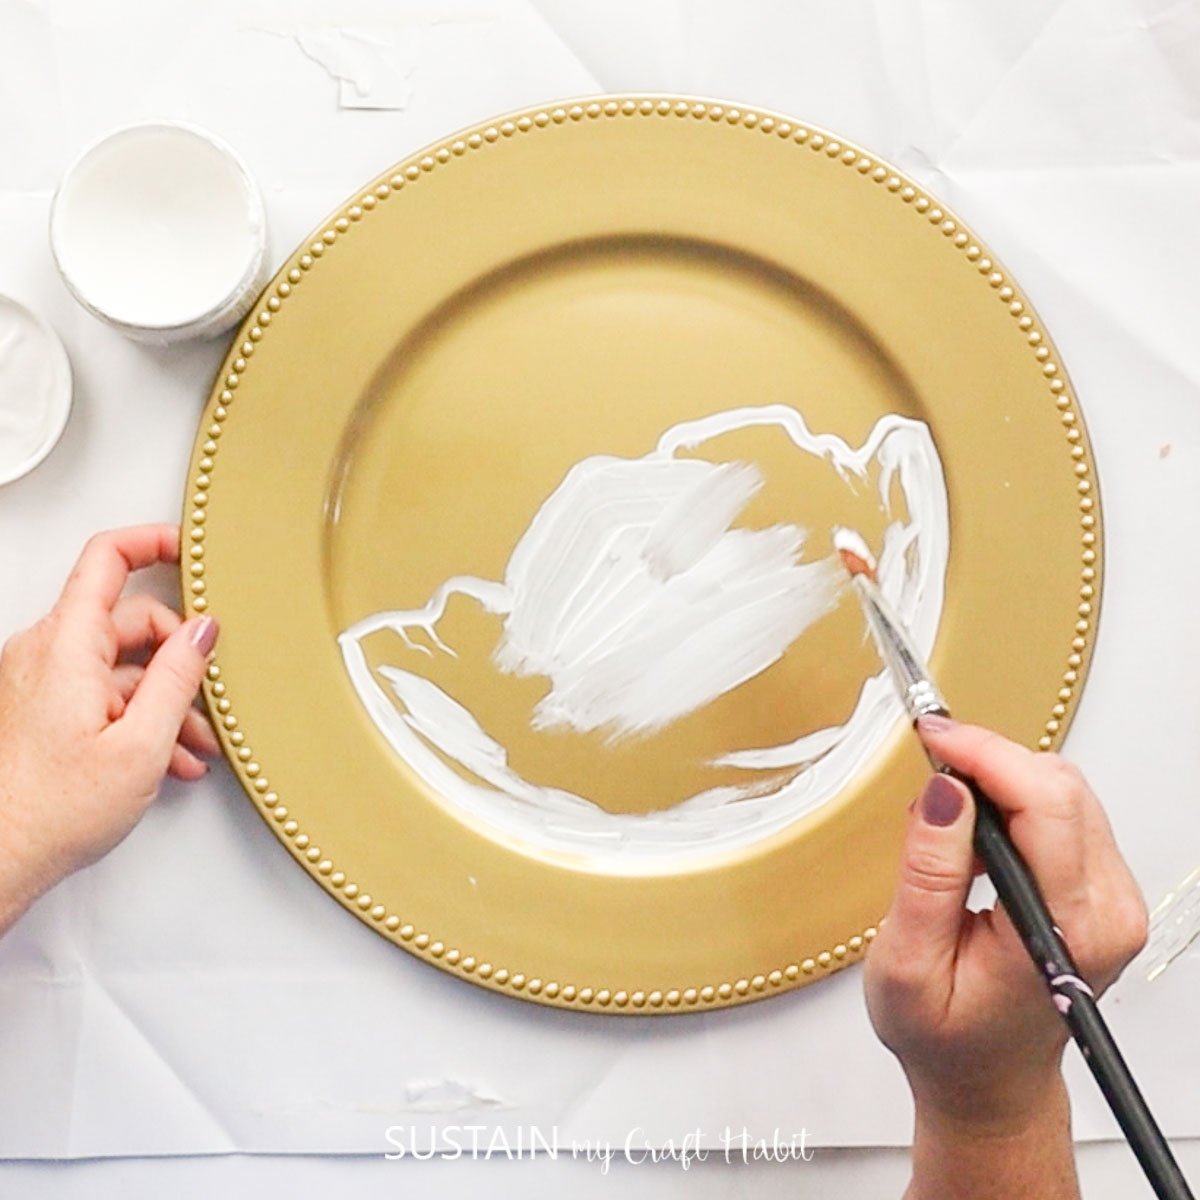
Brush on a coat of white paint on to the bottom of the charger plate. Leave the paint to dry before applying additional coats for extra coverage.
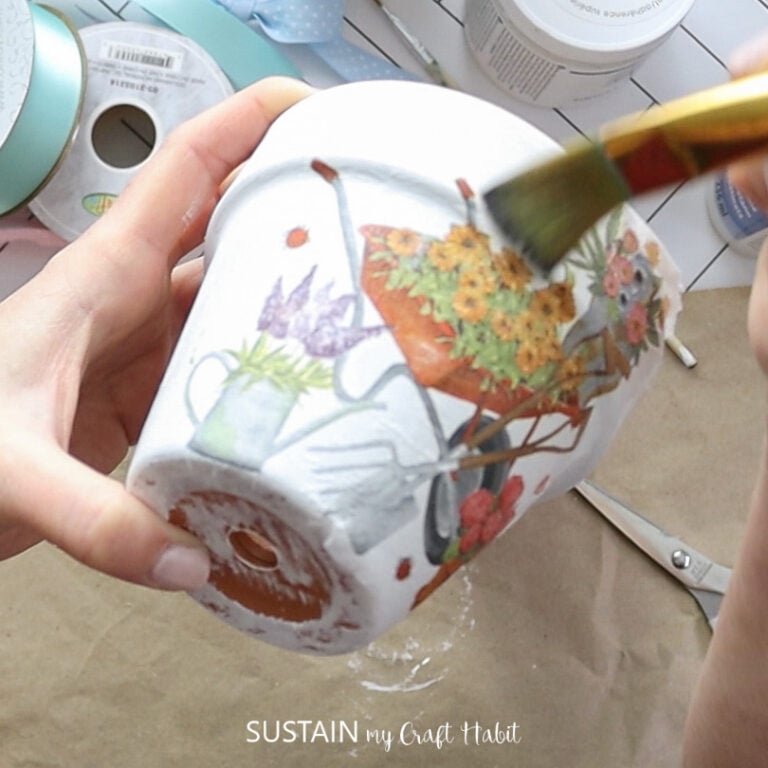
In the meantime, prepare the printed paper napkins by removing additional ply layers leaving just the one printed layer. Using a fine tip paintbrush or water pen “paint” the edges of the pumpkin design and carefully remove the design.

Take some Mod Podge or Decoupage and brush it over the painted part of the charger plate. Place the cutout on top of the glued area and gently press down with your fingers.
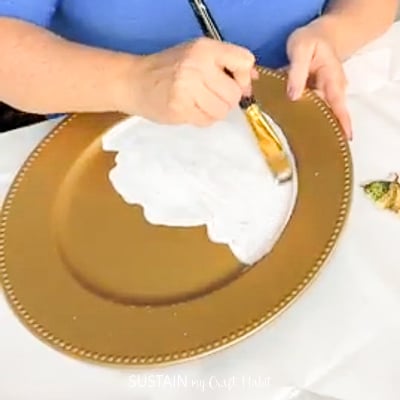
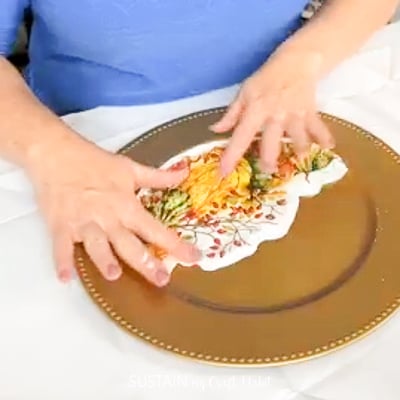
Additionally, you can place a piece of parchment paper over the glued napkin and take your heated iron and gently rub back and forth.

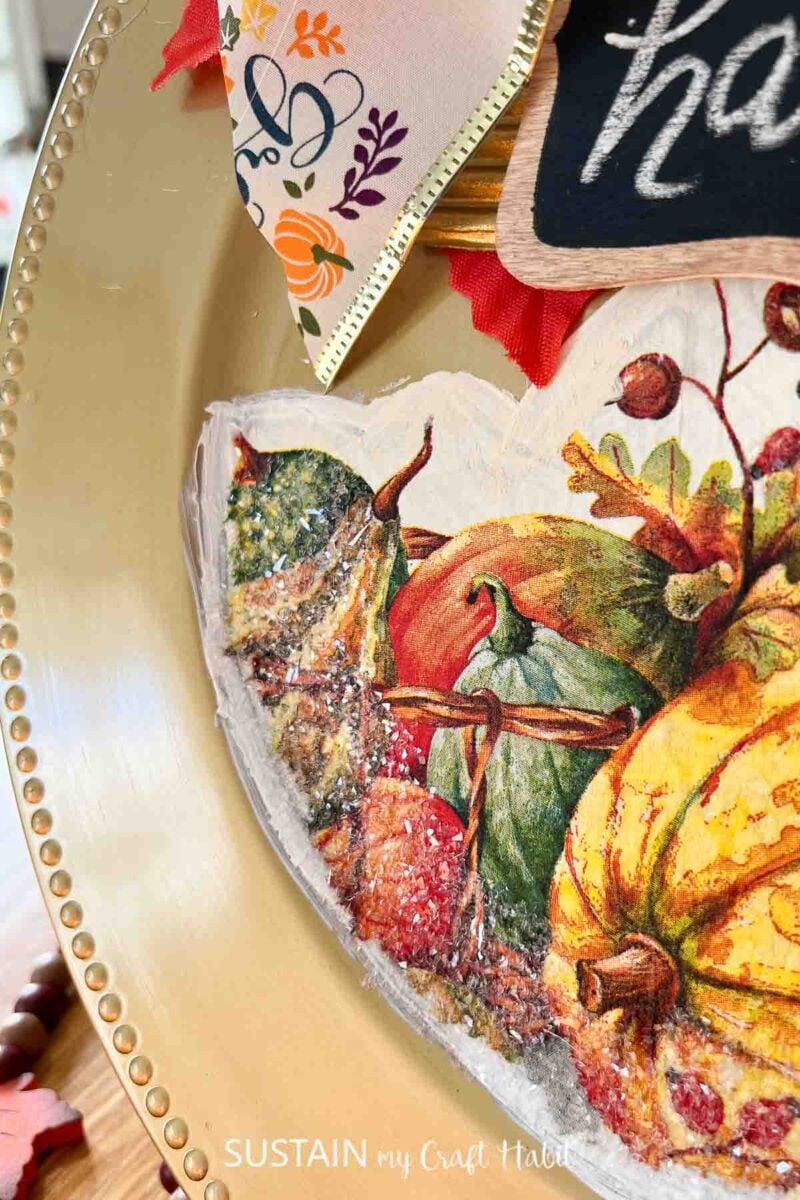
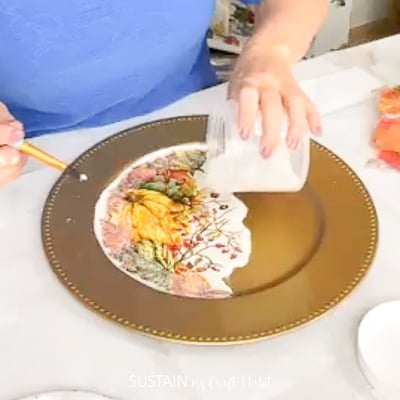
Apply some additional Mod Podge and then apply some diamond dust. Shake off any excess and let it dry.
Next hot glue faux leaves, berries, a bow and any other embellishments onto the charger plate until you’re happy with the look.
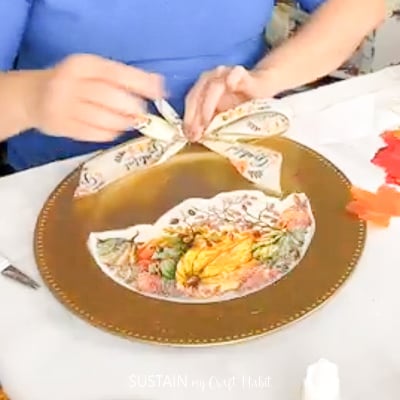
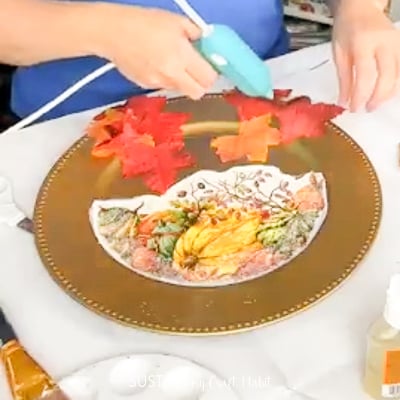
And now you have a beautiful fall harvest sign.
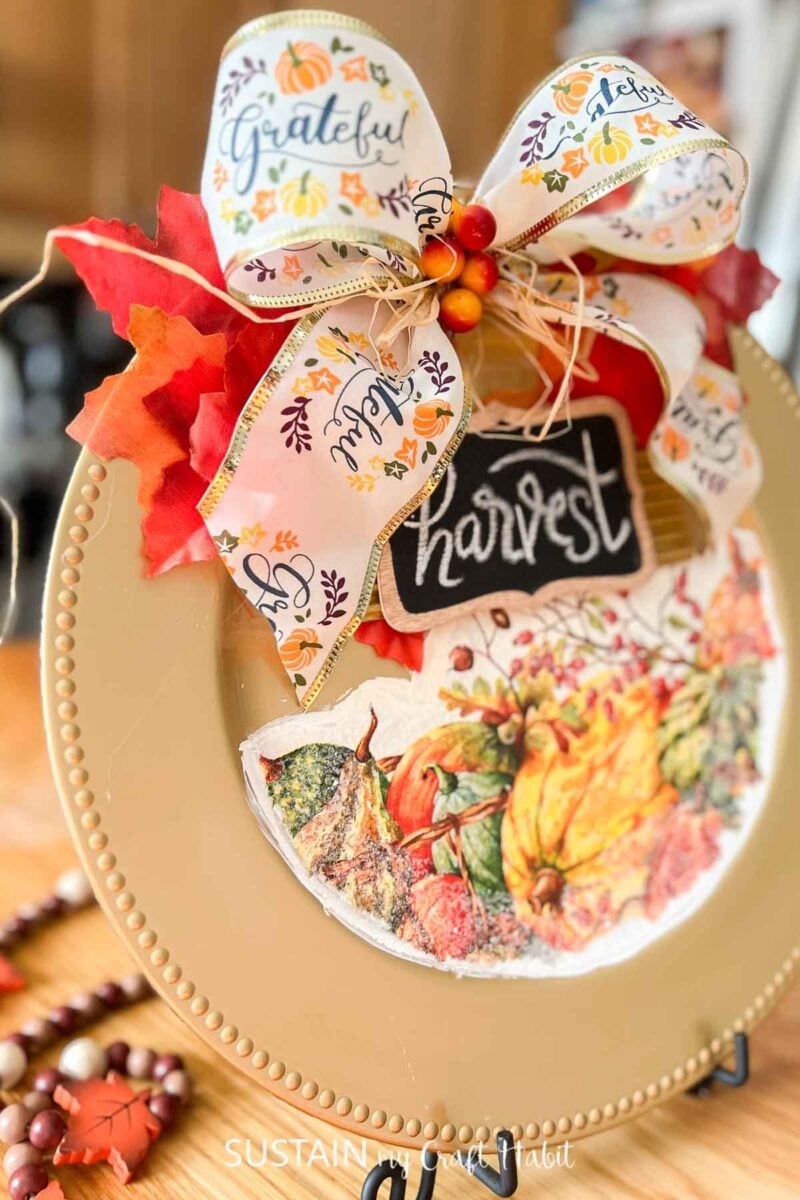
Add Charm And Warmth To Your Home
Don’t be afraid to get creative and explore the endless possibilities of dollar store crafts. With a little bit of imagination, you can turn simple items into beautiful pieces that will add charm and warmth to your home.
So why not give these fall harvest chargers a try and see for yourself how easy and affordable it can be to decorate your home for the season? We hope this blog post has inspired you to unleash your inner crafter and make your fall harvest table setting truly unique.
More Fall Crafts
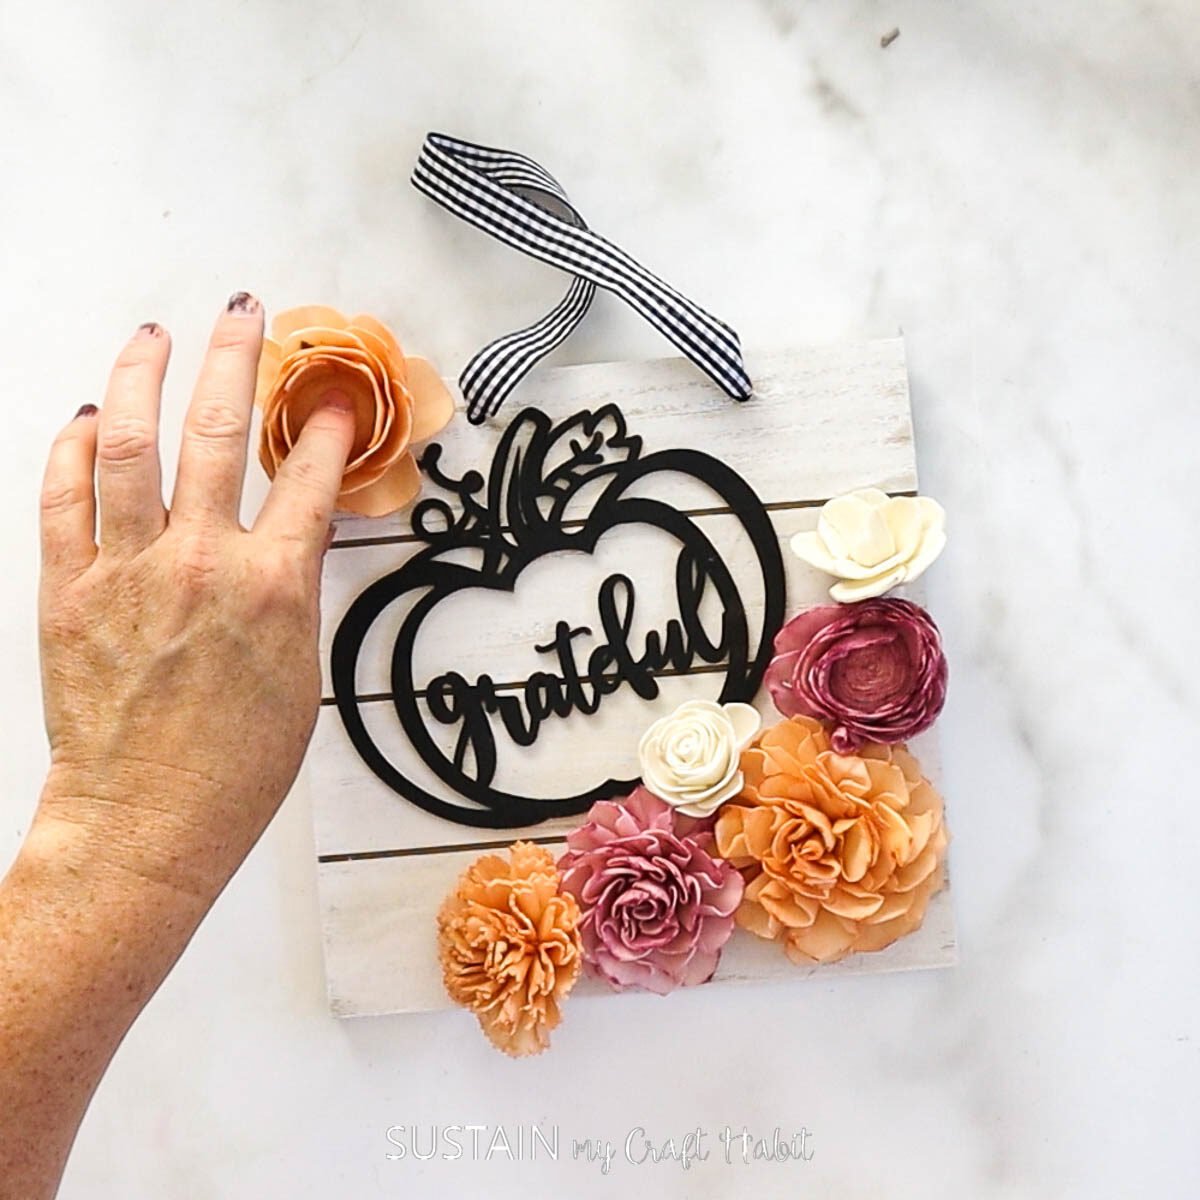
- Fall Sign with Sola Flowers
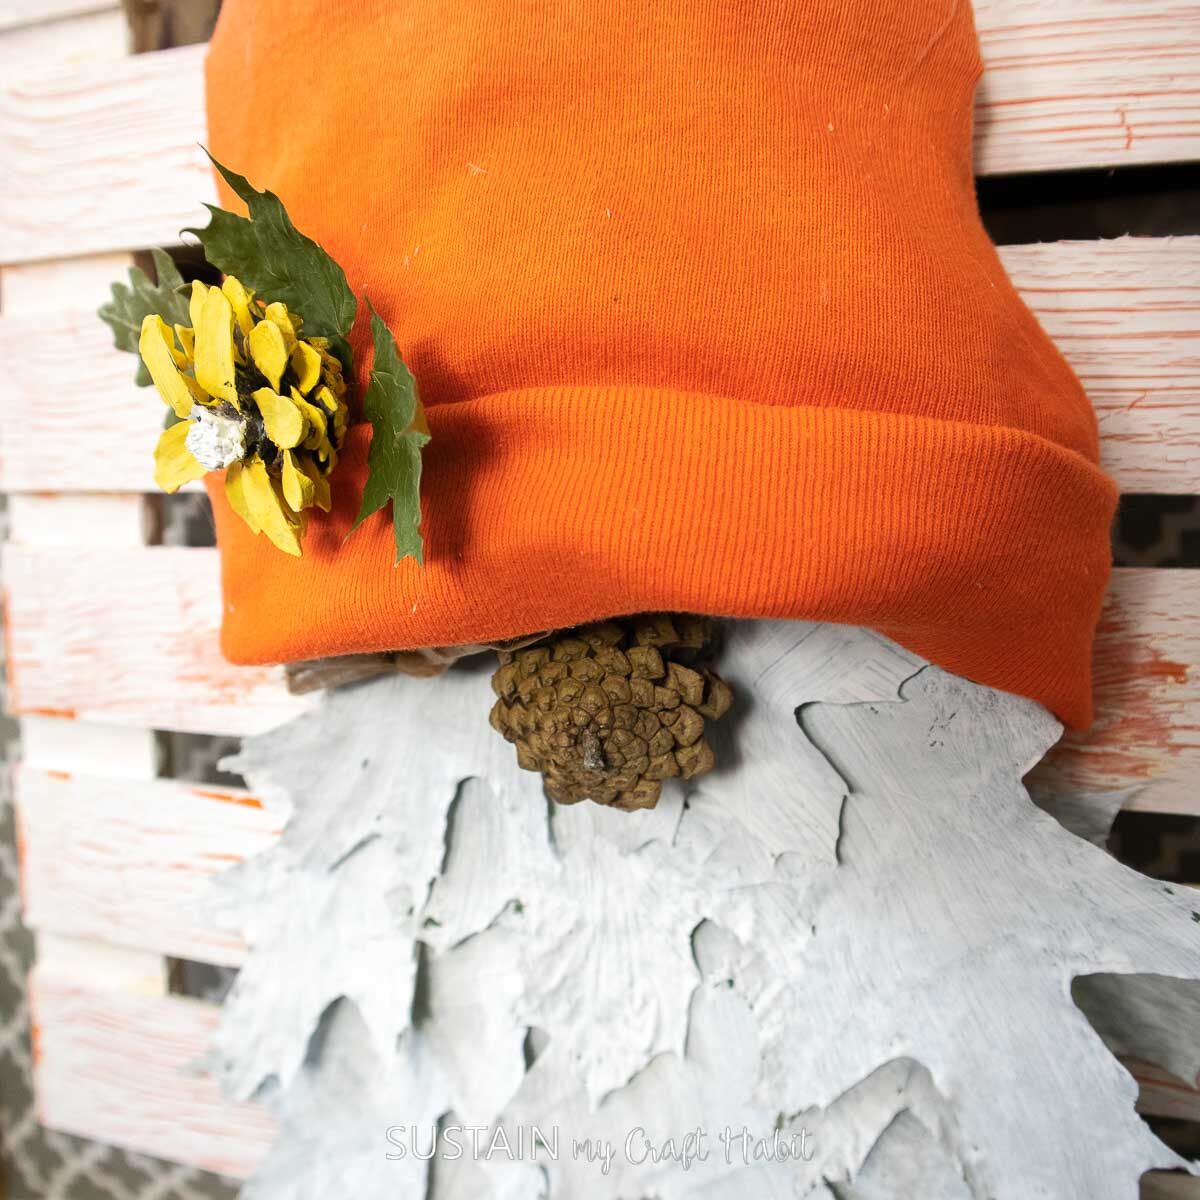
- Fall Gnome Decor using Pressed Leaves
- Fall Door Hanger with Dollar Tree Supplies
- Fall Themed Centerpiece
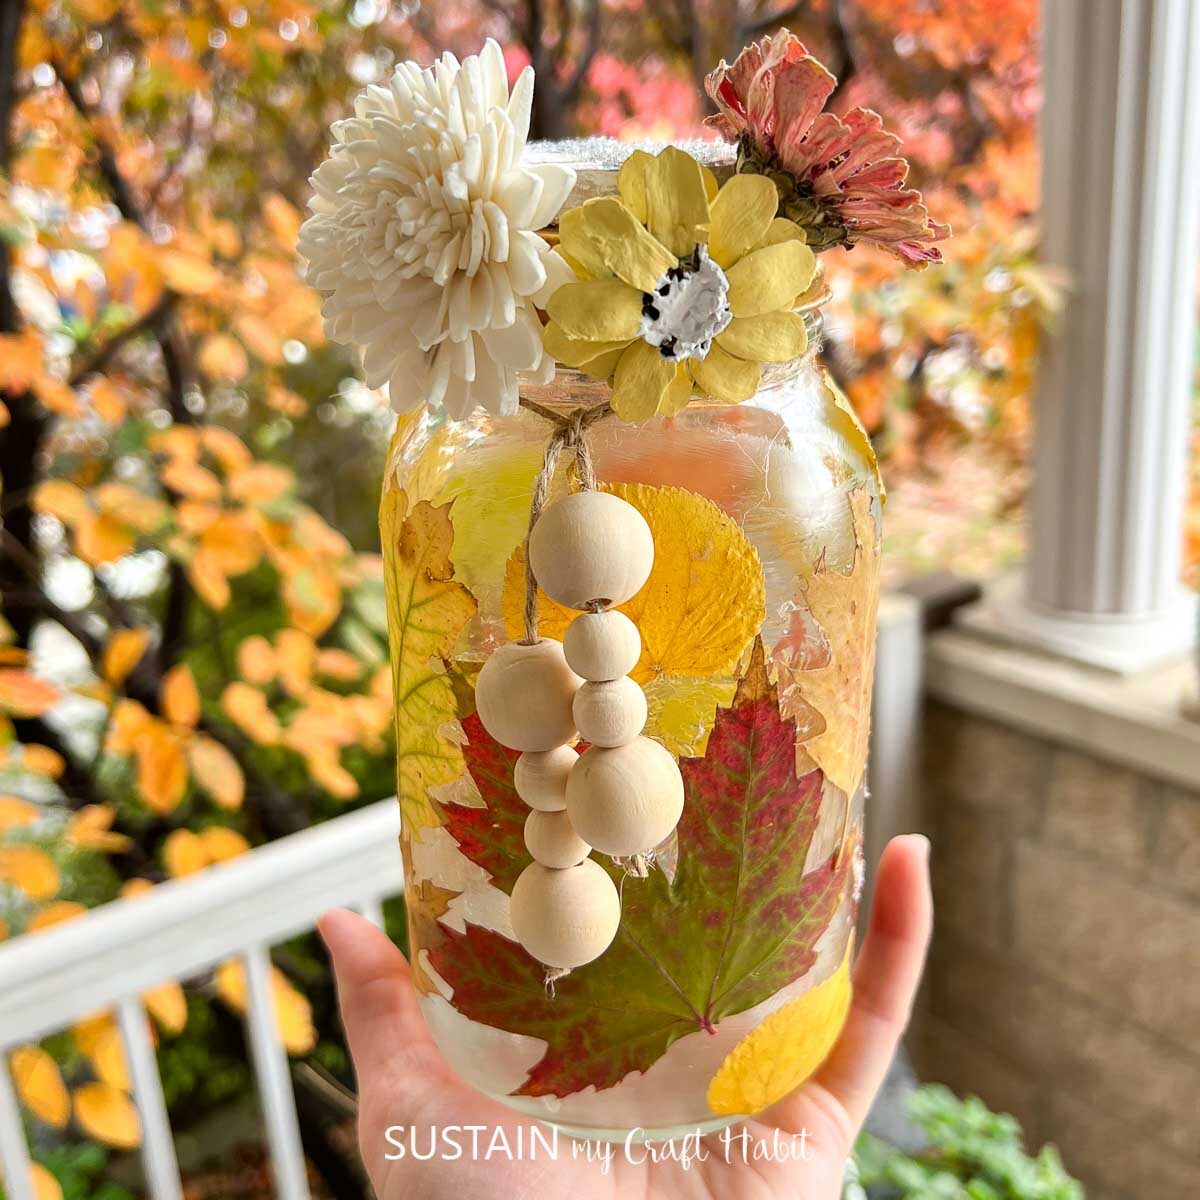
- Fall Leaf Luminaries


Become a Sustain My Craft Habit insider to receive fun freebies!
Like it? Pin it for later!

Fall Harvest Dollar Store Charger Craft
Materials
- Gold charge plate
- Printed paper napkins
- White paint
- Decoupage glue or Mod Podge
- Paint brushes
- Water pen
- Mini iron
- Ribbon
- Faux leaves and berries
- Diamond dust
- Hot glue
Instructions
- Brush on a coat of white paint on to the bottom of the charger plate. Leave the paint to dry before applying additional coats for extra coverage.
- Using a fine tip paintbrush or water pen “paint” the edges of the pumpkin design napkin and carefully remove the design.
- Take some Mod Podge or Decoupage and brush it over the painted part of the charger plate.
- Place the cutout on top of the glued area and gently press down with your fingers.
- Apply some additional Mod Podge and then apply some diamond dust. Shake off any excess and let it dry.
- Next, hot glue faux leaves, berries and a bow onto the charger plate until you’re happy with the look.

