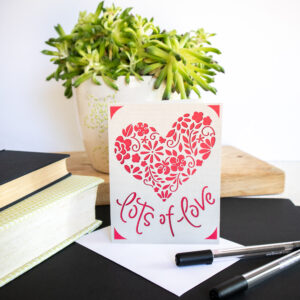
Handmade Valentine’s Day Card with Cricut Joy
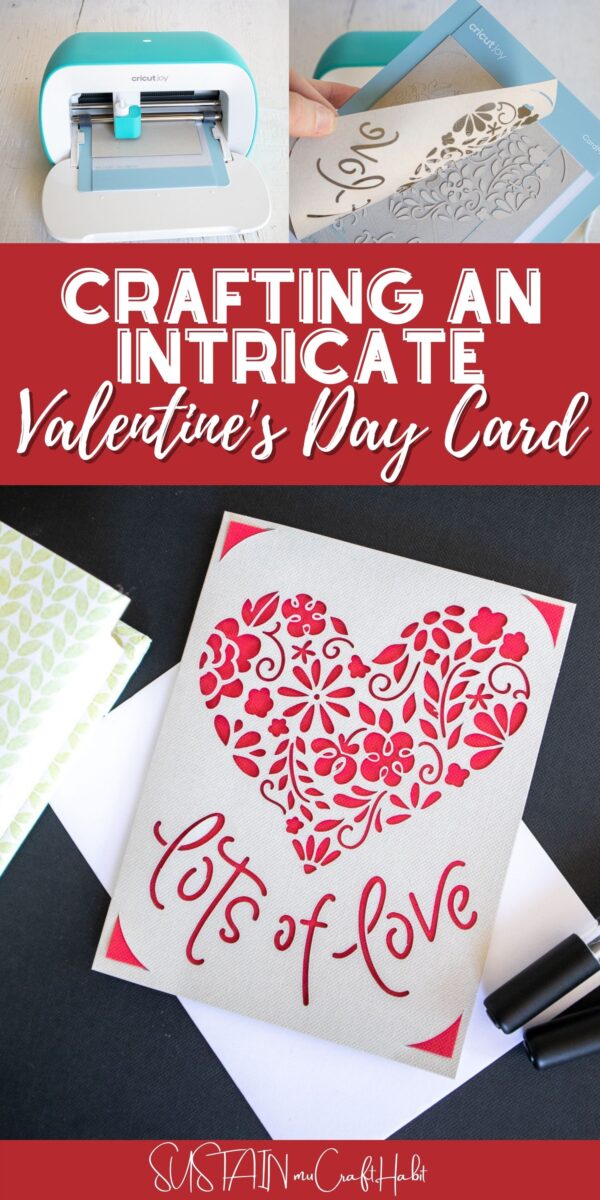
Excited to use Cricut joy cards but not sure where to start? We have you covered! There is no type of obsession like cutaway cards. Once you hand out your first handmade Valentine’s Day card you will never buy a card in a store again!
Using Cricut Joy to make the best homemade cards
There is no doubt that the world is getting more digital every single day. We see less things being on paper. Yet as a society we still love buying and receiving cards! I know I’ve spent many Valentine’s Days in the past walking up and down a card aisle, trying to find the perfect card that has the best meaning for whomever I was going to give it to.
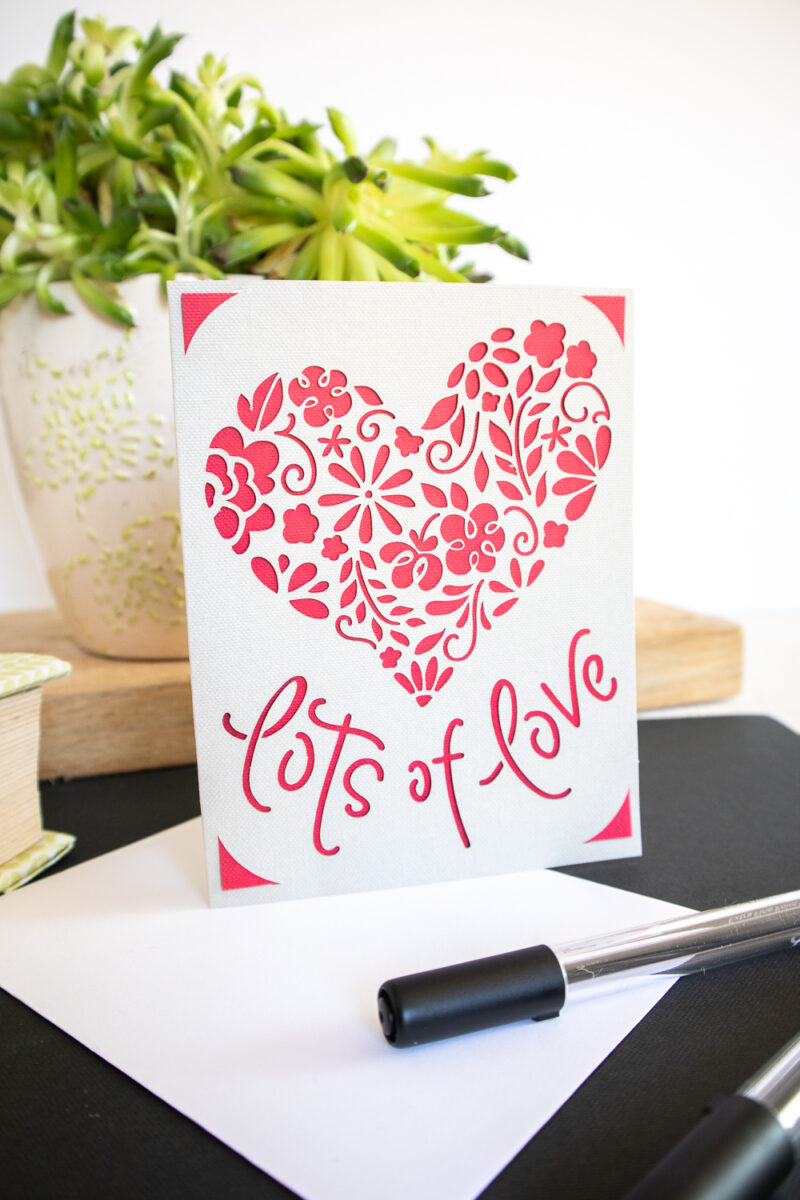
There’s nothing more meaningful though than a homemade card! Imagine the look on your friend or loved one’s face when you give them an intricate and beautiful card – that you made yourself!
If you’ve never used cricut joy cards before, now is the time! Let’s dive in to learn how to make these for the most thoughtful Valentine cards yet. And if you need more card making inspiration, check out these creative Cricut Christmas cards and homemade birthday card ideas.
Get instant access to our resource library filled with SVG cut files and other Cricut craft ideas!
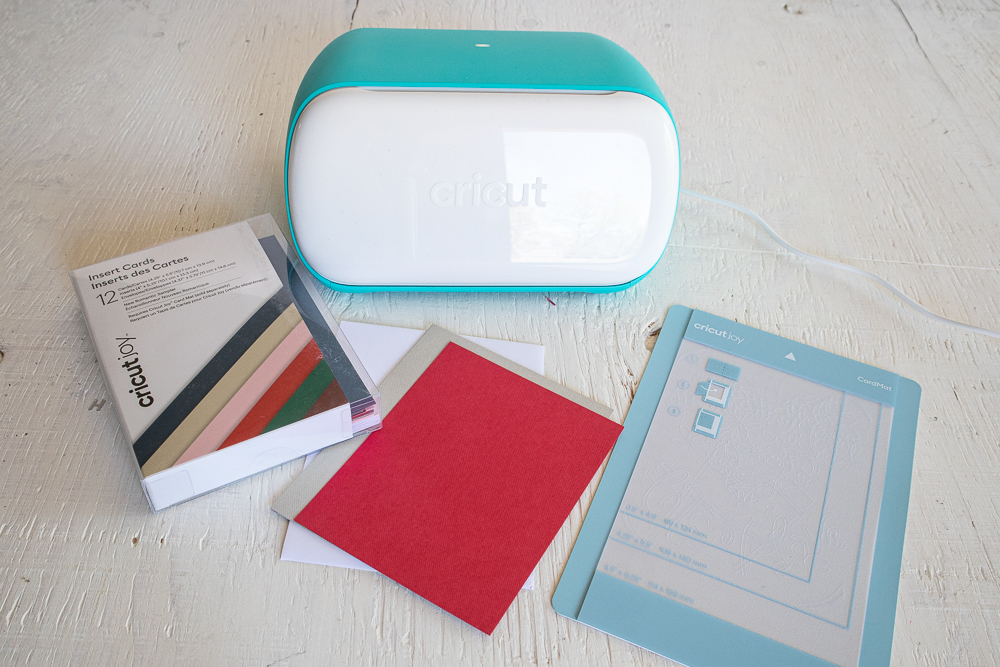
Materials Needed
Disclosure: This post contains affiliate links for your shopping convenience. Should you choose to purchase through them, we will make a small commission at no extra cost to you. You can read our full disclosure policy here.
- Cricut Design Space Card Project Image #M10B97948
Cricut Joy with Fine Point Blade- Card Mat
- Cricut Joy Insert Cards, New Romantic Sampler using Khaki card color and Burnt Red Insert
How to Make a Handmade Valentine’s Day Card with Cricut Joy
Preparing the Image:
Open the project file directly from Design Space. Alternatively:
- Open Cricut Design Space.
- Click on the “+” sign to start a new project, opening up a blank canvas.
- Click on the Images button from the toolbar.
- Search card image #M10B97948 and then click on the image to insert it on the canvas.
Cutting the Image on the Card:
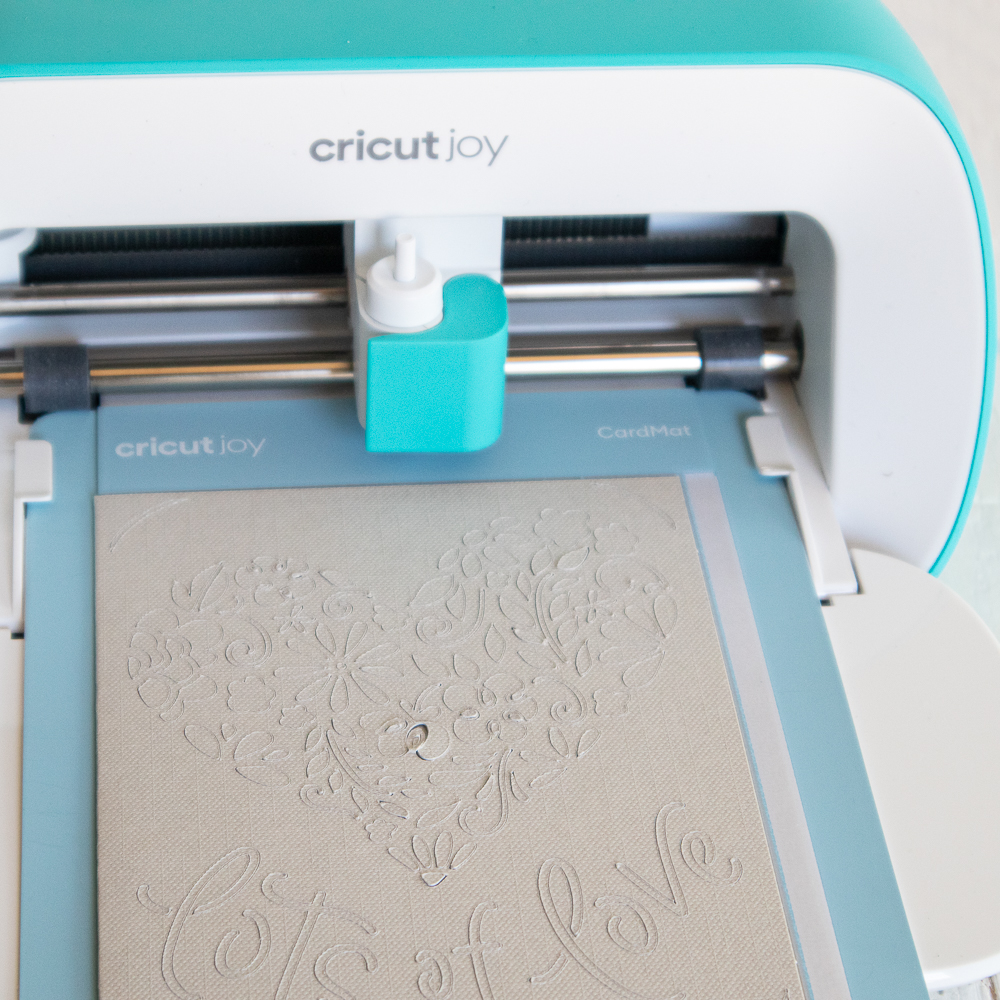
- Ensure the machine is set to Cricut Joy, then select “Make It” in the upper right corner to proceed with cutting.
- Choose “On Card Mat”.
- Adjust the card size to 4.25” x 5.5”.
- Remove the protective plastic cover from the mat.
- Open the pre-folded card and from the left, slide one side of the folded card under the plastic divider.
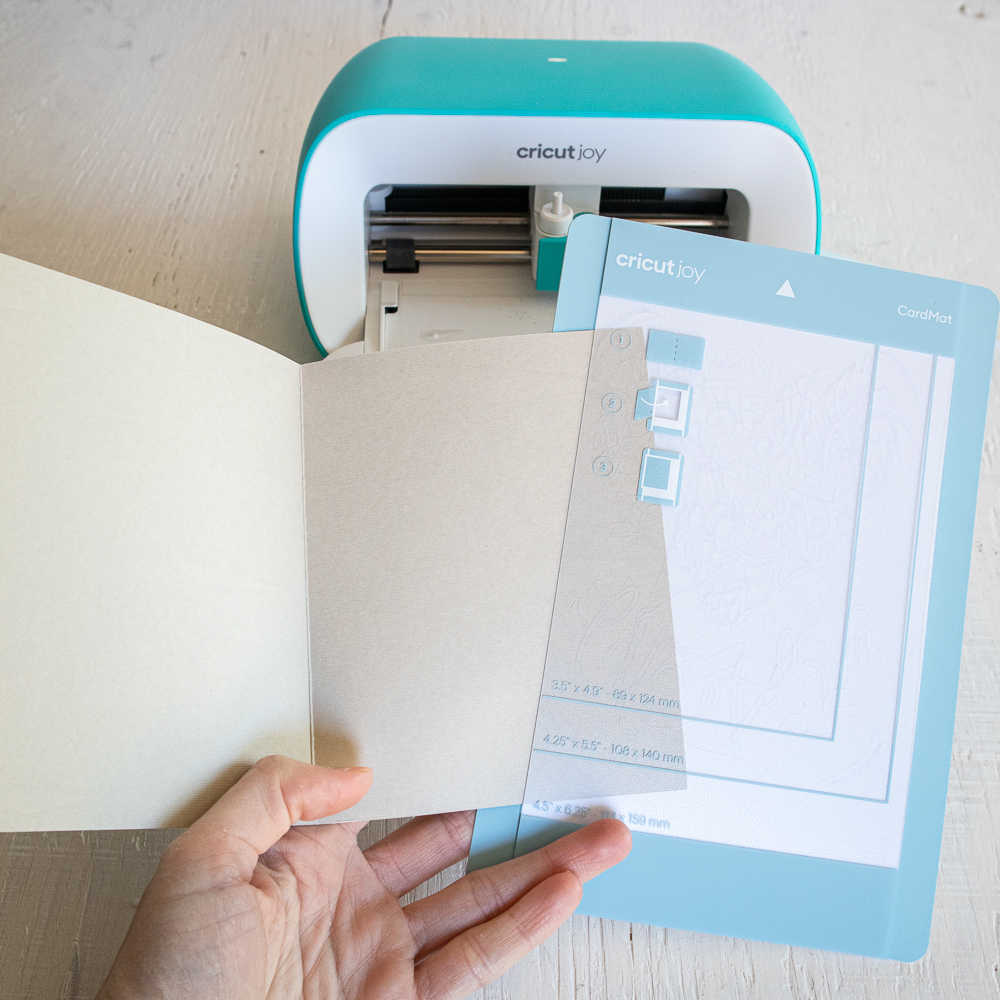
Make sure the card is flush with the top, then align the inside fold of the card against the plastic divider.
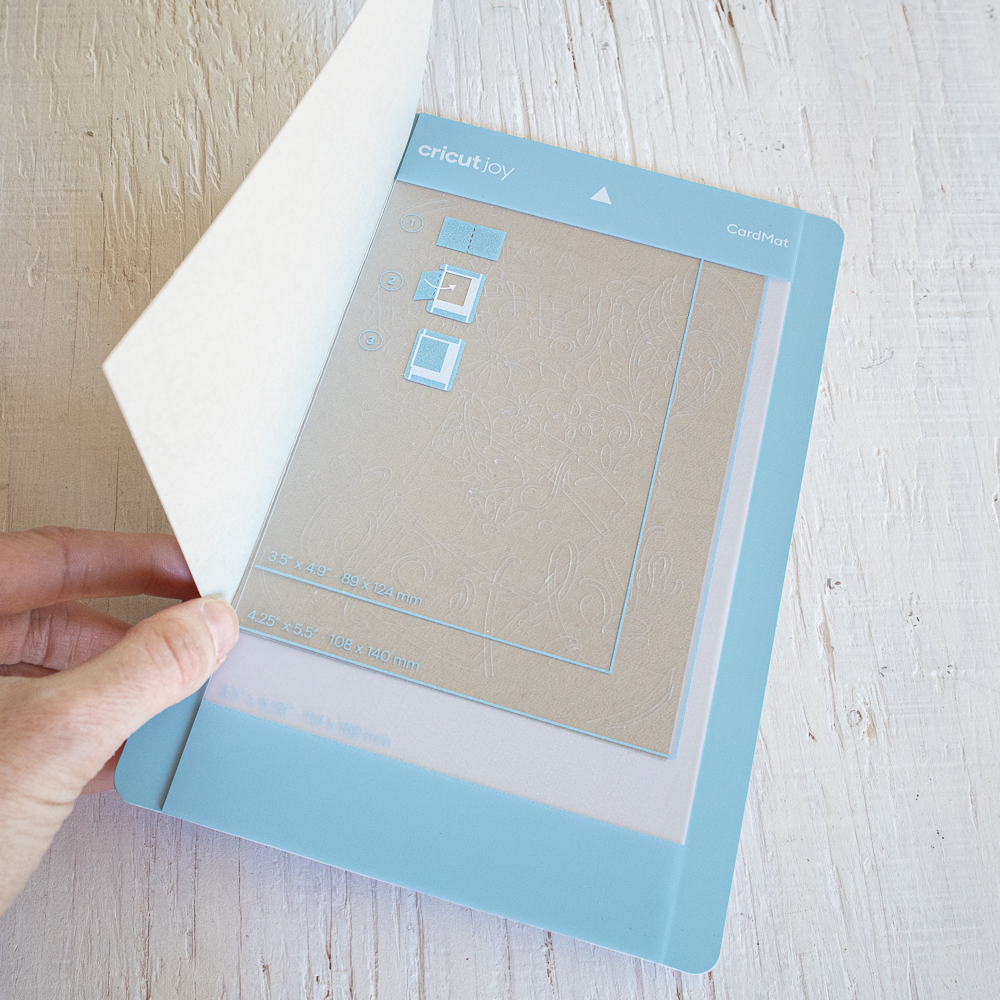
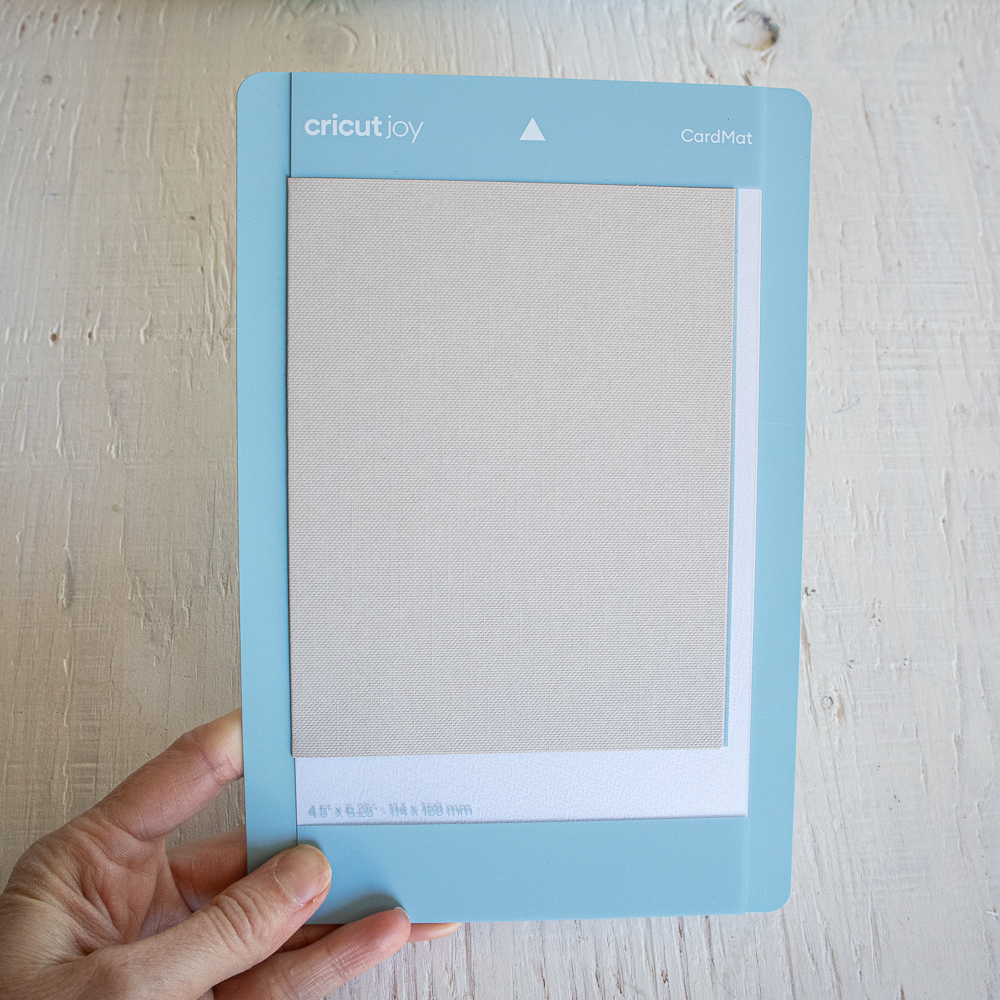
Press the front of the card down against the adhesive on the mat.
Select browse all materials and choose “Insert Card-Cardstock” from the list of materials.
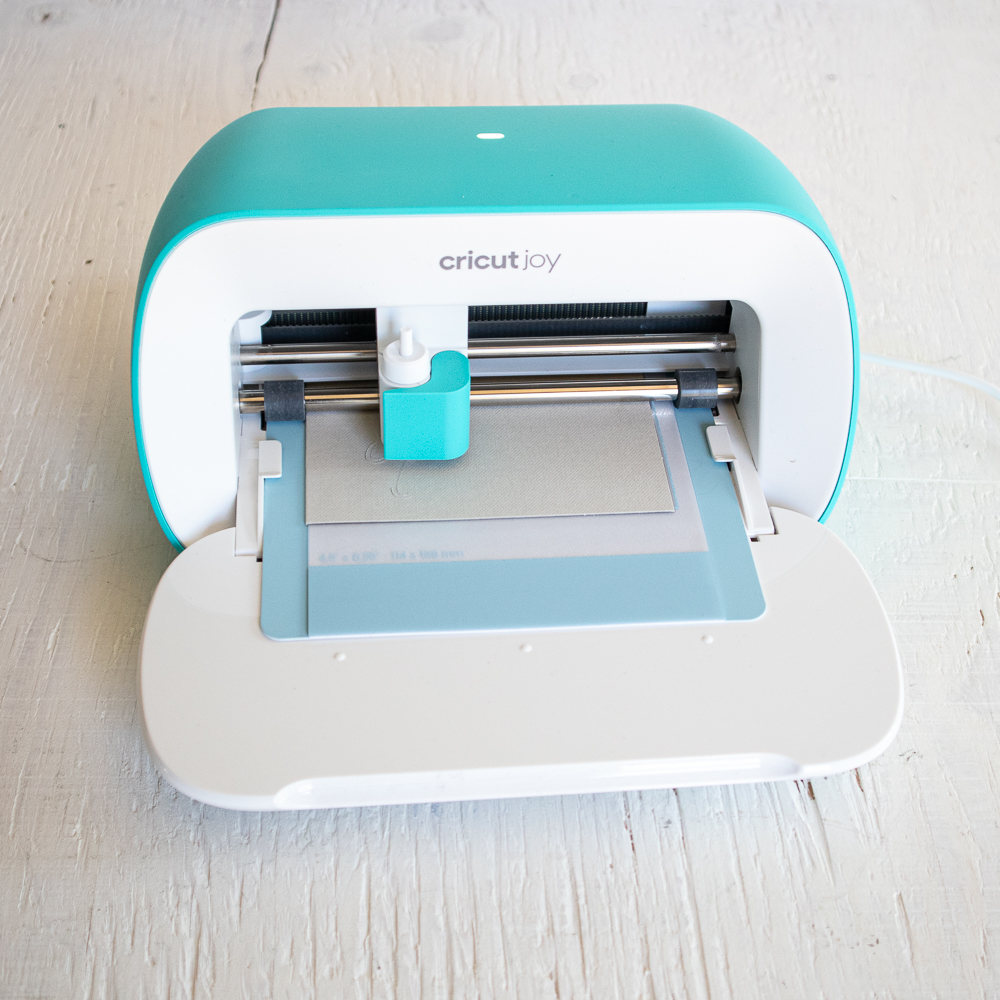
Following the instructions prompted on the screen, cut out the pattern.
Finishing:
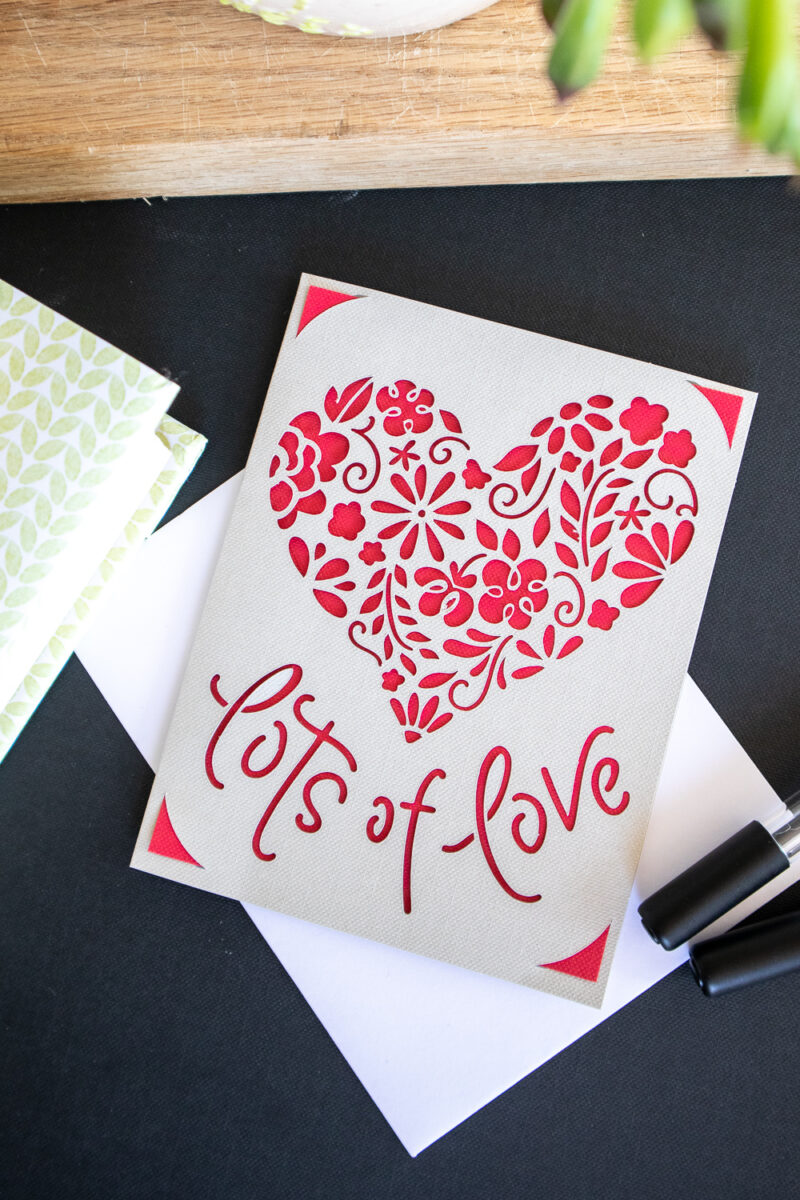
Remove the mat from the machine when the cut is complete. Carefully peel off the mat from the card and trim or remove any small attached pieces.
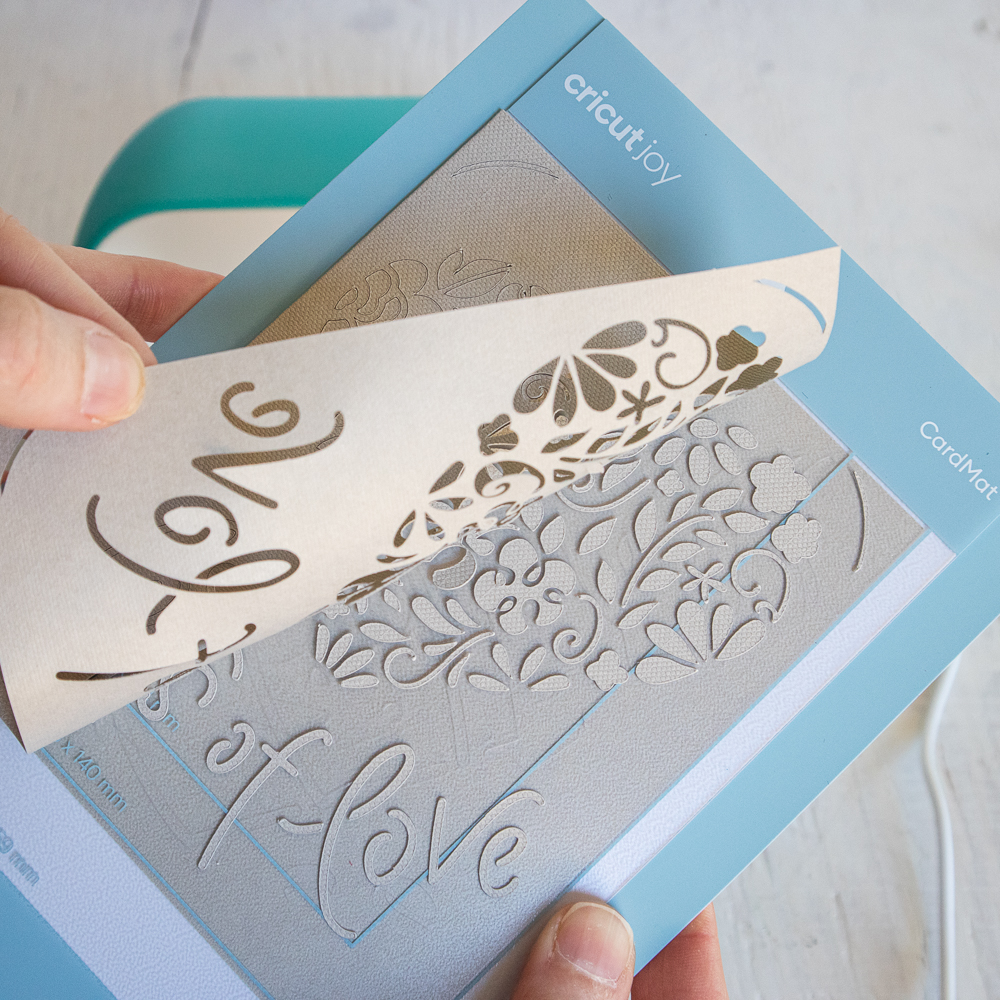
Tuck the insert into the corner cut-outs to hold in place.
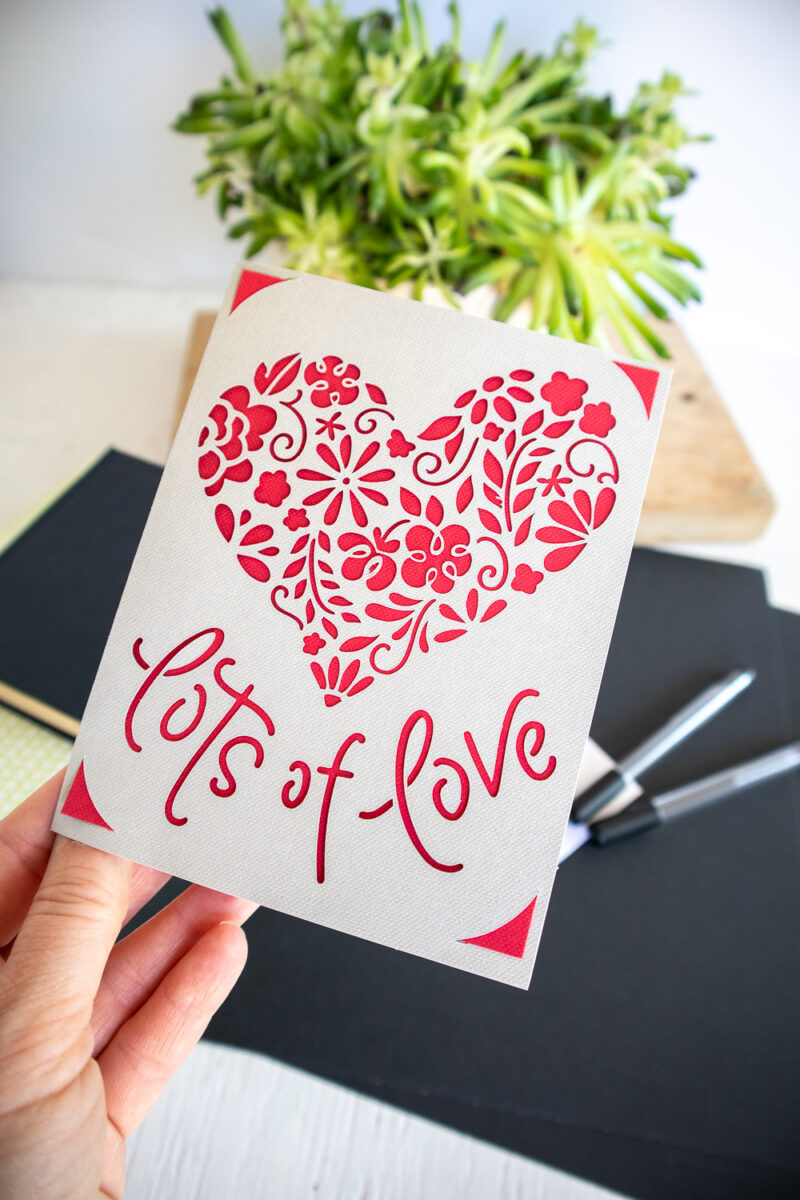
That’s it! You’ve crafted a beautiful card that your sweetheart is sure to treasure! And this design is so versatile that you can use it year-round to send a special note to someone you love. Wouldn’t it also be lovely in different colors for a wedding? Be sure to check out these thougtful Cricut wedding ideas as well.
More Valentine’s Day Gifts to Make
Here are some more thoughtful ideas to send a smile to someone for Valentine’s Day:
- Free I Love U SVG File
- Valentine Candy Gift Jar
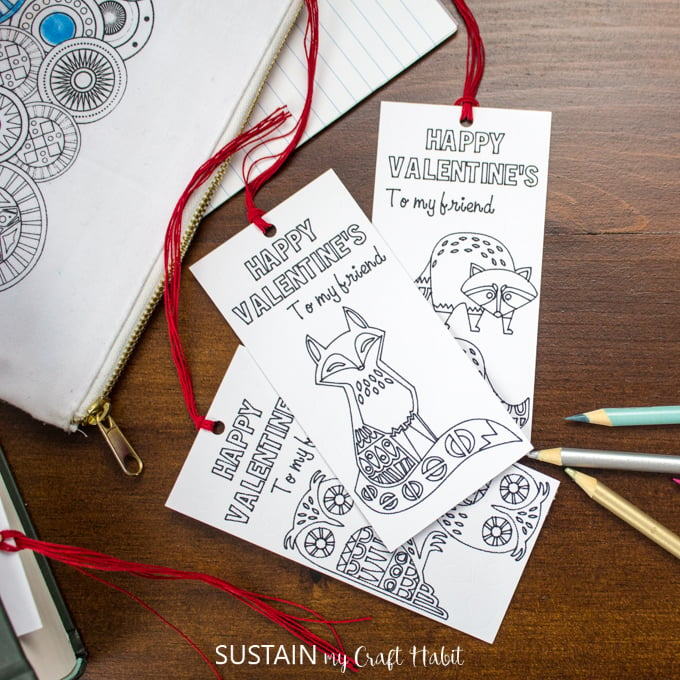
- Valentine’s Day Coloring Bookmarks
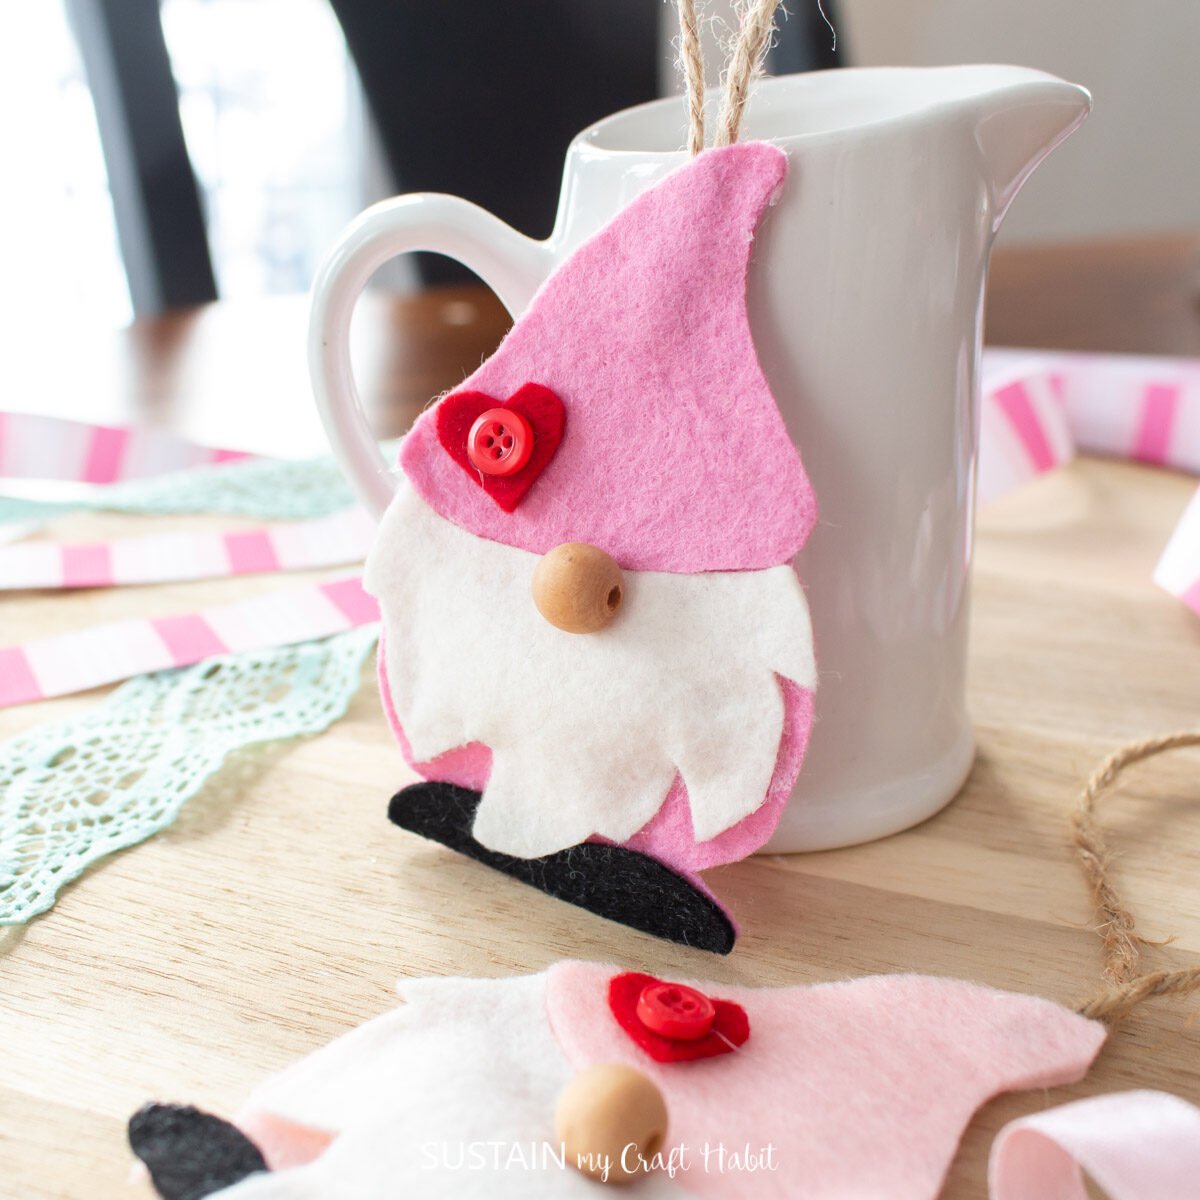
- Valentine’s Day Gnome Ornaments
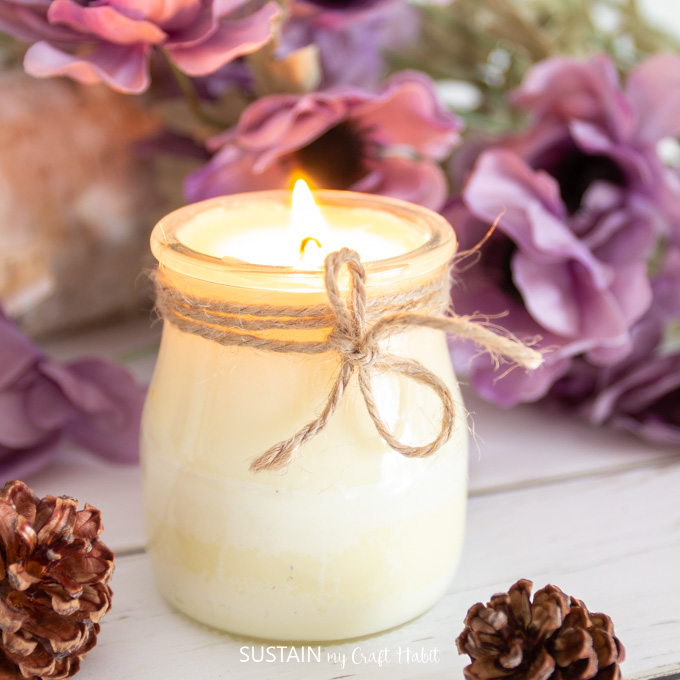
- Mason Jar Candle Holders with Cricut Heart Cut-Outs
- Be Mine Gnome SVG


We would LOVE to know- how did your cricut joy Valentine’s Day cards turn out? Make sure to show it off to us! Tag us on Facebook or Instagram– we can’t wait to see it!
Want to receive a ton of inspiration and money saving ideas for decorating, gift-giving and crafting? Join HERE!
Like it? Pin it for later!

Handmade Valentine’s Day Card with Cricut Joy
Materials
- Cricut Design Space Card Image #M10B97948
- Cricut Joy with Fine Point Blade
- Cricut Joy Card Mat
- Cricut Joy Insert Cards New Romantic Sampler using Khaki card color and Burnt Red Insert
Instructions
Preparing the Image:
- Open Cricut Design Space.
- Search card image #M10B97948 and then click on the image to insert it on the canvas.
Cutting the Image on the Card:
- Ensure the machine is set to Cricut Joy, then select “Make It” in the upper right corner to proceed with cutting.
- Choose “On Card Mat”.
- Adjust the card size to 4.25” x 5.5”.
- Remove the protective plastic cover from the mat.
- Open the pre-folded card and from the left, slide one side of the folded card under the plastic divider.
- Make sure the card is flush with the top, then align the inside fold of the card against the plastic divider.
- Press the front of the card down against the adhesive on the mat.
- Select browse all materials and choose “Insert Card-Cardstock” from the list of materials.
- Following the instructions prompted on the screen, cut out the pattern.
Finishing:
- Remove the mat from the machine when the cut is complete. Carefully peel off the mat from the card and trim or remove any small attached pieces.
- Tuck the insert into the corner cut-outs to hold in place.


How do I find this card in the cricut design space?