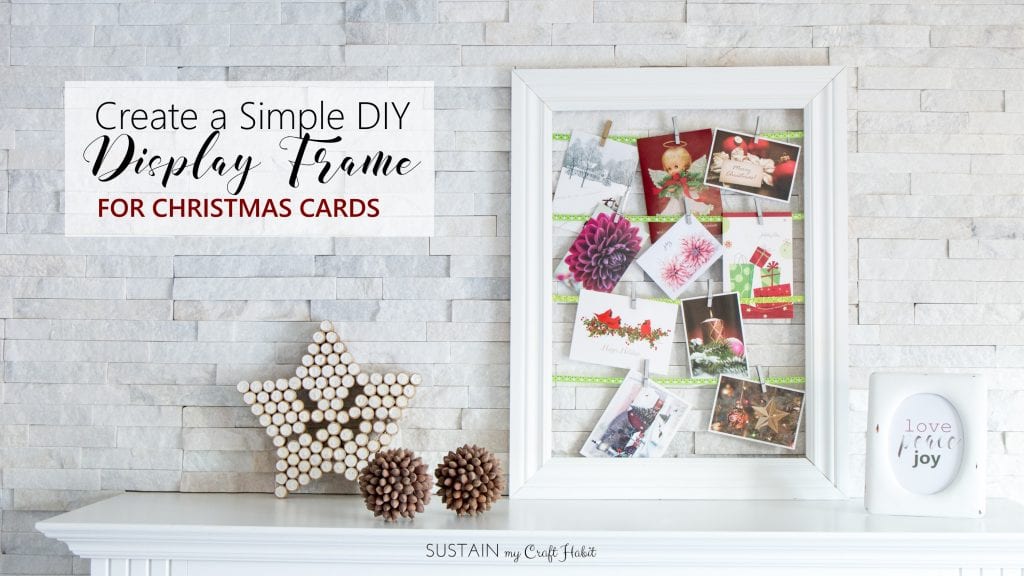
Simple DIY Christmas Card Display Idea: Create a Rustic Holiday Mantel With Us!

This is my blank fireplace mantel…
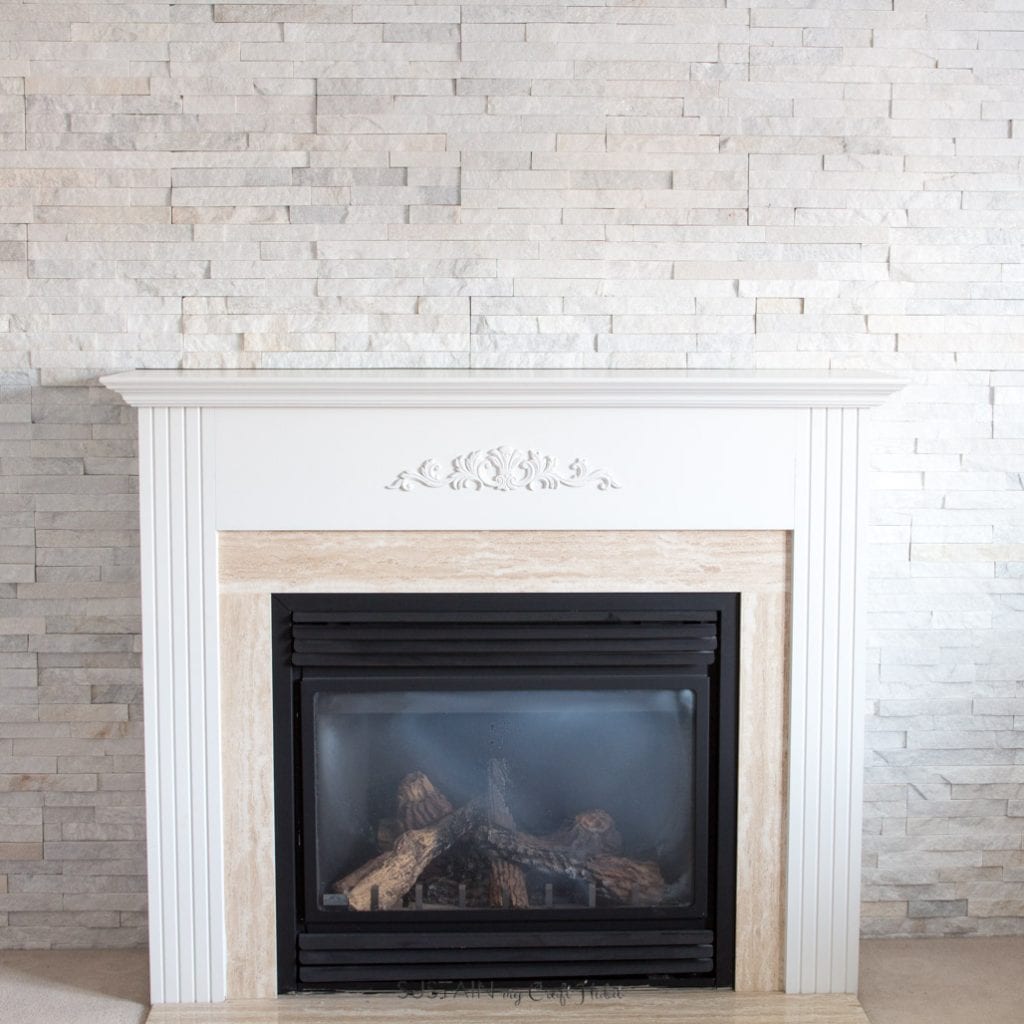
If you follow our blog you will have seen the top of this mantel many times as it is the only space in my entire home that the kids have learned they can’t dump their toys, crayons, litter, candies … onto!
We actually love the texture and colouring of the stone wall as it works really well with many of the coastal and nautical projects we like to make with driftwood and other natural materials.
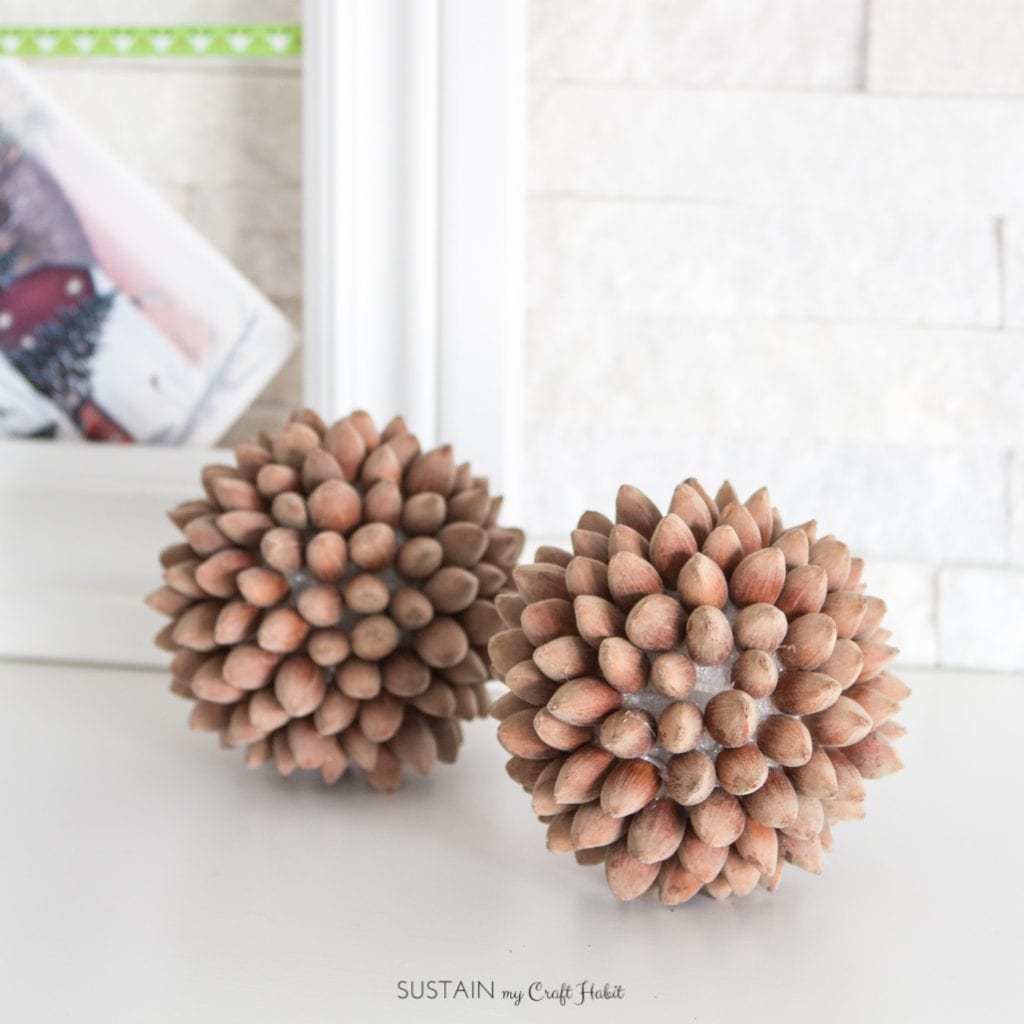
So this year, for the holidays we thought we’d try something fun and decorate this blank slate over the coming weeks with simple DIY ideas, so that it’ll be ready just in time for the holidays. We’ll be pairing a new DIY each week with one that we’ve shared on the blog in the past. For example, you can find the full tutorial to make these decorative hazelnut ball ornaments here.
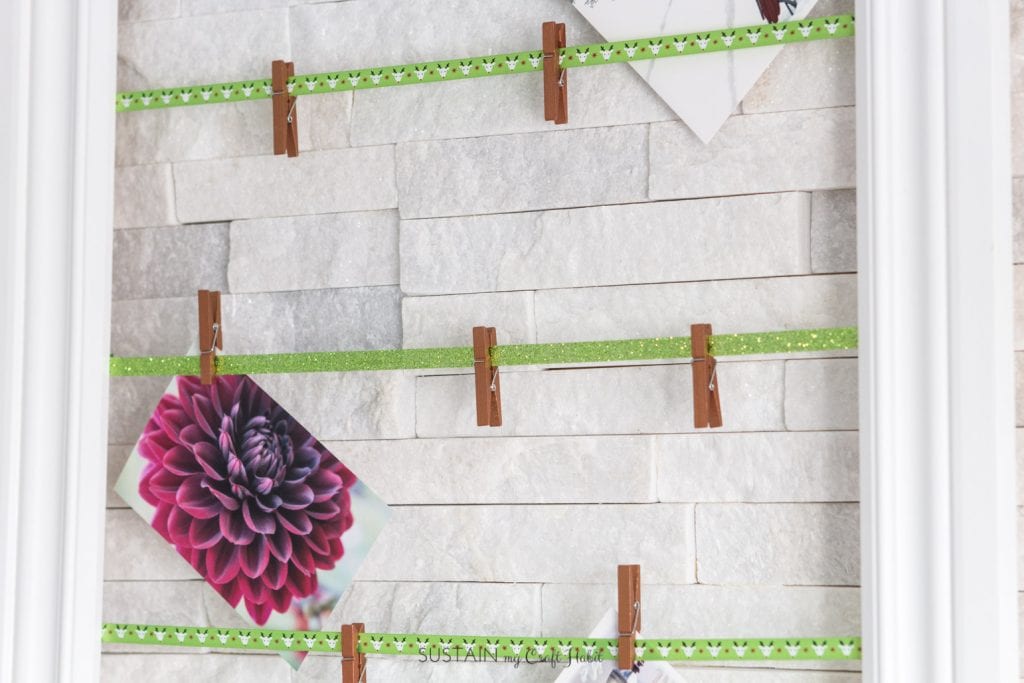
Our first project for this year’s mantle is a handy DIY Christmas greeting card display. We love getting Christmas cards each year, especially our friends’ photos of their growing kids. It’s so great to see how they change from year-to-year!
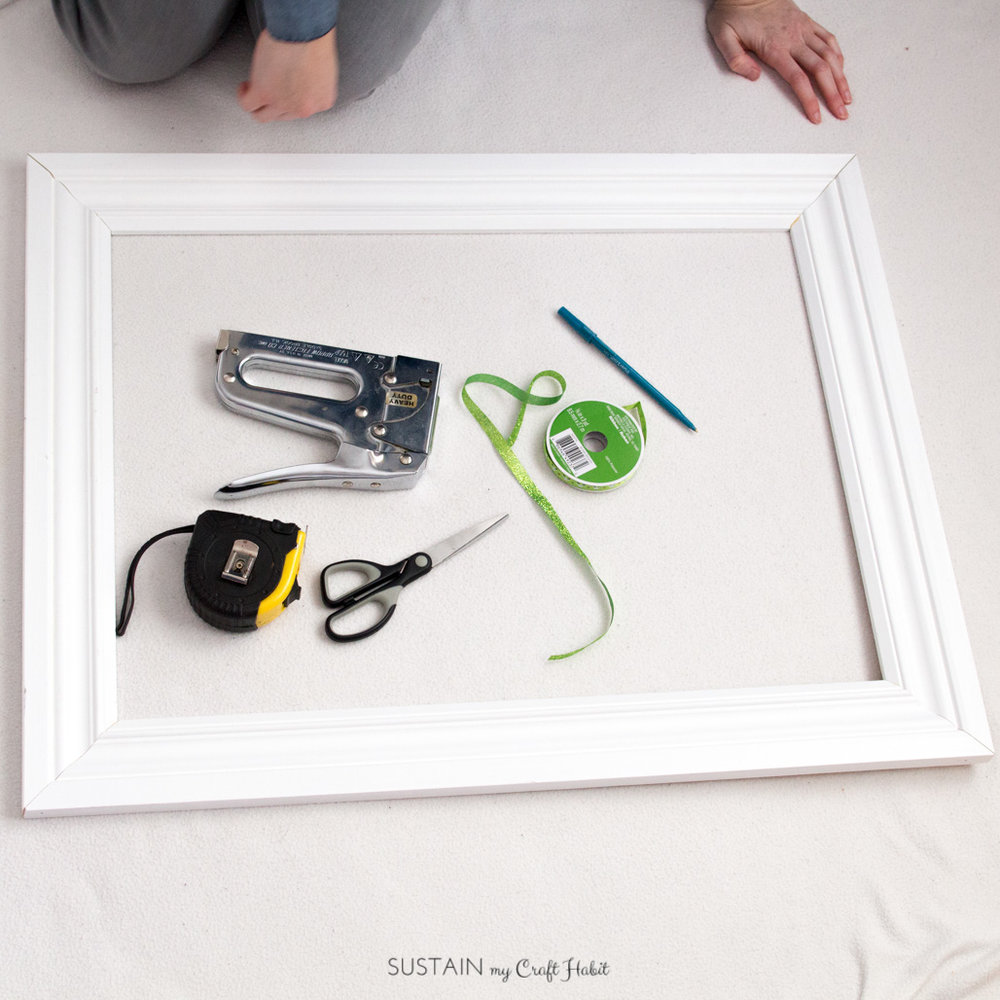
Materials needed to make your own DIY Christmas card display:
- large (at least 18″x24″) wood photo frame with backing and glass removed
- stapler gun
- decorative ribbon in colours of your choice such a these festive Christmas ones or these luxurious velvet ones
- scissors
Instructions to make your own framed greeting card display:
1. Paint the frame to a colour of your choice. We chose to keep ours white and use a fun lime green ribbon, but any color combination would work well.
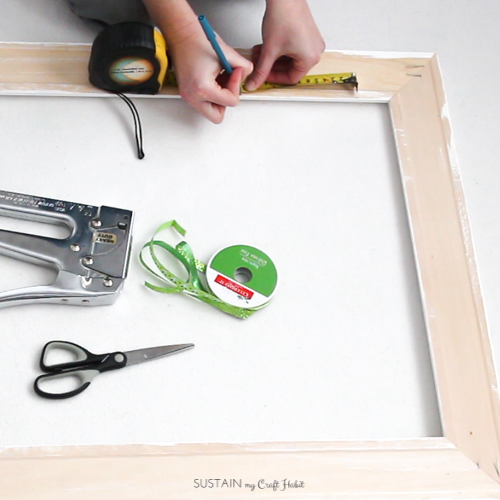
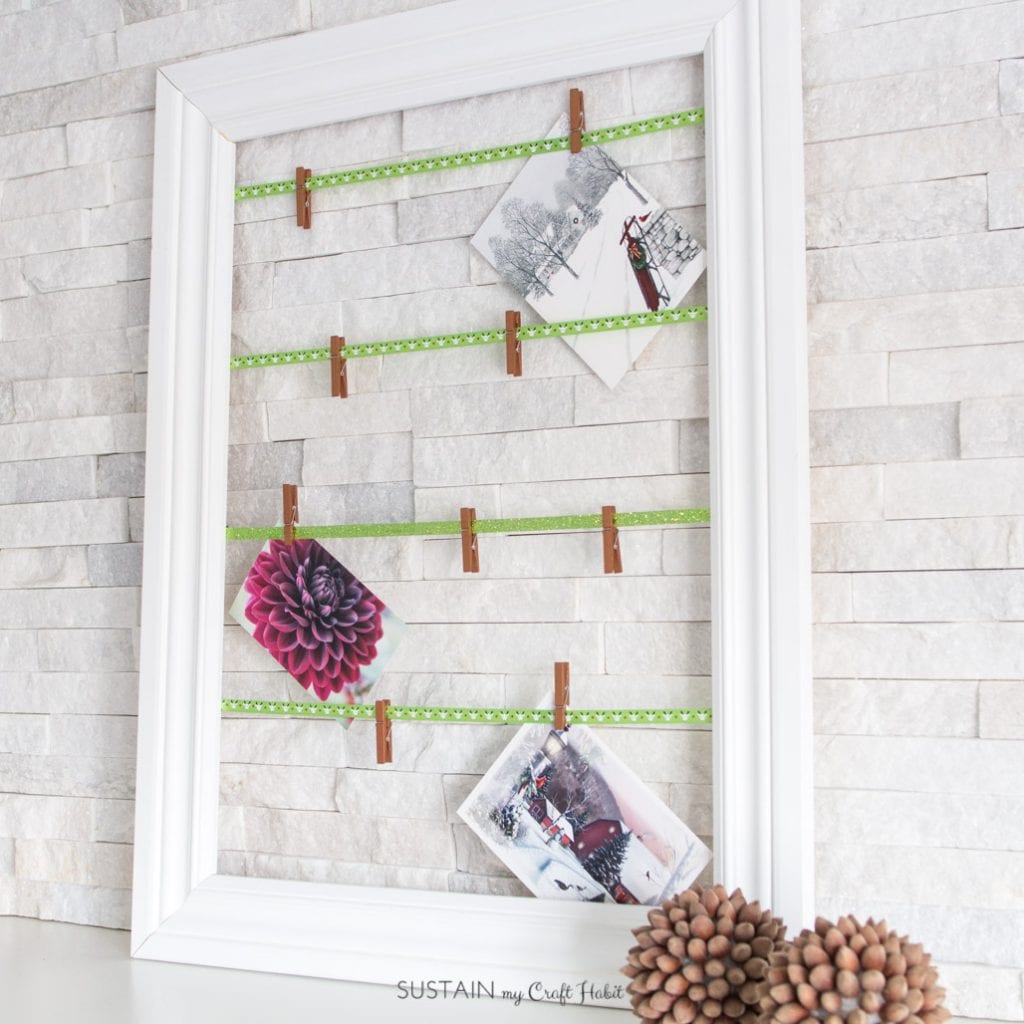
2. Turn the frame over and measure and mark where the strips of ribbon will go. We used four lengths of ribbon with the top one starting 1″ down from the inner top edge of the frame. Mark a matching set of lines on the opposite edge of the frame.
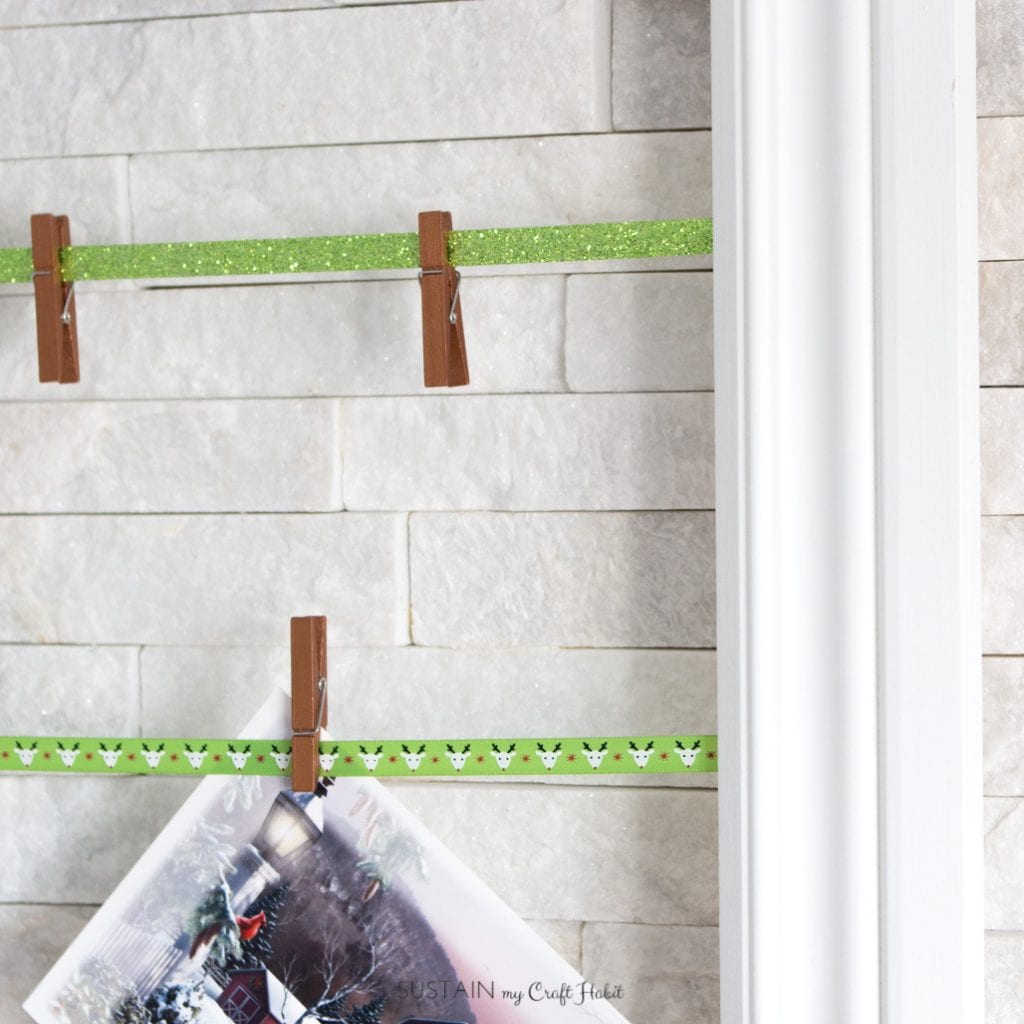
3. Cut the ribbon into four strips each about 1.25x the width of the frame. We used three strips of “reindeer head” ribbon and one of coordinating glitter ribbon for the second strip from the bottom.
4. Starting with the top strip, fold over about 2 inches of the ribbon on to itself, making sure that the “right” side of the ribbon is facing towards the front of the frame. Secure in place with two staples. Repeat with the other end of the ribbon on the opposite side of the frame, making sure to pull the ribbon tight.

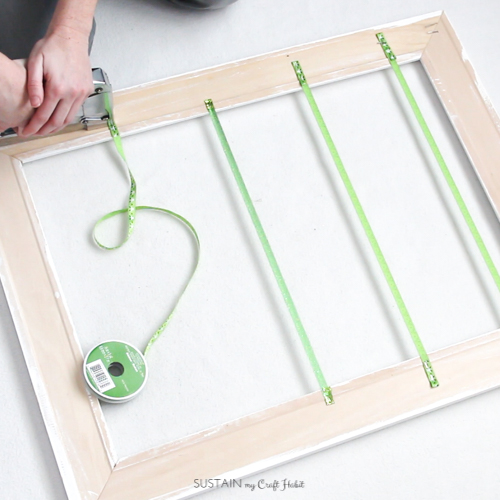
5. Repeat with the other three strips of ribbon and you’re done!
You can use miniature clothespins such as these ones* to secure your Christmas cards and photos in place. Or make these decorative wood clothespins with the kids!
Since the ribbon was just stapled into place it’ll be easy to remove and change up after Christmas is over and use the frame as photo display.
If you’re interested in the video version of this tutorial, including how to make the display frame using baseboard trim, we invite you to check out our class on Skillshare using this free link for our readers.
Like it? Be sure to Pin it for Later!
Be sure to come back next week for our next mantel DIY (hint, hint… you’ll be able to grab a lovely wintery free printable!).