As I started unpacking some of my Christmas supplies last weekend, I came across these adorable decorative clothespins we made last year for The Weathered Fox Blog. We thought it would be perfect to share them here today as a part of the Remodelaholic‘s Creative Christmas Challenge.
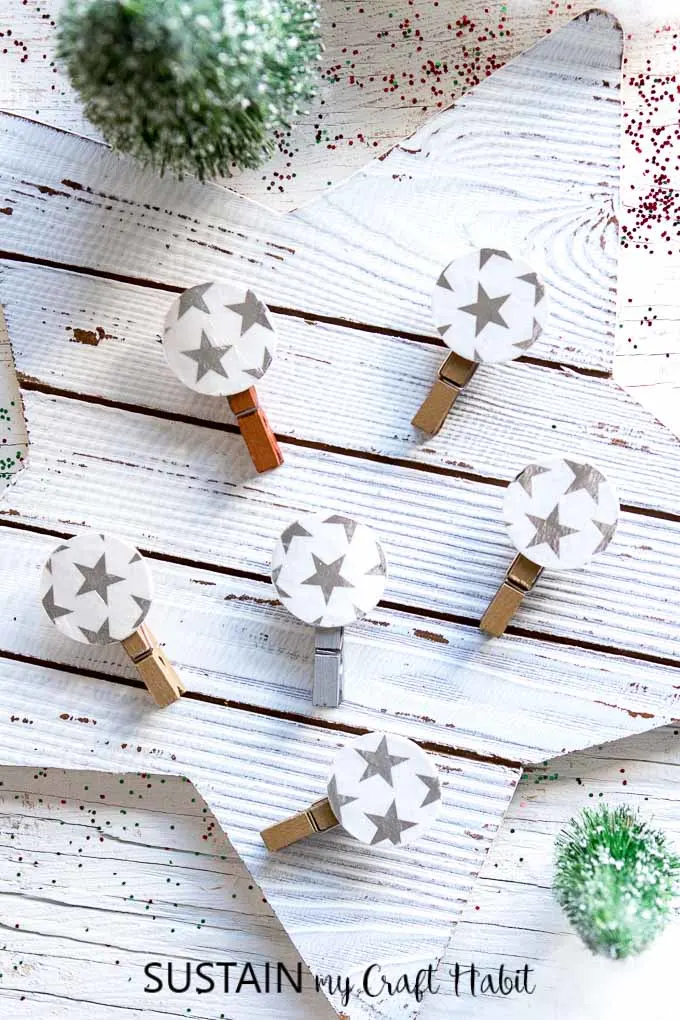
While there’s so many things I love about the Christmas season, one of my absolute favorites is rediscovering those little treasures that I put away nearly a year ago. I love decorating our Christmas tree with ornaments that I’ve had since I was a child. It immediately brings back so many memories of friends and family traditions.
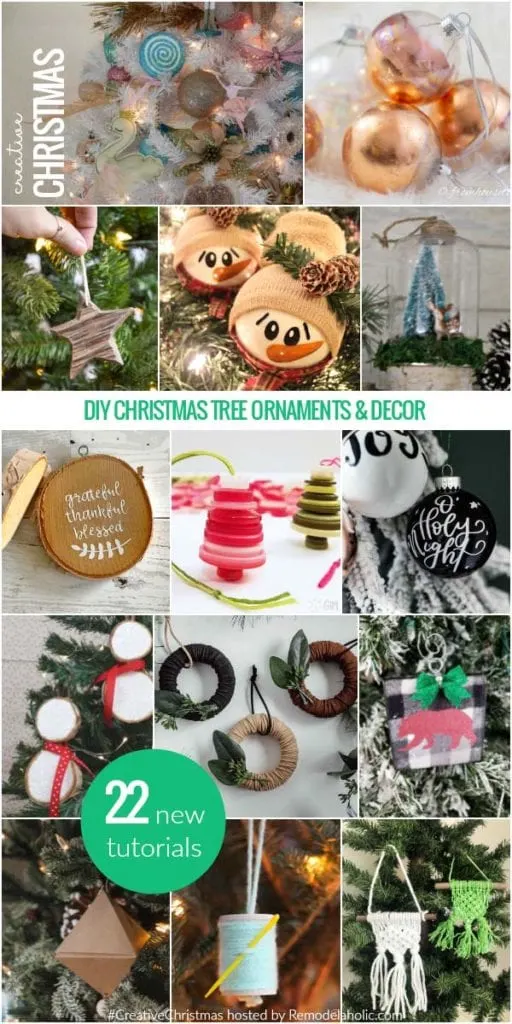
Any of the beautiful projects shared by our blogging friends as a part of this year‘s Creative Christmas challenge would make lovely keepsakes for years to come. I’m tempted to book the next three weeks off of work just to see how many of these 22 projects I can make. Anyone with me? So be sure to stop by Remodelaholic and visit all the inspiring and festive projects through the links below.
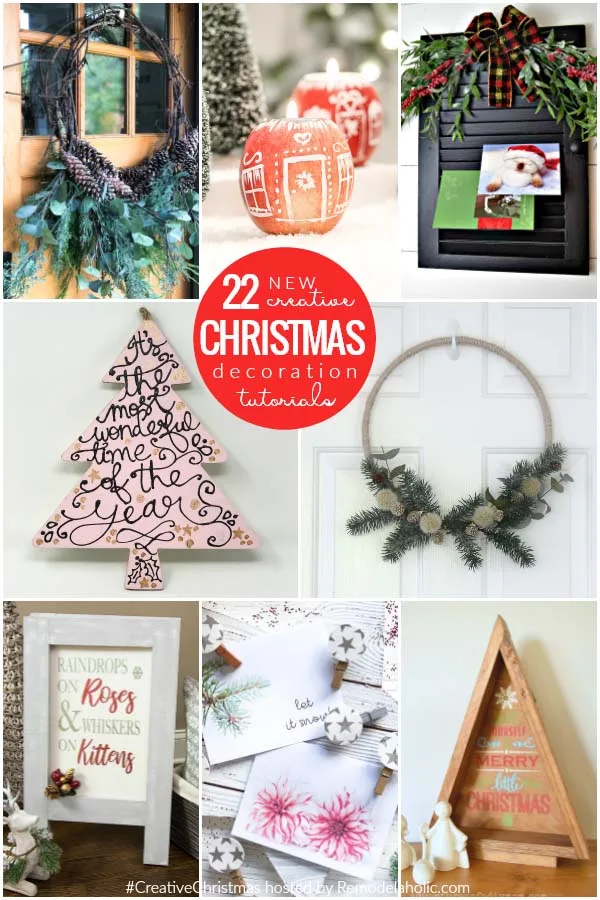
DIY Christmas-Themed Decorative Clothespins
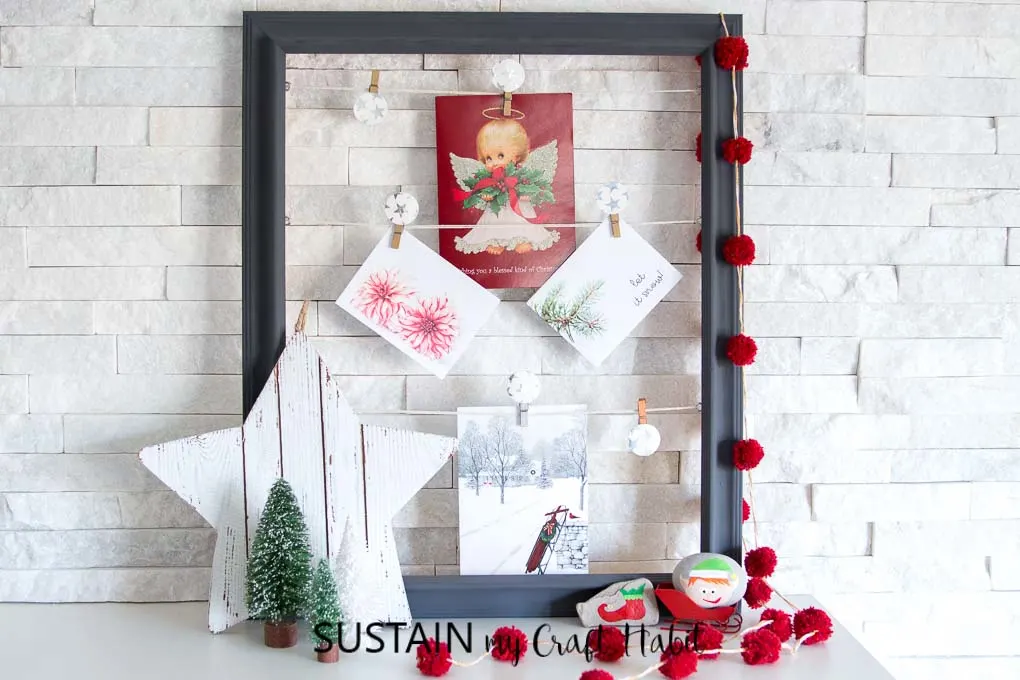
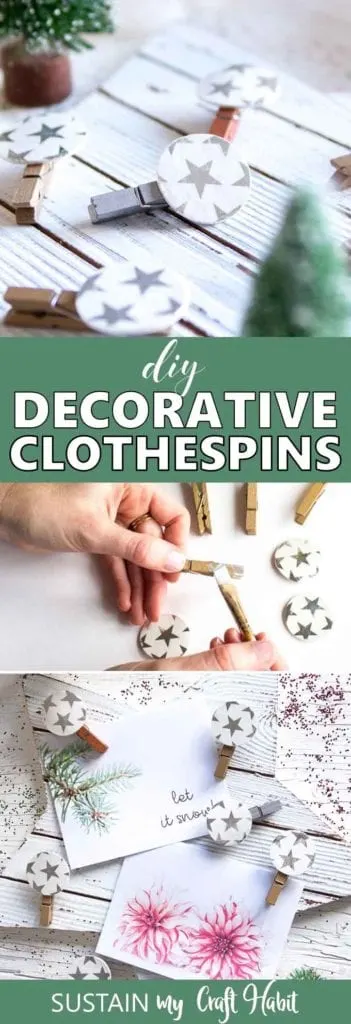
These DIY decorative photo clips are super easy to make, you could use any decorative paper which you like. Even pretty wrapping paper. We made this simple Christmas card display a couple of Christmases ago as part of our rustic Christmas mantle.
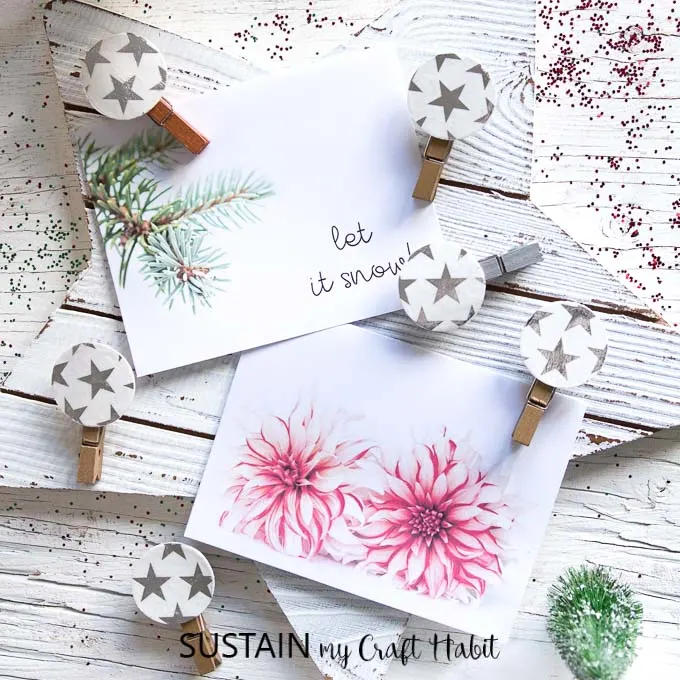
I can’t wait to use the clips this year to display Christmas cards and photos from friends and family. The Floral Joy and Let It Snow cards you see here are part of our free greeting printable greeting cards series which we have as a thank you for joining the Sustain My Craft Habit community.
Materials Needed to Make your own DIY Decorative Clothespins
Disclosure: This post contains affiliate links for your shopping convenience. You can find our full disclosure here.
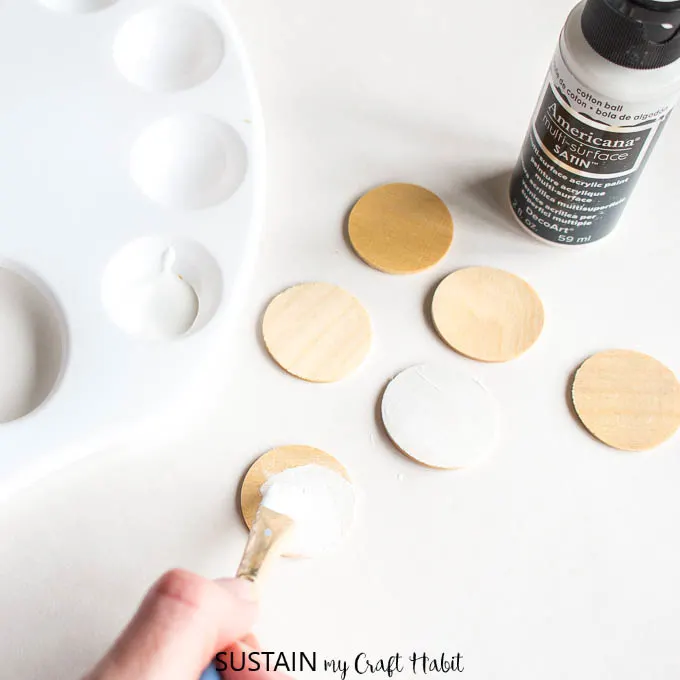
- Decoart Multi-Surface Satin Acrylic Paint in Cotton Ball
- Small wood clothespins
- 1” circular wood cut outs
- Glue / Sealer, glossy finish
- Small sized, flat bristle acrylic paint brush
- Americana Decou-page decorative paper, Silver Basics
- Scissors
- Pencil
How to make Holiday Themed Decorative Clothespins
Embellishing the wood circles:
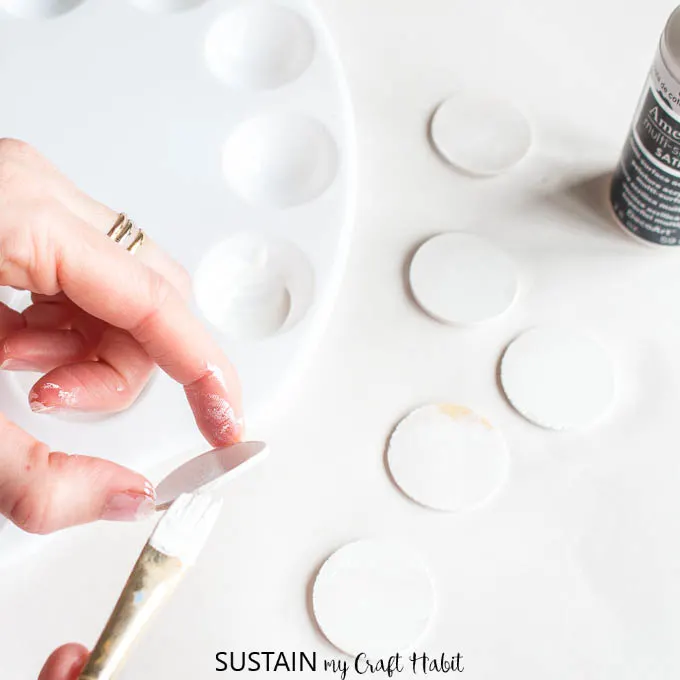
Paint all sides of the wood circles. Apply as many coats as necessary to achieve the desired coverage. Leave them to dry fully before moving onto the next step.
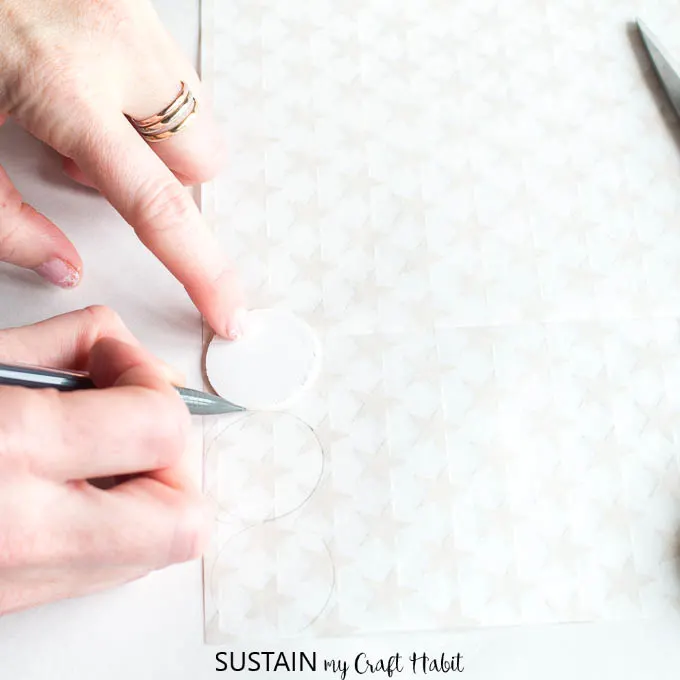
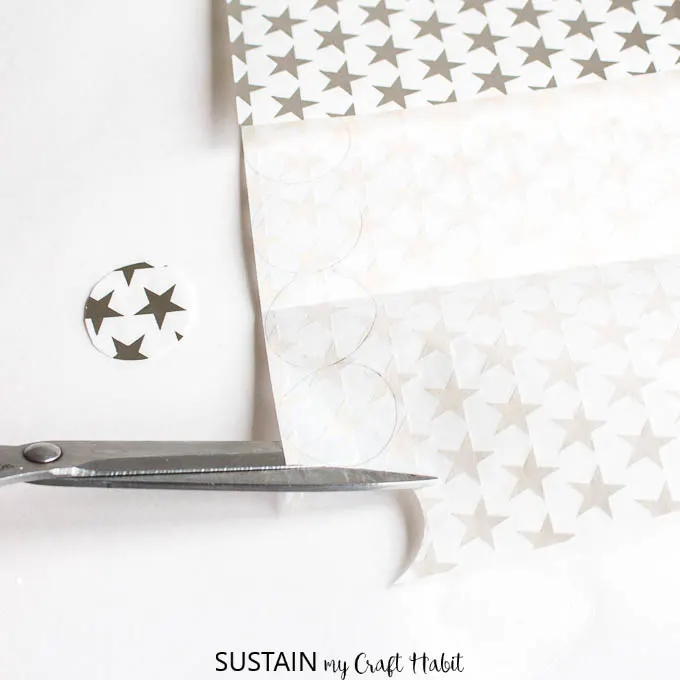
Trace the wood circles on to the back side of the decorative paper and carefully cut out the circle shapes.
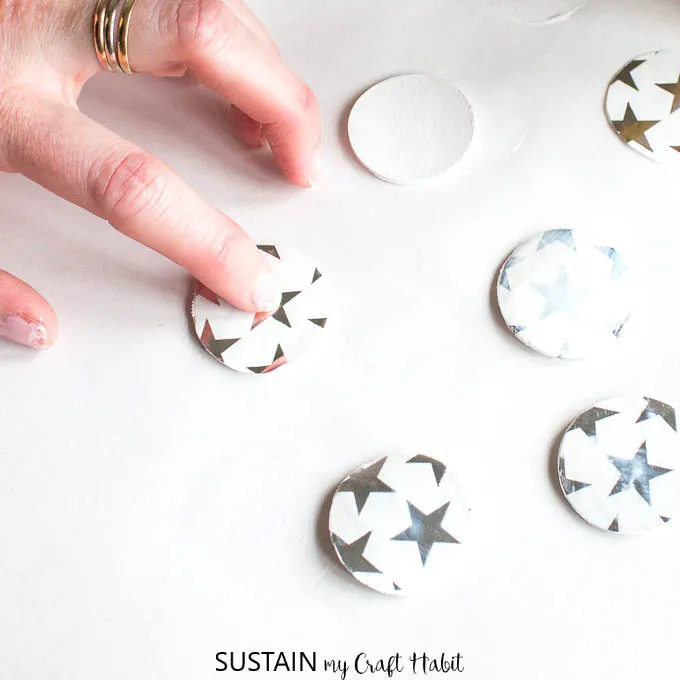
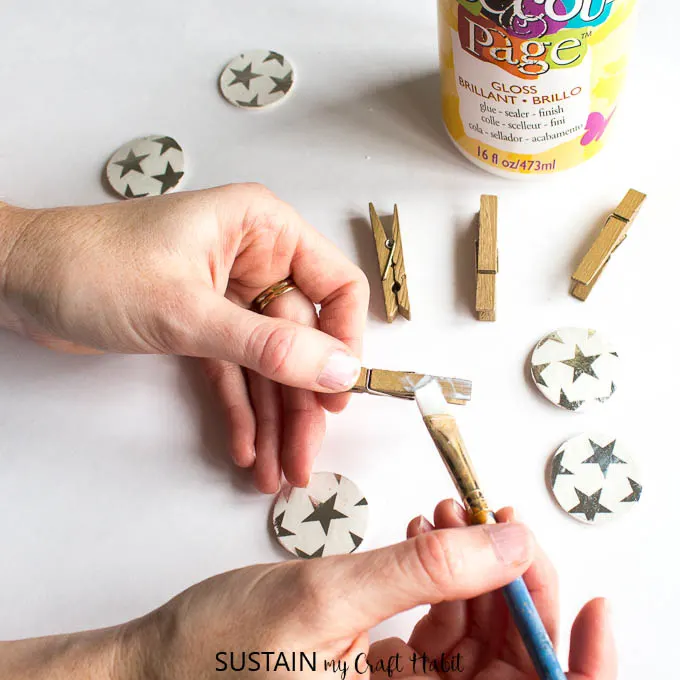
Using a paintbrush, apply a good amount of glue to the top side of the painted wood circle and also apply glue to the back side of the circle cut outs.
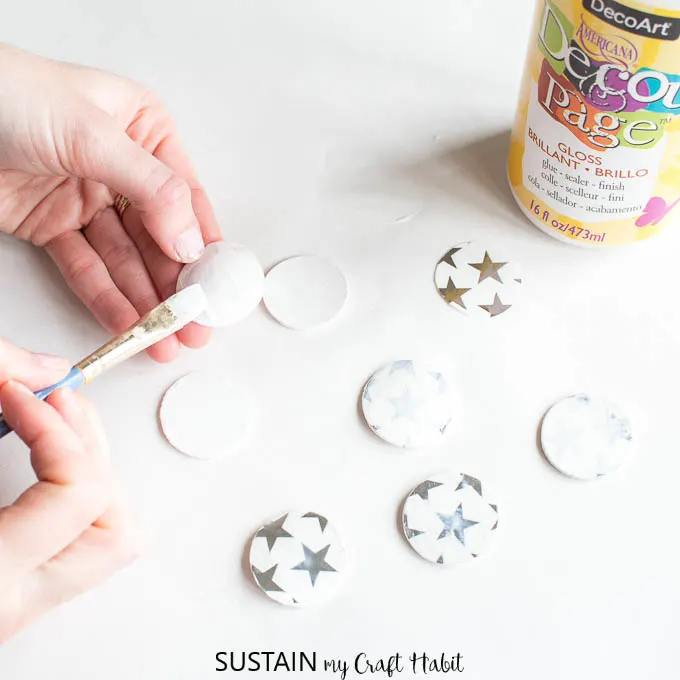
Press the circle cut outs onto the wood circle (glued sides together) and squeeze out the excess glue to ensure a smooth, flat surface and to eliminate any bubbles from forming underneath the paper. Wipe away the excess glue from the sides.
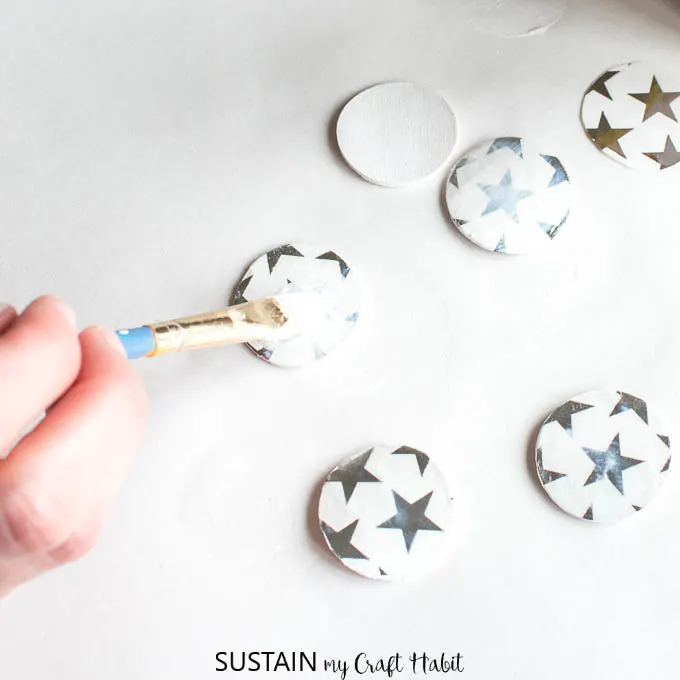
Using the paintbrush, apply the sealer to the top side of the pressed circles and put aside to dry fully before moving on to the next step.
Attaching the Clothespins to your DIY Photo Clips:
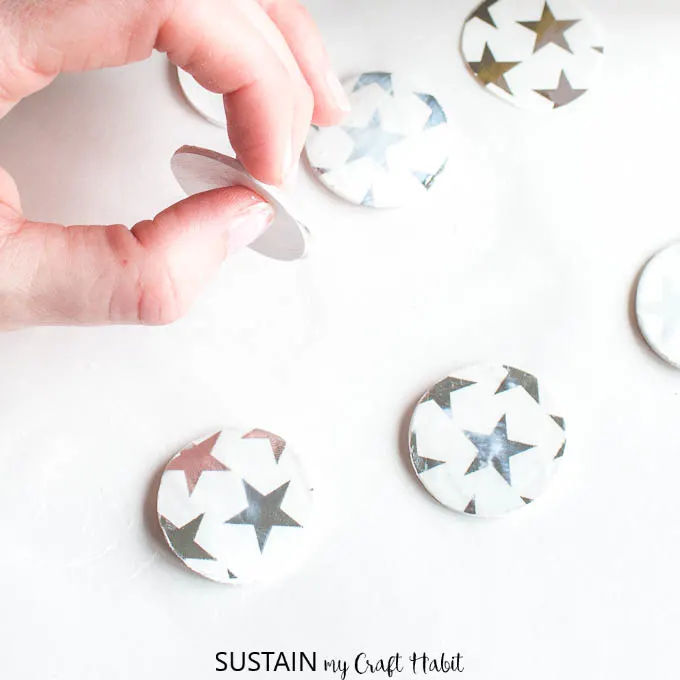
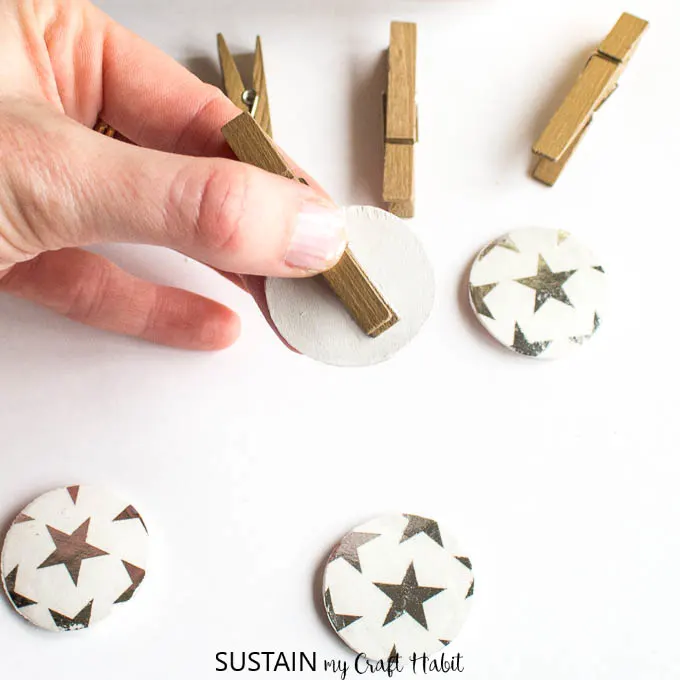
Apply a good amount of glue to the top end of the clothespin as shown and press it onto the back side of the embellished circle. Hold in place for 10 seconds and leave it to dry completely on a flat surface before using.
And there you go!
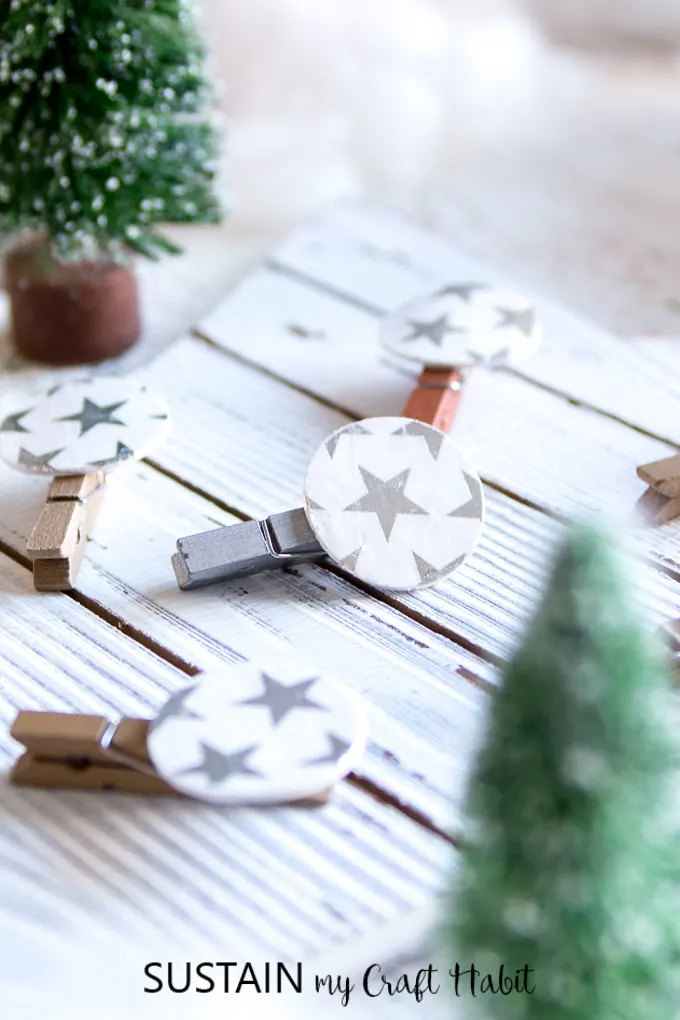
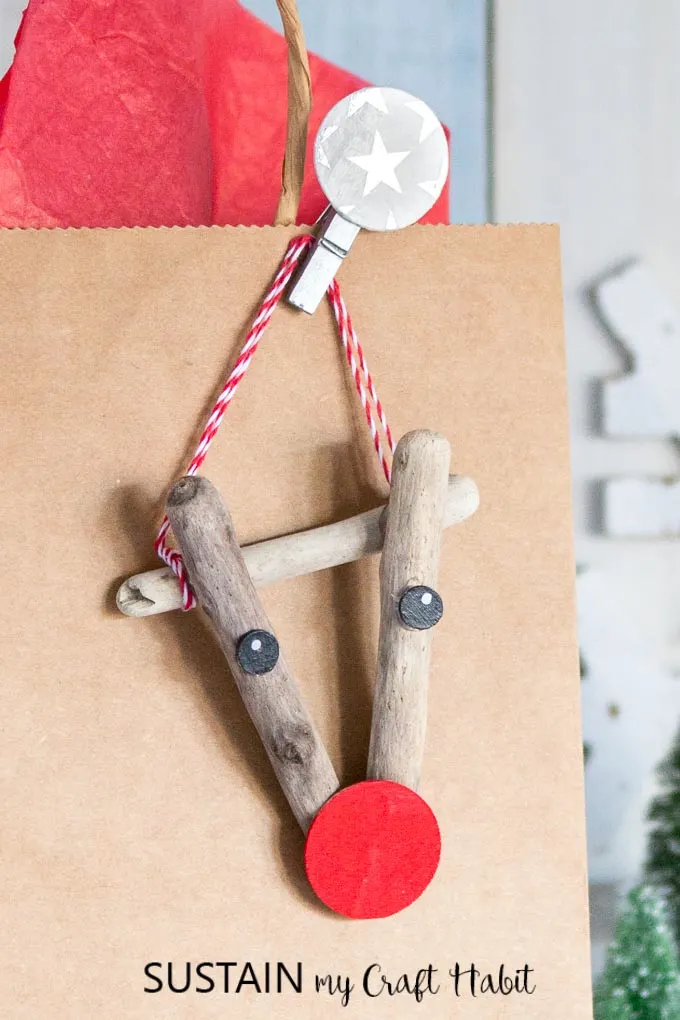
Pretty and simple decorative clothespins to use for your greeting card display, photo display or even in your planner. We used them to clip on our DIY driftwood reindeer ornaments that we made as a part of last year’s Creative Christmas Challenge.
And now for more Creative Christmas inspiration!
Nutcracker Christmas Tree Decorating | Remodelaholic
Copper Christmas Ornaments | From House to Home
DIY Rustic Carved Wood Ornaments | Ugly Duckling House
Snowman Globe Ornaments | Kailyn Williamson
Dollar Store Snow Globe Ornaments | Our Crafty Mom
Wood Disc Ornaments | Everyday Party Magazine
Button Christmas Ornaments | Girl Just DIY
Handlettered Ornaments 3 Ways | Lemon Thistle
Wood Slice Snowman Ornament | Creative Ramblings
Mini Wreath Ornaments | Love Create Celebrate
Buffalo Plaid Ornaments | Leap of Faith Crafting
Easy DIY Geometric Ornaments | Practical and Pretty
7 Cheap and Easy Christmas Ornaments | Toolbox Divas
Macrame Ornaments | Frazzled JOY
Grapevine Christmas Wreaths | Grace in My Space
DIY Apple Candle Village | Life on Summerhill
Festive DIY Christmas Card Holder | Red Cottage Chronicles
Lettered Tree Sign | Smiling Colors
Modern Christmas Wreath | Sister’s What!
Reversible Holiday Easel | Queen Bee of Honey Dos
Pretty Decorative Clothespins | Sustain My Craft Habit (that’s us!)
DIY Wooden Triangle Christmas Tree | Adventures of a DIY Mom

Lorene @Remodelaholic
Wednesday 14th of November 2018
These turned out so cute. Thanks for joining Creative Christmas!
Jane and Sonja
Saturday 17th of November 2018
Thank you, Lorene! It was our pleasure to be a part of it!
Sarah
Wednesday 14th of November 2018
These are so fun. I can see them holding battery operated lights too!
Jane and Sonja
Saturday 17th of November 2018
Oooo, great idea! Thanks for the inspiration:)
Sarah
Sunday 11th of November 2018
I love unpacking all the Christmas decorations and finding treasures from years past, it's just as much fun as actually decorating. I love your clothespins, they are adorable.
Jane and Sonja
Saturday 17th of November 2018
So true! It's such a treat to uncover all the past treasures and especially seeing all the kids creations from the prior years.
Wanda | From House To Home
Saturday 10th of November 2018
What a cute idea! I may use these to hang my Christmas cards this year :)
Jane and Sonja
Saturday 17th of November 2018
Absolutely! And by choosing a more neutral paper pattern, they can be used all year long to hold family photos and other pretty things.