Let’s Get Twiggy: Wooden Monogram Letters
There are so many possibilities when it comes to crafting with nature and these wooden monogram letters are no exception. We’re excited to share with you the how-to instructions for making this nature-inspired, rustic decor idea using some cut twigs and branches.
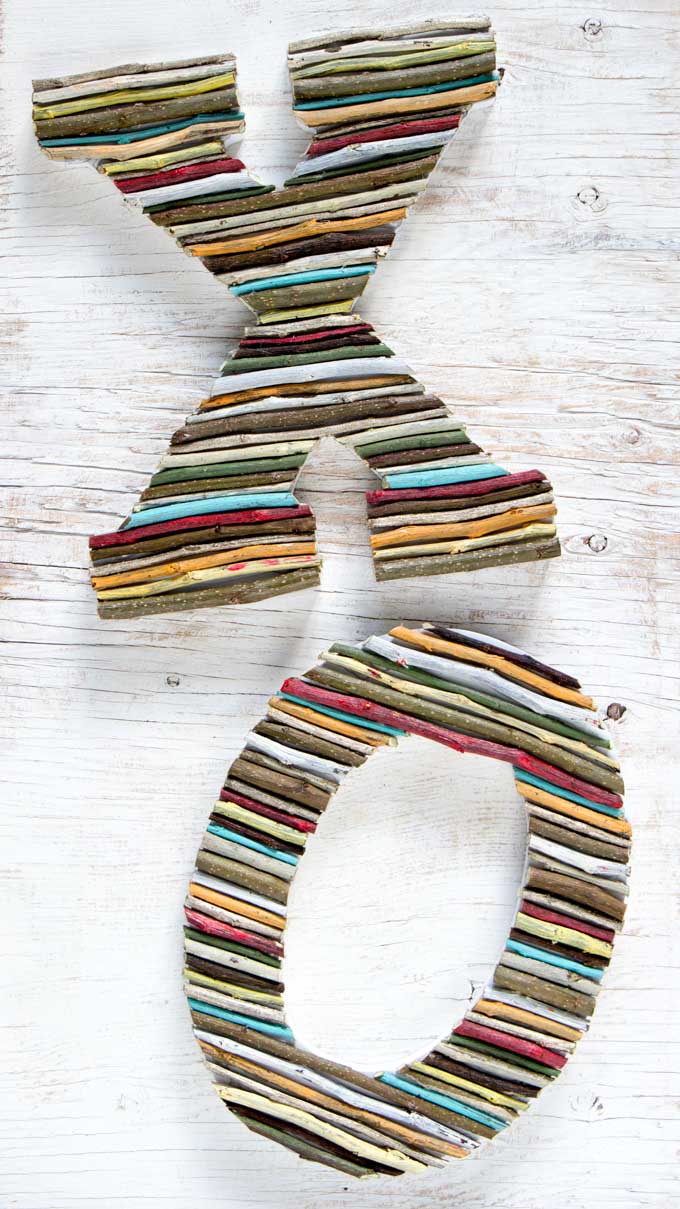
You can make your own wooden monogram letters using any combination of letters to form words, phrases or simply your initials. We decided to stick with XO, which for us is a symbol of love (kisses and hugs, of course). Wouldn’t they look so sweet used as a rustic wedding decor idea painted in whites and metallic golds or as nature-made nursery letters in a child’s room painted in soft pastel colors? The possibilities are really endless! We originally shared these painted twig wall letters on Crafts By Amanda in the early Fall, which just goes to show it’s a DIY for all year round.
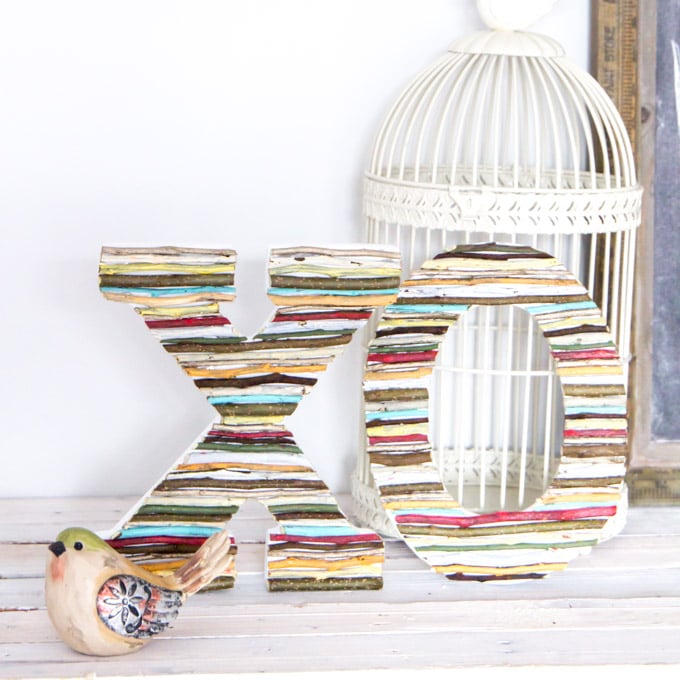
Since our woodwork usually involves driftwood, as with our beachy lettered LAKE sign or our hand-lettered driftwood sign, it was a real treat to work with these twigs for a change. Although you can really use any type of wood, twigs, branches, skewers or even popsicle sticks, we personally love that these twigs were pruned from our parents very own pear tree. So the next time you’re on a nature hike or just hanging out in your backyard, consider collecting some of your own twigs and branches to use for this craft.
Materials Needed for these Monogram Wooden Letters:
Disclosures: We have not received any compensation for this post. However, we have (and continue to) receive products from DecoArt. Also, this post continues affiliate links for your shopping convenience. You can find our full disclosure policy here.
- Thin branches or twigs
- Craft paints in white, orange, yellow, red, green, teal and gold metallic (we used DecoArt Americana Multi-Surface Acrylics in Cotton Ball, Orange Sherbet, Canary, Lipstick, Woodland Green, Coastal Waters Americana Decor Metallics in Champagne Gold)
- Paint brush
- MDF letters, approx. 9” high; in X and O
- Garden pruning shears
- Hot glue gun and clear glue sticks

Instructions To Make Your Own Monogram Wooden Letters:
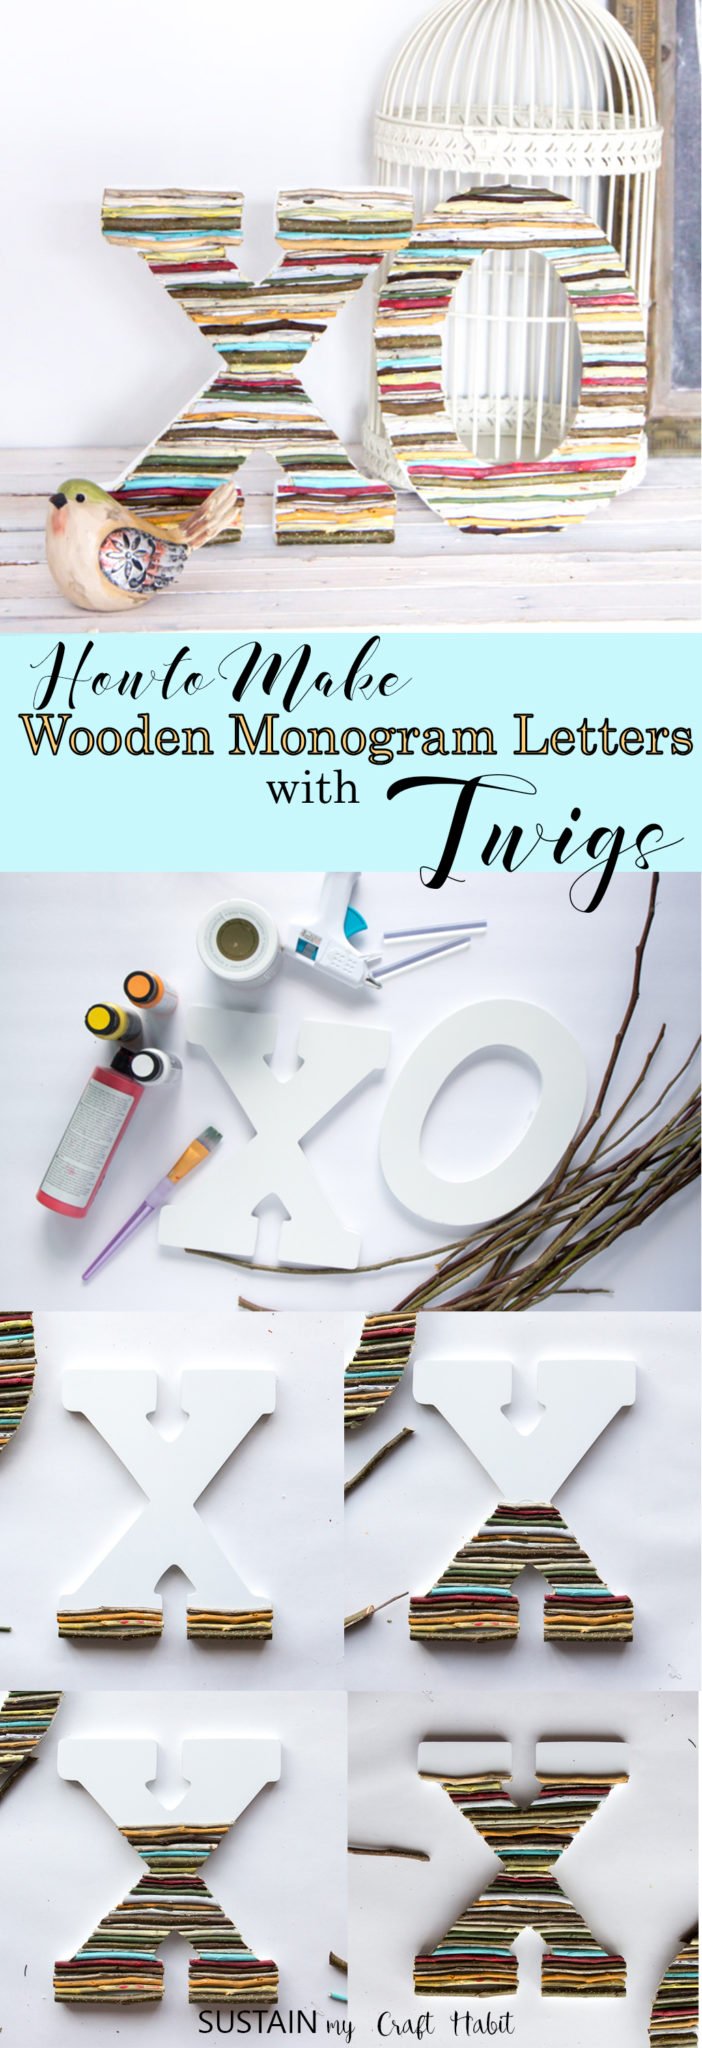
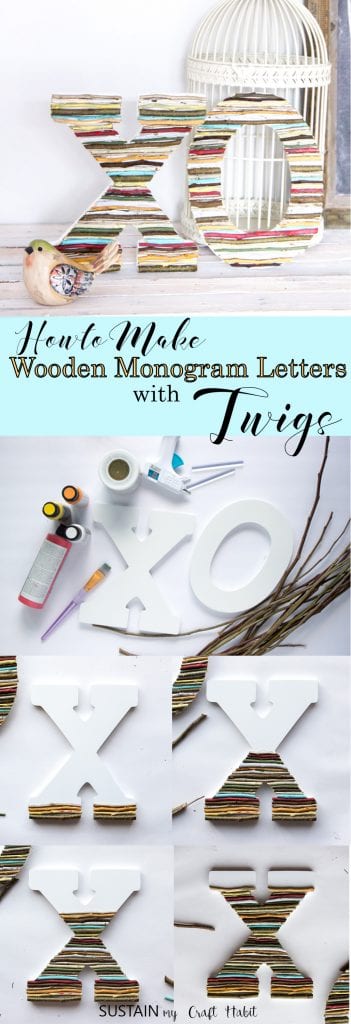
Place generous amounts of the yellow, orange and white paints, side-by-side on a plate or palette. You’ll be blending these three together a bit to create different shades of warm colours. Place the red, green and teal on separate sections of the plate – you don’t want them to mix together.
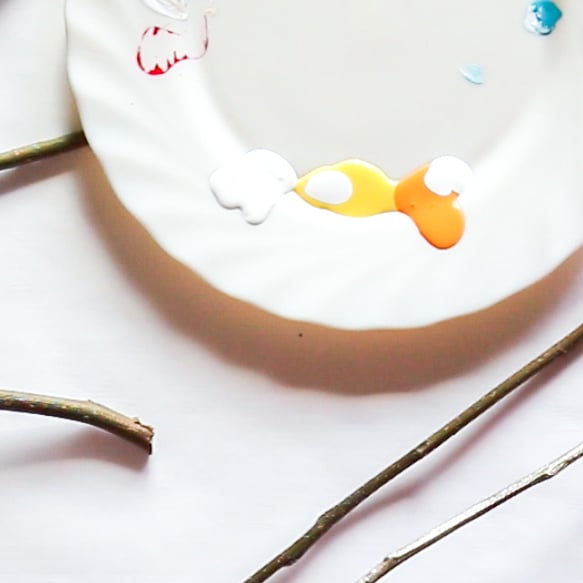
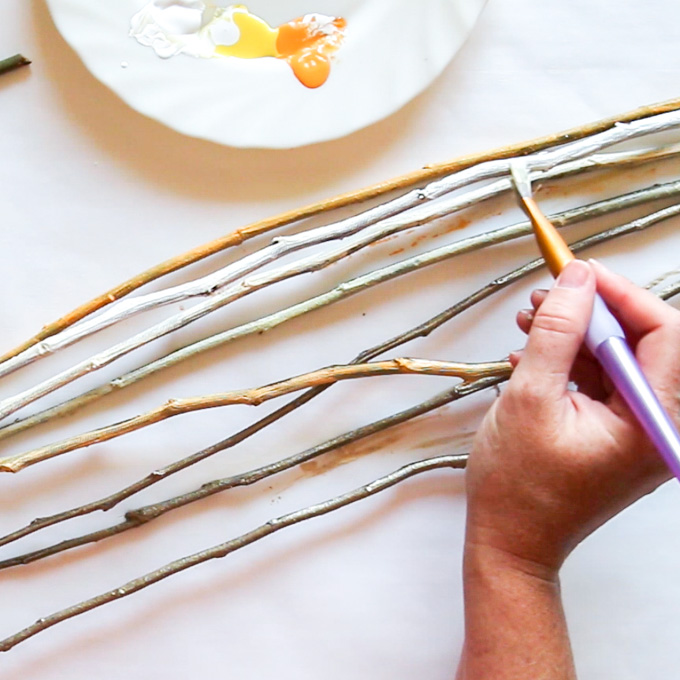
Paint 2-3 twigs with each of the colours to have enough to cover all of the letters. Keep some of the branches unpainted as well. Also, we used the teal sparingly and only needed to paint two of the thinner branches.
Starting at the bottom of one letter, snip a branch in any colour (maybe start with a thicker one) to size. Glue in place with the hot glue.
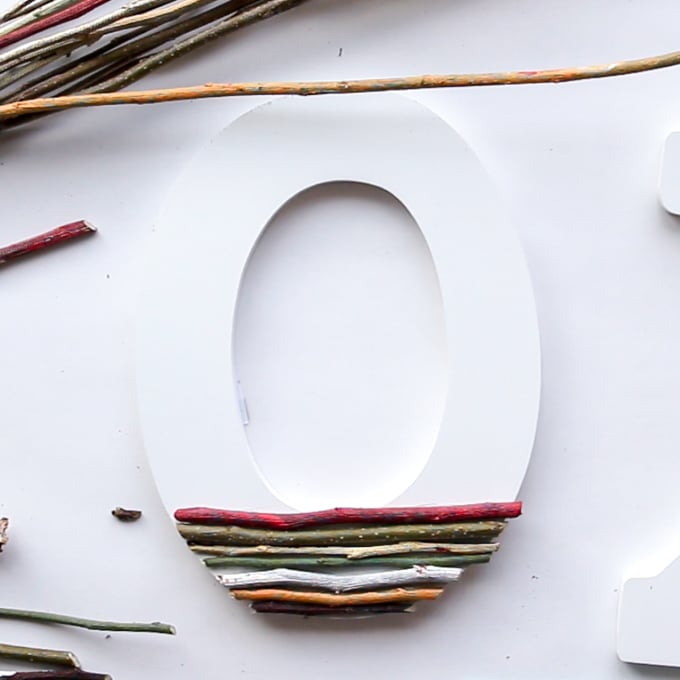
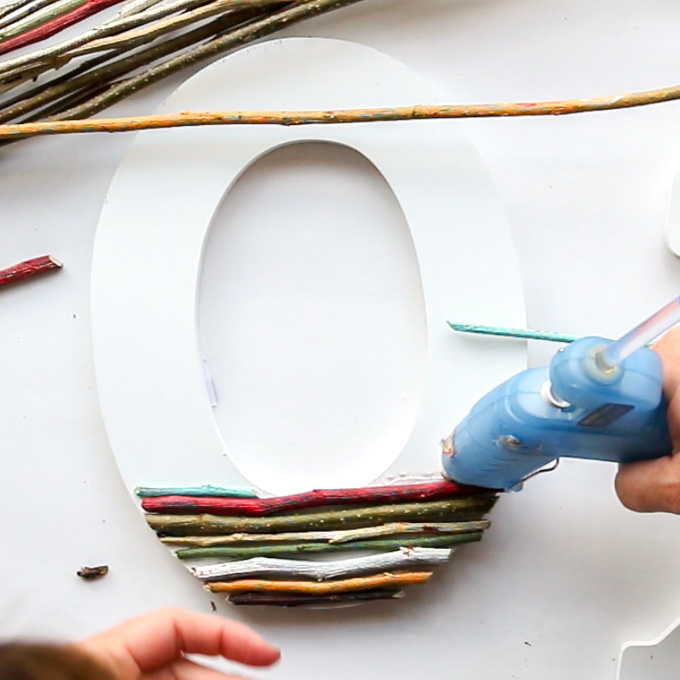
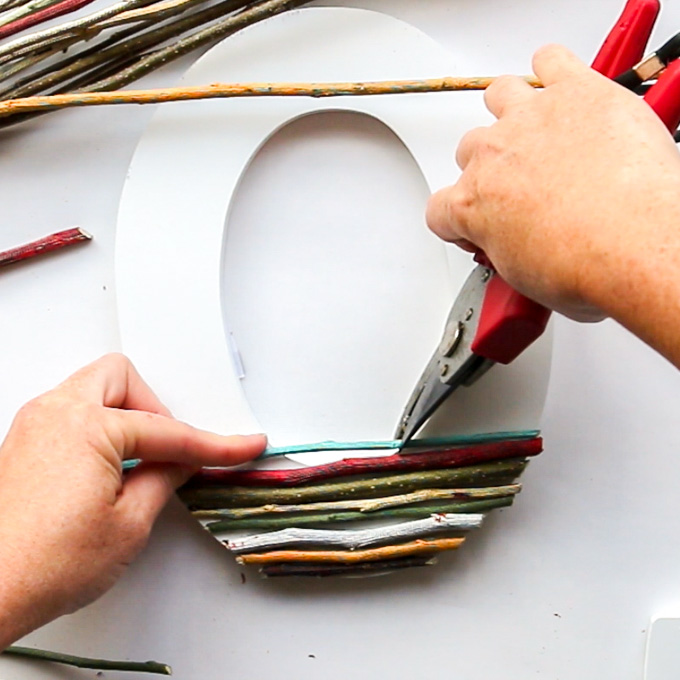
Continue, up the letter until finished. You’ll want to alternate the colours and thicknesses of the branches to get the nicest effect.

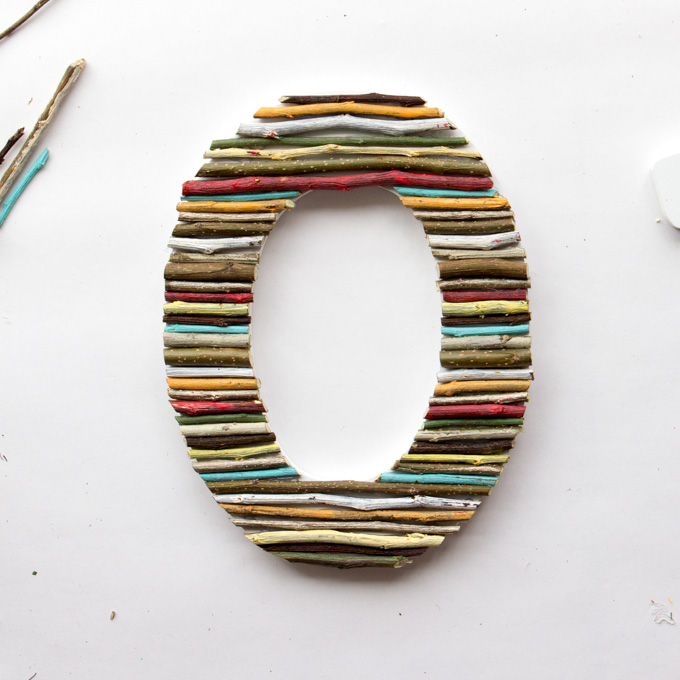
Repeat with the next letter.
One finished, hang on a wall or prop them up against a picture on your fireplace or in a bookcase. Enjoy!
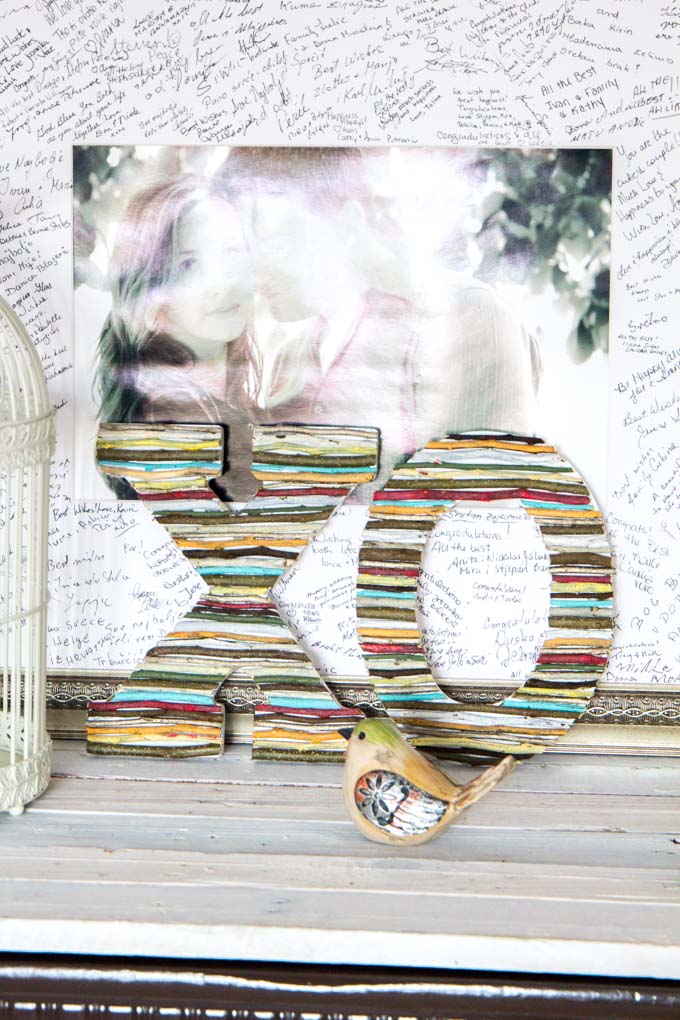
What letters would you use?
And if you’re still looking for more nature-inspired craft and decor ideas, check out this DIY Wall Art using Beach Stones, bouquet of pine cone roses, or this romantic scrap wood sign decor.
Like it? Pin it for Later!


This is soooo cute! and easy to do!! Love it!
Thank you, Natalie! It was really enjoyable to make.
These letters are so fun! A great cold weather project, to gather all those naked twigs to DIY with, or I guess in my case, a great after hurricane project. Hehe. Pinned.
Thanks, Alexandra! I guess that’s the one small up side to all the mess caused by the hurricane.