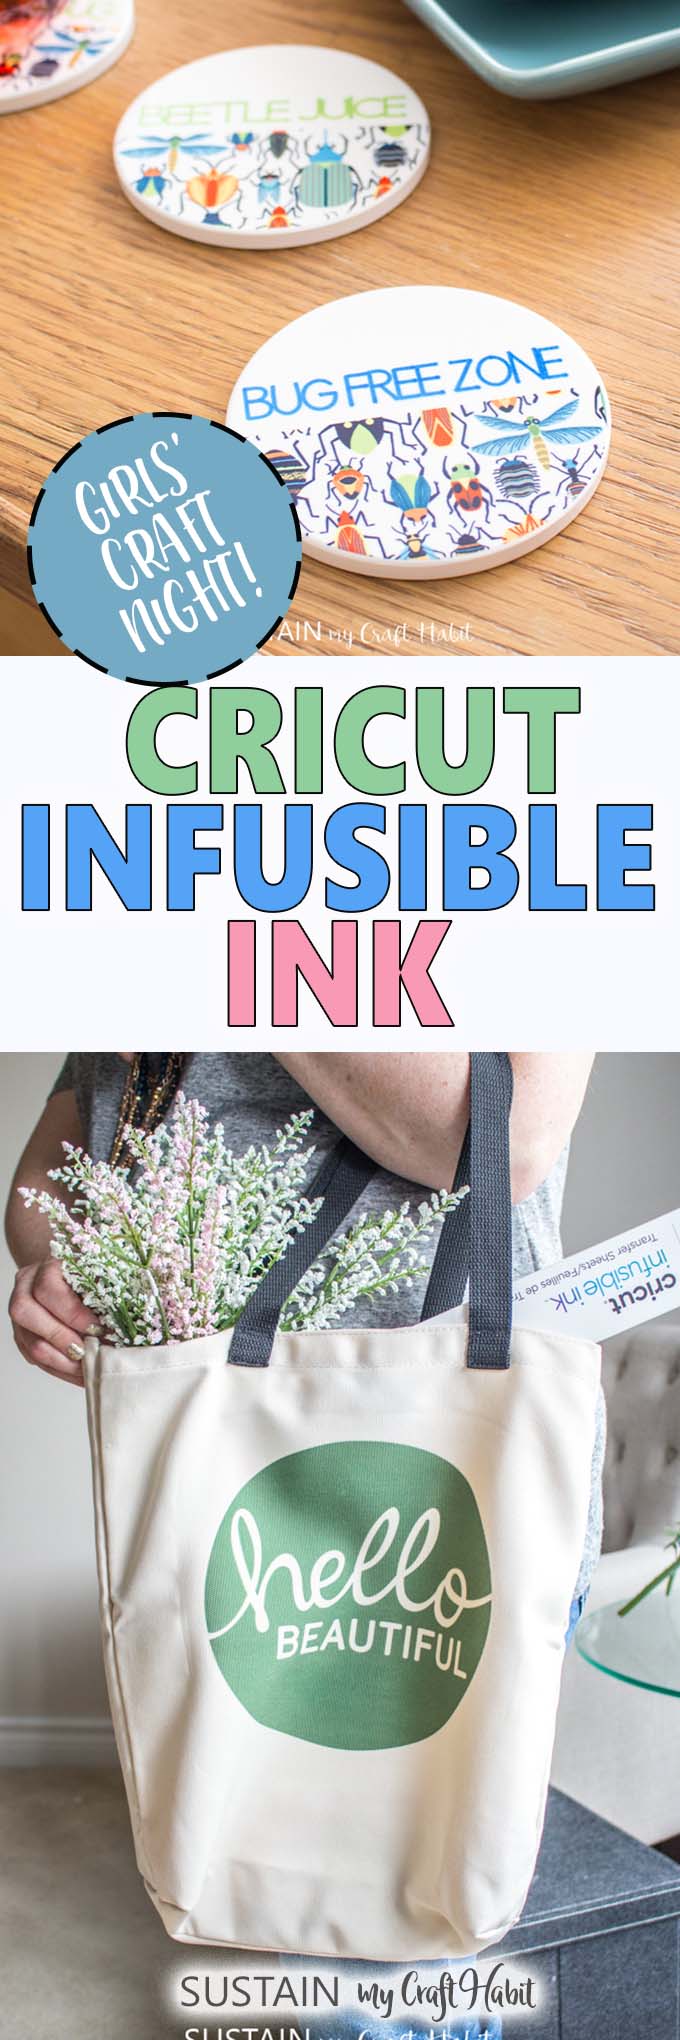
Cricut Infusible Ink on Coasters and Tote Bag (Girl’s Night In!)
Hi friends! We are so excited to share with you our latest projects using Cricut’s Infusible Ink on coasters and tote bag for a fun crafty-girl’s night in.
This is a sponsored conversation written by me on behalf of Cricut. The opinions and text are all mine.

Fun with Infusible Ink for A Girl’s Craft Night In
Cricut recently introduced their newest innovation called Infusible Ink which is the latest and greatest in image transfers. The ink fully absorbs directly into the surface leaving a smooth and professional finish that lasts forever.
Having just used this latest technology to personalize a tote bag as well as coasters, we can quickly see how versatile this product is. The results are really impressive! The colors are vibrant and the detail is crisp with no worry of it peeling, cracking or fading over time. It really looks like it’s part of the surface, as if it has always been there!
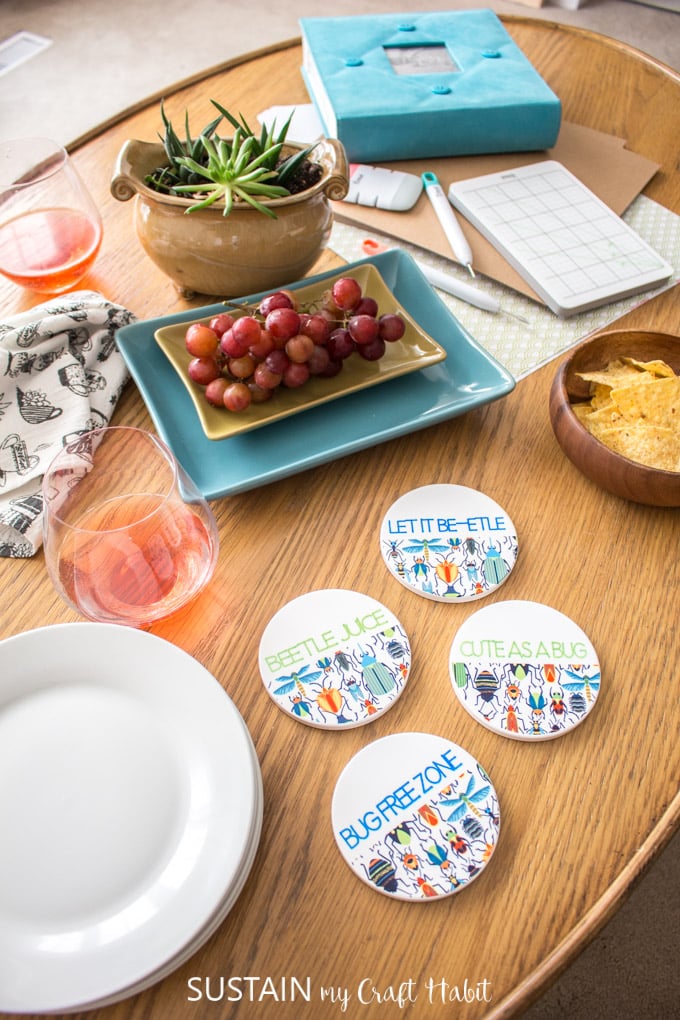
We thought it would be fun to plan a girl’s night in with snacks, drinks and craft supplies. For craft addicts like us, this sounded like the perfect evening. Who needs a “girl’s night out” when you can craft instead?
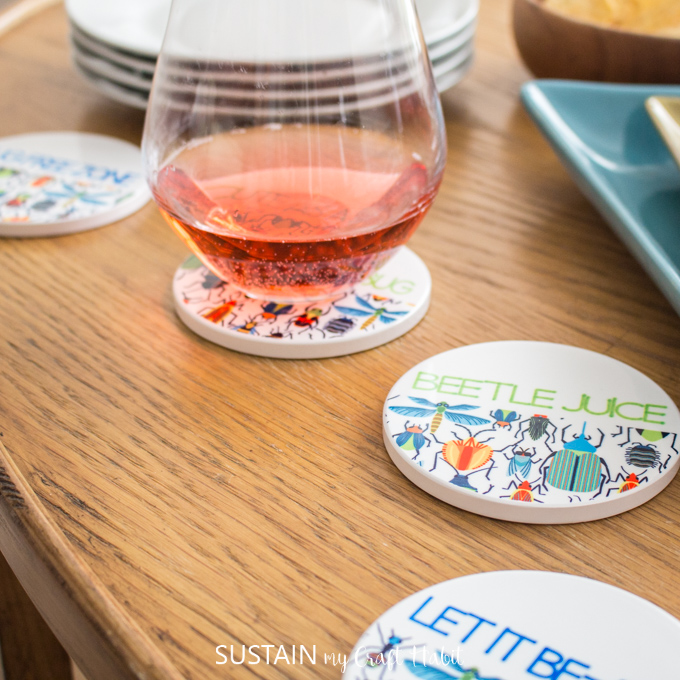
We were inspired by the all-over beetle pattern on the Infusible Ink transfer sheet to make these coasters with a play on words using the Infusible Ink markers.
The Cricut Maker cuts the Infusible Ink transfer sheets with as much ease as it cut the iron-on vinyl we used to make this drawstring bag and felt to make these poinsettia adorned mason jars.
If you’re familiar with using the Cricut Maker, using it with Infusible Ink is just another extension of its long list of capabilities. And paired with the EasyPress 2, the crafting possibilities are endless!
The lightweight and portable EasyPress 2 is the perfect companion for Infusible Ink, especially for girls’ craft nights. With its high heat capabilities, the ink will adhere flawlessly to any of your Cricut Infusible Ink surfaces such as the coasters, tote bags, t-shirts and baby bodysuits.
We’ve used our EasyPress 2 to apply iron-on vinyl to this canvas wall hanging, silly bathroom sign and Christmas gift bag. The EasyPress 2 can also be used for a number of projects you might not have even thought of!
Seeing how the same EasyPress also works with the Infusible Ink transfer sheets to give you a whole different look is pretty exciting!
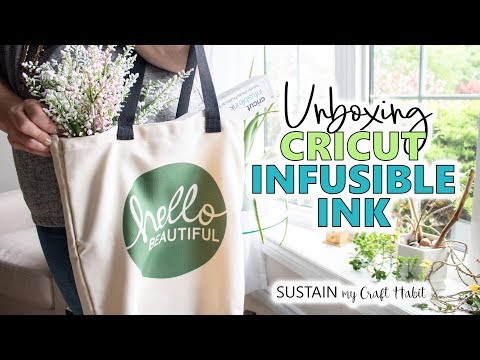
Cricut Infusible Ink Unboxing Video
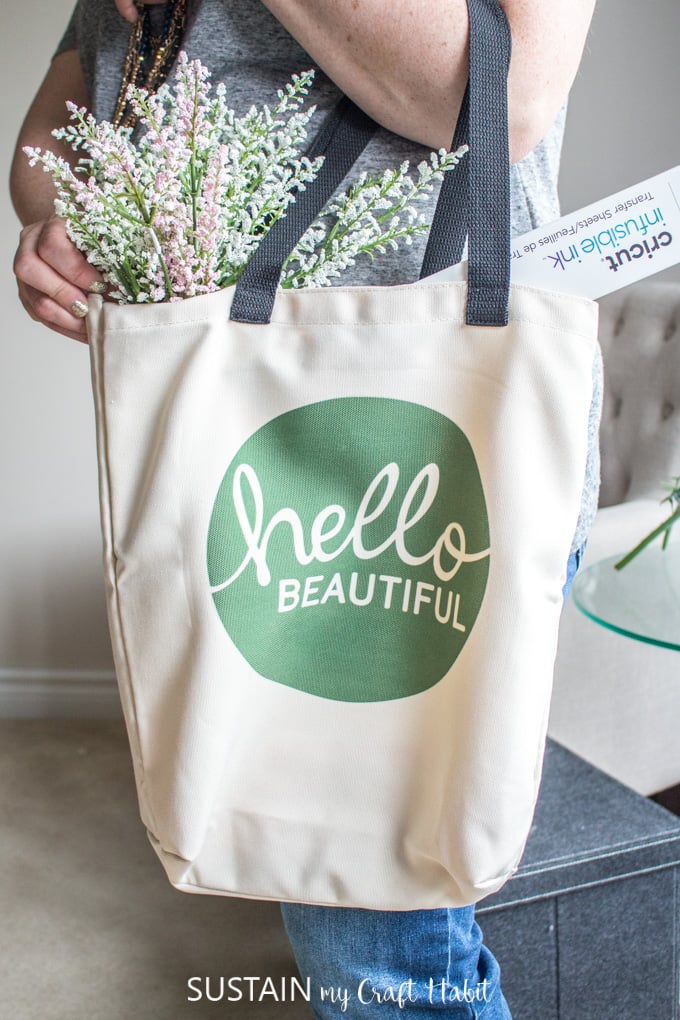
We were so happy when we received the Infusible Ink goodies that we had to share it all on video. Check out our first experience with the products and how we made the “Hello Beautiful” Tote Bag. If you prefer the printed version, keep scrolling.
Supplies Needed for These Girls’ Night In Projects
- Template – Coasters and Hello Beautiful Tote
- Cricut Maker
- Cricut Standard Grip Cutting Mat
- Infusible Ink Transfer Sheets – Jungle Safari
- Infusible Ink Markers – neon green and neon blue
- Butcher Paper
- Coaster Blanks, Round
- Tote Bag Blank
- Laser Copy Paper
- EasyPress 2
- EasyPress mat
- EasyPress heat resistant tape
Using Infusible Ink on a Cricut Tote Bag
Infusible Ink Transfer Sheet with the Cricut Maker:
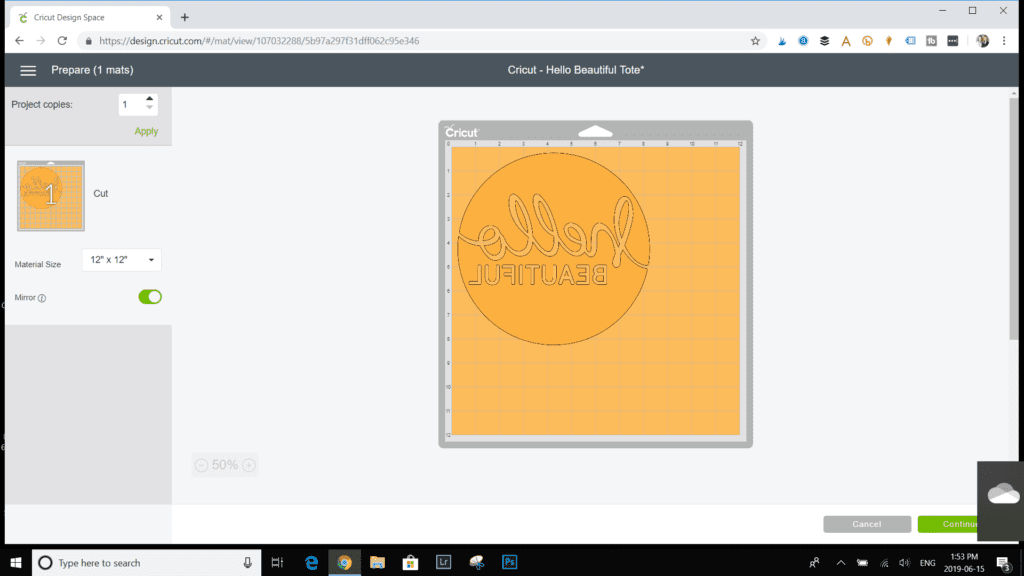
Upload the “Hello Beautiful” pattern template from Design Space.
Select Customize.
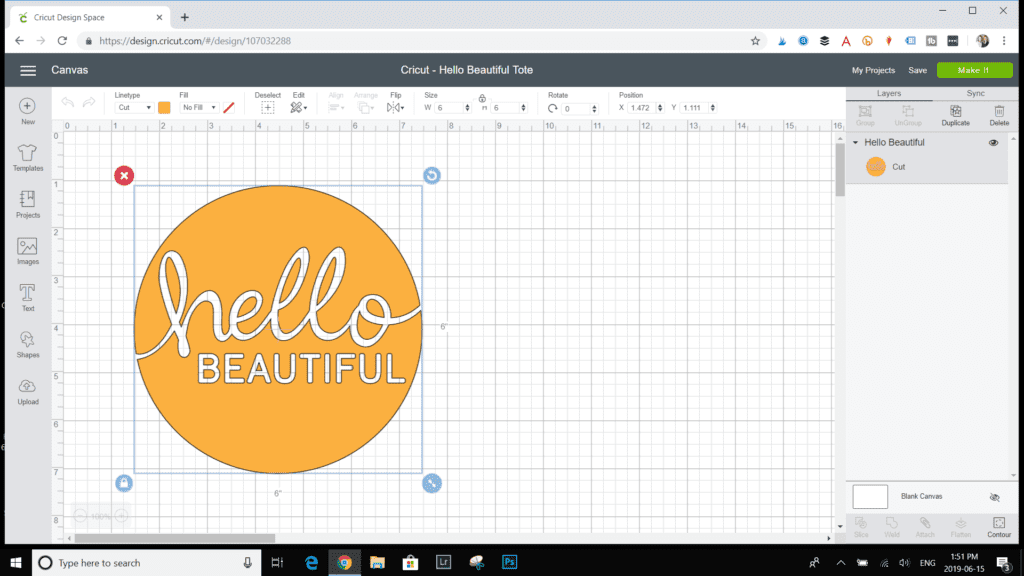
In the toolbar, adjust the size of the design to 8” high and 8” wide.
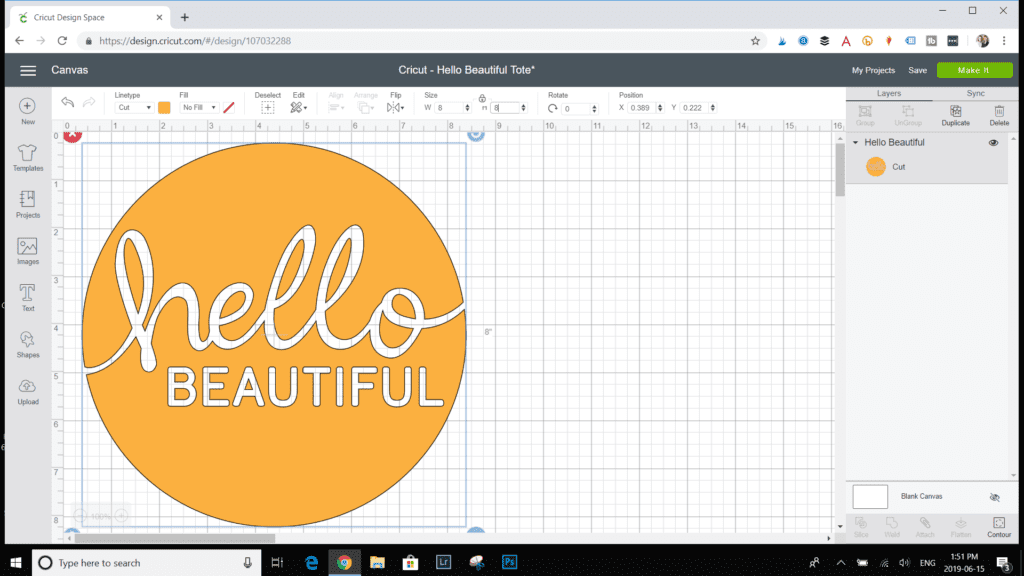
Select Make It. Once on the mat, click on the mirror on toggle button to flip the text. Press Continue.
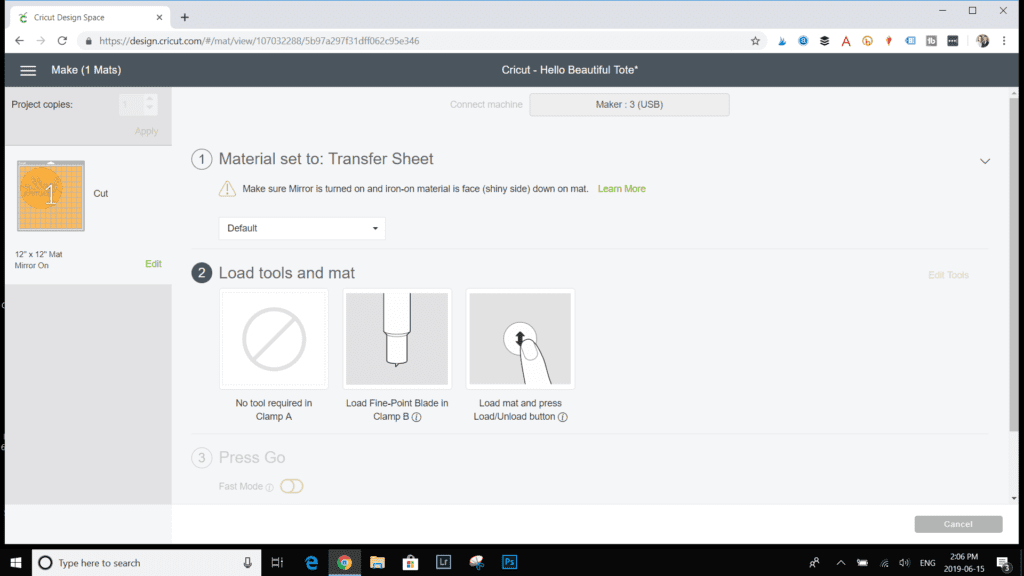
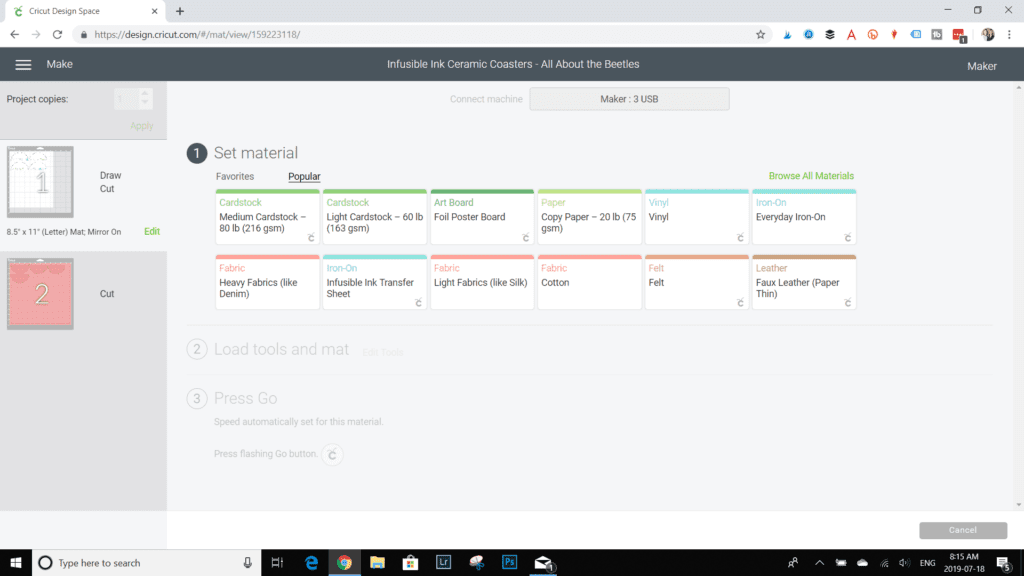
Select Continue. Next, set the material option to infusible transfer sheet.
Position the solid green infusible ink transfer sheet from the Jungle Safari pack on the Cricut standard grip mat with the shiny side facing down.
Ensure the fine point blade is inserted in the Maker and load the prepared mat.
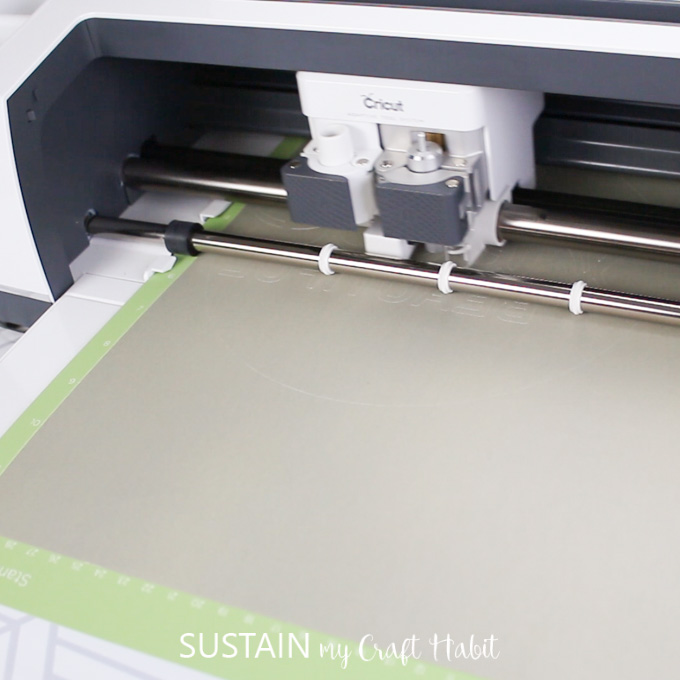
The Maker will cut out the pattern and unload when complete.
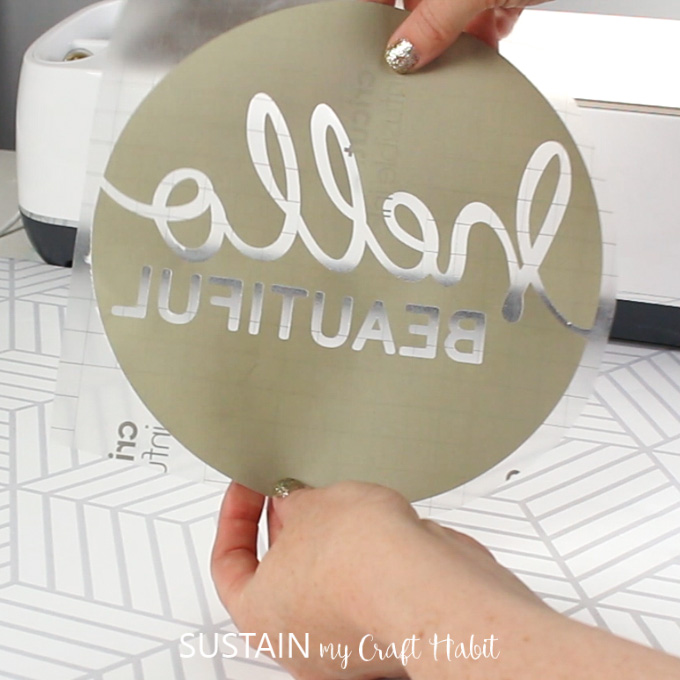
Unlike vinyl, there is no need to use the weeding tool with infusible ink transfer sheets. Simply use your fingers to peel away the excess part of the cut design.
Applying the Infusible Ink with the EasyPress 2
Next, refer to the EasyPress Reference Guide for instructions and heat press settings for applying the infusible ink onto the tote bag.
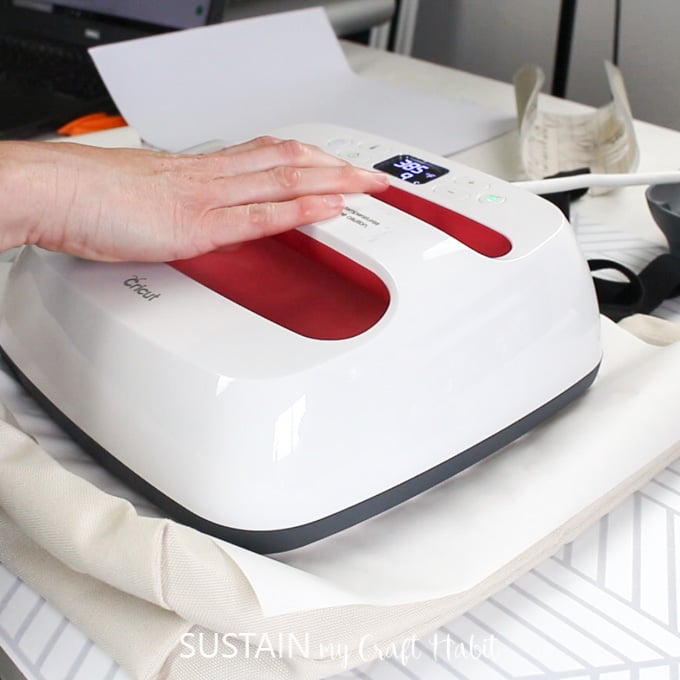
Preheat the machine to 385F and set the time to 40 seconds.
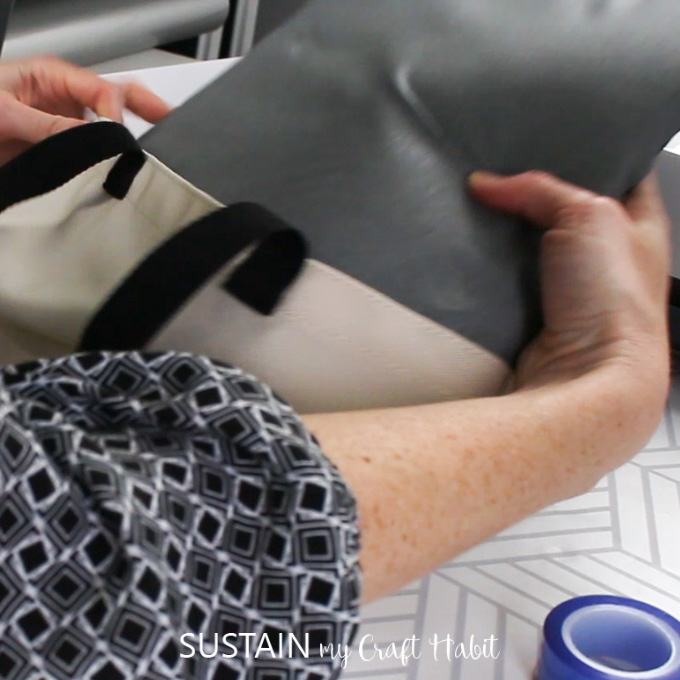
Place the tote bag down on top of the mat and insert the cardstock into the bag. This is important in preventing bleedthrough.
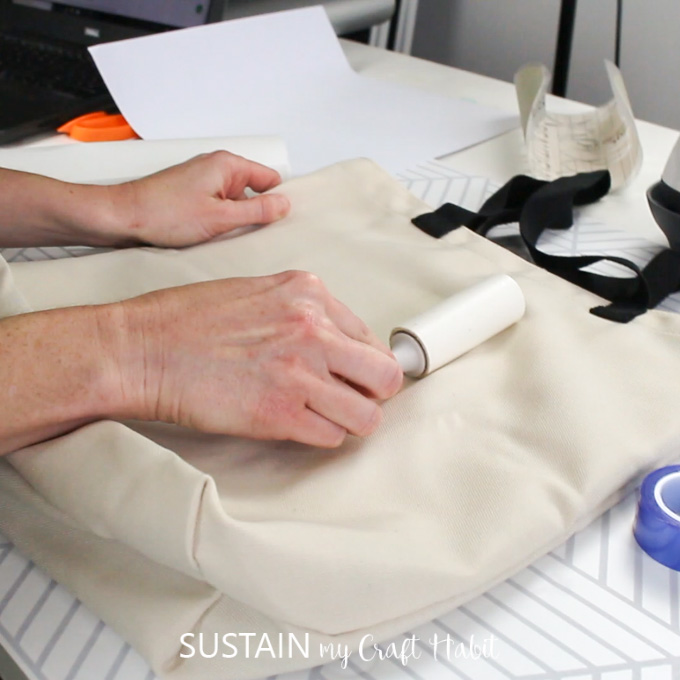
Use the lint roller over the tote bag to eliminate any loose fibers.
Cover the surface of the tote bag with a sheet of butcher paper and preheat the tote bag for 15 seconds. Carefully, remove the butcher paper.
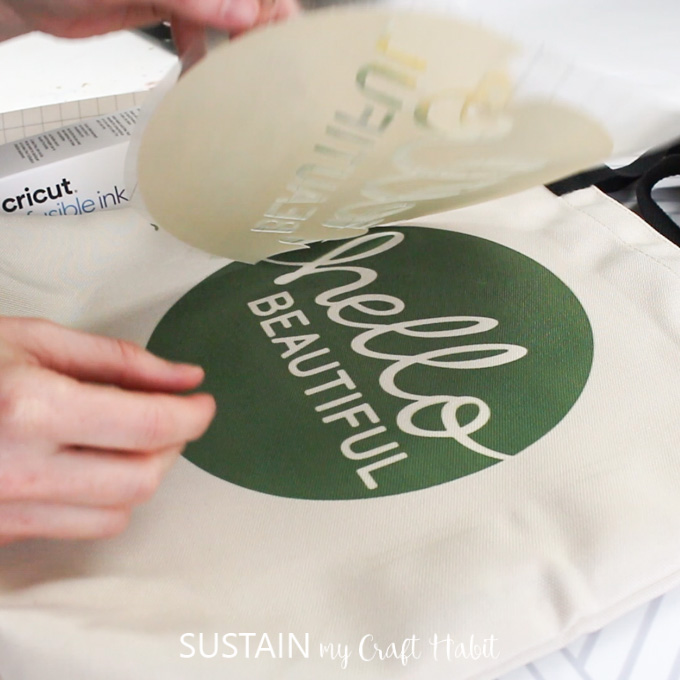
Position the prepared design face down on to the tote bag with the liner side facing up.
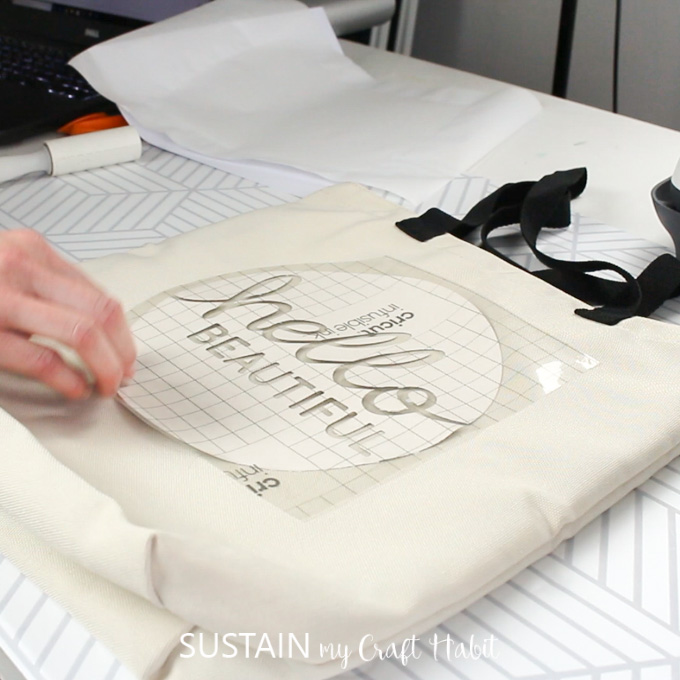
Cover with a clean sheet of butcher paper and press the EasyPress on top of the design for 40 seconds.
Life the press and carefully remove the butcher paper. Wait for the surface to cool completely before peeling away the liner.
As you pull it away, you will instantly notice how the ink absorbed into the tote material and not only the surface as with the vinyl.
Although we found some areas didn’t absorb as evenly so we repositioned the design and added heat for more time. The color is way more intense than it appeared to be from the preheated transfer sheet.
Using Infusible Ink on Cricut’s blank ceramic coasters
Infusible Ink markers with the Cricut Maker:
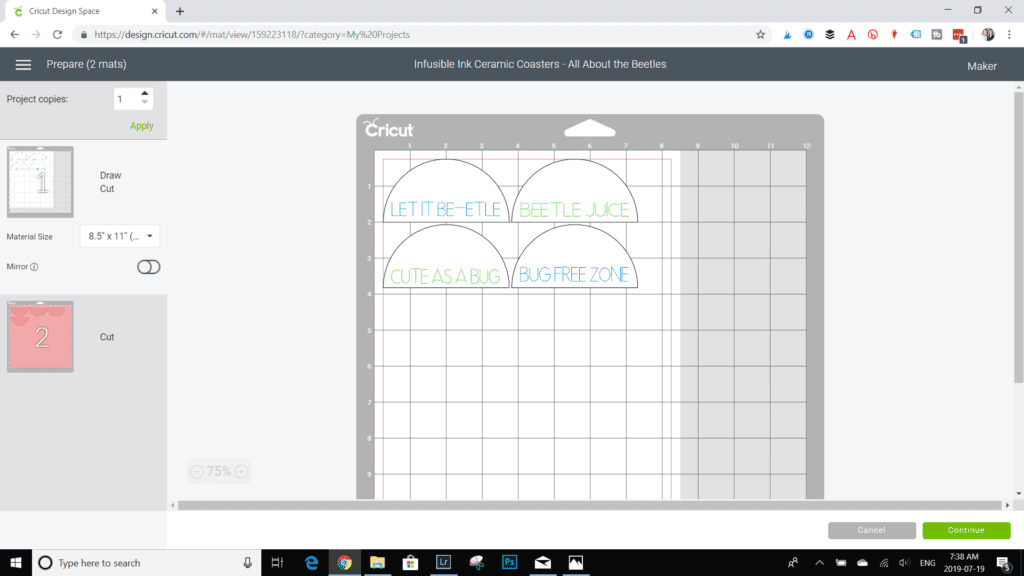
Upload the “All About the Beetles” coaster pattern template.
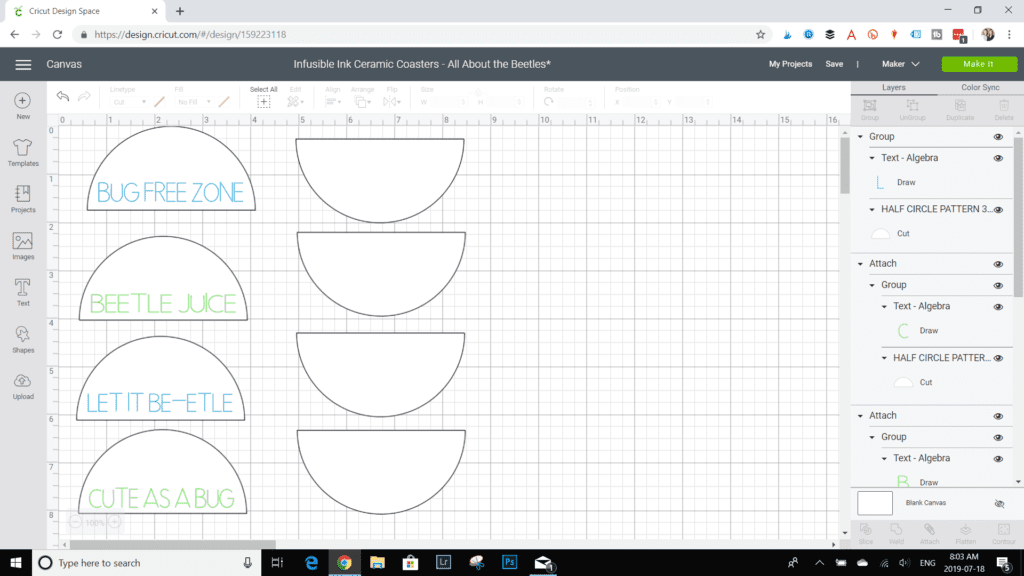
Move the four half circle pattern pieces to a separate mat by right clicking on the half circle and selecting “move to another mat”. Repeat for the other blank half circle patterns.

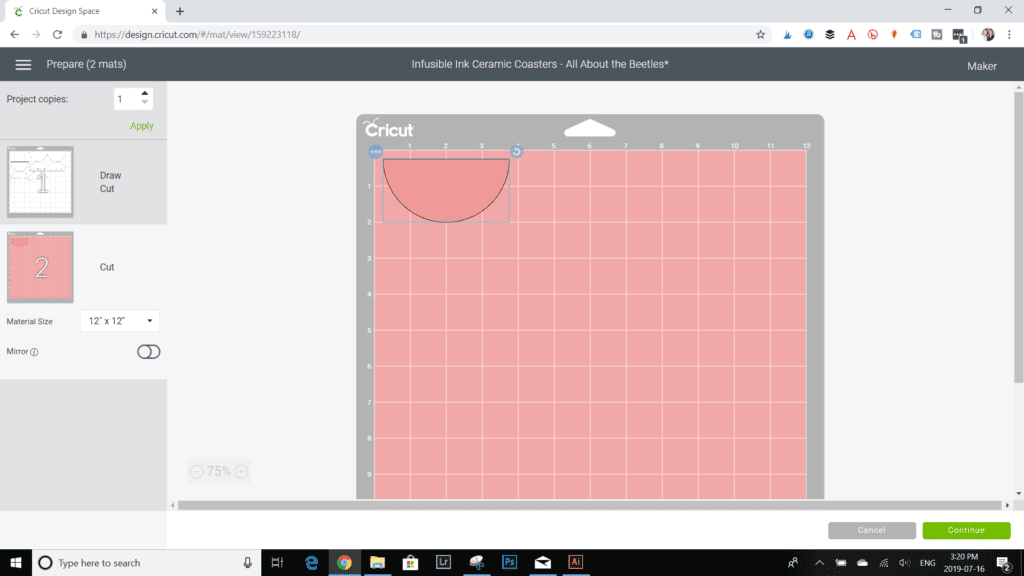
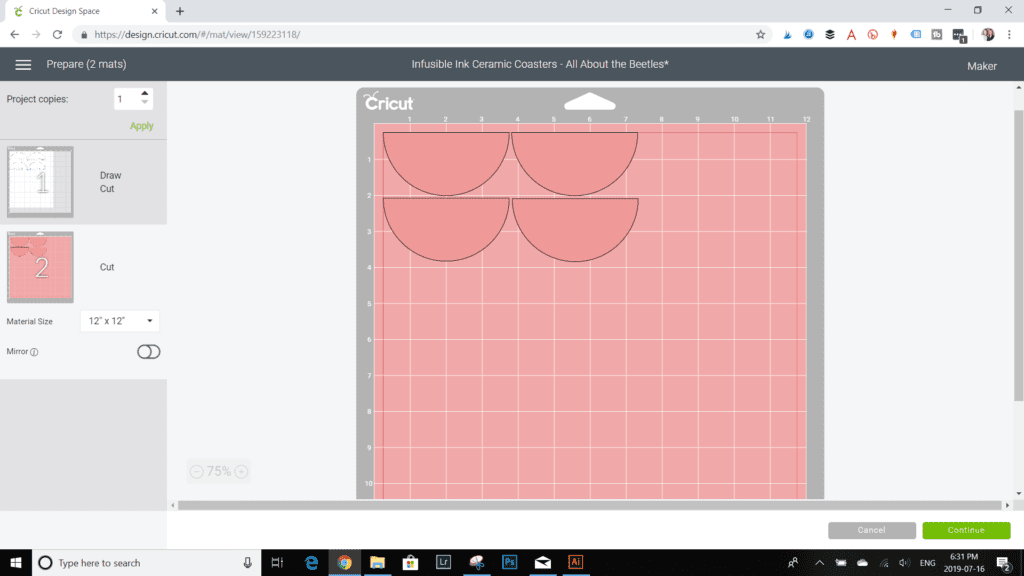
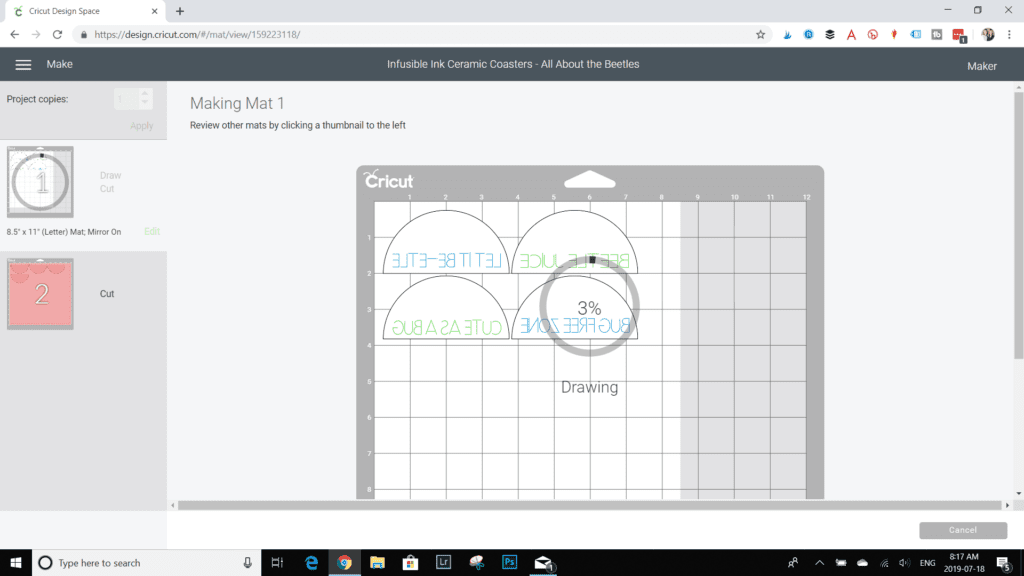
On mat 1, adjust the paper size to 8.5 x 11 and rearrange the half circle pattern pieces to fit.
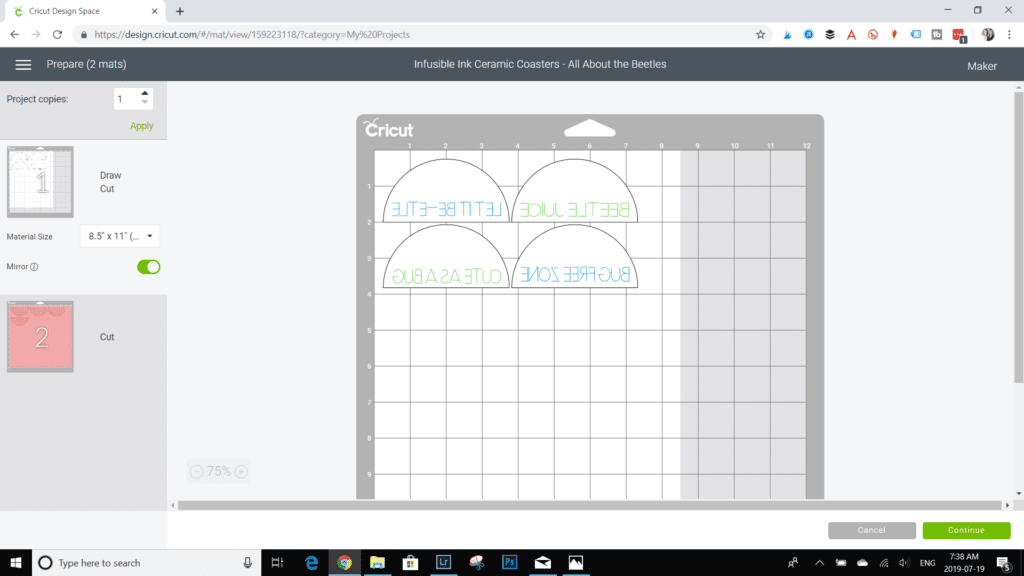
Be sure to click on the mirror on toggle button to flip the text. This is necessary for any designs that will be applied with the EasyPress afterwards.
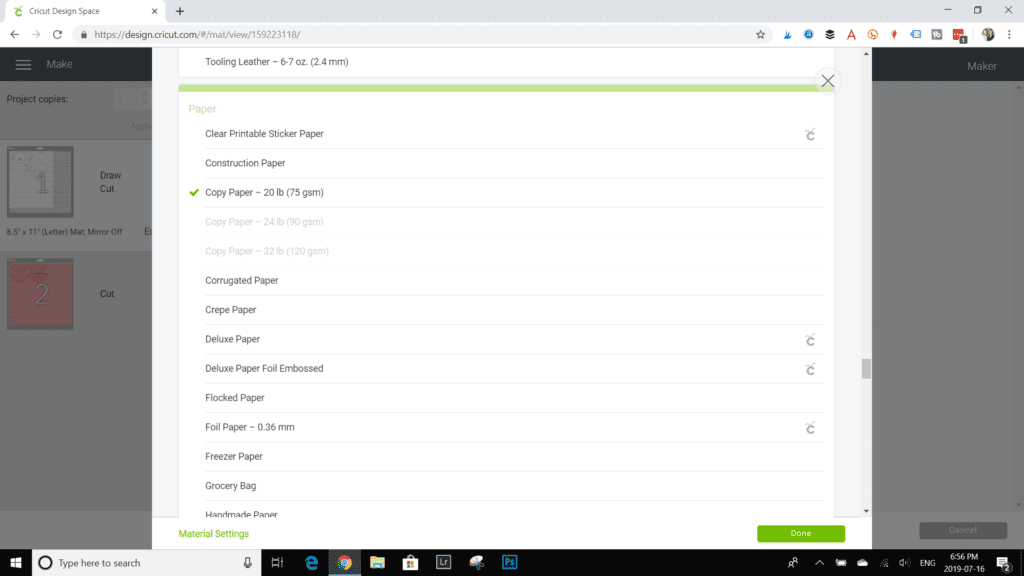
Click Continue. Set the material option to copy paper.
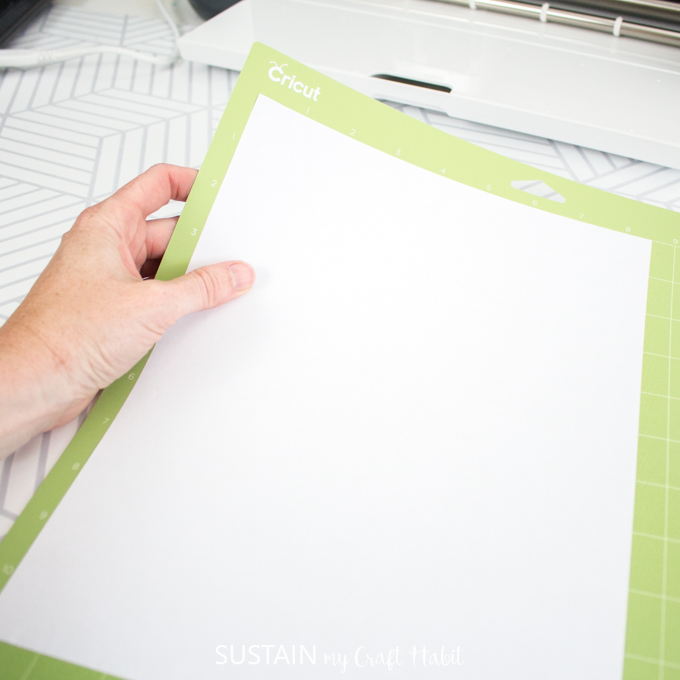
Place a plain sheet of laser ink copy paper on to the standard grip mat.
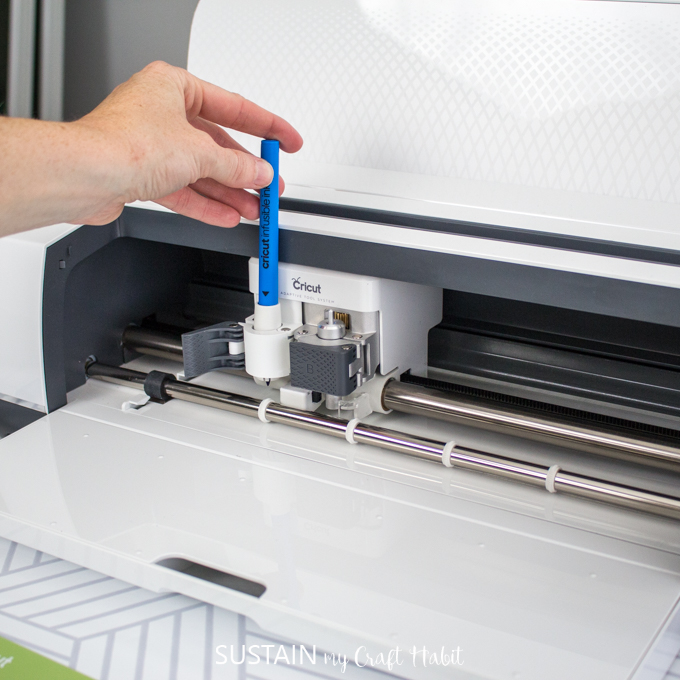
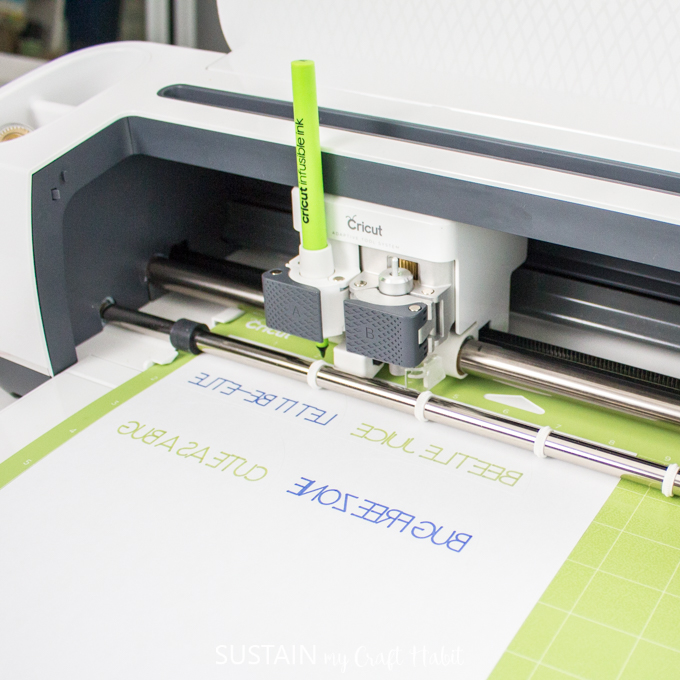
Ensure the fine point blade is inserted in the Maker and insert the marker color indicated on the screen in clamp A.
Upload the prepared mat to the Maker. Select the start button on the Maker to begin printing the text and cutting out the pattern.
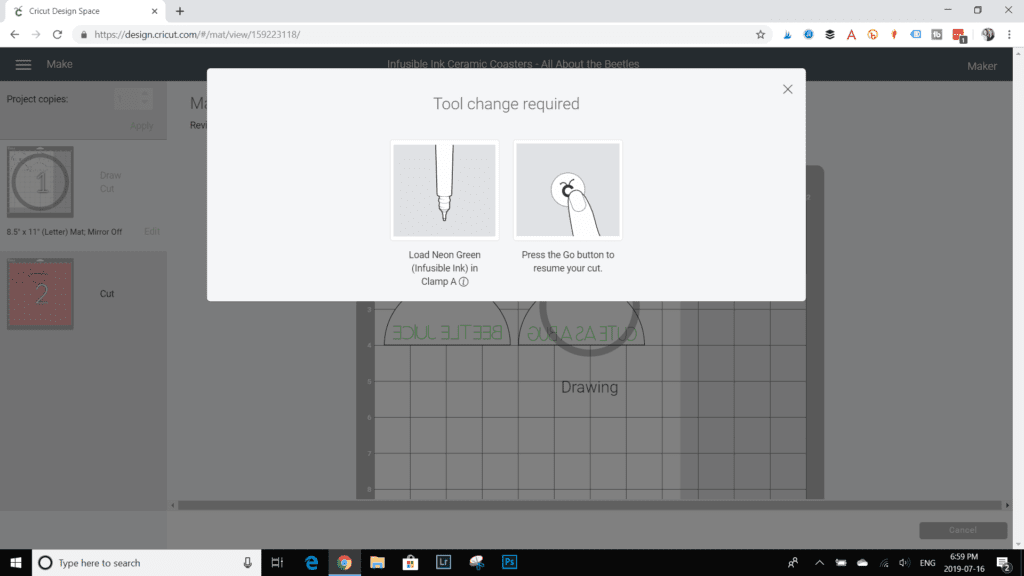
The Maker will prompt you to change the marker color when needed.
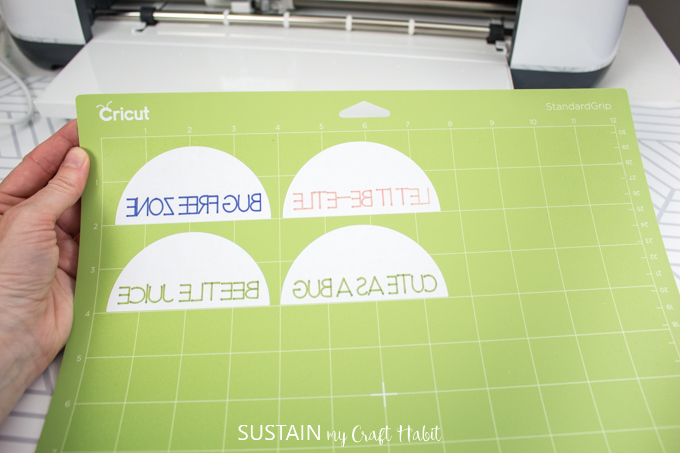
Unload the mat when complete.
Using the spatula tool, carefully peel off the copy paper from the mat.
Applying the Infusible Ink with the EasyPress 2
Next, refer to the EasyPress Reference Guide for instructions and heat press settings for applying the Infusible Ink text onto the coasters.
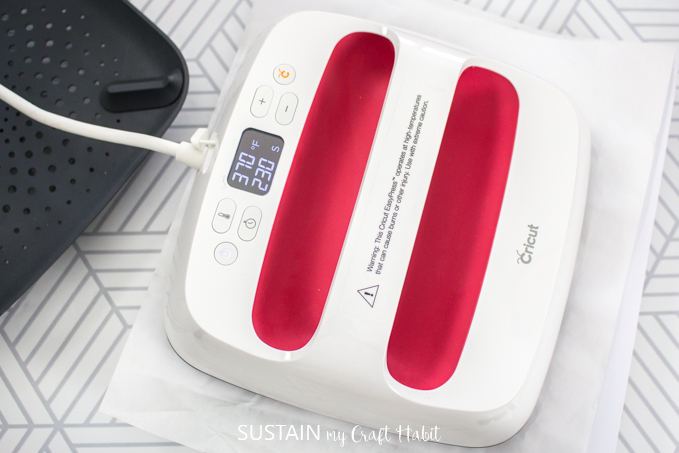
Preheat the machine to 400F and set the time to 240 seconds. Yes, you read that correctly! To apply the infusible ink to the coasters, the temperature needs to be set higher and for a longer amount of time than the tote.
When working with the coasters, all the materials will need to be stacked a certain way. Here’s the layout starting with the bottom working upwards:
- EasyPress mat
- Cardstock
- Infusible Ink pattern facing upward
- Coaster blank facing downward
- Butcher paper
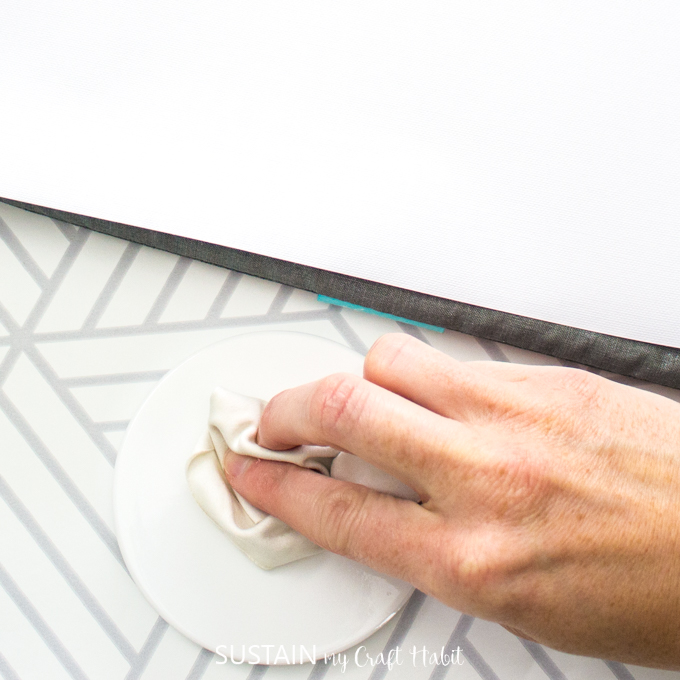
Use the lint free cloth to wipe the coasters to eliminate any loose fibers.
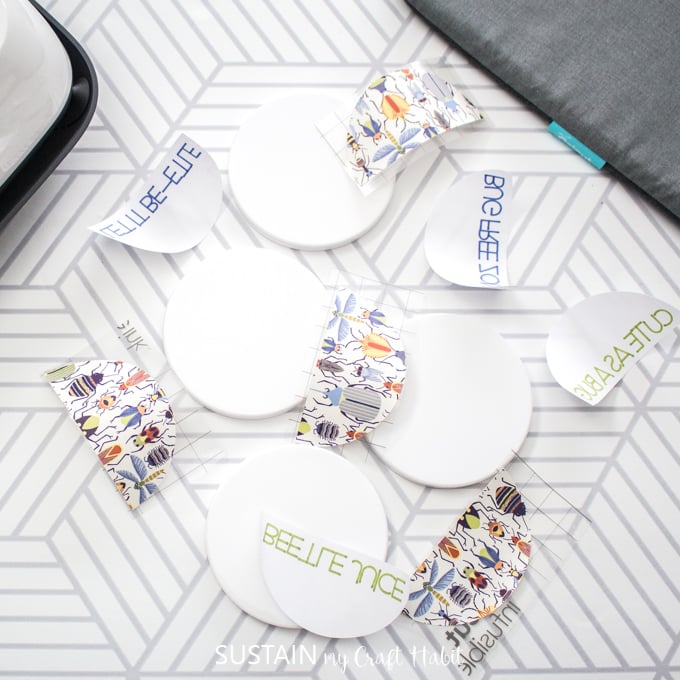
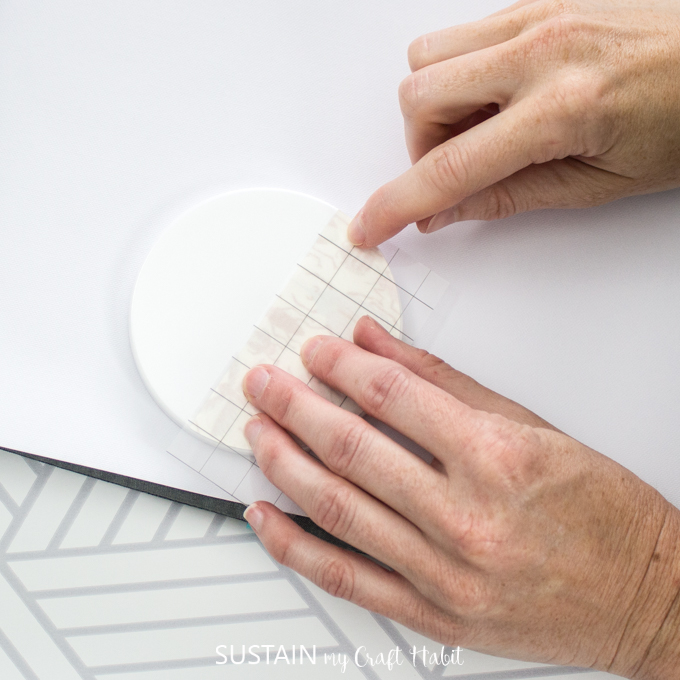
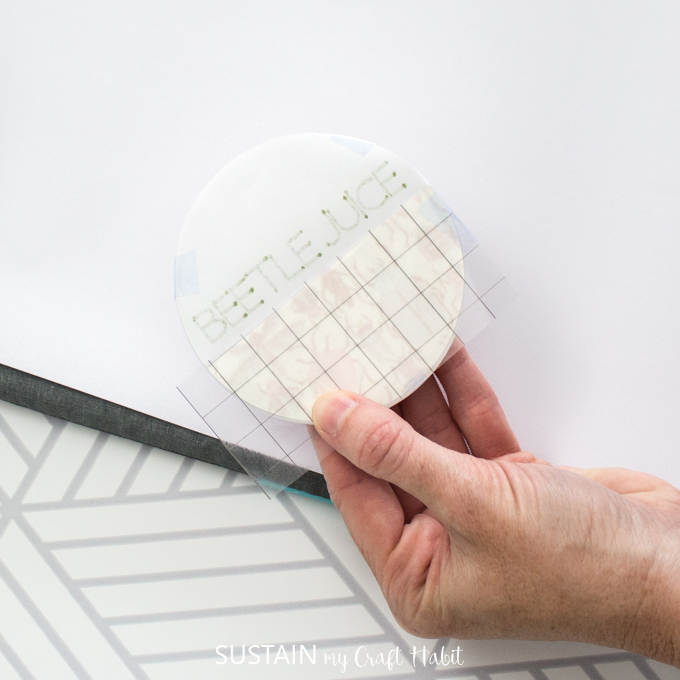
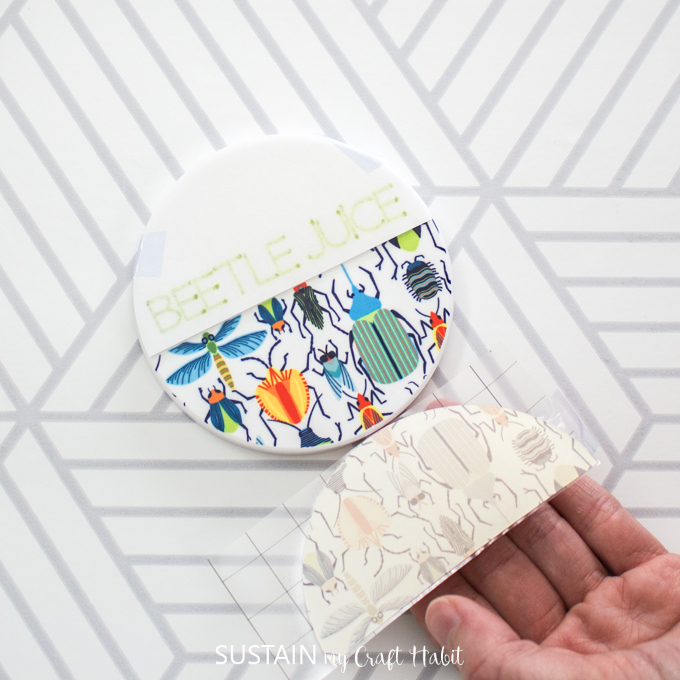
Place the cut infusible ink transfer sheet pieces on the shiny side of the ceramic coasters with the ink facing down (plastic side up). The beetle all over half circle pattern should be on the lower side of the coaster. The half circle pieces with the text should be on the top side of the coaster. Secure the pieces in place using a few strips of the heat resistant tape.
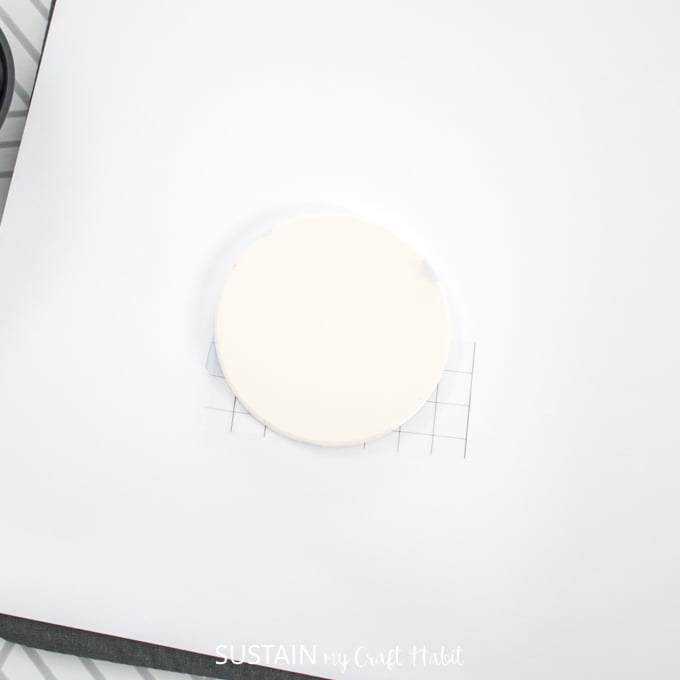
Place the coasters facing down on top of the mat the cardstock. Cover with a sheet of butcher paper.
Put the preheated EasyPress on top of the coaster for 240 seconds. No need to hold the press in place for these coasters.
Lift the press slowly and carefully remove the butcher paper. The coasters will be extremely hot! So be careful and wait for the surface to cool completely before peeling away the liner.
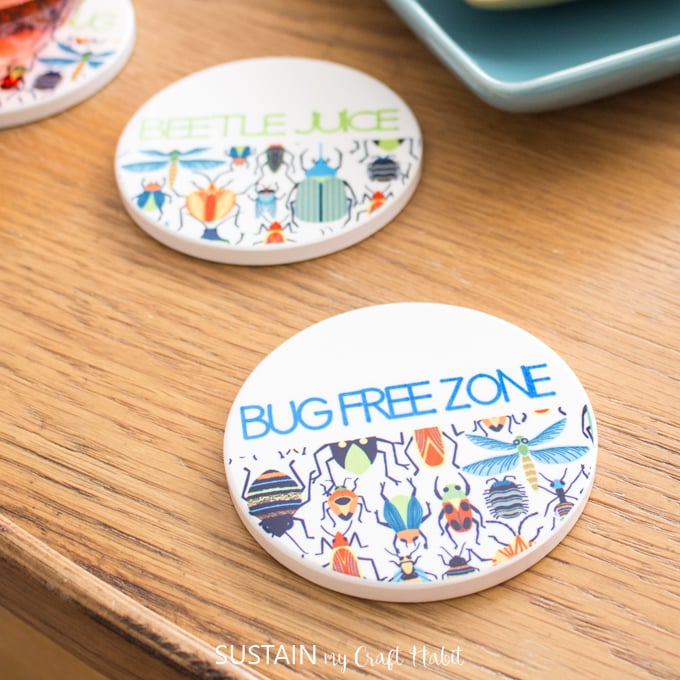
Now for the fun part, peeling away the liner to see the results.
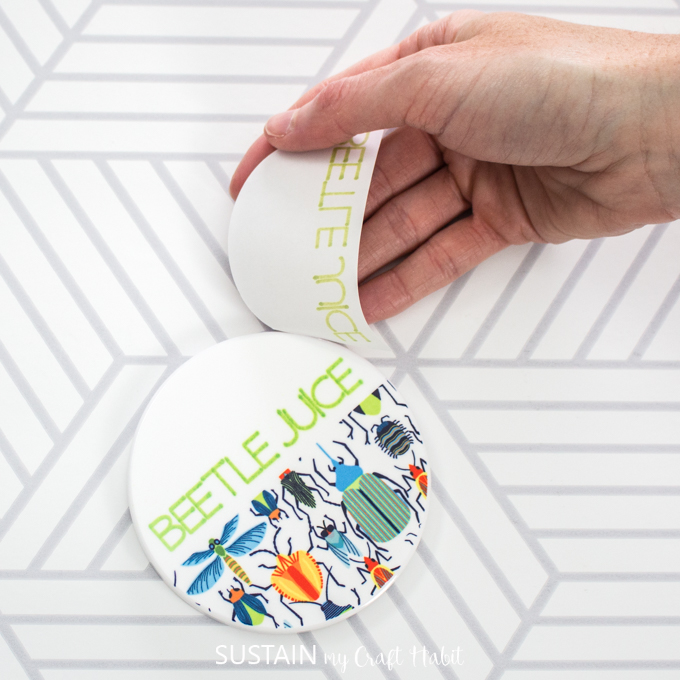
Wow! This was a pretty exciting step to see how the ink transferred directly on to the coasters leaving a vivid, crisp colored design.

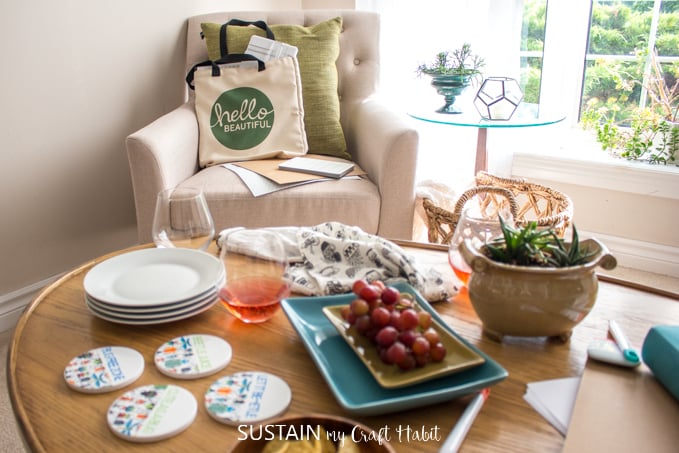
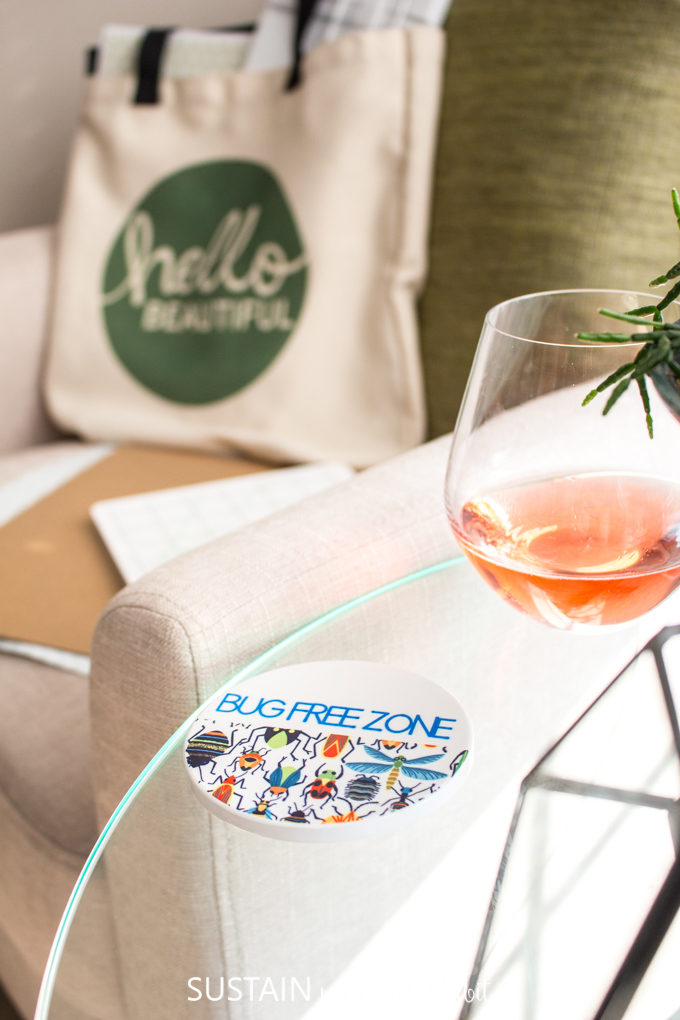
We’re so happy with how these projects using the Infusible Ink turned out. Our Hello Beautiful tote bag is getting a lot of use transporting craft supplies for our girls’ nights in. And the coasters are just the perfect whimsical touch for our get-togethers.
Have you had a chance to try the Infusible Ink? Let us know what you made in the comment below!
Like it? Pin it for later!
Really cute! I think I could do this!😀