Valentine’s Day Coloring Bookmarks with the Cricut Maker
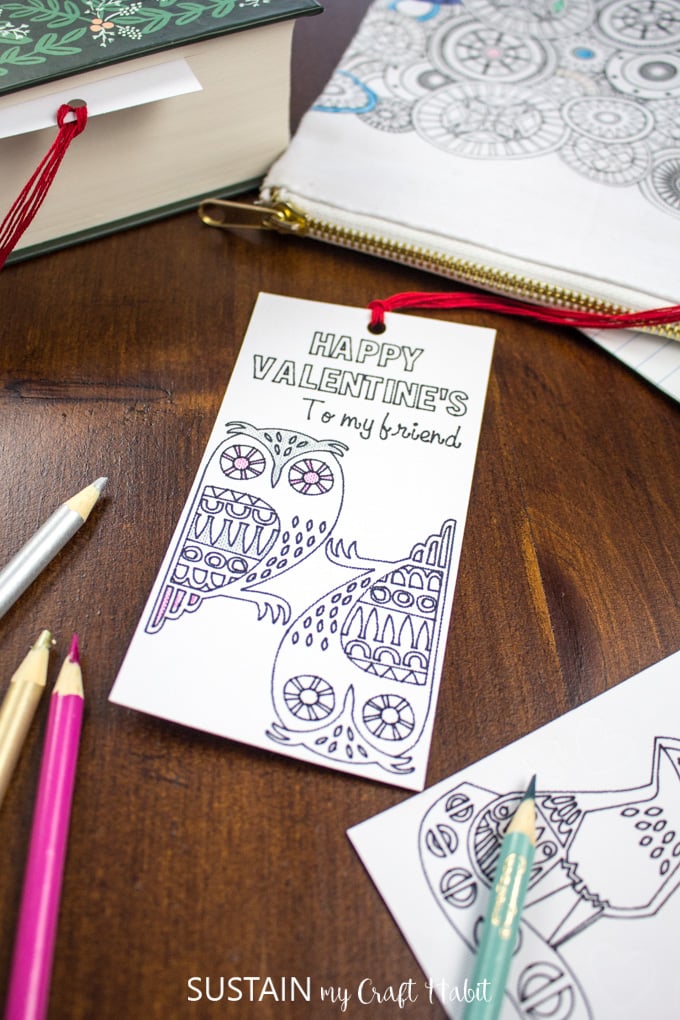
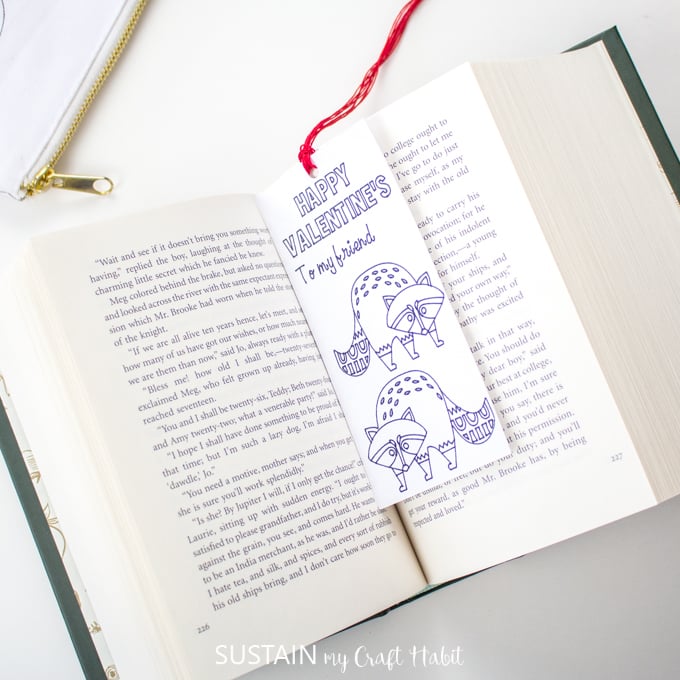
These Valentines coloring bookmarks with the Cricut Maker are a great non candy valentines gift option for classmates and friends.
This is a sponsored conversation written by me on behalf of Cricut. The opinions and text are all mine.
A Non Candy Valentines Option: Adorable DIY Coloring Bookmarks
CRICUT PROJECTS: Get access to our resource library filled with SVG cut files and other Cricut craft ideas!
My kids love to give their classmates little valentines for Valentine’s Day. Our school does have a pretty strict no food policy for such celebrations because of various food allergies kids have at school.
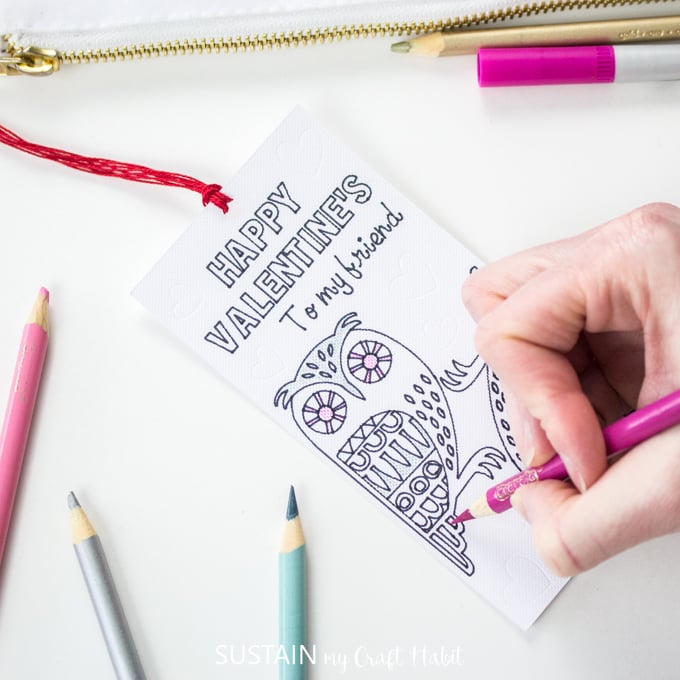
So rather than missing out we always look for non-treat options for Valentine’s Day. This year we came up with this fun coloring book mark idea. I mean who doesn’t love to color and who doesn’t need a cute bookmark?
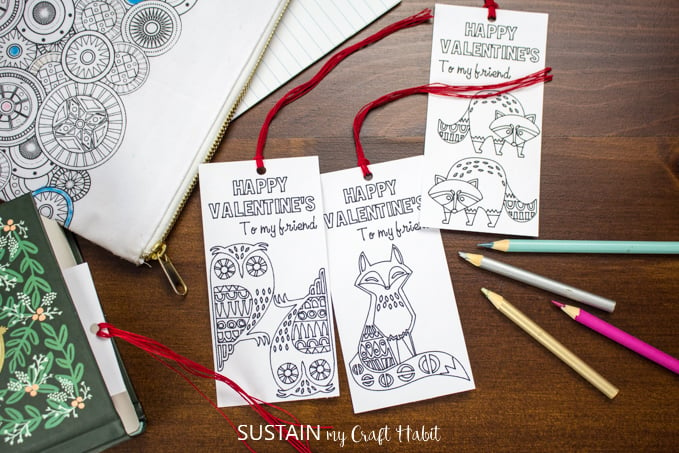
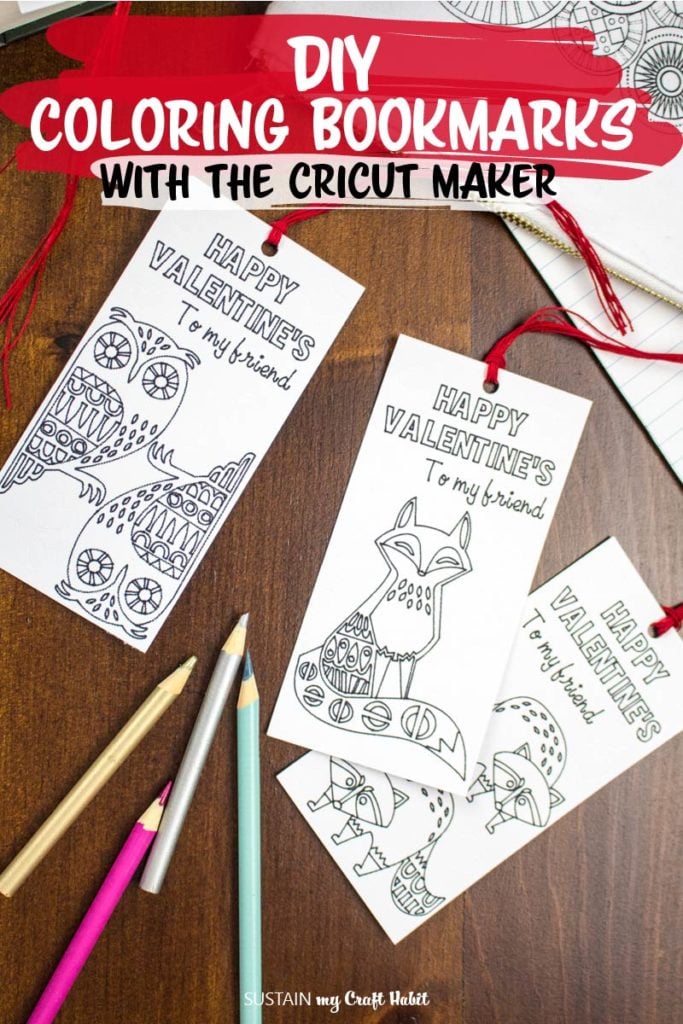
Cricut makes Valentine’s match-MAKING a breeze with hundreds of creative projects to try. I fell completely in love with these great woodland animal designs in Cricut’s Design Space. I mean, how adorable are the owls, raccoons and fox (hello handsome)?
Although it can be difficult to see in the picture, one of the best parts of these bookmarks is the high-quality cardstock from Cricut which has a really nice linen texture to it.
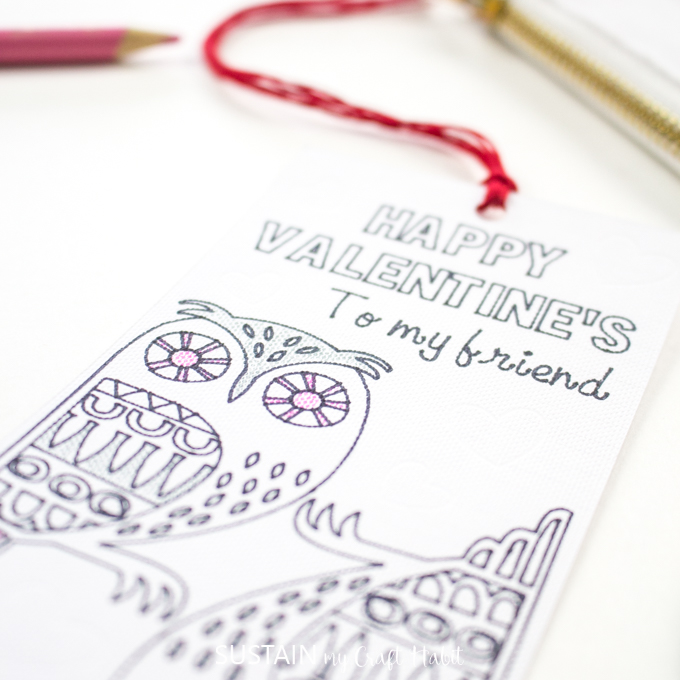
We also used the new debossing tip to deboss hearts all around the designs. This gives the bookmarks a really interesting texture and professional looking finish.
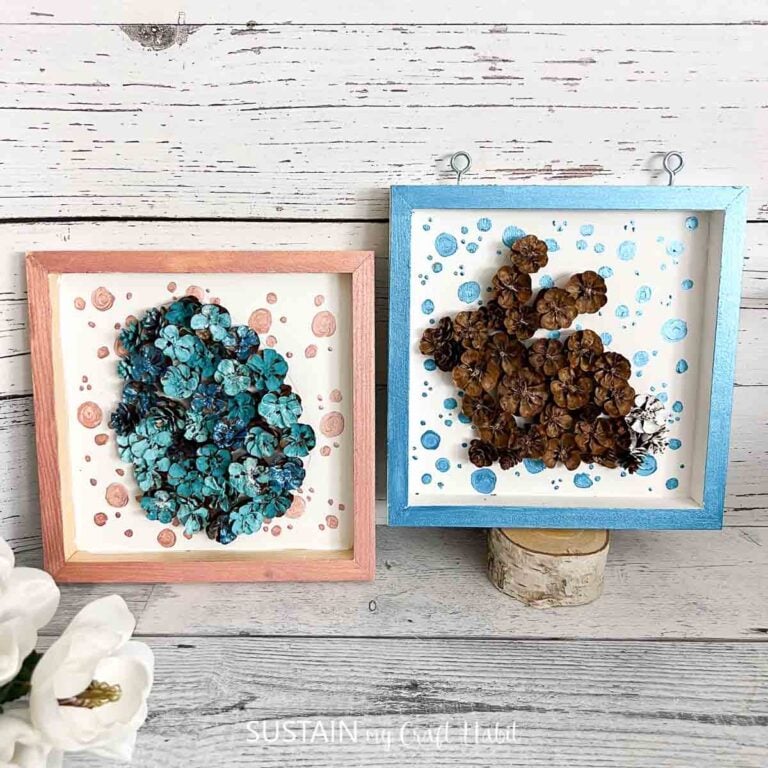
For the teachers, we’ll be painting some pine cone roses to create a little bouquet. Or maybe making them a mason jar candle holder with heart cut-outs using our Cricut Maker.
Materials Needed to Make the Valentine’s Day Bookmarks
- Bookmark template in Design Space
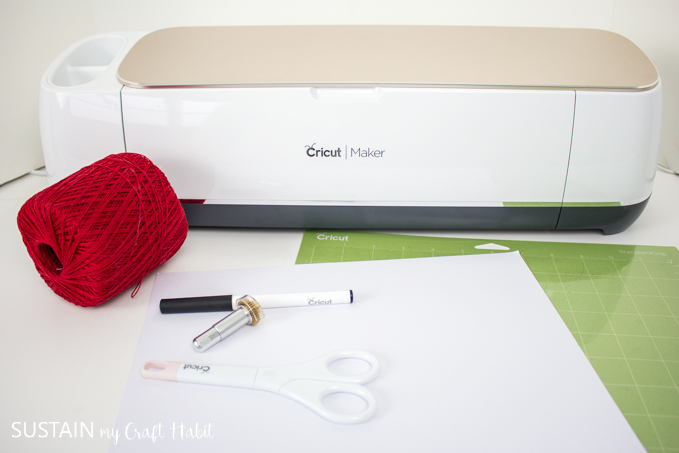
- Cricut Maker with Fine Point Blade and Debossing Tip
- Black Pen (0.4 tip)
- White Cardstock paper
- Standard grip mat
- Embroidery floss or decorative yarn in red (or any color) for making the tassels
- Scissors
How to Make Valentines Coloring Bookmarks with the Cricut Maker:
We’re happy to offer this video tutorial for the project. If you prefer a written version, read on below!
Video Tutorial
Customizing the Bookmarks in Cricut Design Space
Start by accessing the project file in Cricut Design Space. These bookmarks use all fonts and images from Design Space.
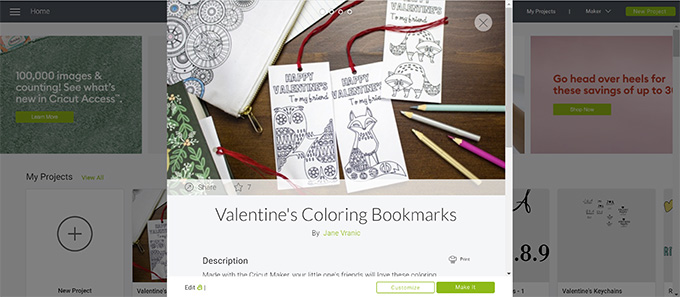
If you like how they look, simply hit the “Make It” button and continue to the next step.
Alternatively, hit “Customize” to take you to the Canvas. From here you can make any changes you’d like. You could make them “Happy Birthday” or “Thank You” bookmarks for example. Or you can remove some of the images if you’d prefer to cut-out only a few.
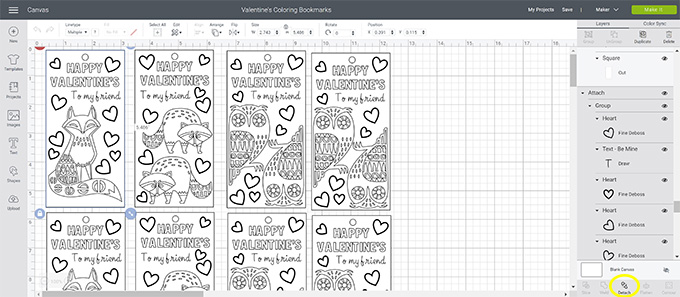
To do so, simply click on each bookmark, press “Detach” and then “Ungroup” buttons in the right panel and then make edits. Just be sure to “Group” and “Attach” each bookmark before going on to the cutting step.
The hearts are designed to be debossed using the new Debossing Tip for the Cricut Maker. If you don’t yet have this tool you can either hide the hearts, change the line type to marker or even cut them out with the fine point blade.
Cutting with the Cricut Maker
Select Make It to take you to the prepared mat for cutting.
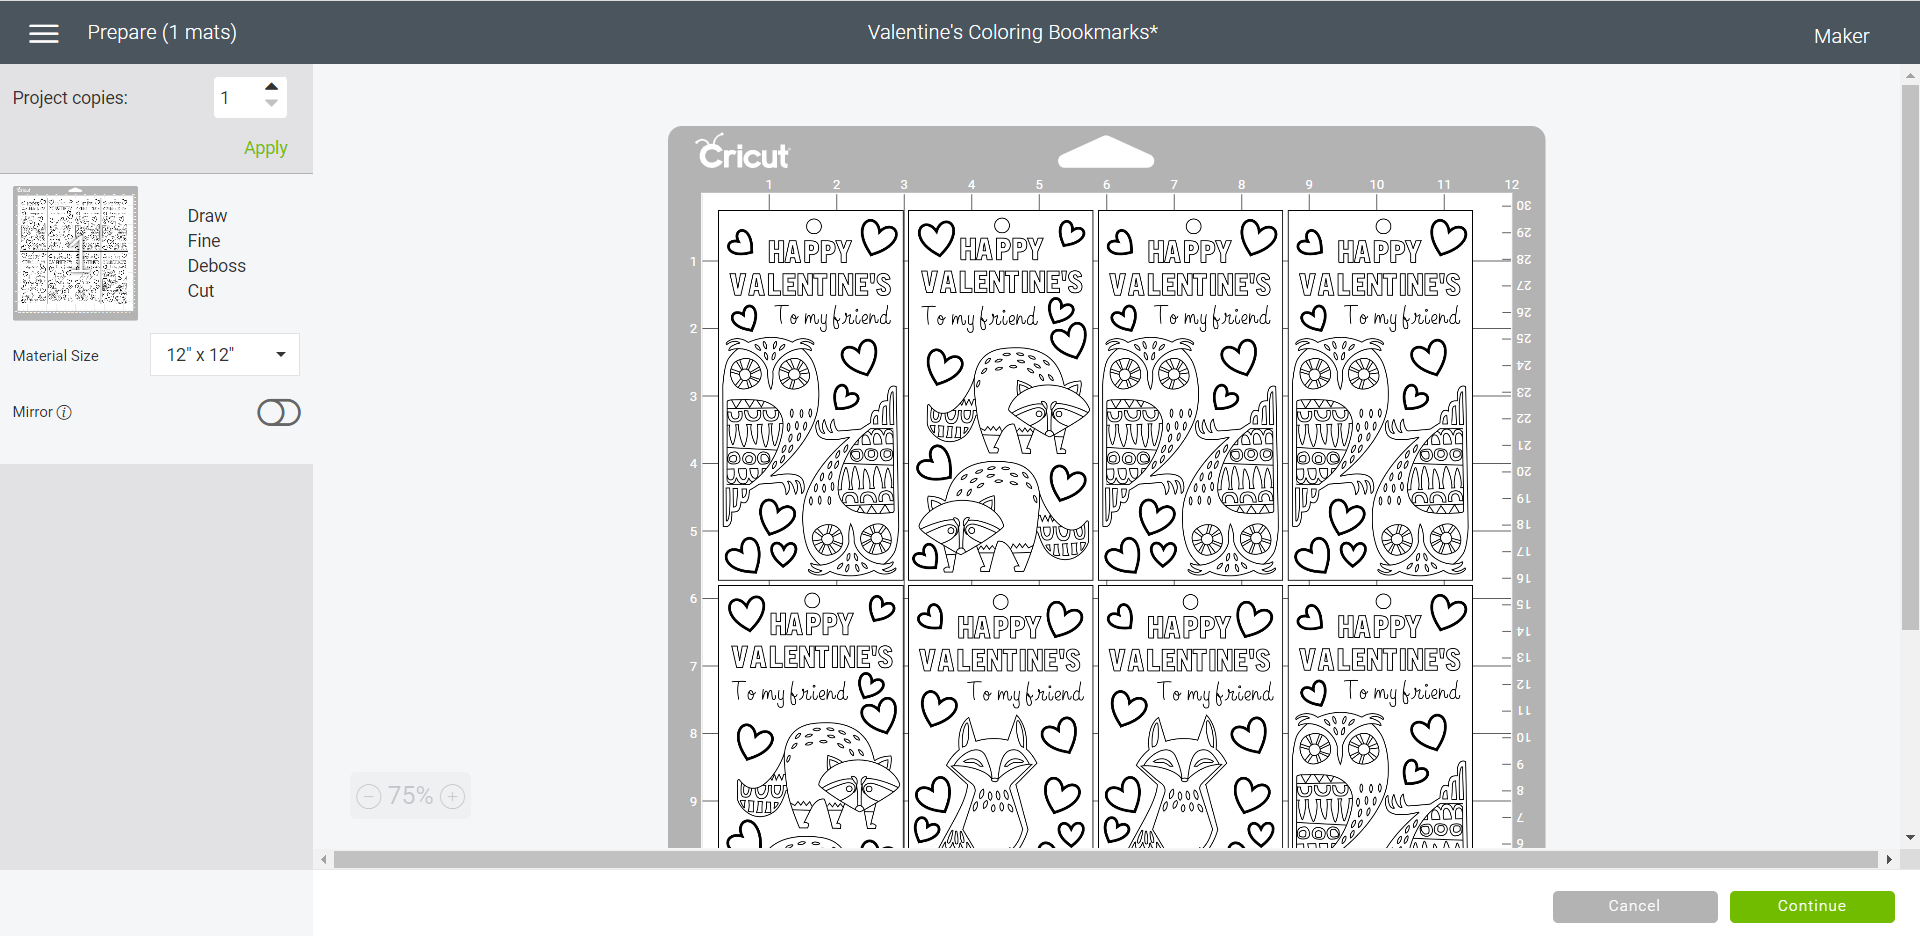
Select continue and then set the material to medium cardstock.
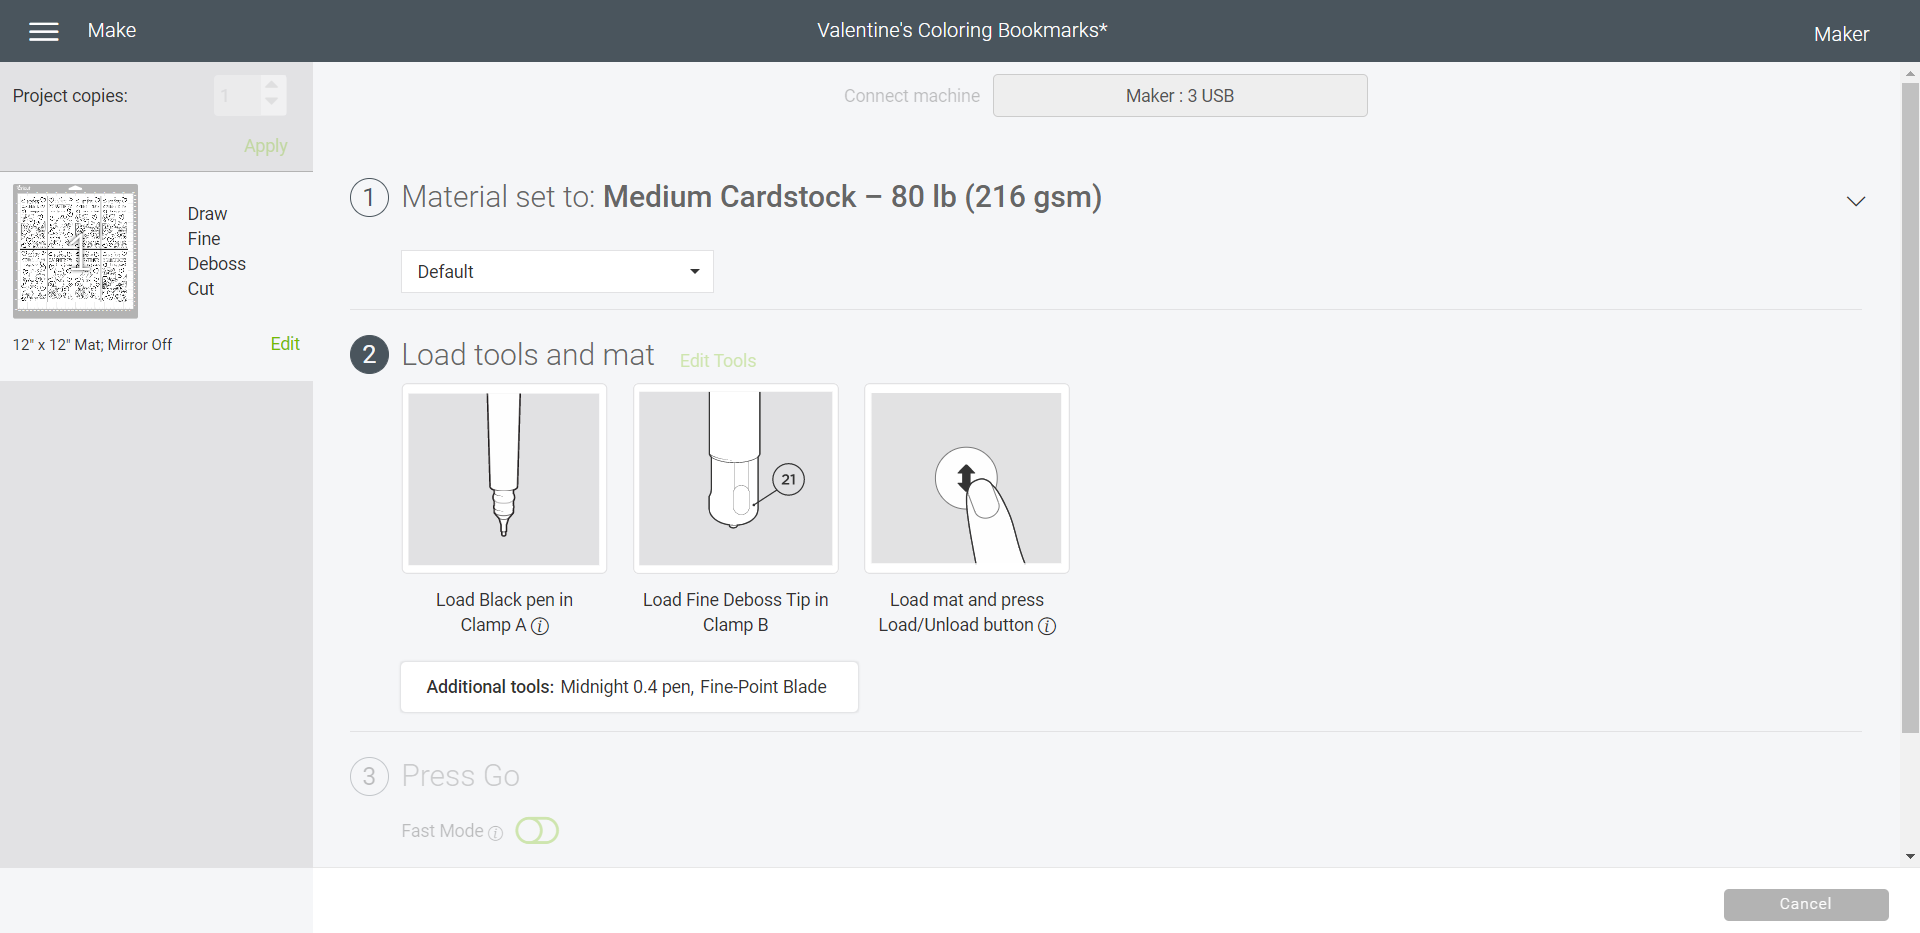
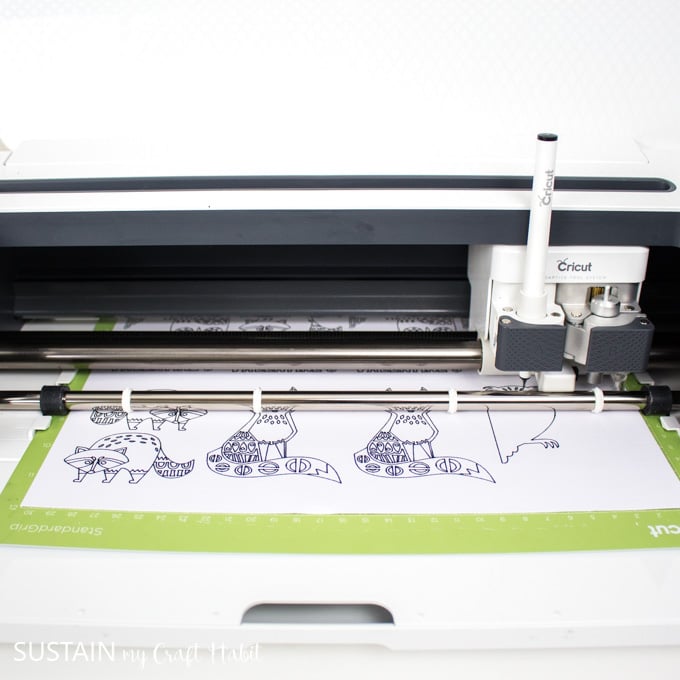
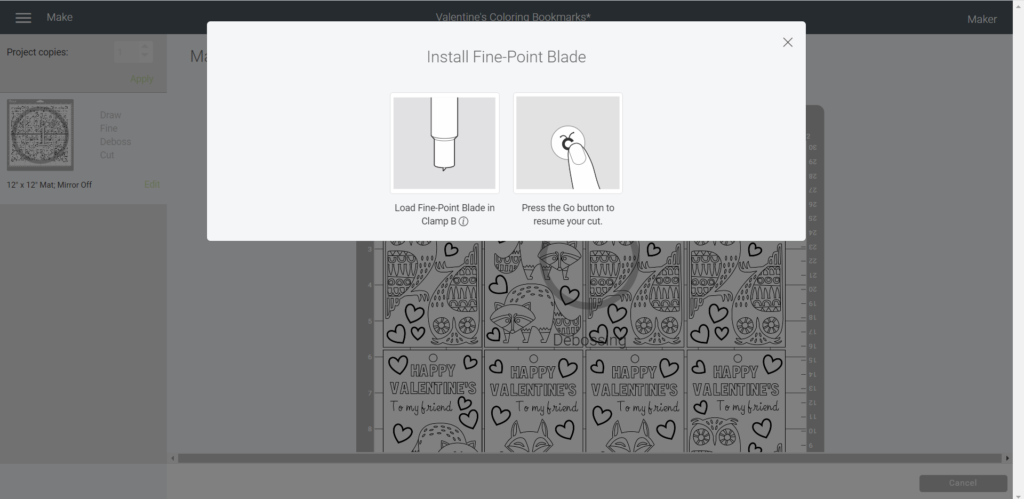
Following the prompts on the screen, load the fine black pen in clamp A and load the fine deboss tip in clamp B.
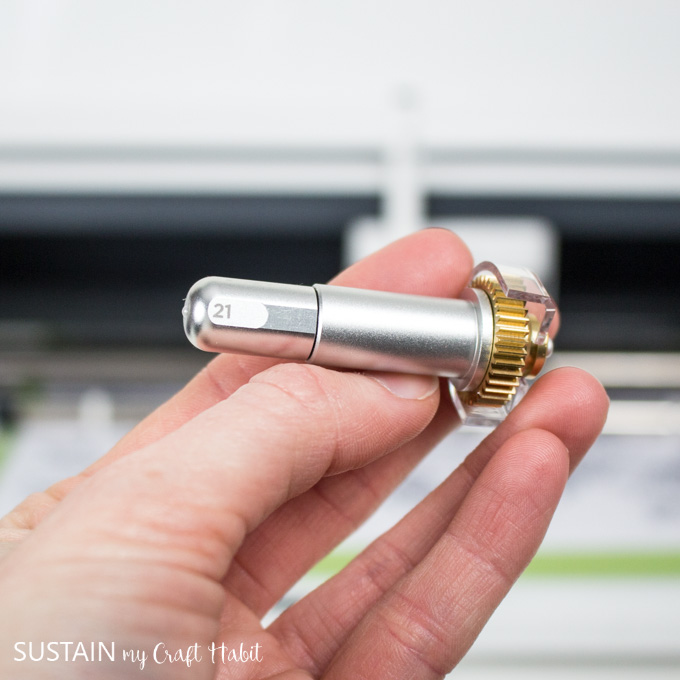
Place a sheet of cardstock on a standard grip mat and the load into the Cricut. Push the green Cricut Go button to begin the bookmarks.
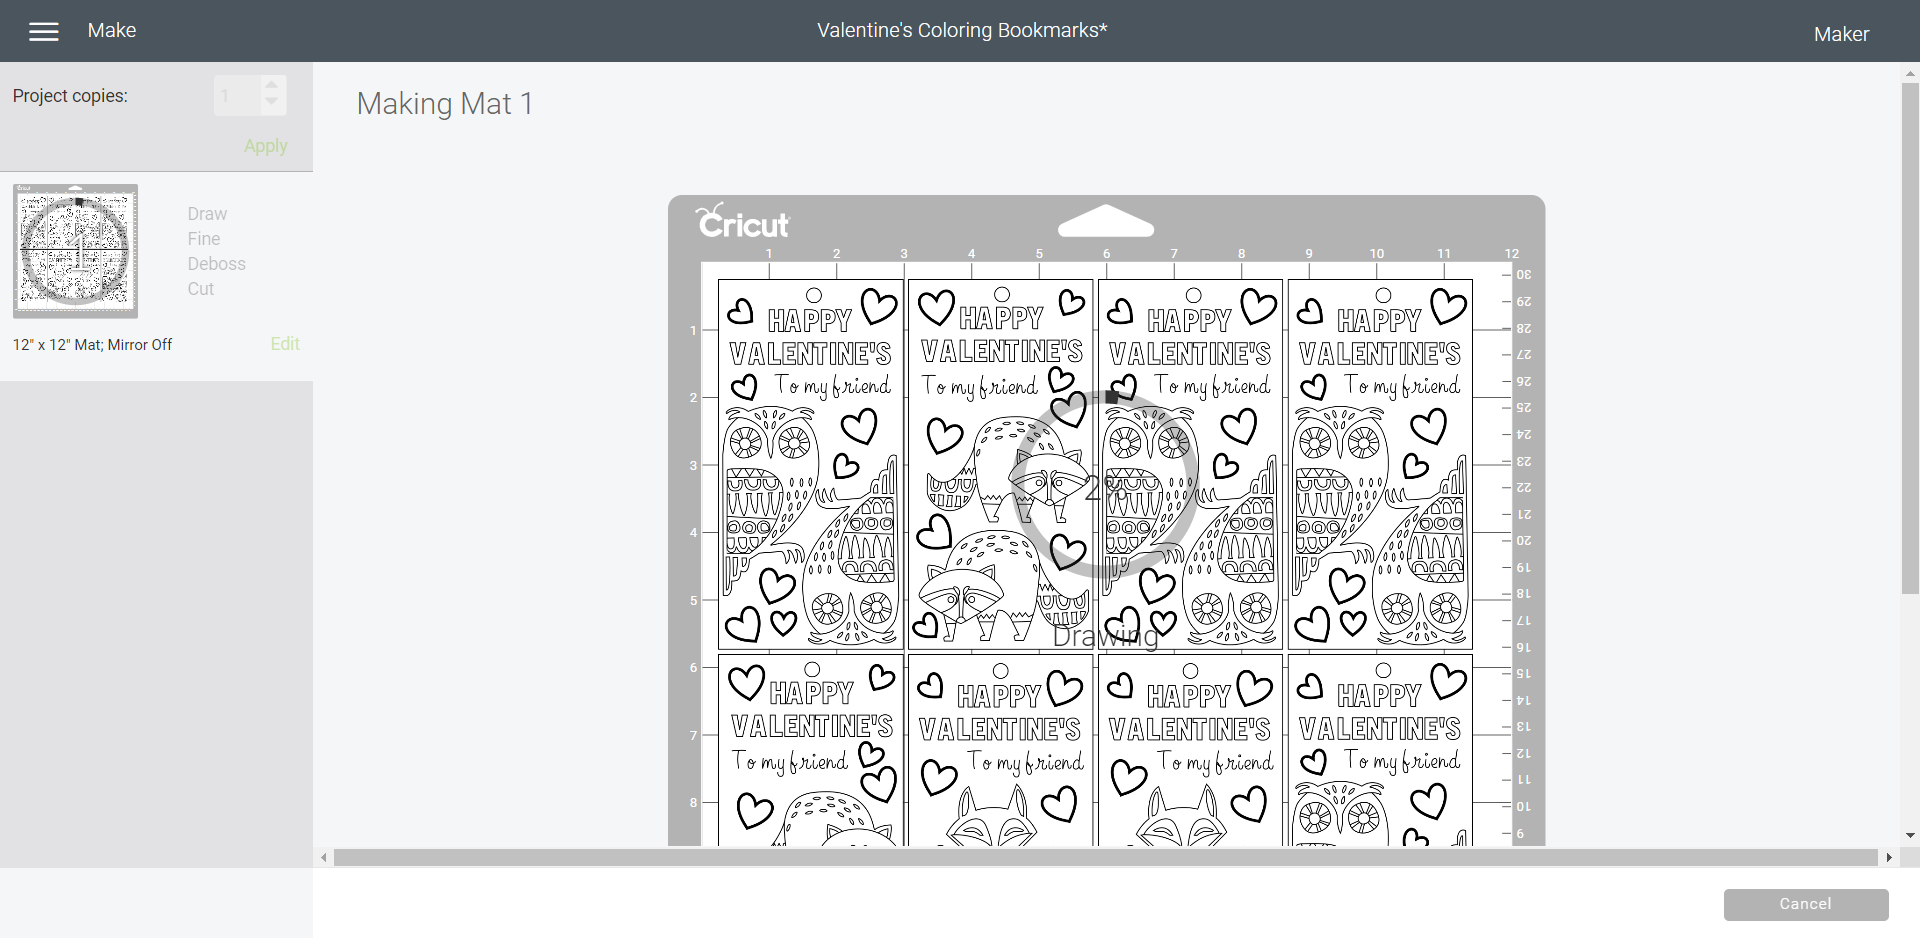
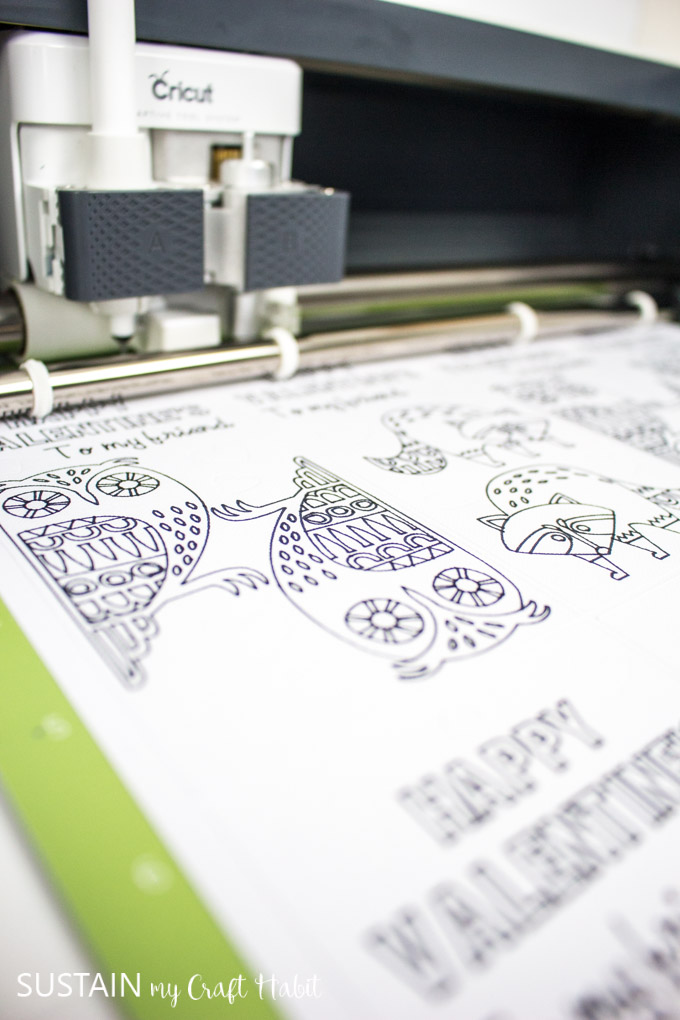
The Cricut Maker will start by drawing all the images and text on the mat that were set to “draw”. The process takes quite a while as there is a lot of detail in the bookmarks but gives you a percentage of completion as it’s drawing, debossing and cutting.
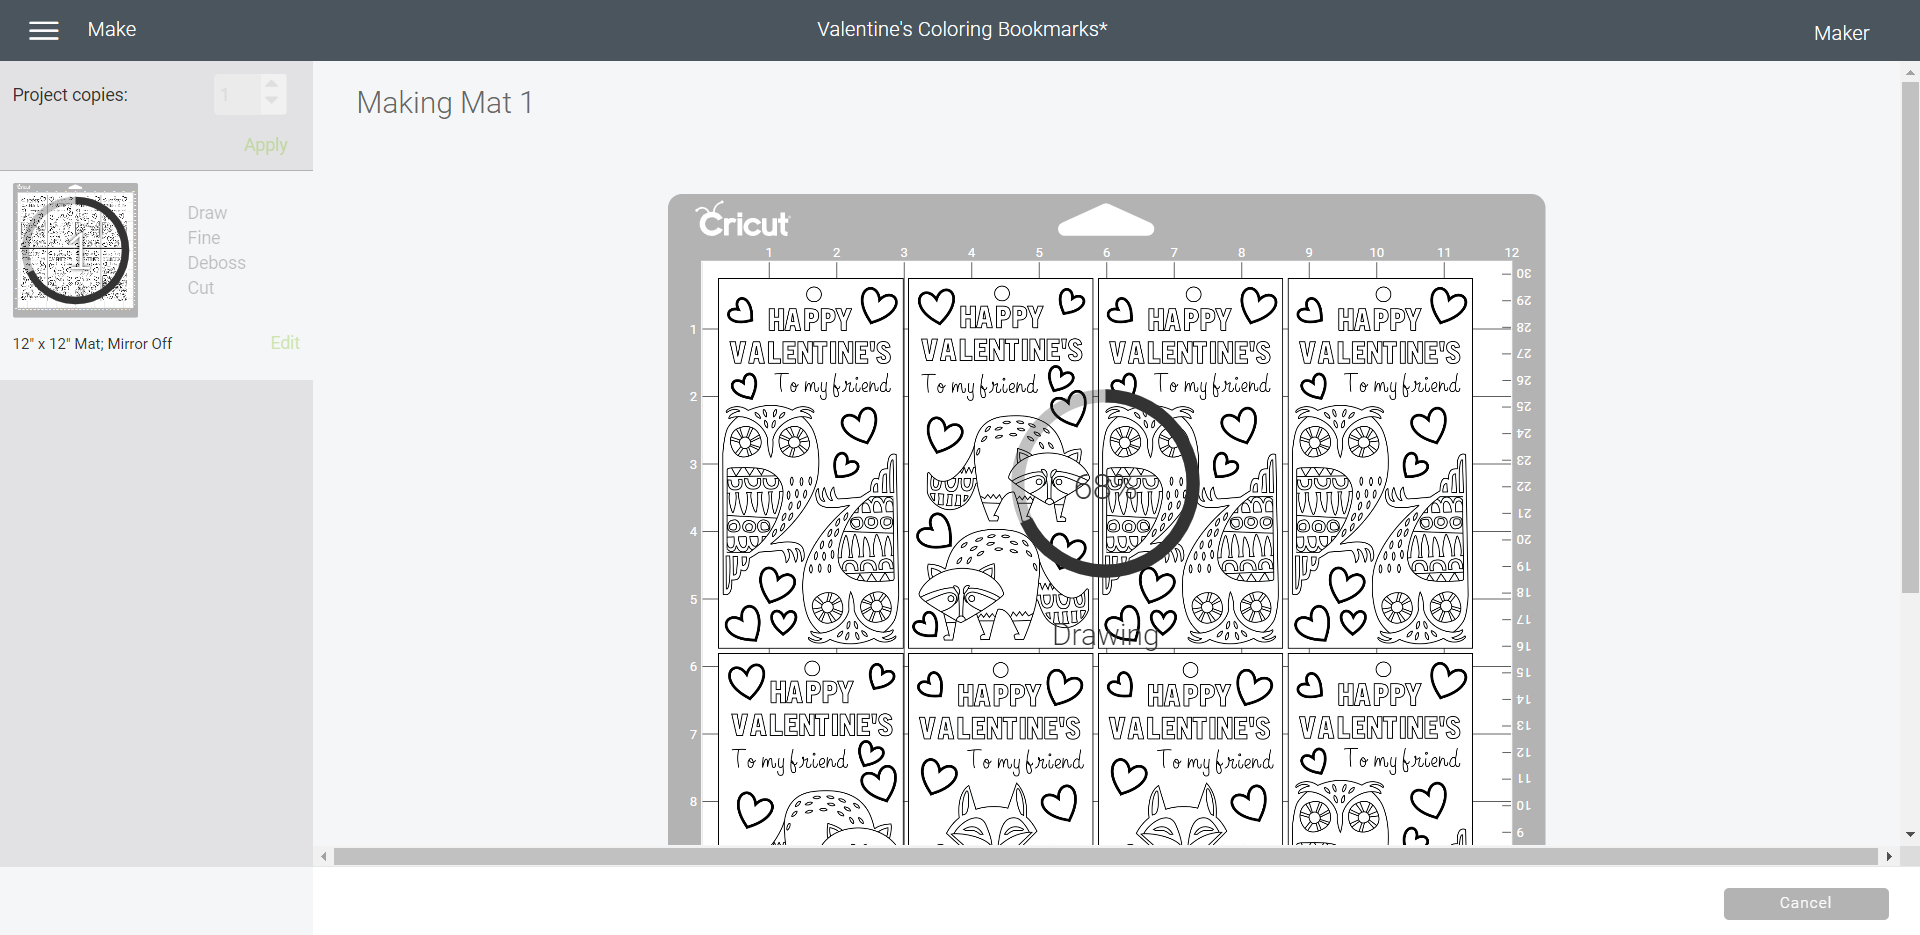
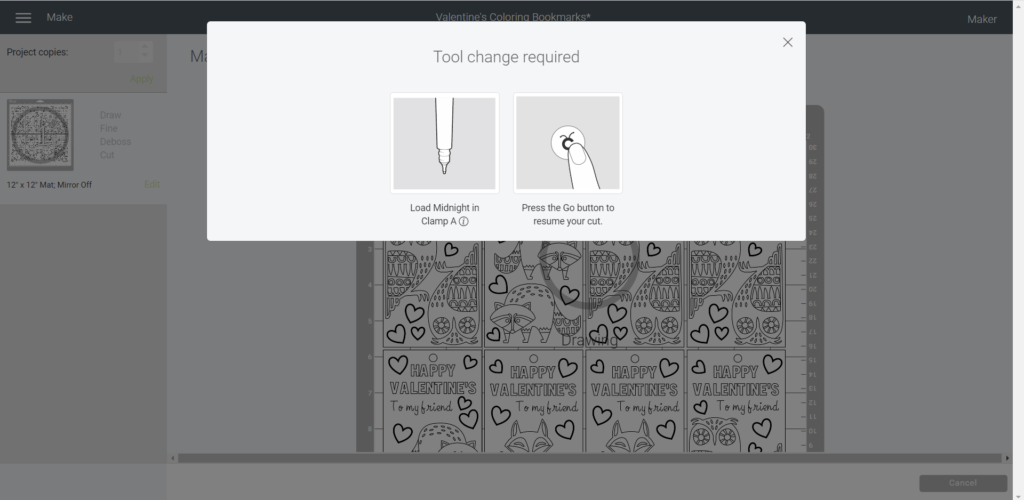
When prompted, switch to midnight pen or disregard if you don’t have it, we kept the same black pen for the entire project. Continue with the project.
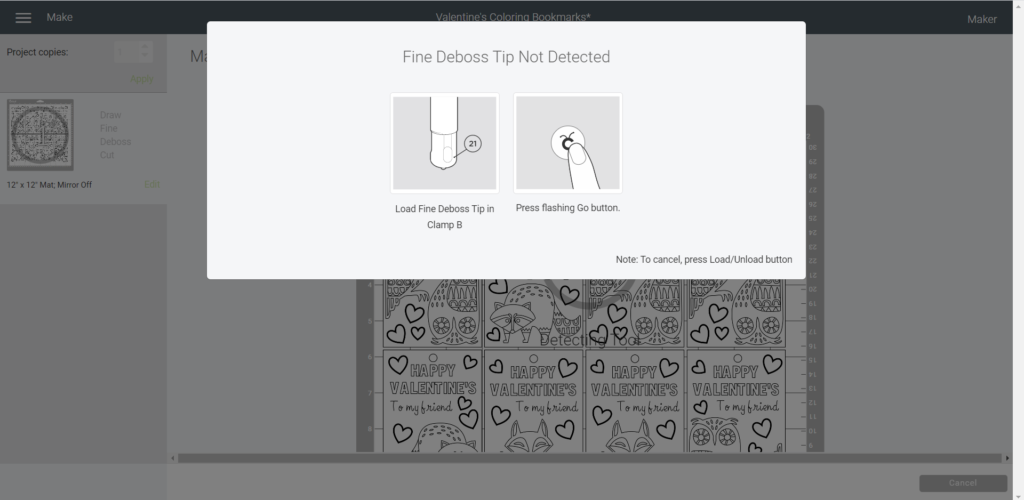
Next, load the debossing tool if you haven’t already.
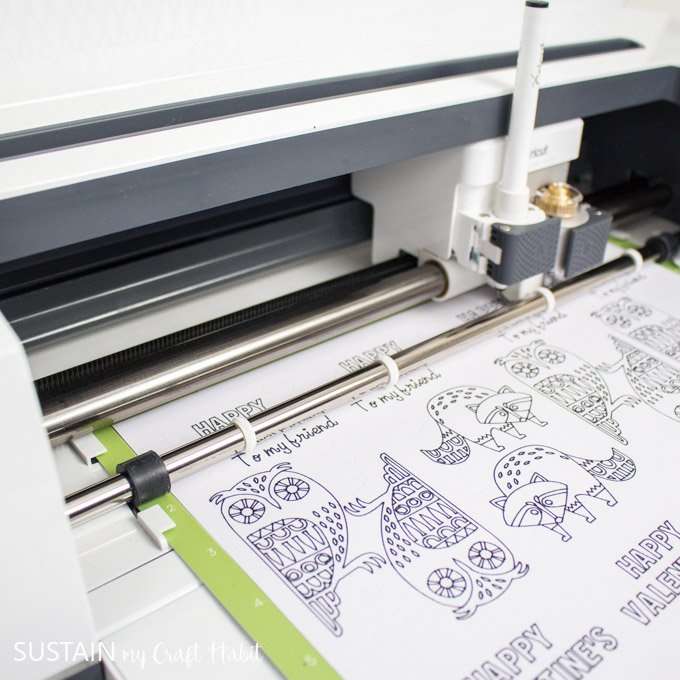
And lastly, load the fine point blade in to Clamp B to finish the bookmarks.
Cut several strands of the embroidery floss 8″ long.
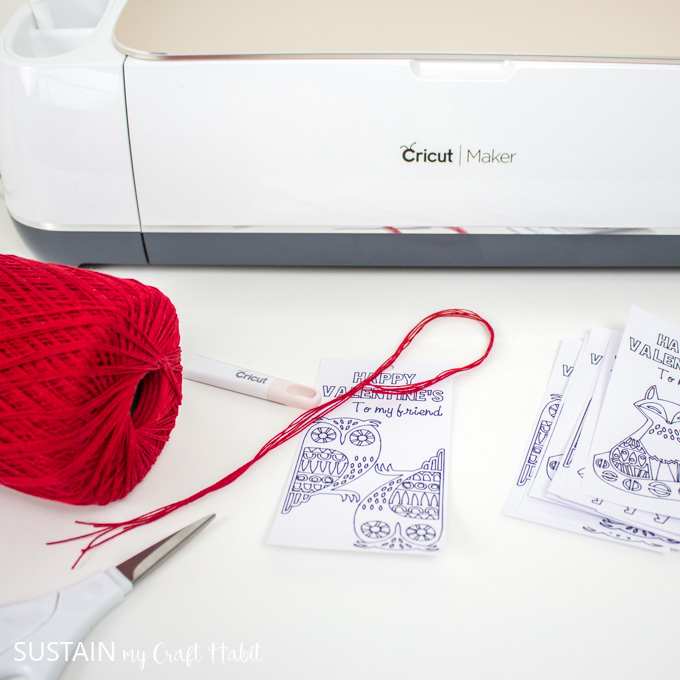
Fold them in half and loop them through the hole at the top of each bookmark. Thread the tails through the loop and pull to tighten.
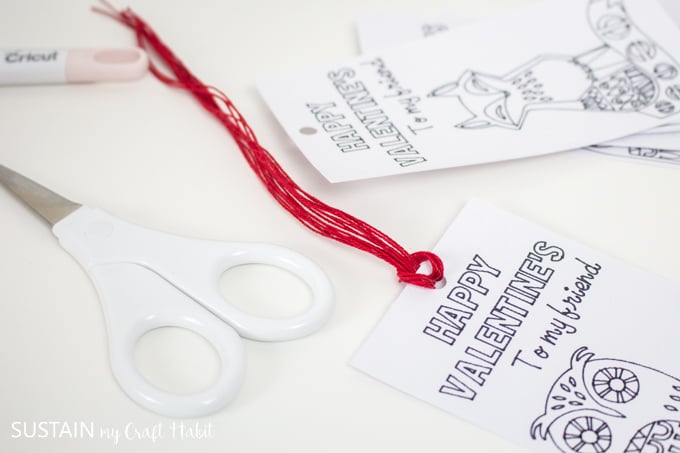
The bookmarks turned out great!
Since it took about a 1/2 hour to complete 8 of them, I decided to make enough for just the “besties”. And while I had my 8-year old in mind for them, my 13-year old daughter quickly claimed them for her friends once she saw them! Guess she doesn’t mind having a non candy valentines either!
Be sure to check out Cricut Design Space for all sorts of projects celebrating the most romantic day of the year.
Do your kids still exchange Valentines at school?
Like it? Pin it for later!
Join our crafting community to find more nature-inspired DIYs and upcycled craft ideas. It feels good to repurpose, upcycle and create with nature!
Valentine’s Day Coloring Bookmarks with the Cricut Maker
Materials
- Bookmark template in Design Space
- Cricut Maker with Fine Point Blade and Debossing Tip
- Black Pen 0.4 tip
- Cardstock paper White
- Standard grip mat
- Embroidery floss or decorative yarn in red or any color for making the tassels
- Scissors
Instructions
- Start by accessing the project file in Cricut Design Space.
- If you like how they look, simply hit the “Make It” button.
- The hearts are designed to be debossed using the new Debossing Tip for the Cricut Maker. If you don’t yet have this tool you can either hide the hearts, change the line type to marker or even cut them out with the fine point blade.
- Select Make It to take you to the prepared mat for cutting.
- Select continue and then set the material to medium cardstock.
- Following the prompts on the screen, load the fine black pen in clamp A and load the fine deboss tip in clamp B.
- When prompted, switch to midnight pen or keep the same black pen for the entire project.
- Next, load the debossing tool if you haven’t already.
- And lastly, load the fine point blade in to Clamp B to finish the bookmarks.
- Cut several strands of the embroidery floss 8″ long.
- Fold them in half and loop them through the hole at the top of each bookmark. Thread the tails through the loop and pull to tighten. Enjoy!


How cute! Making these for my daughter’s classroom valentine’s party. Better than sending a card that gets thrown away.
Thanks Bhawna, we like that the kid’s are able to color them and then use them for reading later.
Do you know why I can’t seem to find this template in cricut design space?
Hi Amy. Can you please try through this link: https://design.cricut.com/landing/project-detail/5e2ed83706f90a06a3ded2ec ?
Jane
Can you help me get the template please? When I push the link it closes the Cricut app.
Hi Sara. Hmmm… are you using the desktop or mobile app? Can you try this link please: https://design.cricut.com/landing/project-detail/5e2ed83706f90a06a3ded2ec
Jane
I would love to make these! But, I can’t find the file..
Hi there, it’s not a printable but rather a tutorial for printing and cuting the bookmark with a Cricut cutting machine. The post lists the step by step instructions for making you own. I hope that is helpful for you. Many thanks!