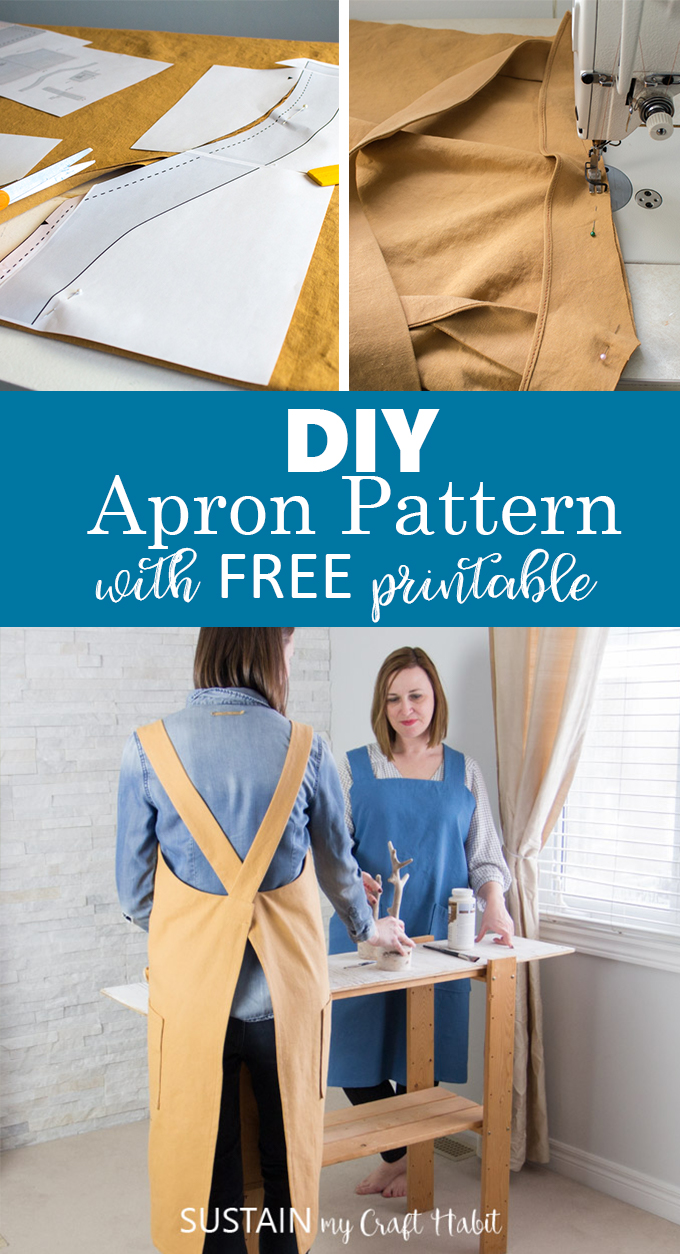
Cross-Back DIY Apron Pattern to Sew (with Printable Template)
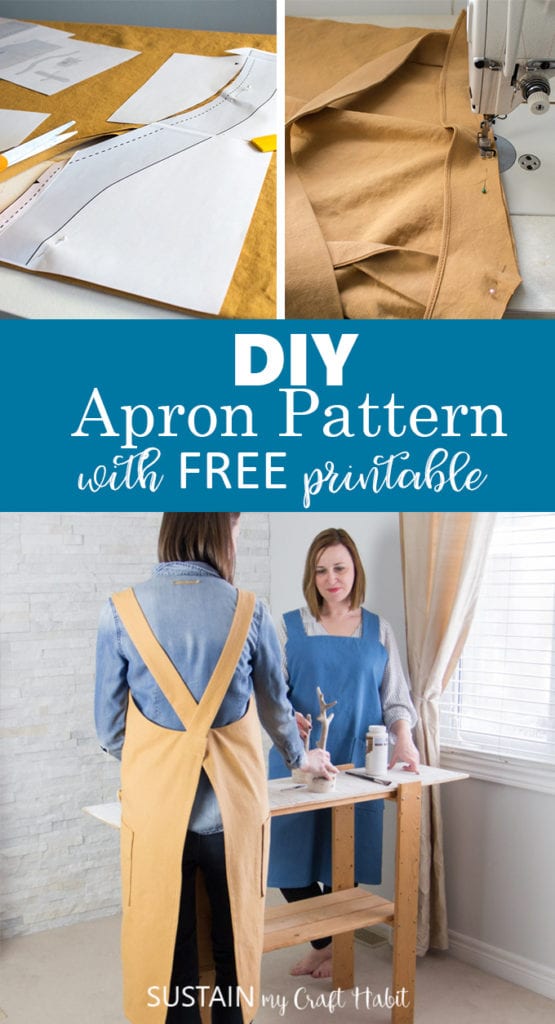
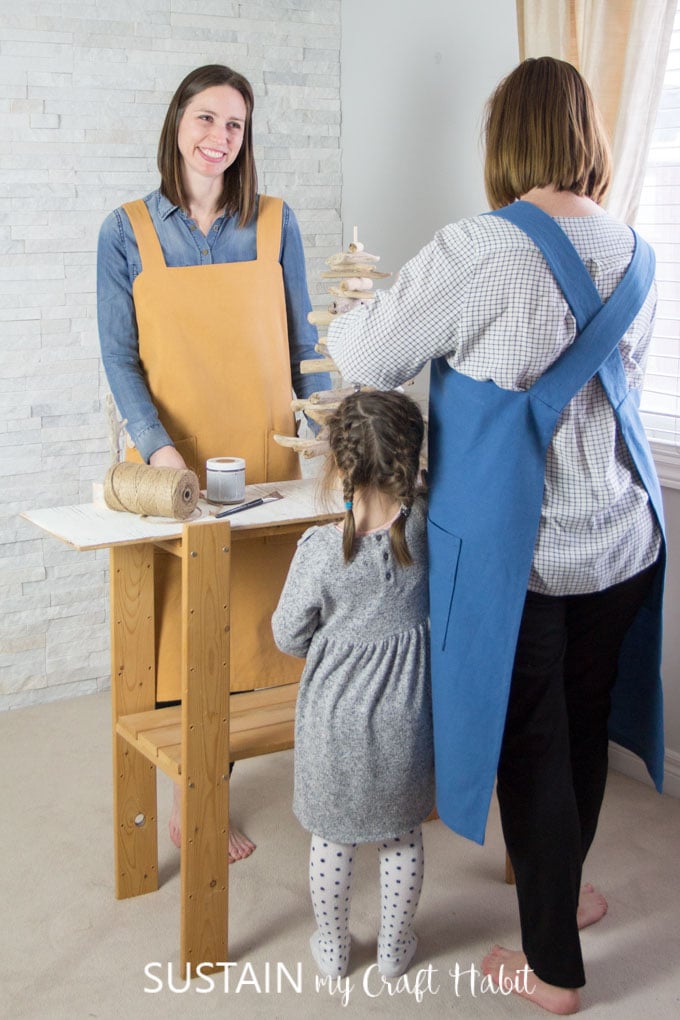
Although we haven’t dressed like twins since childhood, we really wanted a matching pair of aprons to wear while crafting. And now you as well, can match along with us by following this DIY apron pattern.
A Stylish and Practical DIY Apron Pattern
Disclosure: This project is sponsored by Canvas Etc. All opinions are our own. Also, this post contains affiliate links for you shopping convenience. You can read our full disclosure statement here.
We’ve once again partnered with Canvas Etc. to create these utility aprons that we plan to wear in our workshop, studio and while gardening.
When we initially received the 100% cotton canvas fabric we thought it might too stiff and heavy for this project but after just one wash and dry, the fabric feels soft and the perfect weight for these aprons! And since we couldn’t decide on just one color, we selected these two rich hues, a gorgeous mustard yellow and a soothing blue.
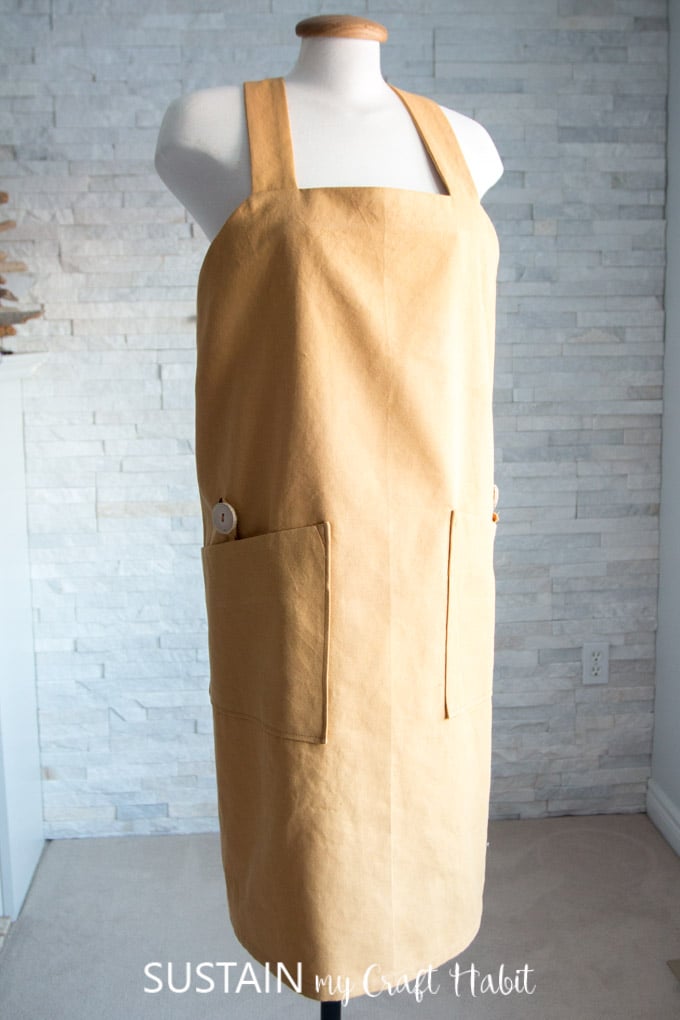
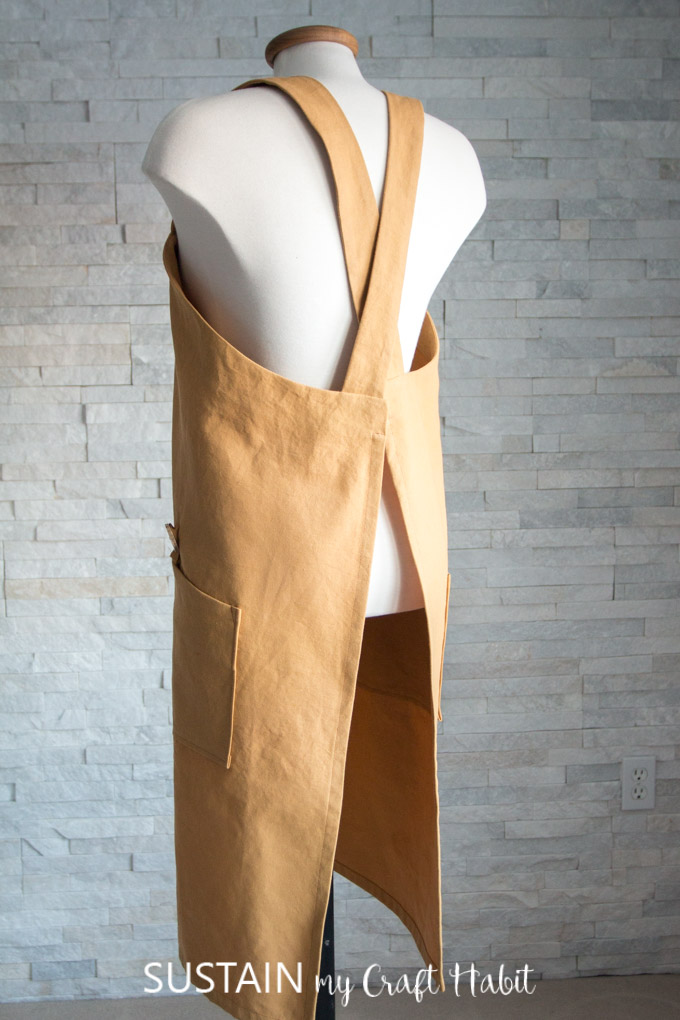
The apron comes in one size but because of the cross over straps, the fit accommodates all different body types. It wraps comfortably around the hips and falls longer in the length for extra coverage and has these deep angled pockets for holding tools and supplies. You can also make the matching kids apron pattern.

Remember to save your scrap fabric as you go: the small pieces can be used to make these canvas ornaments or this scrap fabric heart garland or even these scrap fabric pumpkin decor!

Materials Needed (for one utility apron, one size):
- 100% cotton canvas, 7oz, 1.5 yards at 60” wide (any color of your choosing)
- Cross Back Apron Printable PDF Sewing Pattern (get the pattern from our Sustain My Sewing Habit pattern shop)
- Printable Pattern Dimensions Guide and Printable Pattern Layout Guide and Printable Apron Pattern Pieces (actual size)
- Sewing machine with matching thread color
- Fabric scissors
- Chalk, ruler, measuring tape
- Iron and ironing board
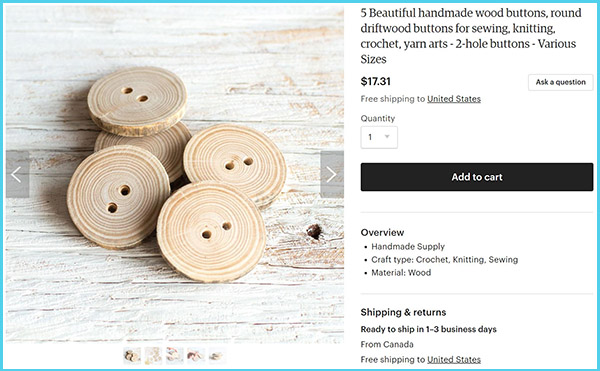
- Buttons (we used a pair of our driftwood buttons which are also available for purchase from our Etsy shop)
How to Make this DIY Apron Pattern:
Keep reading for the full how-to instructions for making this beginner sewing apron. If you’re unclear on any of the sewing terms, you can refer back to this other free apron sewing pattern for clarity.
We’ll be sharing the how to video for this apron on our YouTube channel soon so you can easily follow along as I sew.
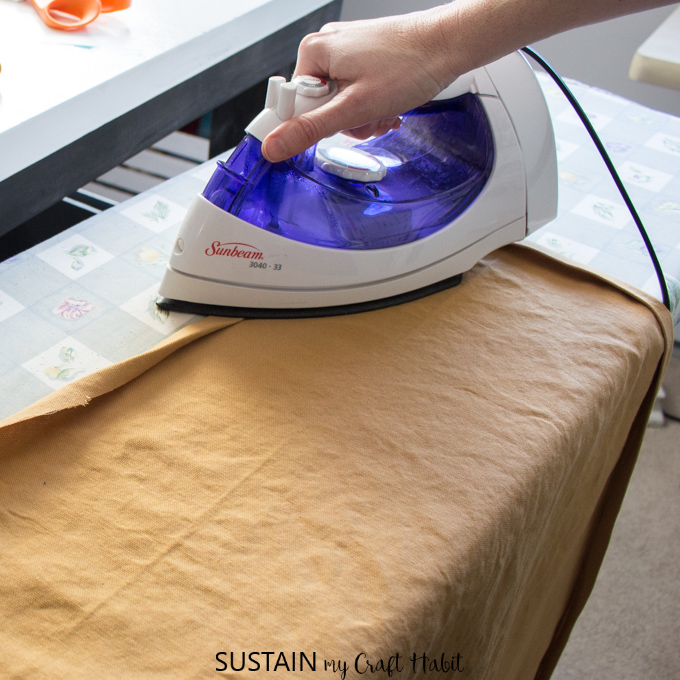
Pre-wash and dry the cotton canvas prior to cutting and sewing. Remove it promptly from the dryer to minimize wrinkles and creases. If you find it the fabric has too many wrinkles to lay out smoothly, than give it a quick iron before starting.
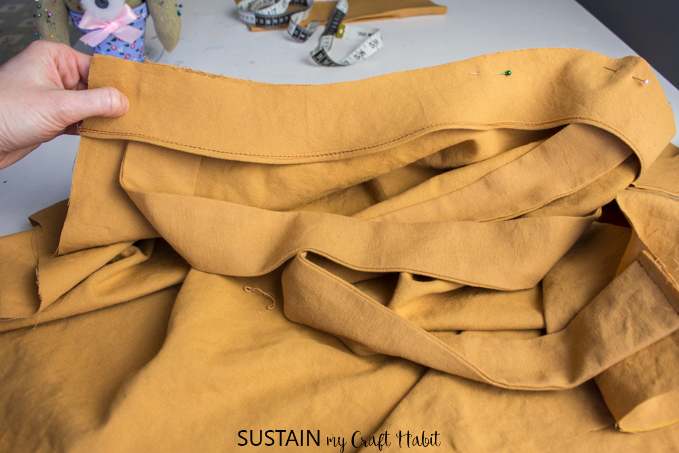
Cutting
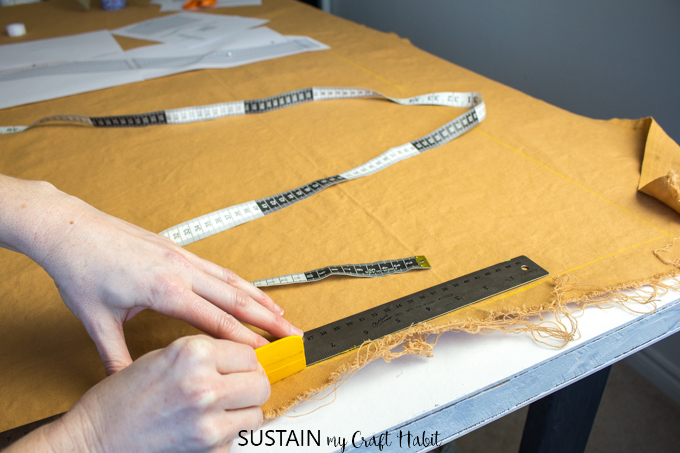
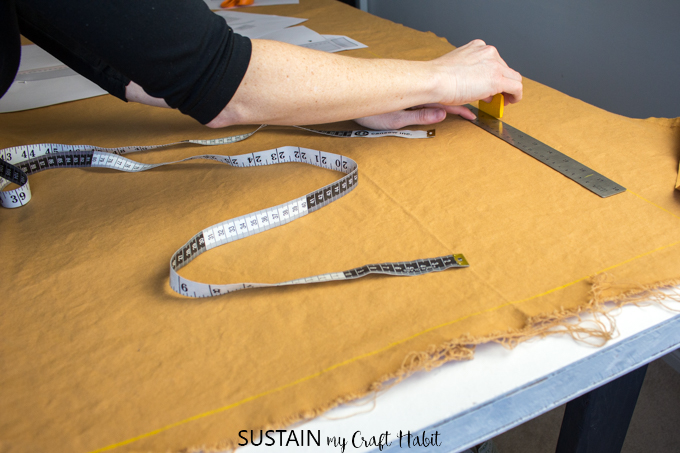
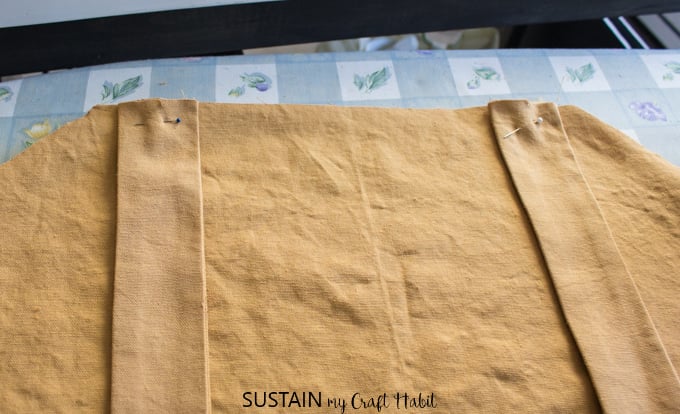
Fold fabric length in half with right sides together, matching selvedges and place on a smooth, flat surface.
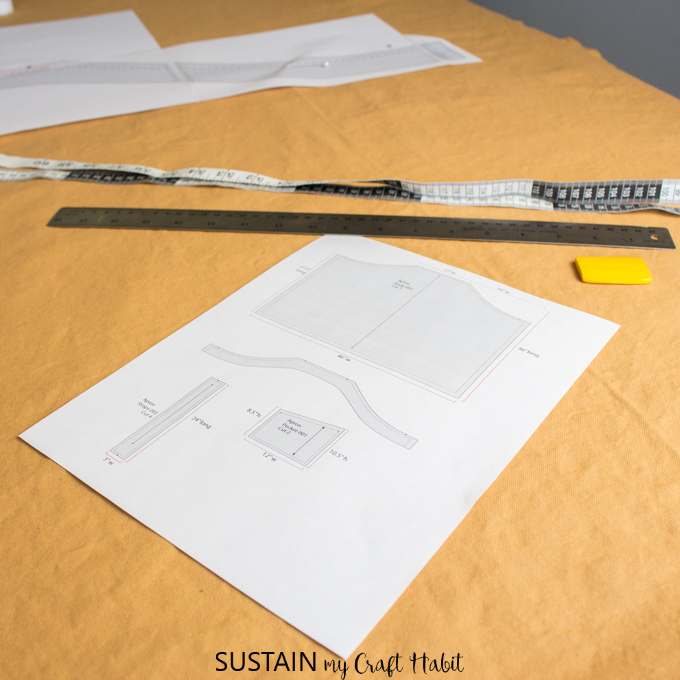
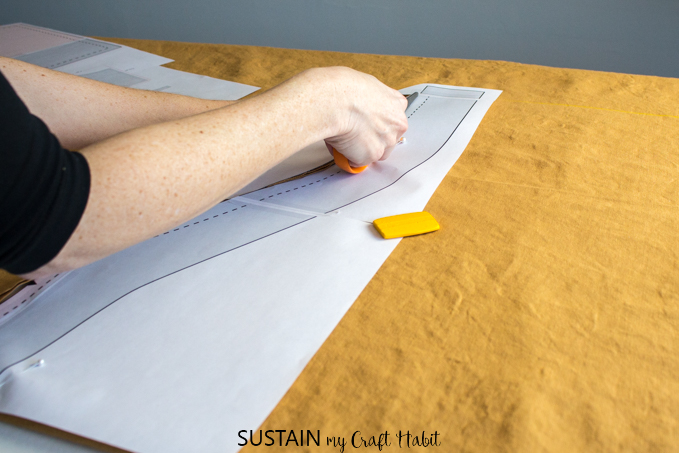
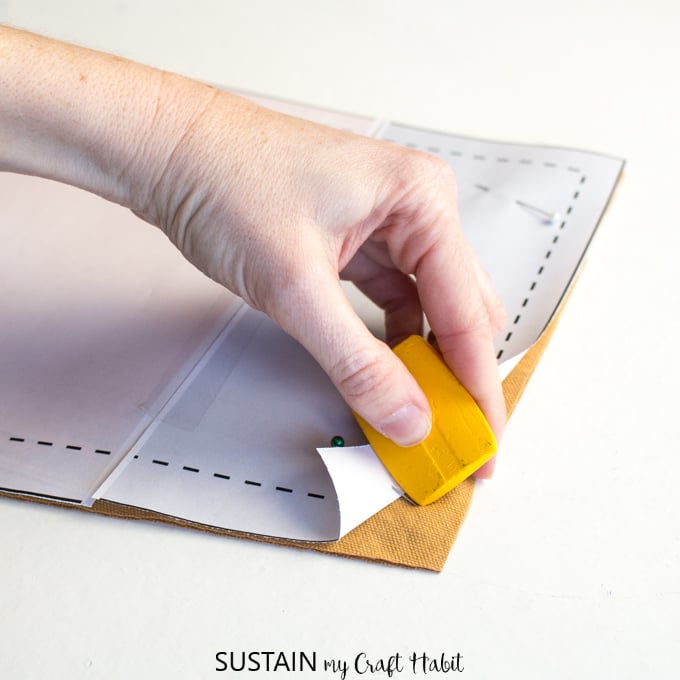
Using a straight ruler or measuring tape, measure and mark with removable chalk the apron pattern onto the fabric following the pattern dimension guide provided. As always, take your time with this step to avoid any mistakes in cutting. Alternatively you can print out the pattern onto 8.5″ x 11″ sheets of paper and tape together. I saved myself printing the body pattern but I did print off the neck facing, shoulder straps, pocket and pocket facing pattern pieces.
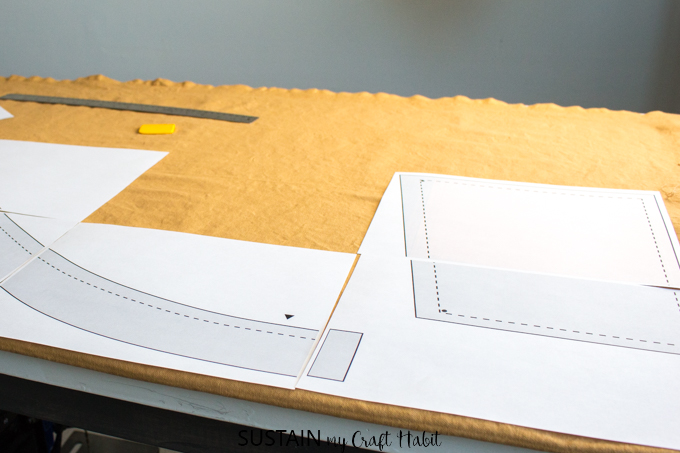
Since the neck facing pattern matches the shape of the body pattern along the neck edge, I also used the neck facing to help lay out the body pattern.
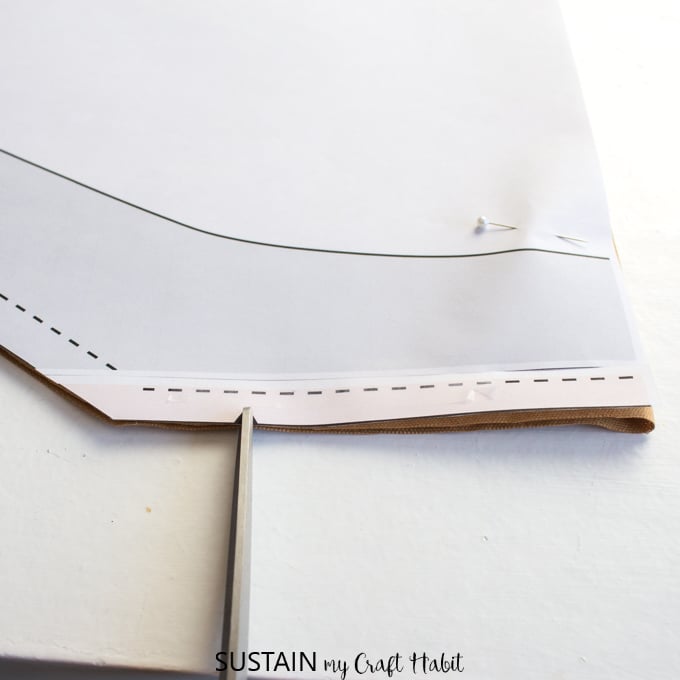
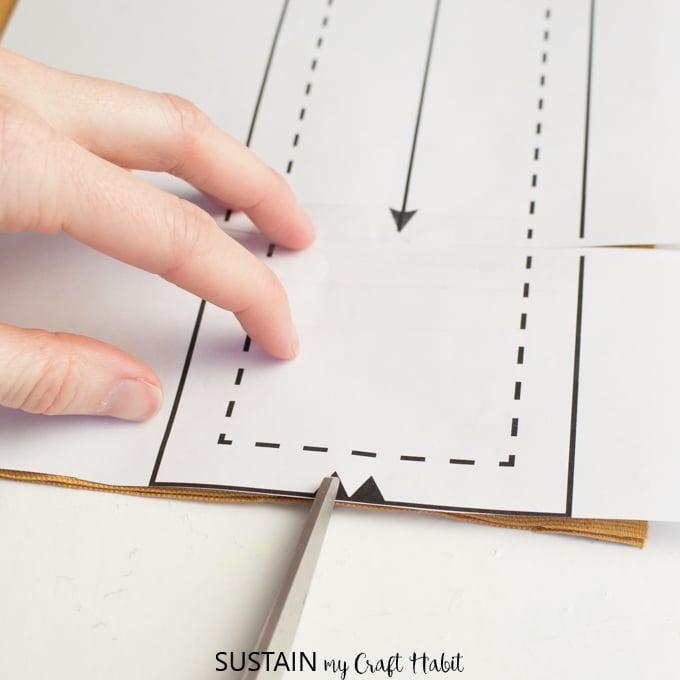
Cut along all the solid lines (the dash lines represent the sew lines).
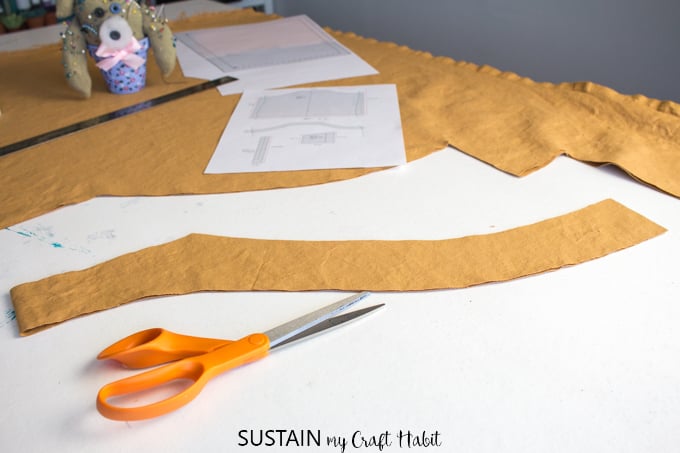
Be sure to mark the notches for the strap placement along the top edge of the body pattern. Single notches represent the front and double notches represent the back.
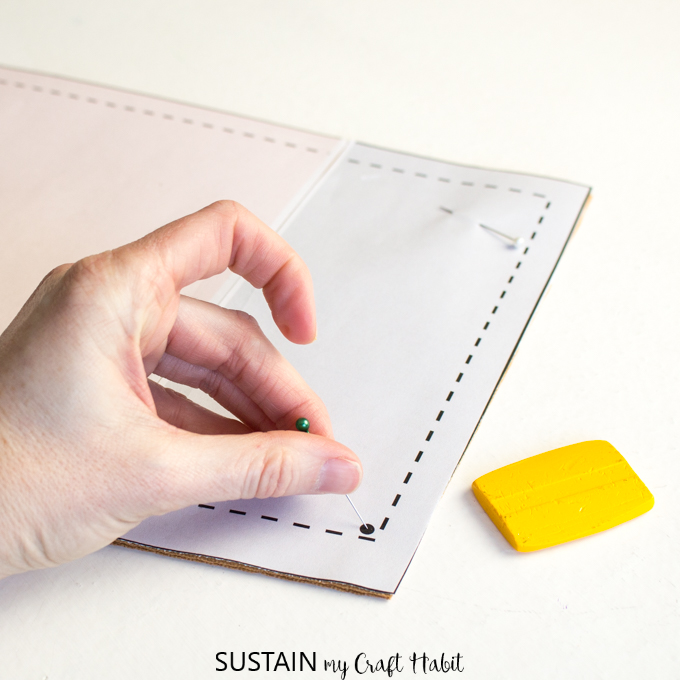
Mark all dots (for pocket placement) on the pattern (pocket pattern AND body pattern) using a piece of washable chalk or wax. Poke the center of the dot with a pin, lift pattern up and mark on the fabric where the pin meets the fabric. This step will help you position the pockets properly later on.
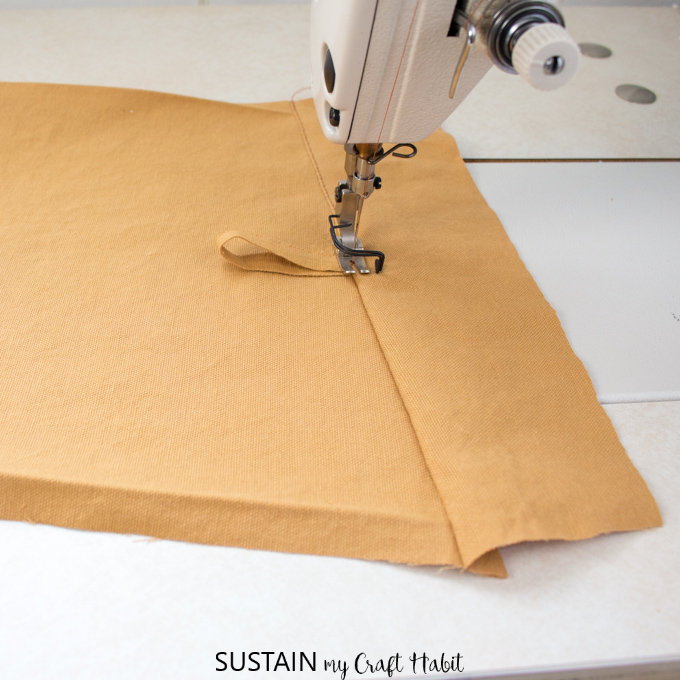
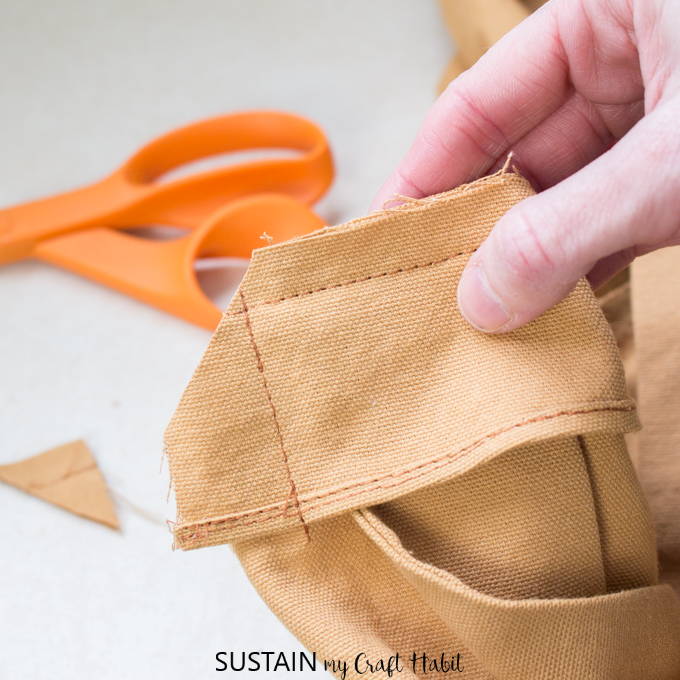
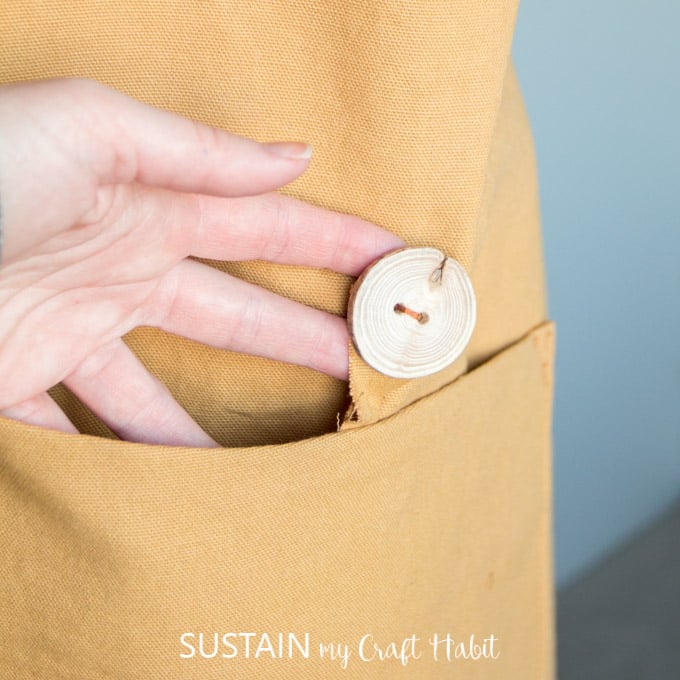
Optional: You can also add a decorative button to each pocket opening. In order to do this, cut 2 narrow pieces out of the scrap selvedge edges at 6″ long each to use as button hole loops.
Sewing
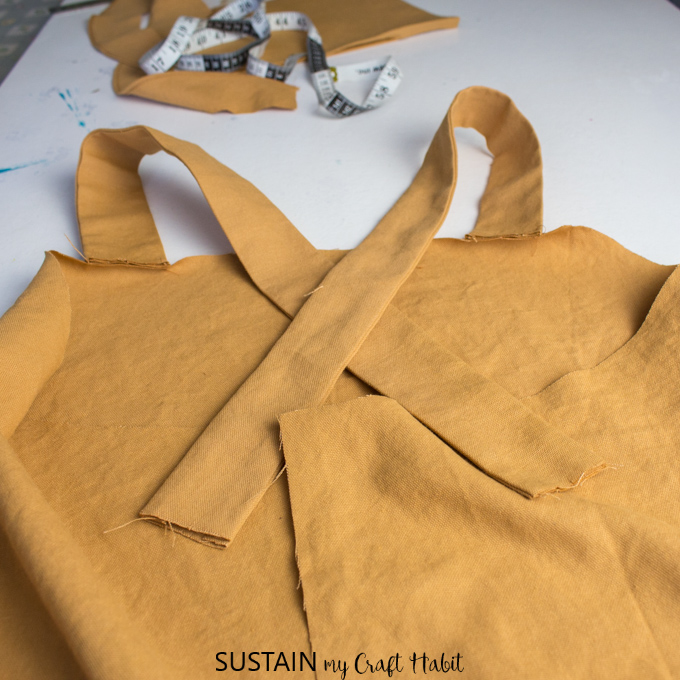
Shoulder Straps
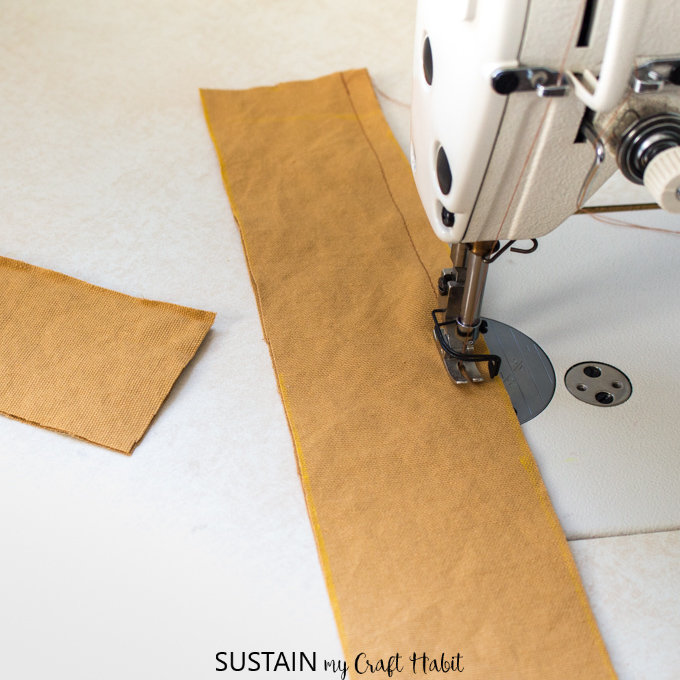
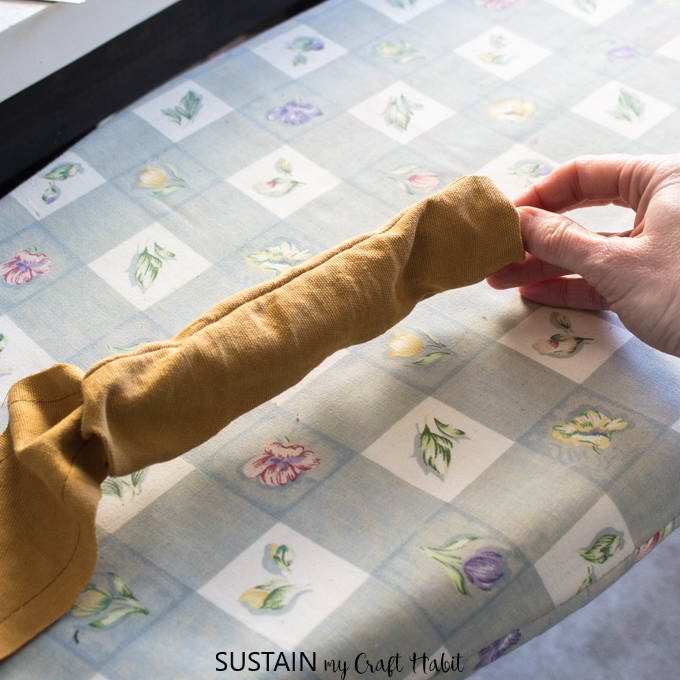
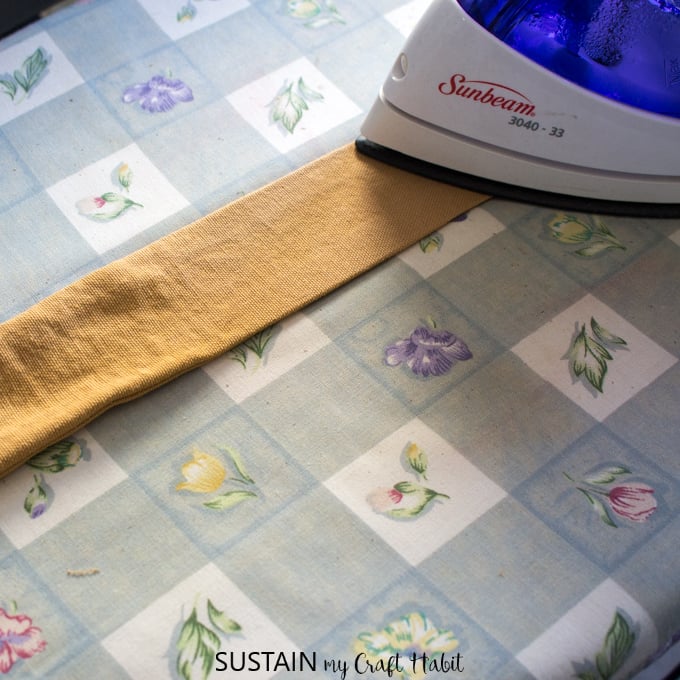
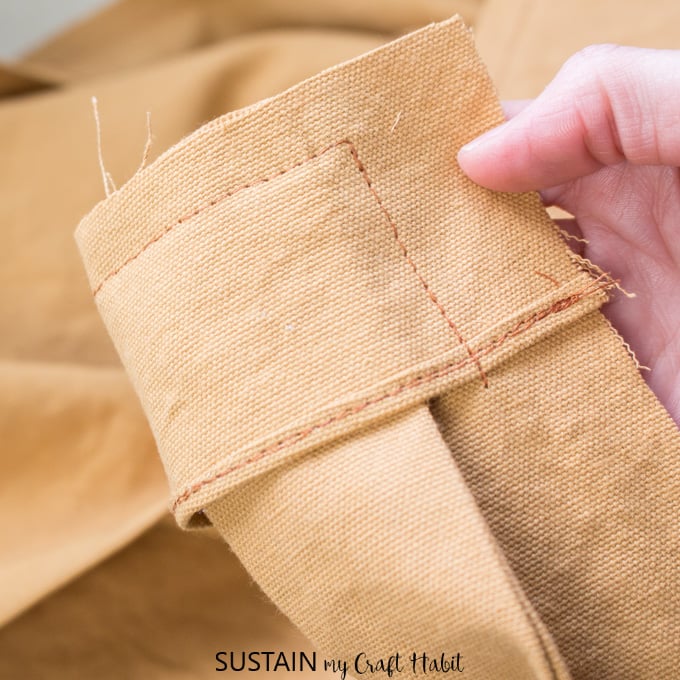
With right sides together, sew the two sides of each shoulder strap together lengthwise. Turn stitched straps right side out and press seams flat. Put straps aside.
Neck Facing
Do a narrow hem stitch along the lower edge of the neck facing piece to clean finish and prevent fraying edges. Put facing aside.

Pockets
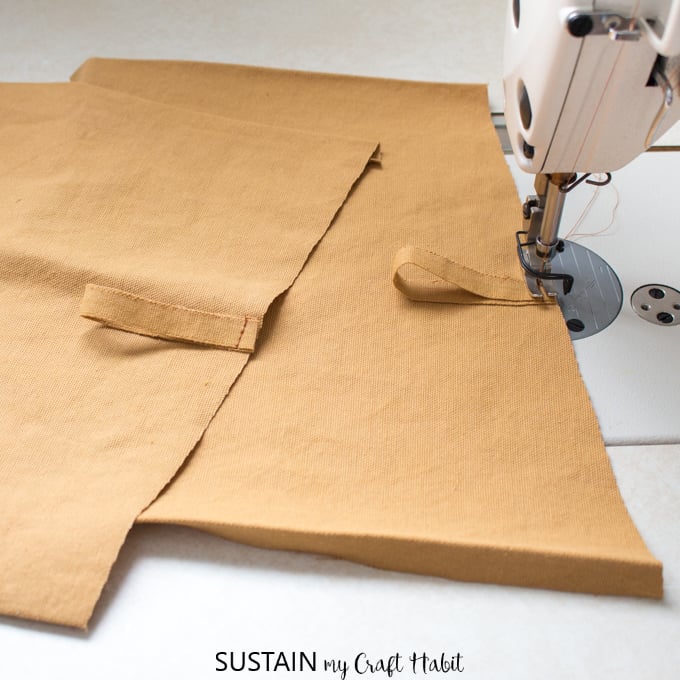
As an added touch, we added a decorative fabric loop to each of the pockets. This is totally optional so only add if you wish (this step is not included in the PDF sewing pattern). Cut two strips of fabric (along the selvedge of the fabric) about 6″ long. Fold the selvedge strips in half to form a 3” loop and align the cut edges with the center of the pocket edge. Baste stitch in place.
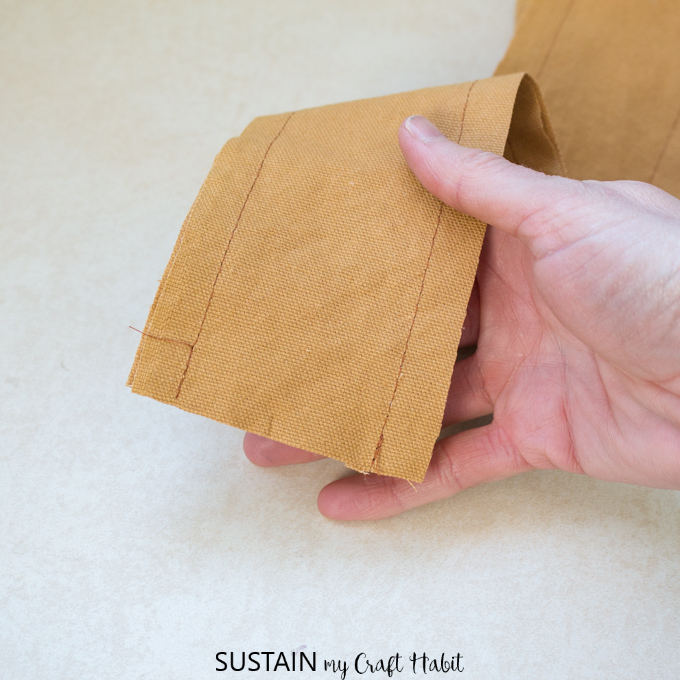
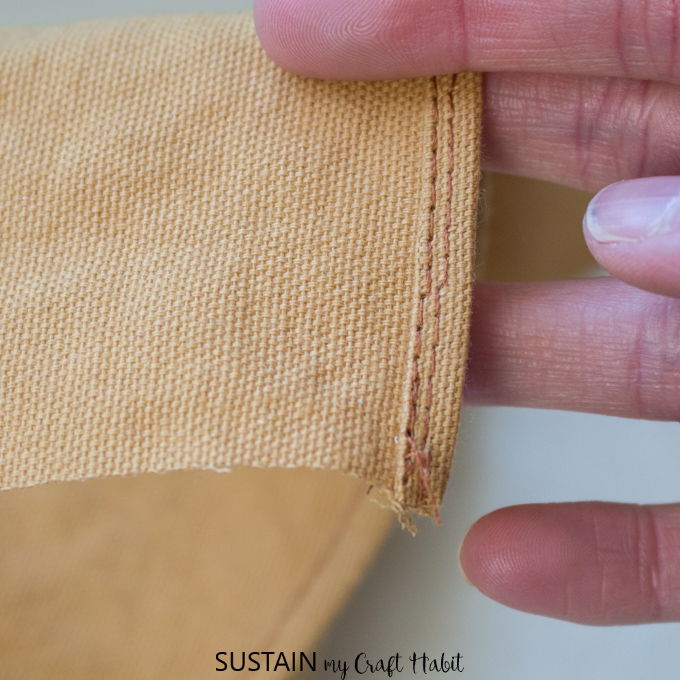
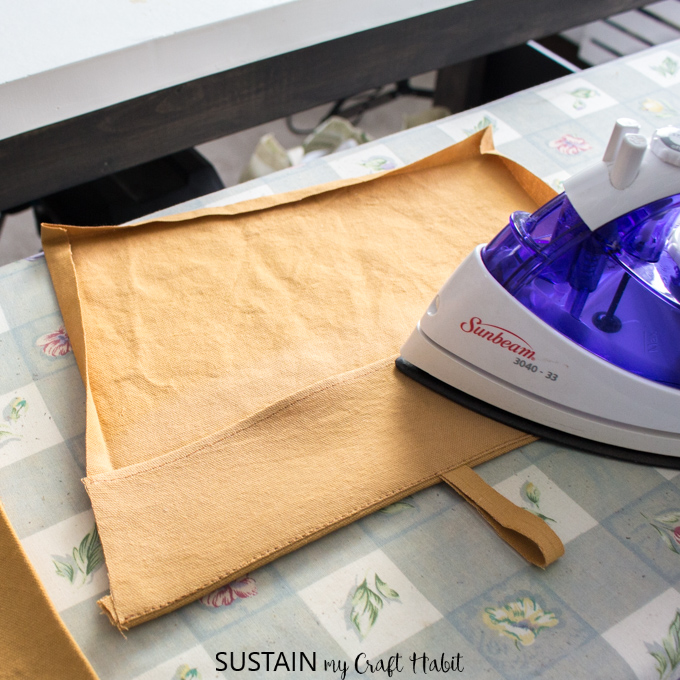
Align the pocket facing with the top edge of the pocket and sew together. Understitch the seam. Clean finish the pocket facing edge with a narrow double turn hem.

Fold in the facing along the seam and iron all other edges of the pocket in by ½”.
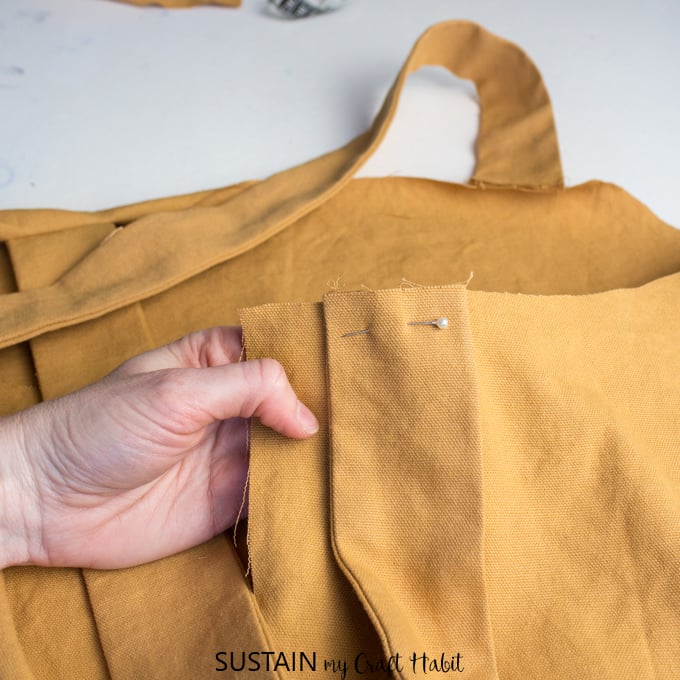
Position the pocket onto the body of the apron, with small dots aligned.
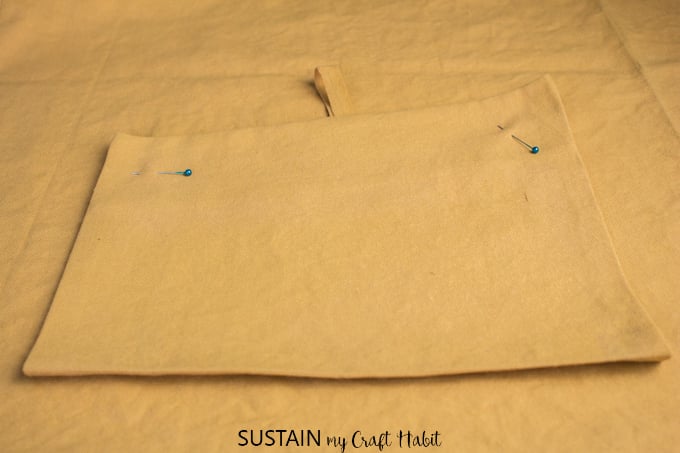
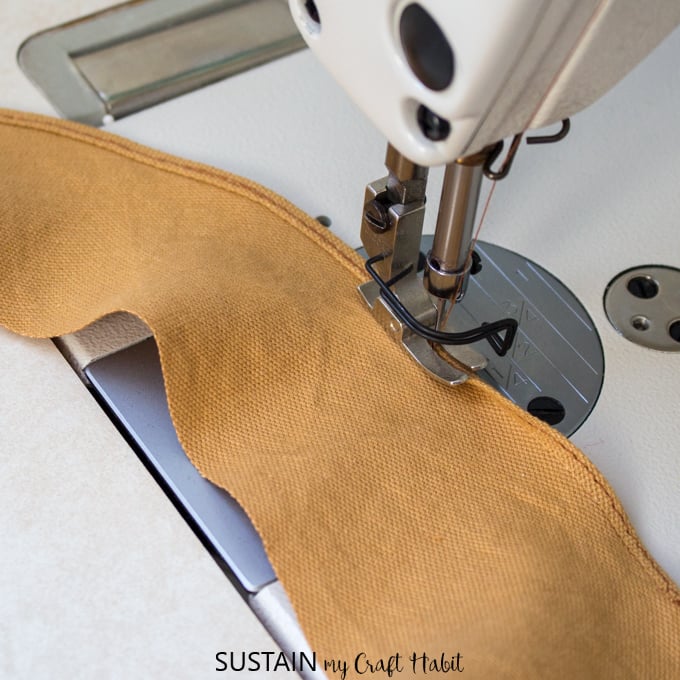
Edgestitch pocket in place along all 3 sides of the pocket. For added reinforcement, add a triangle stitch to both corners of the pocket opening.
Assembling all the pieces:
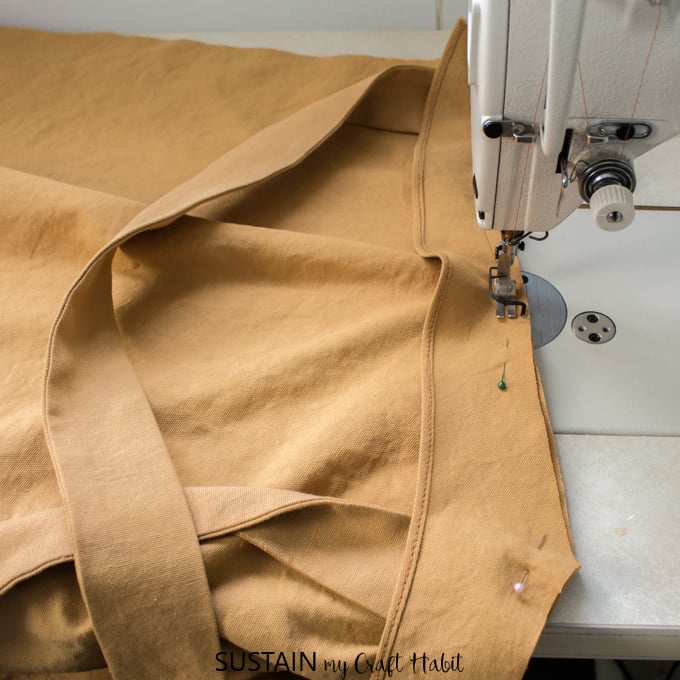
Align the shoulder straps to the right side of the apron body matching single notches at the front and double notches at the back.
Be sure to criss-cross the straps at the back! Baste stitch straps in place.
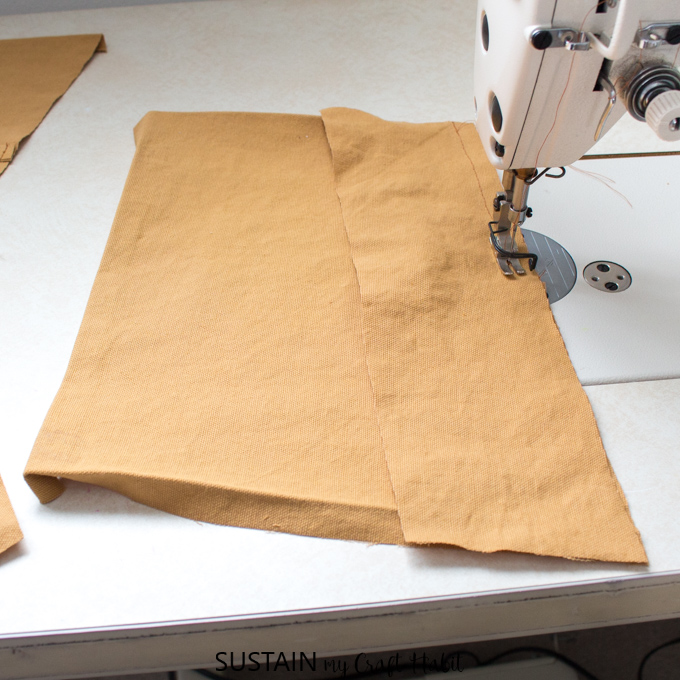
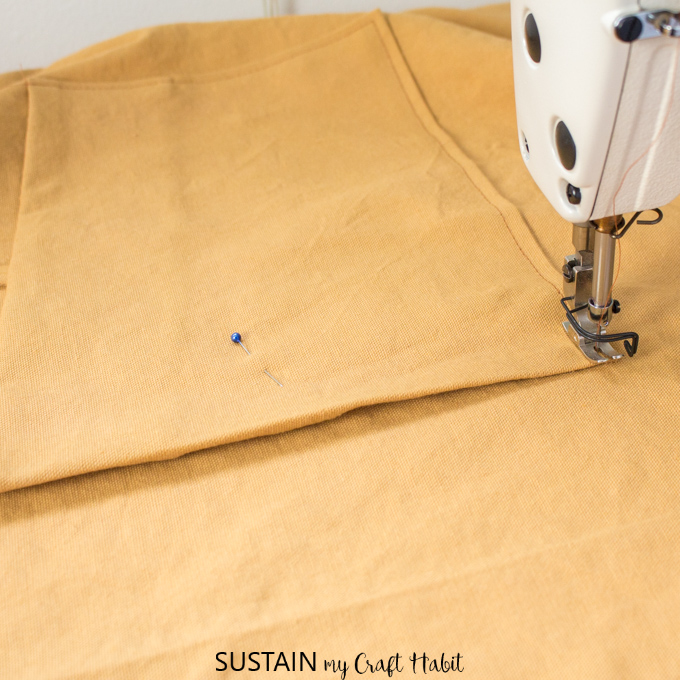
With right sides together, align the top edge of the body pattern and neck facing as shown.
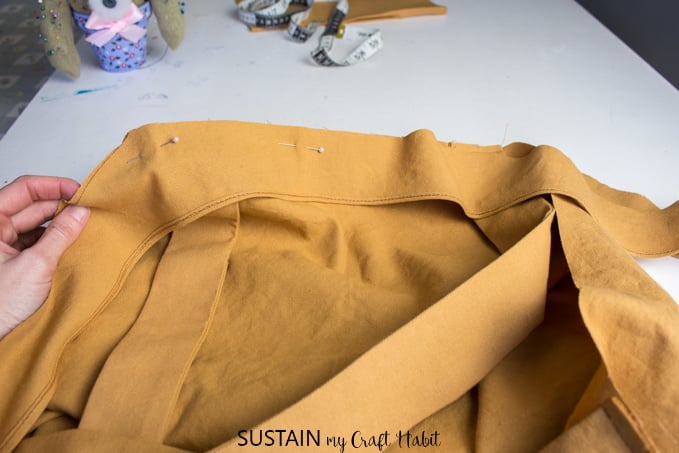
Stitch together with a ½” seam allowance. Finish with an under-stitch.
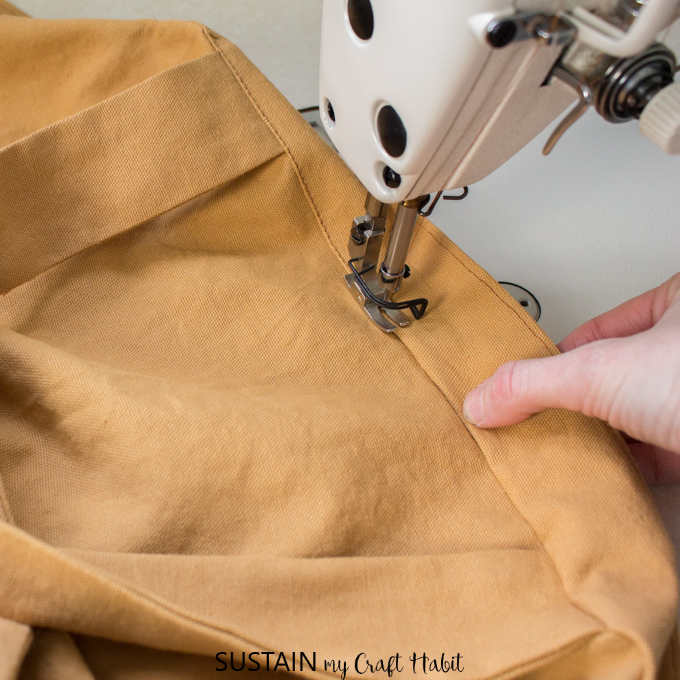
Sew the ends of the facing to the body with a 1” seam allowance. Clip the seam allowance at the corners to reduce bulkiness. Turn facing over and press seam flat.
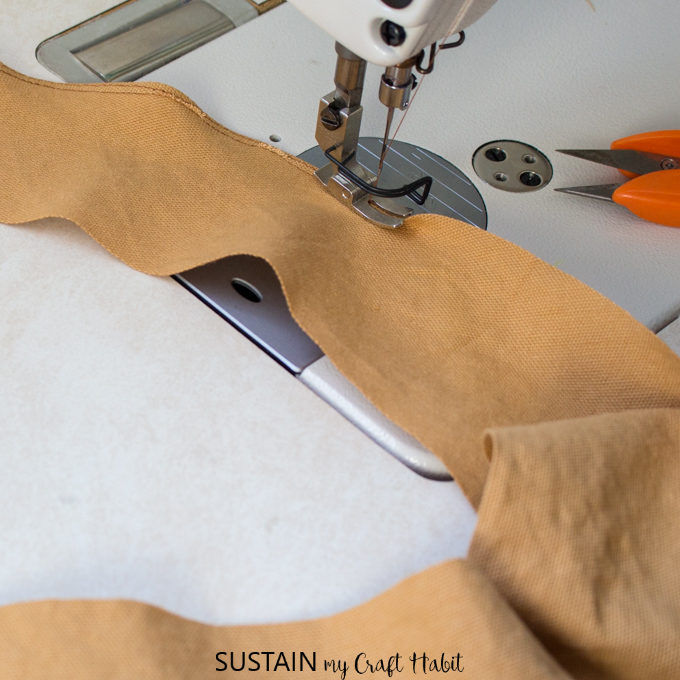
Finish the sides and bottom hem of the apron with a ½” double turned hem.
Finishing
Lastly, we added driftwood buttons to each of the pockets to finish off the apron. Again, this is totally optional so only add if you wish (this step is not included in the PDF sewing pattern). Using a sewing needle and matching thread, attach the button to the apron above the pocket loop. Reinforce the back of the button with a piece of scrap fabric.
And lastly, iron all seams and stitched edges.
We’re quite happy with how our DIY apron pattern turned out. They’ll be perfect for crafting, in the workshop or garden. While we went with the wheat and blue cotton canvas, we’d really like to make some in the natural and pewter colors available from Canvas Etc. as well. We’d love for you to check out the apron sewing pattern along with other PDF downladable patterns in our Sustain My Sewing Habit etsy shop.


If you’re looking for more of a kitchen-style apron instead, you can refer to this free apron sewing pattern, which I made for my hubby last year.


Vielen Dank für diese tolle Anleitung. Dank der guten Bilder konnte ich es auch mit wenig Englischkenntnissen verstehen. Die Schürze ist fantastisch geworden, drei weitere Schürzen sind schon als Weihnachtsgeschenk vorgemerkt.
Fröhliche Grüße aus Dortmund
Danke for your kind words Yvonne! I’m so happy you found this tutorial helpful. Have a wonderful day!
Jane
Thank you for this pattern. I just got it all taped together.
Love your pictures and instructions.
I plan on making a couple for Christmas gifts and of course one for me.
I don’t see placement dots for the pocket on the body of the apron. Could you please advise any placement measurements? Thanks, Loretta
Hi Loretta, Thanks for letting me know! I’ve added the placement dots on the body pattern and updated the link in the post. The pocket is placed 14″ below the CF neck edge and about 2.75″ from the CF fold line.
Thank you so much
Thank you for the wonderful apron pattern. It’s just the thing I have been searching for. Do you have a printer-friendly version of the instructions? I am having a problem printing them..
Always wanted one of these. Made one today however too small for my 5 ft 7 in size 18 body. I hope to adapt it and make one to fit. Nice easy pattern for a beginner like me. Thanks.
Hi Sandra! I’m glad you were able to make it with ease. And thank you for the feedback about the size, that is helpful for other readers!
Whew! This was harder than I thought it was going to be, but after I finished it, I believe it is very doable again. I used dropcloth fabric (the only scraps big enough that I had during quarantine), so I think it’s a bit heavy. I did wonder about the button loop straps – all of a sudden it said to fold selvage edge to make a 3″ loop, but I couldn’t find anywhere that told to cut it (wondering if I missed something in your directions). I improvised and I think it turned out well. I’m just getting back into sewing and have been wanting an apron like this for quite some time. Thank you!
Hi Kristen, Thank you for your message! Happy to hear your apron turned out and that you’ve returned to sewing. I mentioned cutting the 6″ selvedge strips just above the “sewing” section but can see how it could be easily missed so I’ve gone in and highlighted it in blue as an optional detail. Happy future sewing!
Thank you for this great and easy-to-follow apron pattern! It is just what I was looking for! Do you have the measurements to make this for a 6-7 year old child? That would be wonderful! Thanks so much!
Hi Liz! No we havent created that pattern yet but I will add it to my to-do list. Thank you for asking and for your kind comment!
Hi again Liz! We’ve recently added the children’s size pattern here: https://sustainmycrafthabit.com/versatile-kids-apron-pattern/
Finished this today. Very happy with it!
I’m 5’9″ and a size 22 or so, which meant the straps had to be lengthened. Instead of ~25″, I cut them to 32″ and they fit very well.
Was that the only adjustment needed? I’m 5’10 and size 18 so always hesitant to about one size patterns….
Are these available in your Etsy shop?
Hi Lana. No, they are not at this time but we are considering add them in the near future. Thank you for asking! -Jane
Do you have a video available?
I’m curious how you would put this apron on? I need a video 🙂
Made a short version using patterned waterproof canvas. I cut a big slit in the front so the fabric would pull apart when I am seated. I omitted the buttons but added a scissors pocket and snap tab to prevent them from falling out. Also added a pocket on the chest to hold pencils and other small accessories. I am a 5’9″ male, chest 42″. I recommend making the shoulder straps an inch or two longer to allow shoulder movement. And some type of tie in the back if you want to reduce some flapping back there.
Happy New Year!
I’m a beginner (only my third project) and this was such a fun challenge to make! I took about 6 inches off the bottom and added a small two-part chest pocket. My fiance is a baker and I’m going to make one for him next and after reading the other comments I’ll cut his straps a bit longer.
Oh yes I remember when I was still a girl that my mother and grand mother ,both wore a long and large Bib Apron with crossed straps in the back,they had them all day long on them!Me at that time I was in my 15 or 16 ‘s and In that period too <<<girls going to secondry modern school ,we all had to wear long grey pleated school skirts with large straps buttoned on to it to keep it up! aswell as a white shirt,a tie and a beret too aswell as our large and flat black leather shoes! I remember too that my hair was always cut short ,like a kind of cruecut!!I certainly remember too that inymy mother's and grand mothers big aprons pockets they also had each a large leather belt to spank me on my ass with it,and wich did hurt me quite a lot!practicly everyday! so as you can see I was'nt favoured at all Them me reaching 16 years old and going to work in a textile factory,me too I had to wear tose long and large bib aprons with straps in the back too ,ans even comng home dressed up like that too ,so in reality afterwards we were all 3 of us dressed up in this manner!
Love this apron! Just finished my 4th one! I have used linen, sunbrella/outdoor fabric, cotton ticking and denim- they all worked great. I added a tie to the back of one for my petite mother in law and added length to the straps for my 6 foot brother.
That’s amazing, thankyou for sharing! So glad you are getting use out of it and are able to adjust it for the other sizes.