DIY Halloween Paper Garland (with free printable)
We’re keeping things simple today with this DIY Halloween paper garland craft idea using our free Halloween character printable template.

DIY Paper Garland for Halloween
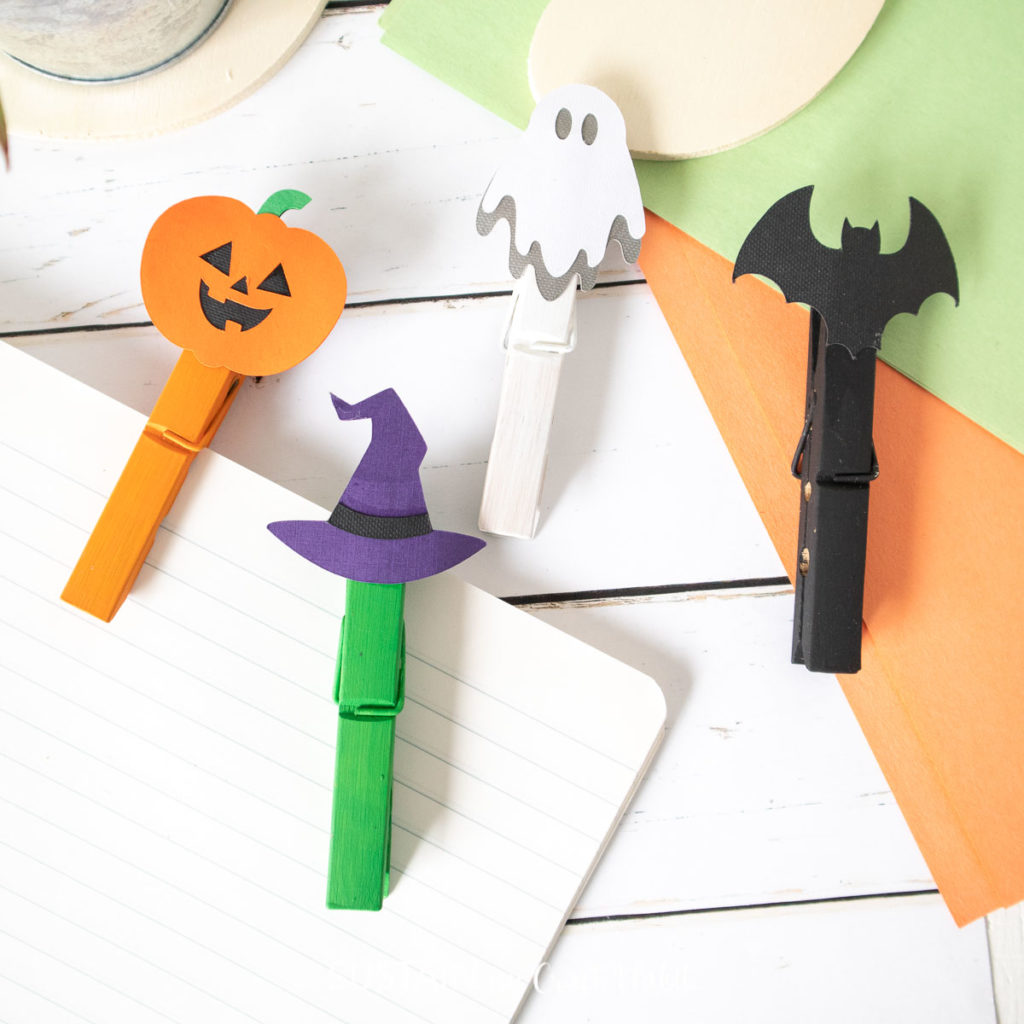
Does this witches hat, ghostie and lil’ bat look familiar? Well it should because we used the same designs from our paper Halloween clothespin craft to make this super easy and fun paper garland.
We shared the tutorial for making this garland on a recent Facebook Live video which you can find here. It’s comes together really quickly requiring just a few supplies (see below). We love these types of paper crafts because they can also be done entirely by kids or with your help for the younger kiddos.
Materials Needed
Disclosure: This post contains affiliate links for your shopping convenience. Should you choose to purchase through them, we will make a small commission at no extra cost to you. You can read our full disclosure here.

DIY Halloween Paper Garland
Download the halloween printable and send it to print. Print out in color, maintaining the size and scale.

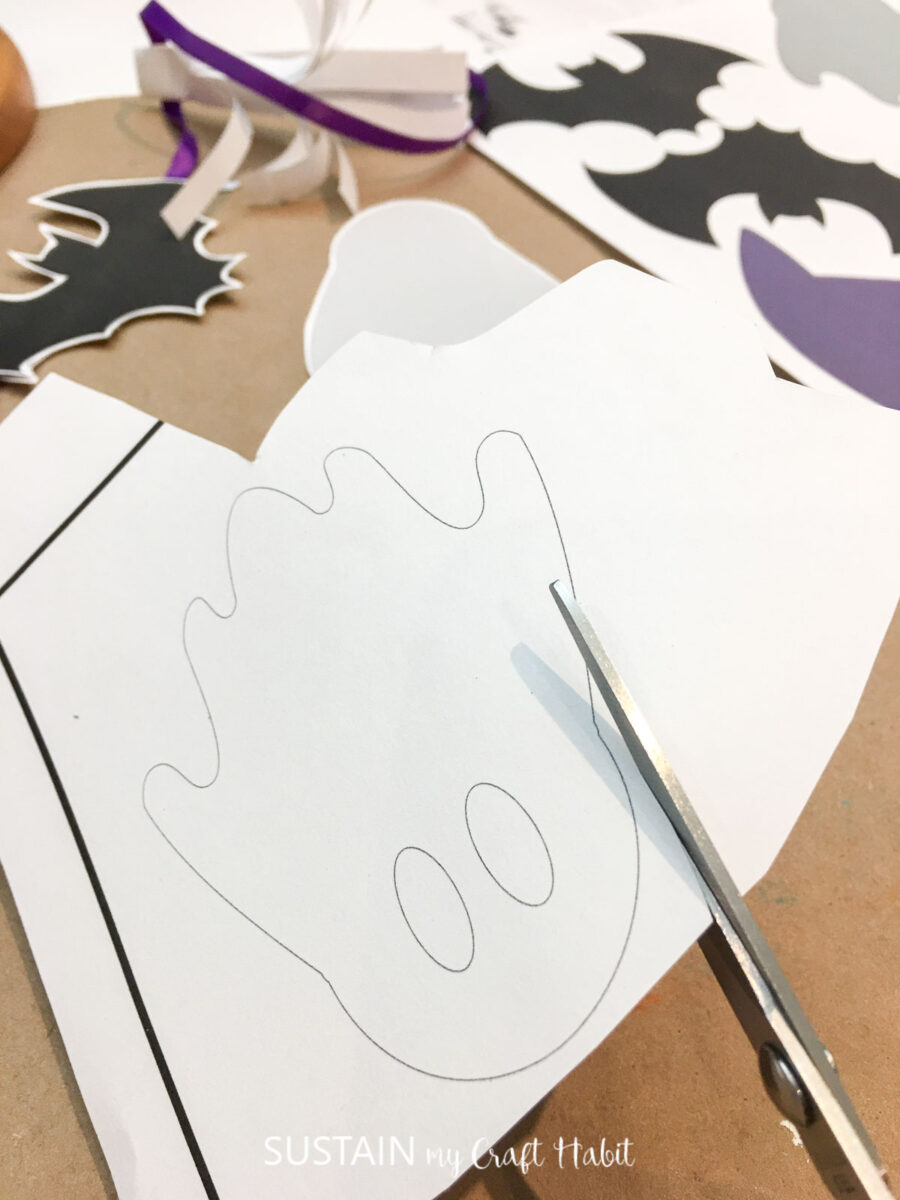
Using a pair of paper scissors, cut around the images as close to the outline as possible. I left a bit of an uneven border as there’s no need to worry about perfection with this craft!
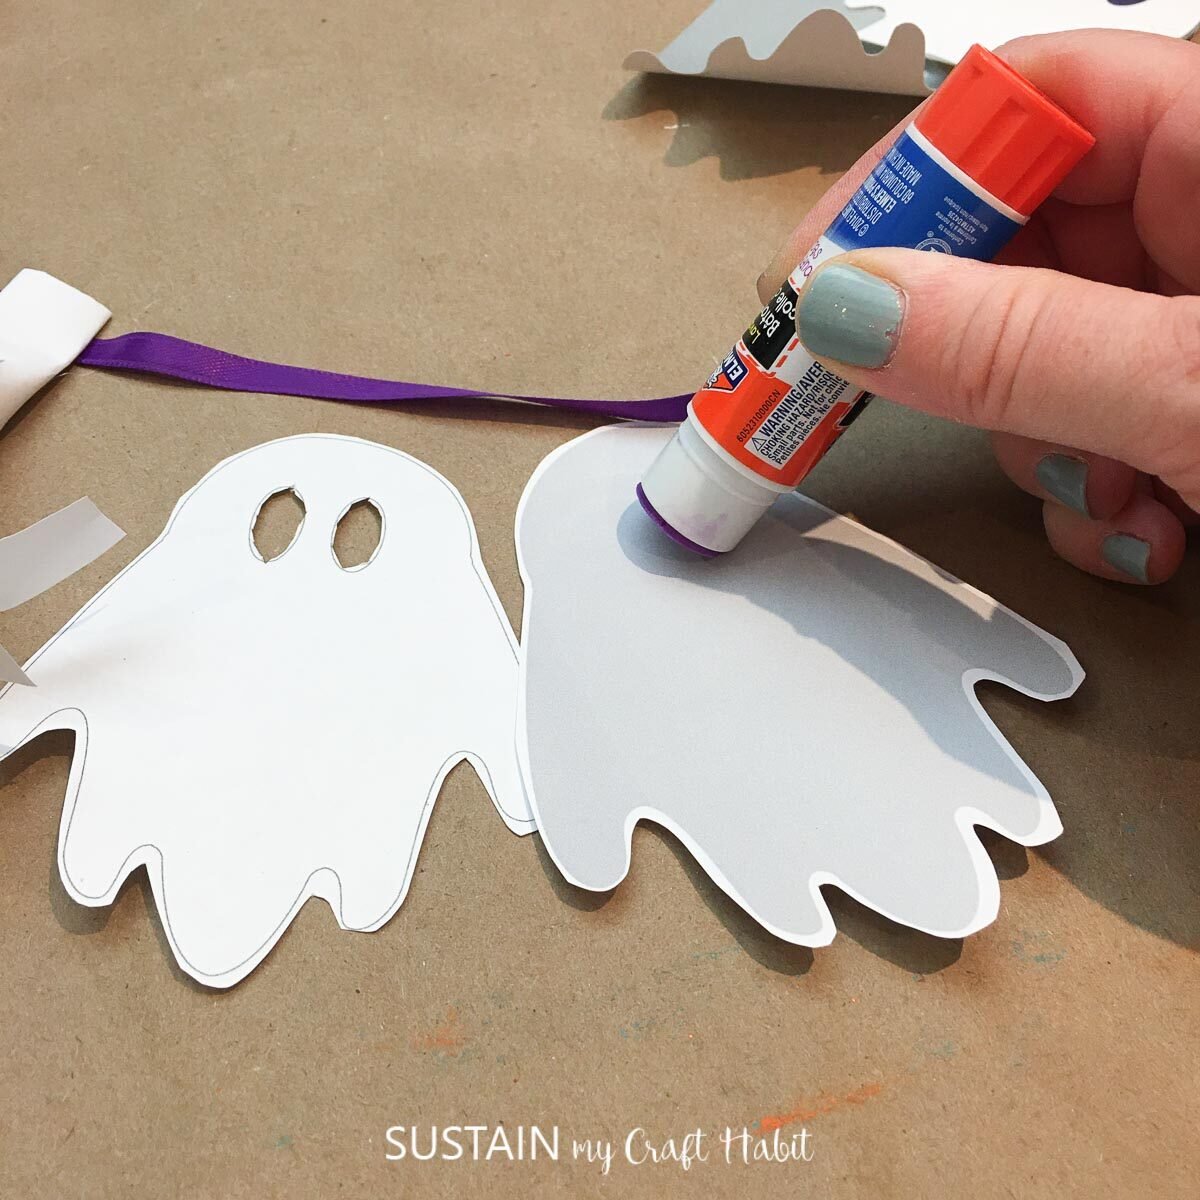
Layer the printouts for each image and glue the layers together, sandwiching the ribbon in between the layers.
Space the images about 5” apart until you’re happy with the length of the garland.
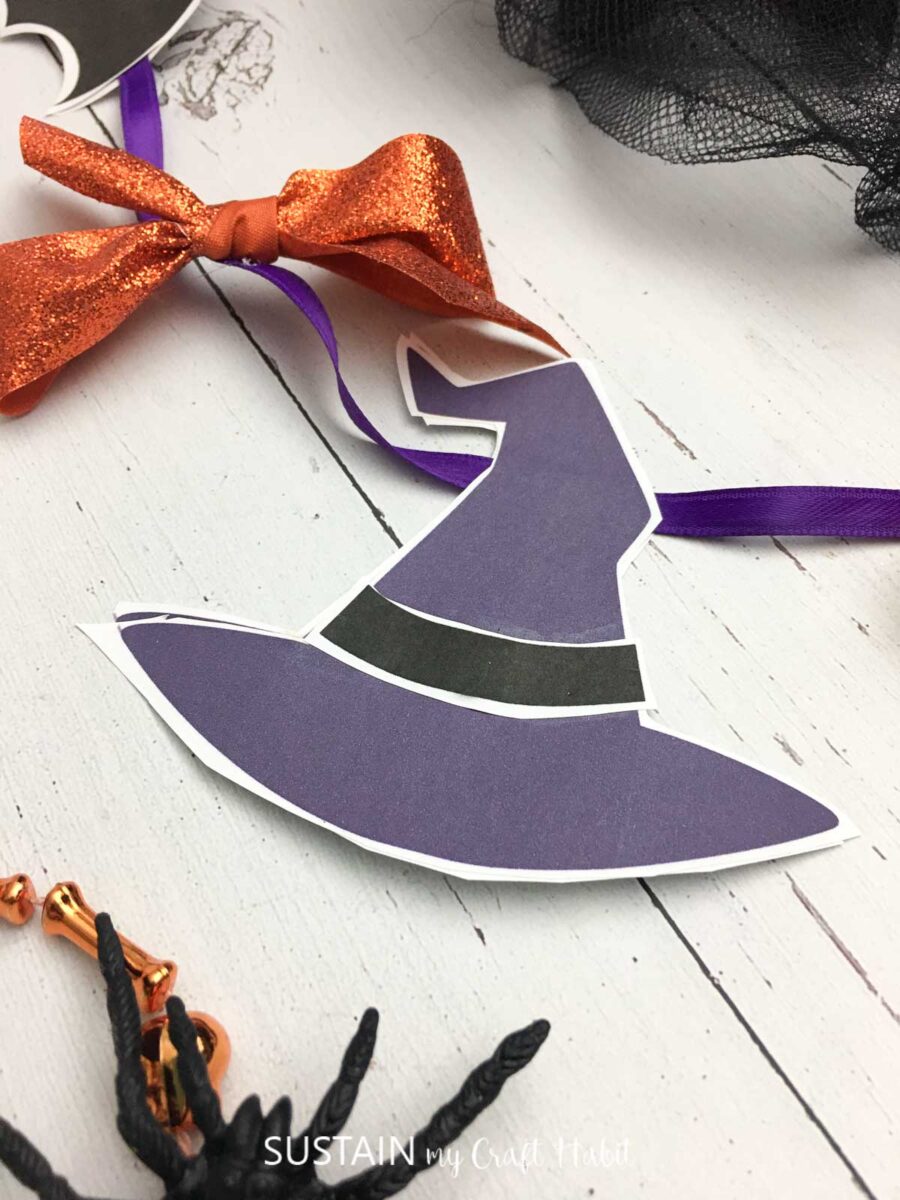
Add some small bows in coordinating colors in between each printout for extra color and fun.

More DIY Halloween Decorations
If you’re into Halloween crafts, then be sure to check out any one of these project ideas.
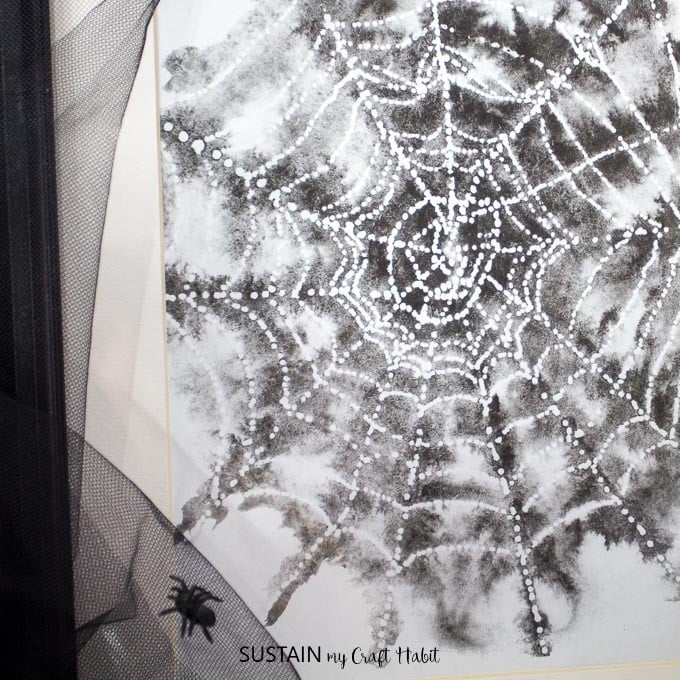
- Watercolor spiderweb free printable
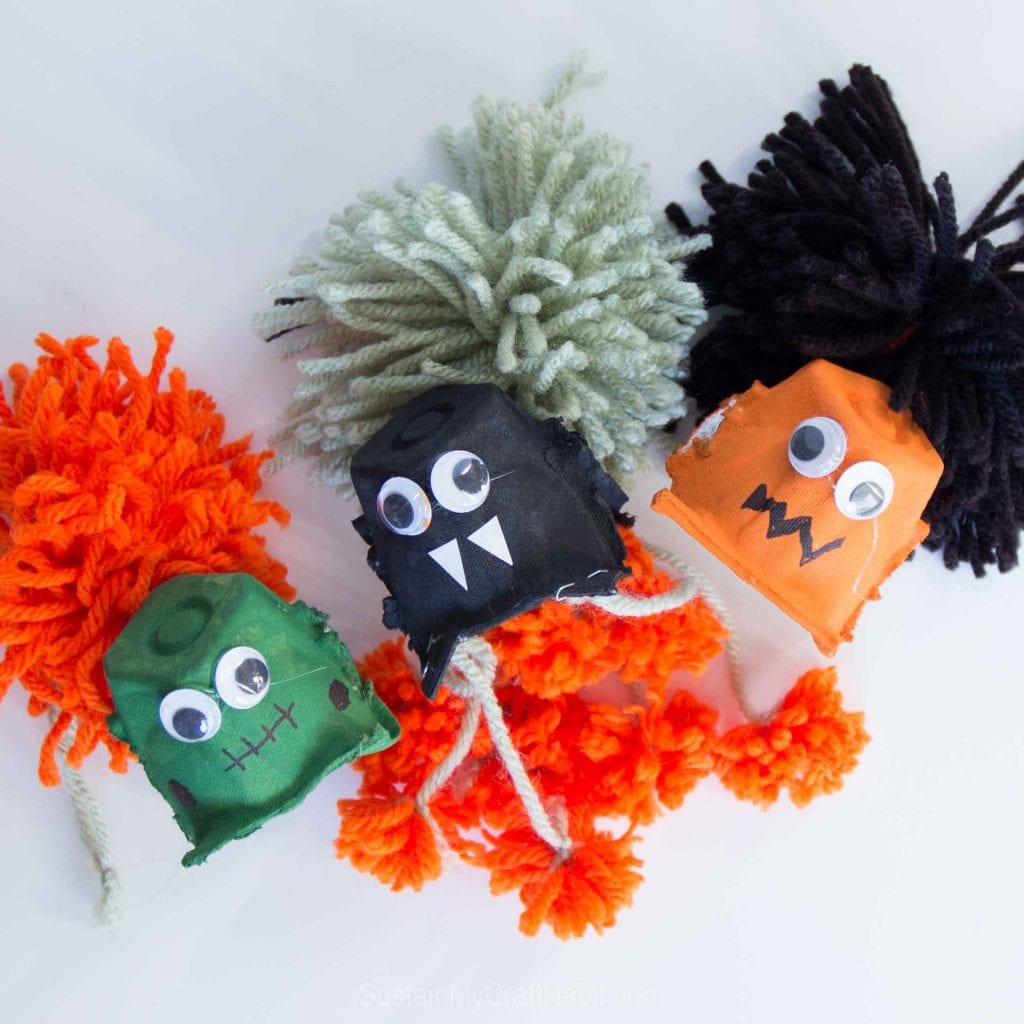
- Spiderific Halloween garland
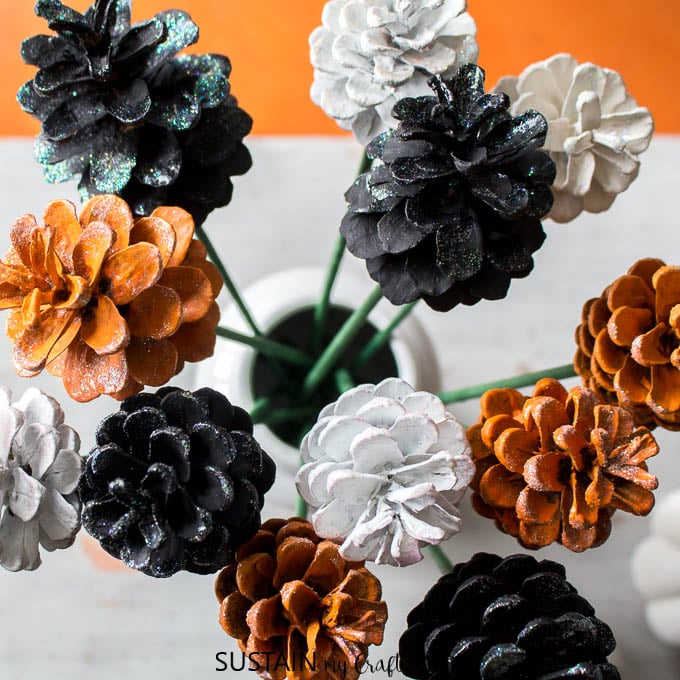
- Pine cone flowers
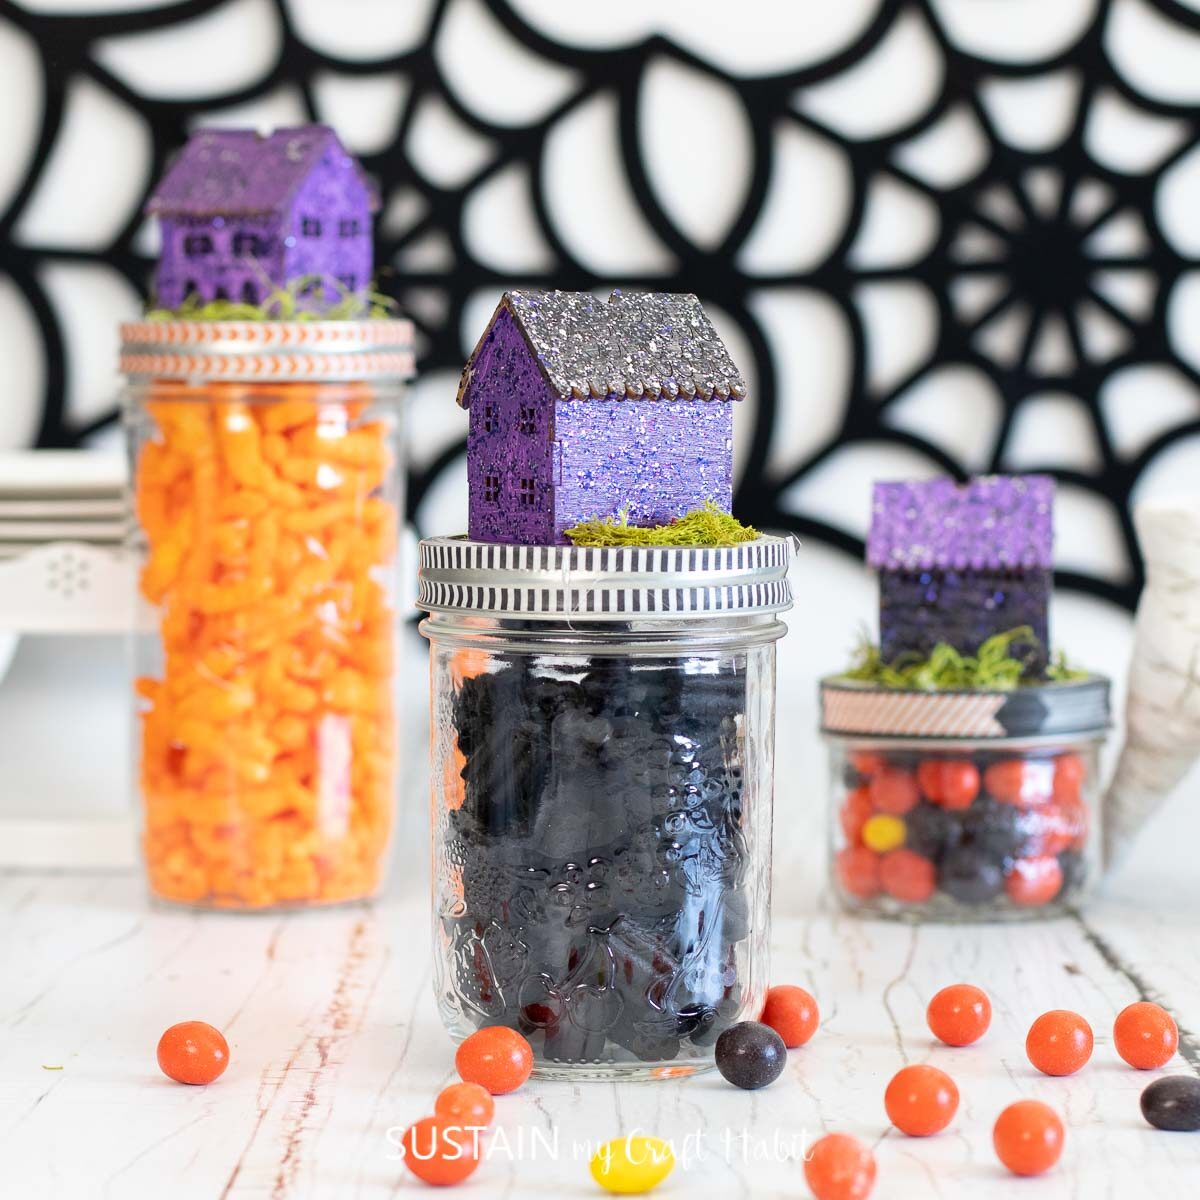
- Halloween jar toppers
Happy Halloween, creative friends!
Like it? Pin it for later!

DIY Halloween Paper Garland (with free printable)
Materials
- Halloween Printable
- Color printer with printer paper
- Glue Stick
- Scissors
- Ribbon
Instructions
- Download the halloween printable and send it to print. Print out in color, maintaining the size and scale.
- Using a pair of paper scissors, cut around the images as close to the outline as possible.
- Layer the printouts for each image and glue the layers together, sandwiching the ribbon in between the layers.
- Space the images about 5” apart until you’re happy with the length of the garland.
- Add a paper tassel to each end if desired or add some small bows in between for extra color.

