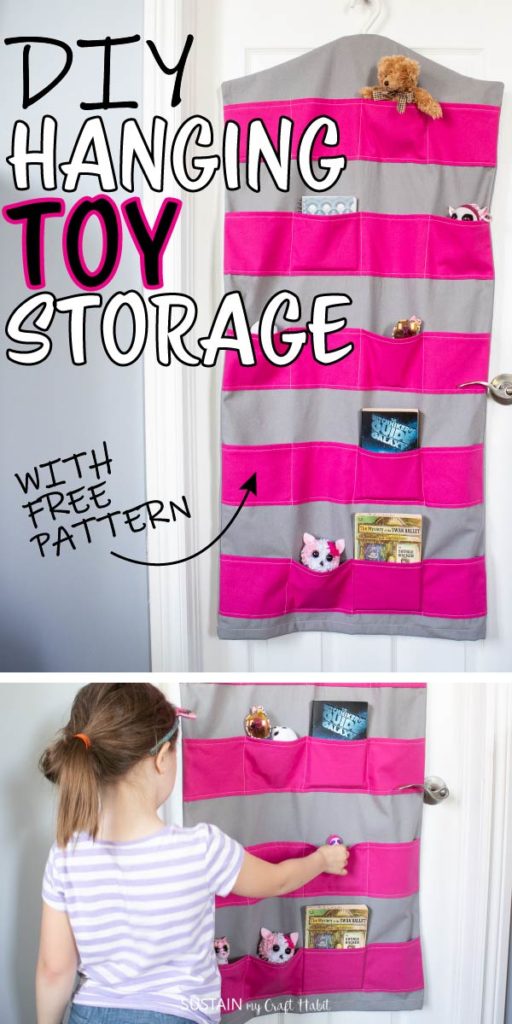
DIY Hanging Toy Storage
With four kids all under the age of thirteen, my sister is always in need of more organization in her home. This simple hanging toy storage is one extra way she can keep the space around her looking neat and tidy.
Simple to Sew Hanging Toy Organizer
To make this organizer, I used a 100% cotton duck canvas in a 10oz weight from Canvas Etc. It’s a bit heavier than the canvas fabric I used to make this utility apron. The apron pattern is also available as a free printable download with the full step by step instructions on the blog so be sure to check it out! This medium weight canvas is just the right weight for this type of project, it’s easy to sew, drapes well and comes in a variety of colors. We used the same fabric to make a versatile kids apron.
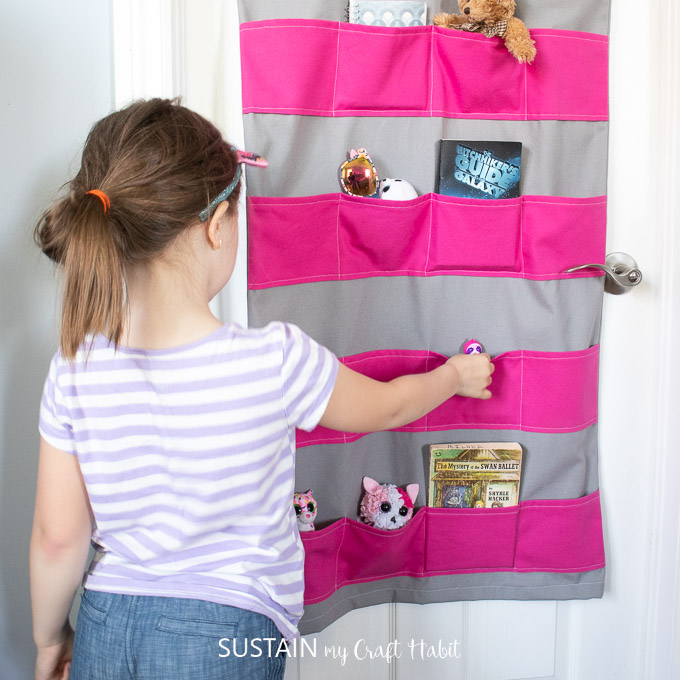
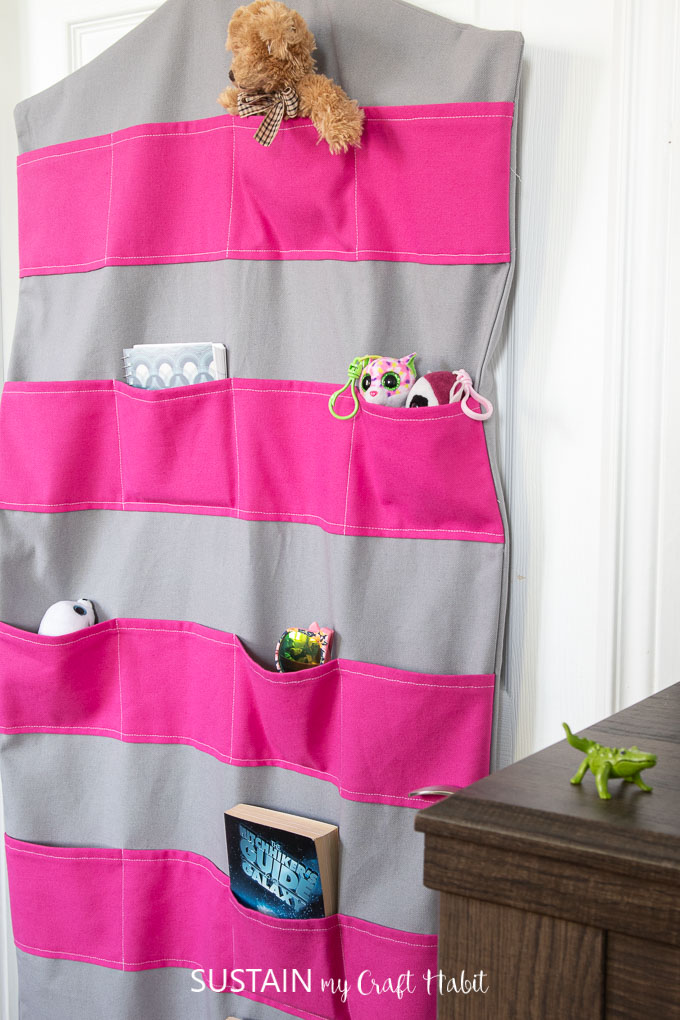
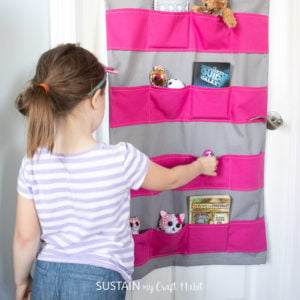
Since this hanging toy organizer is going to be hung in my niece’s bedroom, I chose this hot pink option for the pockets paired with a soft muted grey for the base. They’ll be able to store their stuffies, books and other toys inside the pockets. Similar to this easy to sew storage ottoman I also made for her living room, it makes for easy clean up, simply tuck the loose belongings into one of the pockets. Don’t I make a good sister;)
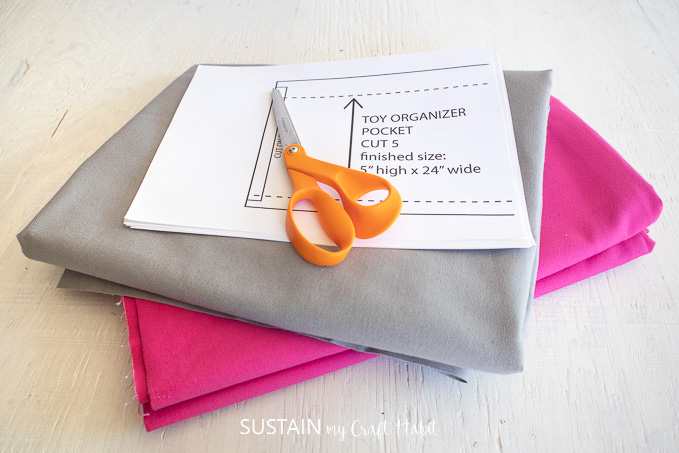
Materials Needed:
Disclosure: This post contains affiliate links for your shopping convenience. Should you choose to purchase through them, we will make a small commission at no extra cost to you. You can read our full disclosure policy here.
- 100% Cotton Duck Canvas, 10oz, 1.5 yards at 58” wide (in Storm Grey)
- 100% Cotton Duck Canvas, 10oz, 1/2 yard at 58” wide (in Orchard Pink)
- Printable Hanging Toy Organizer Pattern
- Sewing machine and matching thread color
- Fabric scissors
- Iron and ironing board
- Measuring tape and ruler, removable chalk or wax
How to Sew A Hanging Toy Organizer:
The finished size of the toy organizer is 23” wide by almost 48” long. The pattern has a ½” seam allowance for sewing. If you’re unclear on any of the sewing terms, you can refer back to this other free apron sewing pattern for clarity.
Pre-wash and dry the cotton canvas prior to cutting and sewing. Remove it promptly from the dryer to minimize wrinkles and creases. If you find it the fabric has too many wrinkles to lay out smoothly, then give it a quick iron before starting.
Preparing the Pattern
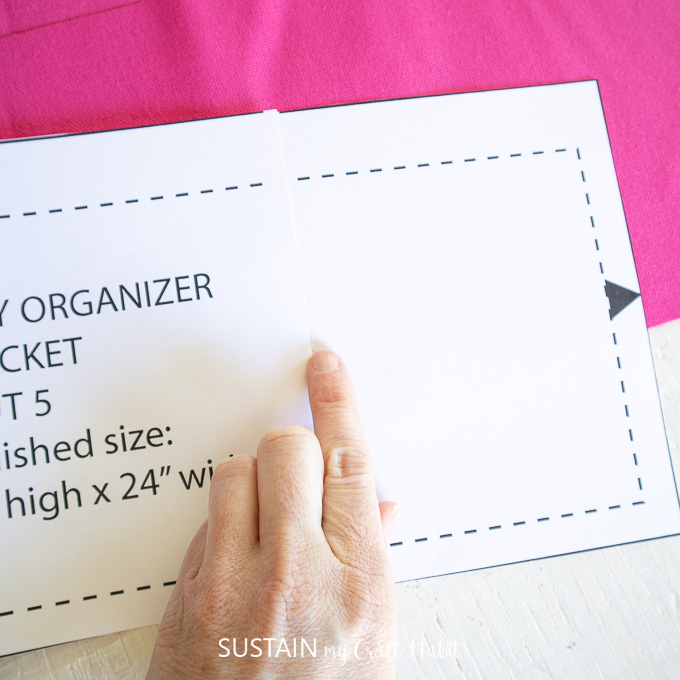
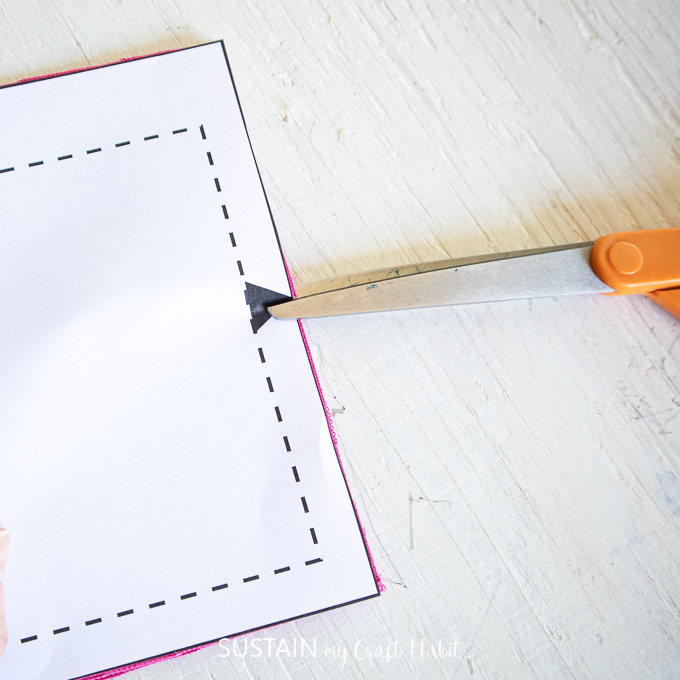
Print the hanging toy storage pattern on 8.5×11 sheets of paper with the setting set to actual size (without adjusting the scale). Lay the printed papers out on a flat surface aligning the edges to form the pattern shape. Next, tape the edges together without overlap, simply butt them up against each other as shown here.
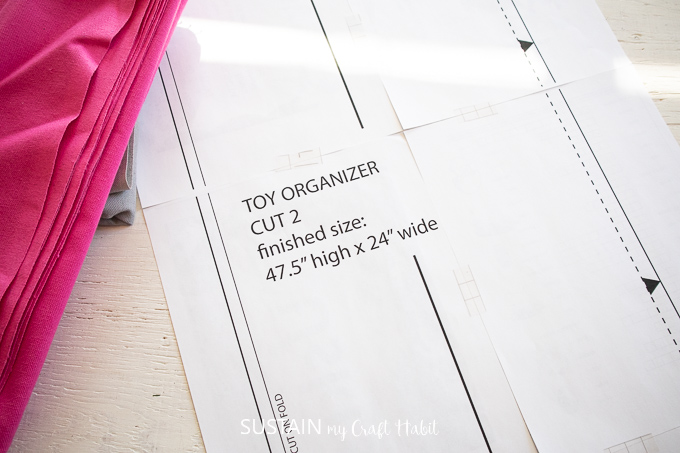
To save on paper, only one half of the pattern was created with a fold line intended along the center.
Cutting Fabric
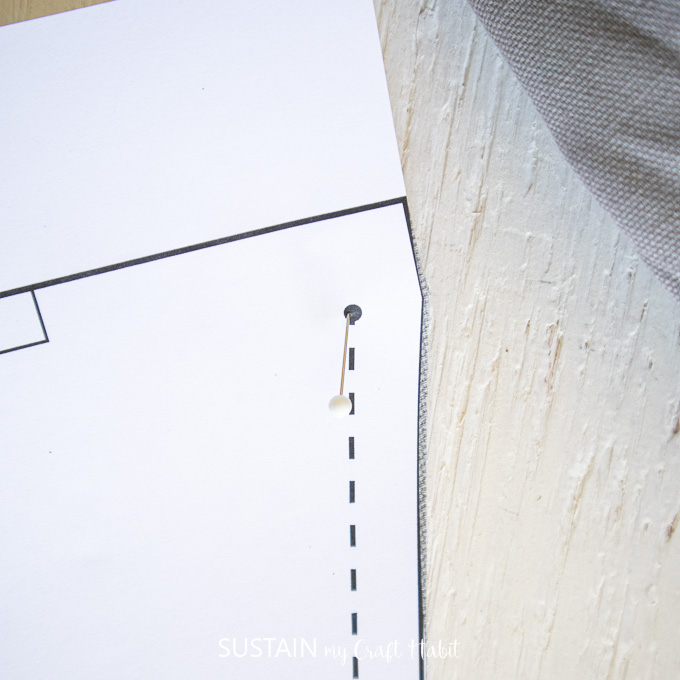
Lay the Storm Grey fabric out on a flat, non-stick surface (preferably not on carpet) folding it lengthwise just enough for the width of the pattern to fit within. Align the center line of the pattern along the FOLDED EDGE of the fabric, as indicated on the pattern with “cut on fold”. Pin pattern in place and cut along the solid line, clipping the notches along the way.
Transfer the small circles on to the fabric using a pin and removable chalk. The circles will mark your stop and start positions for sewing later.
Repeat this for the second large panel piece.
Next, lay the Orchard Pink fabric out on a flat surface folded in half lengthwise with selvedge edges aligned. Place the pocket pattern over top with the center aligned with the FOLDEd edge OF THE FABRIC, as indicated on the pattern with “cut on fold”. Pin pattern in place and cut along the solid line, clipping the notches along the way.
Repeat this 4 more times to make 5 pockets in total.
Sewing
Sewing the Pockets
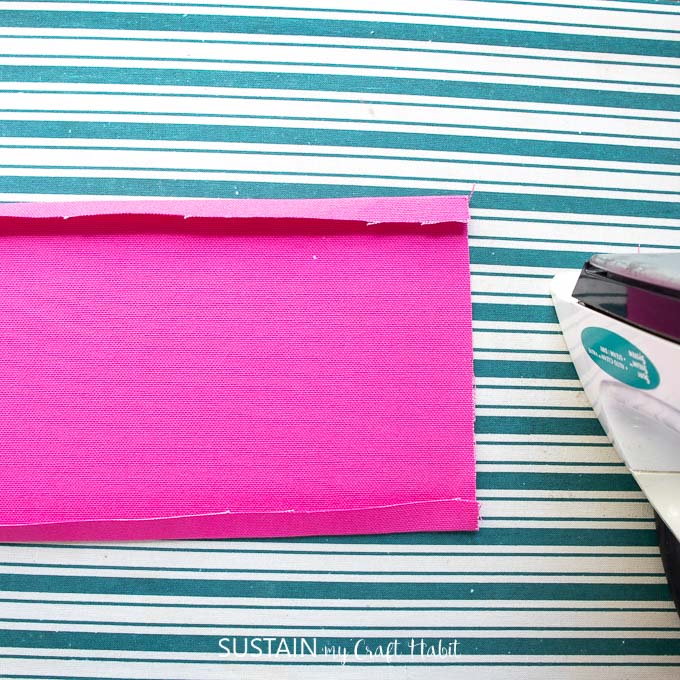
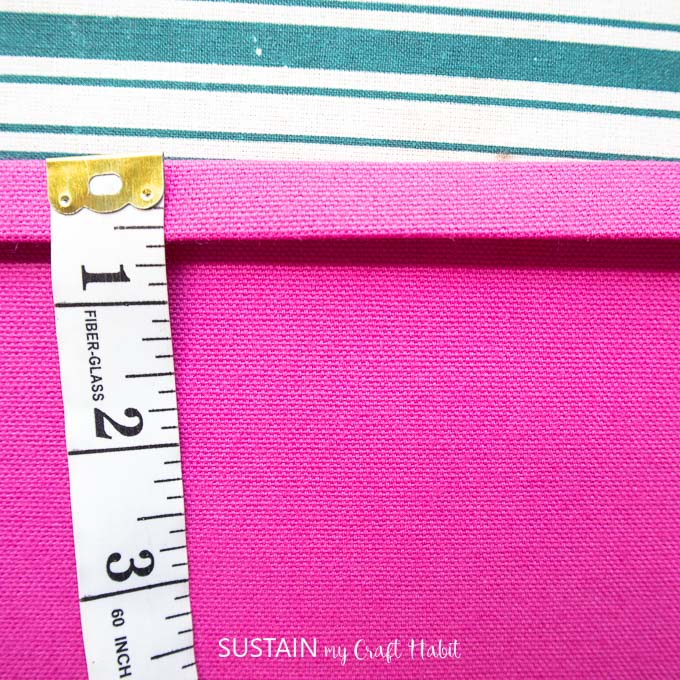
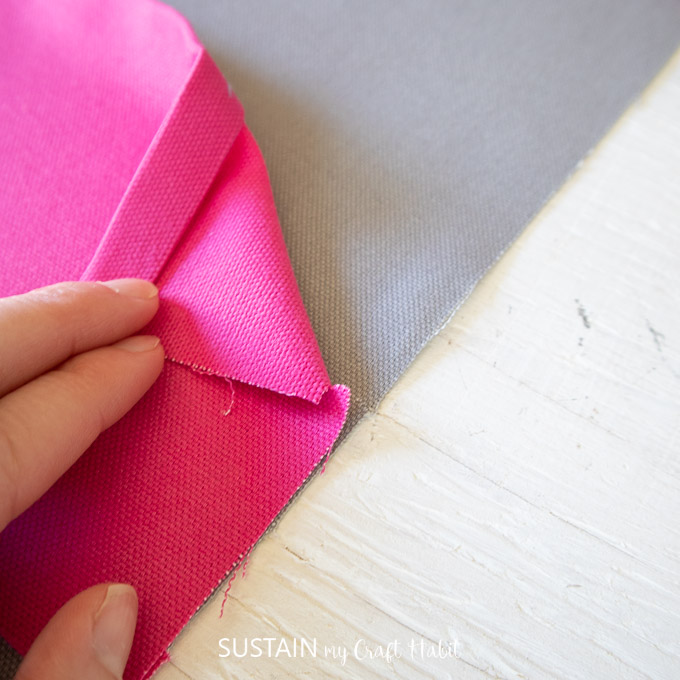
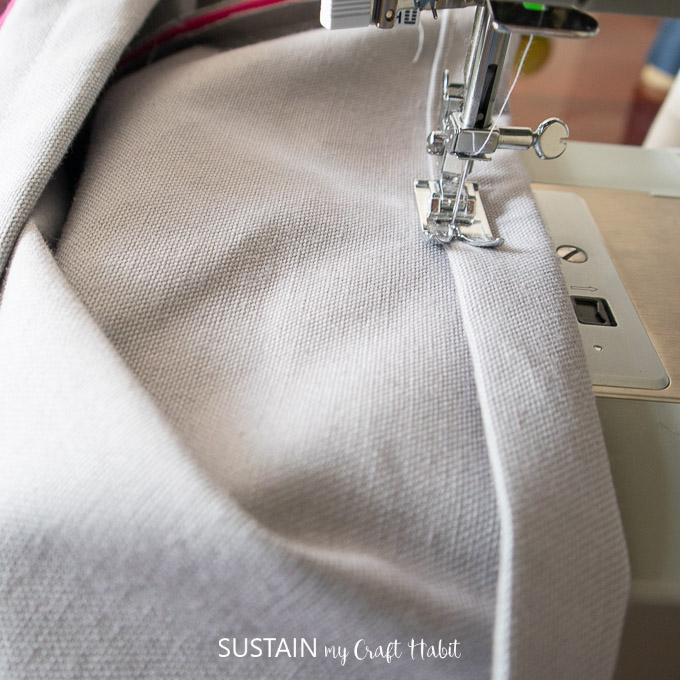
Start with preparing the pockets. Fold the top and bottom edges along the longest sides over by ½” (towards the wrong side of the fabric) and press in place. Fold the top edge over another ½” forming the hem allowance.
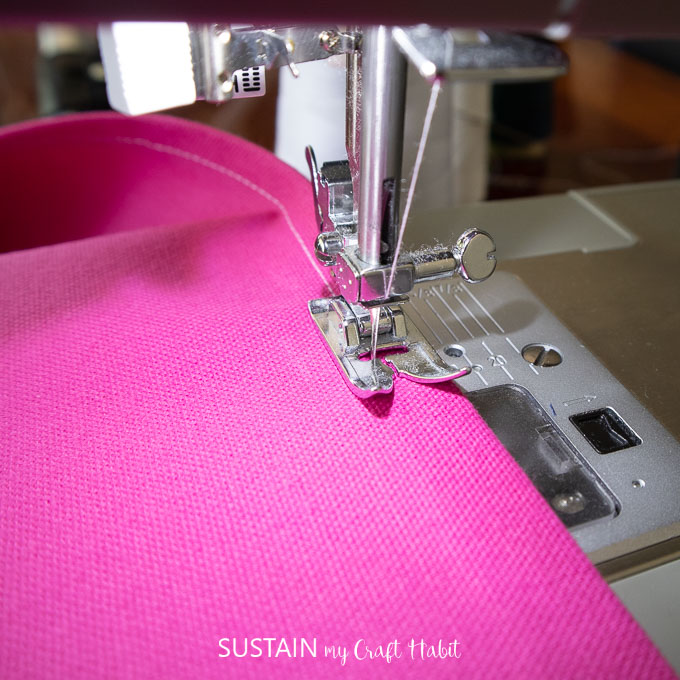
At the sewing machine, stitch the double folded hem in place with a single needle topstitch. Repeat for all 5 pockets.
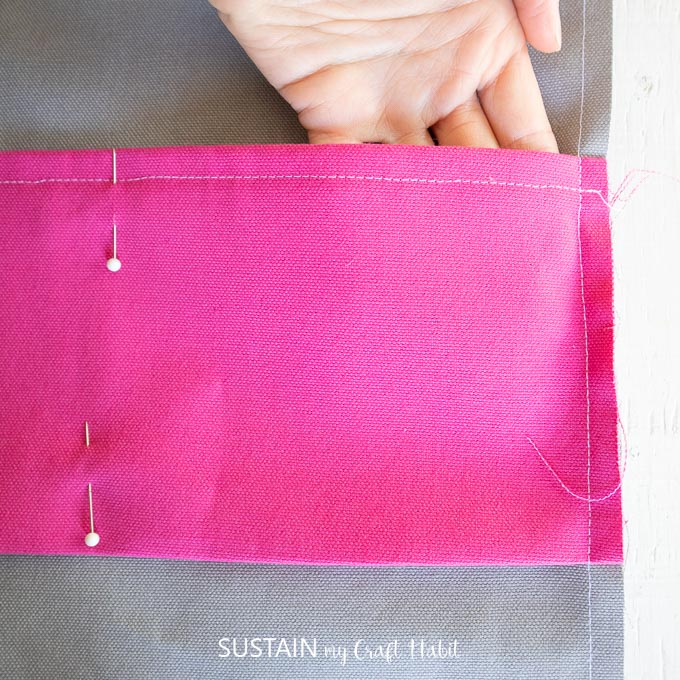
Position the pockets on to the right side of one large panel piece matching the notches along the sides.
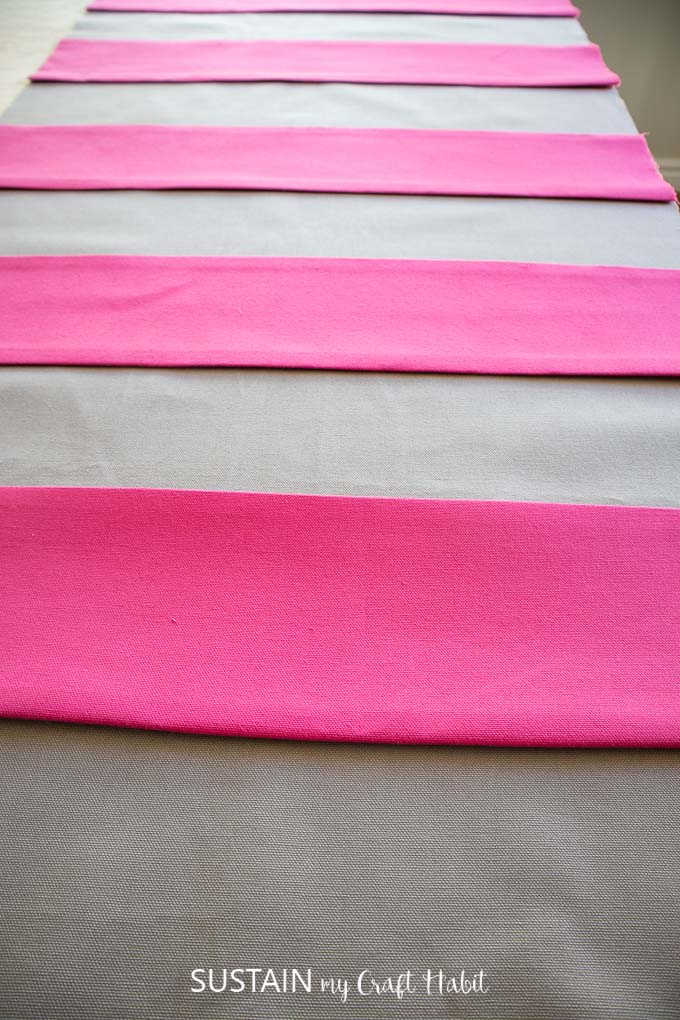
Pin the pockets in place at the sides and stitch the two pieces together as shown, removing the pins as you sew.
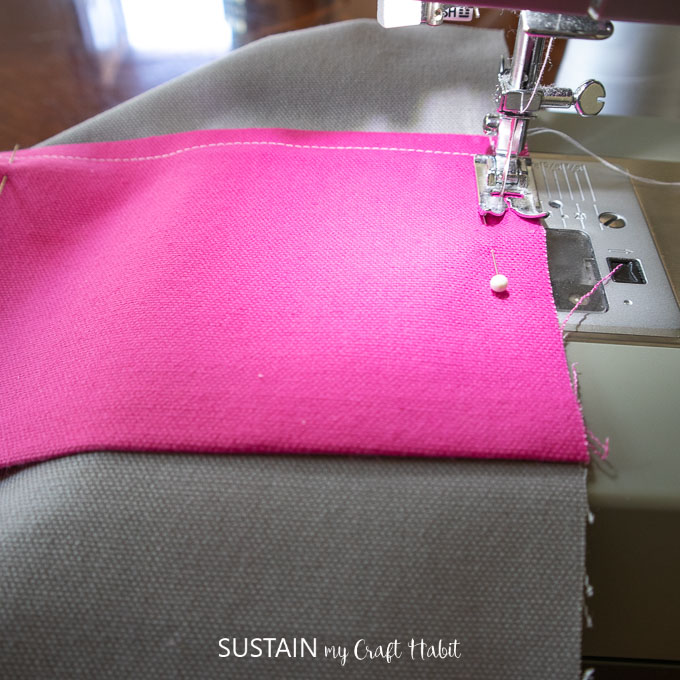
Divide the pocket into 4 equal sections: place pins to mark the centerline of the pocket and then divide the sides in half again and mark with pins.
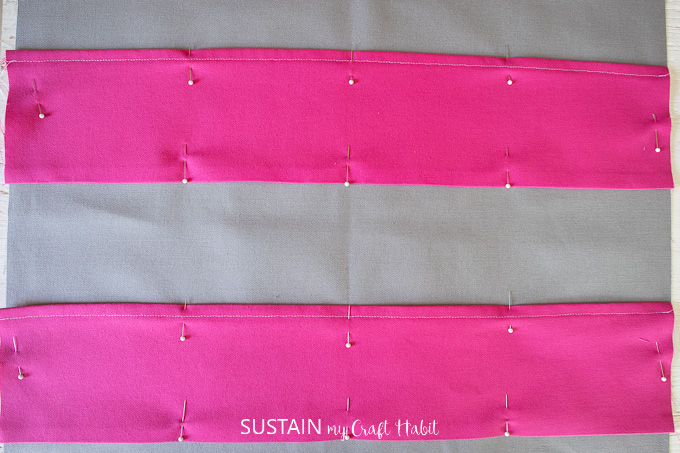
Next, sew the sections of the pockets, removing the pins as you sew.

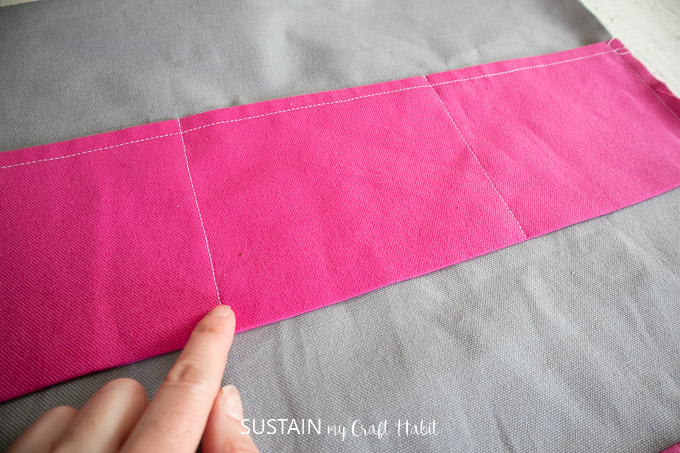
And lastly, stitch the bottom edge of the pocket with a single needle edgestitch.

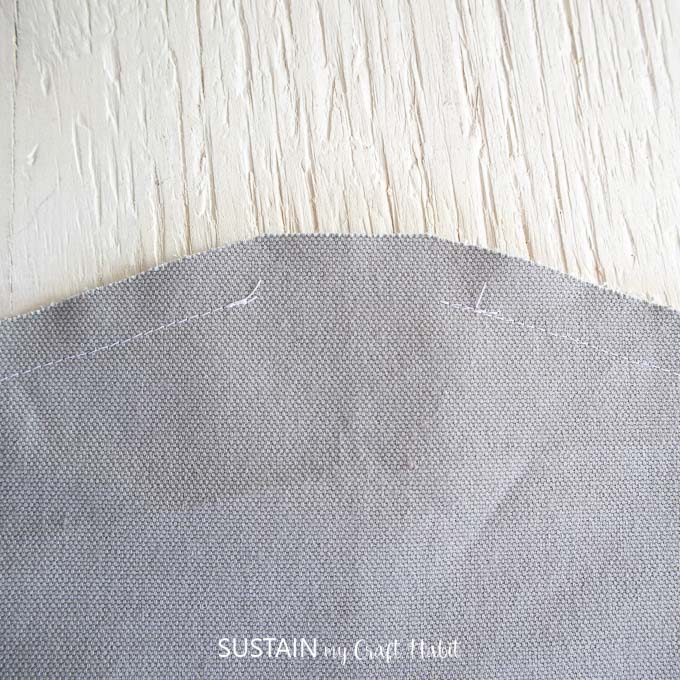
Sewing the Large Panels
With right sides together, sew the two large panels together one side at a time, starting with the marked circle and continuing all the way to the bottom edge. Leave the bottom edge open.
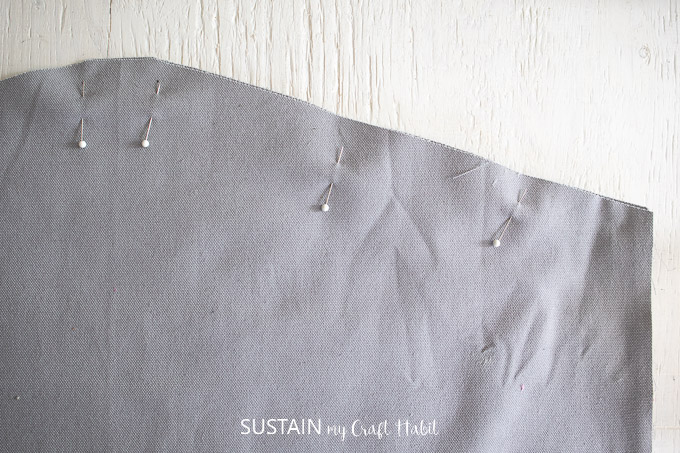
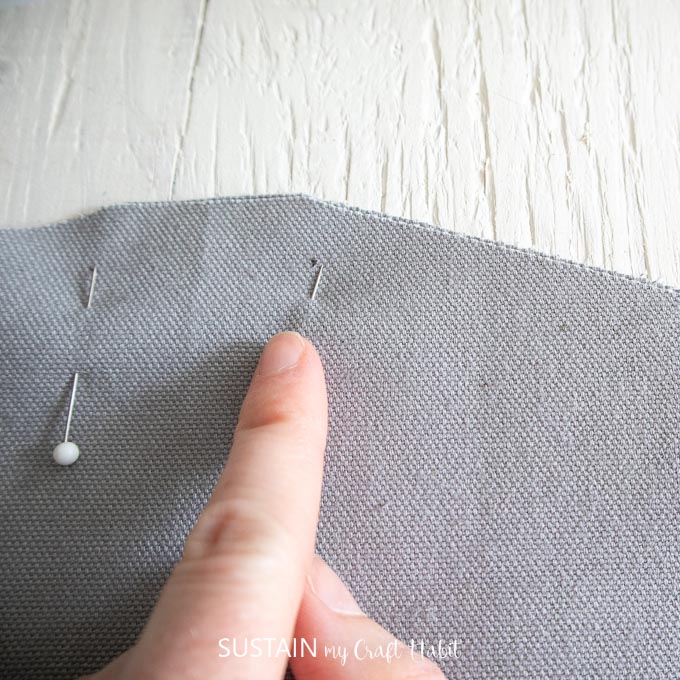
Repeat with the other side.
Double turn the bottom hem with a 1” hem allowance and stitch in place.
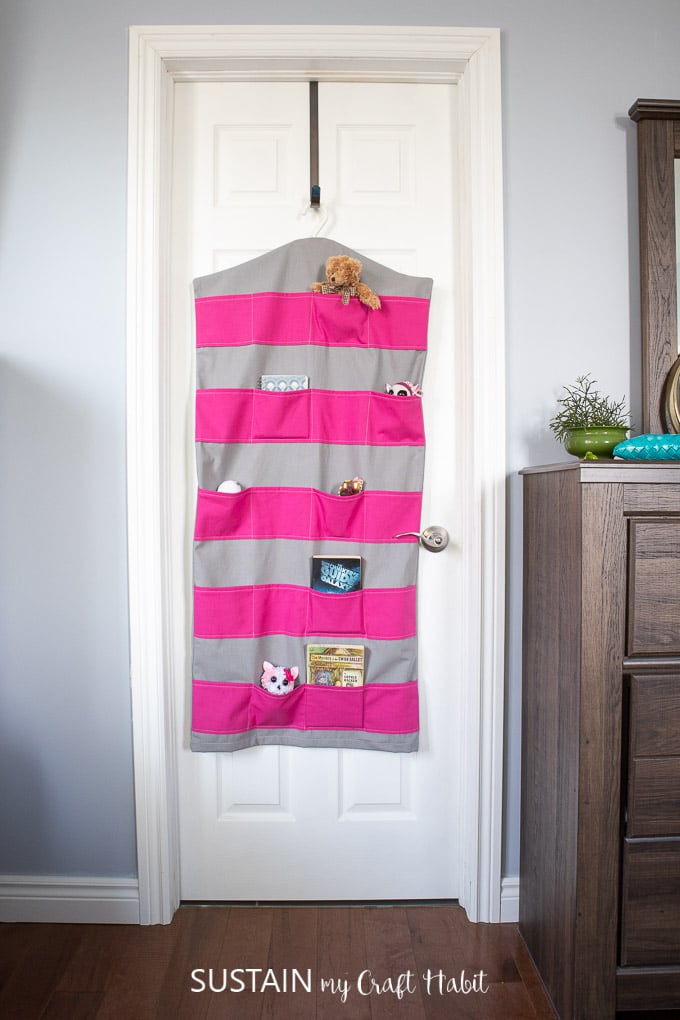
Turn the hanging toy storage right side out and press the sides with an iron so the seams lay flat.
Insert a large hanger threading the hook through the small opening at the very top. Hang on your door and enjoy!
Looking for more DIY home organization project ideas?
Check out these fun craft projects for adding extra organization to your space:
- 5 simple ways to organize your home with Cricut Joy
- Upcycled Tin Can Craft Storage Containers
- Easy to Sew Storage Ottoman
- Upcycled Cardboard Box Storage Totes (no sew)
Like it? Pin it for later!

DIY Hanging Toy Storage
Materials
- 1.5 yards 100% Cotton Duck Canvas, 10oz Storm Grey
- 0.5 yards 100% Cotton Duck Canvas, 10oz Orchard Pink
- Printable Hanging Toy Organizer Pattern
- Sewing machine and thread
- Fabric scissors
- Measuring tape and ruler, removable chalk or wax
Instructions
- Print off pattern and tapes pieces together.
- Place on fabric and cut alonf solid line.
- Fold and iron top and bottom edges of pocket pieces. Double fold the top edge and stitch in place.
- Place pockets on the base aligning the the notches.
- Stitch the pockets in place at sides, bottom edges and divide each long pocket into 4 sections.
- Sew the back side to the front side with RIGHT sides together leaving an opening at the top for the hanger.
- Turn inside out and press the stitched seams.