DIY Rustic Bunny Easter Decoration with Scrap Wood
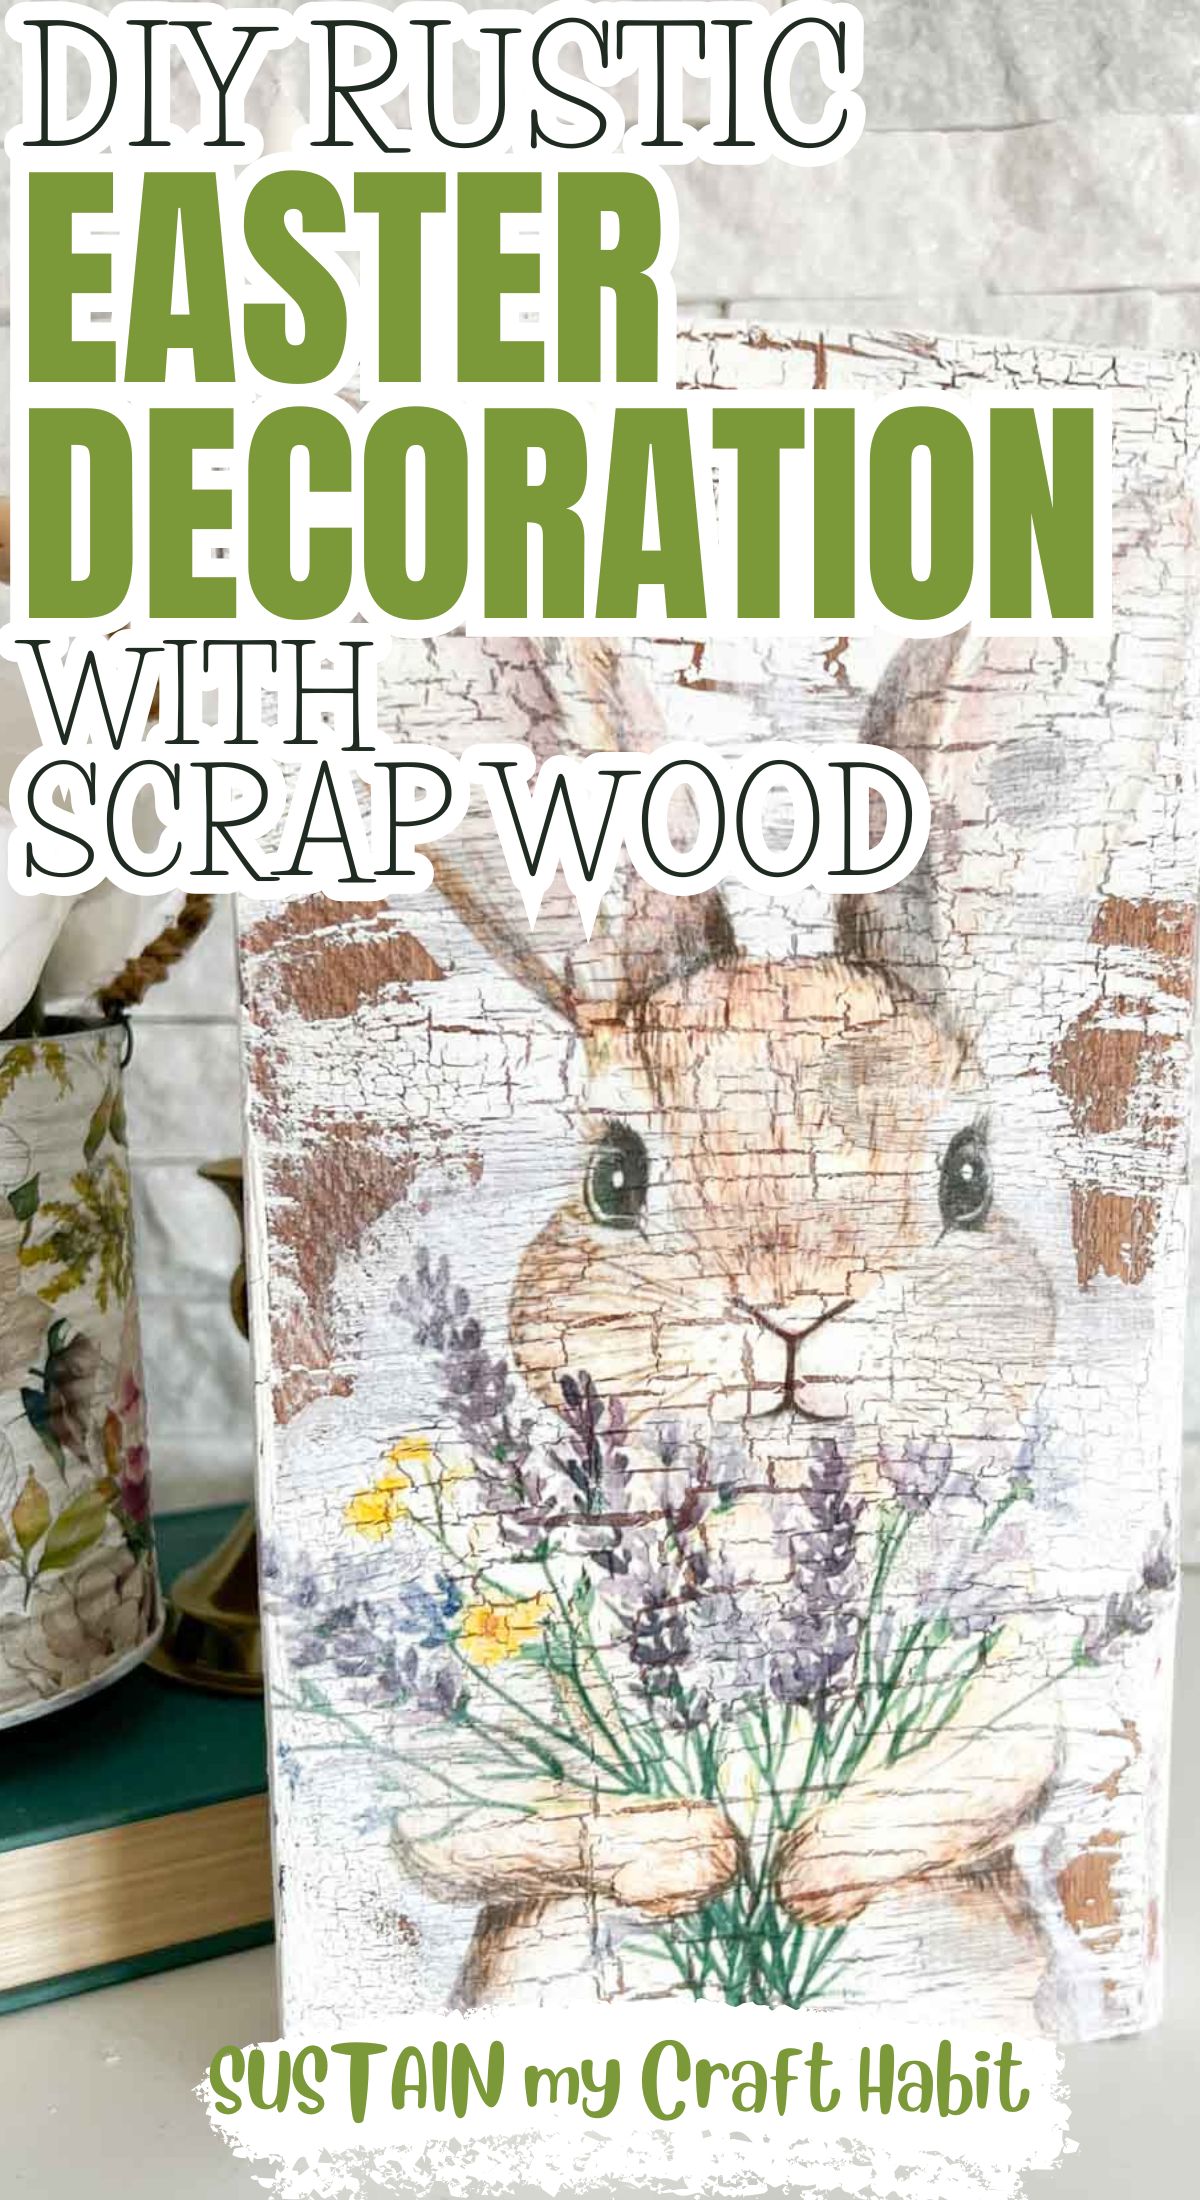
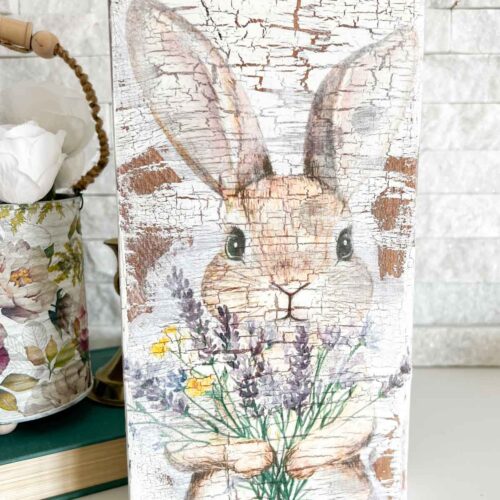
Using crackled paint and a Mod Podge image transfer, this DIY rustic bunny Easter decoration with scrap wood is the sweetest budget friendly decor for Easter and spring!
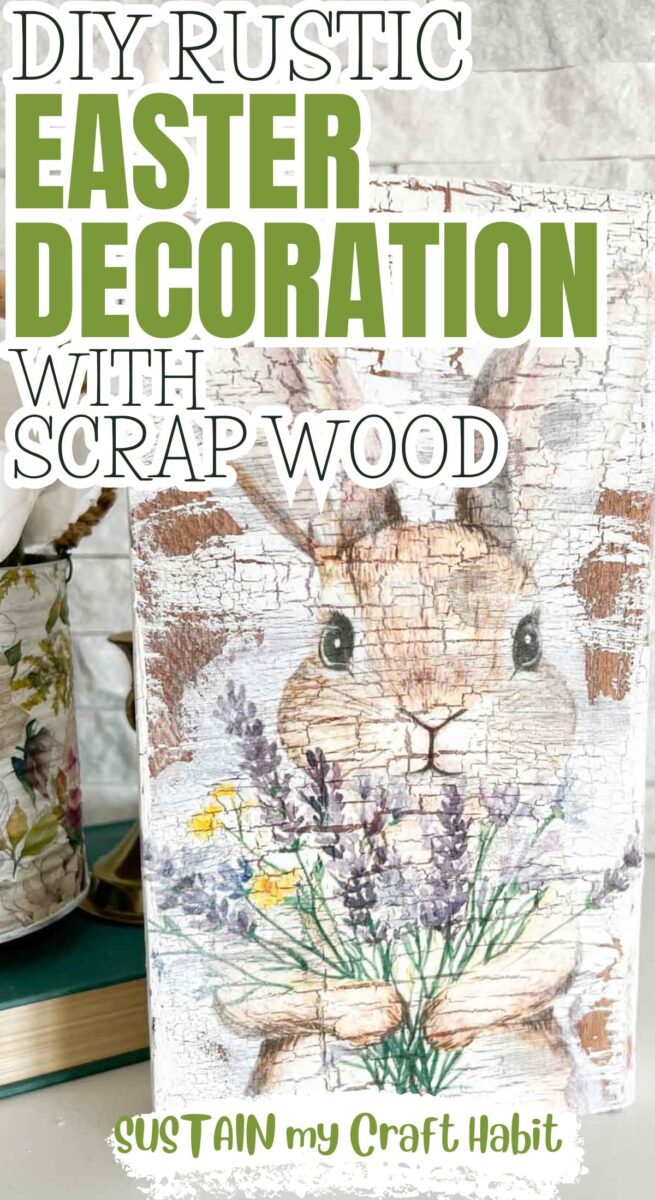
If you’ve got a pile of leftover wood in the garage, this DIY rustic bunny Easter decoration with scrap wood is the sweetest way to use it up. I love projects that turn “I should probably throw that away” into something I’m proud to put on the mantel.
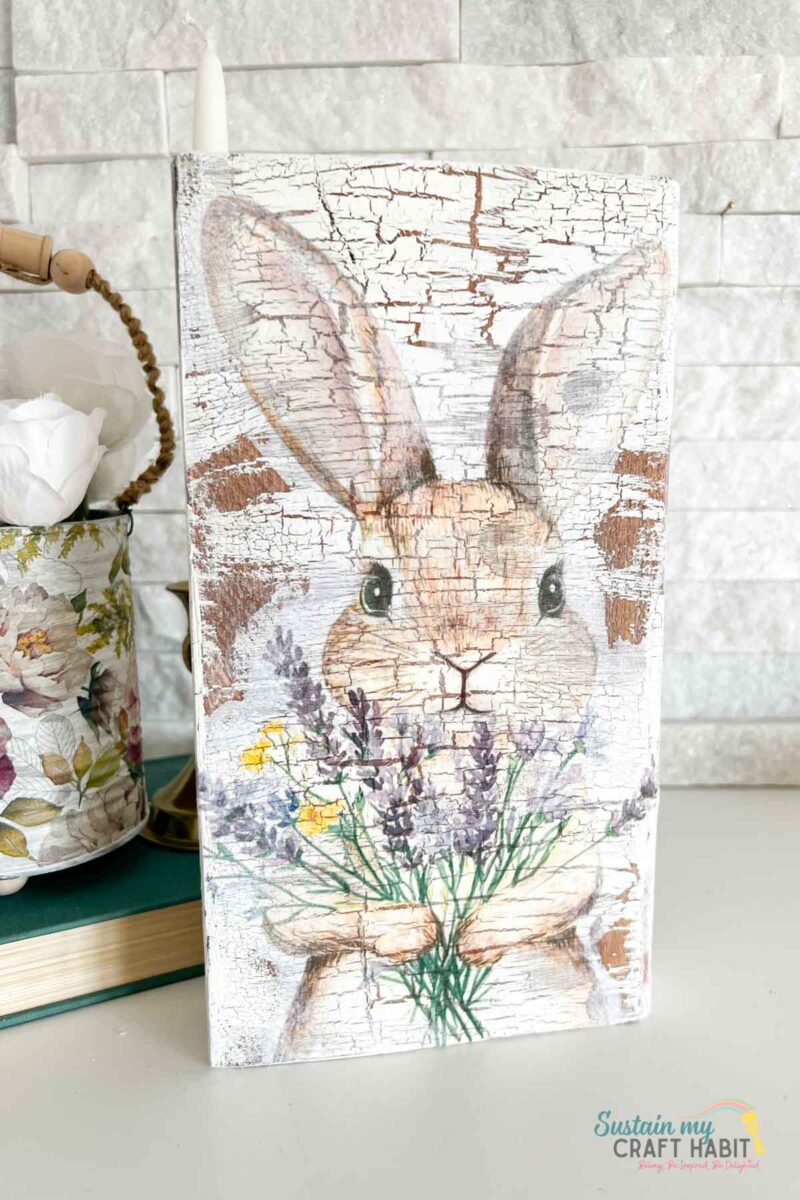
You’ll only need a few basic tools and offcuts to create this wooden bunny craft that looks like it came straight from a boutique. I’ll walk you through the simple steps, plus share finishing ideas to match your Easter décor.
Why You’ll Love This Project
- Perfect for spring home décor ideas or handmade gift décor ideas
- Uses scrap wood and basic supplies you likely already have
- Makes for budget-friendly Easter decor
- Easy to customise with paint, stain, or distressing techniques
Join our crafting community to find more DIYs and upcycled craft ideas. It feels good to repurpose and upcycle!
Materials Needed
- Piece of Scrap Wood, sized approx. 10” high x 5” wide
- White chalky paint
- White Craft Glue
- Paintbrush
- Printable Bunny
- Scissors
- Mod Podge
- Sand paper
How to Make a Rustic Bunny Easter Decoration with Scrap Wood
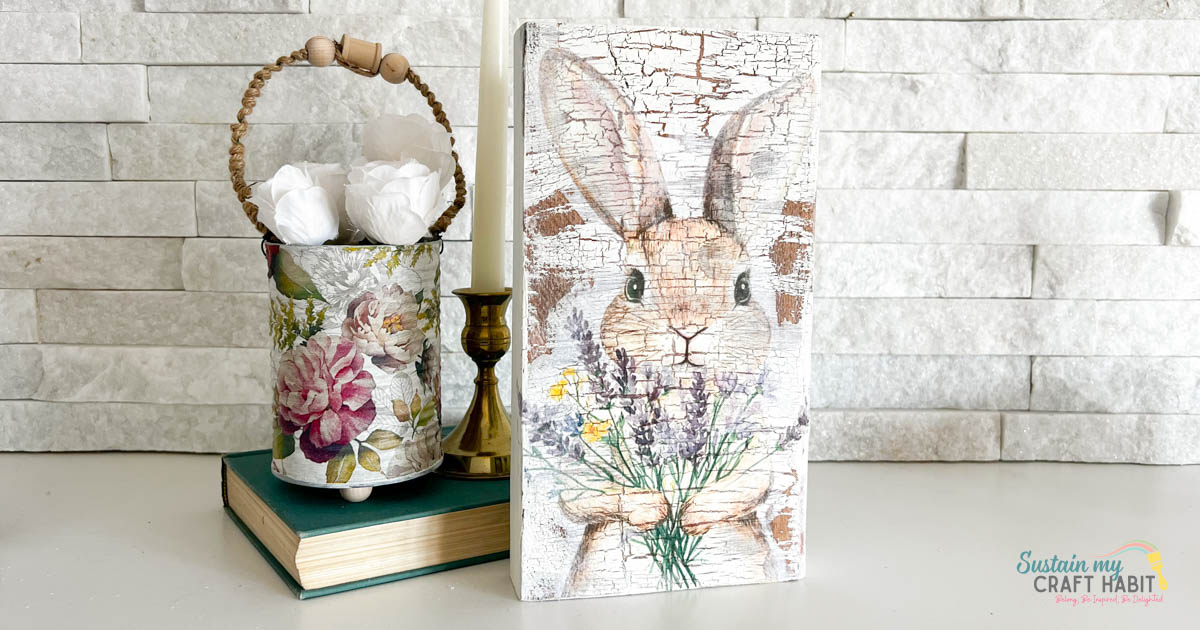
Apply a crackle finish to the scrap wood by applying a coat of wood glue over the unpainted scrap wood. Then apply a coat of chalk paint over top and leave it to dry. Alternatively, you can use a heat gun to the scrap wood and the crackle effect will appear quickly.
You can also follow along to this post for crackling with glue.
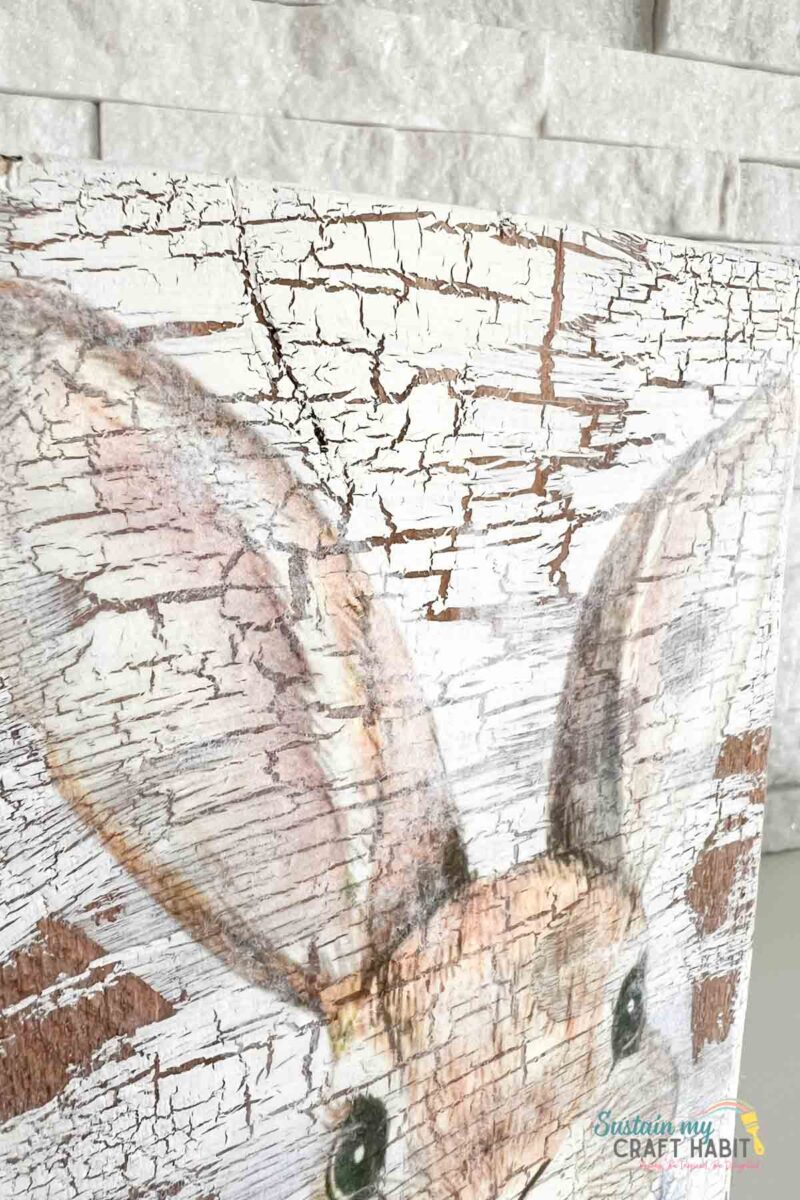
Next, cut around the portion of the bunny printable that will be applied to the scrap wood.
Apply a coat of Mod Podge over scrap wood and on the underside of the bunny. Press the printable with the wrong side facing the wood and apply pressure to remove excess Mod Podge underneath. Leave the Mod Podge to dry fully.
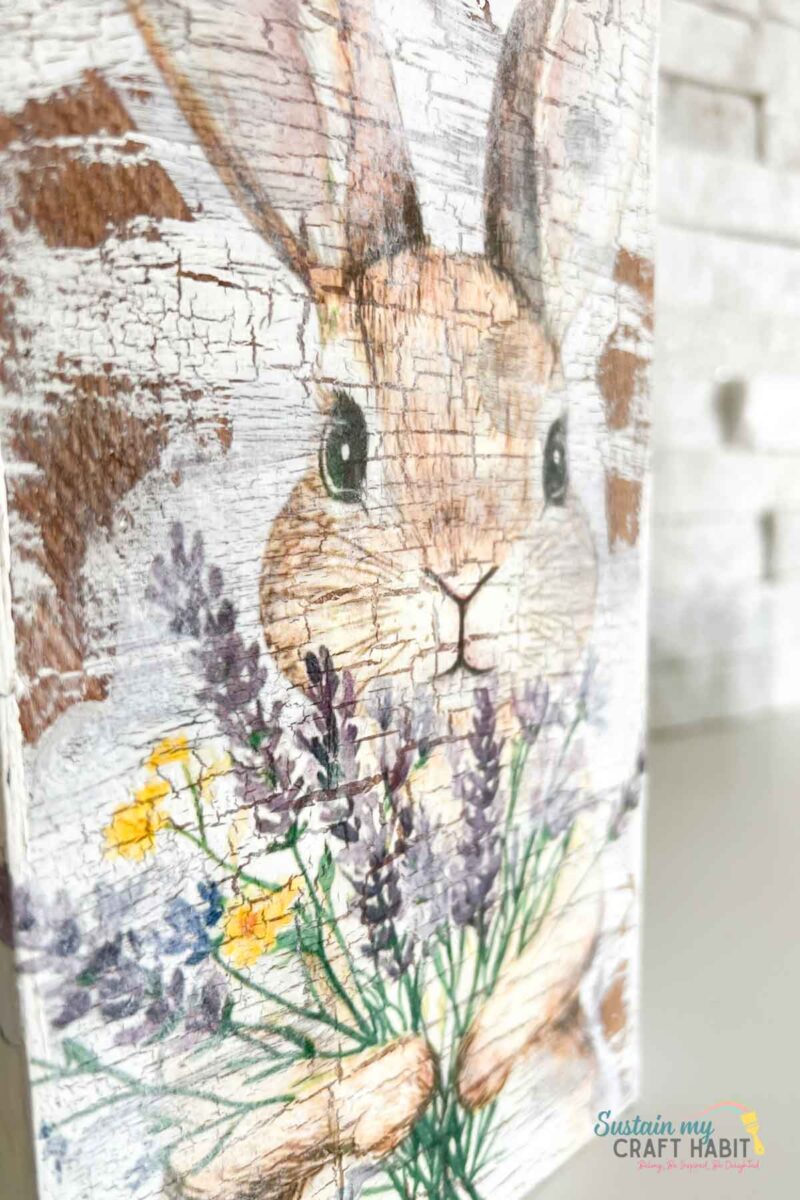
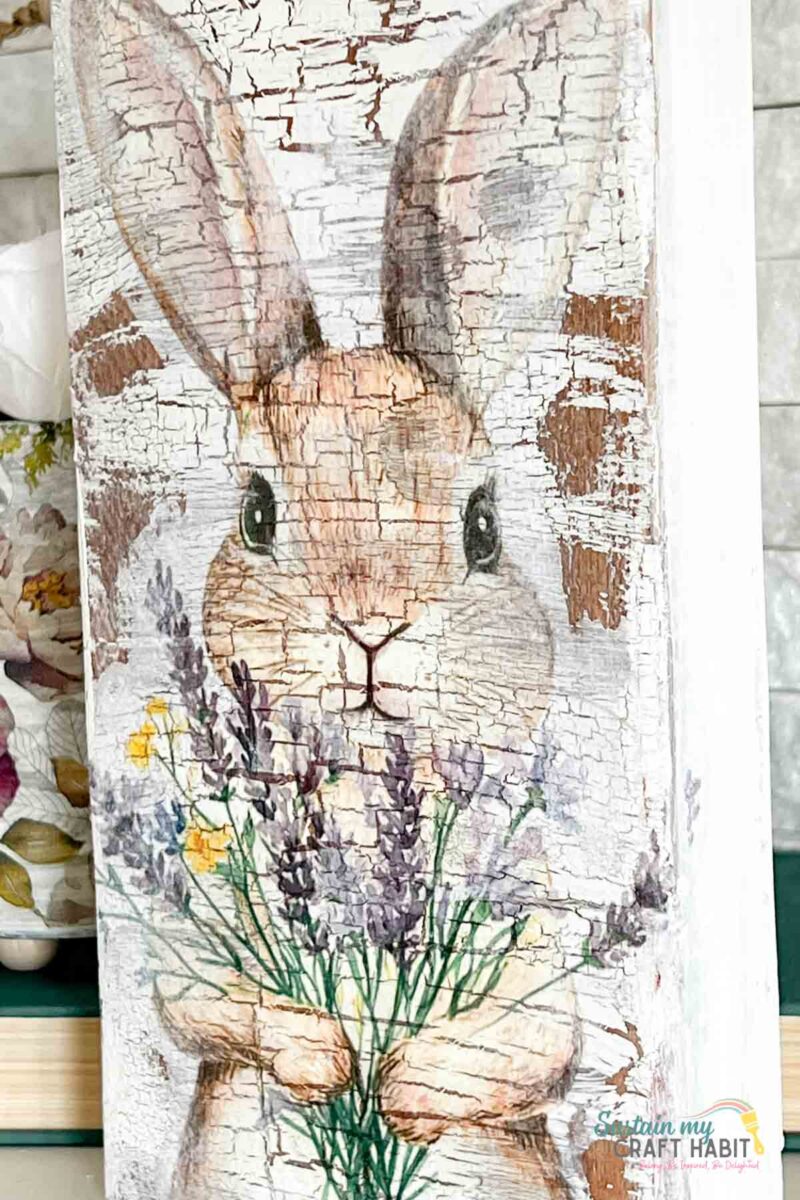
Lastly, use the sandpaper to sand down some of the surface over the decoupaged areas to give it a more rustic finish.
Tips, Variations & Troubleshooting
Size & Shape Variations
You can scale your rustic wooden bunny up or down depending on where you plan to display it. A small 20cm version works beautifully for tiered trays, while a taller 40–50cm bunny makes a statement on a porch or entry table.
Paint & Finish Options
For a classic farmhouse Easter decoration, try:
- White chalk paint with light distressing
- Soft pastel tones like sage, blush, or duck egg
- Natural wood stain with a twine bow around the neck
If you prefer a more rustic scrap wood bunny look, leave some rough edges visible and lightly sand only the splintered areas. That worn texture adds character.
How to Display / Style Your Project
This DIY rustic bunny Easter decoration works almost anywhere in your home.
Place it on a mantel with faux greenery and ceramic eggs for a simple farmhouse home décor idea. It also looks lovely styled on a console table with a lantern and woven basket.
For smaller versions, add them to a tiered tray with moss, mini carrots, and pastel accents. They also make charming handmade gift décor ideas — especially paired with homemade treats or a spring candle.
Satisfying From Start to Finish
A scrap wood bunny is one of those projects that feels satisfying from start to finish. It’s affordable, creative, and easy to personalise year after year. Once you make one, don’t be surprised if you end up cutting a whole little bunny family.
More Rustic Easter Decor
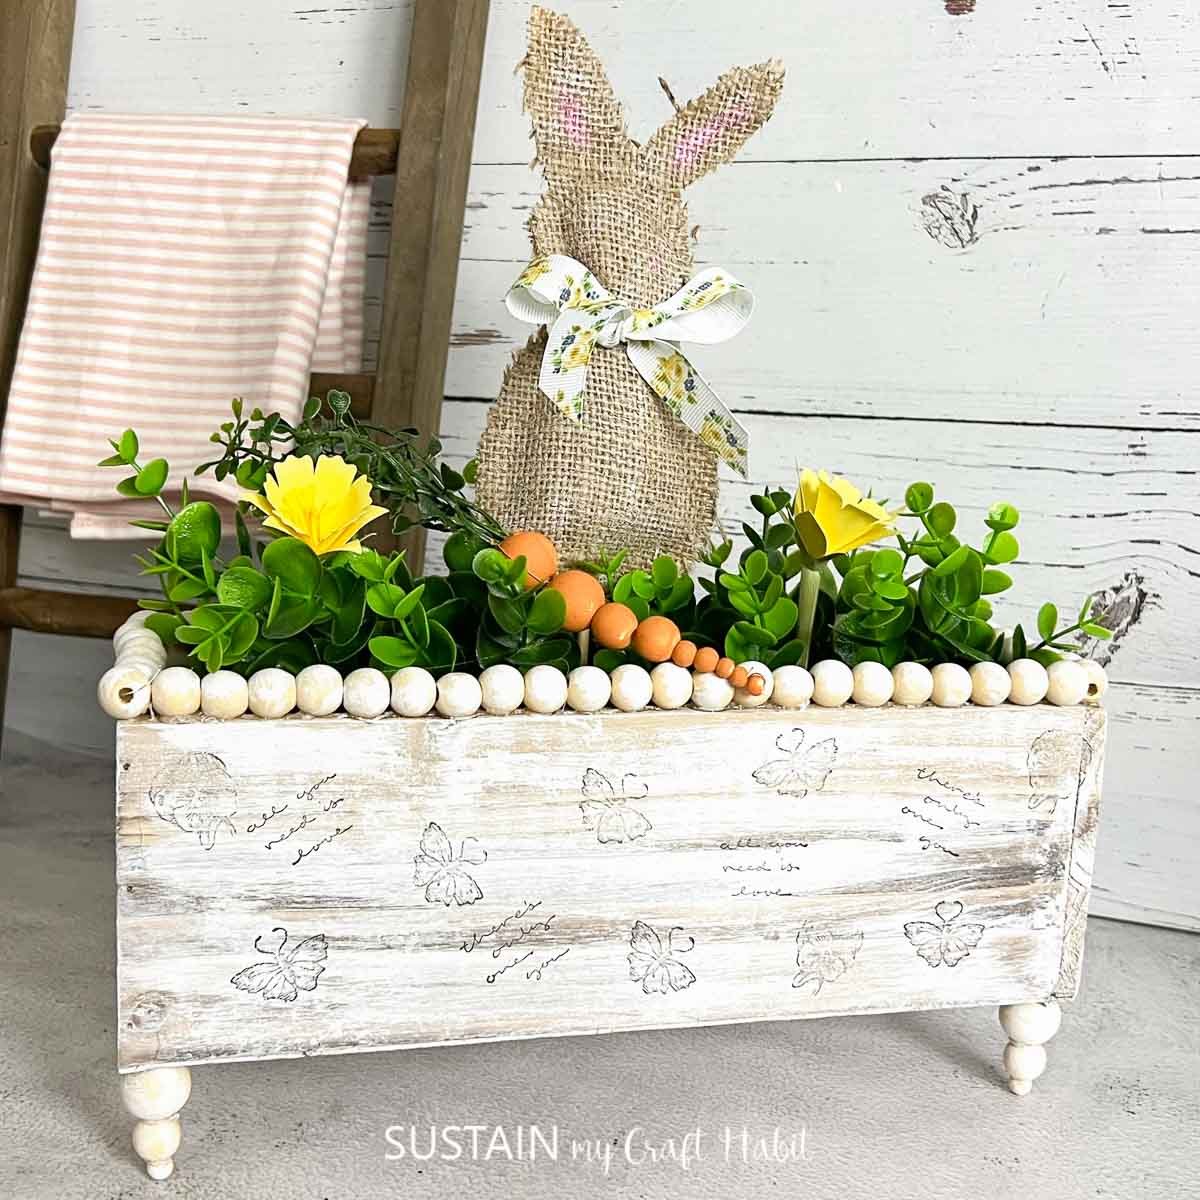
- Dollar Tree Easter Bunny Decor
- Rustic Farmhouse Spring Decor
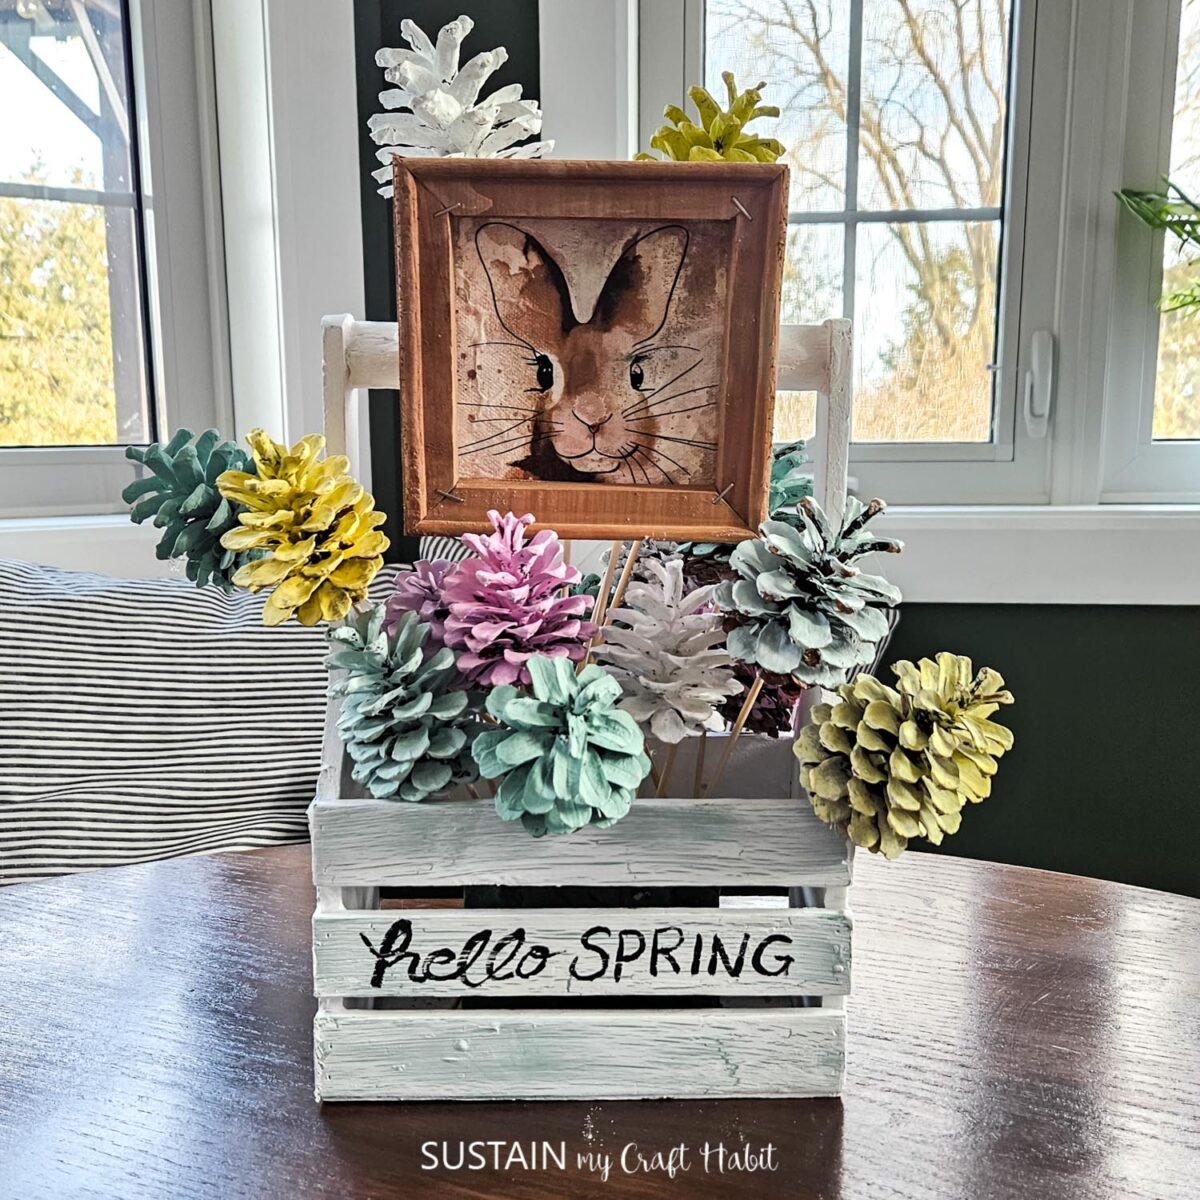
- Easter Centerpiece Craft with Pinecones
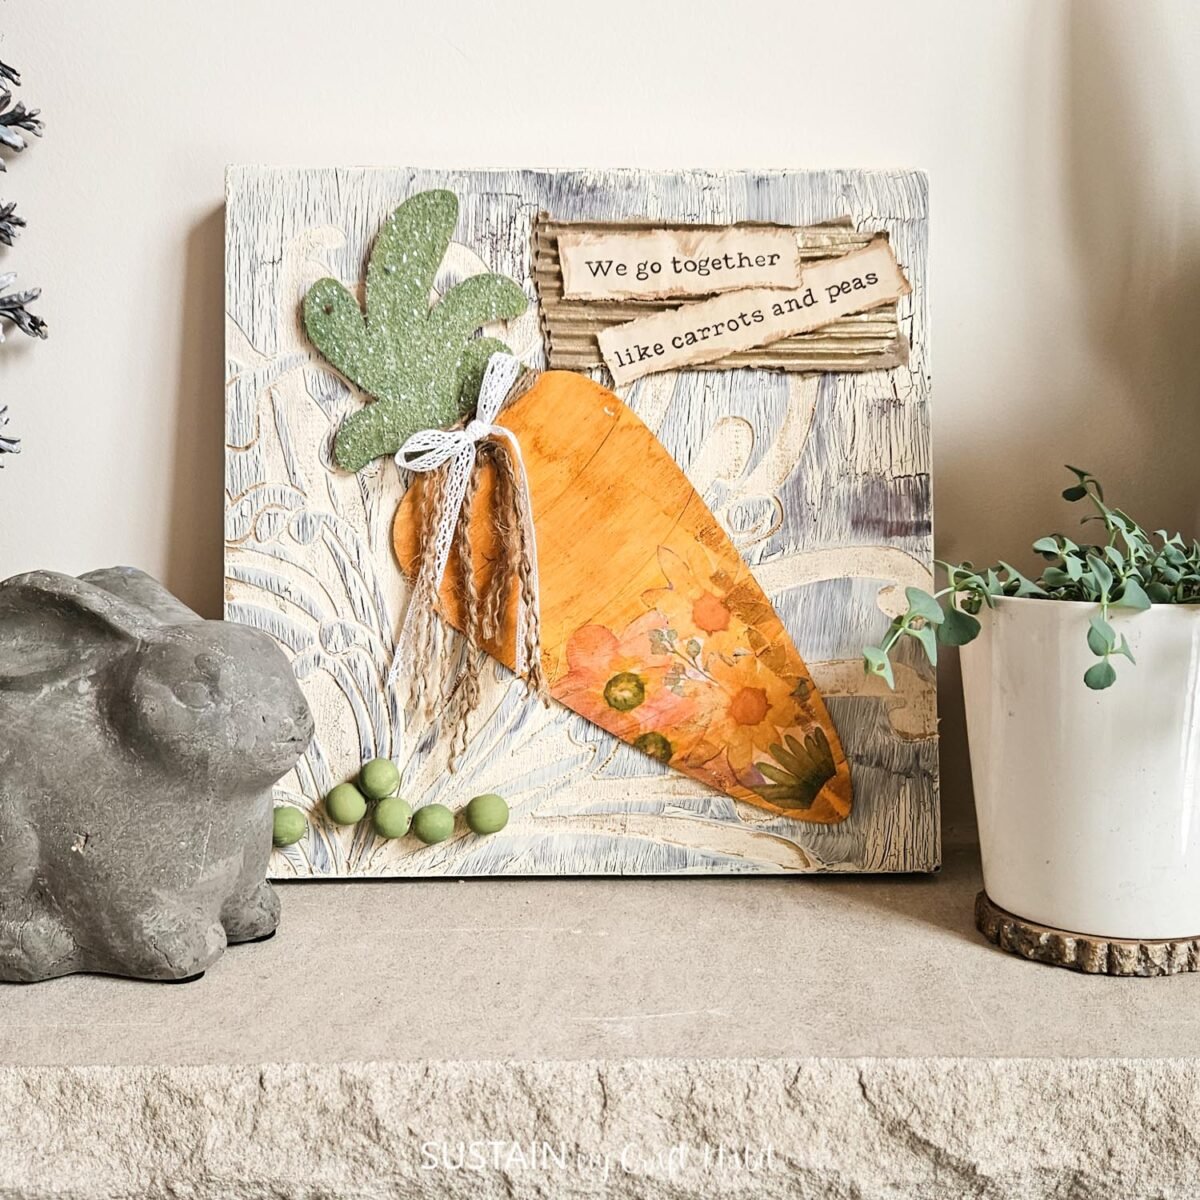
- Upcycled Easter Sign with Wood Carrot
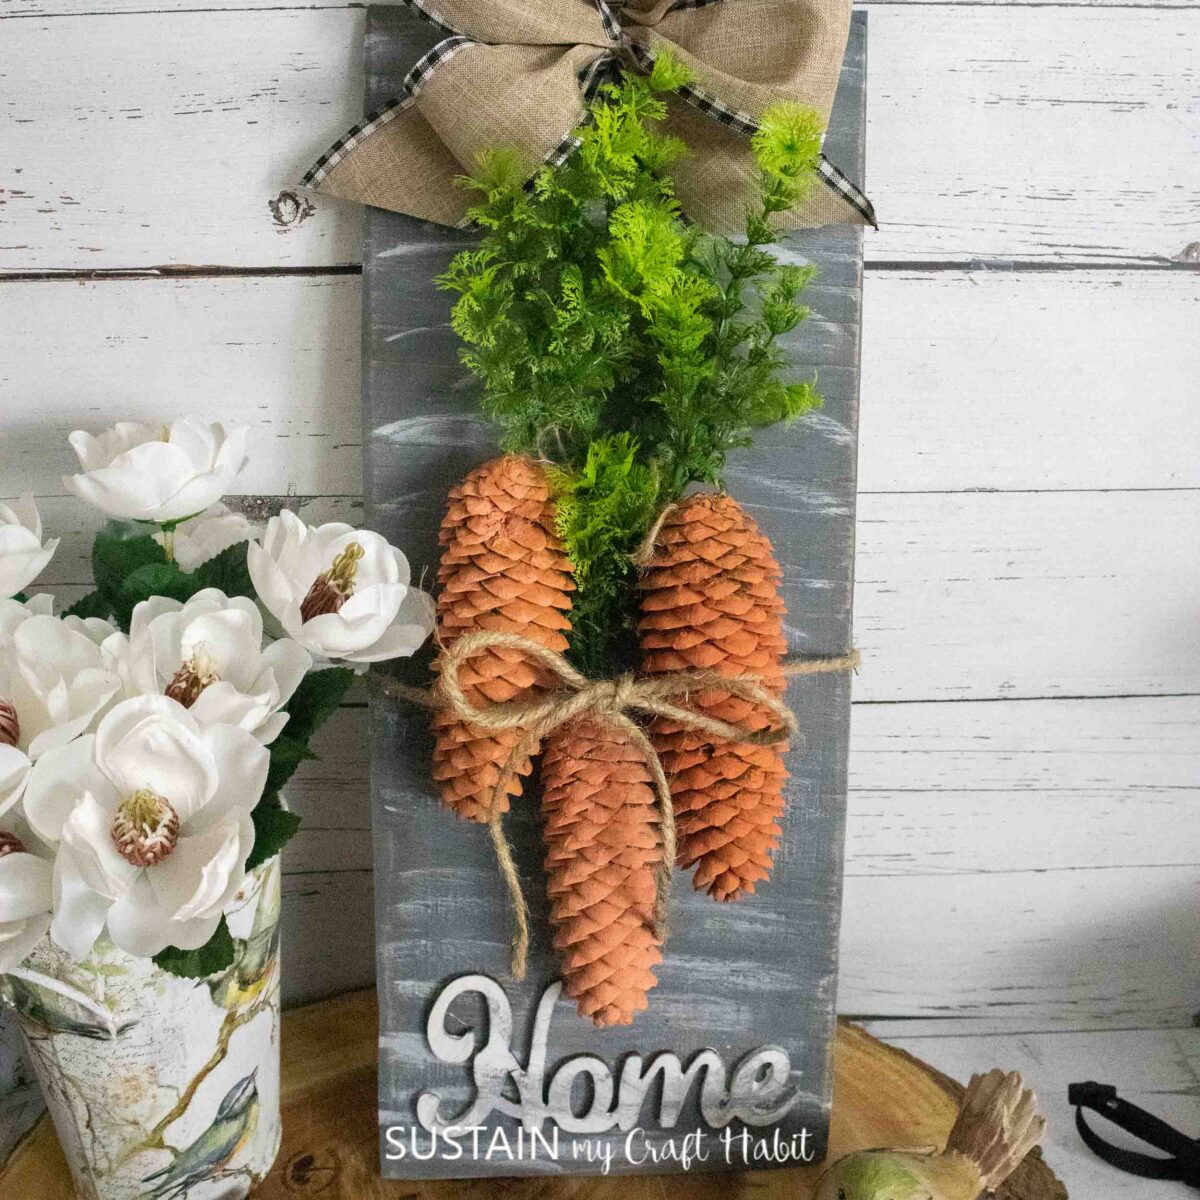
- Pinecone Carrot
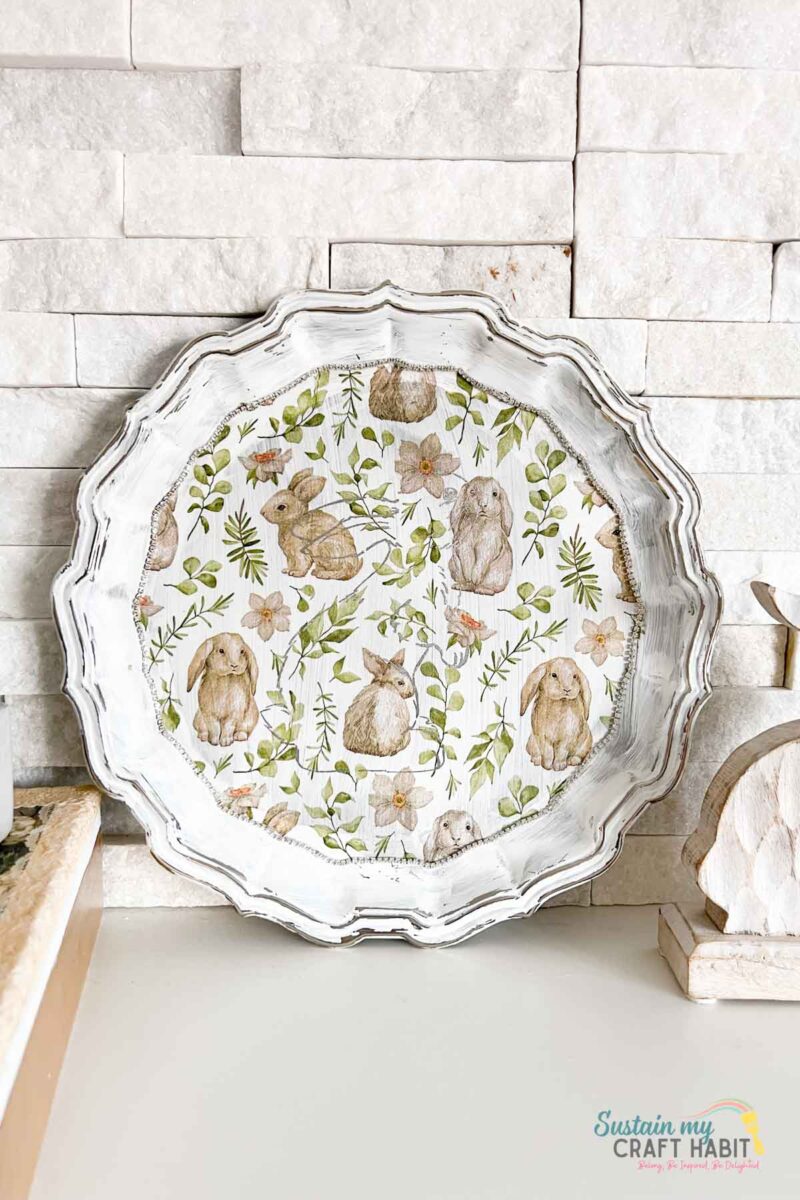
- Bunny-Themed Thrift Store Tray Makeover
Want to receive a ton of inspiration and money saving ideas for decorating, gift-giving and crafting? Join HERE!
Like it? Pin for later!
DIY Rustic Bunny Easter Decoration with Scrap Wood
Materials
- Piece of Scrap Wood sized approx. 10” high x 5” wide
- White chalky paint
- White Craft Glue
- Paintbrush
- Printable Bunny
- Scissors
- Mod Podge
- Sand paper
Instructions
- Apply a crackle finish to the scrap wood by applying a coat of wood glue over the unpainted scrap wood. Then apply a coat of chalk paint over top and leave it to dry.
- Next, cut around the portion of the bunny printable that will be applied to the scrap wood.
- Apply a coat of Mod Podge over scrap wood and on the underside of the bunny. Press the printable with the wrong side facing the wood and apply pressure to remove excess Mod Podge underneath. Leave the Mod Podge to dry fully.
- Lastly, use the sandpaper to sand down some of the surface over the decoupaged areas to give it a more rustic finish.