A DIY Brass Lamp Makeover with a Burlap Lampshade
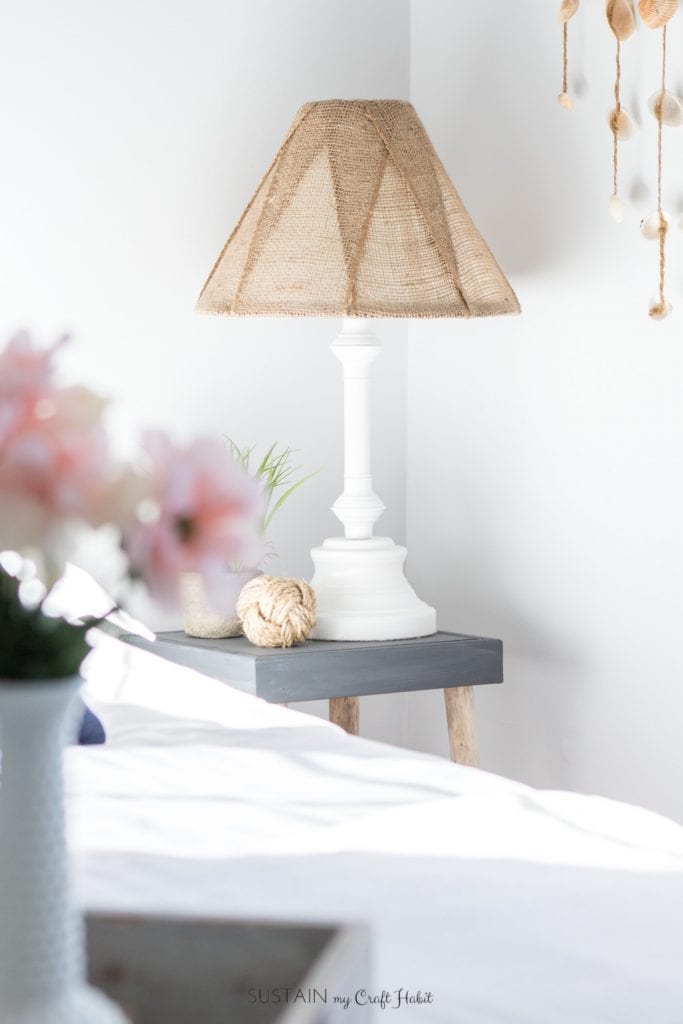
Sometimes it takes a lot of faith that a DIY is going to turn out. In all honesty, I was pretty doubtful that this old brass table lamp would ever look good. I guess you could say I was blinded by the ugliness. What decade was this from anyway? 80’s? 90’s? I’ll have to ask my parents…I’m sure it was beautiful and on trend at one point in time.
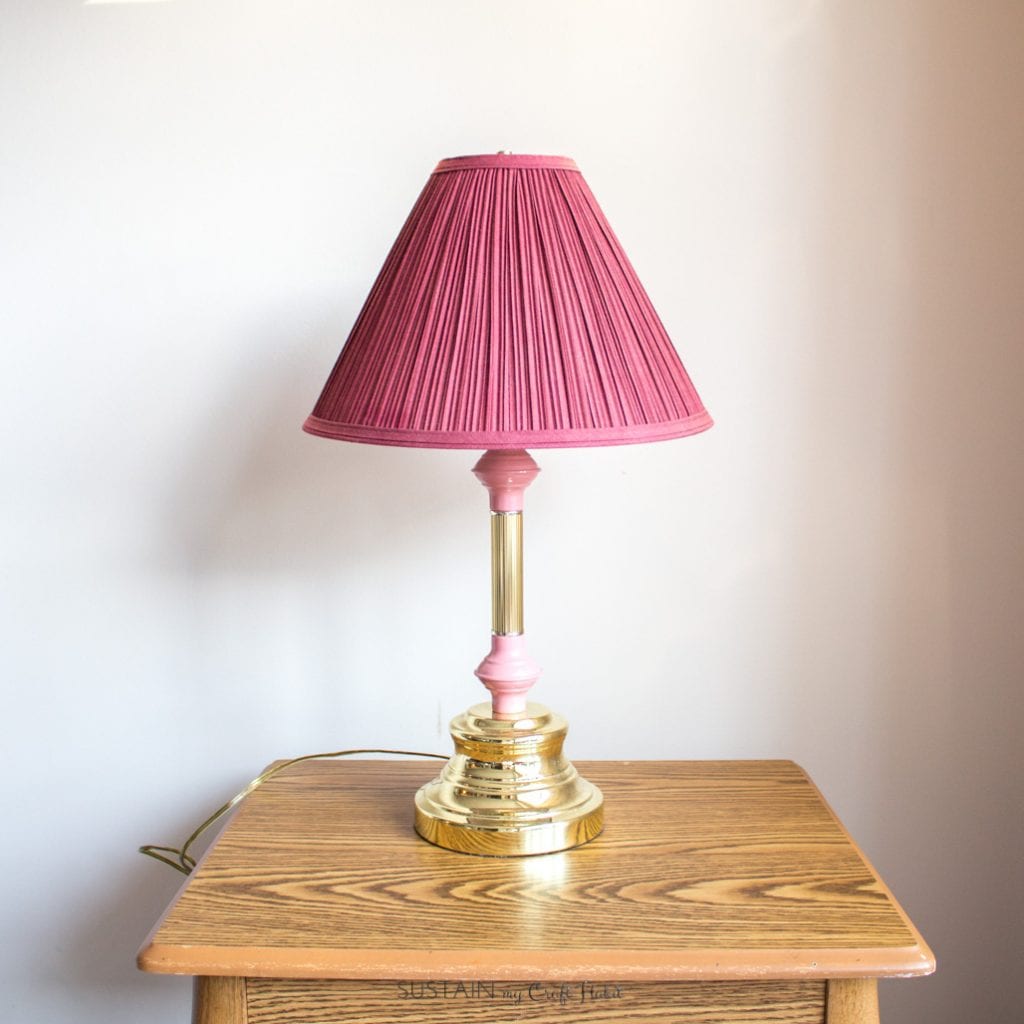
The base of the lamp definitely had potential but the yellow brass with mauve accents made it look dated and cheap. And truthfully, I was on the verge of just tossing away this old lampshade. Fortunately, my determined DIY-self wouldn’t let me do so. And now that the lamp is done, I’m so proud of how it turned out. The materials were inexpensive (definitely less than the cost of buying new) and also, I gave new life to something old and unwanted that was otherwise destined for the landfill.
So if you ever feel doubtful or hesitant to start a DIY because you’re just not sure how it’ll turn out, don’t worry, you are not alone! We’ve all been there.
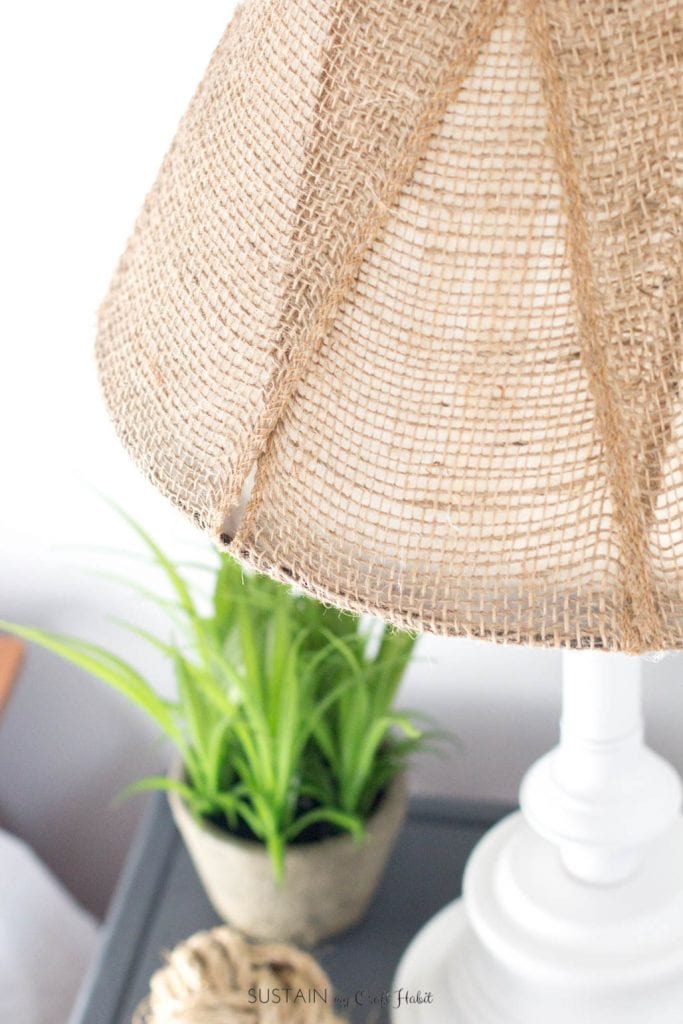 This newly upcycled rustic modern white and burlap lamp fits in perfectly with our coastal bedroom cottage makeover. So far we’ve put together a coastal mood board, painted the walls a fresh white and added a DIY seashell wind chime.
Materials needed to give your brass table lamp a rustic modern makeover
*This post contains affiliate links which means if you buy any products through these links – at no additional cost to you – we make a small commission.

- Outdated table lamp (ours had a brass base and gatheredfabric lampshade)
- Krylon Colour Master Decorator Spray Paint* in Dover White
- Painter’s Tape
- 3” wide Burlap Ribbon* (check your nearest Dollar Store, I bought my roll for cheap!)
- Hot glue gun with clear craft glue sticks
- Double-sided clear adhesive tape*
- Scissors
- Bias Tape* (optional, for clean finishing the inside edge of the lampshade)
How to refinish a brass lamp base and lamp shade
Step 1: Disassemble and Prepare the lamp
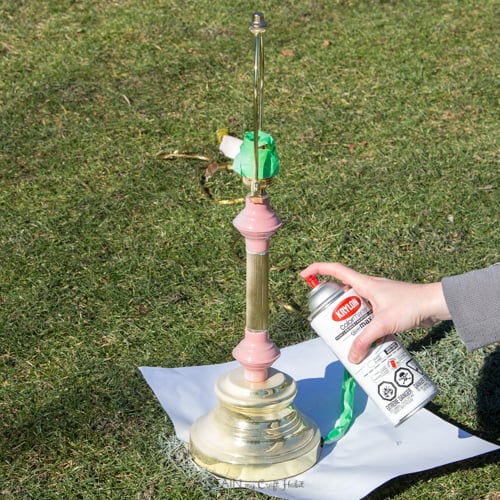
Remove the old lampshade and light bulb and put them aside. Cover the light bulb socket on the lamp base with painter’s tape to keep spray paint out. Give the brass lamp base a good cleaning to remove any dust or dirt.
Step 2: Spray paint the brass lamp base
Protect your work surface area before you begin spray painting. Following the instructions on the spray paint can, apply several coats of paint in a well-ventilated area. Allow ample time to dry between coats to achieve smooth and even coverage of the spray paint.
Step 3: Refinish the lamp shade with burlap ribbon
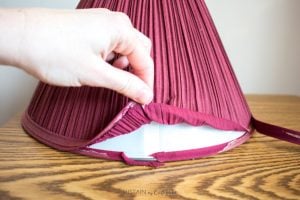
If your existing lampshade has a layer of fabric on it as mine did, gently remove it being sure to leave the shade shell intact. Cut the burlap ribbon to the length of the lampshade height with about 2” extra for folding under.
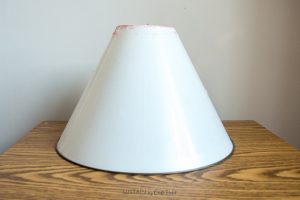
Apply a strip of the double sided adhesive to the bottom outer edge of the shade. Stick the burlap ribbon onto the shade with 1” hanging over the edge. Working in small sections, add a small bead of hot glue to inner, bottom edge of shade and carefully (not to burn your fingers) fold the burlap ribbon inside.
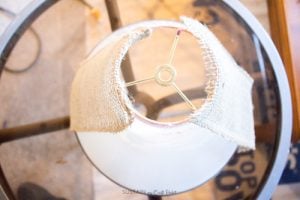
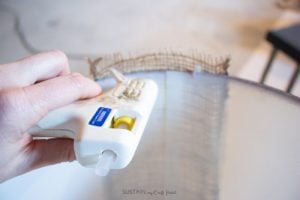
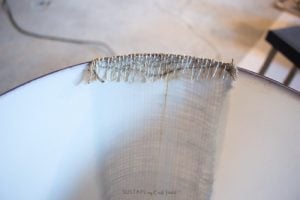
Repeat this method at the top of the shade as well making sure to smooth out the burlap and trim away excess if needed.
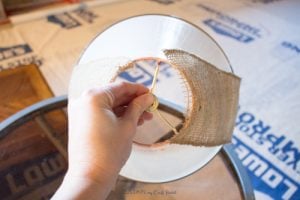
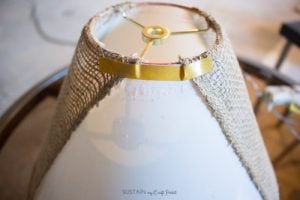
Repeat this on the opposite side of lampshade. And continue working your way around the shade as shown until it is fully covered and no more of the shade shell is showing.
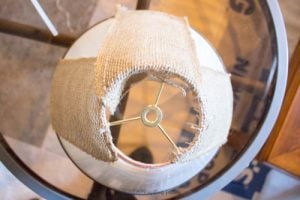
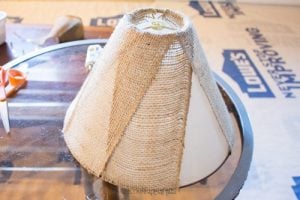
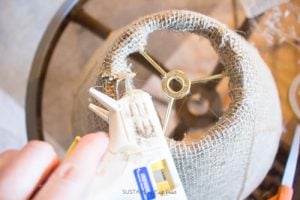
Trim away any loose burlap and uneven edges. And optionally you can clean finish the inner bottom edge of the lampshade using a matching stretch bias taping.
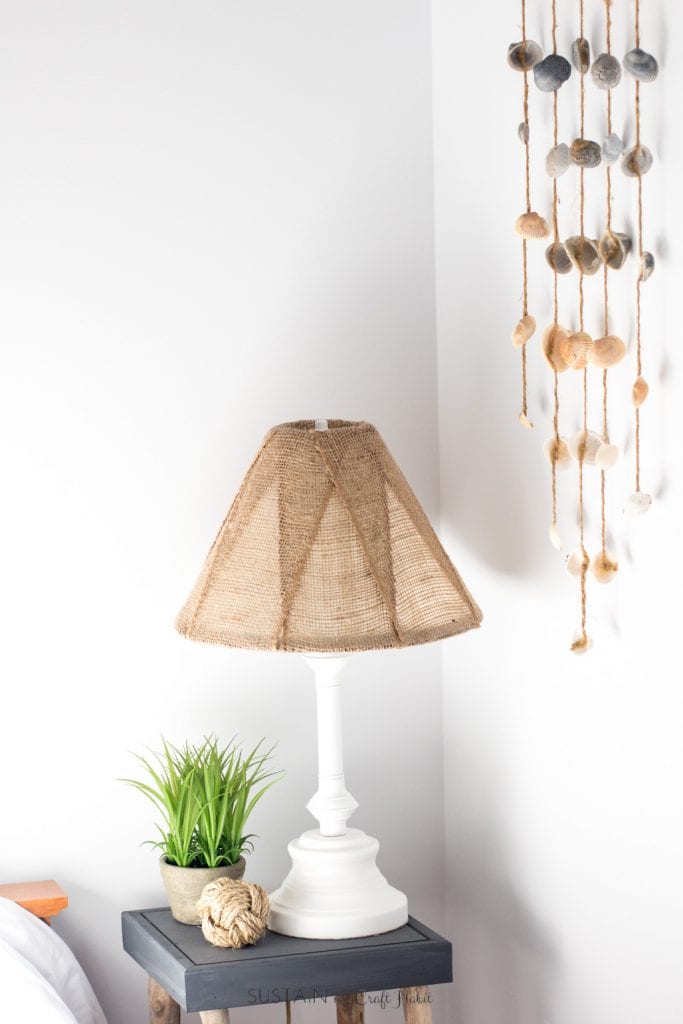
There she is, a new rustic modern table lamp that would be perfect for any neutral bedroom decor. This DIY upcycling idea cost less than $10 in the end is going to great for our Graystone beach coastal cottage reno. You can check out the pre-renovation tour over on our YouTube channel.
Like it? Pin it for later!
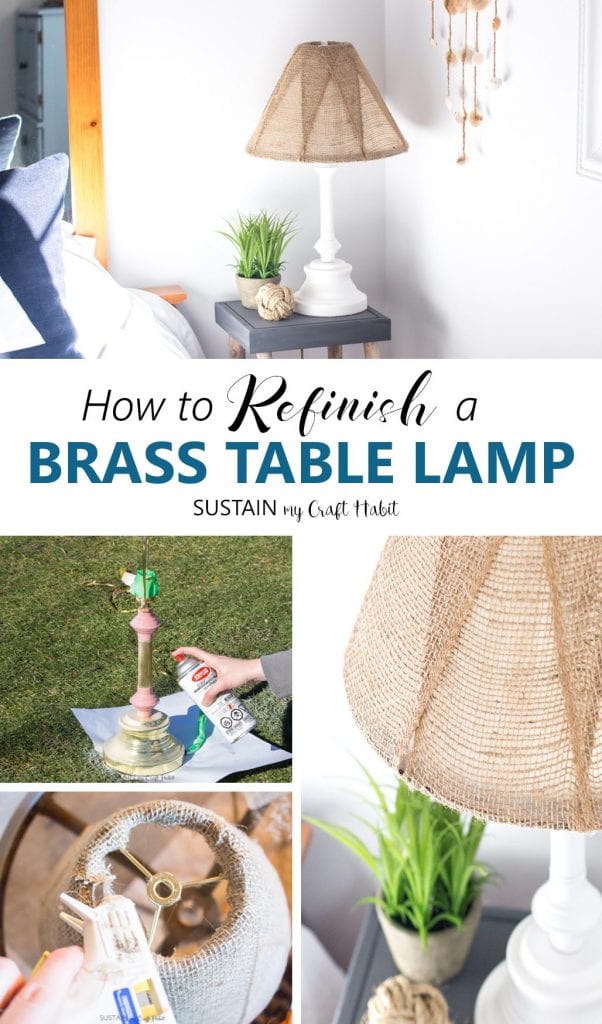
Have you ever been pleasantly suprised by how a DIY project turned out for you?


What a huge transformation! The lamp looks 100% better, now. Thanks for the tip about the lamp shade, I never knew you could remove the old fabric and update a lamp shade like that.
Thanks so much for stopping by Carol. We were pleasantly surprised to see that the shade underneath the fabric was in good shape. Have a wonderful week.
What a great makeover, so much better! You guys are great at transforming the un-loved, great job.
Thank you so much Dannyelle. It’s always a fun surprise to see if these things will turn out as we think they might. Sometimes it’s even better! Other times not so much 😉
You two alway knock my socks off with all your fabulous creativity. I love your designs, and this one is no different. Great job! Gorgeous lamp, much better.
Ivory, thank you so much for your kindness! You’ve just completely made our week 🙂 .