Cherry blossom art is a beautiful and innovative way to add touches of springtime into your home. Try our tutorial below and let us know how you enjoyed doing this pinecone craft.
A Simple Cherry Blossom Art Craft
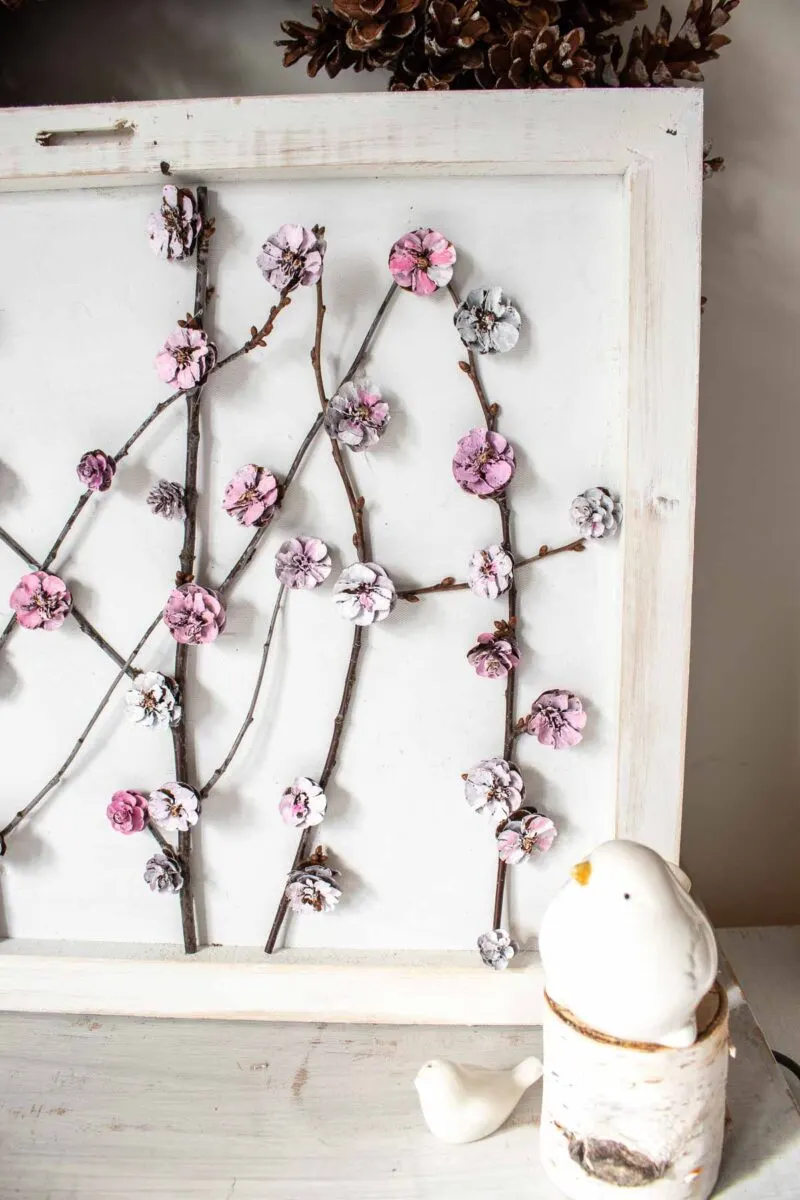
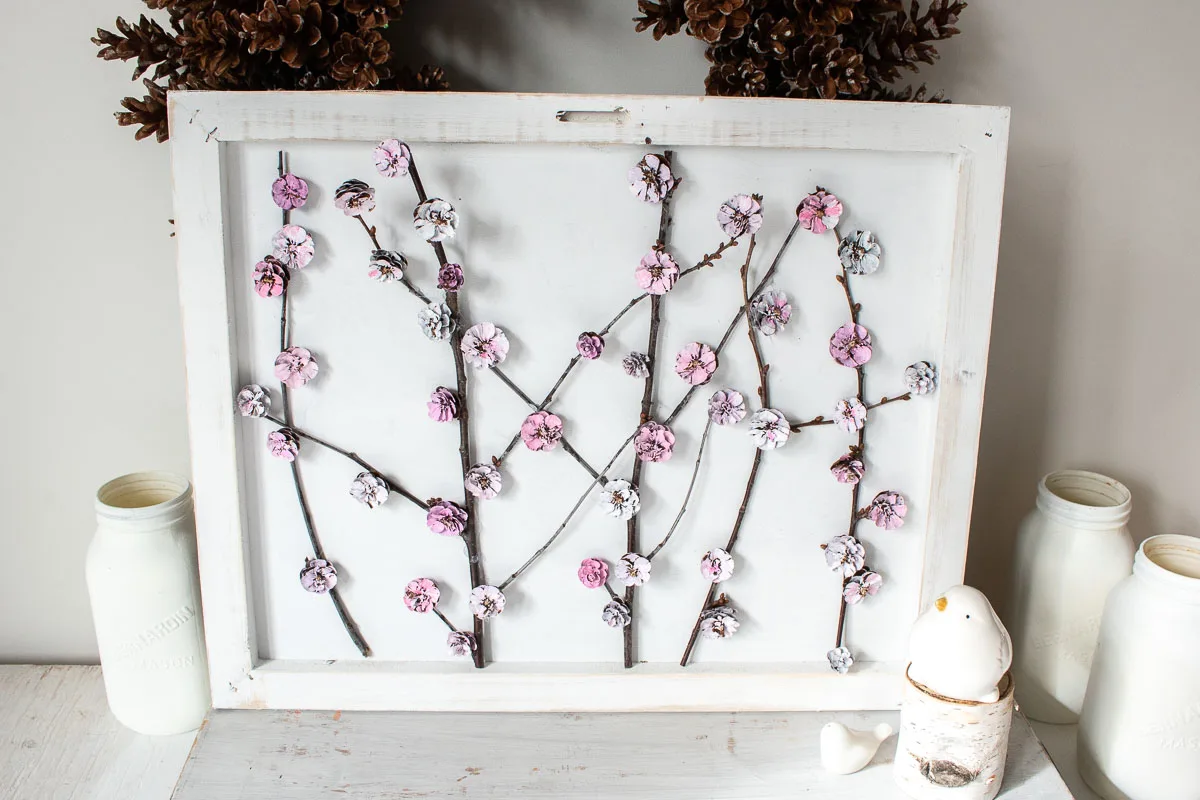
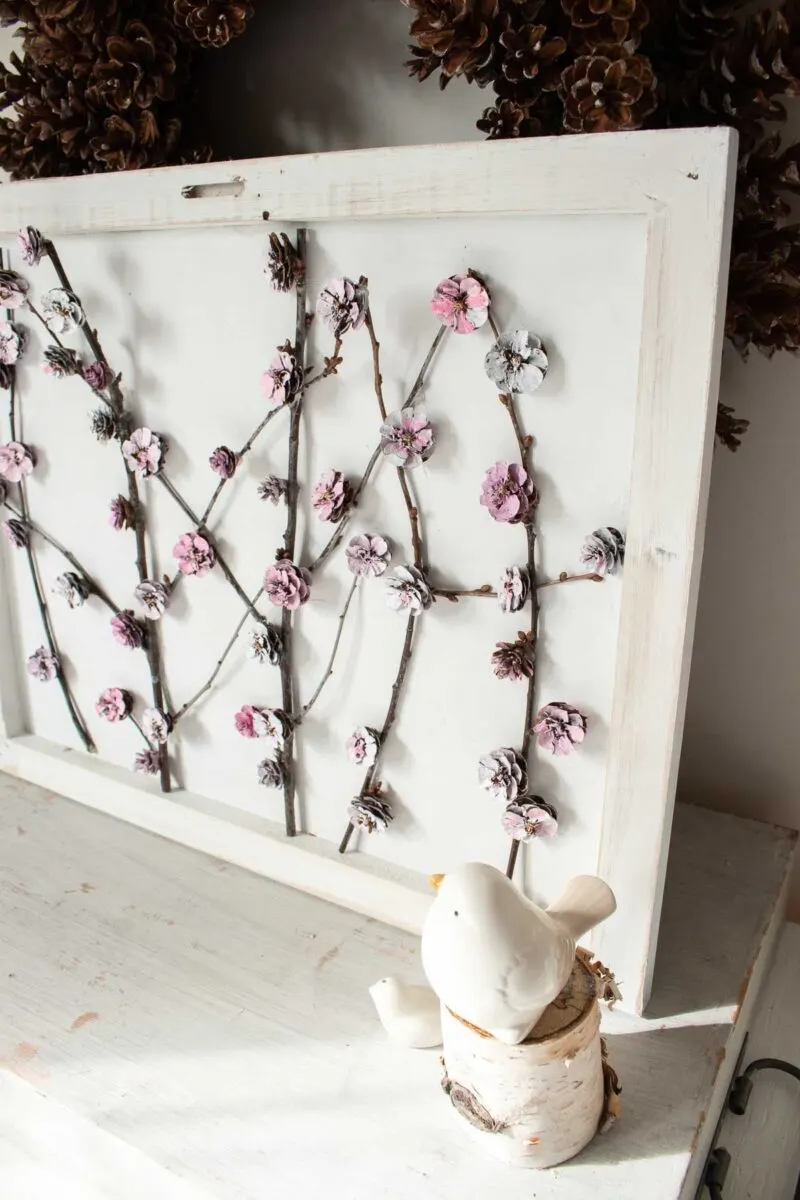
We have added an extra element of springtime by creating cherry blossom pinecone art. It brings enough of a natural springtime feel into your house but it is beautiful enough to be used all year long!
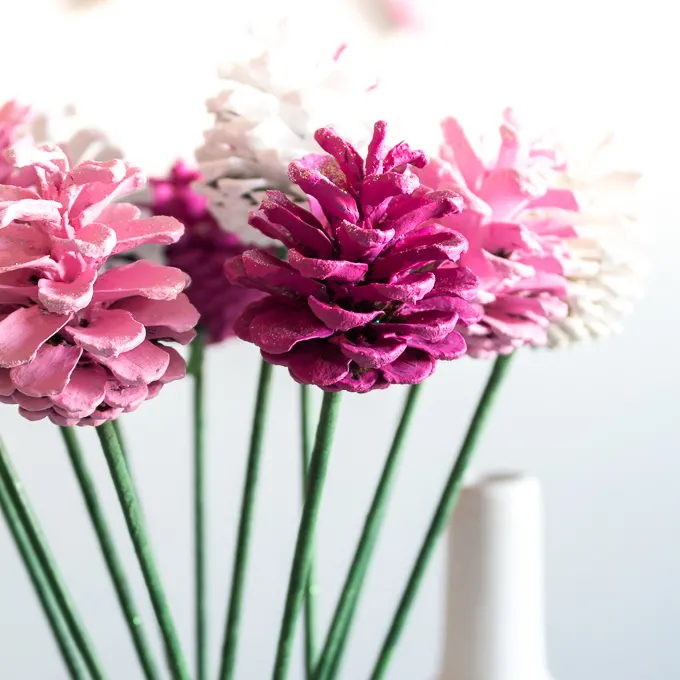
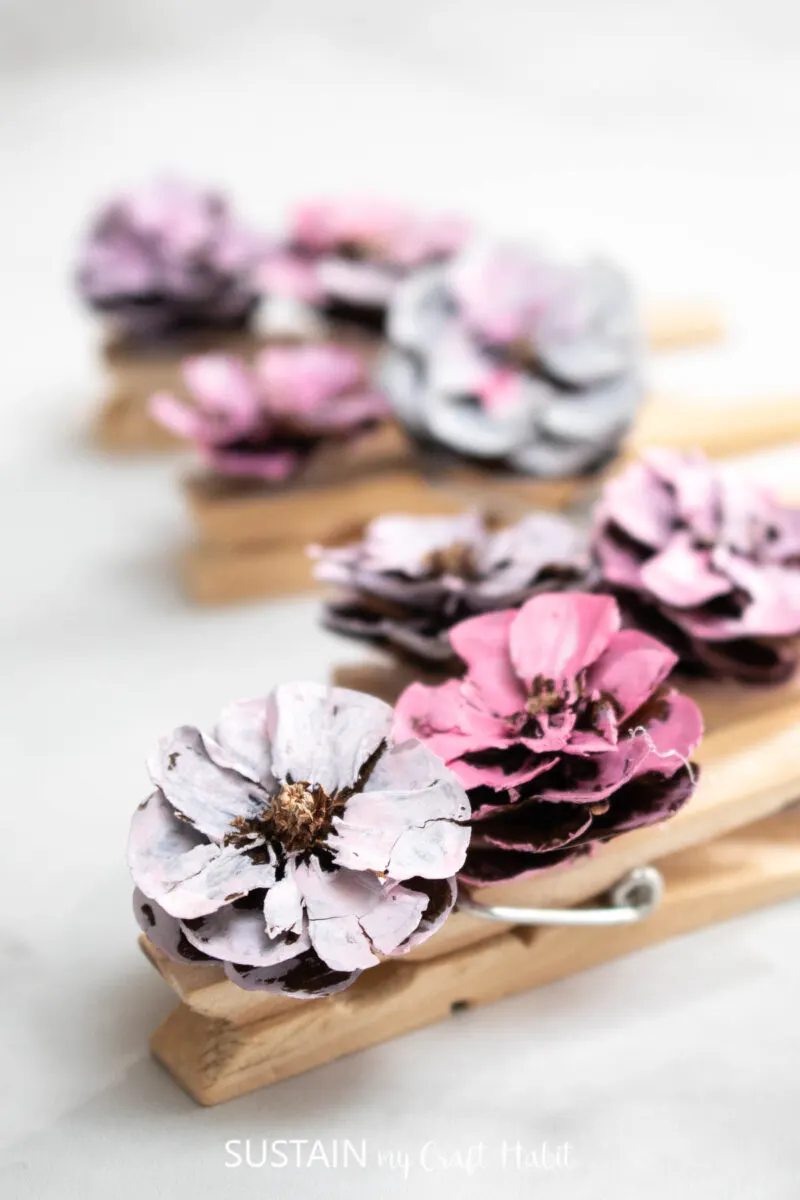
Using the same painted pinecone flowers as we used for this really sweet clothespin craft, we made a substantially sized piece of art for the wall.
Join our crafting community to find more nature-inspired DIYs and upcycled craft ideas. It feels good to repurpose, upcycle and create with nature!
Materials Needed
Disclosure: This post contains affiliate links for your shopping convenience. Should you choose to purchase through them, we will make a small commission at no extra cost to you. You can read our full disclosure policy here.
- Pinecone flowers (we sell assorted pinecone flowers from our Etsy shop here)
- Twigs or branches
- Snippers
- Canvas (blank or repurposed)
- Chalky paint in White
- Acrylic paint in White, light Pink and Dark Pink
- Paint brushes
- Tacky glue or hot glue gun
- Sandpaper
How to Make Cherry Blossom Pinecone Art
Here is a step-by-step video of the cherry blossom pinecone art we made on our YouTube page! Or if you prefer the photo tutorial, continue reading below.

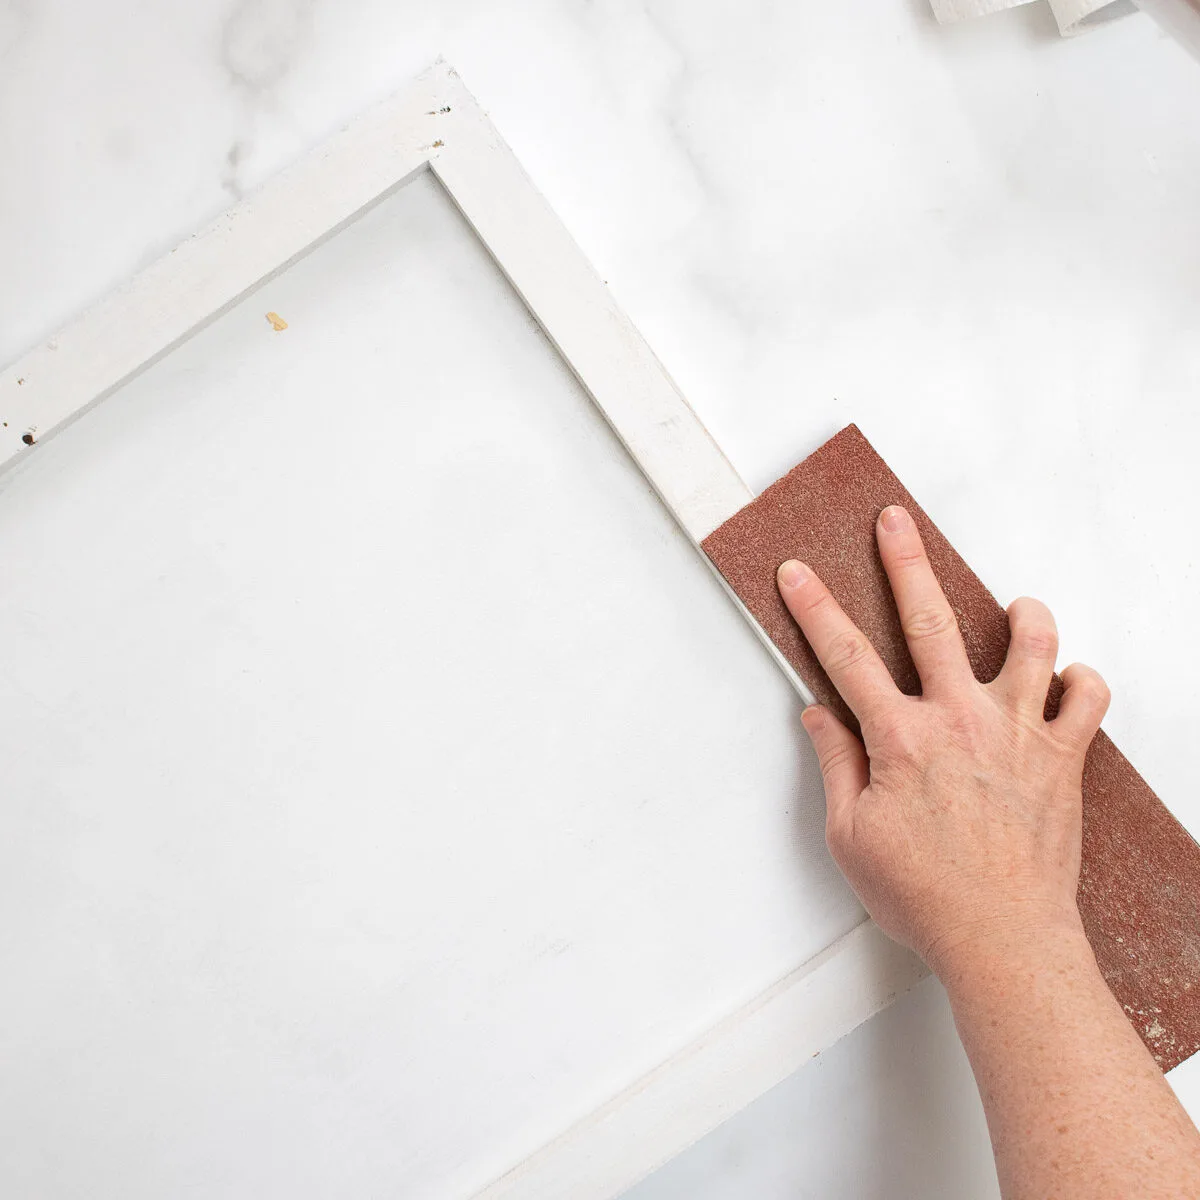
Turn your canvas over and paint the entire back of the canvas in chalky paint. To get more of a distressed look sand the wooden frame of the canvas.
If you’ve gathered your own pine cones to use for this craft, be sure to clean them first. Learn how to clean pinecones for crafting here.
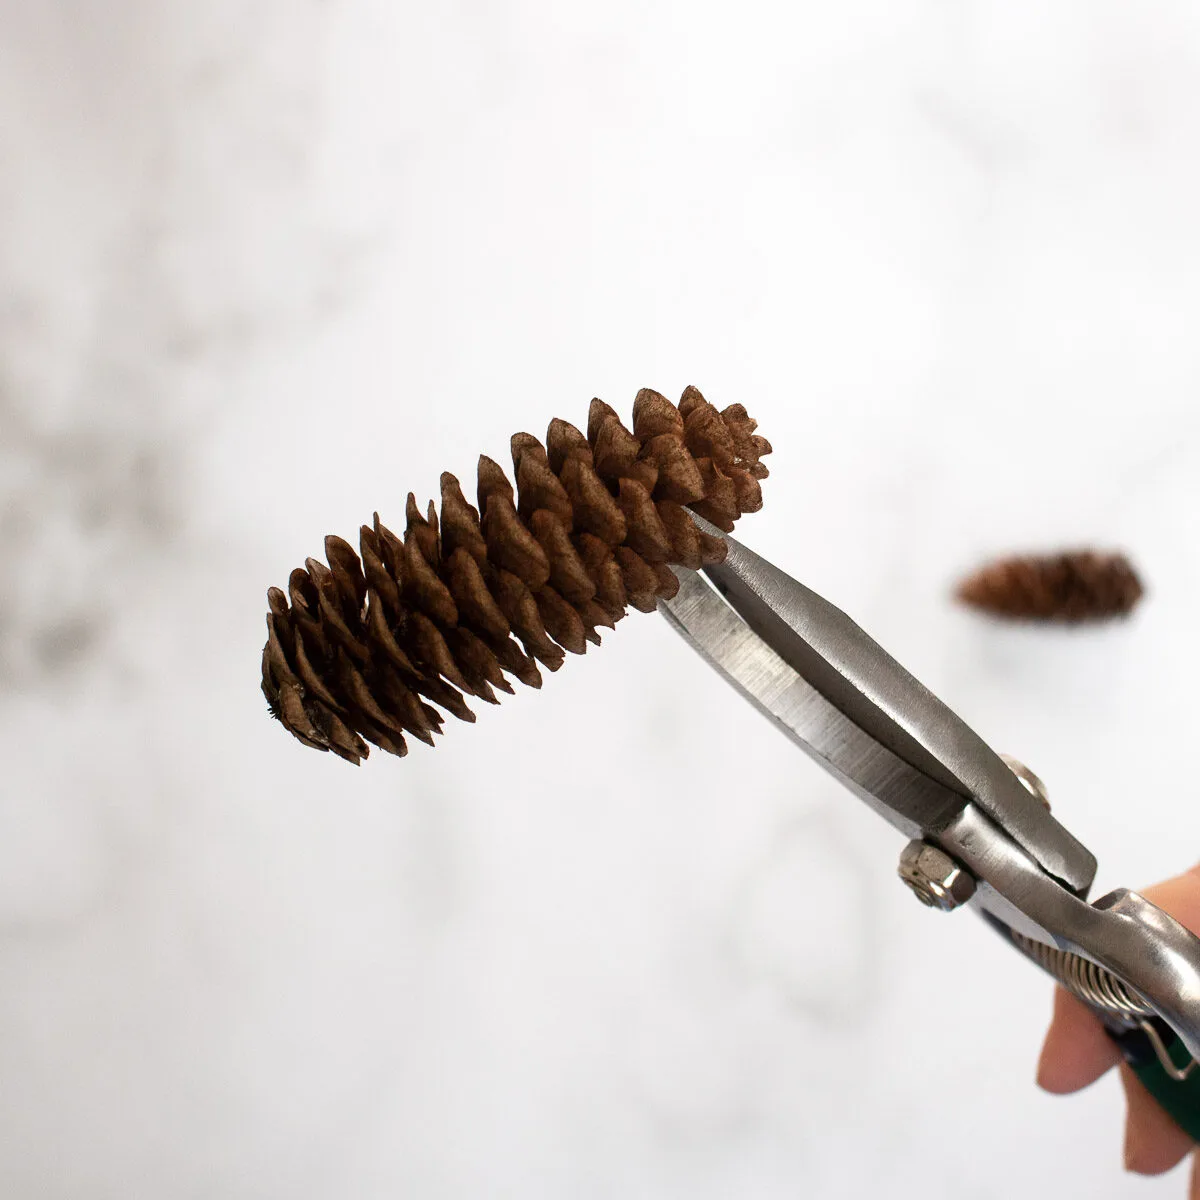
Using the garden snips, cut between the scales of the pine cones to make individual florets.
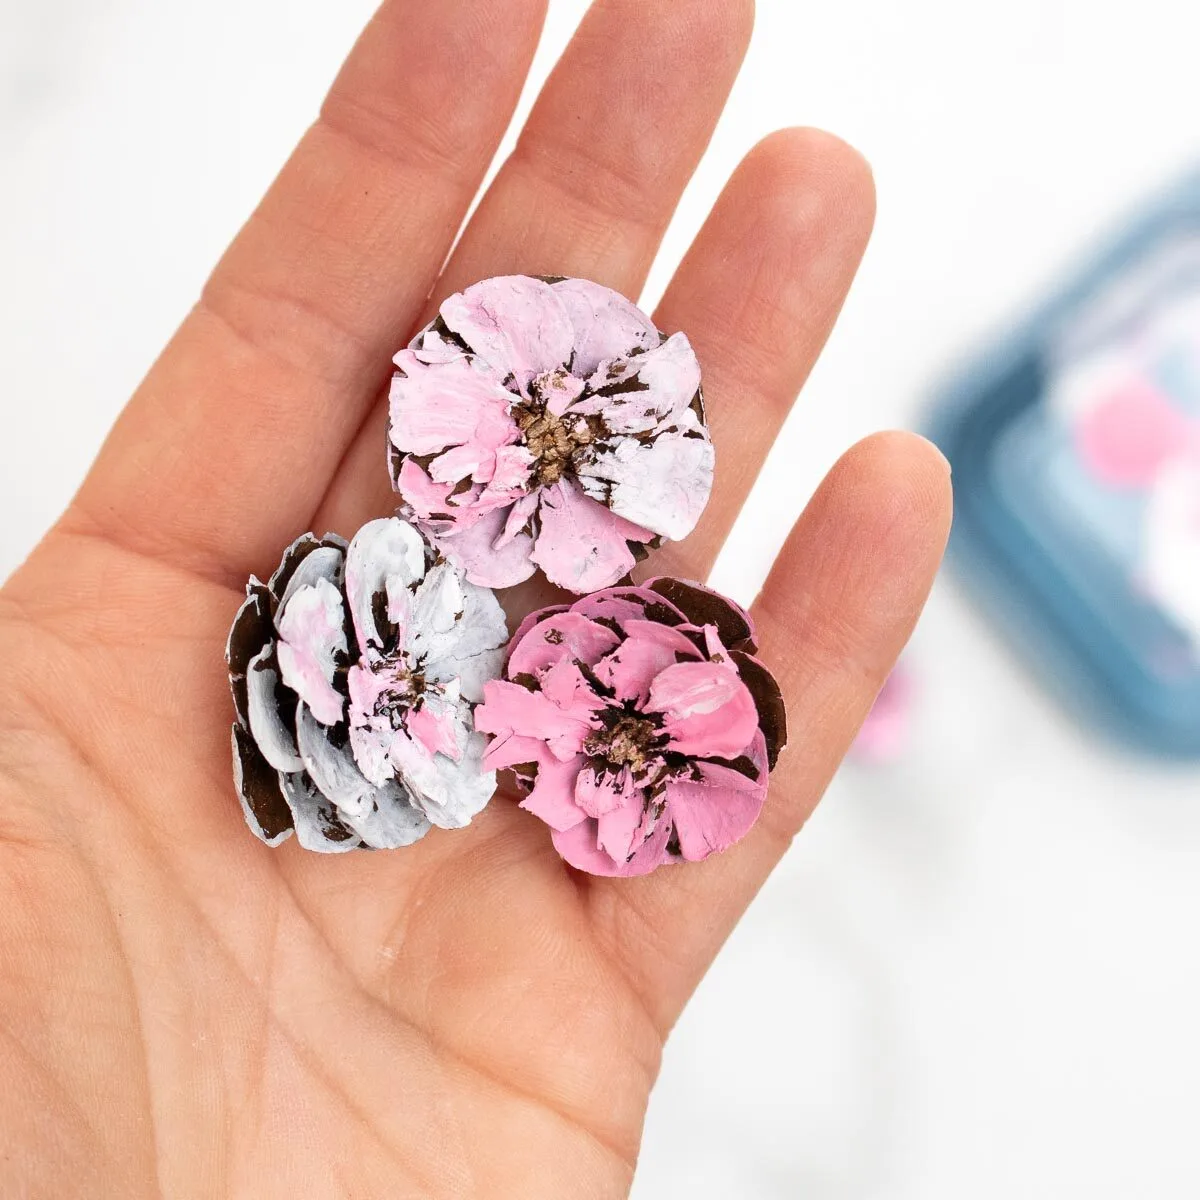
Start by painting each pine cone one solid color and leave the center unpainted. Alternate between the white and pink paint. Let dry completely.
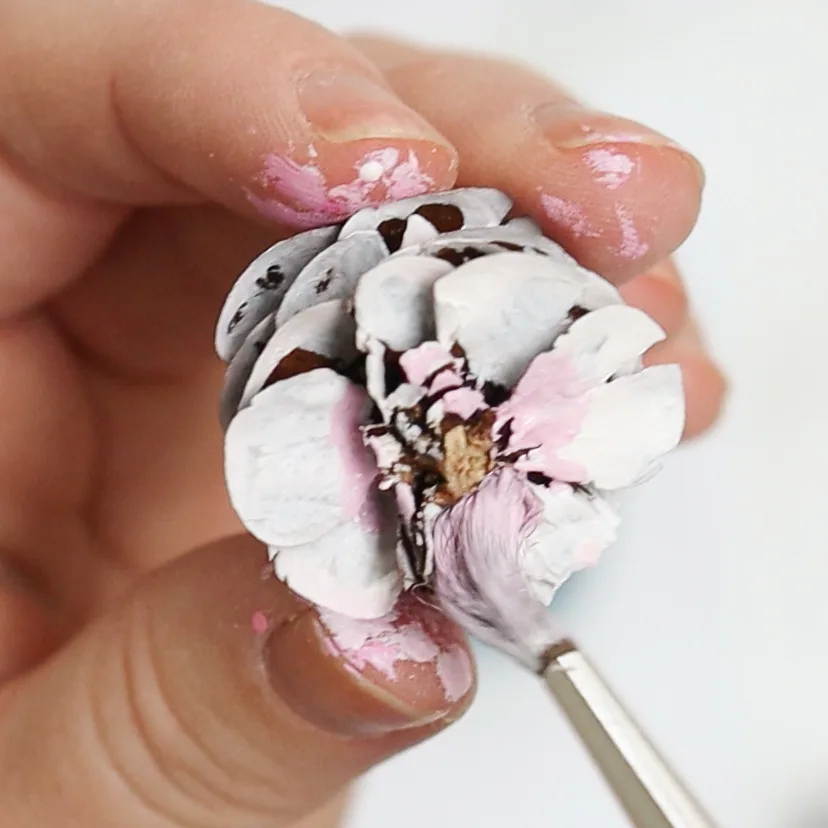
Take the dried pinecone florets and blend in another color in the center.
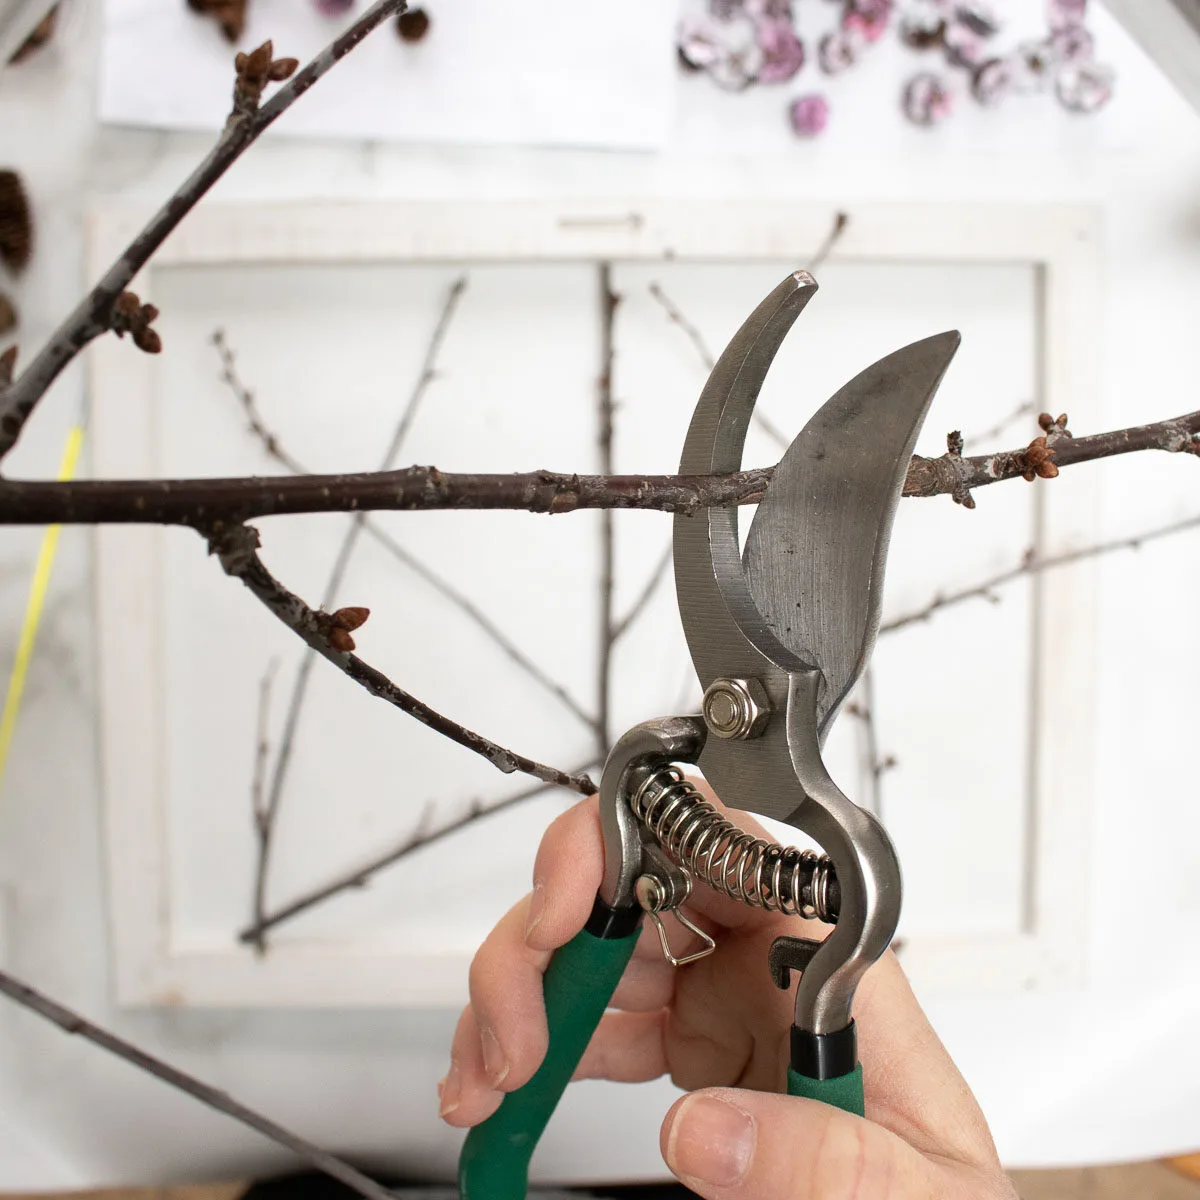
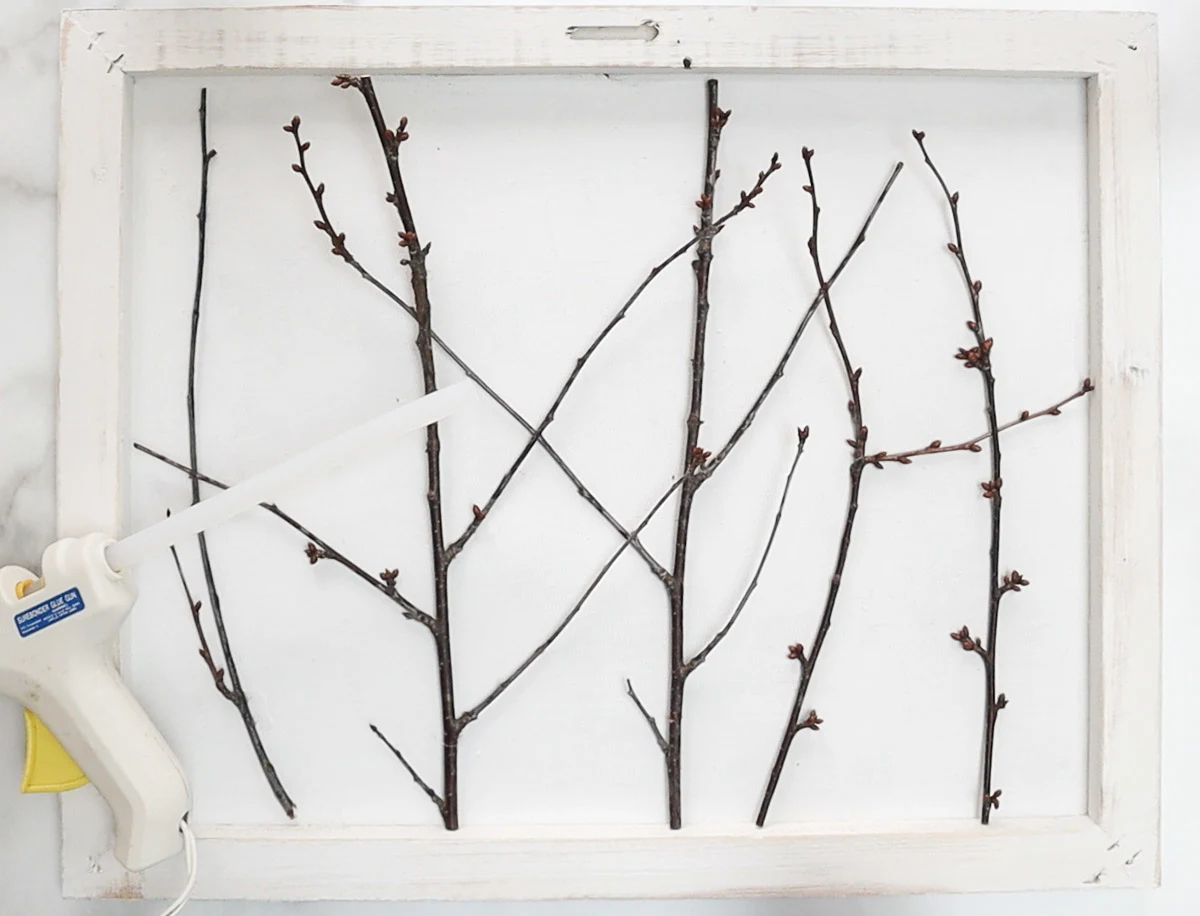
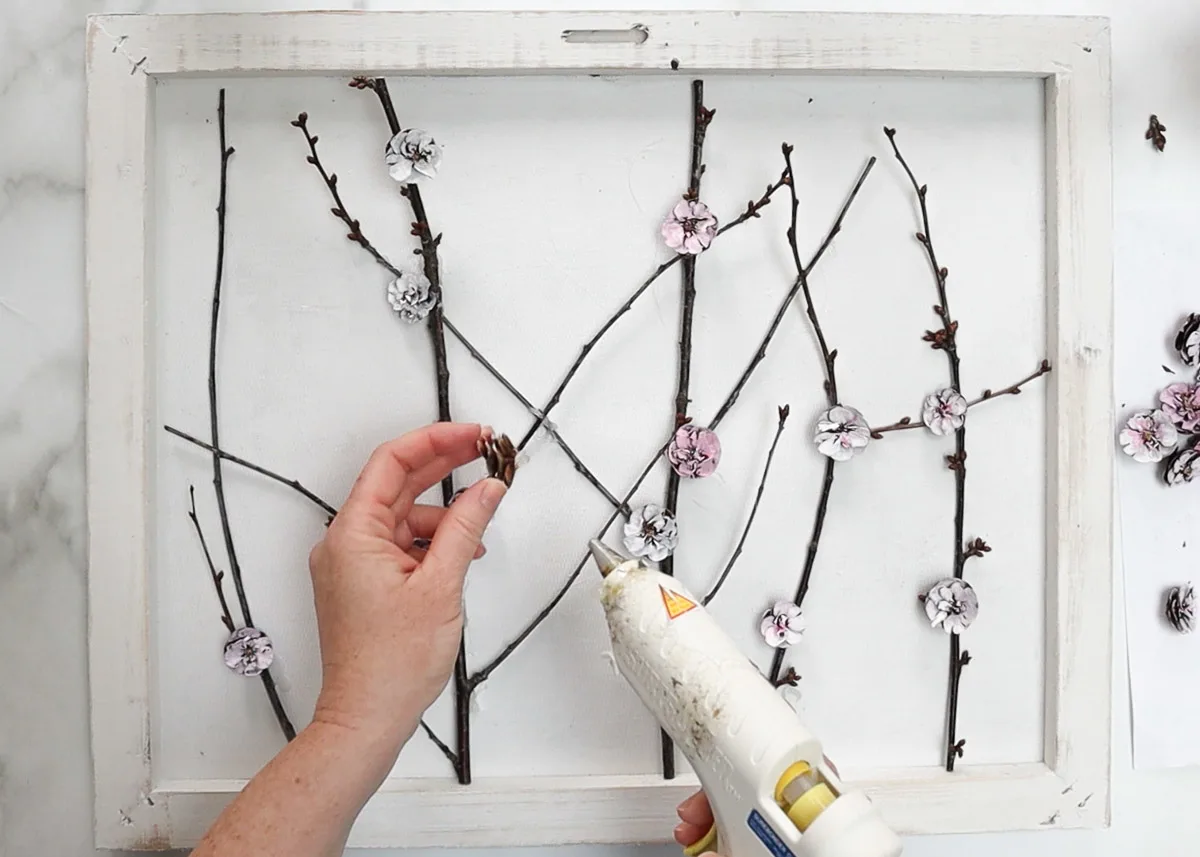
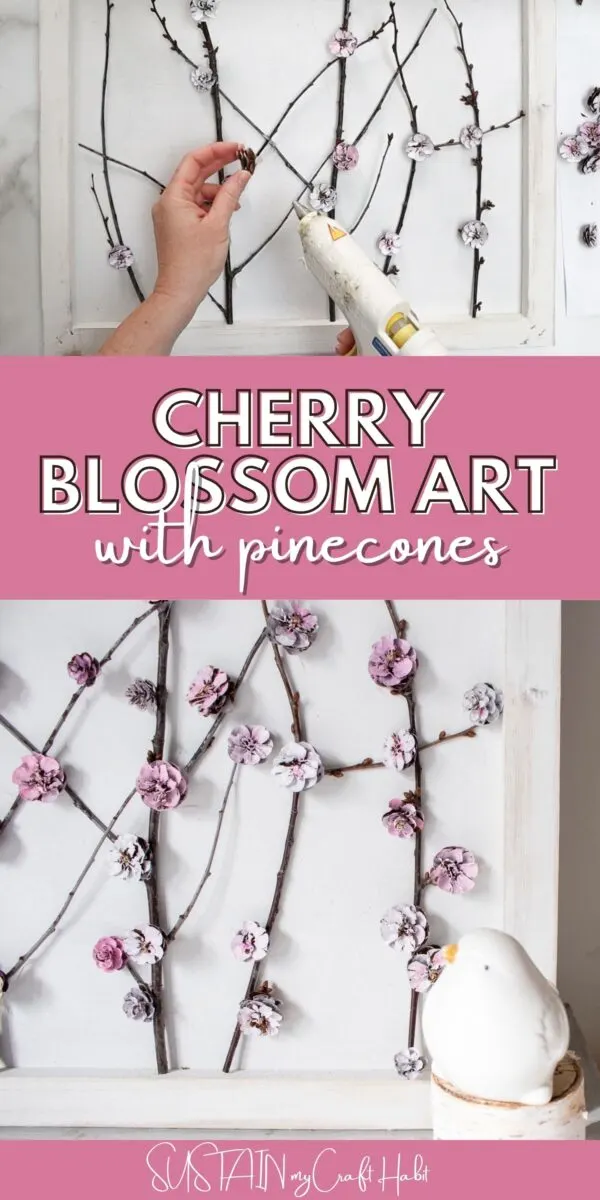
Cut your twigs to fit into your canvas and use tacky glue or a hot glue gun to glue the twigs into place.
Once the twigs are securely in place, hot glue your pinecone florets around the twigs to make it look like cherry blossoms.
Once you’re happy with the amount of “cherry blossoms” on the canvas, you can hang it in your favorite spot in the house to enjoy!
More Pinecone Craft Ideas
If you love crafting with pinecones as much as we do, you’ll LOVE these other lovely projects we’ve made with pinecones.
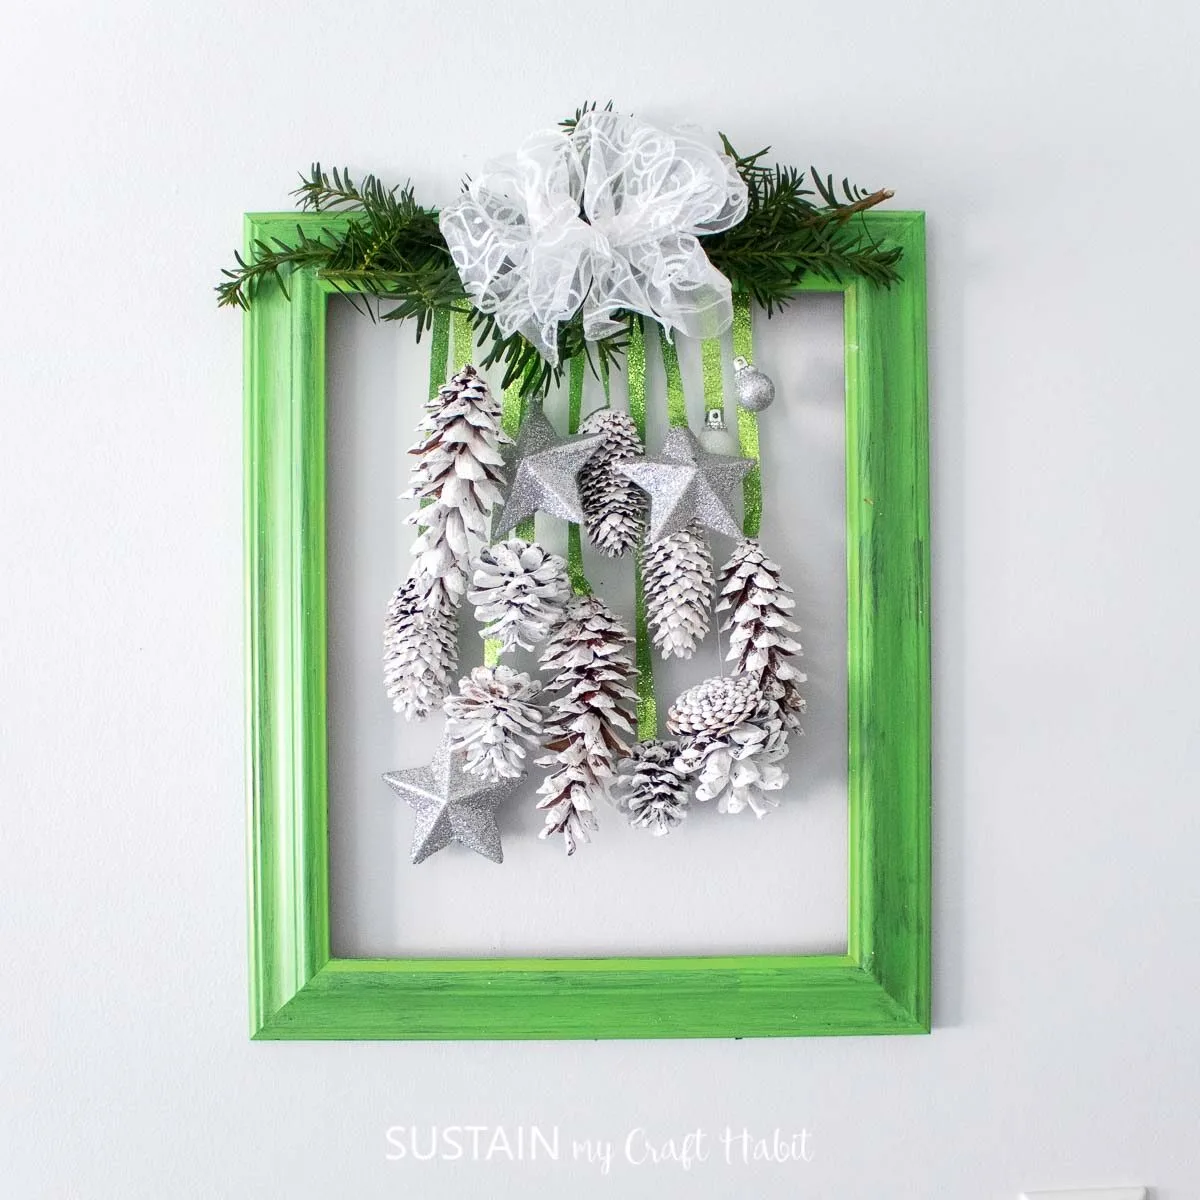
- Upcycled Picture Frame Door Decor
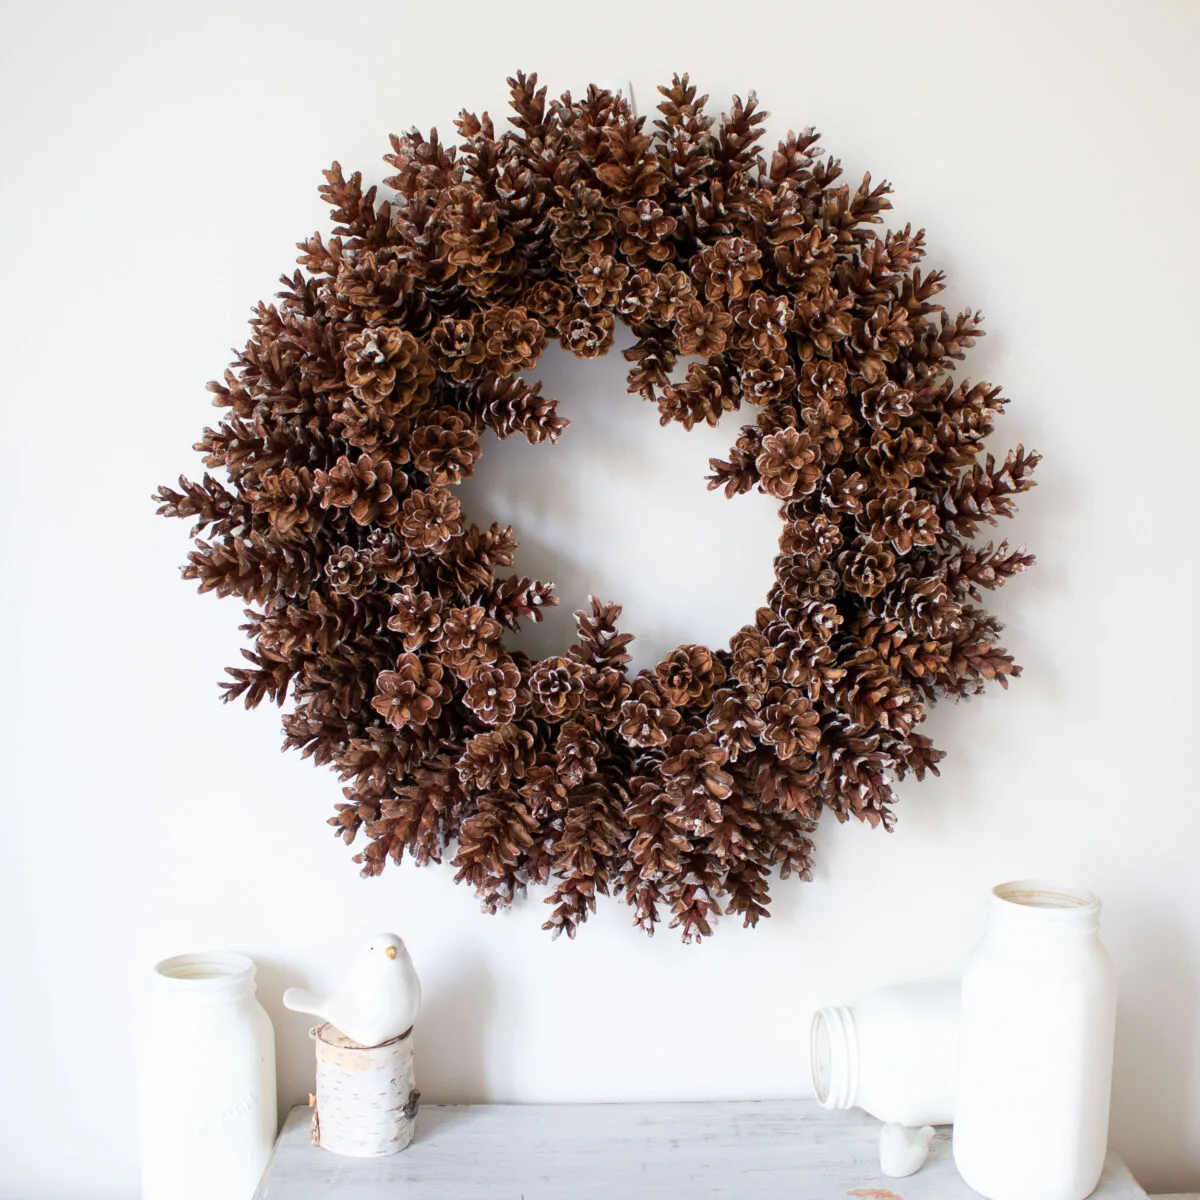
- Pinecone Wreath (without wire or glue)
- Pinecone Tabletop Christmas Tree
- Rustic Pinecone Wall Hanging
- Pinecone Succulents
- Pine cone Flowers
Want to receive a ton of inspiration and money saving ideas for decorating, gift-giving and crafting? Join HERE!
Like it? Pin for later!
Cherry Blossom Pinecone Art
Materials
- Pinecones
- Twigs or branches
- Snippers
- Canvas
- Chalky paint in White
- Acrylic paint in White, Light Pink and Dark Pink
- Paint brushes
- Tacky glue or hot glue gun
- Sandpaper
Instructions
- Turn your canvas over and paint the entire back of the canvas in chalky paint.
- To get more of a distressed look sand the wooden frame of the canvas.
- Using the garden snips, cut between the scales of the pine cones to make individual florets.
- Start by painting each pine cone one solid color and leave the center unpainted. Alternate between the white and pint paint. Let dry completely.
- Take the dried pinecone florets and blend in another color in the center.
- Cut your twigs to fit into your canvas and use tacky glue or a hot glue gun to glue the twigs into place.
- Once the twigs are securely in place, hot glue your pinecone florets around the twigs to make it look like cherry blossoms.

