Easy Budget Friendly Fall Planter Idea
It’s the perfect time to get your front porch decked out for Fall! Follow this tutorial for making an easy and budget friendly fall planter idea for just over $10.
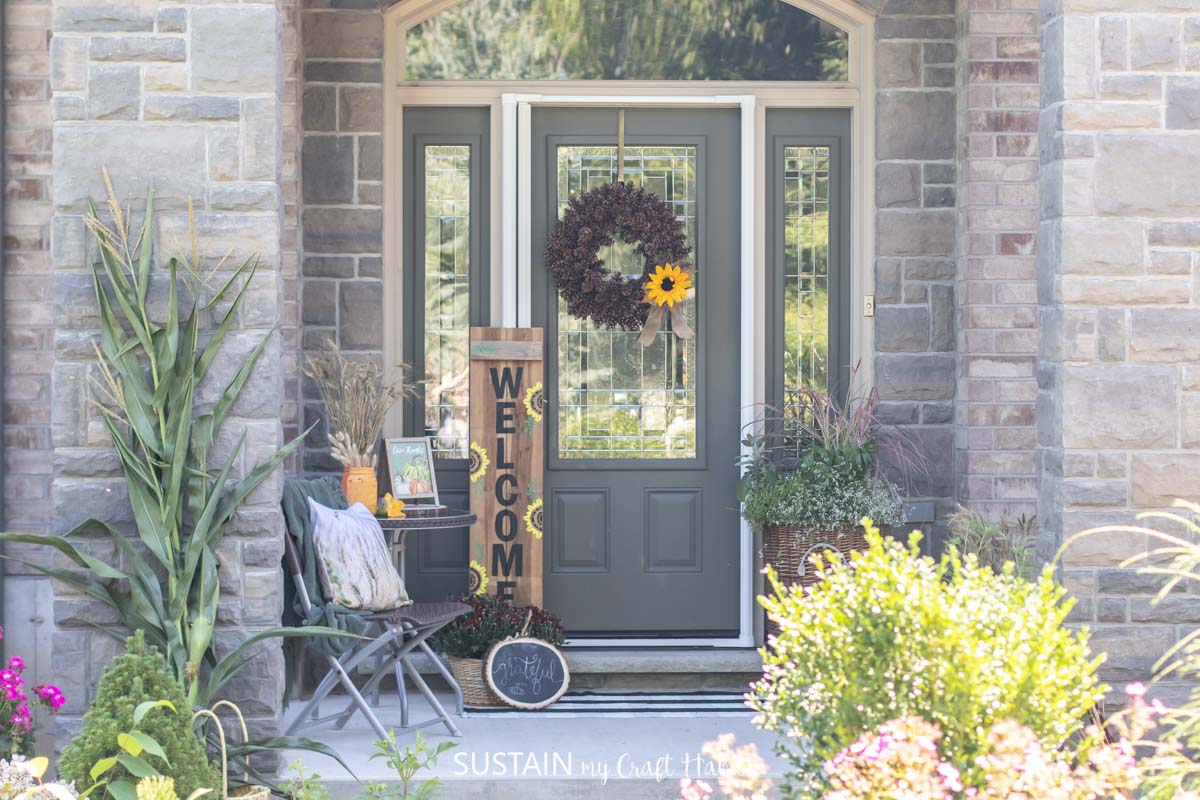
Front Porch Fall Planter Idea
Assembling a large planter for your front porch can honestly get pretty costly in a hurry. It’s tempting to want to buy all of the fresh autumn blooms such as the colorful chrysanthemums, marigolds and ornamental peppers. But we have a way of keeping the costs done while maintaining the wow-factor!

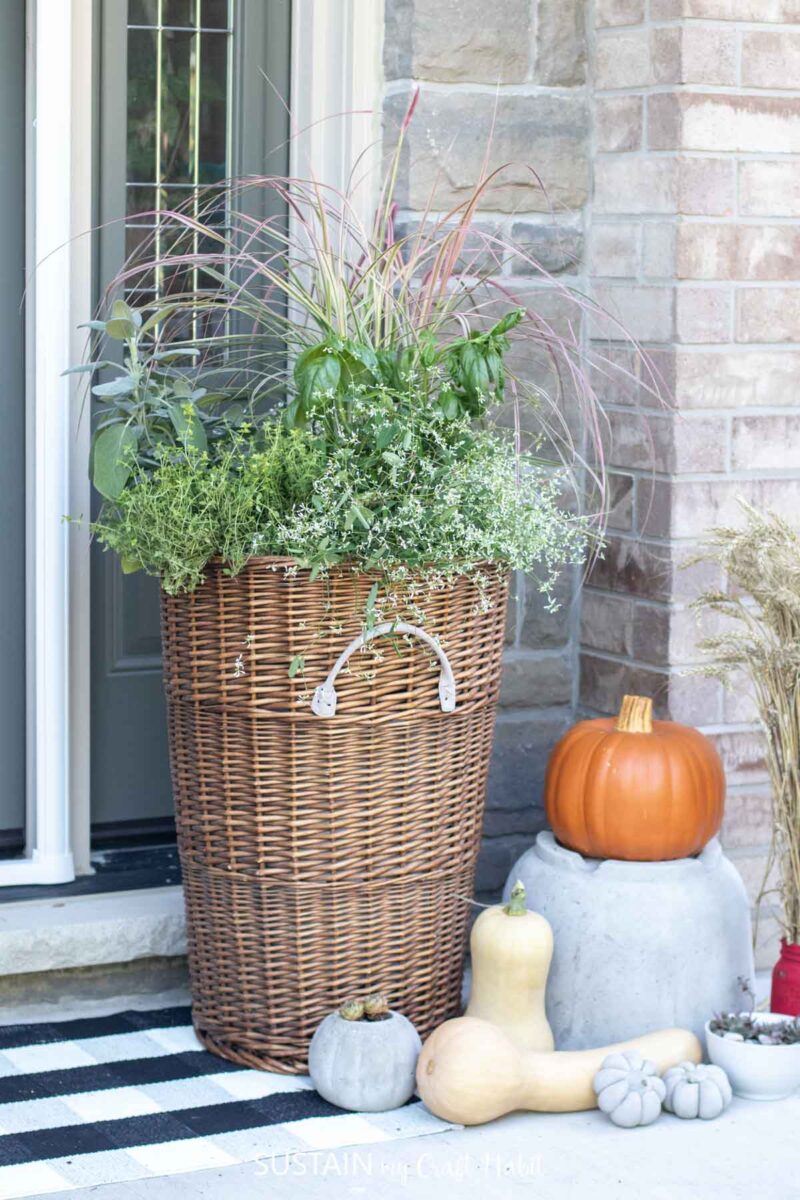
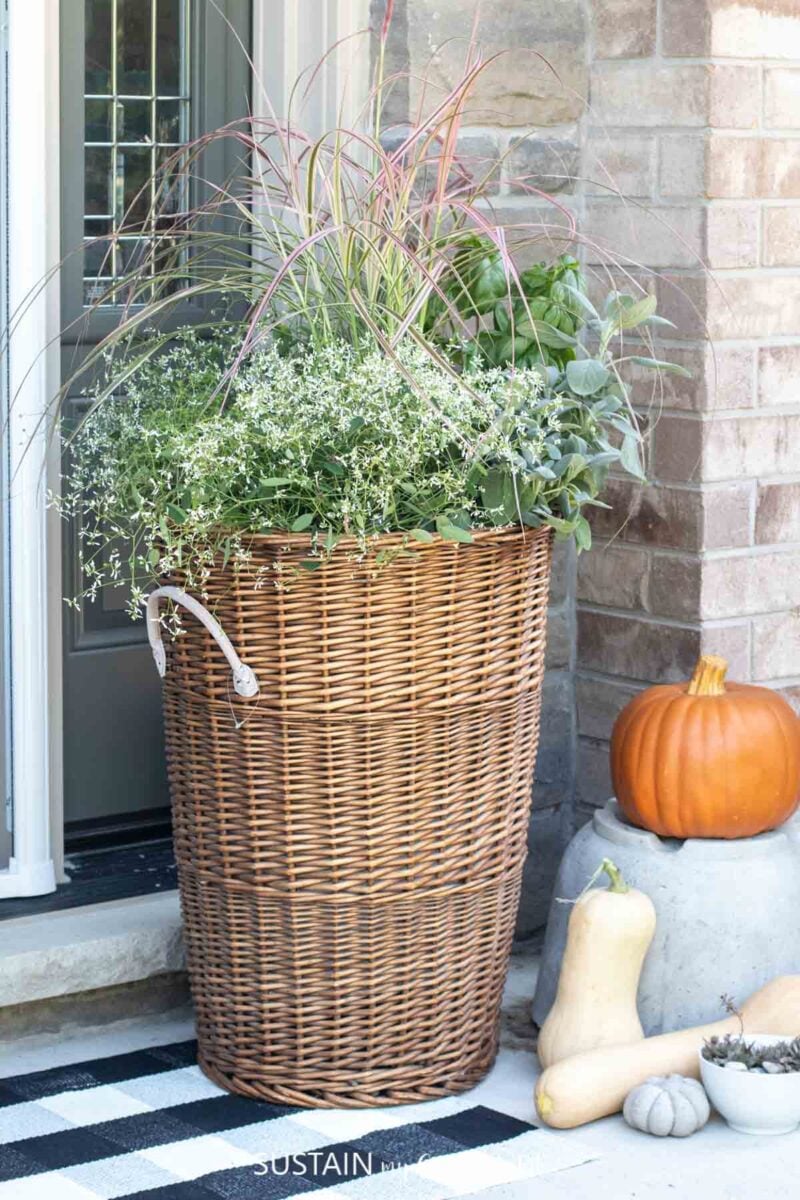
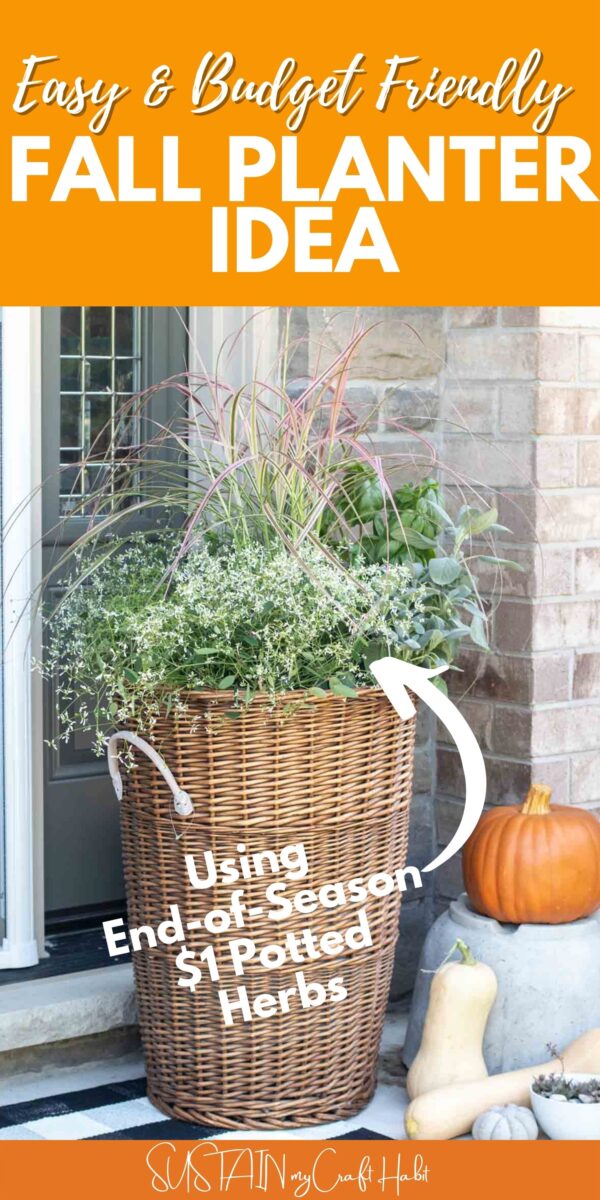
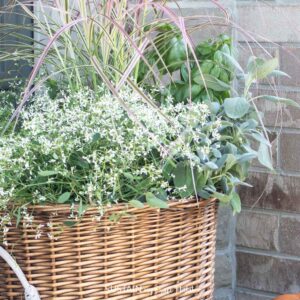
Instead of heading to the in-season plant section, check out the clearance section at your local nursery. You’ll find plenty of fresh herbs, planter fillers and perrenial grasses at an end of the season discount. Take our Fall planter as an example: each of the potted herbs cost $1; diamond frost planter filler cost $2 and the tall ornamental grass cost us only $3! It may not be the traditional Fall planter idea we’re used to seeing but nevertheless, it’s beautiful and impressive!
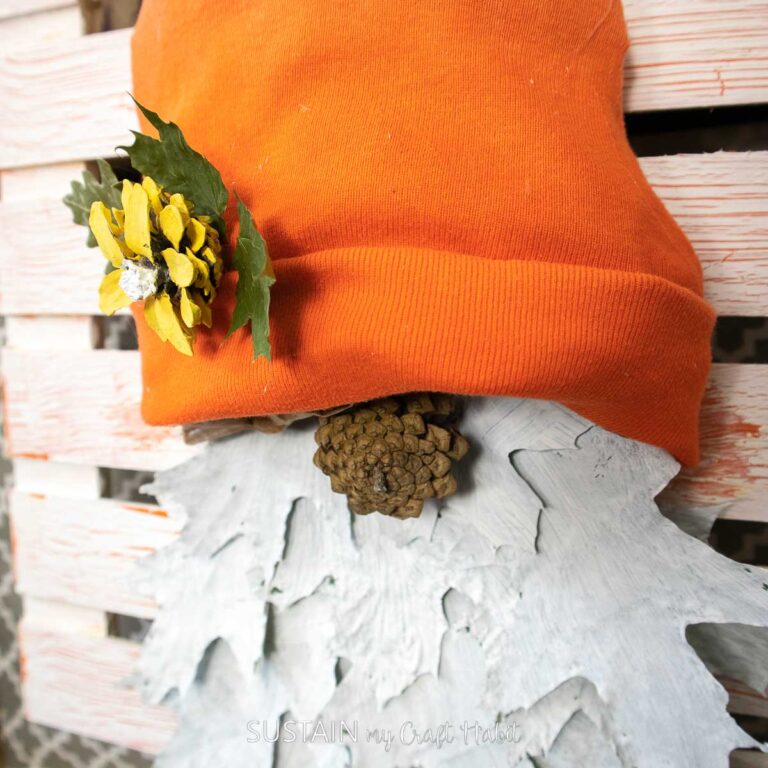
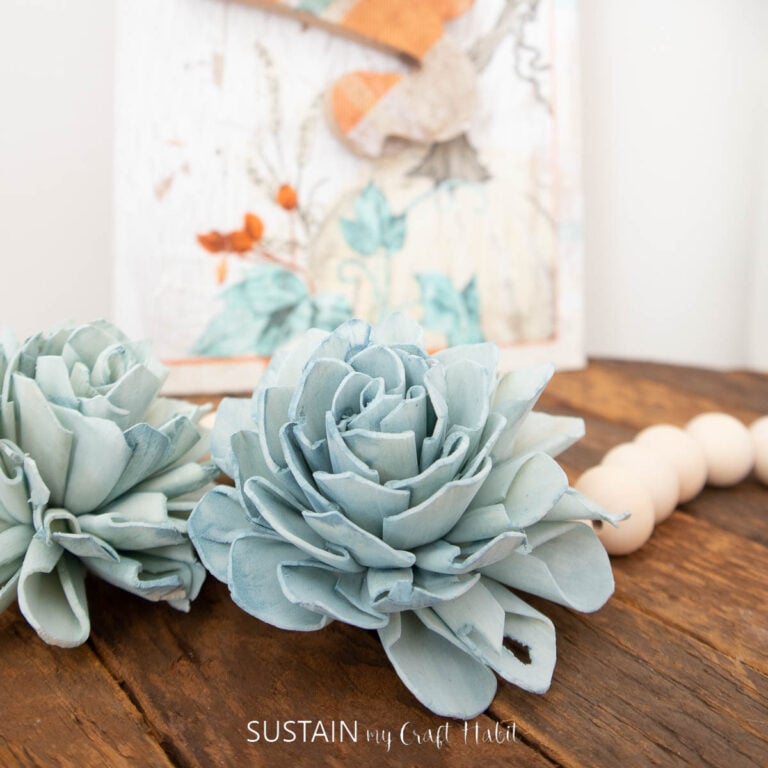
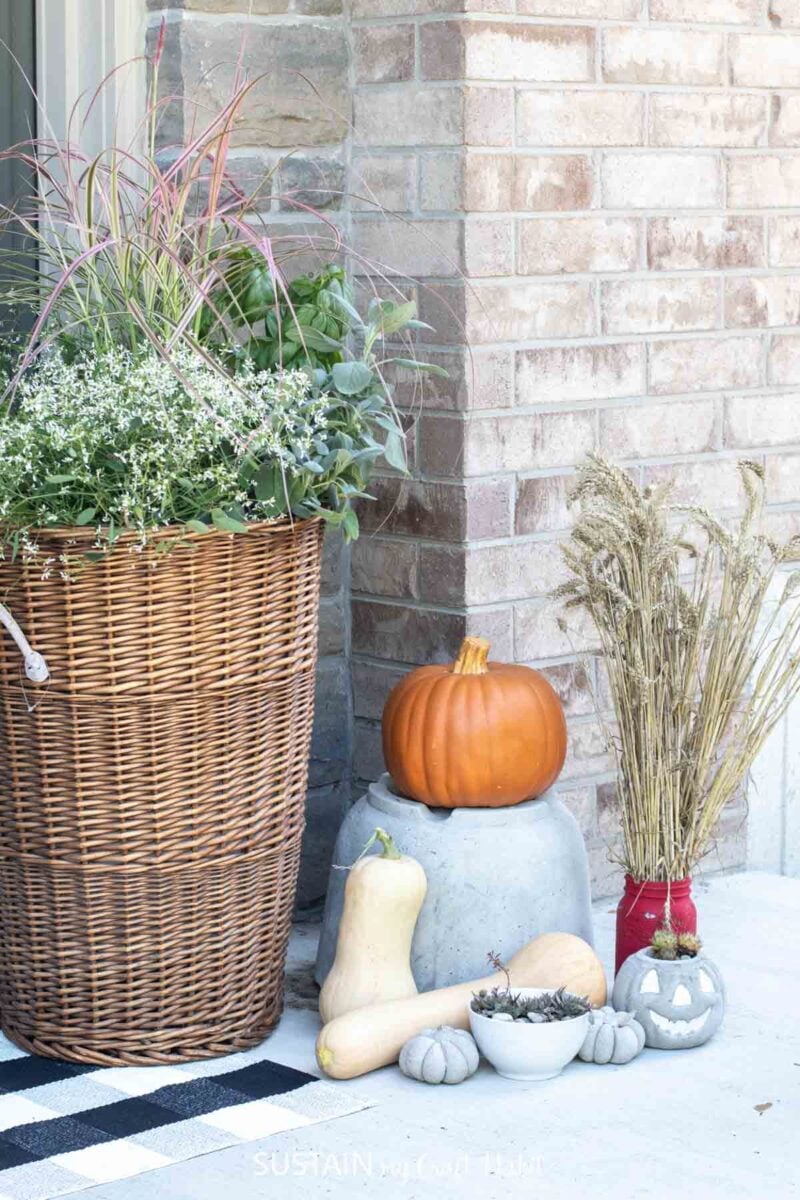
To give it more of a Fall-feel, plant them inside a rustic basket; add some decorative pinecone flowers and surround it with other decor such as a DIY pinecone wreath, chalky painted glass jars for Thanksgiving (post coming soon), and a rustic welcome sign.
Materials Needed
- Assorted Potted Herbs such as thyme, sage, basil
- Assorted Planter Filler such as diamond frost
- Tall ornamental potted grass
- Large Pot (we used an old laundry basket or check out one of these 10-budget friendly planters from Amazon)
How to Assemble a Front Porch Planter for Fall
Check out our YouTube video to see us putting together the planter for our mom’s front porch or keep reading below for the step by step instructions!

Preparing the Planter Pot
To make this planter as easy as possible, we kept all the herbs, grasses and planter fillers inside their individual plastic pots. Instead of transplanting, we simply placed the pots inside the larger pot to make it look like it is one large potted plant.
If you’re using a really tall planter like we are with this laundry basket, place some water resistant surfaces inside first. We stacked several boxes inside until we got to the height that the potted plants could rest on and still be visible.
Step 1
Start with the tallest potted plant and place that in the center. In our case, this was the ornamental potted grass plant.
Step 2
Next, begin to layer in the herbs from tallest to smallest, staggering them around the center grass. Keep the tallest herbs to the back or side of the center plant.
Step 3
Lastly, add the pot fillers evenly around the planter for fullness and balance.
Now that the Fall planter is complete, remember to use a watering can to water the individual pots regularly to avoid them drying out.
More DIY Porch Planter Ideas
For more DIY porch planter ideas, visit these posts here:
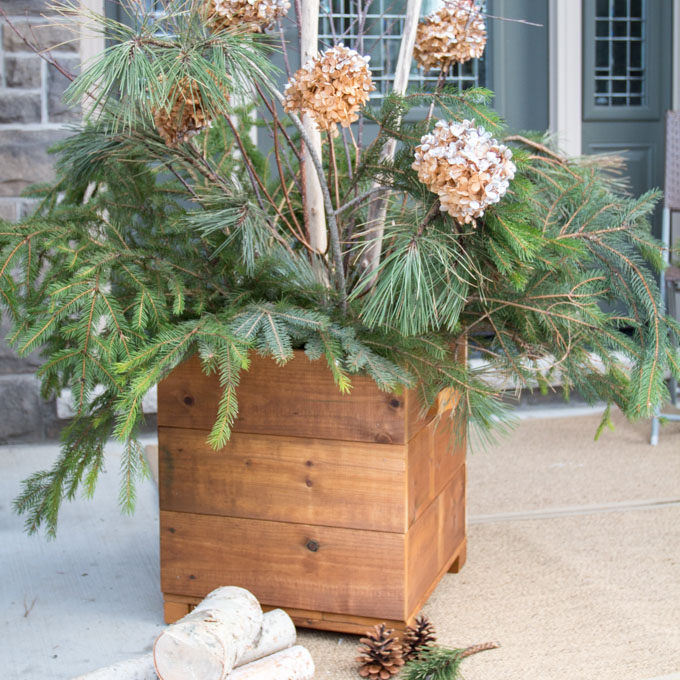
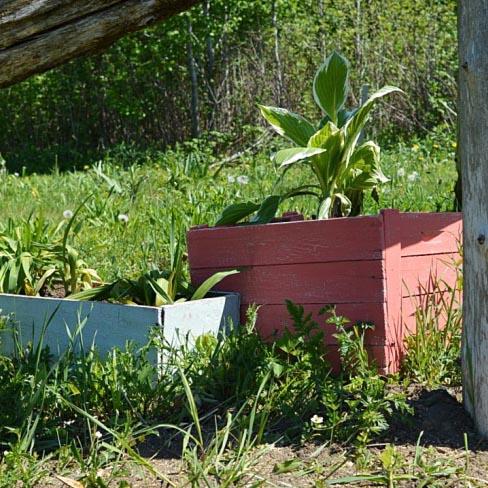
- DIY wood planter box
- Rustic Wood Planters
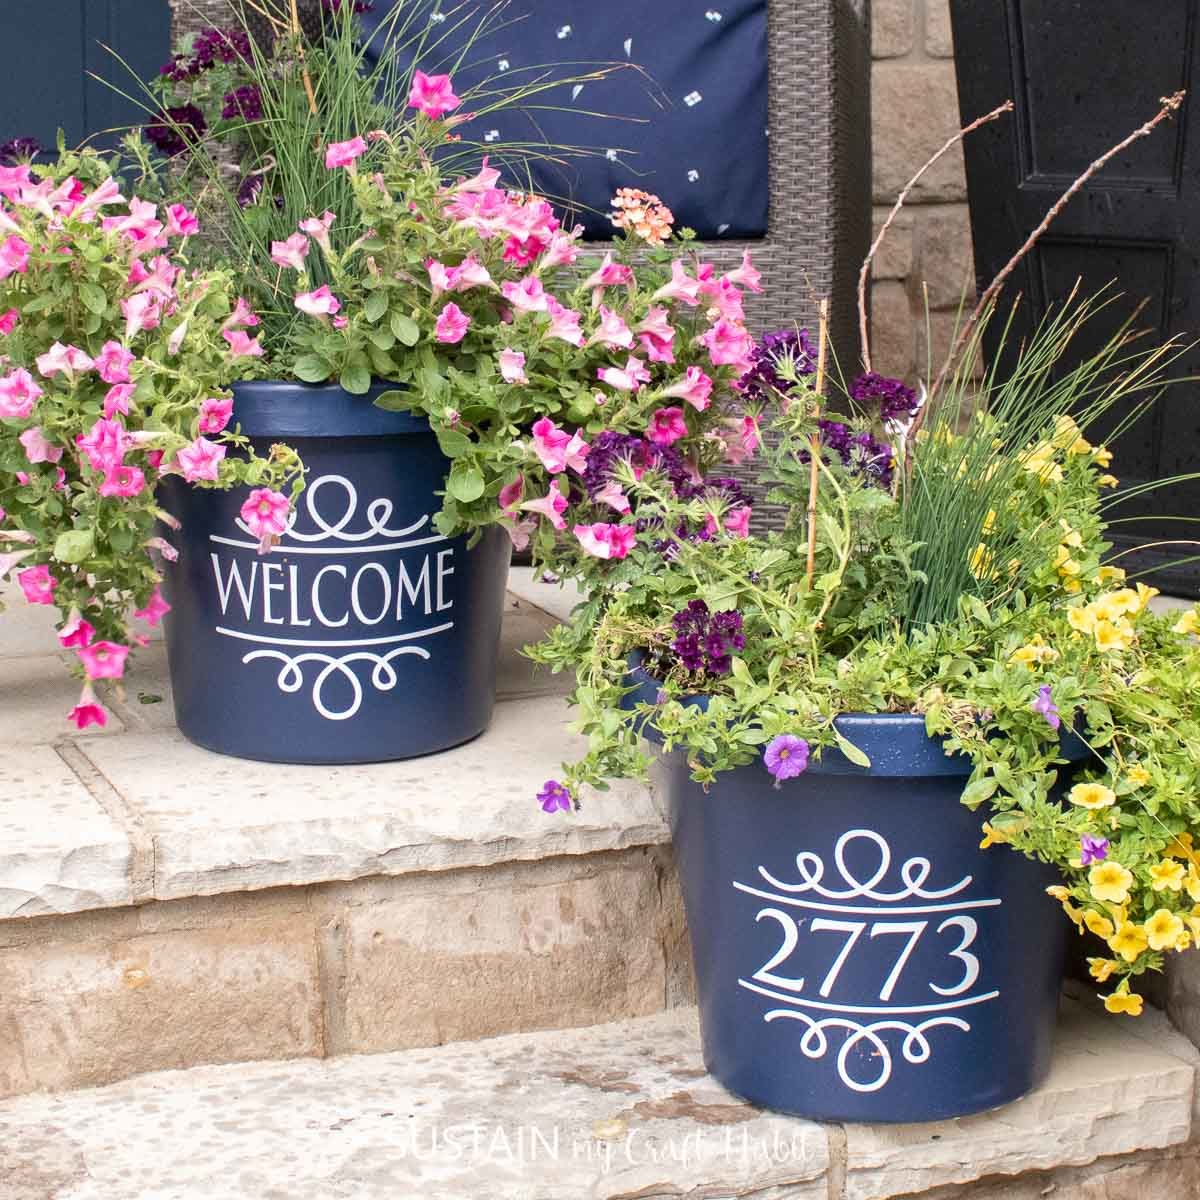
- Patio planters with the Cricut
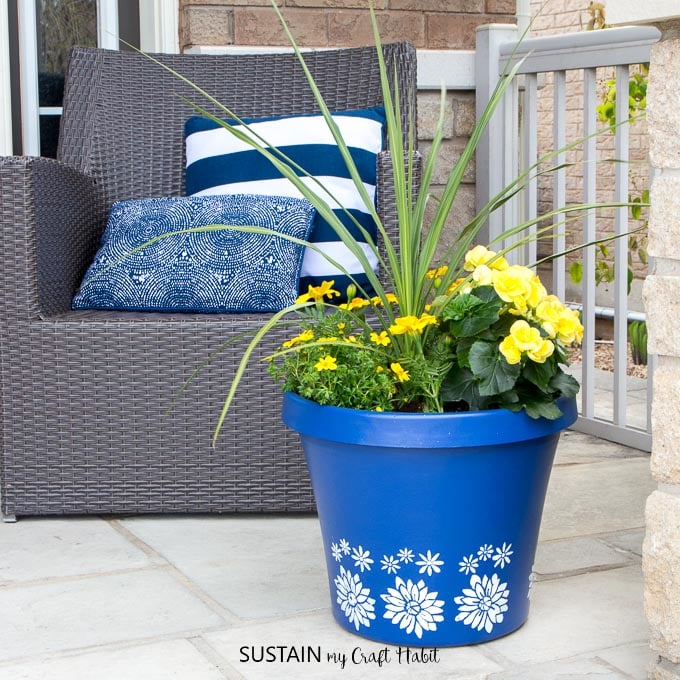
- Outdoor floral planters
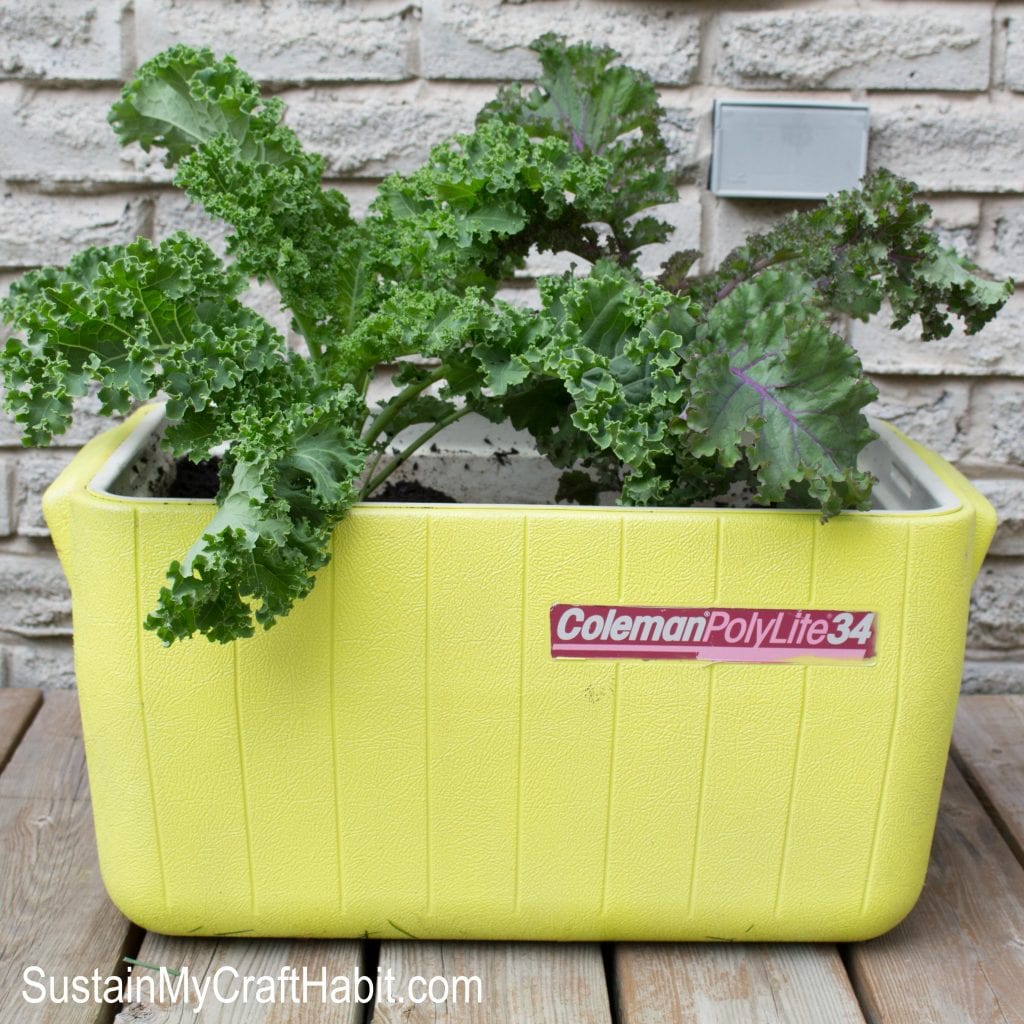
- Repurposed cooler planter
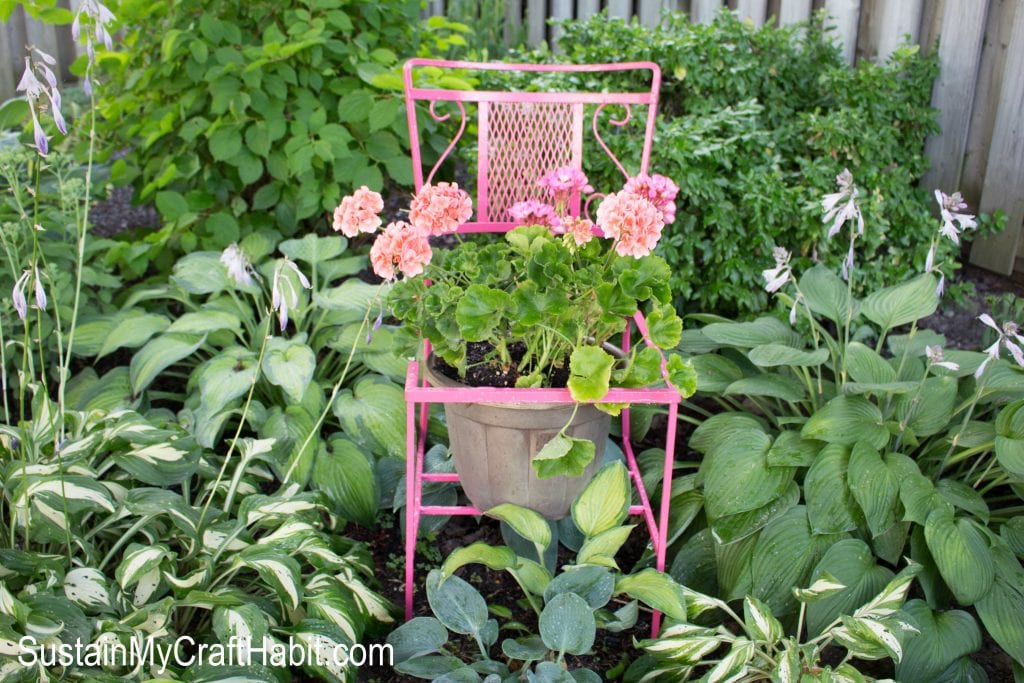
- Upcycled patio chair planters

DIY woodplanter box 

Personalized Planters Stenciled Outdoor Planter 
Cooler Planter 
Patio Chair Planters
Like it? Pin it for later!
Easy Budget Friendly Fall Planter Idea
Materials
- Assorted Potted Herbs such as thyme, sage, basil
- Assorted Planter Filler such as diamond frost
- Tall ornamental potted grass
- Large Pot we used an old laundry basket
Instructions
- We kept all the herbs, grasses and planter fillers inside their individual plastic pots. Instead of transplanting, we simply placed the pots inside the larger pot to make it look like it is one large potted plant.
- If you’re using a really tall planter like we are with this laundry basket, place some water resistant surfaces inside the pot.
- Start with the tallest potted plant and place that in the center.
- Next, begin to layer in the herbs from tallest to smallest, staggering them around the center grass.
- Lastly, add the pot fillers evenly around the planter for fullness and balance.
- Use a watering can to water the individual pots regularly to avoid them drying out.