How to Assemble Paper Daffodils
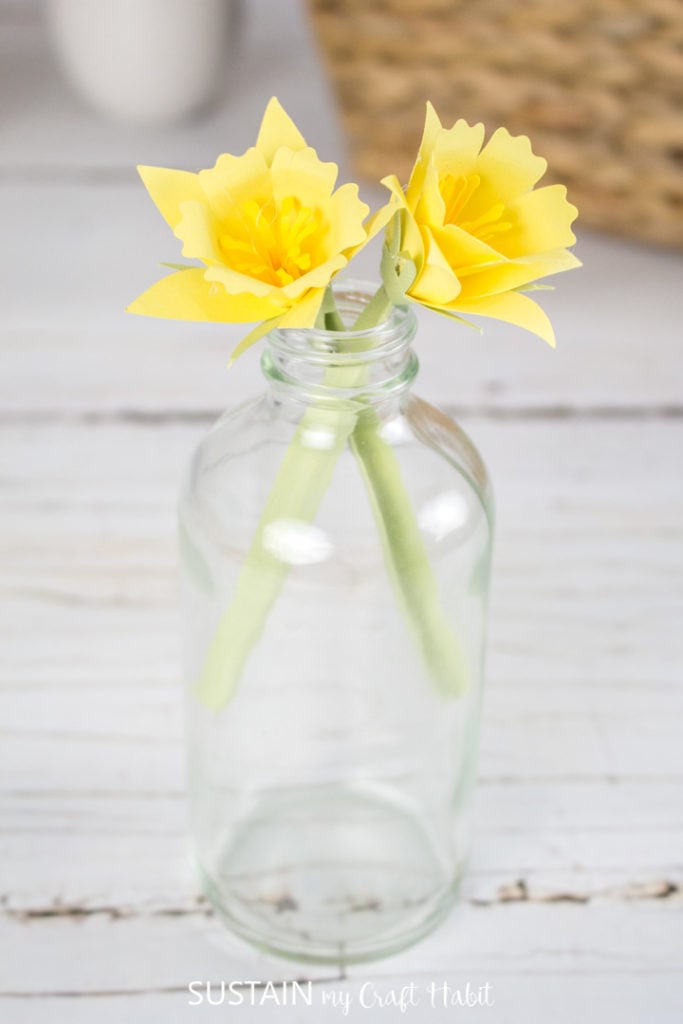
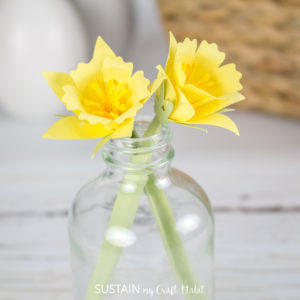
Cricut Design Space has dozens of beautiful paper flower patterns you can make including these pretty Spring daffodils. We’ve been wanting to make these beauties for some time so today, we’re sharing the step by step instructions for how to assemble paper dahlias to make your paper crafting a breeze.
Crafting with Paper Flowers
Just browsing through our gallery of crafts, you can see that we are very much inspired by flowers. From making felt flowers to add to a girl’s headband or for adding to a creative photo display and using pressed flowers in resin to make magnets or jewelry, they’re is no shortage of craft ideas! And as far as paper flowers go, we’ve previously shared this framed paper peony craft for mother’s day as well as this cherry blossom paper flower bouquet.
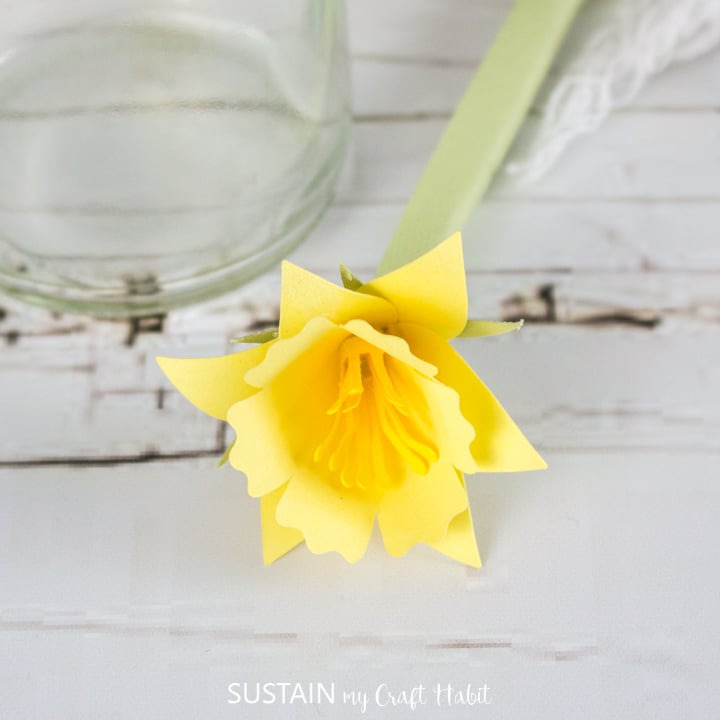
For the video on how to assemble paper daffodils we have a helpful video tutorial over on our YouTube channel or you can follow along to the step by step tutorial below.
More Beautiful Cricut Paper Flowers
With all of the Cricut paper flower crafts we’ve made over the years, we’ve found that the instructions for how to assemble them though aren’t always clear. So in this new series, we’ll show you how to assemble a variety of paper flowers including paper magnolias, rolled paper roses, dahlias and anemones. So be sure to stay tuned for those videos on our YouTube Channel.

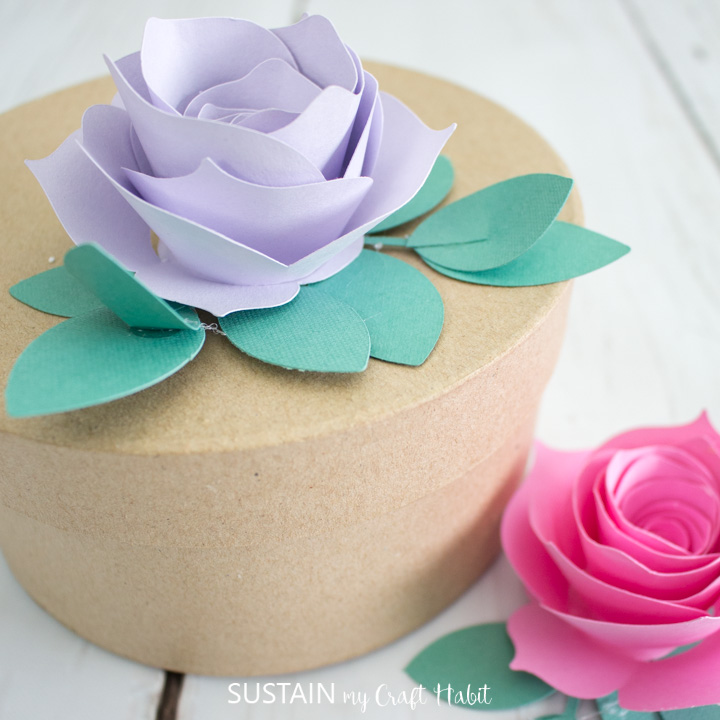
Roses 
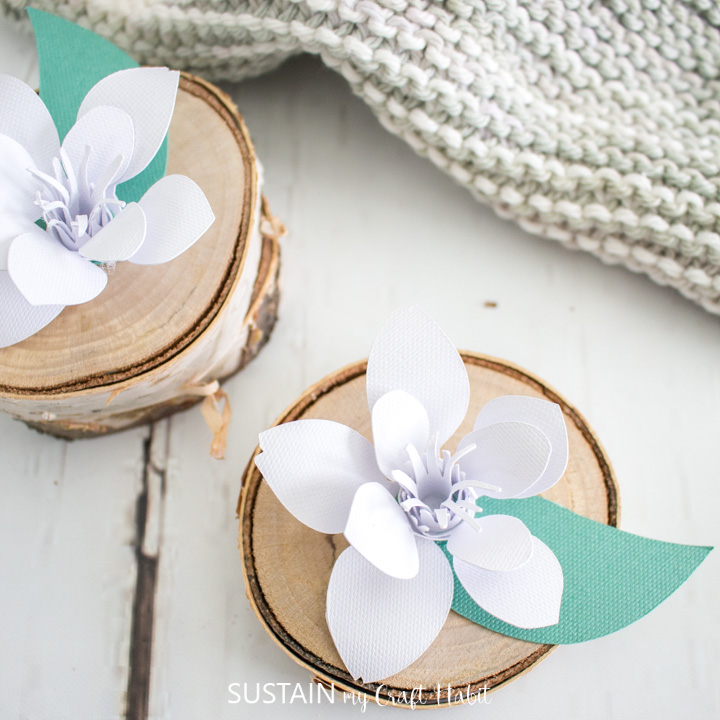
Magnolias 
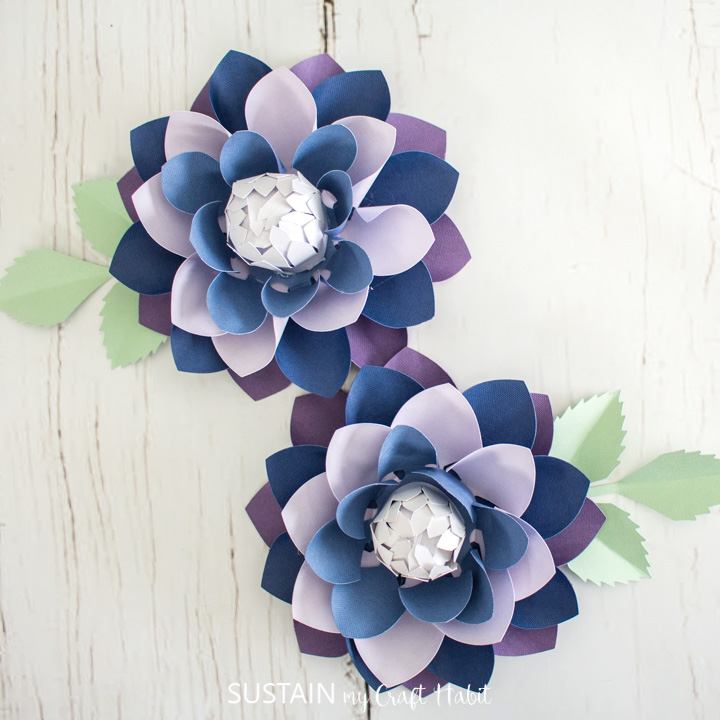
Dahlias 
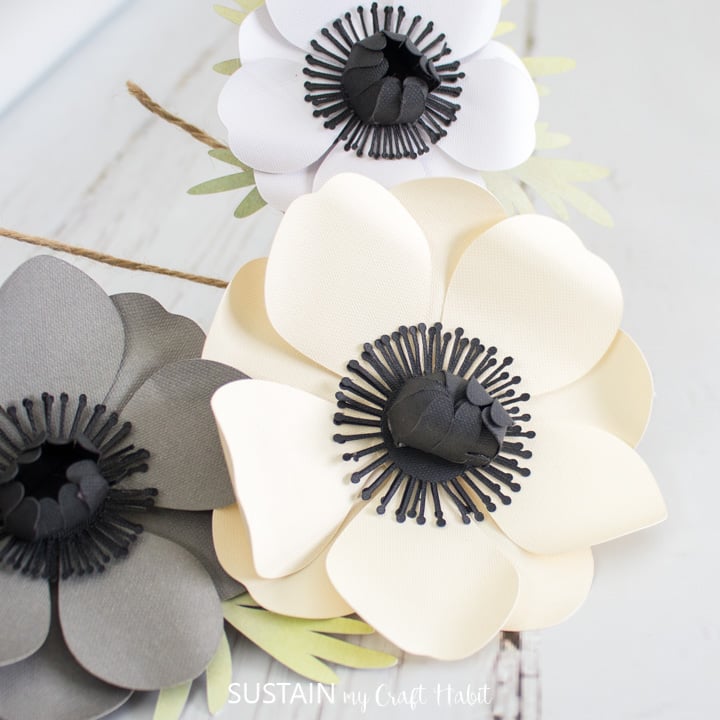
Anenomes
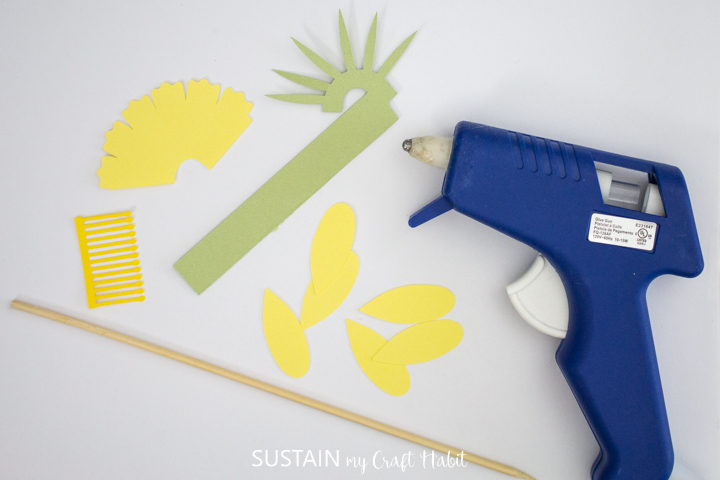
Materials Needed for Making Paper Daffodils
Disclosure: This post continues affiliate links for your shopping convenience. You can find our full disclosure policy here.
- Cricut Design Space Daffoldil pattern #M10045375
- Cardstock paper in shades of yellow and light green
- Cricut Maker (or other cutting machine)
- Standrad grip mat
- Wooden dowel or skewer
- Hot glue gun and clear glue sticks
How to Assemble Cricut Paper Daffodils
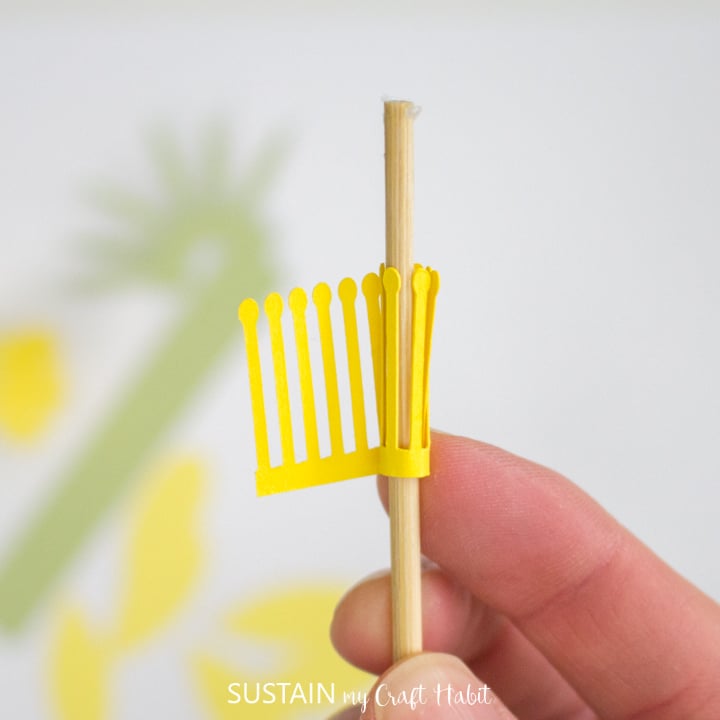
Roll the fringed piece (pistil) tightly around a skewer.
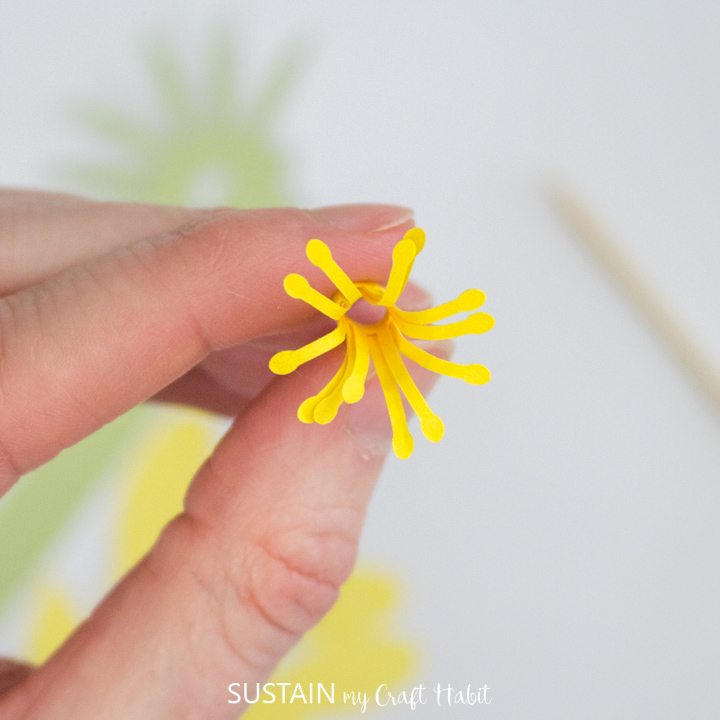
Curl the outer edges of the pistil outward (this step can also be done before rolling it.
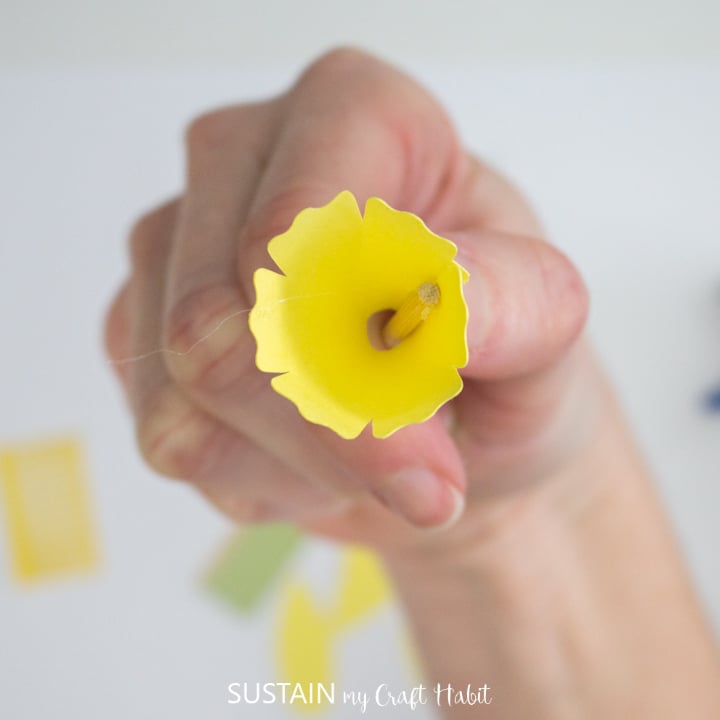
Next, wrap the scalloped half circle shape around the skewer and glue the overlapping edges to form a cone shape.
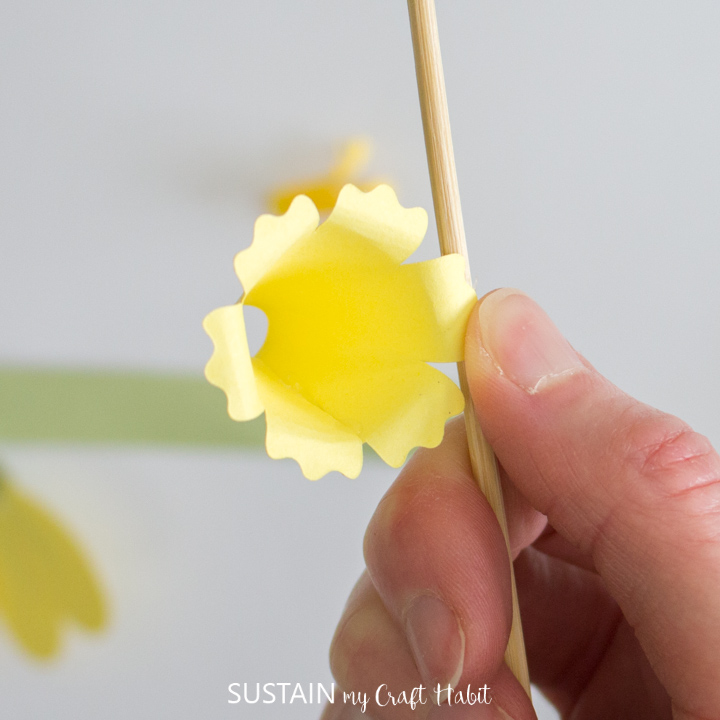
Curl the scalloped edges using a wooden skewer.
Glue the rounded edges of the individual petals to the stem piece placing them in between the five protruding shapes. Layer the petals so that they all fit.
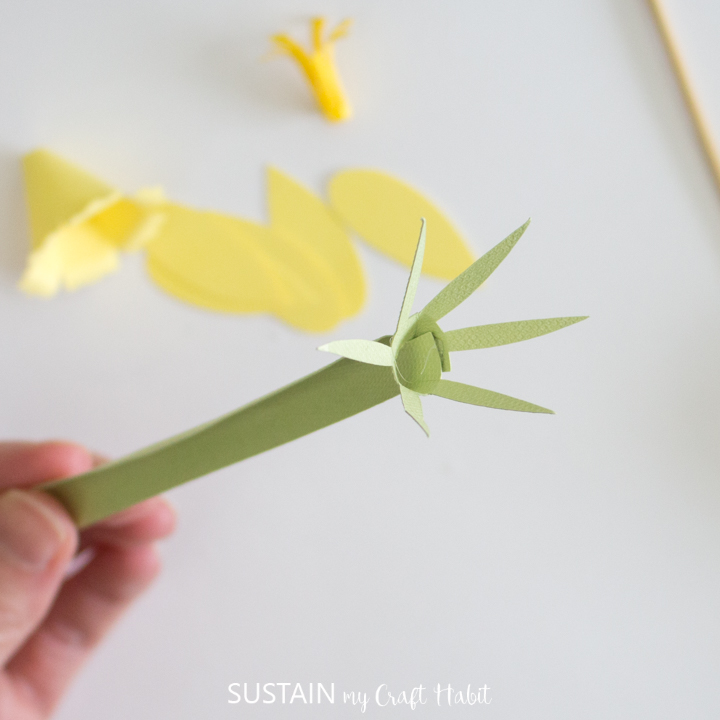
Fold the long rectangular stem piece in half lengthwise and wrap the end into a circle shape and glue edges together to hold.
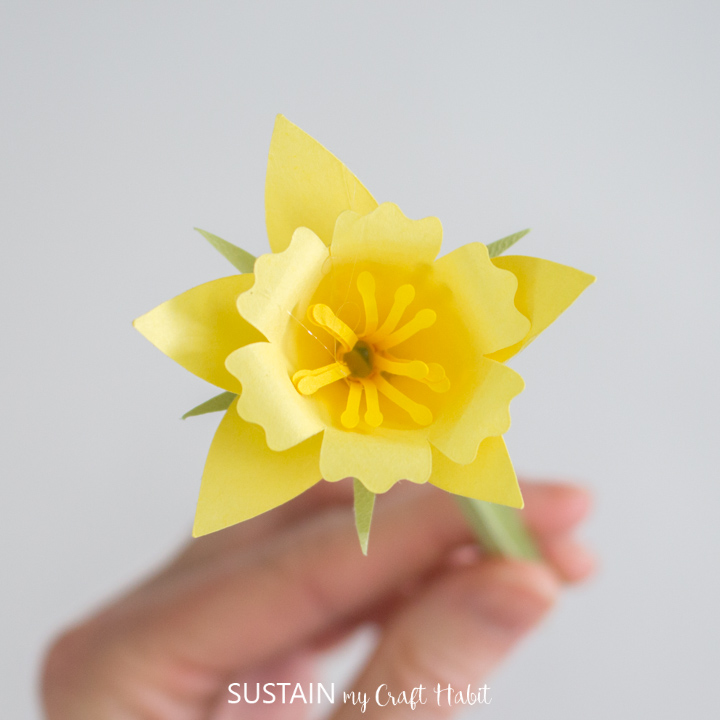
Add glue to the center and layer the scalloped piece and pistil piece inside.
Like it? Pin it for later!
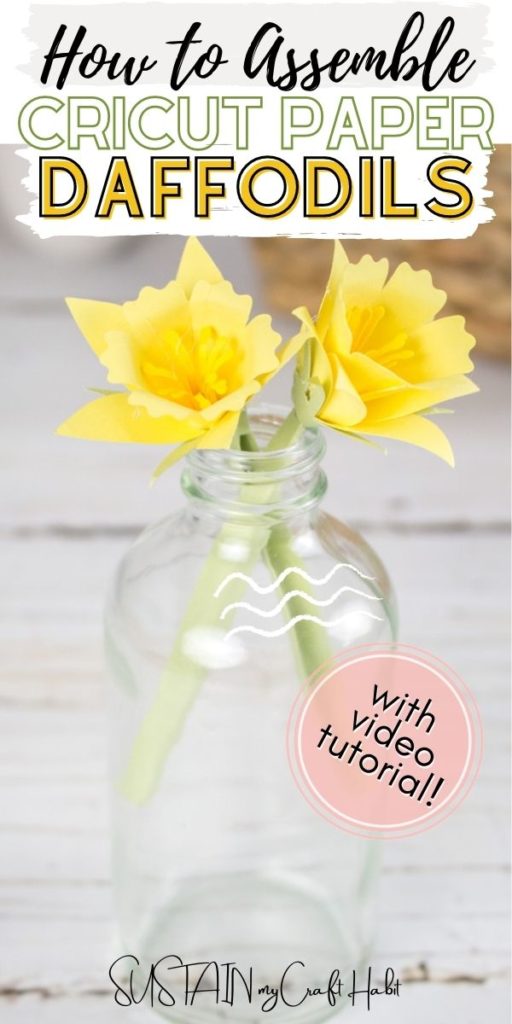
How to Assemble Paper Daffodils
Materials
- Cricut Maker
- Standard grip mat
- Cardstock paper in yellows and light green
- Wooden dowel or skewer
- Hot glue and clear glue sticks
Instructions
- Roll the fringed piece (pistil) tightly around a skewer.
- Curl the outer edges of the pistil outward.
- Next, wrap the scalloped half circle shape around the skewer and glue the overlapping edges to form a cone shape.
- Curl the scalloped edges using a wooden skewer.
- Glue the rounded edges of the individual petals to the stem piece placing them in between the five protruding shapes. Layer the petals so that they all fit.
- Fold the long rectangular stem piece in half lengthwise and wrap the end into a circle shape and glue edges together to hold.
- Add glue to the center and layer the scalloped piece and pistil piece inside.

