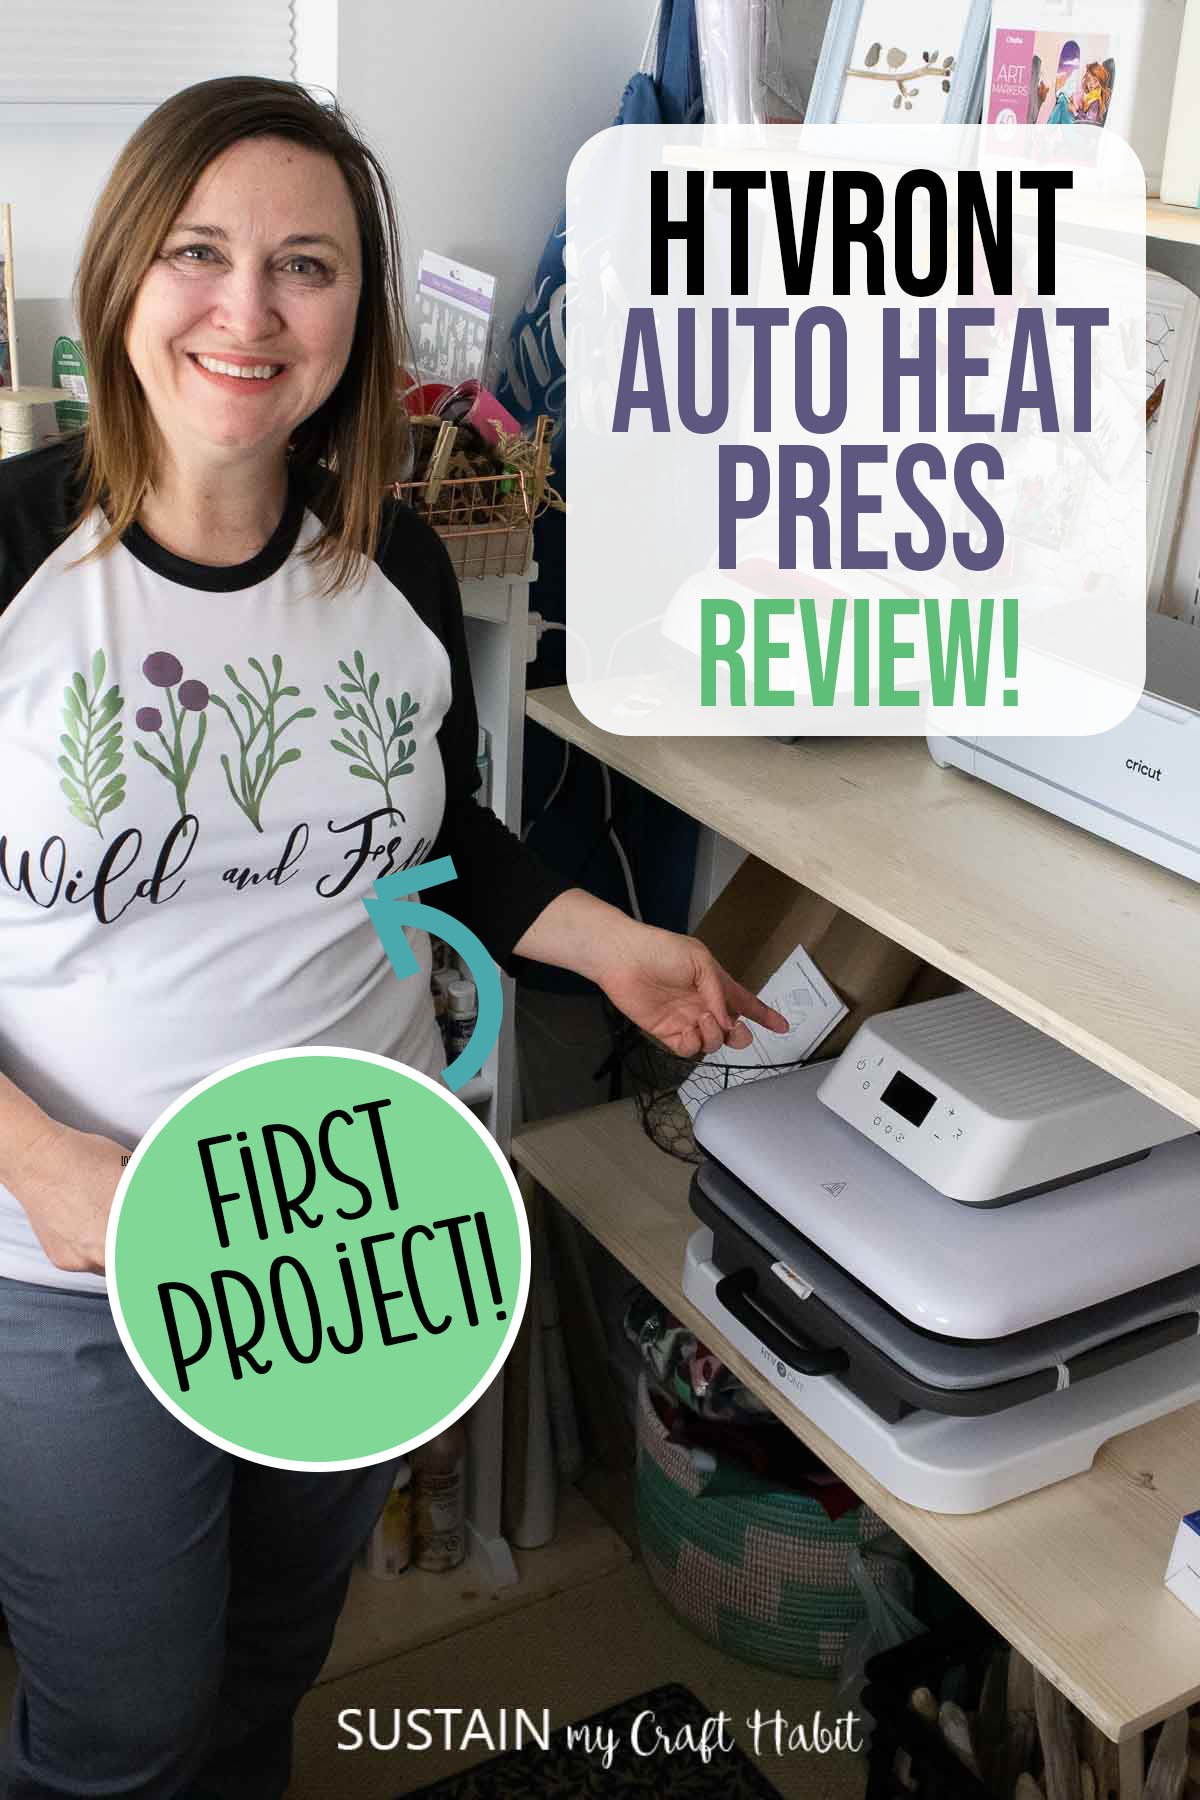
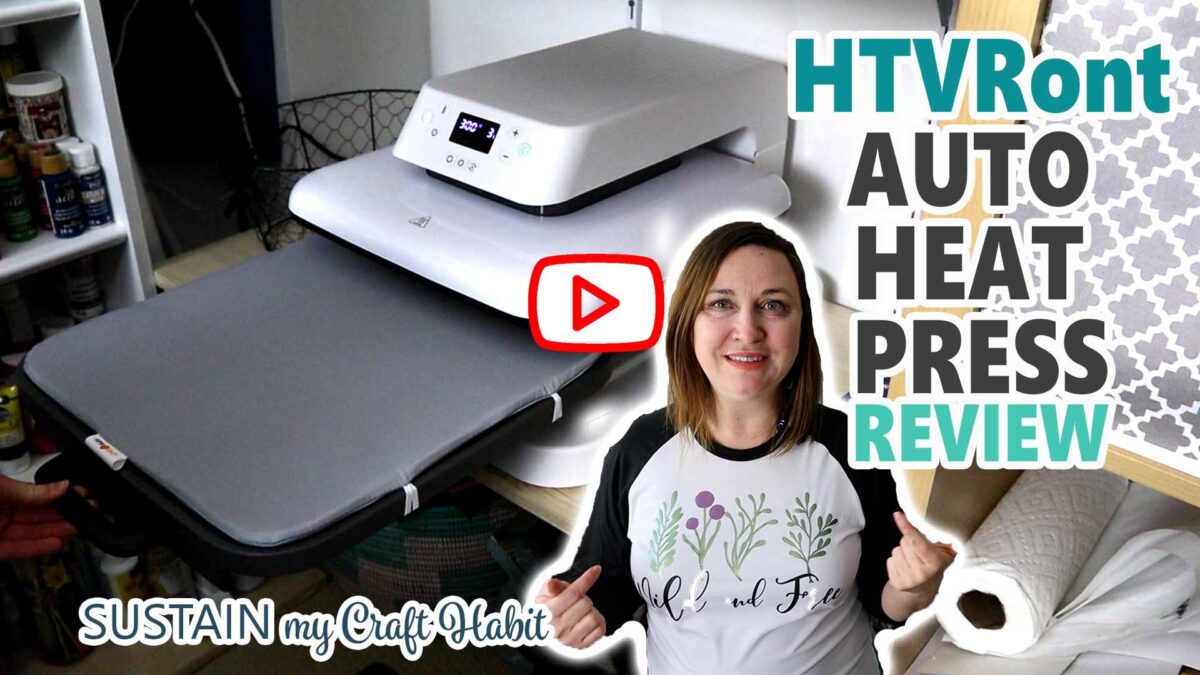
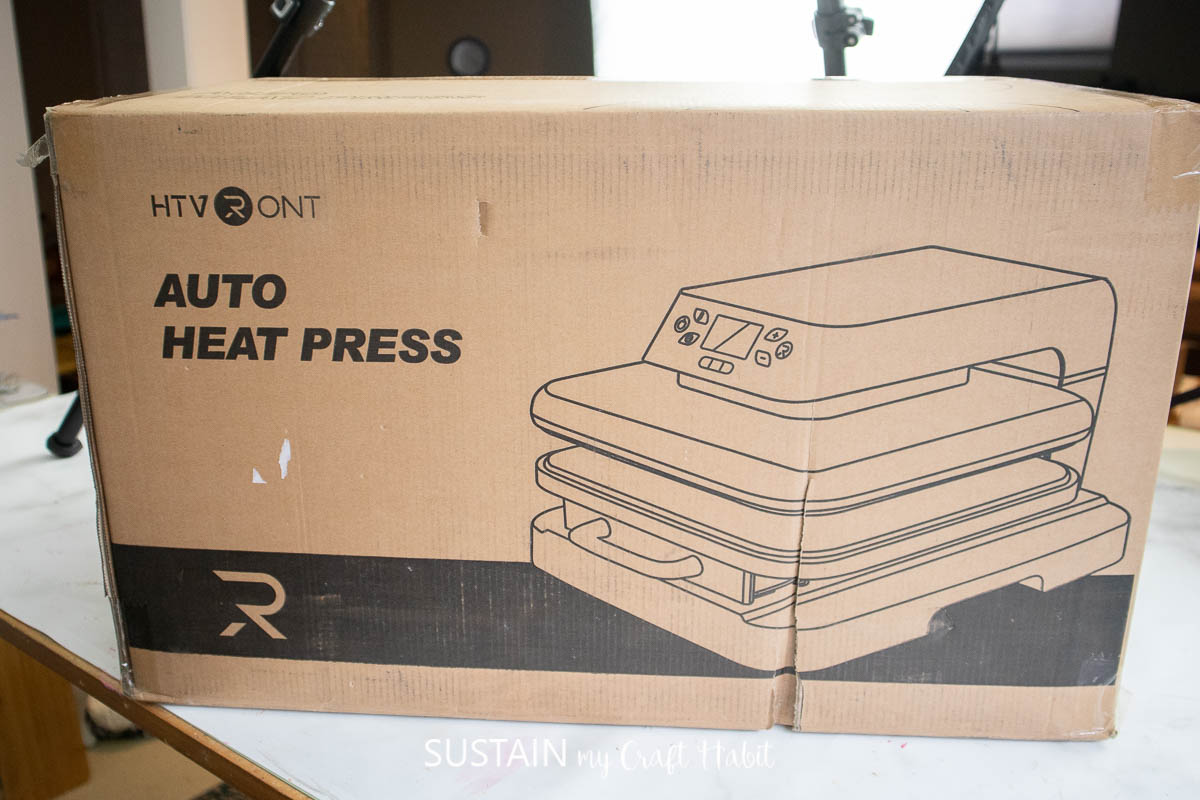
HTVRONT Auto Heat Press Review (with First Project!)
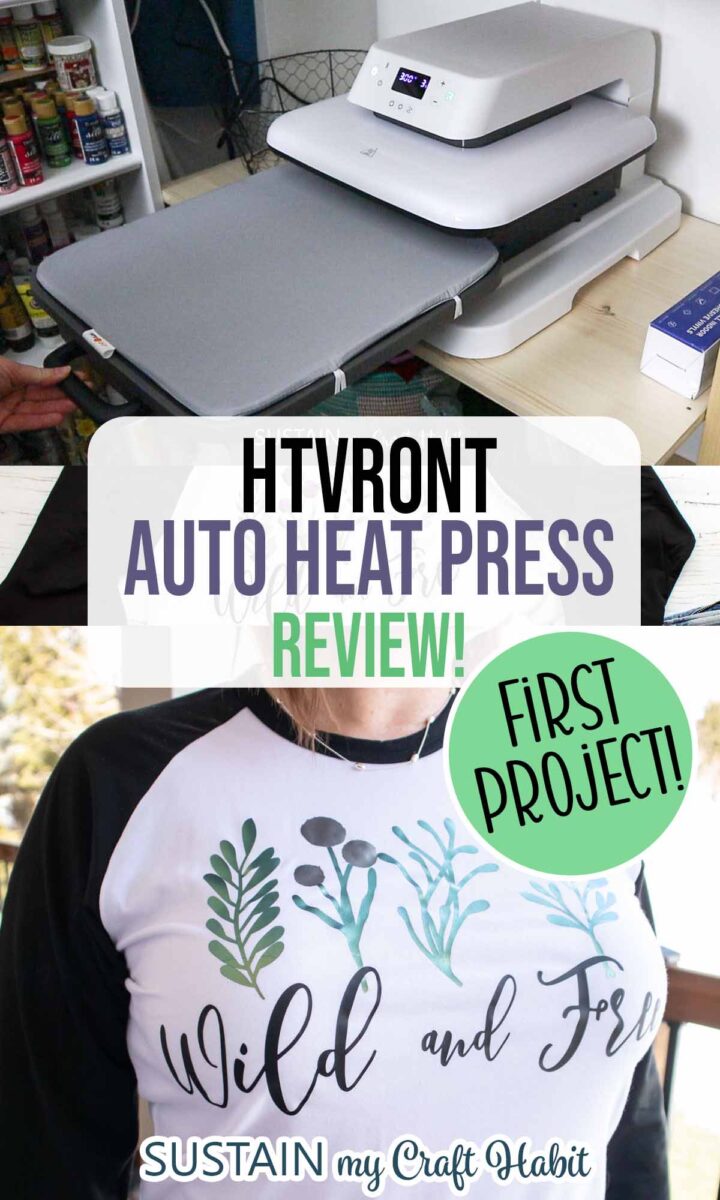
We recently got our hands on the new HTVRONT Auto Heat Press and were excited to try it out! With it’s ease of use, realibility and reasonable price point, the HTVRONT Auto Heat Press is a great addition to any craft room for all your heat transfer vinyl (HTV) projects.
Disclosure: This post is sponsored by HTVRONT. All opinions are our own.
If you like to embellish t-shirts, totes, throw pillows or other textiles, an auto heat press can simplify and speed up the process. In this post we’ll show you:
- unboxing and easy set up of the HTVRONT Auto Heat Press;
- a quick beginner heat transfer vinyl craft;
- our first impressions and honest HTVRONT Auto Heat Press review
What is an Auto Heat Press?
An auto heat press is basically a high temperature iron that you use to adhere HTV onto fabrics and other surfaces. The auto refers to the fact that you can just push a button and it automatically applies the right pressure and temperature for a specific period of time. So while you can do HTV vinyl crafts using your regular iron at home, an auto heat press such as HTVRONT’s takes out all the guess work.
What else do you need to use with the HTVRONT Auto Heat Press?
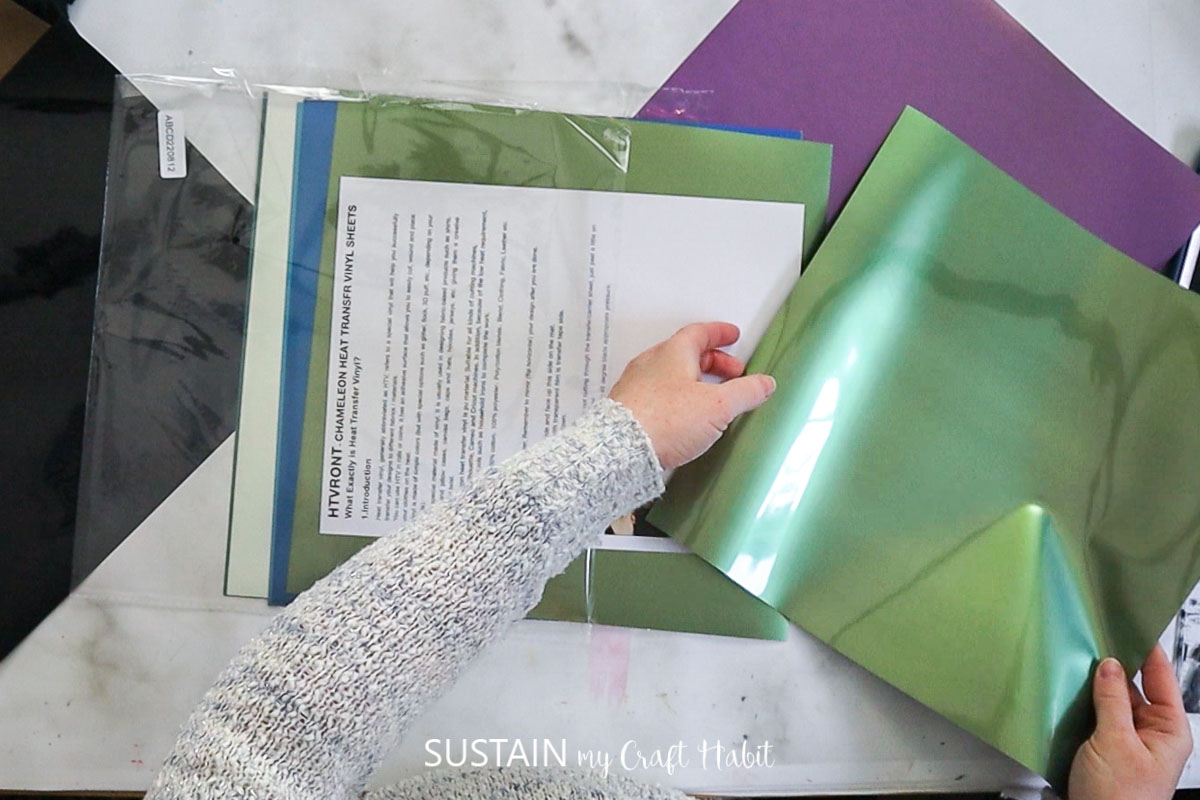
In addition to the new Auto Heat Press, HTVRONT is known for their selection of crafting vinyl including printable, adhesive and heat transfer vinyl.
They sent us some of their galaxy, patterened and the beautiful chameleon HTV to try out with the auto heat press.
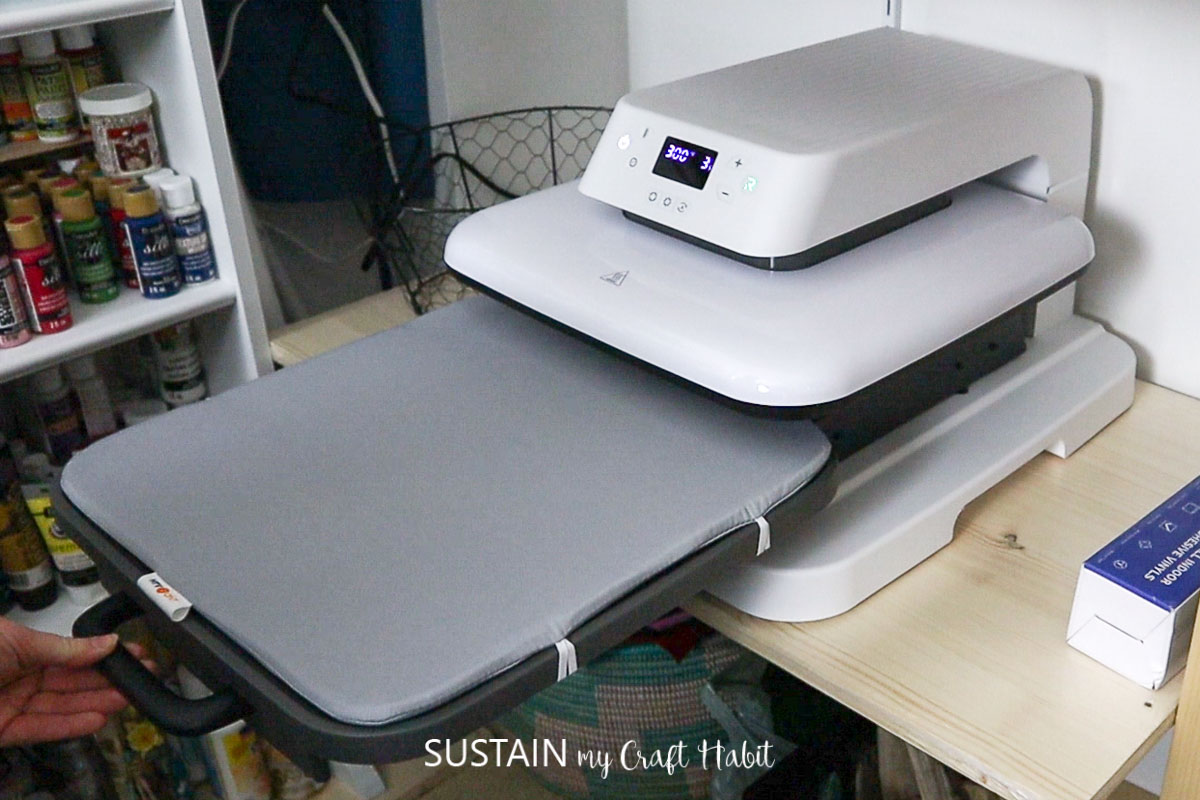
How do you use the HTVRONT Auto Heat Press?
The HTVRONT Auto Heat Press is easy to use. You simply power on the machine and set the temperature and duration based on your HTV material’s recommended settings. Then, place your surface of choice on the slide-in mat and push start. The heat press will automatically apply the right pressure and temperature for the set time and then release.

T-Shirt Tutorial with the HTVRONT Auto Heat Press
We’re happy to share a more detailed tutorial for using the new HTVRONT Auto Heat Press below. You can also check out our YouTube video which demonstrates the process.
Materials Needed to Embellish a t-Shirt with Heat Transfer Vinyl
- t-shirt or other surface of choice
- heat transfer vinyl (we used the HTVRONT Chamelion Vinyl and Black vinyl)
- Wild and Free SVG cut file from our shop
- HTVRONT Auto Heat Press
How to Use the HTVRONT Heat Press with a T-Shirt
Cutting the designs in the HTV
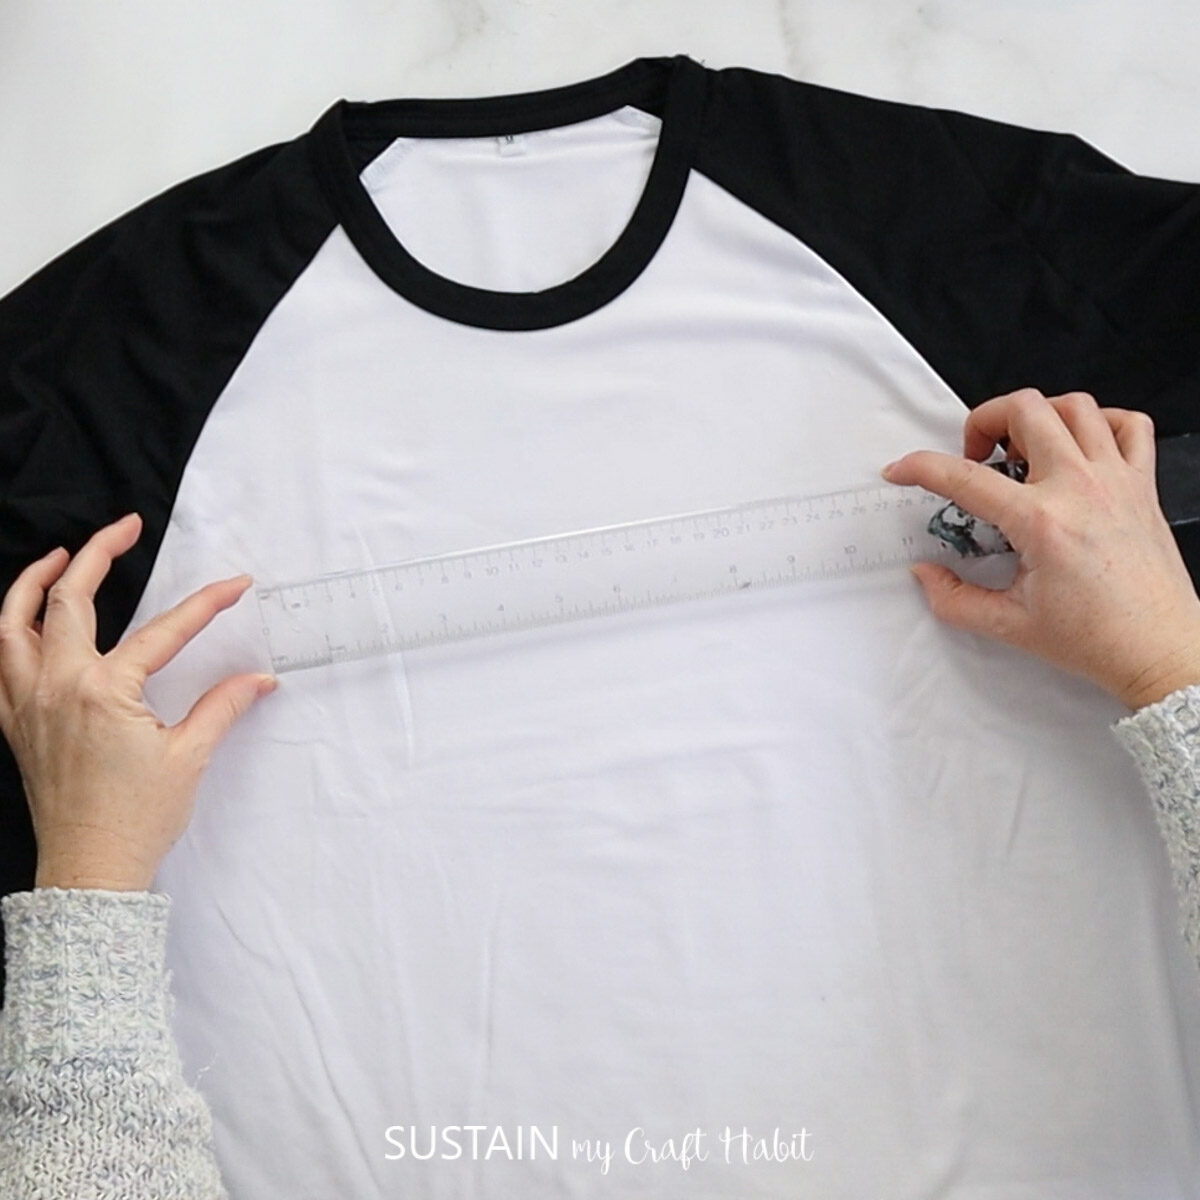
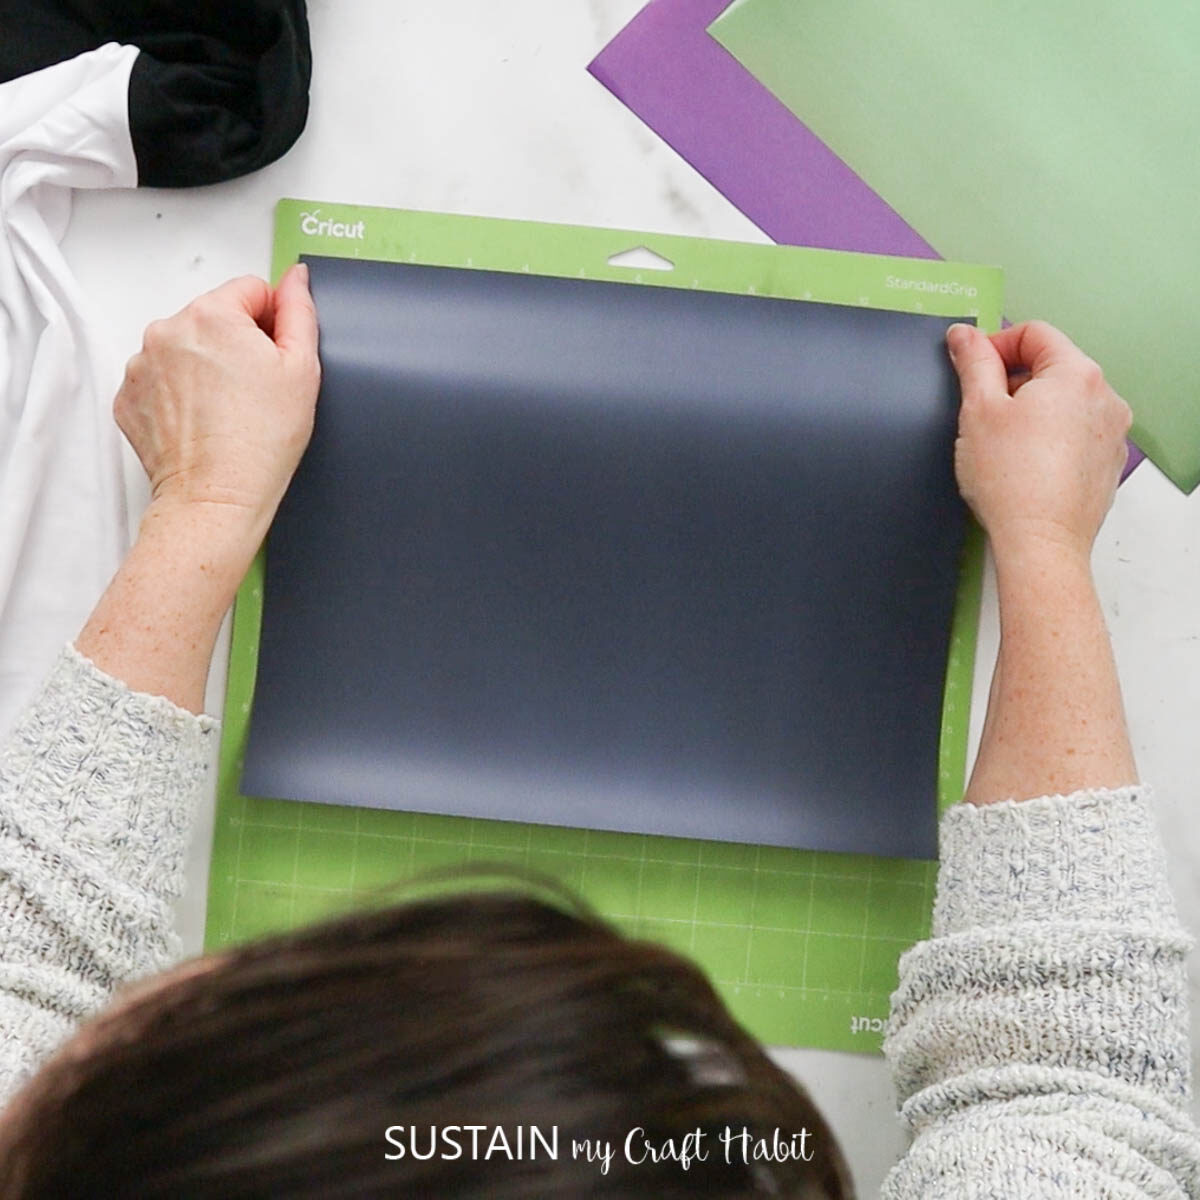
The first step was to cut out the designs on the HTV sheets. I measured the width of the design that I wanted on the shirt and adjusted the image accordingly.
The important things with any iron-on (aka heat transfer) vinyl are to place the shiny side (front side of the vinyl) face down and then mirror the image before cutting. So you’re cutting the vinyl from the back side, leaving the carrier sheet in tact.
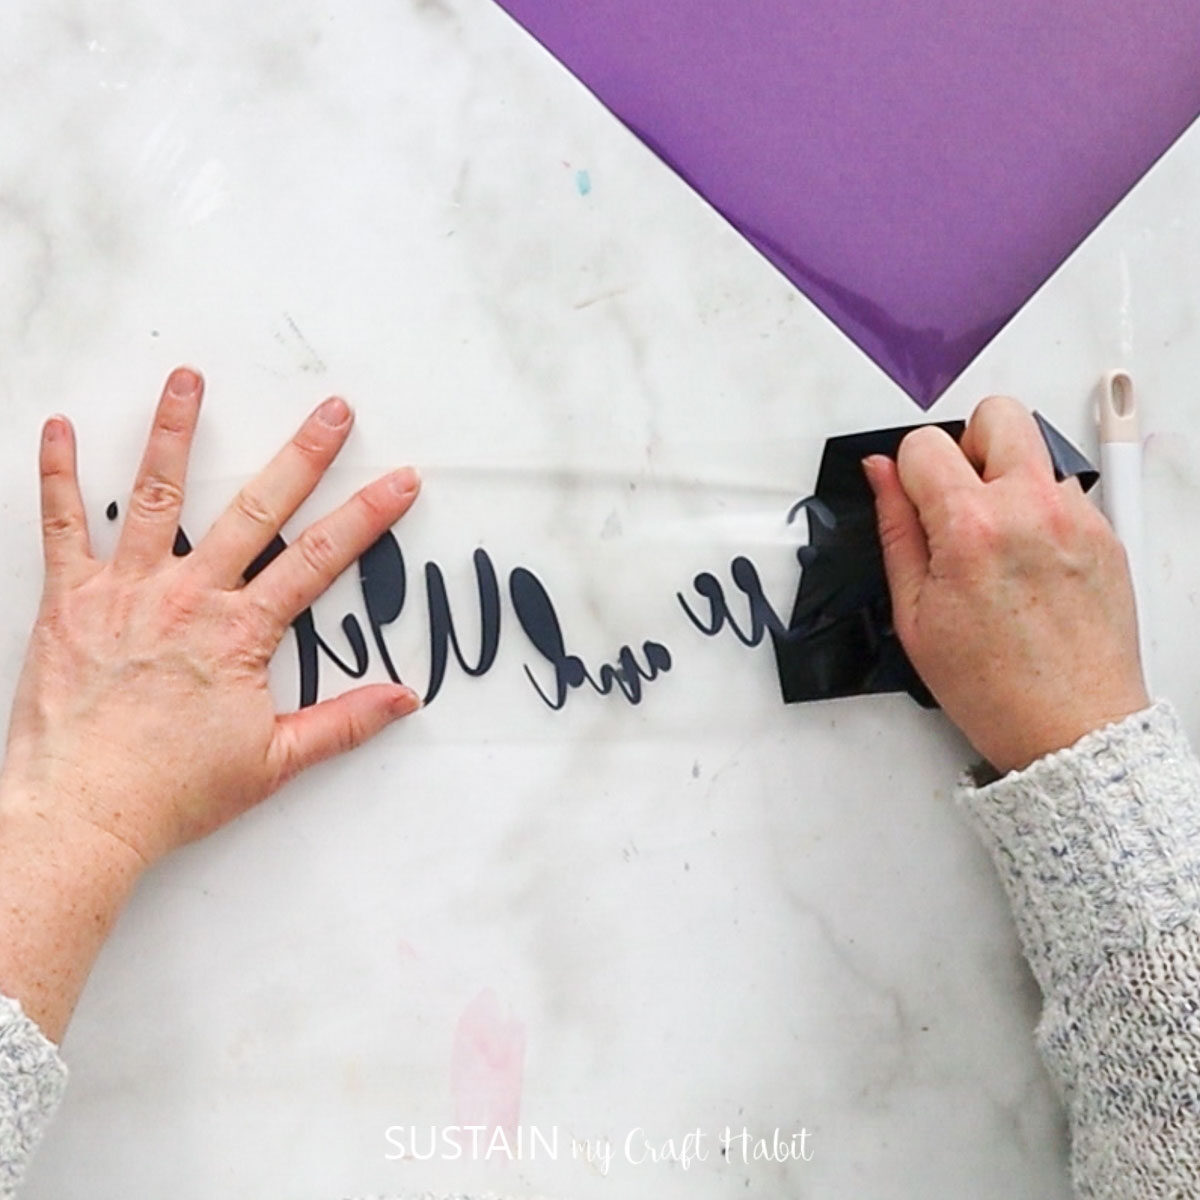
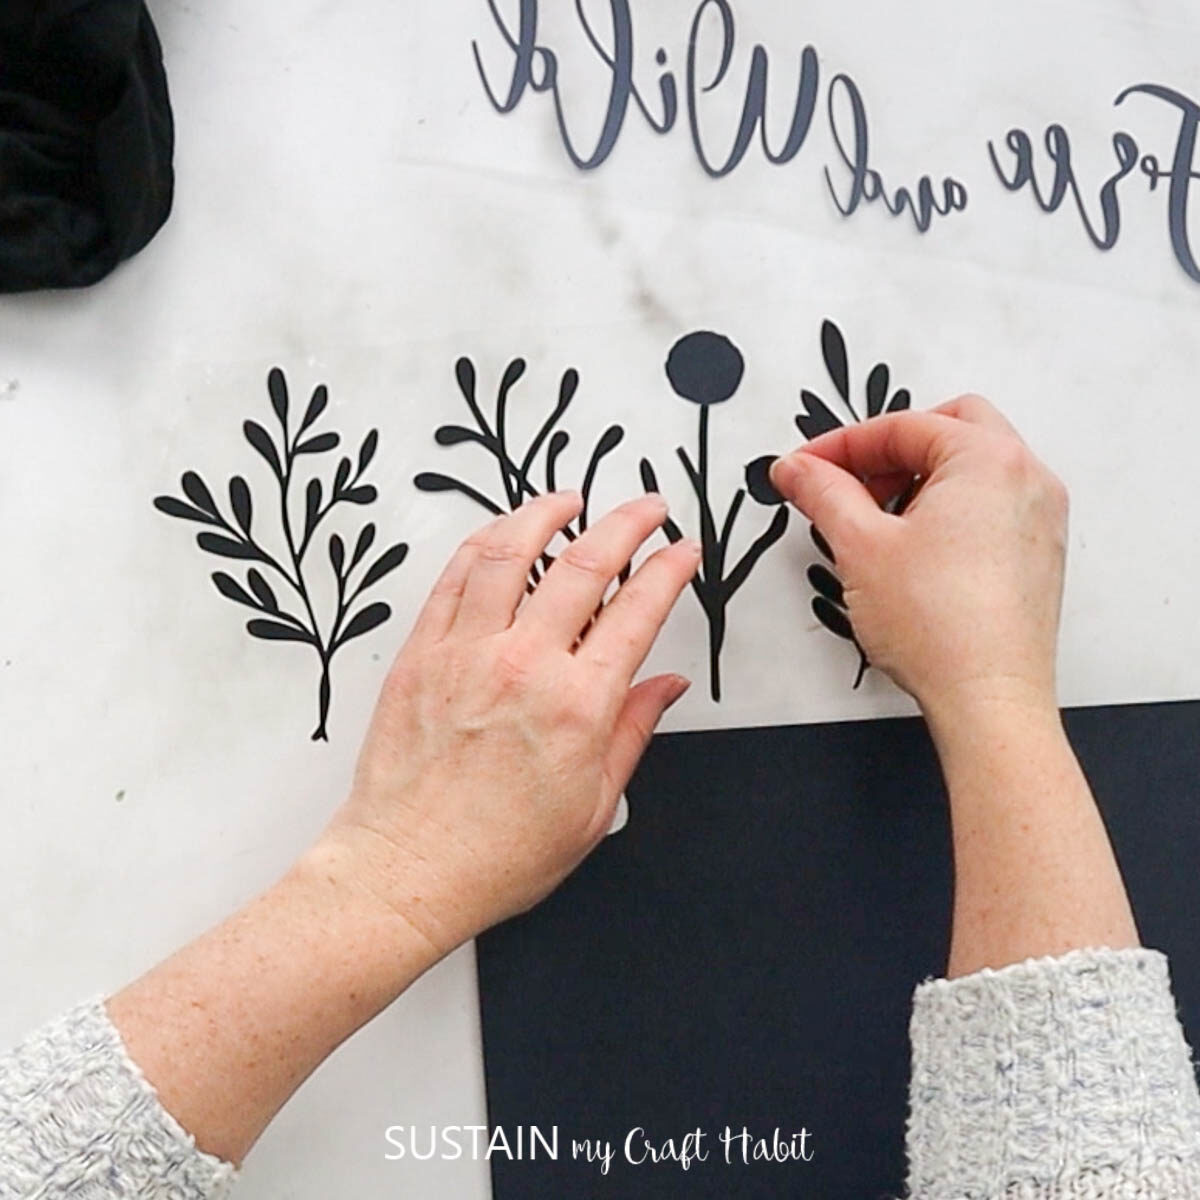
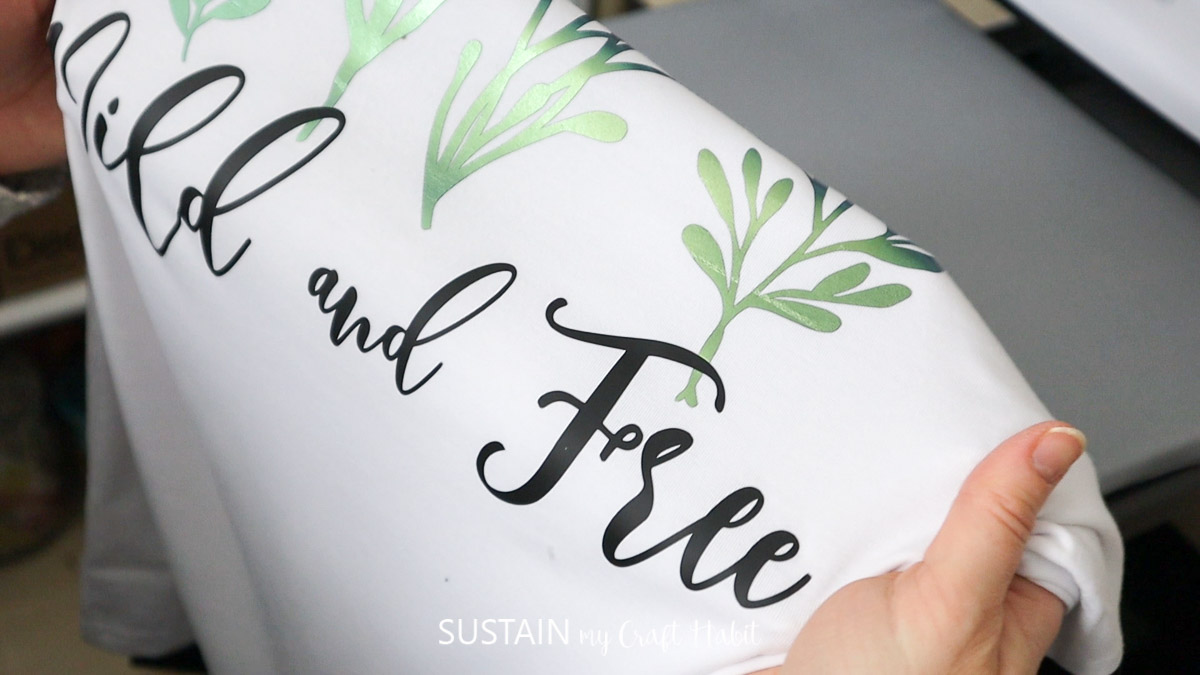
After cutting out the vinyl (we have other tutorials showing you how to do this), I weeded the background off of the carrier sheet revealing the pretty design. I cut the Wild and Free phrase in the black vinyl, the leaves in the green chameleon vinyl and then the little florets in the pink chameleon vinyl.
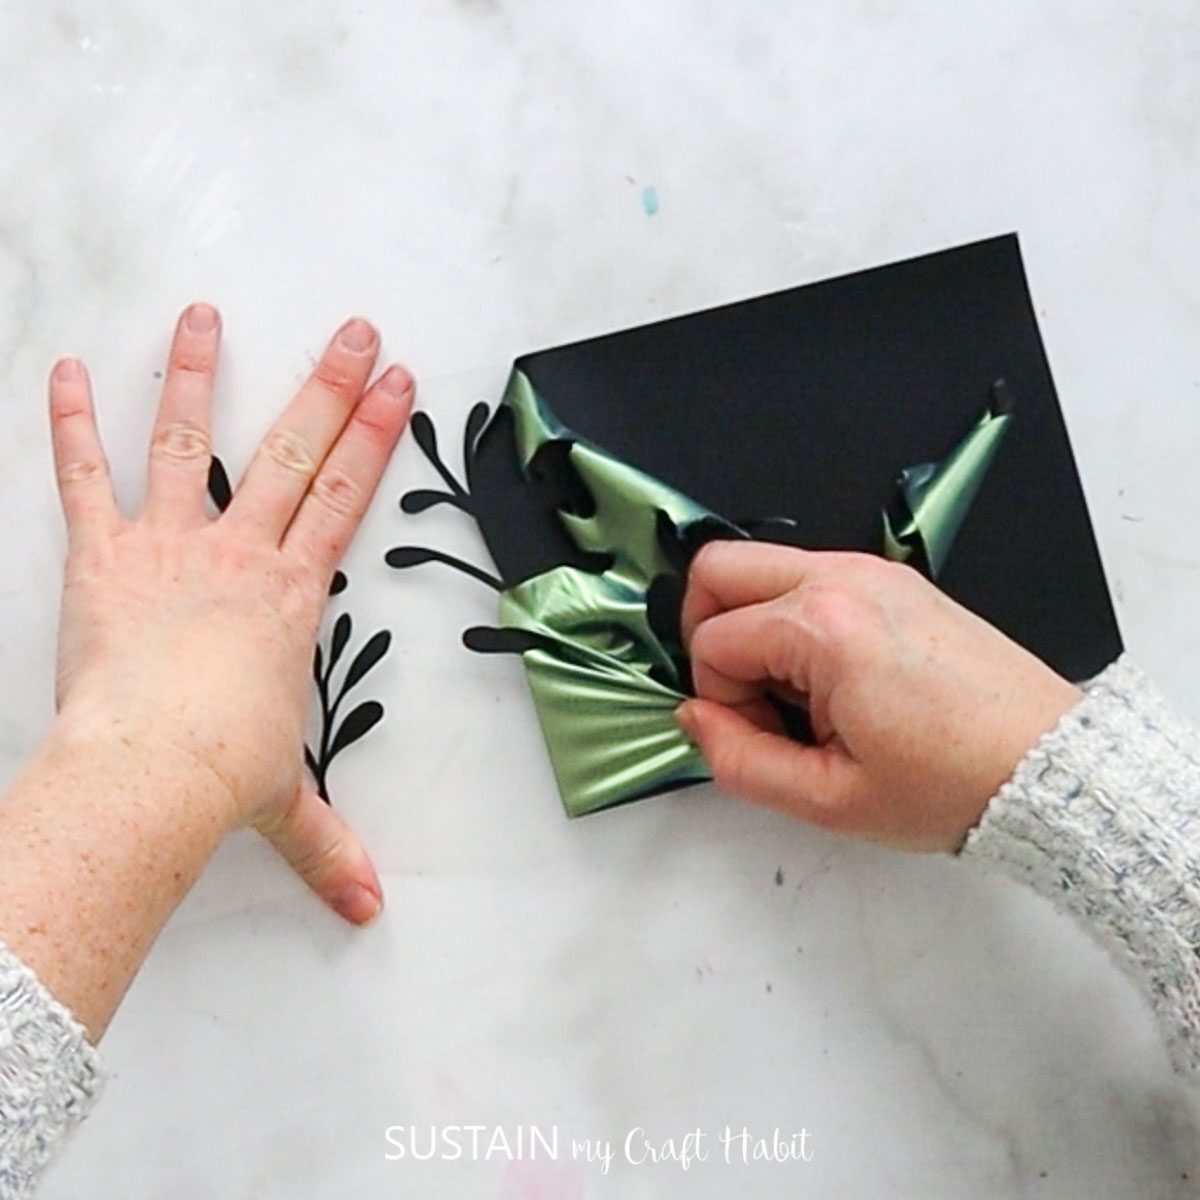
To simplify the pressing I manually added the pink florets (face down) to the carrier sheet with the green leaves.
OK, now that all the vinyl pieces are cut, it’s time to do the pressing.
Pressing the HTV onto the T-Shirt
We basically just need to turn the machine on by pressing the power button. It’ll need about 6 minutes to warm up to the default temperature.
You’ll want to check the instructions on your HTV packaging for the temperature and amount of time needed to press that particular vinyl. Then, adjust those settings on the machine and let it get to temperature.
With most HTV projects you’ll want to preheat the garment for a couple of seconds. This helps the vinyl adhere and also removes any moisture from the fabric.
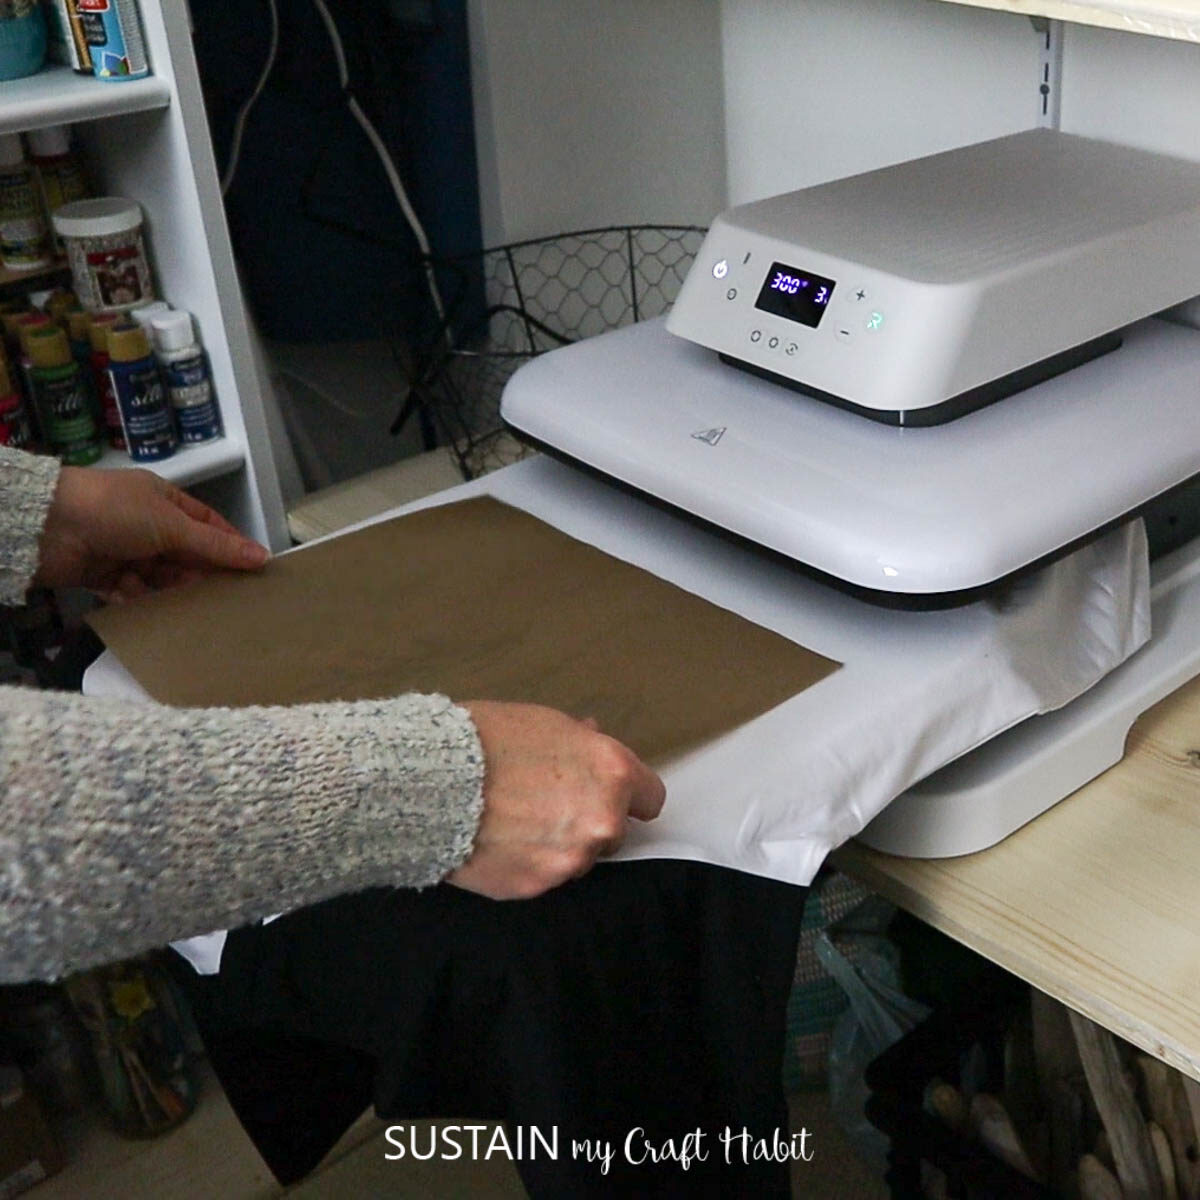
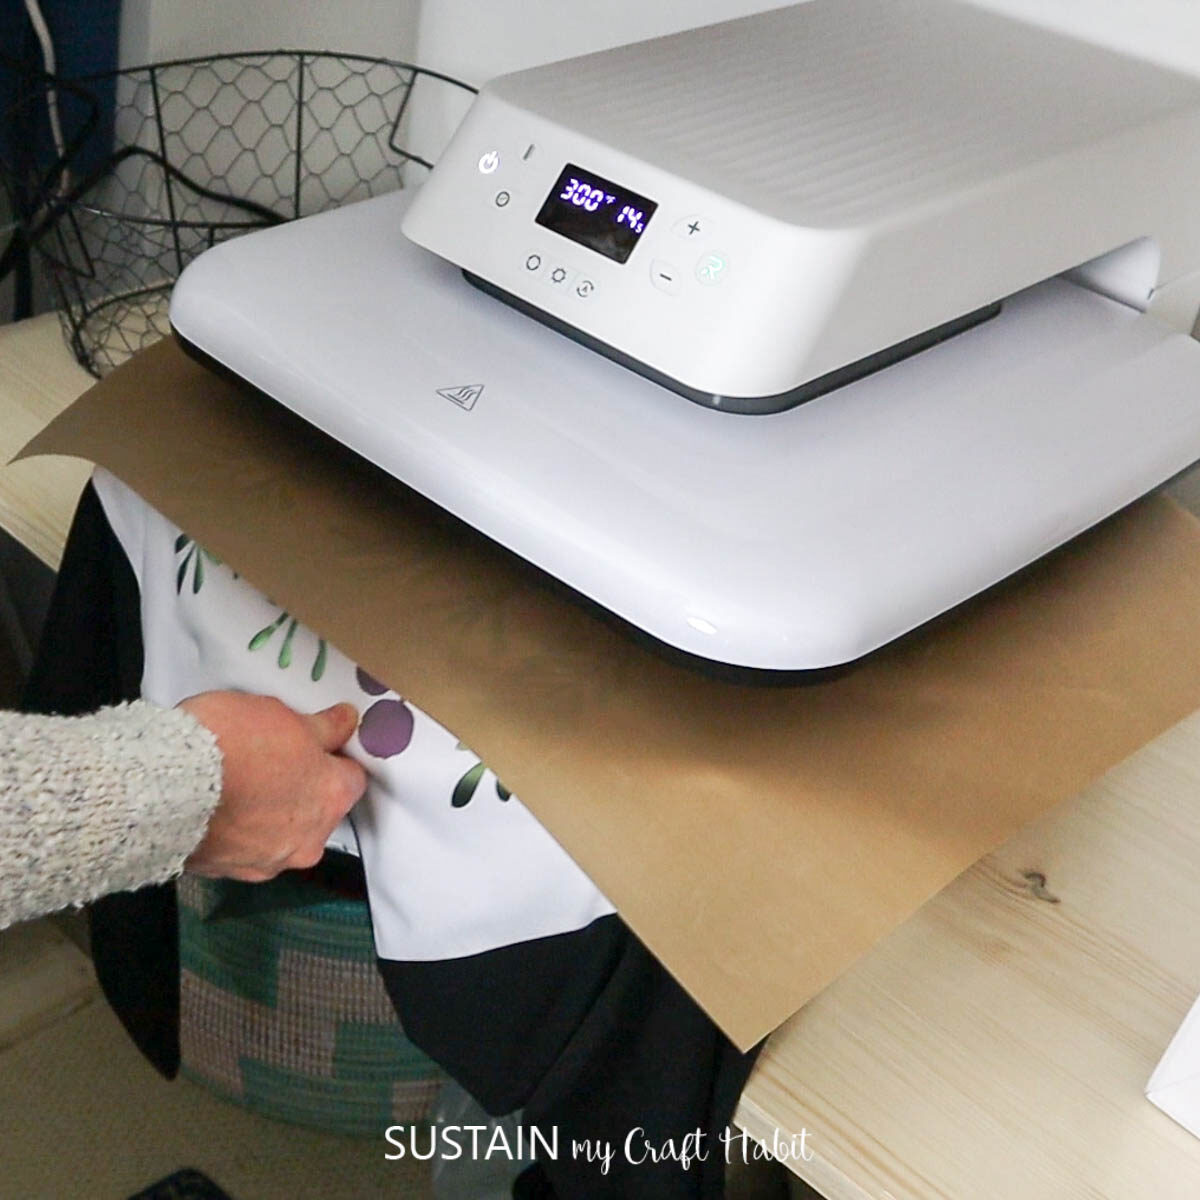
To start, simply place your shirt on the mat of the press (with either with the neck toward or away from you). Next, remove any lint with a lint roller. Then slide the mat in and press the green button. The machine automatically then presses the sheet at the preset temperature and time.
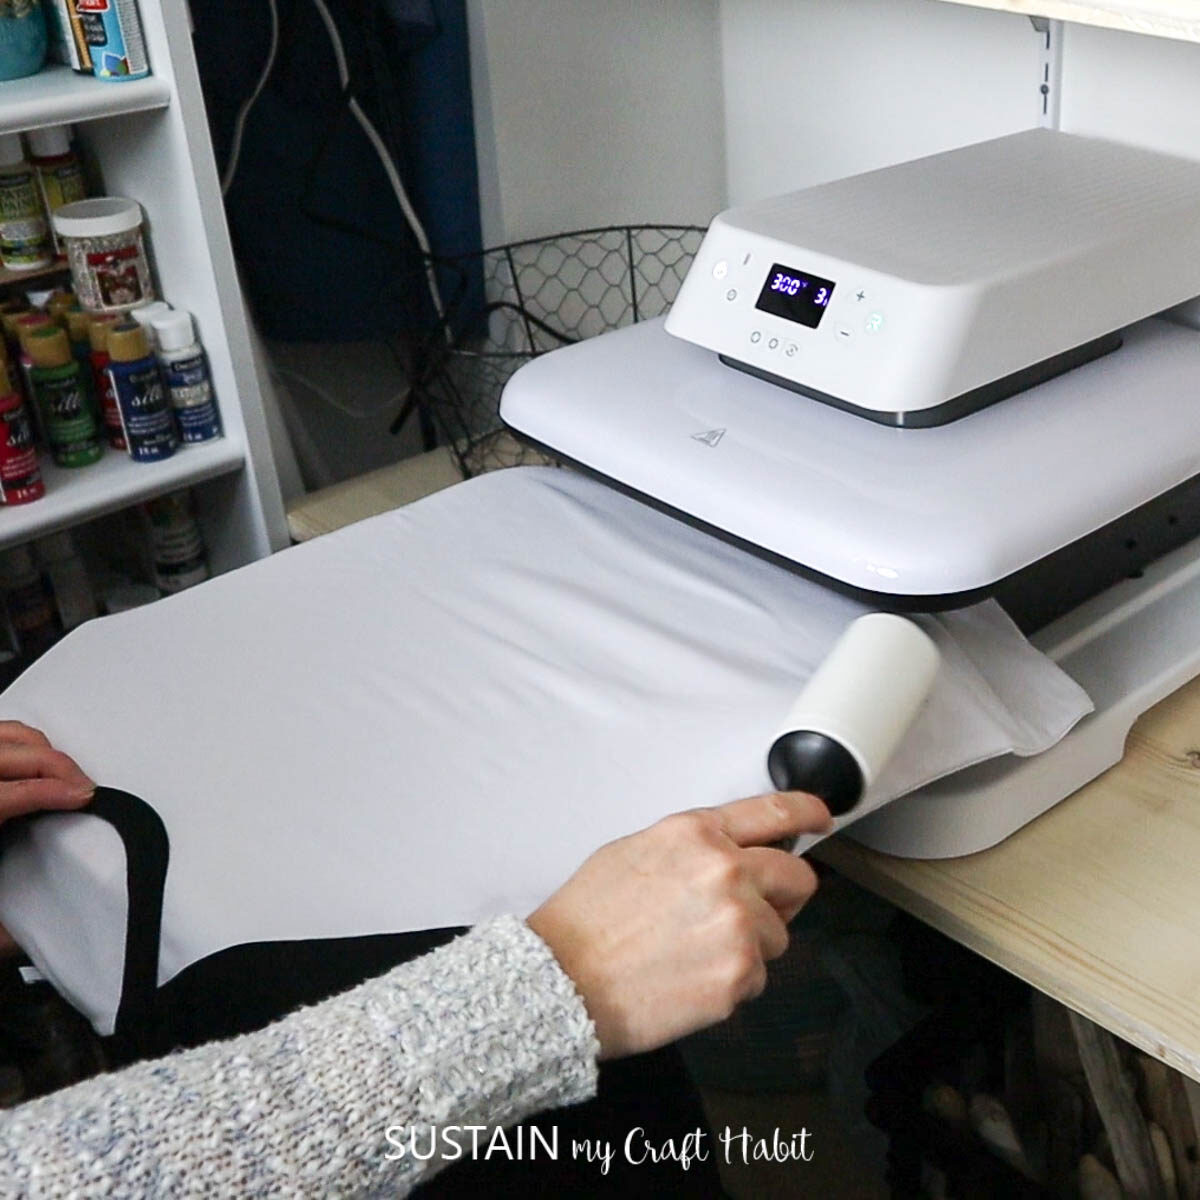
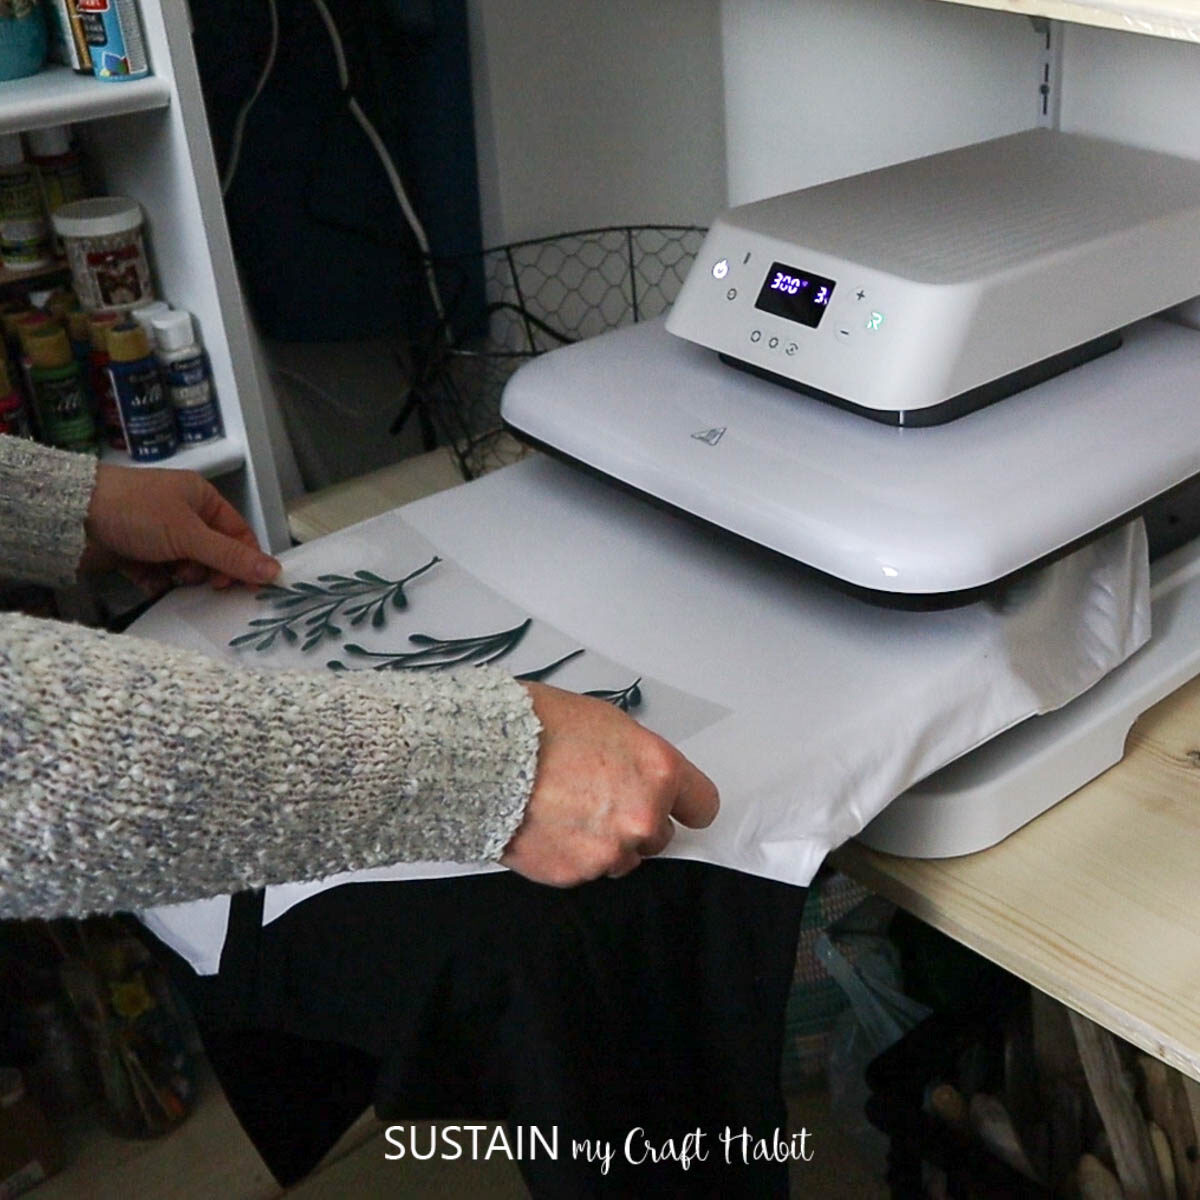
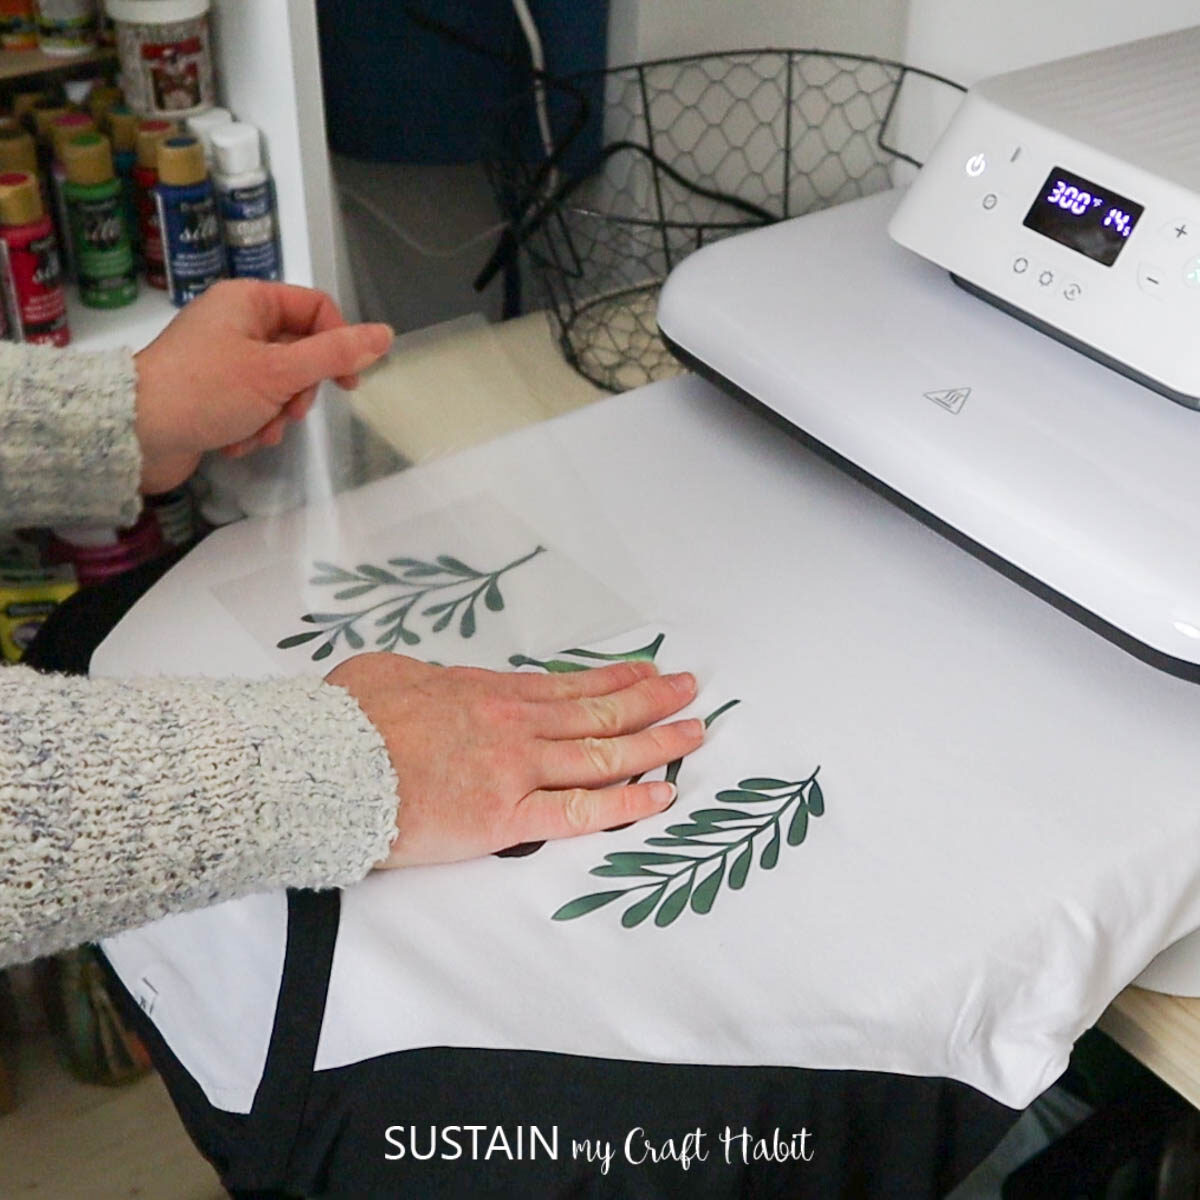
Now that the shirt is preheated it’s time to add the design! To make placement simpler, I started with the leaves. Position that in place (face up!), smooth down, cover with the Teflon sheet and slide into the press.
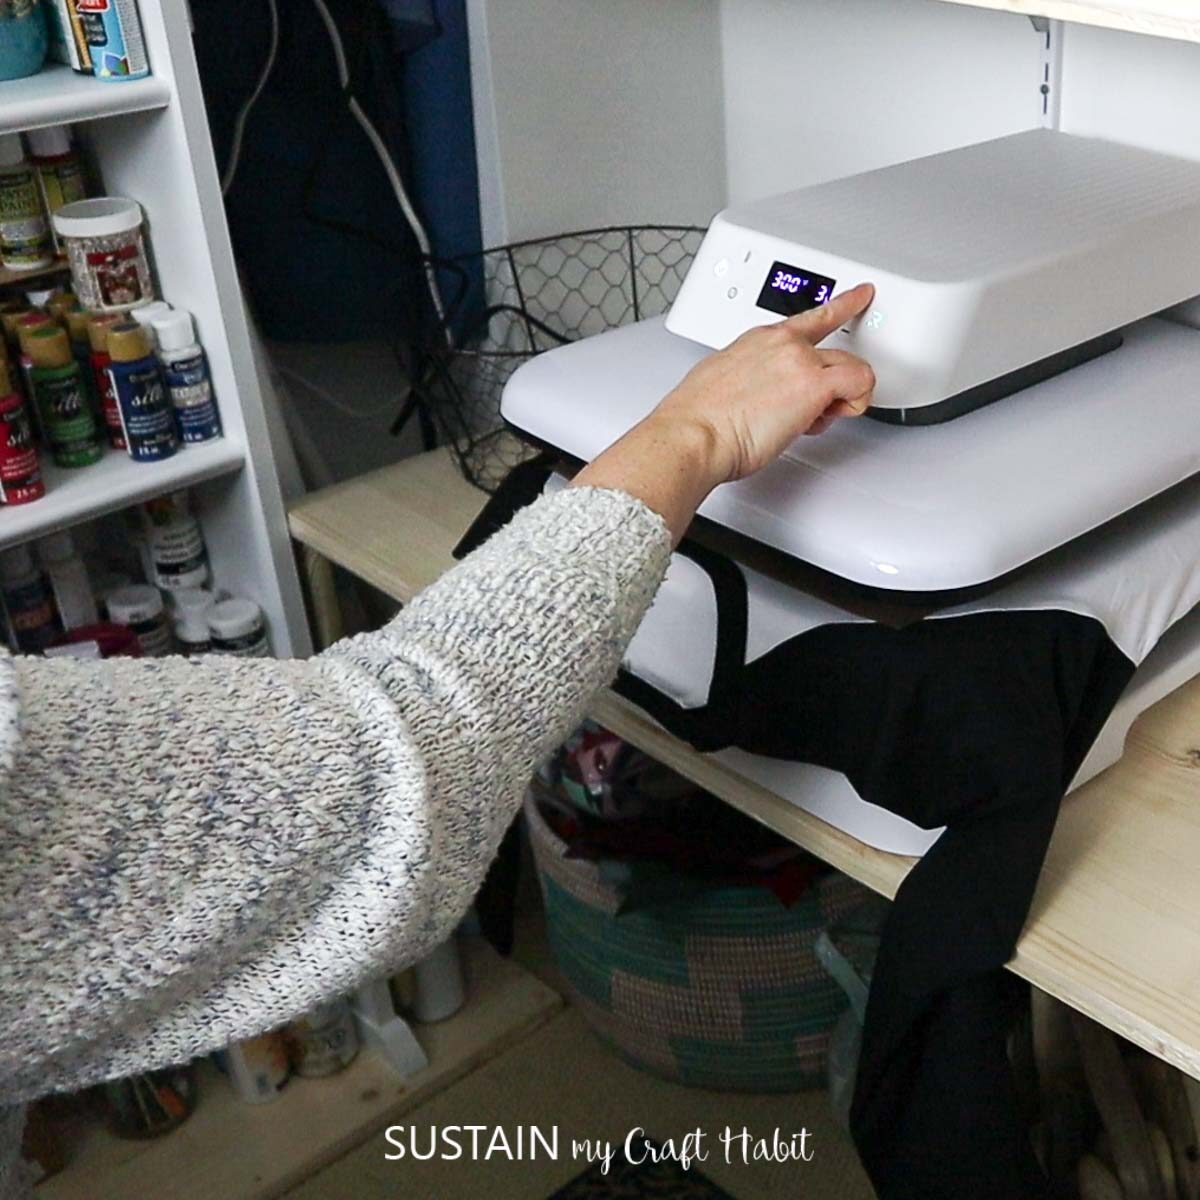
After setting the correct temperature and time as indicated on your HTV package, hit the start button and let it do its thing! This took only 15 seconds.
You’ll next want to check if your instructions say warm or cold peel. If it’s cold peel, leave the vinyl to cool for at least 30 seconds before peeling off the carrier sheet. Looks great!
Now we’re going to add on the phrase. I accidentally skipped one step before cutting my vinyl so my phrase came out “Free and Wild” rather than “Wild and Free”! I fixed the by cutting the pieces apart before positioning them on to the shirt.
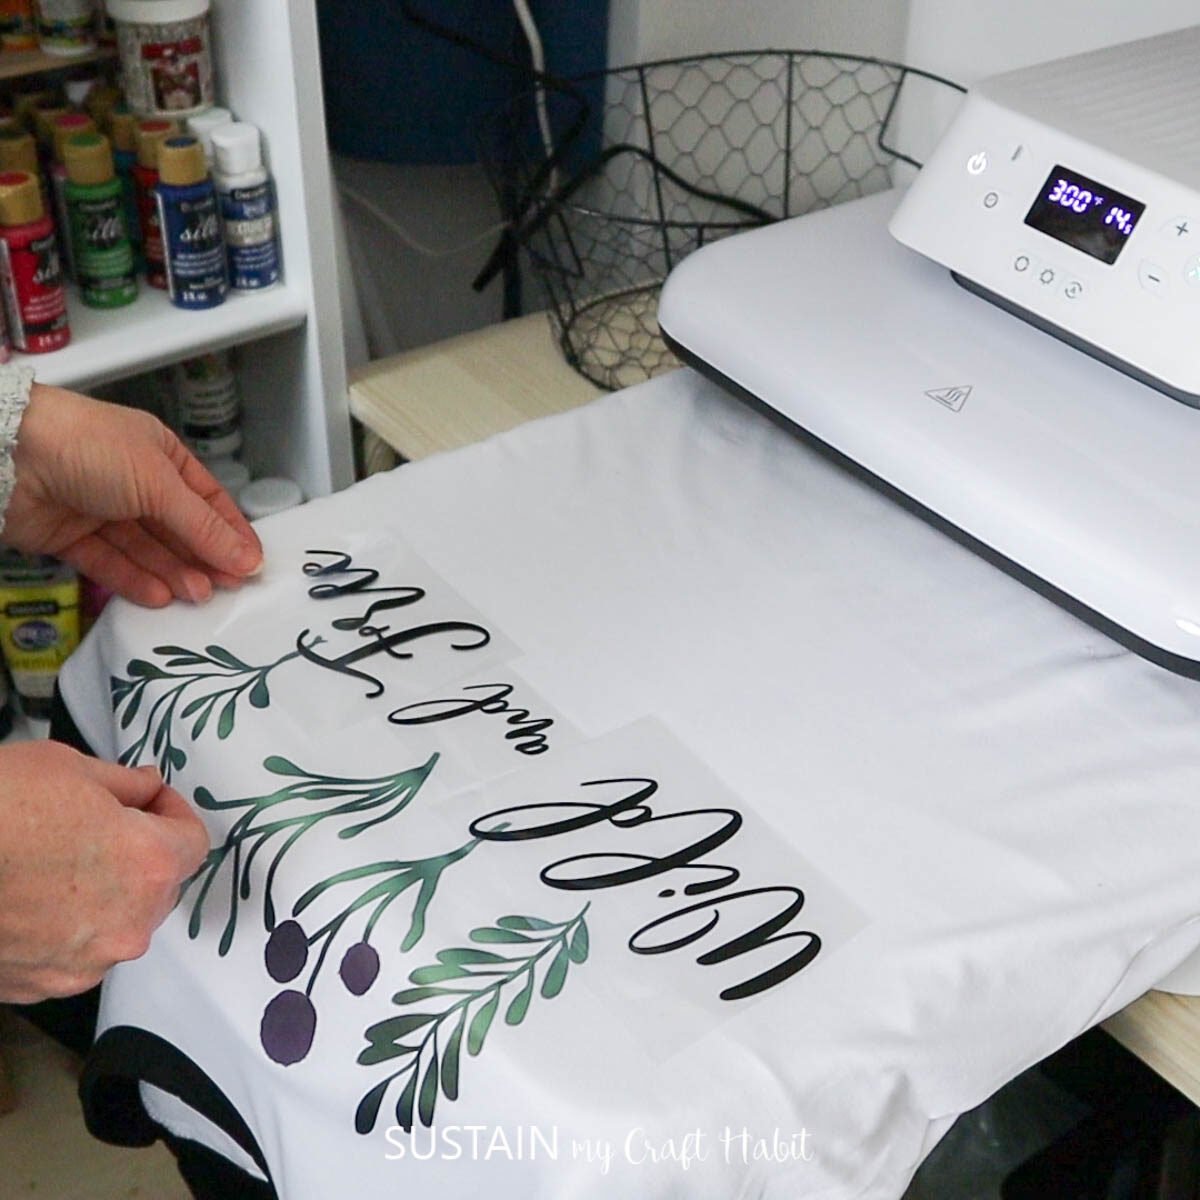
You can also pull the top part of your vinyl off of the mat to minimize the heat being applied again to the first layer of vinyl (my sister Sonja, who’s pressed thousands of shirts with industrial heat presses shared that tip!) . Now, adjust your settings if needed and press away!
Finally, cool peel the carrier backing and you’re good to go.
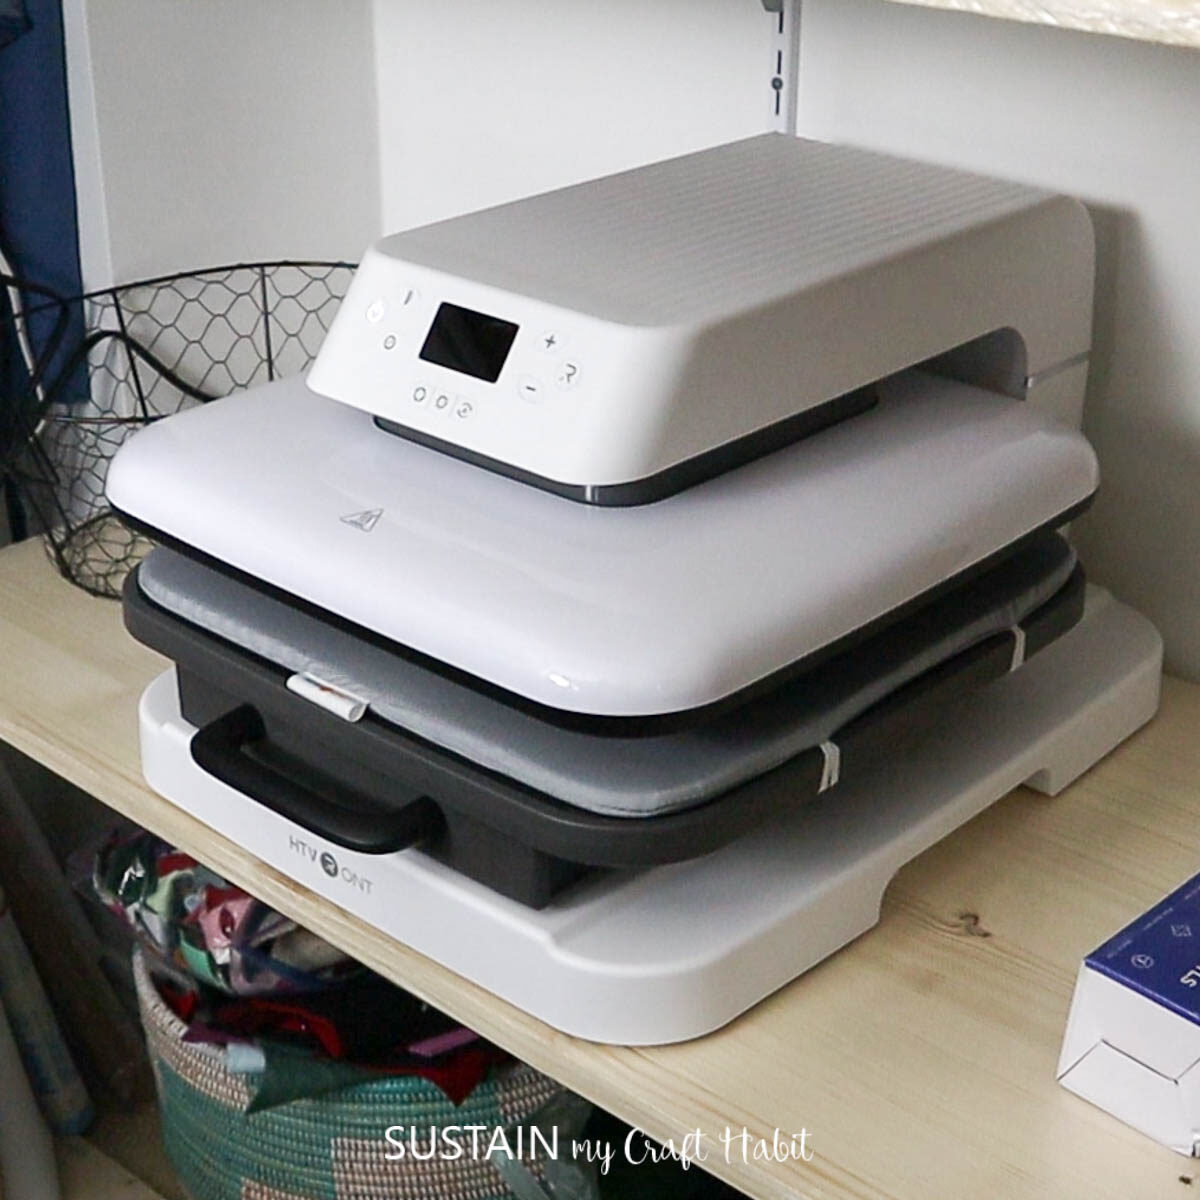
To store the HTVRONT Auto Heat Press, simply slide the mat back in and power off.

HTVRONT Auto Heat Press Review
I was genuinely impressed with how simple the HTVRONT Auto Heat Press was to set up and use. I basically took it out of the box, plugged it in and made my first project!
I’m looking forward to making more projects shortly. But in the meantime here our a few first impressions:
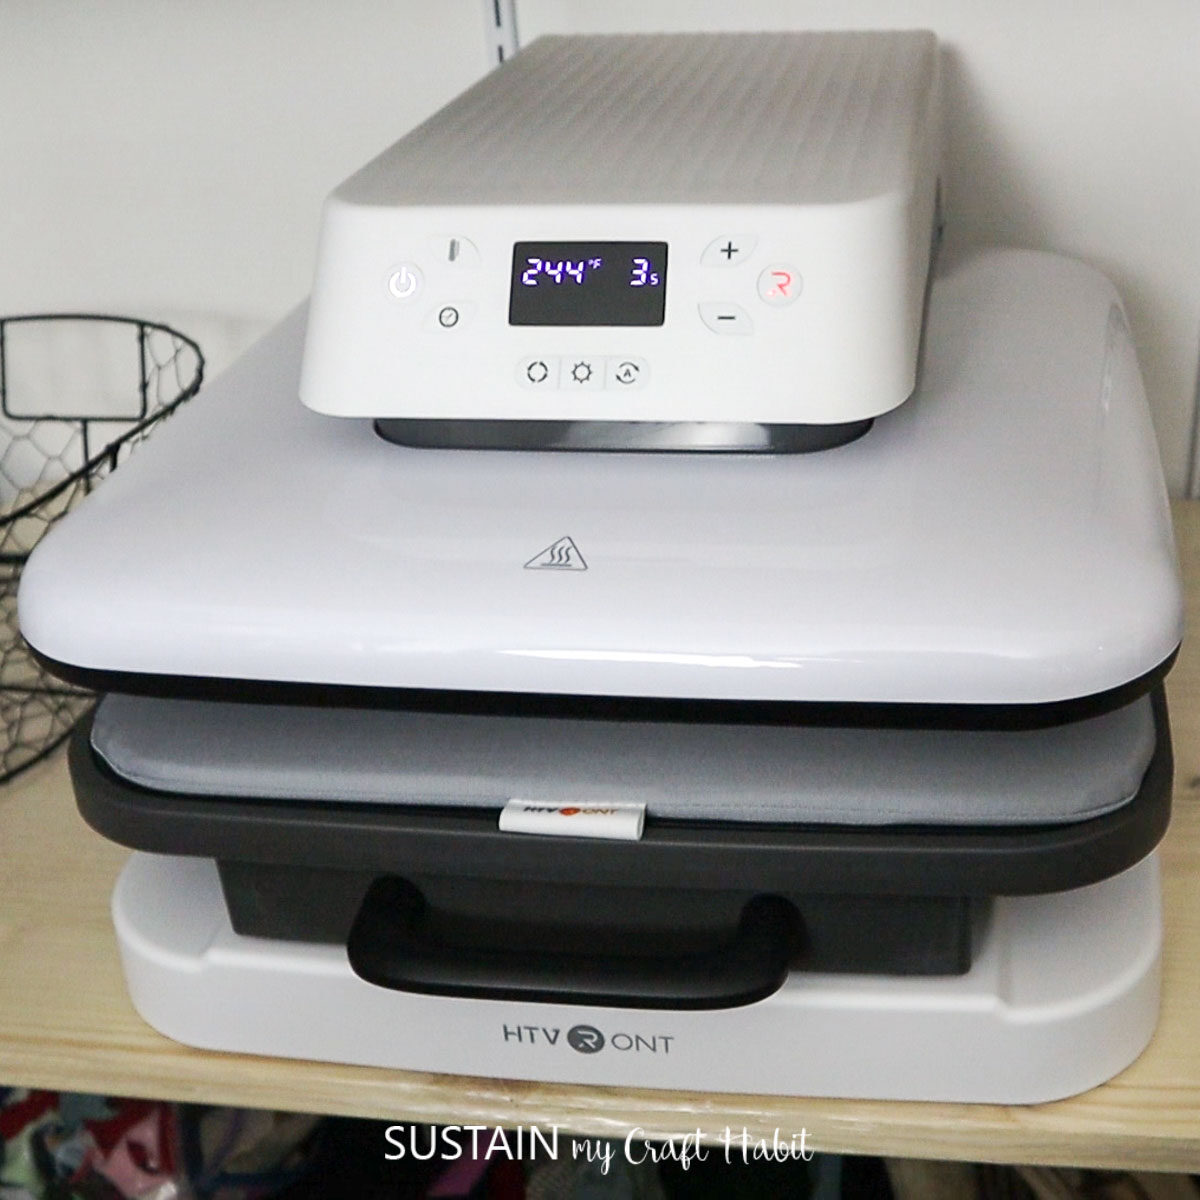
- well built: the machine itself is solidly manufactured with the feeling of high quality materials. There isn’t any noticeable shaking of parts and the slide-out arm is smooth and secure.
- large heating surface: with a 15″x15″ heating plate, this press can accomodate smaller and larger heat-transfer vinyl designs.
- great value for the price: at under $300USD, this auto heat press is affordable for the at-home crafter and small business owner.
- versatile: the 2 custom modes (temperature and duration) let you adjust the press’ settings to suit any types of heat transfer vinyl.
- safe: with a pull out drawer rather than lift up arm, there’s a reduced risk of burning.
A few of the downsides to this machine include:
- heavy: at 38lbs I found it quite heavy to lift by myself thus would recommend a dedicated space for the machine so that you don’t have to move it when you need to use it. I’d imagine this to be the case with other auto heat presses as well.
- limited thickness of materials: the HTVRONT Auto Heat Press is designed to press materials which are up to 2.5cm/1inch thick. So if you want to do anything thicker (such as pressing onto wood) this machine won’t be able to accomodate it.
Where to buy the HTVRONT Auto Heat Press?
Overall, we’d recommend the HTVRONT Auto Heat Press for beginner and more advanced crafters looking for a heat press. You can find it directly on the HTVRONT website (currently $30 off!), on Amazon , and online at Walmart.com .
Let us know if you have any questions about the HTVRONT Auto Heat Press below.
Like it? Pin it for later!